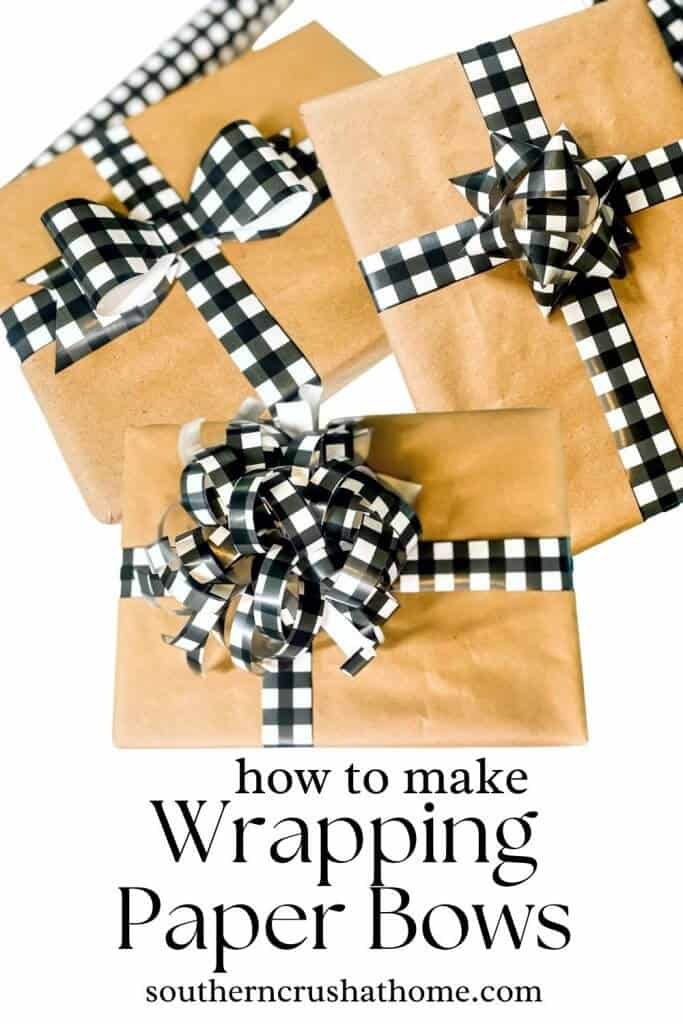
How to Make a Bow Out of Wrapping Paper (3 Different Ways)
Get ready to learn how to make bows out of wrapping paper in 3 different ways. This tutorial makes it so easy to create bows for any occasion!
PIN this for later!
You know I LOVE to make bows. They can be used in so many different ways. In fact, most of my craft projects use bows in one way or another.
This blog post contains affiliate links. The opinions are wholly my own from my own experience. I may earn a small commission from clicks through to the websites that end in a purchase.
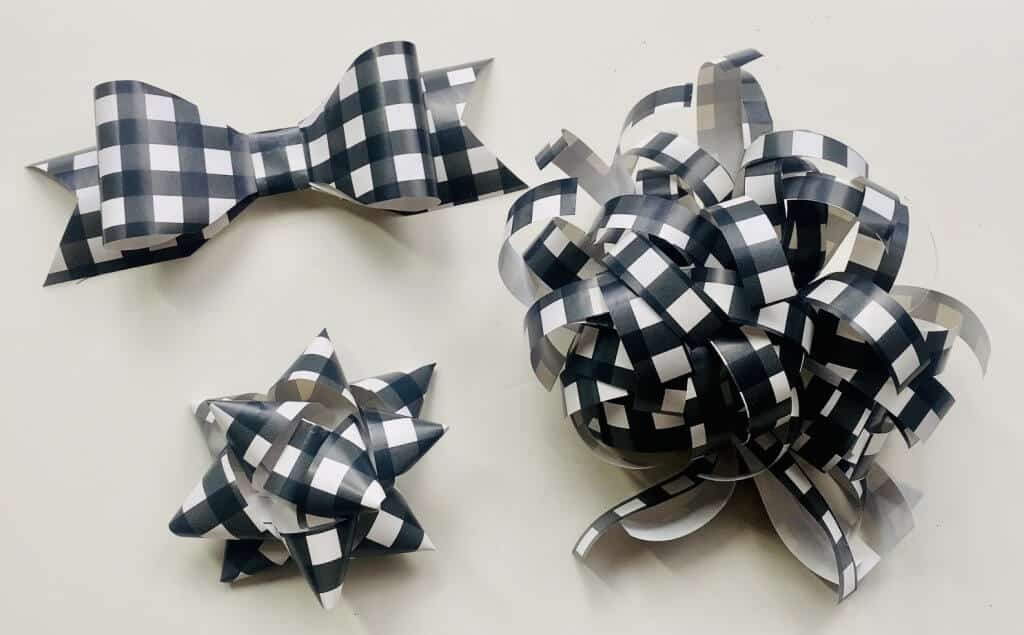
Today I’m sharing not one, not two, but three different wrapping paper bows that are so fun! You will learn how to make a fluffy bow, a bow tie bow, and a classic gift wrap bow!
Before we get to it, here are some of my other DIY bows:
TAKE A LOOK AT SEVERAL OTHER DIY BOWS I’VE SHARED:
- 5 Minute Lace Messy Bow
- Denim Messy Bow
- Drop Cloth Messy Bow
- Christmas Tree Topper
- Messy Bow Fall Wood Block Decor
- Bandana Scarf Bow
- DIY Tulle Bow
- Tissue Paper Gift Bow
- T-Shirt Bow
- DIY Knotty Bow
One of the things you are going to love about these DIY bows is you can use any kind of wrapping paper to make them.
Think about not only the holidays but birthdays, weddings, baby showers, and more. You will definitely want to pin this post for later!
I used a gorgeous buffalo check paper, because you know I LOVE my buffalo check! If you are a fan too, here are several crafts and home decor projects I’ve made with buffalo check:
- How to Paint Buffalo Check
- Buffalo Check Bead Garland
- Buffalo Check Decor Trends
- Dollar Tree Buffalo Check Splatter Screen
- Halloween Table with Buffalo Check Accents
- Buffalo Check Cross
- Buffalo Check Painted Doormat
- Repurposed Garden Bench with Buffalo Check
- Buffalo Check Ornaments
Supplies Needed for Making Bows Out of Wrapping Paper
- Wrapping Paper
- Tape
- Scissors
- Stapler
Step-by-Step Video Tutorial
If you prefer to watch a step-by-step video tutorial, check out this one below on how to make bows out of wrapping paper!
Each paper bow tutorial is completed from start to finish in this video with slow, easy-to-follow instructions.
How to Make Paper Bows
We will start with the easiest bow first; although they're all super easy to make from any wrapping paper scraps you have laying around in your gift wrapping stash!
Fluffy Paper Bow
Step 1. Measure your paper
Determine the size you want your bow to be. Simply unroll the paper and measure and mark where you plan to cut.
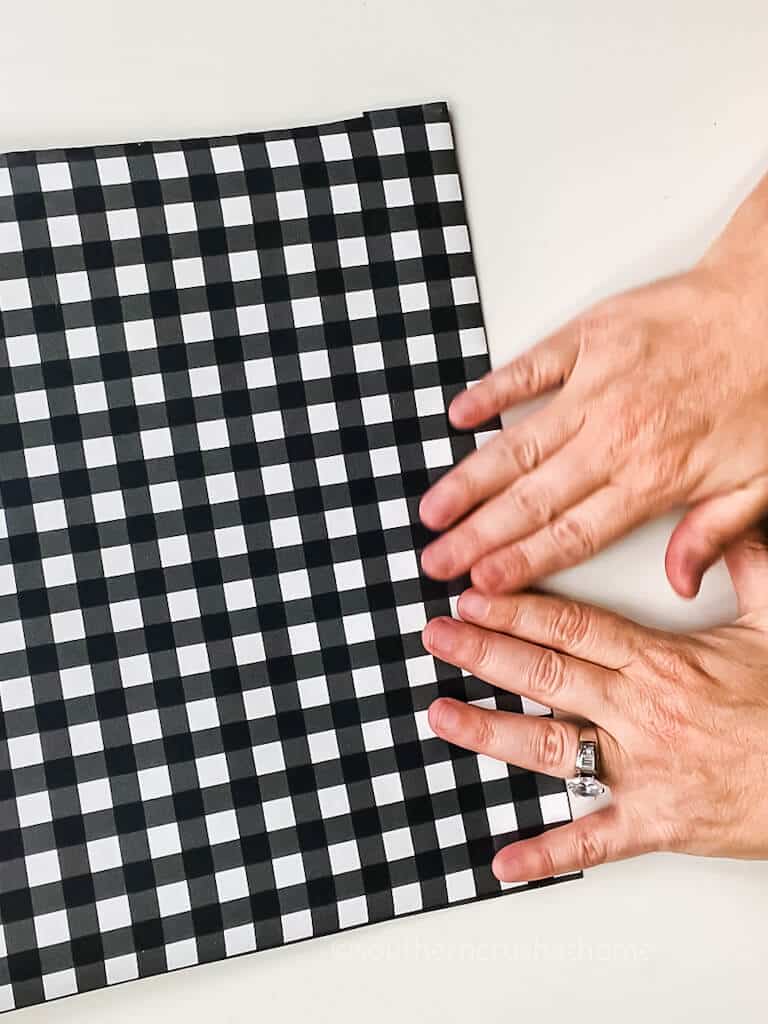
Step 2. Fold the paper
Now you want to fold the paper in half and press it down and then in half again.

Step 3. Cut the wrapping paper
Use your scissors to cut thin strips about 1/2″ wide along the “non-folded” or “open” edge.
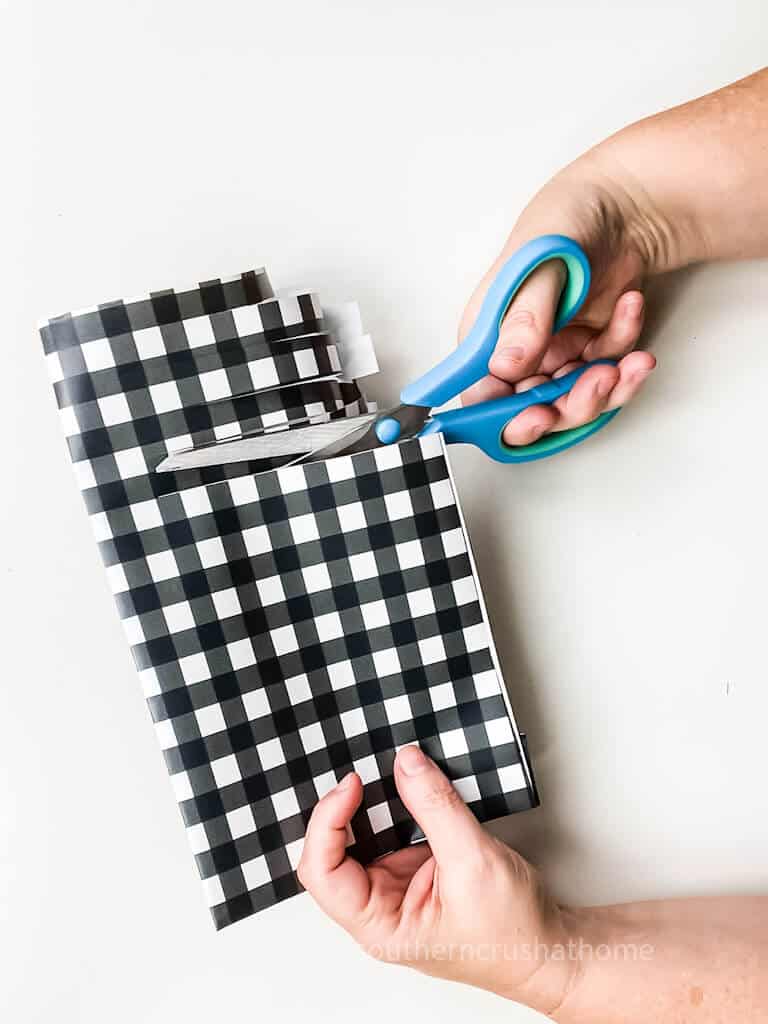
You want to make sure to stop cutting about an inch or so from the edge.
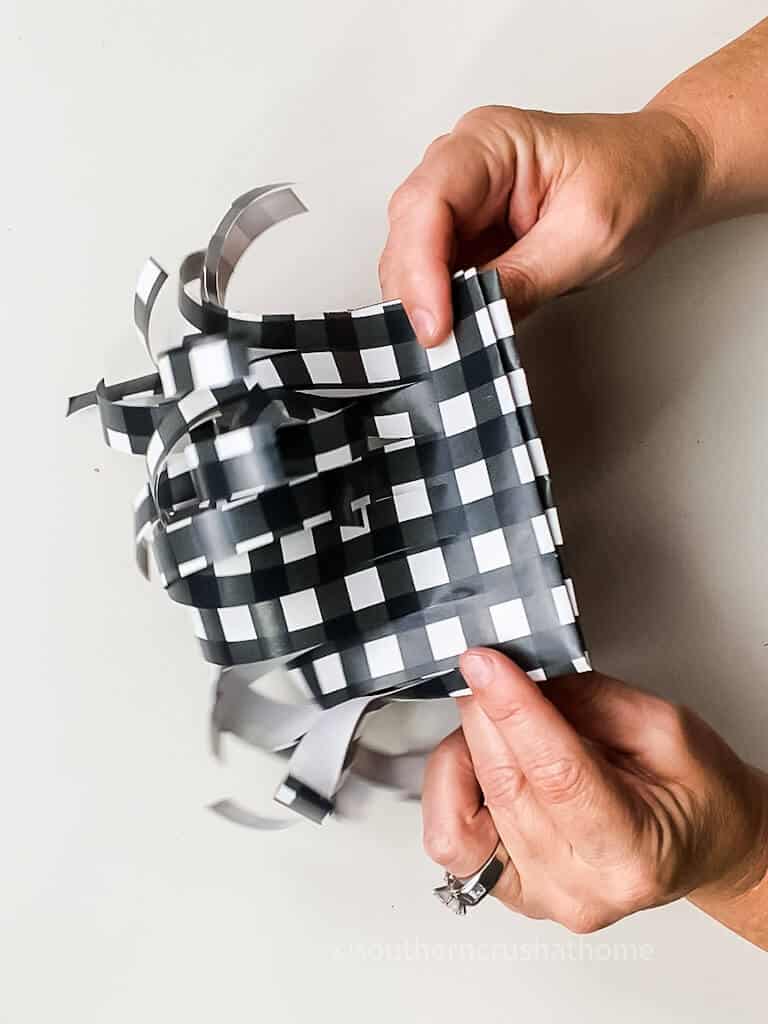
Step 4. Staple the strips
Gather the folded edges of the paper strips together and staple them.
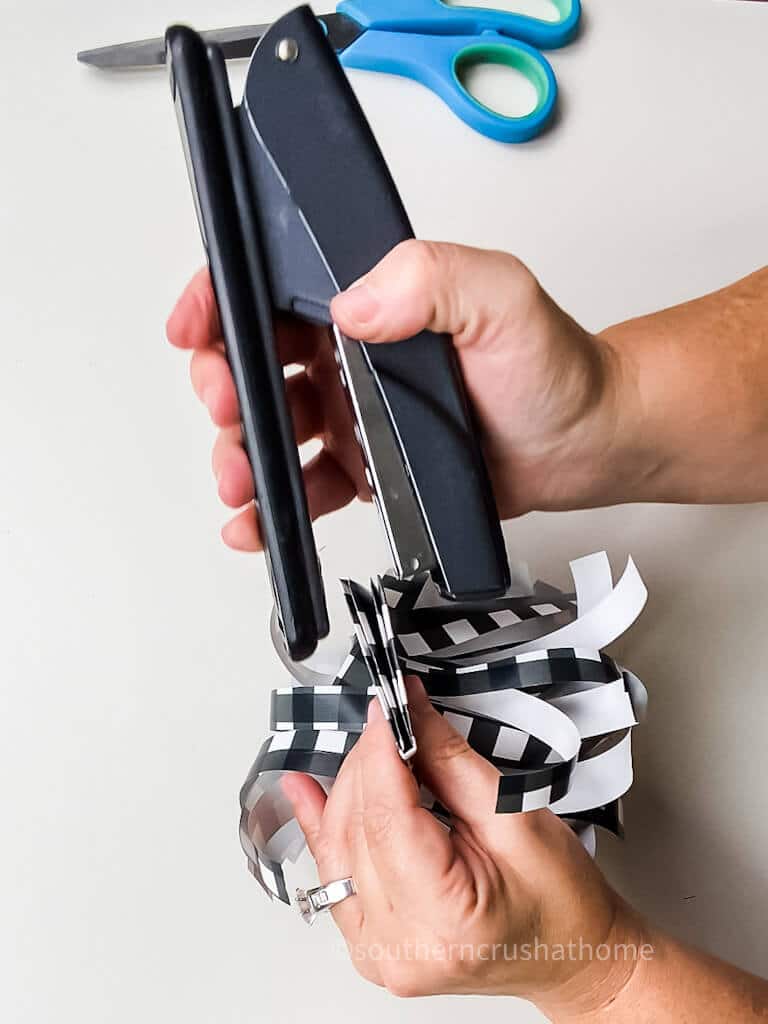
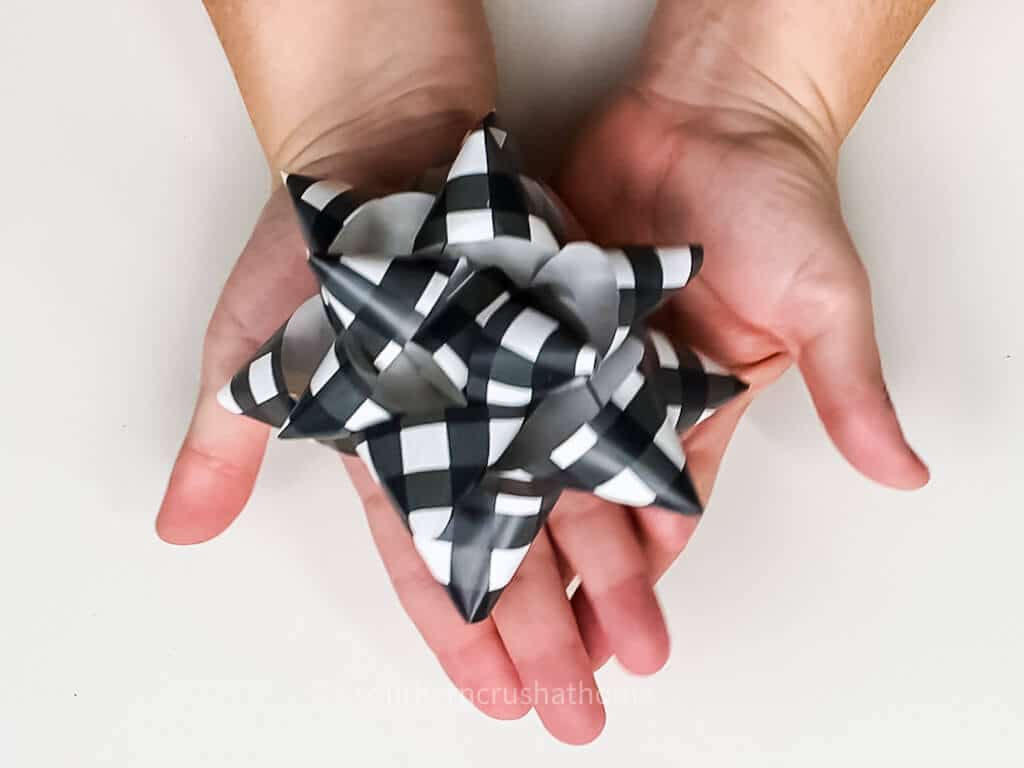
Step 5. Fluff the bow
Next just turn the bow over and fluff the strips. It's super simple to finish and pretty much forms itself.

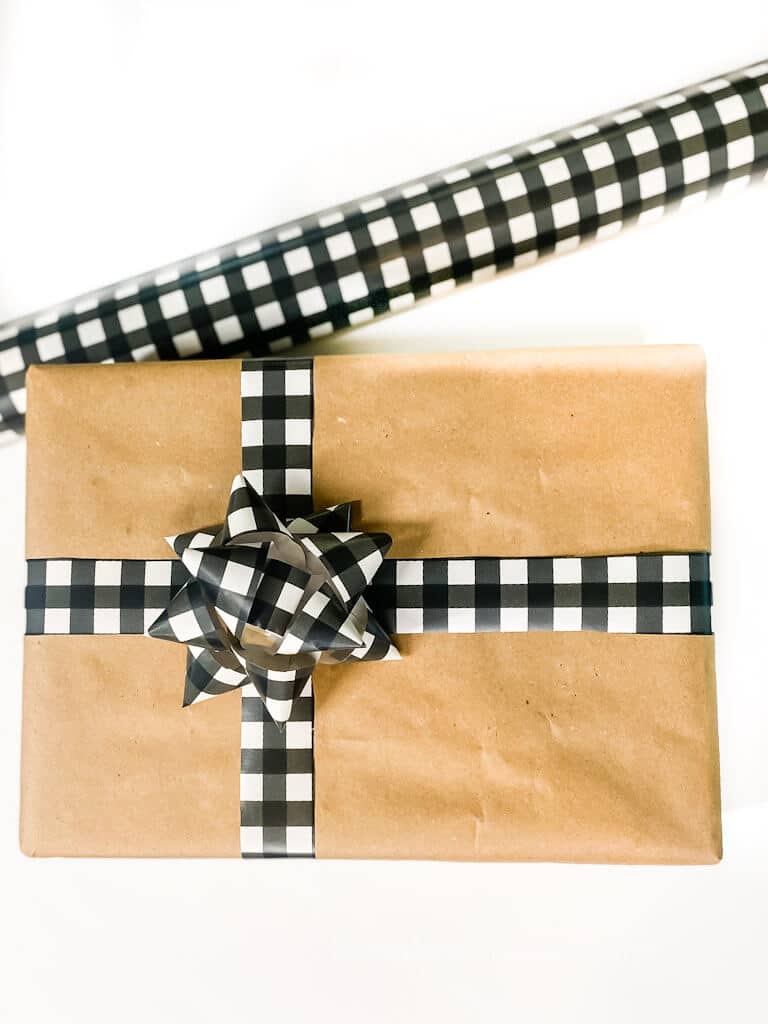
The bow is finished and ready to use! Here it is on a package with a paper ribbon wrapped around it.

Wasn't that the easiest bow ever? Now for bow #2.
Bow Tie Paper Bow
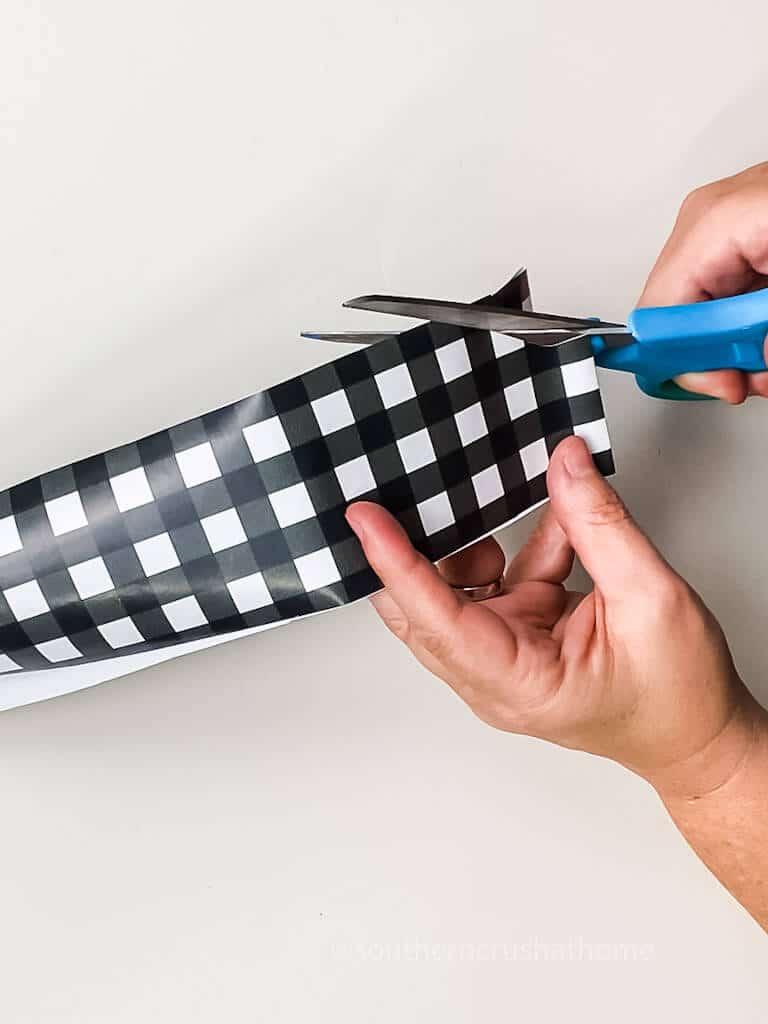
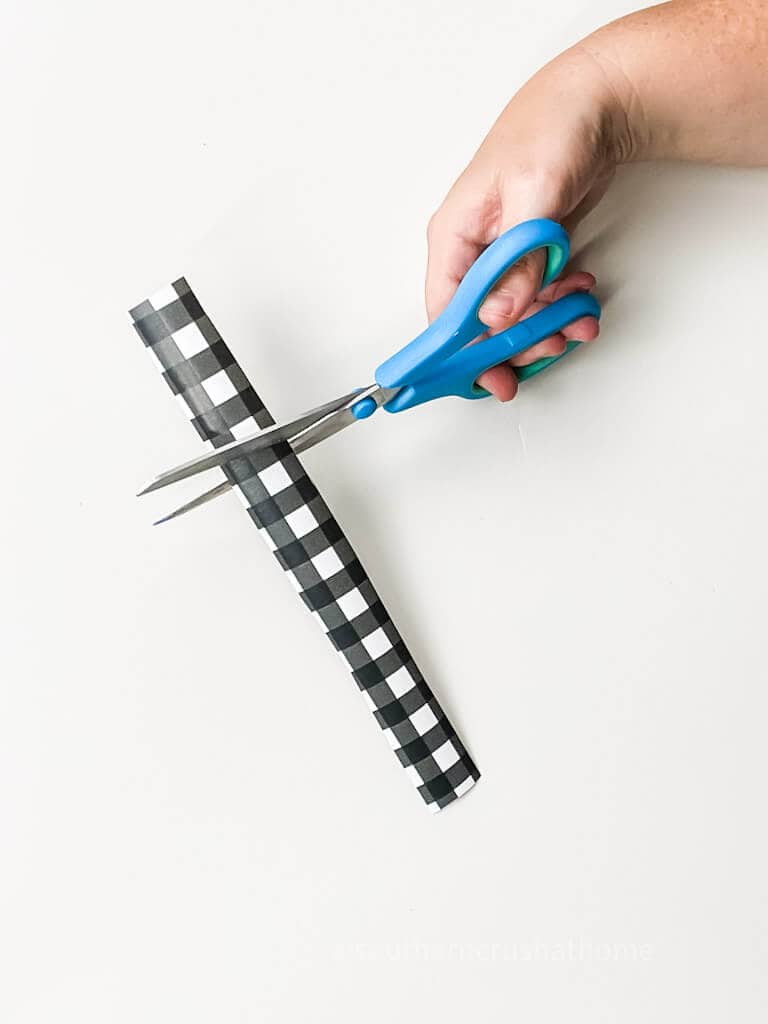
Step 1. Cut wrapping paper
Start by cutting a section of wrapping paper to the size that you want your bow. I used about 24″ long x 2″ wide. Fold this strip in half.
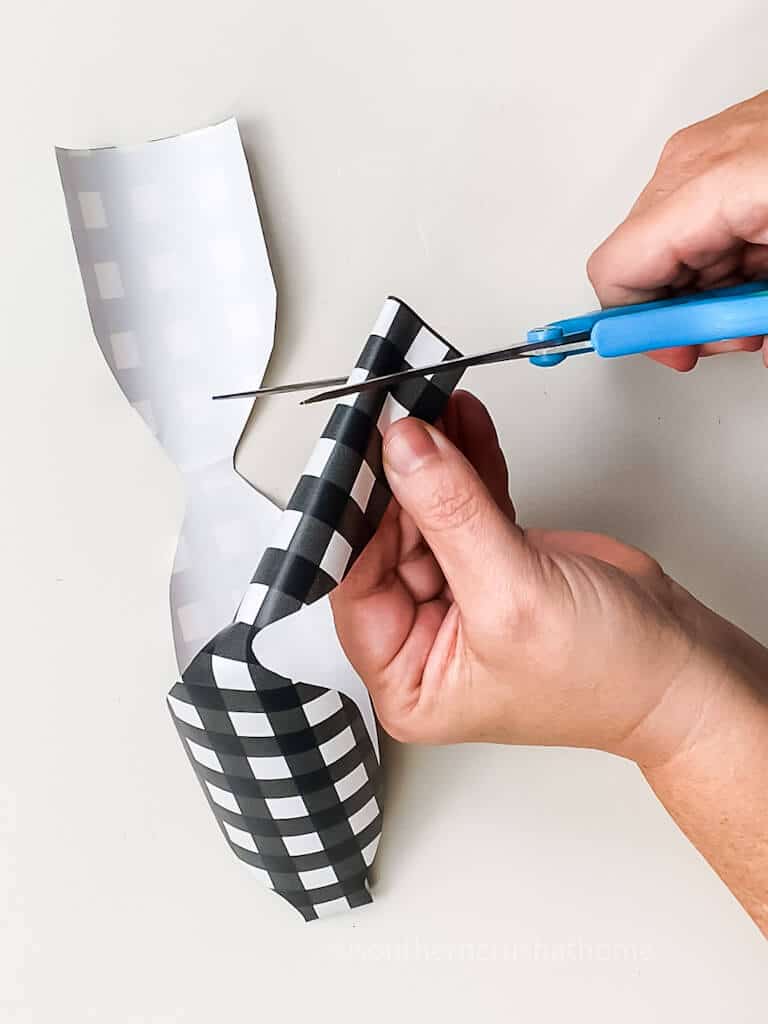
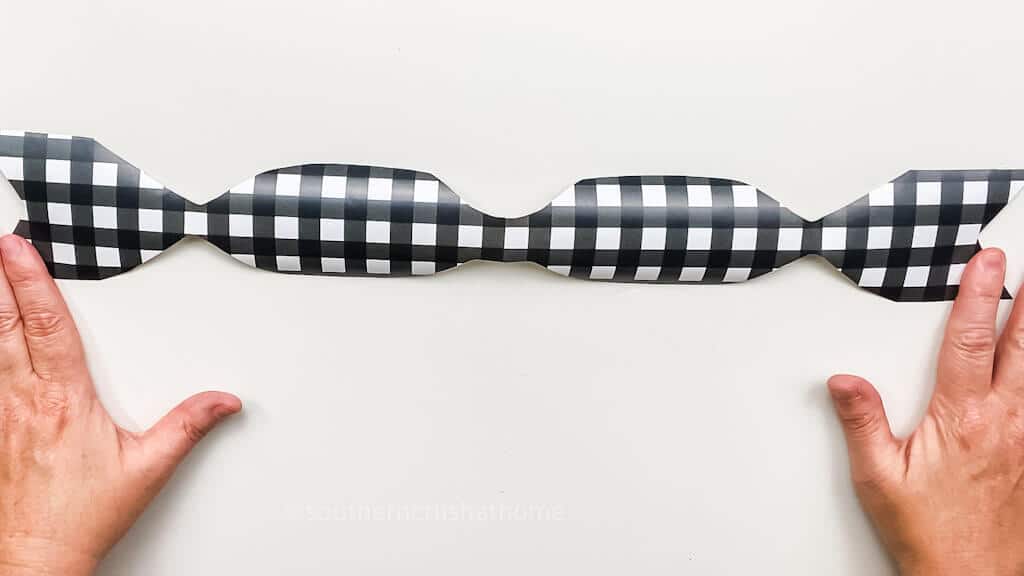
Step 2. Trim corners
Using the folded end, cut in and out into the shape of a fish. It should resemble a fish body like this.
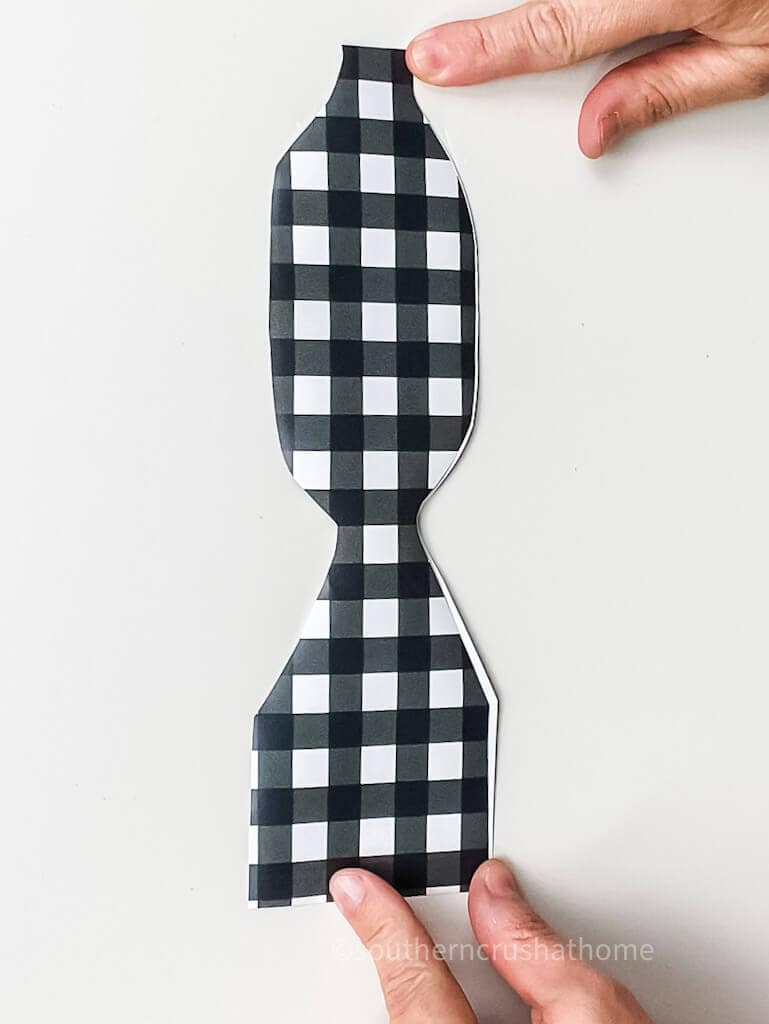
Also, cut the ends with a dovetail cut. Open the wrapping paper and cut the dovetail ribbon ends where it meets the oval shape.
Once you've cut both sides and opened it up to lay it flat, it should look like the example below.
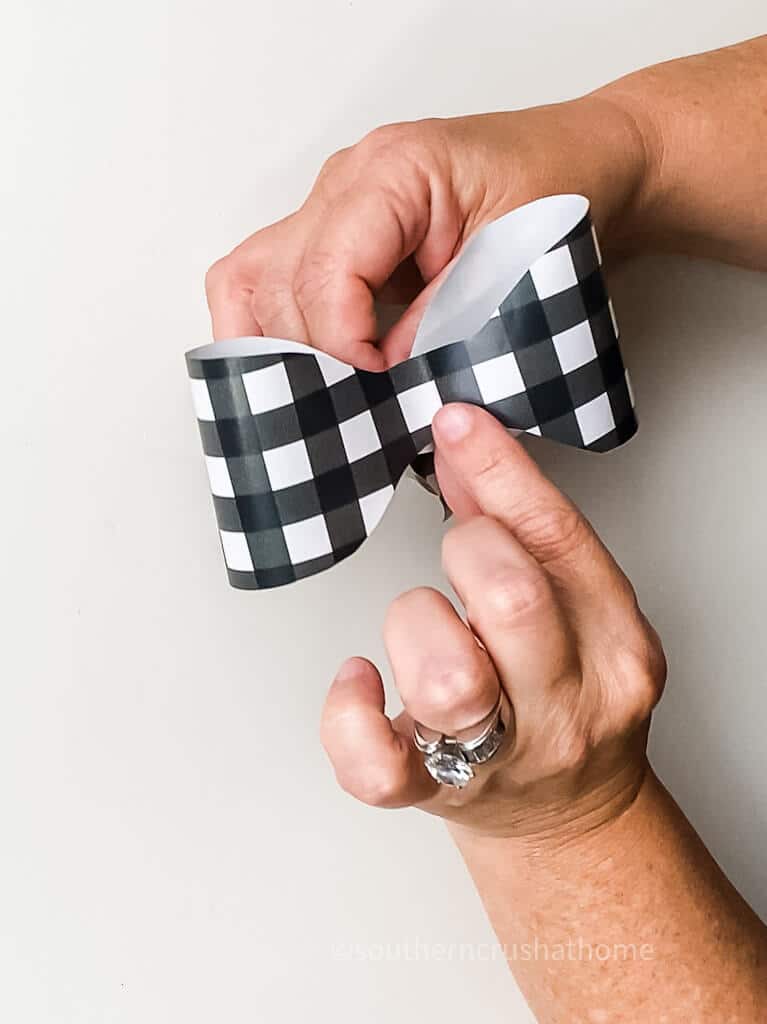
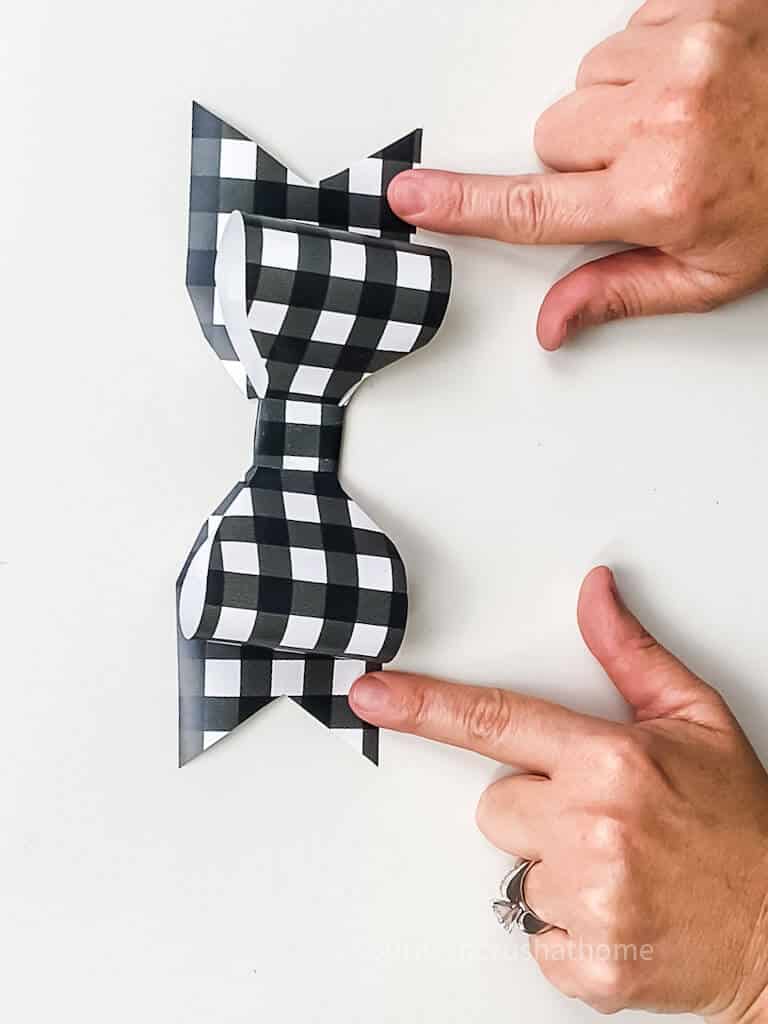
Step 3. Fold the bow
Now you want to fold the bow towards the center to create your classic-style bow.
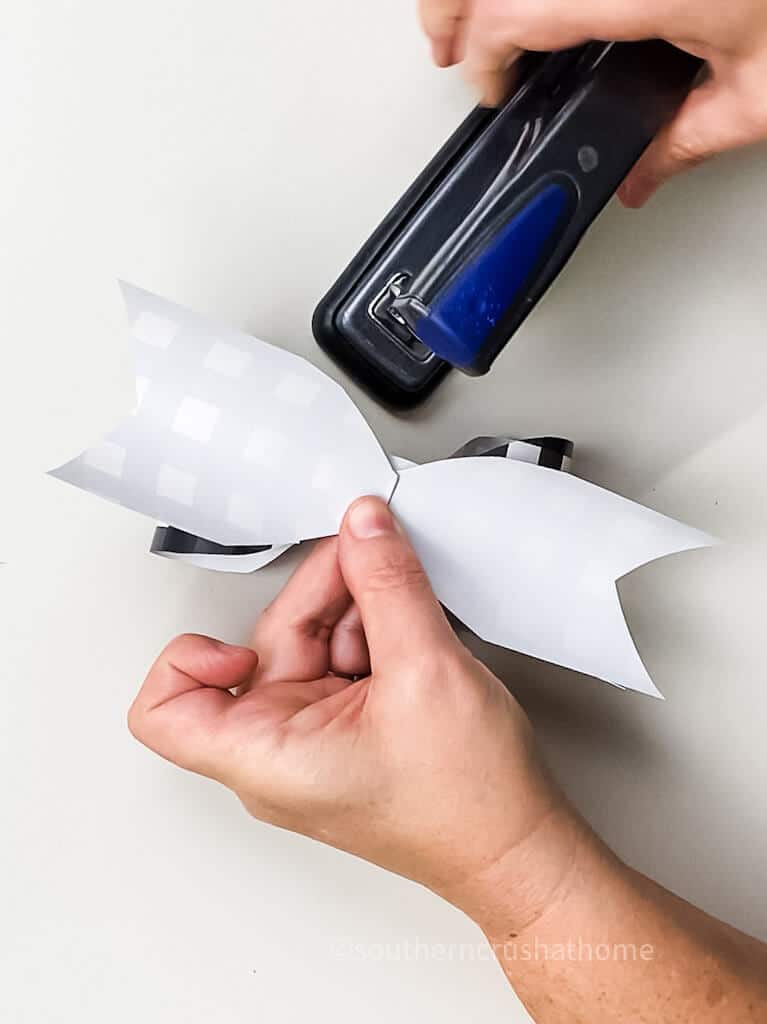
Step 4. Staple the pieces
Take the dovetail cut ribbon pieces and place them behind the bow. Staple all of the pieces together.
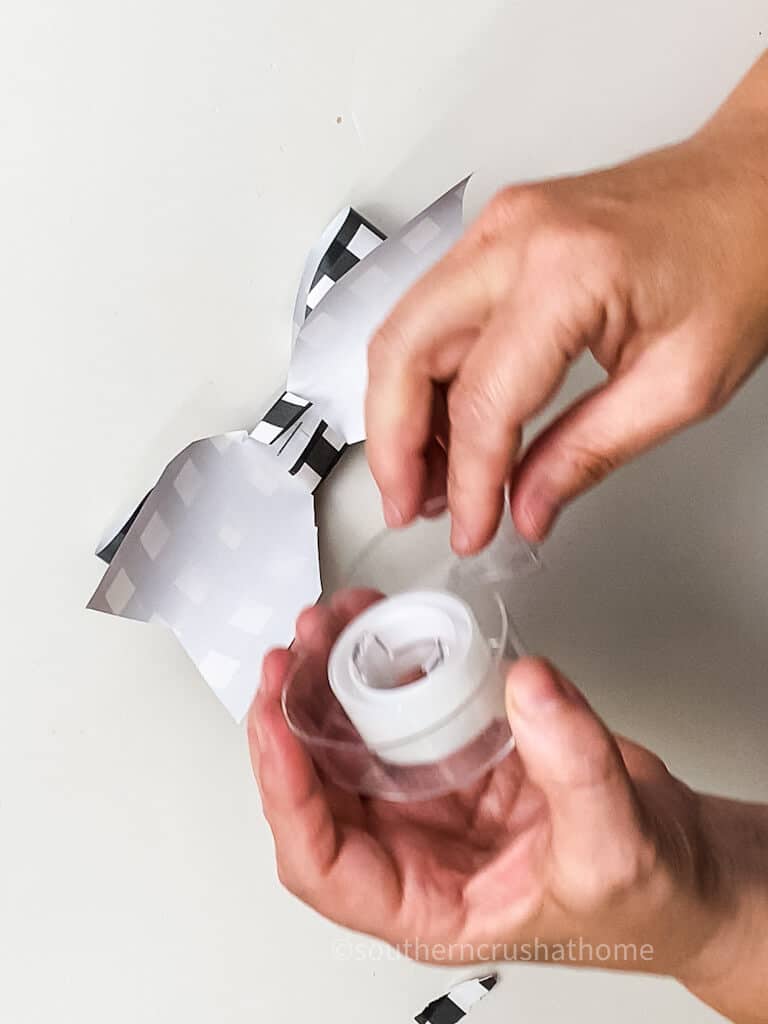
Step 5. Attach center
Snip a small piece of wrapping paper and fold it over the center of the bow. Add it to the bow with a piece of scotch tape.
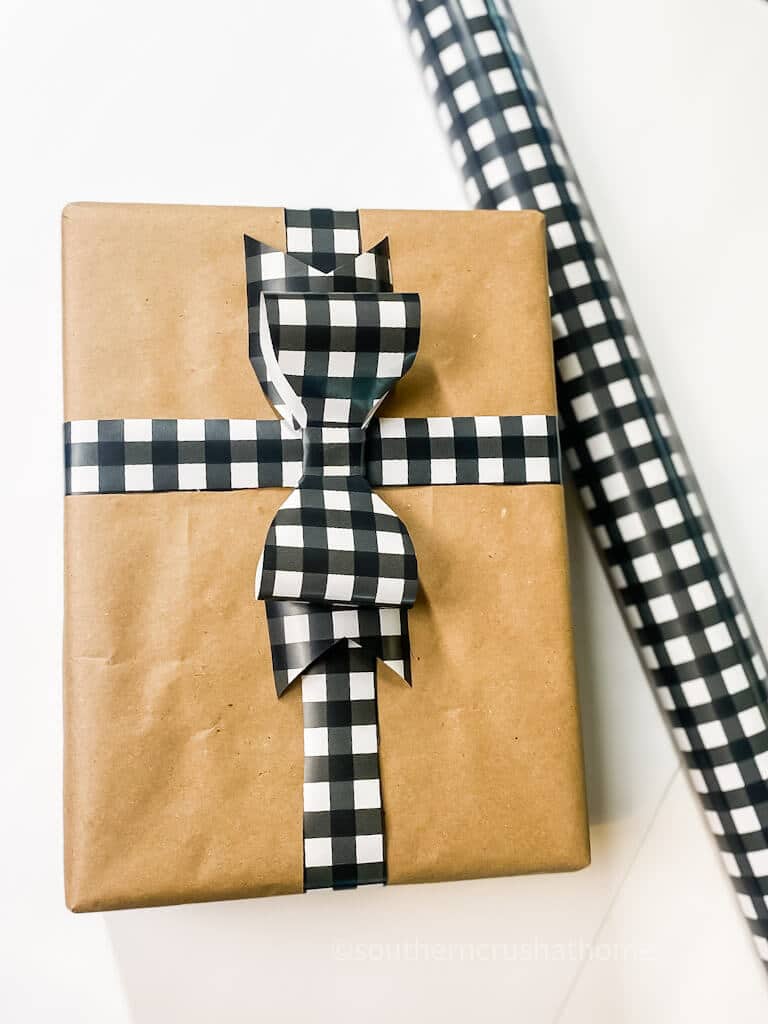
Voila! You have an instant bow to use on gifts, wreaths, crafts, and more!
I'm trying not to pick favorites, but I do LOVE how this one looks on a package!
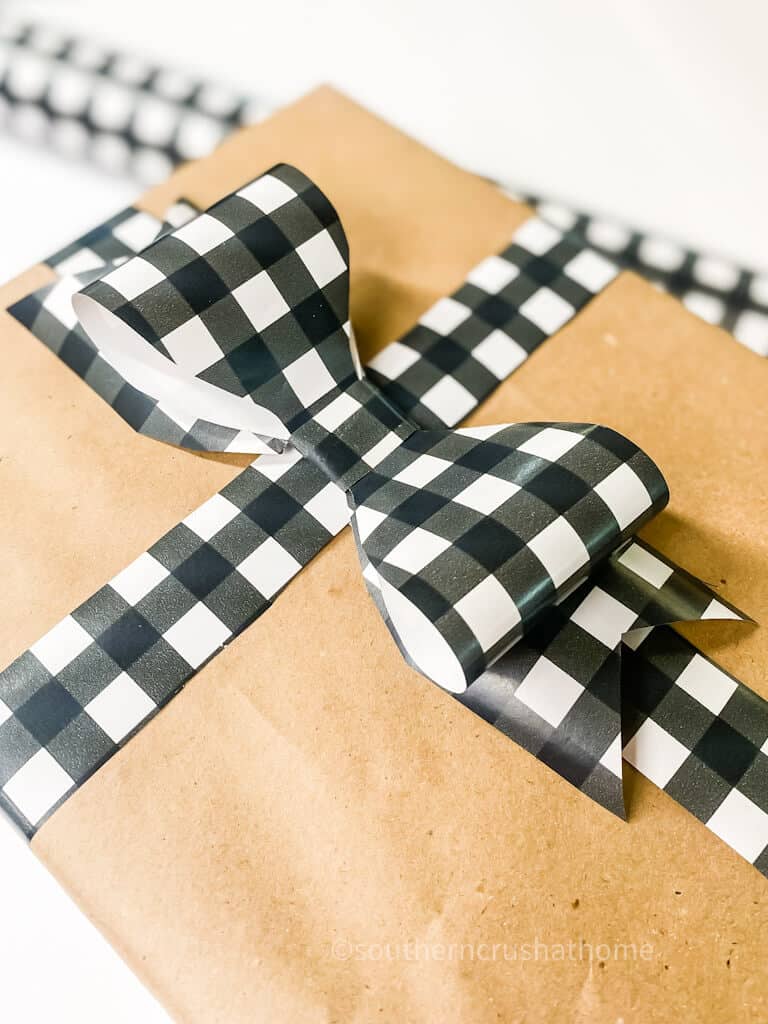
It has a crisp and clean look, especially against the neutral gift wrap.
Classic Gift Wrap Bow
This is the paper version of a classic or traditional bow for gift packages. They often come in large quantities; however, they always seem super squashed and cheap.
I'm loving the idea of making my own personalized version of these classic gift bows to make the recipient feel like they're gift is extra special!
Not to mention, if you run out of bought bows, these are great to make in a pinch!
Step 1. Cut strips
Cut 6 strips of paper “ribbon” about an inch or so wide. 3 strips need to be cut about 2 inches shorter than the first 3.
I went with 3 12″ strips and 3 10″ strips altogether.
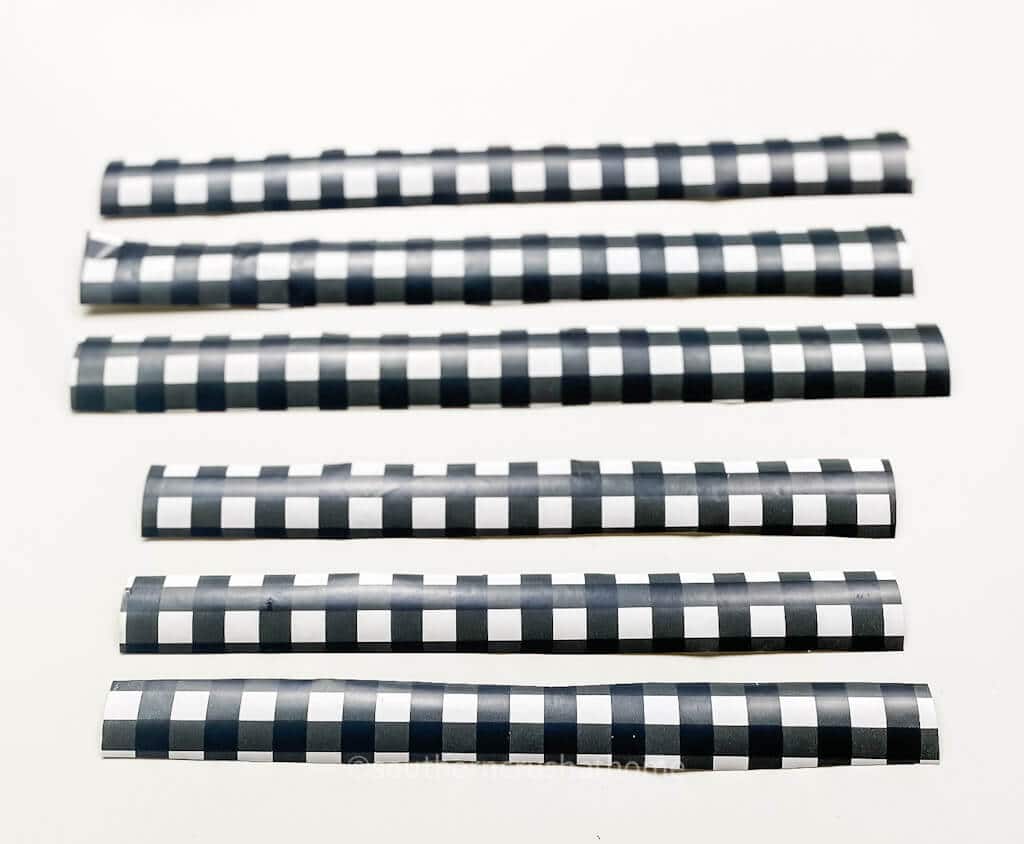
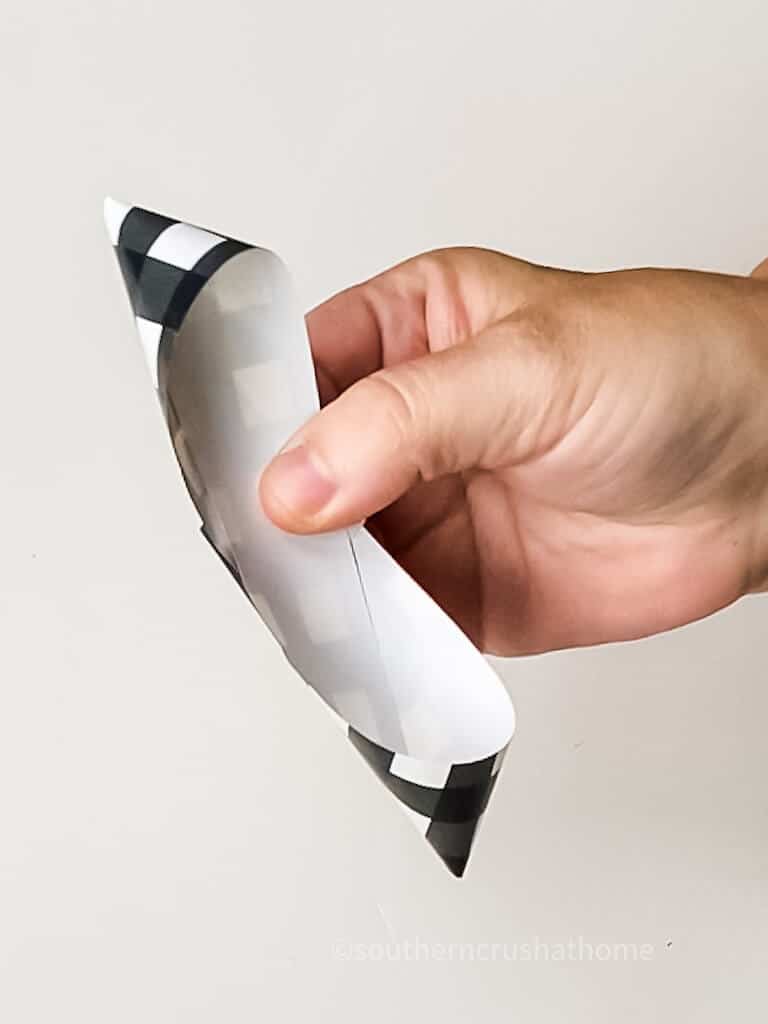
Step 2. Fold strips
Fold the corners of the end of each strip into a point and staple them in the center.
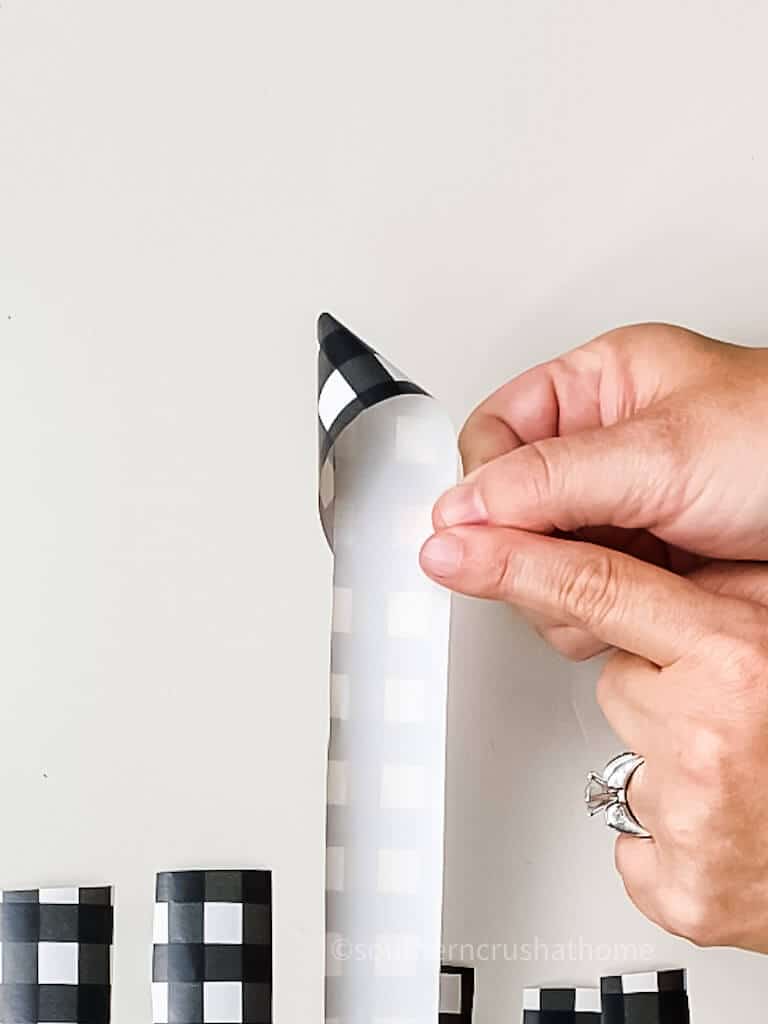
You will have 6 folded ribbon pieces with points on each end.
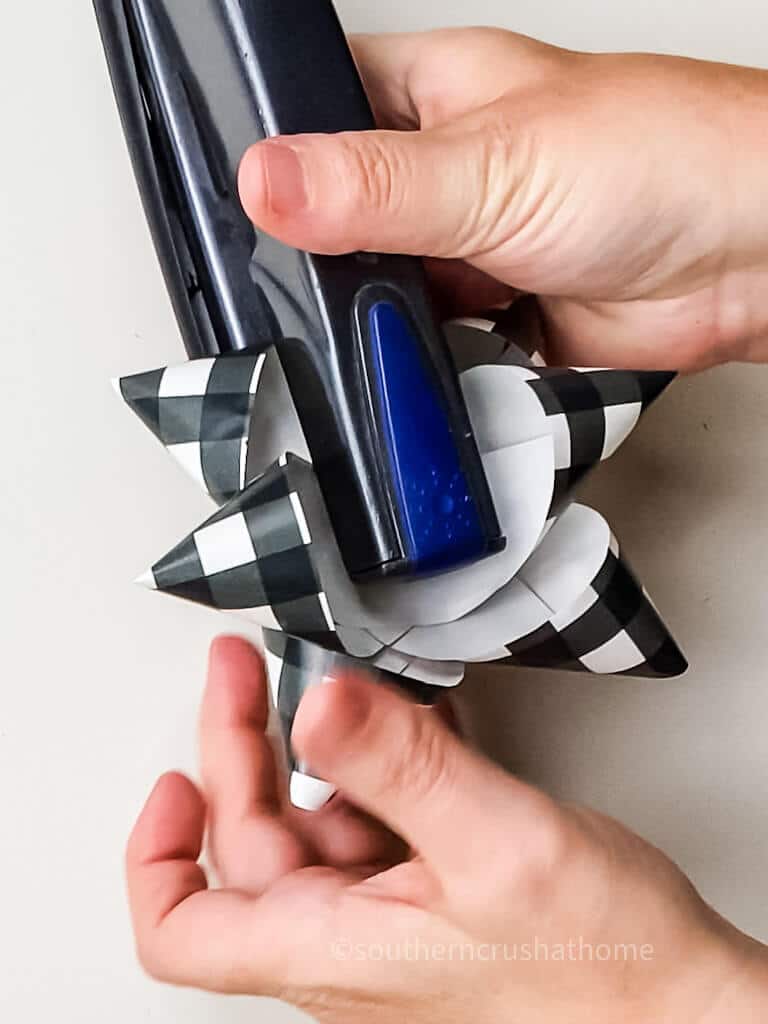
Step 3. Layer the strips
Layer all the folded ribbon strips and staple them together. Place the larger pieces on the bottom and finish off with the 3 shorter strips.
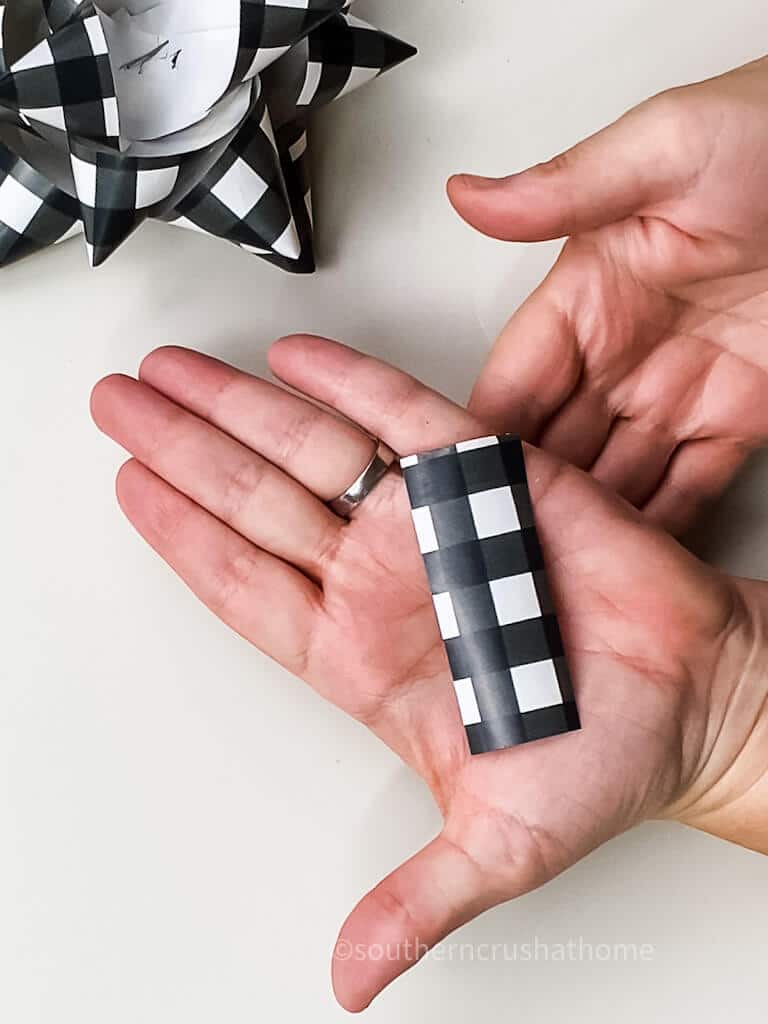
Step 4. Add the Center Loop
Take a small piece of wrapping paper and take a piece of paper into a loop and tape it to the center opening of your bow.
Fluff your bow and admire your handiwork! Look how pretty:
Here is how the classic gift wrap bow looks on a gift package. Just like a store-bought bow but better in my opinion. What do you think?
There you have it! 3 super easy and inexpensive wrapping paper bows just in time for the busy holiday season.
You're officially equipped for any last-minute occasion! You can whip out one of these three fabulous easy paper bows and dazzle your friends!
Let me know in the comments which one is your favorite.
I love all 3! Thank you for sharing. 🙂
Awesome! I appreciate you!