How to Make a Drop Cloth Messy Bow
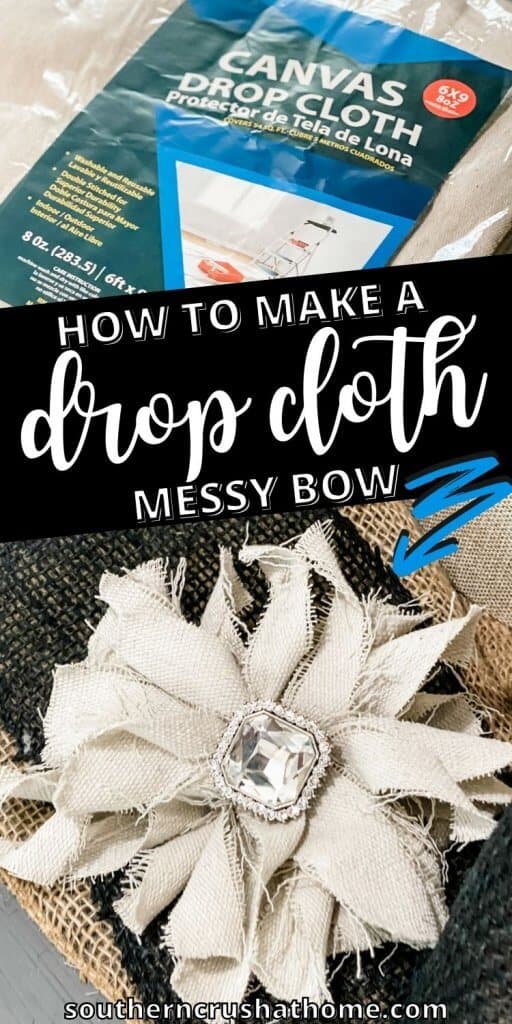
It’s no secret that my signature messy bow is my favorite easy bow to make for all of my DIY projects. This time I want you to pick up an inexpensive drop cloth to make a pretty drop cloth version of my messy bow. You can add it to wreaths, banners, gifts and more! Come check out this easy drop cloth messy bow DIY tutorial, plus see a few of my other favorite messy bows.
Be sure to PIN this one for later!
Did you see the denim messy bow I shared? Well, today I’m following it up with a drop cloth messy bow to add to our favorite messy bow collection! If you have never crafted with drop cloth, you are in for a treat!
It is inexpensive and can be used in so many different craft and home decorating ideas.
WHAT IS CANVAS DROP CLOTH FABRIC?
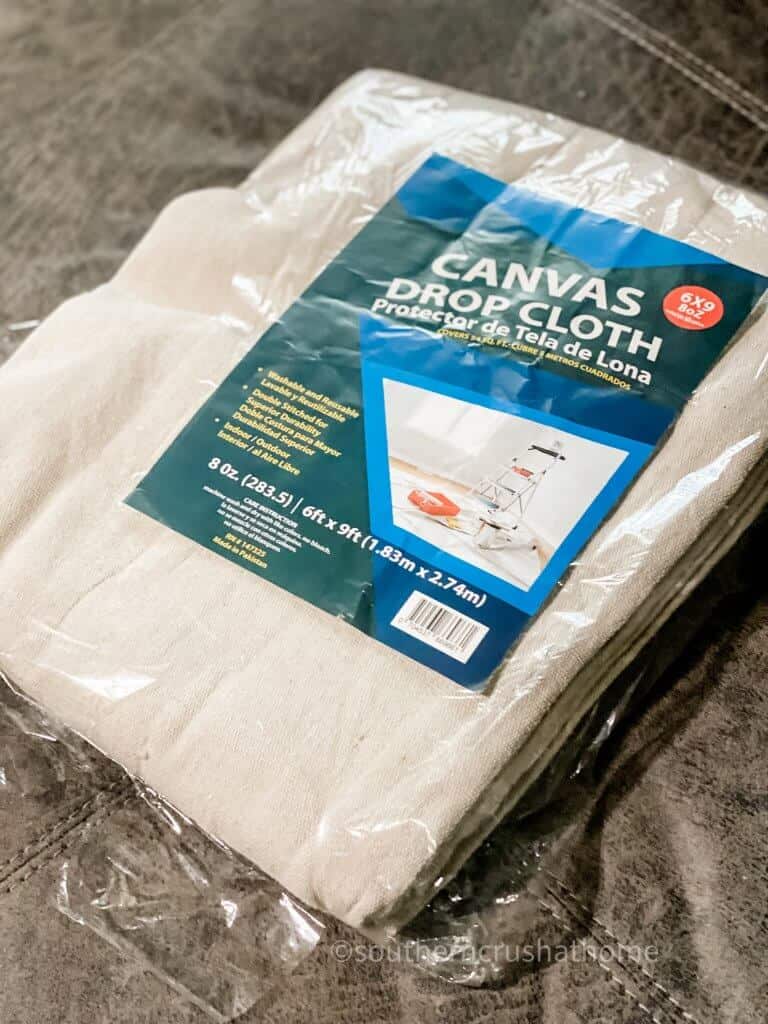
Drop cloth fabric is also referred to as painter’s drop cloths. It is neutral in color, but comes in various shades of tan. It’s durability and thick canvas material makes it the perfect solution for painters to use over furnishings and flooring to avoid paint getting where it shouldn’t. Drop cloth fabric is ideal for making so many DIY projects like:
- drop cloth curtains
- reusable cloth towels
- neutral slip covers
- pretty drop cloth pillows
IS DROP CLOTH CANVAS WASHABLE?
Yes. In fact, they arrive with a strong odor which is a chemical used to make them water-repellant.
How do you get the smell out of drop cloths?
You can just air them out and the smell will eventually fade or you can wash them. Drop cloths are washable. They will shrink a bit, so wash them in cold water and tumble dry low heat.
For this DIY, I simply used the canvas drop cloth without washing it first.
If you like quick and easy crafts you will love making these messy bows. And once you make one, you’ll be hooked and you will want to make “all the messy bows”!
Take a look at several other DIY messy bows I’ve shared:
- 5 Minute Lace Messy Bow
- Denim Messy Bow
- Messy Bow Burlap Pillow Wrap
- Christmas Tree Topper
- Messy Bow Fall Wood Block Decor
Now, let’s get to the quick tutorial so you can make your own!
SUPPLIES needed for DROP CLOTH MESSY BOW
All the supplies needed can be found HERE in my Amazon Shop!
- Drop Cloth
- Fabric Scissors
- Zip Ties
- Rhinestone Embellishment
- Craft Cutting Mat
How to make A DROP CLOTH MESSY BOW
Start by placing the drop cloth on your cutting mat. Then cut out a section approximately 8.5 X 11 in size to make it easy to work with. One drop cloth is so large you’ll have plenty of material to make dozens and dozens of messy bows if you desire or you may wish to try out a few more drop cloth DIY projects with the leftover material. Regardless, this is now my favorite fabric material to use!
QUICK TIP: It helps to use a cutting mat to keep everything lined up.
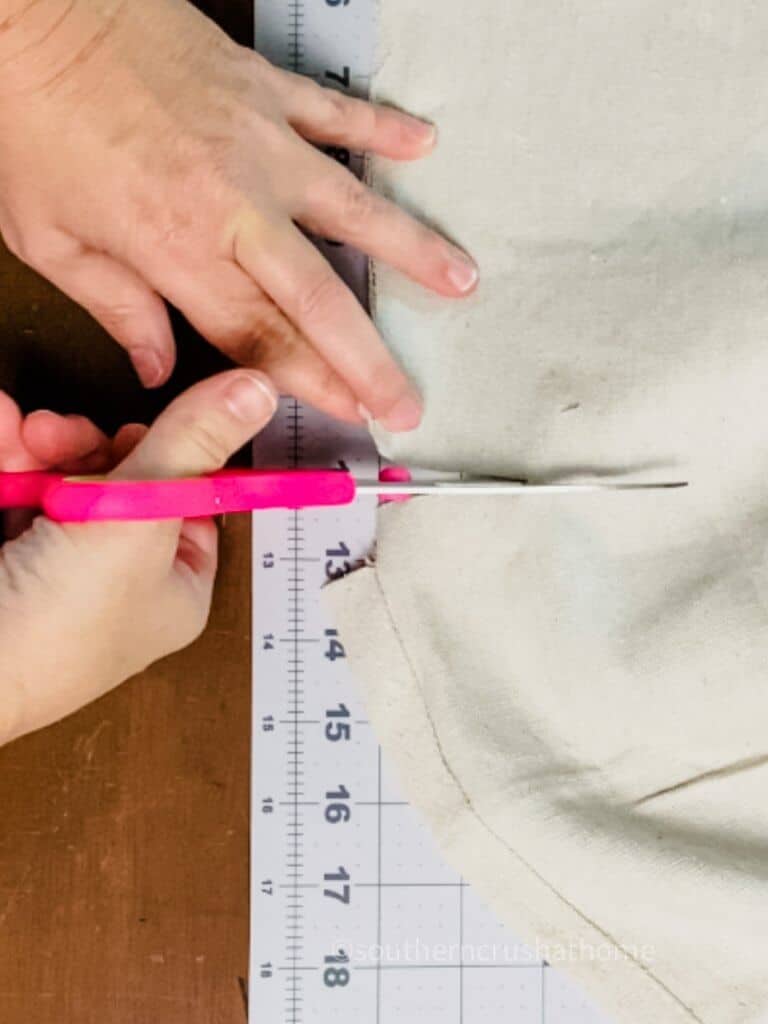
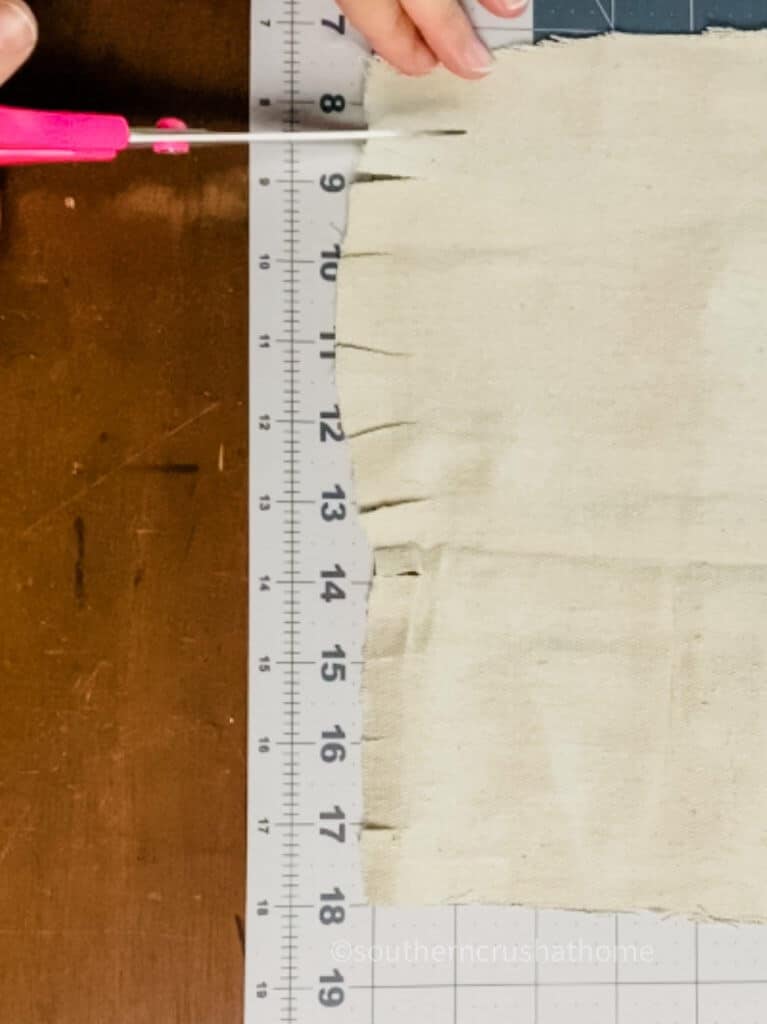
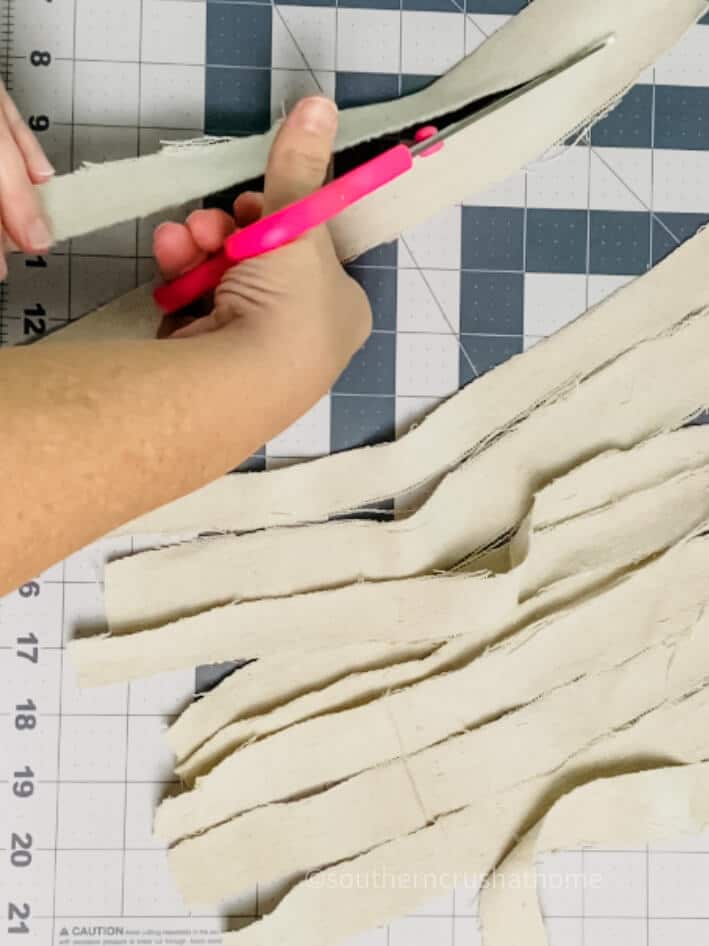
Now, you can just cut the drop cloth into strips from where you started the cut. Continue to cut as many strips of drop cloth that you desire for your messy bow. The longer the strips, the larger the bow. Make them as long as you would like your bow large.
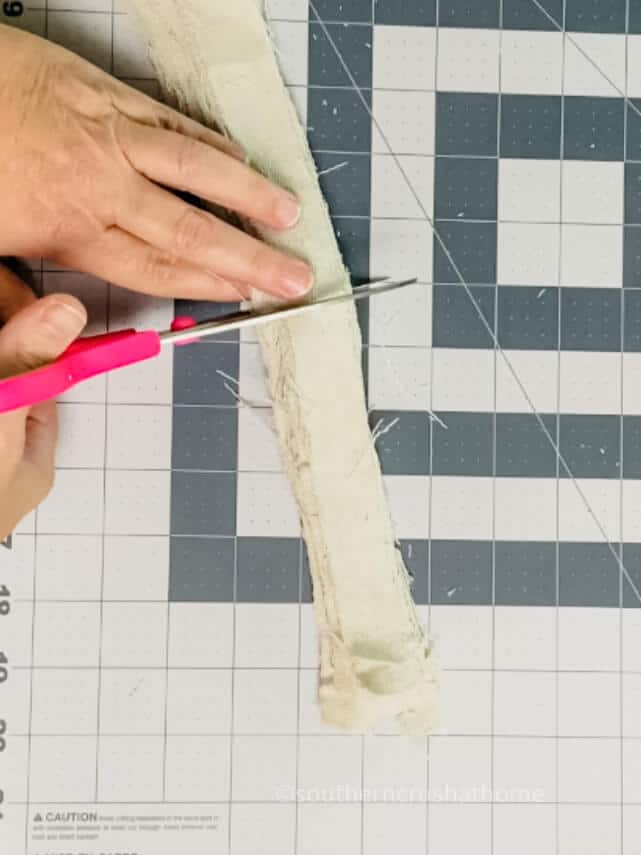
Cut the drop cloth strips in half
Cut the strips in half again. The great thing about a messy bow is you can make it larger or smaller by the amount of fabric strips that you use. For this messy bow I used approximately 12-15 strips of drop cloth cut in half.
NEXT…
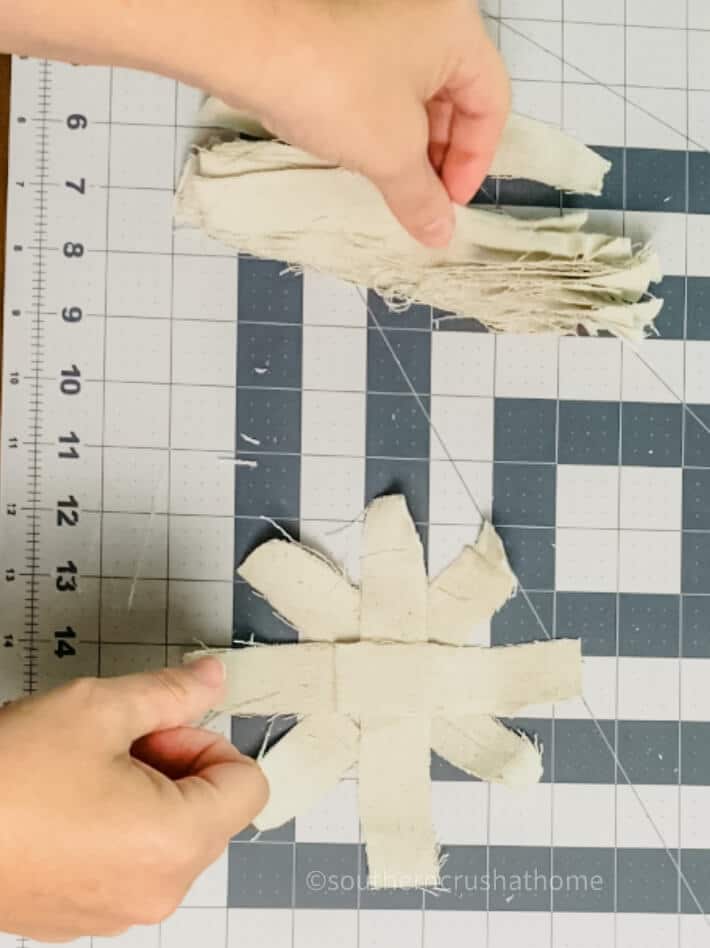
Simply lay the drop cloth pieces in a criss-cross circular pattern until all the pieces are used. This really does not take long at all. Start to finish the entire project only took about 3 minutes.
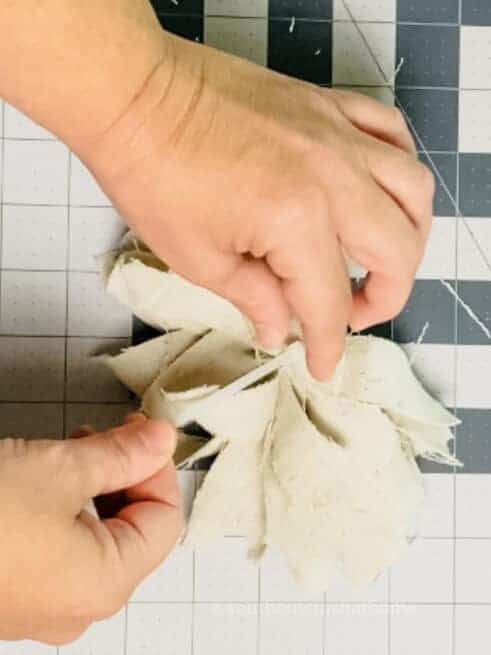
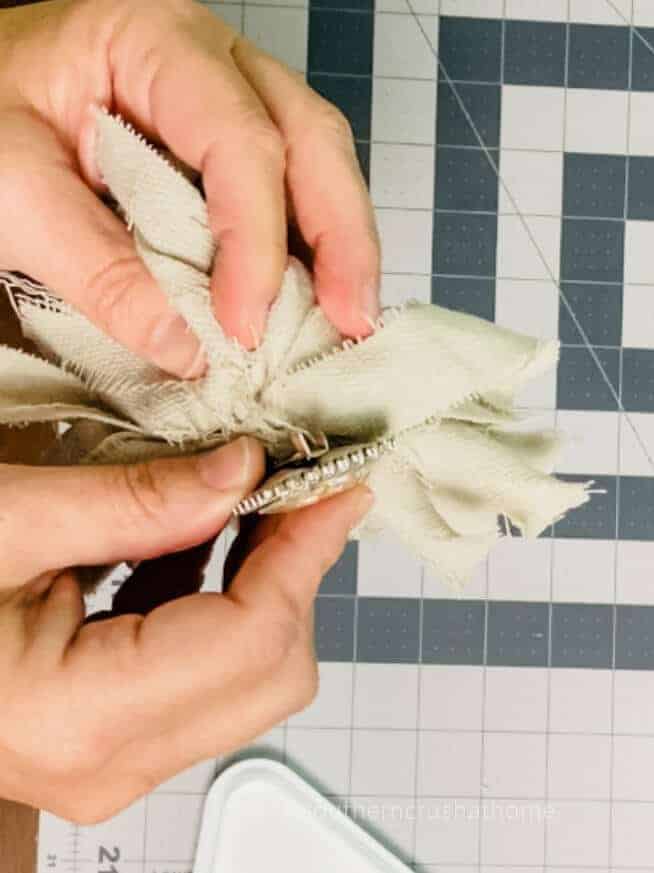
Once you have all the pieces of drop cloth laid out, thread a cable zip tie underneath through the bottom and pull the zip tie loosely until you have it where you want it. Flip the bow over and bring the zip tie around to the back. Trim off any excess zip tie using your wire nippers or scissors.
ADD EMBELLISHMENT
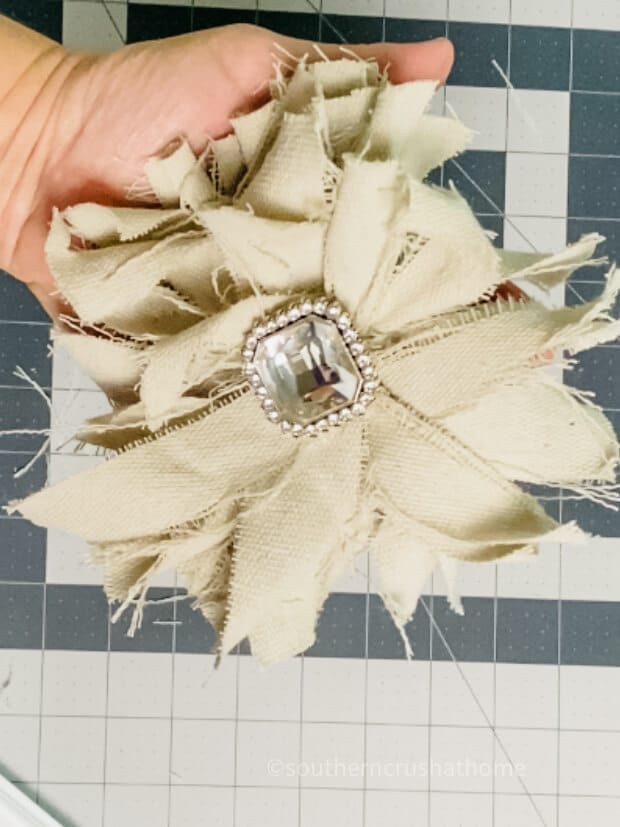
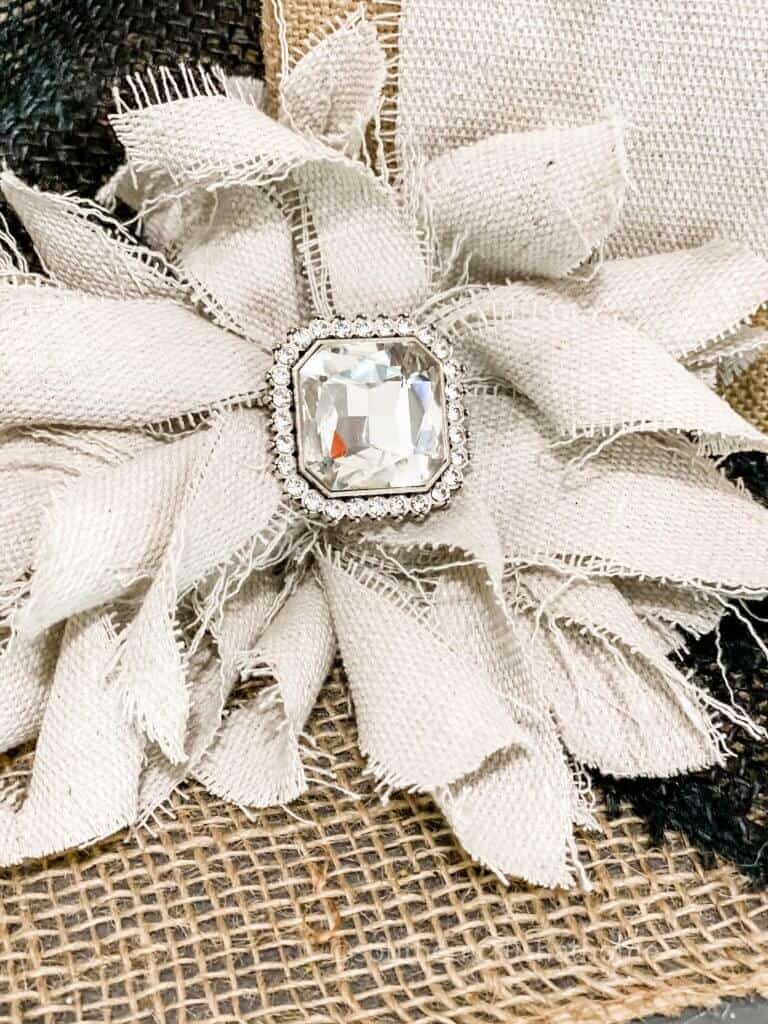
I’m a firm believer that everything looks better with a little bling. So, I added a pretty rhinestone embellishment to the center of the bow by pinning it onto the zip tie. If your embellishment does not have a pin, simply hot glue it to the center of your bow.
You may decide to trim off any additional threads from the frayed edges that are excessive. I love the look of the frayed edges; however, there were a lot of extra strands, so I trimmed them until I liked the way it looked.
DECORATE WITH YOUR DROP CLOTH MESSY BOW
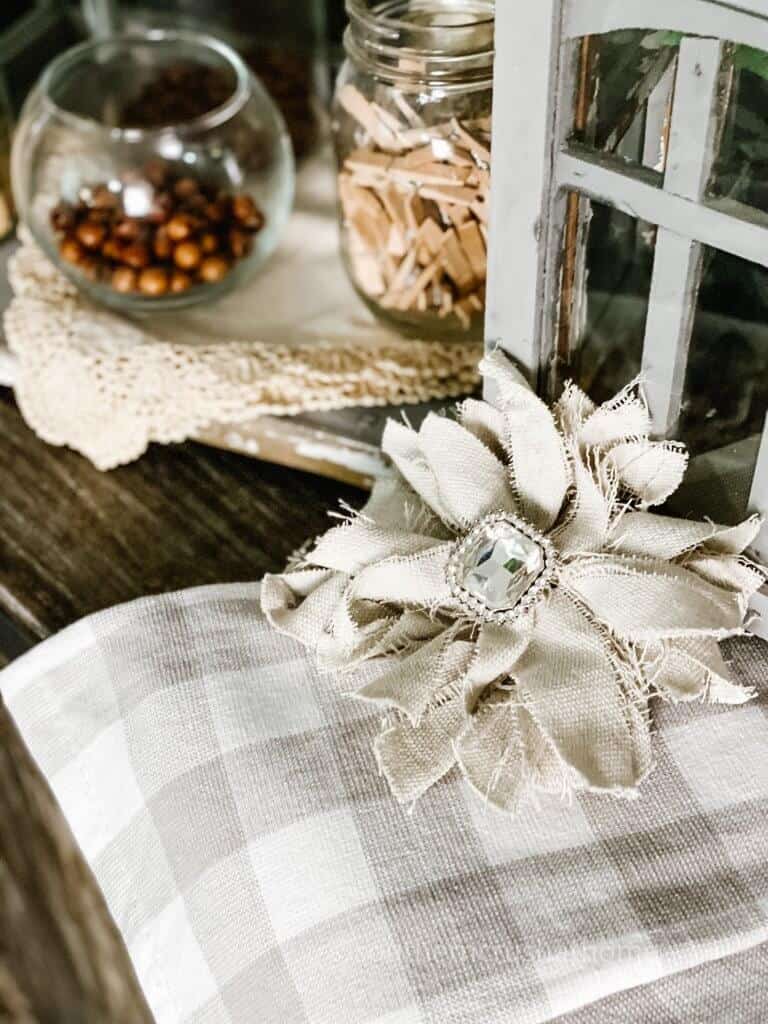
Here is the pretty bow used in a vignette. But, there are so many ways to use it.
Here are just a few ways you can use your drop cloth messy bow:
- Attach it to a wreath for a little extra texture and interest.
- Secure it to a vase or mason jar.
- Make two to add to each end of a banner.
- Pin it to a jacket as a fun embellishment.
- Add it to an otherwise plain ballcap for a pop of whimsy.
Don’t you love how easy it was to make? Let me know if you make your own by leaving a comment below.
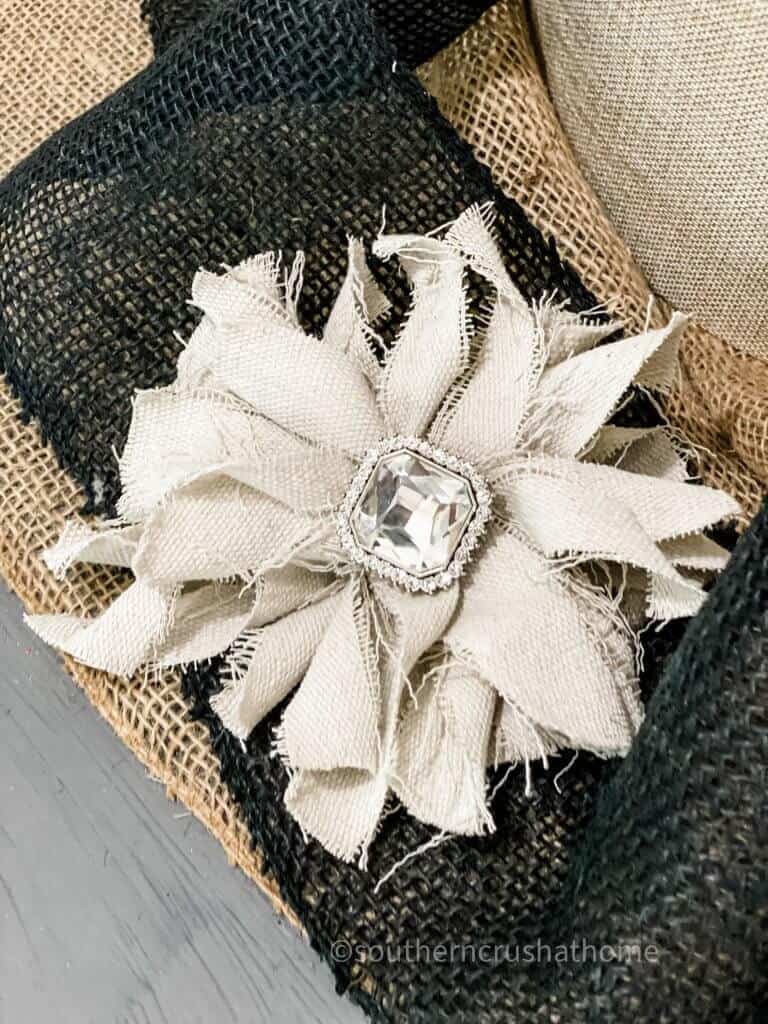
I’ve made so many messy bows; but I have to say, this one may be my all time favorite. I just love the way that the layers fall on this one. So natural and neutral for any decor. I may be a bit biased with the large rhinestone embellishment on this on as well. LOL! Either way, the drop cloth messy bow is here to stay and I’m so glad! How about you?
step by step video tutorial
If you want to see the exact step by step process, be sure to check out this video tutorial below over on my YouTube Channel!
BE SURE TO CHECK OUT THESE OTHER EASY DIY BOW IDEAS!
DIY Drop Cloth Messy Bow
Equipment
- scissors
Materials
- Drop Cloth
- Zip Ties
- Rhinestone Embellishment
- Craft Cutting Mat
Instructions
- Start by cutting the drop cloth into a large square.
- Make small cuts into the drop cloth at the width you want the bow to be.
- Continue to make cuts across the entire end of the drop cloth square.
- Just rip the drop cloth where you started the cut. I used approximately 12-15 strips.
- Lay the drop cloth pieces in a criss-cross fashion in a circular pattern until all the pieces are used.
- Once the drop cloth is laid out, thread a zip tie underneath through the bottom and pull it tight. Trim any excess.
- Attach a rhinestone embellishment.

6 Comments