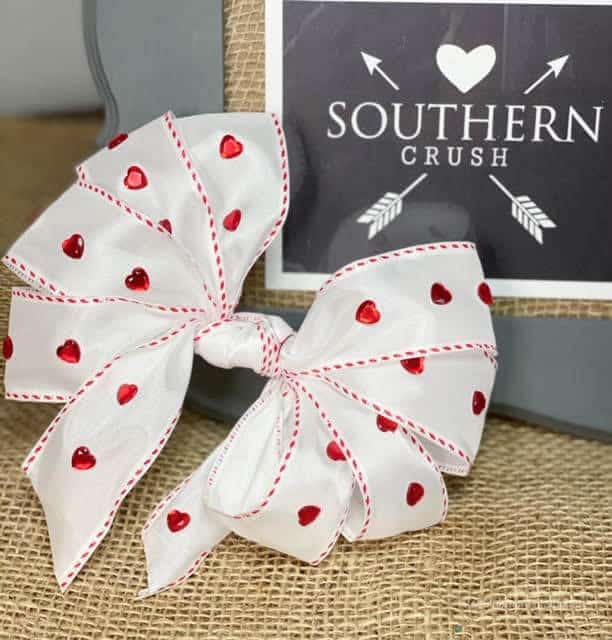
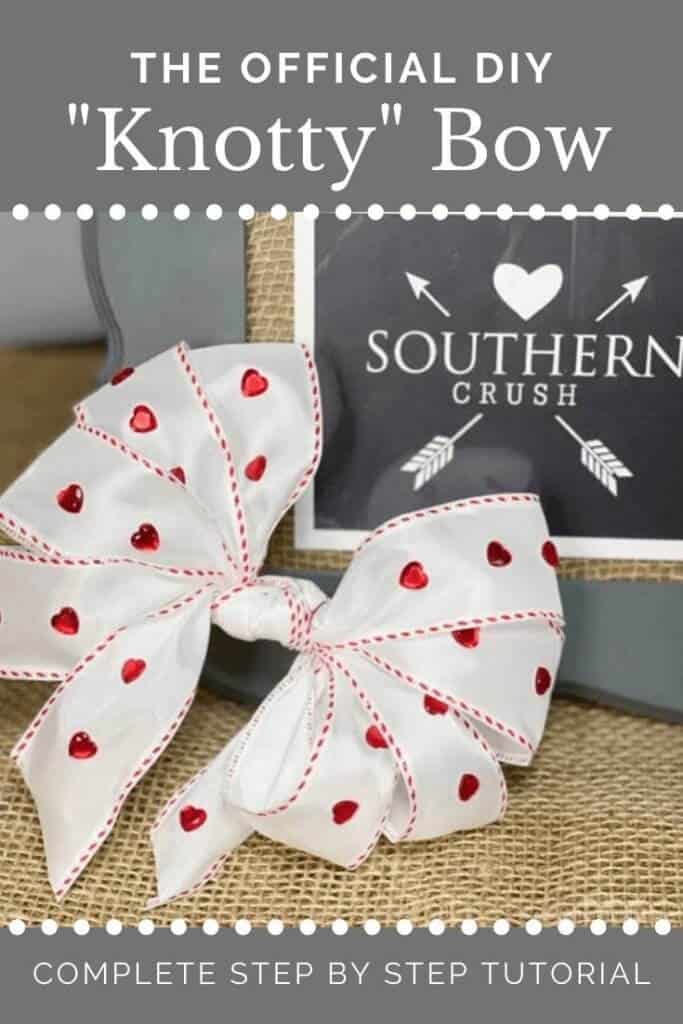
DIY “Knotty” Bow
When you need a quick and easy DIY bow and you only know how to tie a knot, this is the bow for you! Using a wired ribbon makes this bow a snap. The steps to make it are so simple that it’s almost silly.
Once you get the hang of making this trendy DIY bow, you’ll want to make one for everything! They are perfect for gifts, signs, or even a hair bow, the options are endless.
You can kick it up a notch with some tiny stickers for whimsical touch. Follow this tutorial and make yourself a DIY knotty bow today…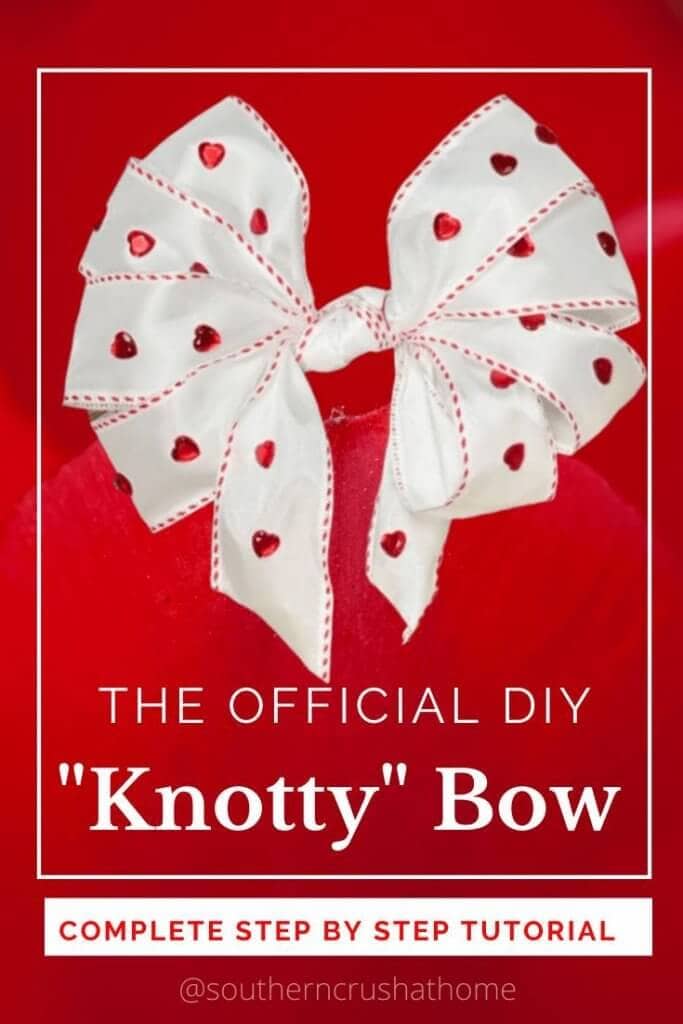
>>>BE SURE TO PIN THIS FOR LATER!<<<
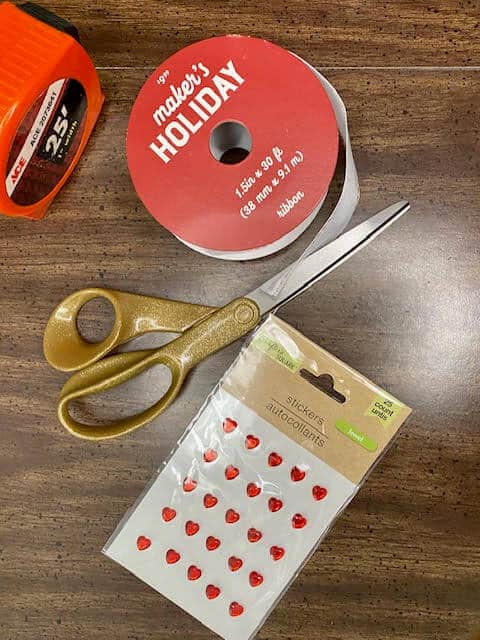
Supplies Needed for this Bow
- Wired Ribbon of your choice
- Scissors
- Measuring tape (or you can ‘eyeball’ it like I do!)
- Stickers (optional, but oh, so cute!)

Step by Step Instructions on How to Make a Knot Bow
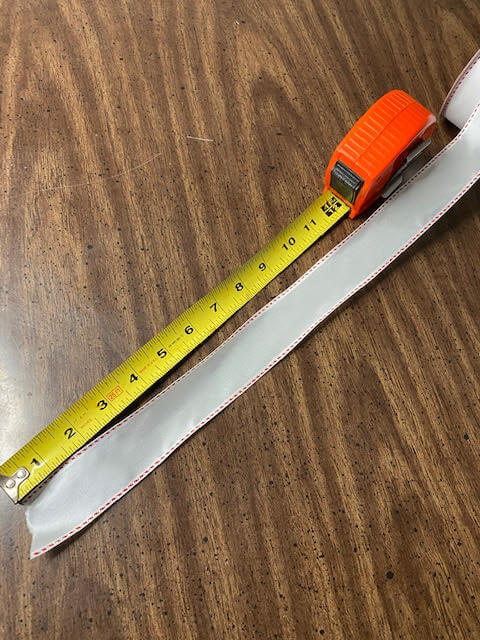
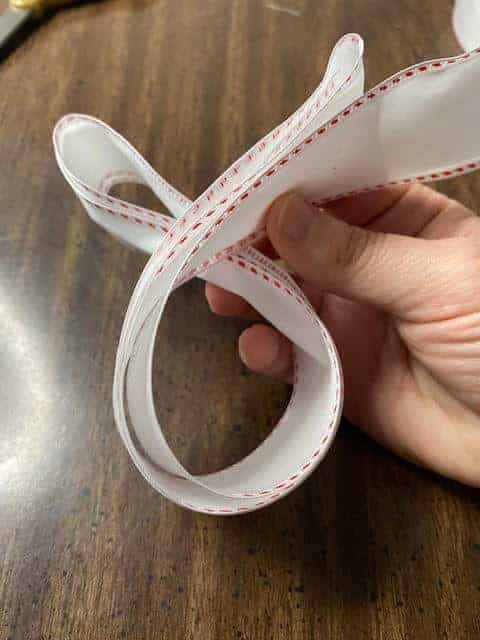
- Measure out the approximate length of ribbon you desire. I use about 8-10″ for my loops. Keep in mind that it needs to be long enough to accommodate tying a knot in the center.
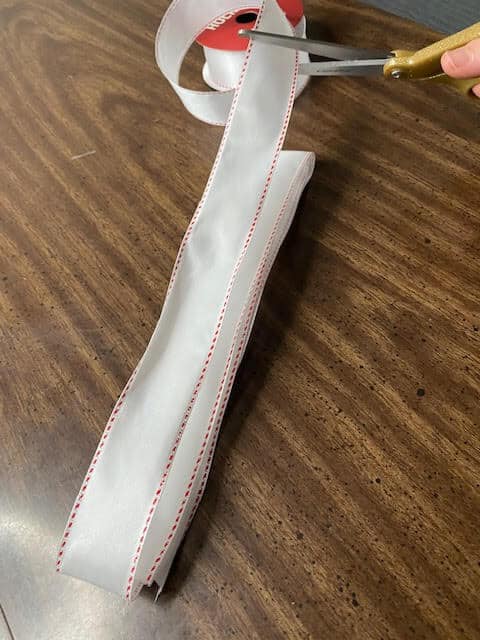
- Make your loops. I made about 5 for my knotty bow. It’s nice to keep it to an odd number, like 3 or 5. Trim your ribbon to either include ‘tails’ or not. This is up to you.
- Flatten out your loops on the surface by pressing them all down together. Then take the ends and cross one over the other to begin your knot.
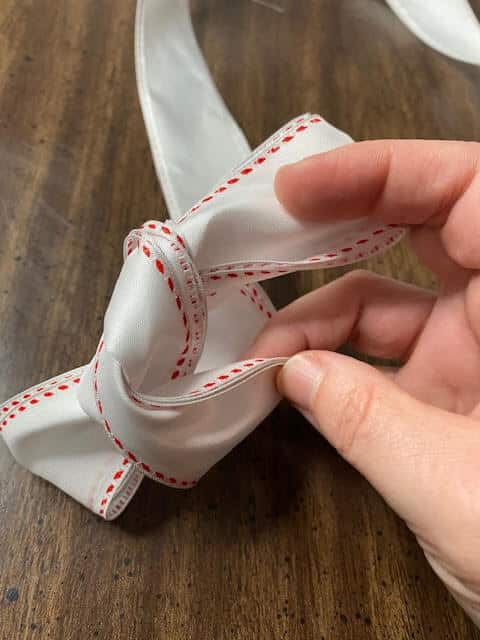
- Continue looping it through to complete your knot.
- Take each loop and ‘fluff’ it out as desired.
If you prefer a sped up version of the steps, see it here in this short 3 minute video tutorial.
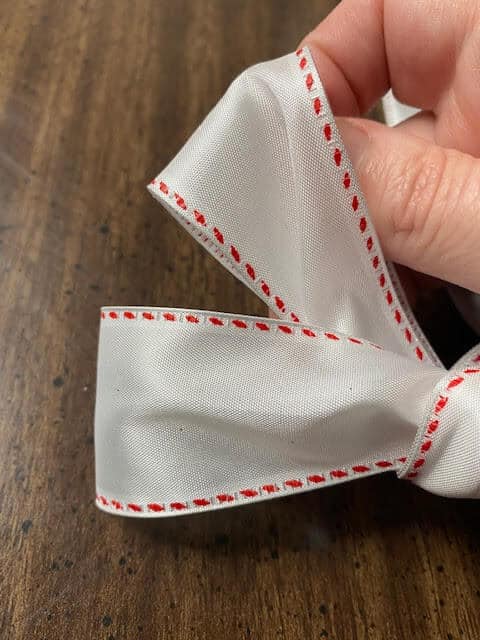
At this point, you have a DIY Knotty Bow in your hands! You can now add stickers if you like to your creation! 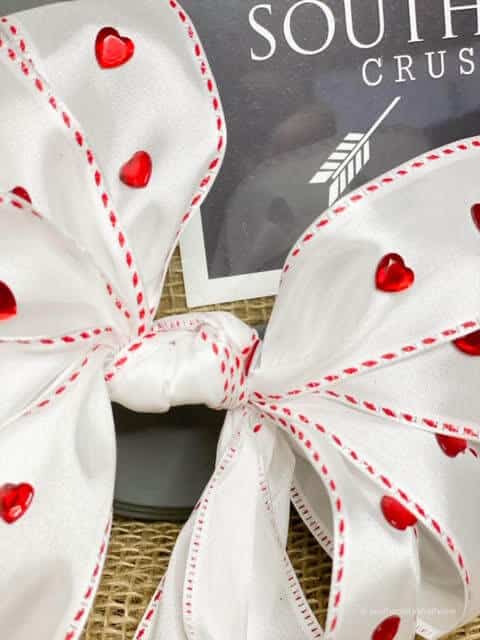
VIOLA! That’s how easy it is to make a “knotty” bow!
 If you missed the live tutorial, you can watch it HERE…
These are just the cutest bows ever! I’m in love. How about you? Be sure to save this to your favorite Pinterest board to refer to when you’re ready to make a few of these fun knotty bows!
>>>BE SURE TO PIN THIS FOR LATER!<<<
If you love this kind of DIY project, you need to be getting my emails, friend! Each week I send out a couple of emails that include updates, crafts, shopping experiences and decor inspiration. Be sure to get yourself signed up below. I can’t wait to meet you!
>>Leave your thoughts below in the comments please… BTW— Life is short—Enjoy the mess!
Question: How do you get the second tail? It doesnt show that, just finished bow.
Make a sixth fold before knotting?
Love it!
Happy Valentines Day on Friday!
Lynn❤ A new fan!
You have to play around with it and keep the two ends of your ribbon longer than the looped sections. Twist the tails.
I hope the kids don’t see that I’ve been looking at knotty stuff on the internet. ????
That’s hilarious!