How to Make a DIY Burlap Bow in Five Minutes
You can make a beautiful DIY burlap bow in just five minutes with this super simple tutorial. Create several to add to your home decor, add them to wreaths, even make a bunch to add to your holiday tree using red burlap.
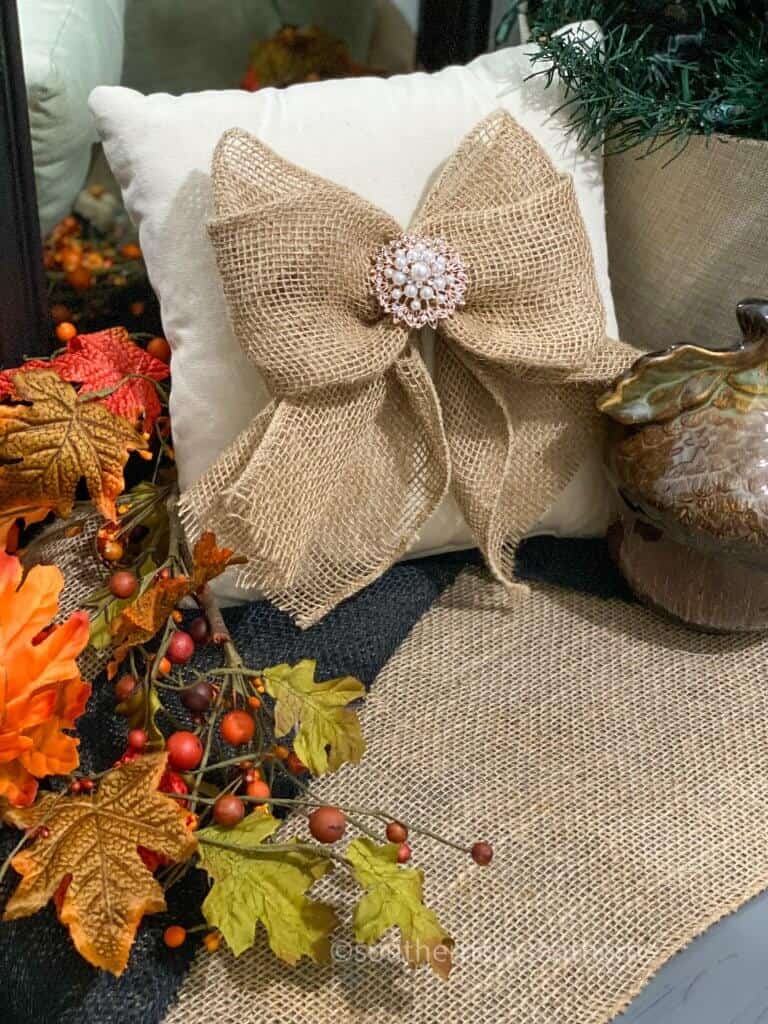
If you are a regular visitor here, you know I LOVE to make bows. There are so many fun uses for them. I hope you enjoy them as well. Today I’m sharing a five minute DIY burlap bow perfect for fall, or all year long.
Burlap is a material that I love to craft with for several reasons:
- It’s inexpensive.
- It comes in many different colors.
- It’s easily available in craft stores, home stores, or online.
Here are just a few of the burlap crafts I have made:
Take a Look at Other DIY Bows I’ve Shared:
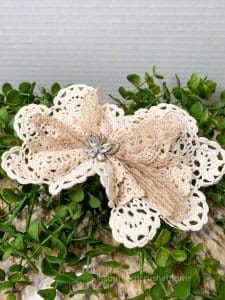
- 5 Minute Lace Messy Bow
- Denim Messy Bow
- Drop Cloth Messy Bow
- Christmas Tree Topper
- Messy Bow Fall Wood Block Decor
- Bandana Scarf Bow
- DIY Tulle Bow
- Tissue Paper Gift Bow
- T-Shirt Bow
- DIY Knotty Bow
Now, let’s get to this super quick tutorial…
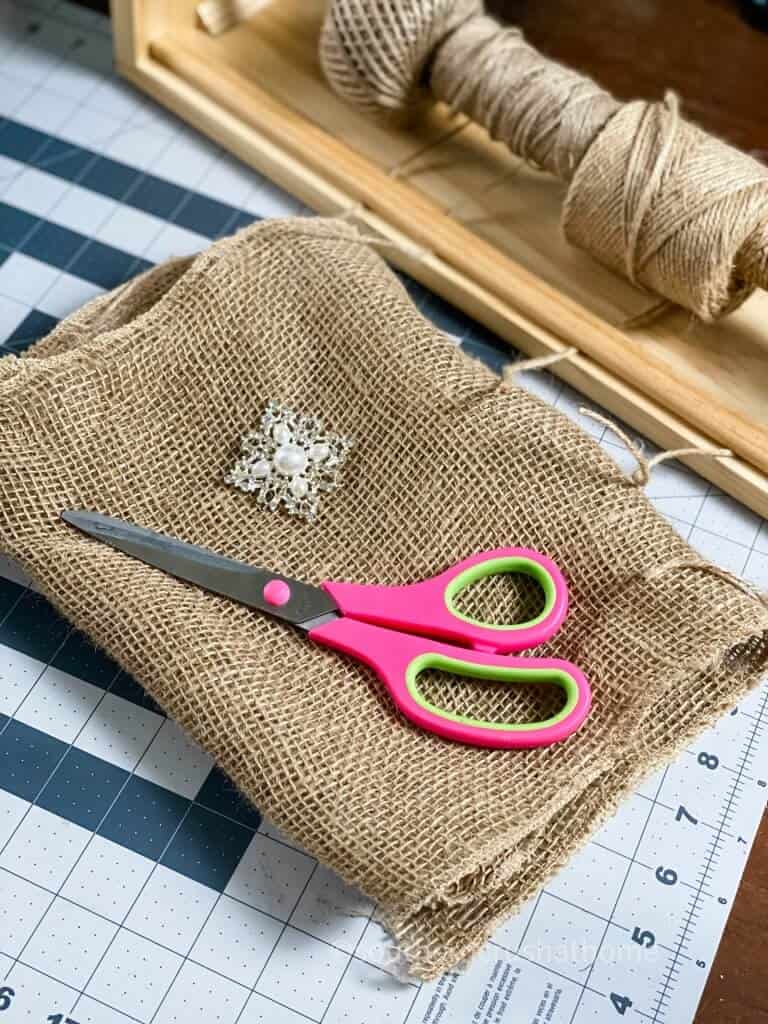
Supplies Needed for DIY Burlap Bow
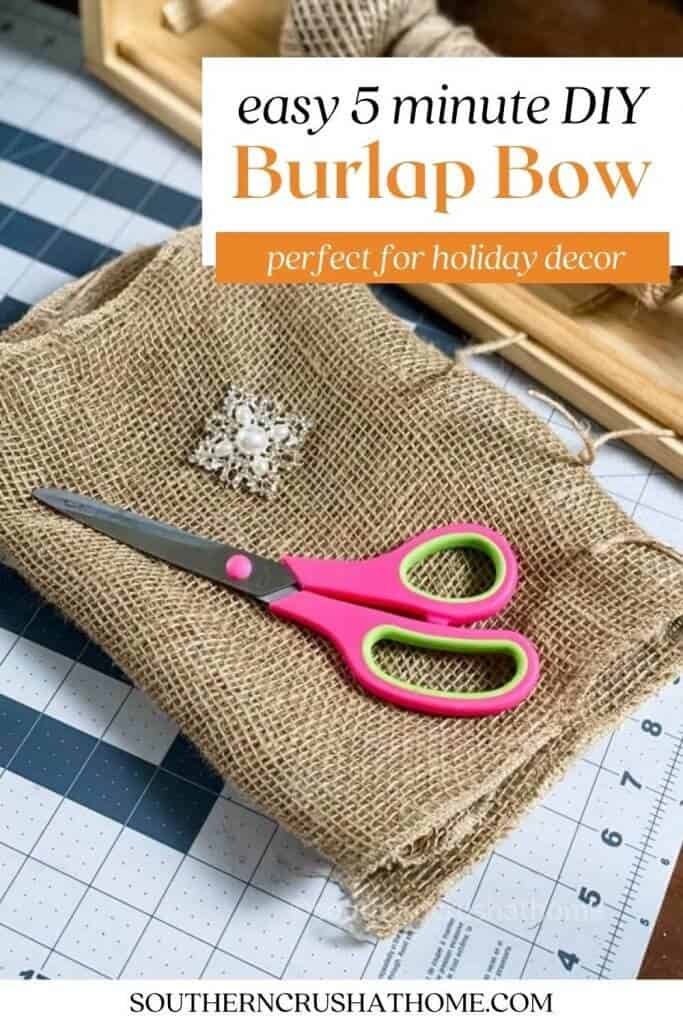
All the supplies needed can be found HERE in my Amazon Shop!
- Burlap
- Twine
- Fabric Scissors
- Rhinestone Embellishment
How to Make a DIY Burlap Bow
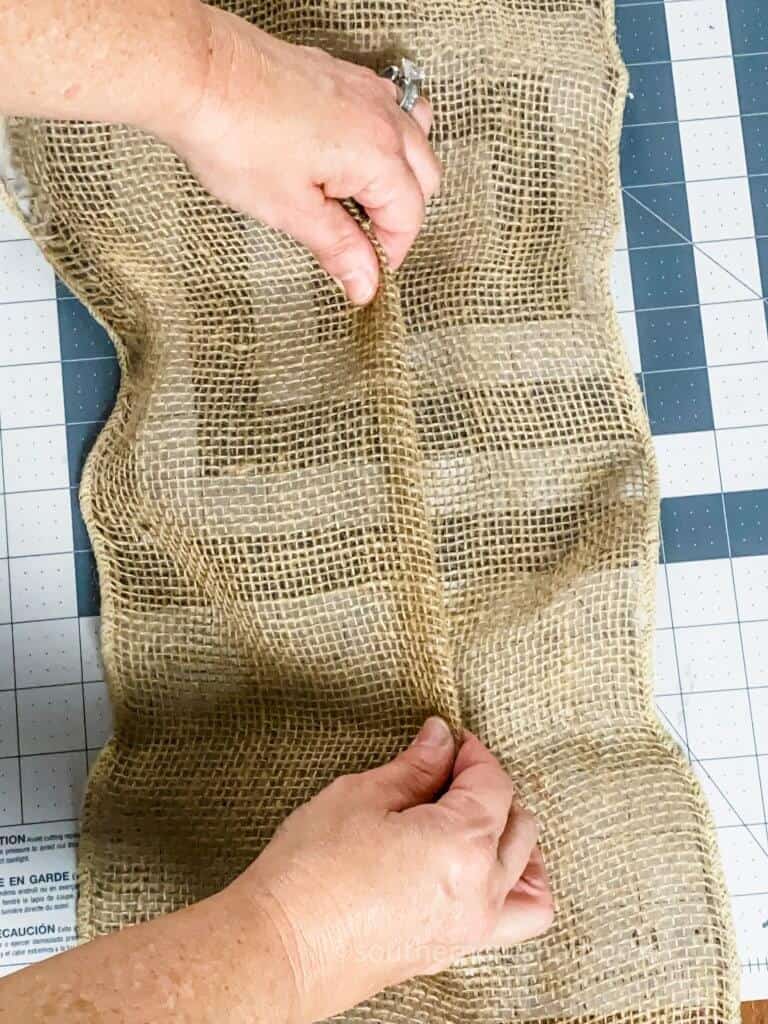
Start by measuring out the desired length of the burlap, leaving room for the tails. Mine is approximately 24 inches of 10” bolt of scrap burlap. You can always cut it down to size at any point in the project…it’s just pretty hard to uncut it so start longer than you’ll think you’ll need.
Add a Pretty Embellishment
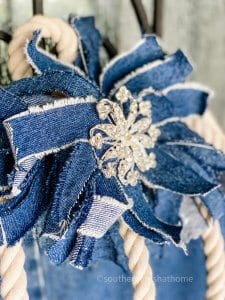
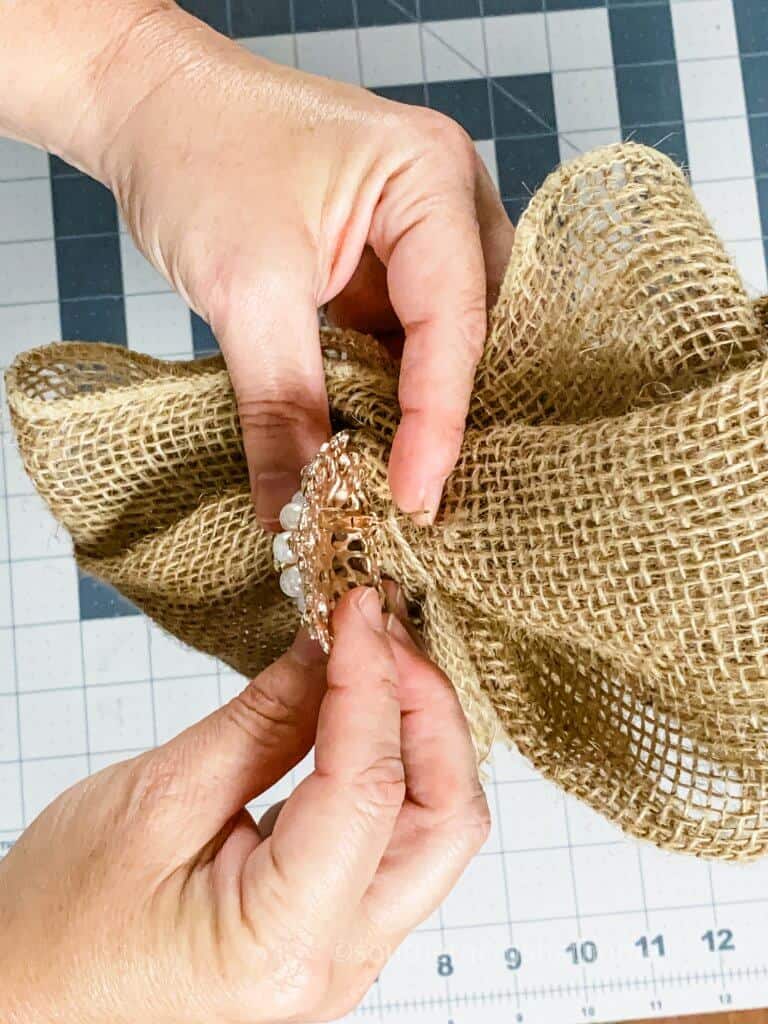
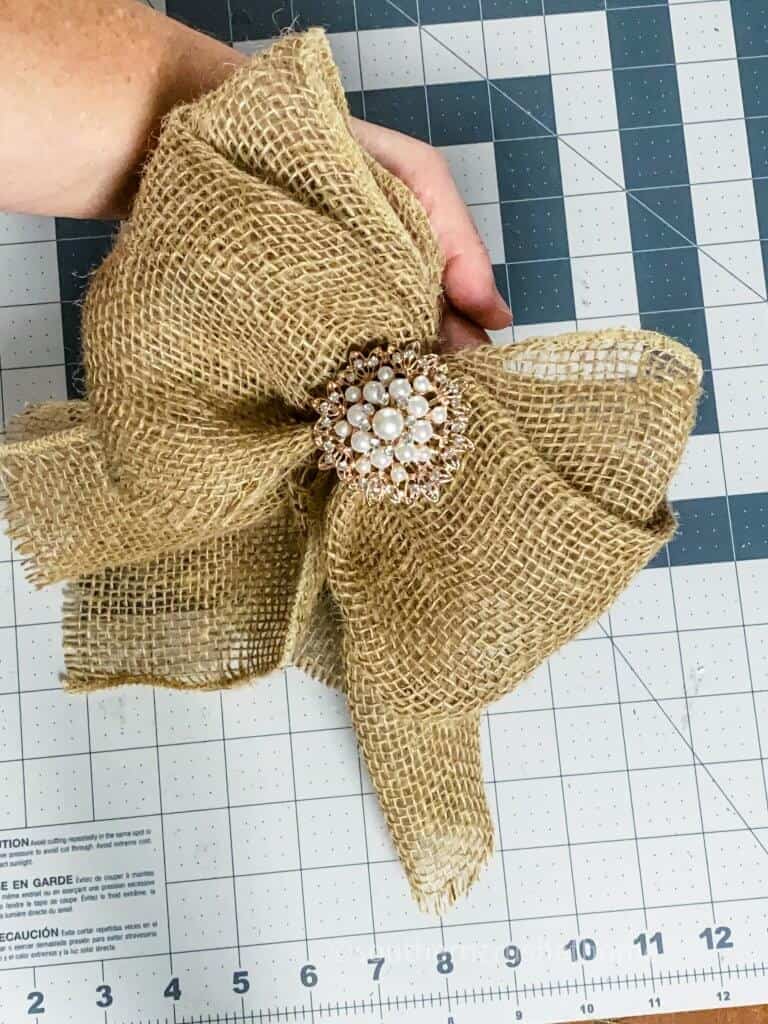
Next up, it’s time to really make this DIY bow stand out by adding a pretty embellishment. I love to use rhinestones for a little bit of sparkle and bling. You can pin it or glue it as needed.
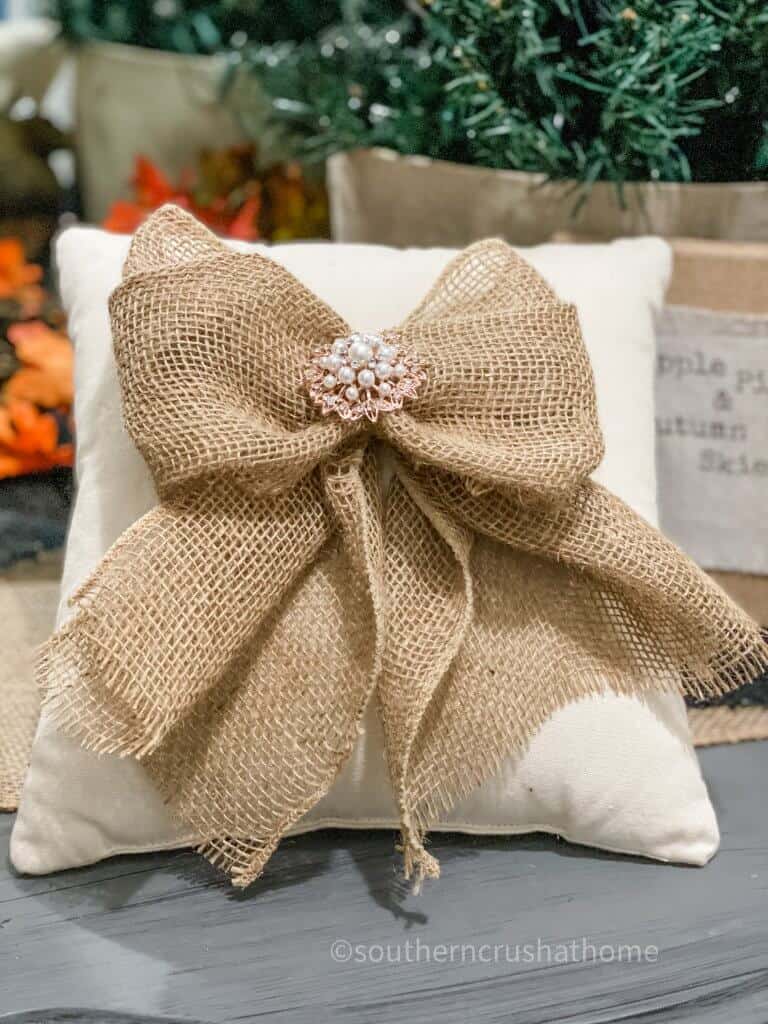
Trim ends as desired. I like to use a slanted cut, or dog ear.
Decorate with Your DIY Burlap Bow
See how easy that was? This is definitely the type of bow that you can use in so many different ways. I just love it!
Here are just a few ways you can decorate with your burlap bow:
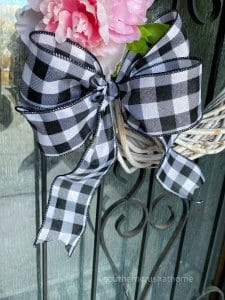
- Attach it to a wreath. You can find burlap in so many different colors. Make a red one to add to a Christmas wreath, or an orange one for Halloween.
- Place one on each end of a mantel garland.
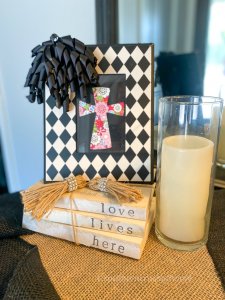
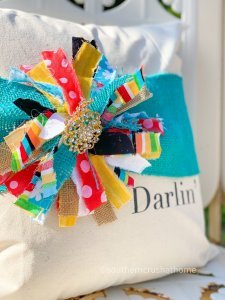
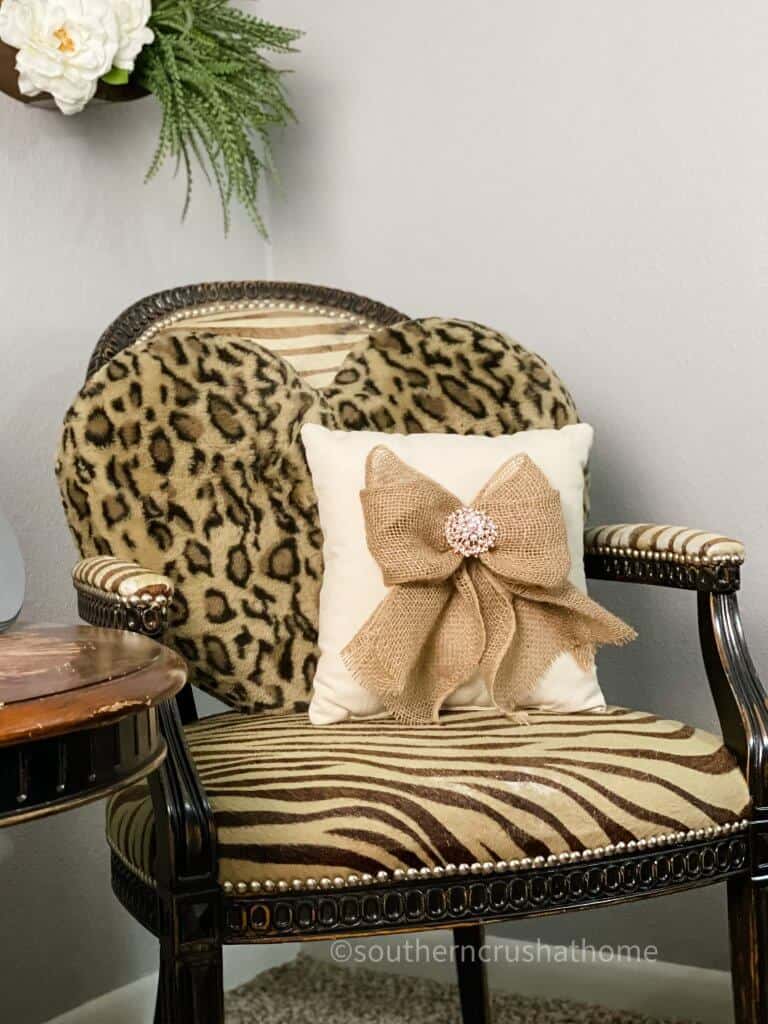
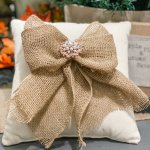
- Pin one to a pretty pillow for a decorative touch. Place one on top of a few old books, or next to a burlap canvas with drop cloth art.
How would you use this burlap bow in your home decor? Let me know if you make your own by leaving a comment below and share pictures.
STEP-BY-STEP VIDEO TUTORIAL
If you want to see the exact step-by-step process, be sure to check out this video tutorial below over on my YouTube Channel!
For Even More Quick and Easy Crafts, Look at These Ideas!
Be sure to PIN this for later!
Five Minute DIY Burlap Bow
Equipment
- Fabric Scissors
Materials
- Burlap
- Twine
- Rhinestone Embellishment
Instructions
- Measure out desired length of the burlap leaving room for tails.
- Double over the burlap material in the center.
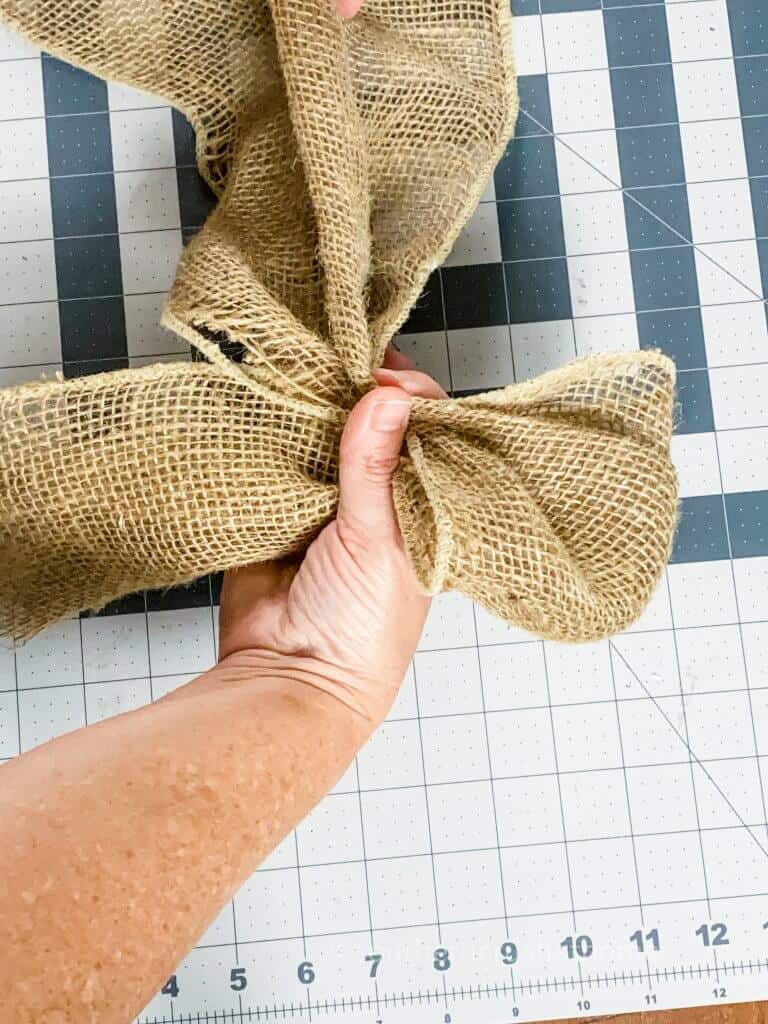
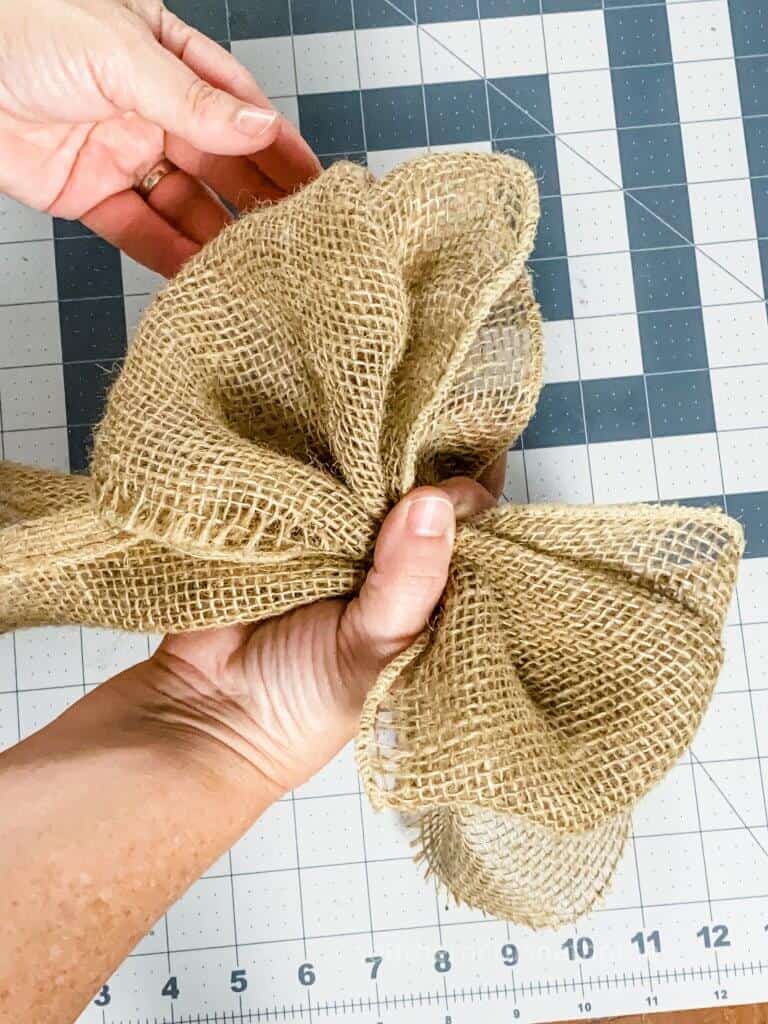
- Gather and form one side of the bow.
- Pinch it in the middle and repeat on the opposite side.
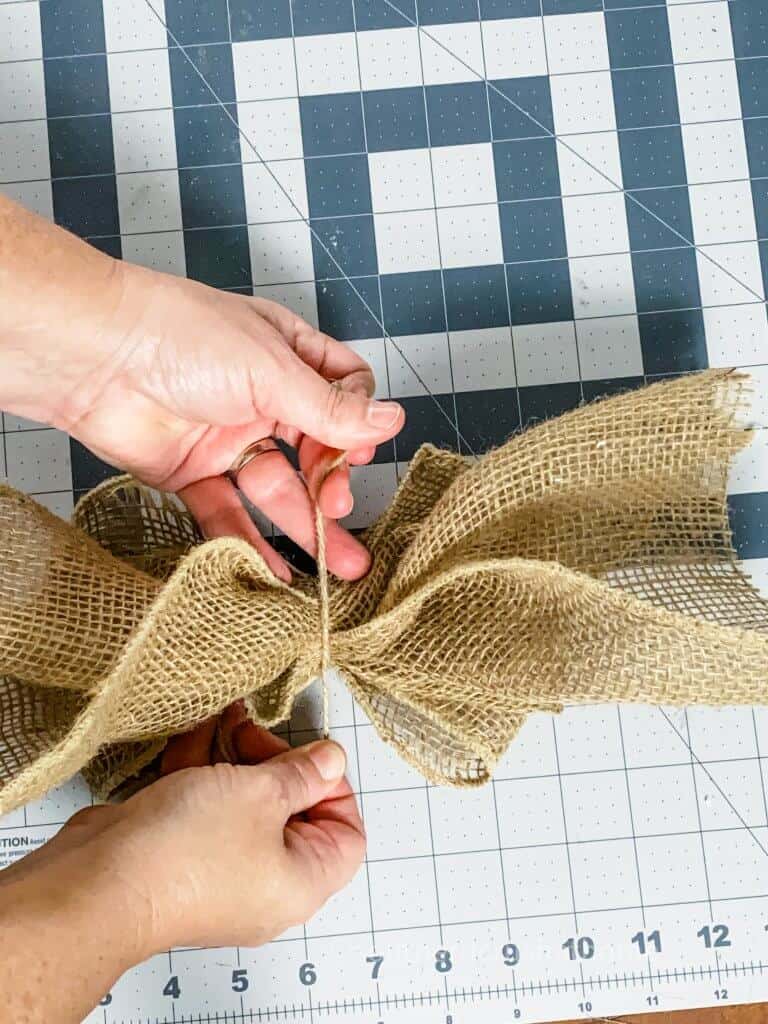
- Secure with twine.
- Add embellishment.
- Trim ends as desired.

2 Comments