Drop Cloth No Sew Decor (How to Print Photos on Fabric)
Using drop cloth in my DIY home decor projects is my new favorite thing! Let me show you how to make some beautiful drop cloth no sew decor that you can use throughout your home for any season. The best part is drop cloth is inexpensive and is so versatile to work with. Come check out the easy DIY tutorial, and see how to use it in your home.

Did you see my easy drop cloth messy bow I shared? Well, now I'm following it up with beautiful drop cloth no sew decor. I had plenty of drop cloth left and wanted to create some pretty fall decor. So, this was the perfect opportunity.
You can use this same exact technique to create any home decor, not just seasonal. Just choose your favorite design have a little fun creating. It is inexpensive and can be used for so many different craft and home decorating ideas.
What is drop cloth fabric?
Drop cloth canvas fabric is 100% cotton; therefore it can shrink when washed. See washing instructions here. It is made from a tightly woven cotton fabric. Drop cloth material is durable and can stand up to repeated washing and abuse. It is a great fabric to use in various DIY projects!
You can also see a pretty drop cloth cotton batting flower banner HERE and several more messy bows below.
Take a look at several other DIY messy bows I've shared:
- 5 Minute Lace Messy Bow
- Denim Messy Bow
- Messy Bow Burlap Pillow Wrap
- Christmas Tree Topper
- Messy Bow Fall Wood Block Decor
Now, let's get to the quick tutorial so you can create your own pretty drop cloth decor!
SUPPLIES needed for Drop Cloth No Sew Decor
All the supplies needed can be found HERE in my Amazon Shop!
- Drop Cloth
- Fabric Scissors
- Thumb Tacks
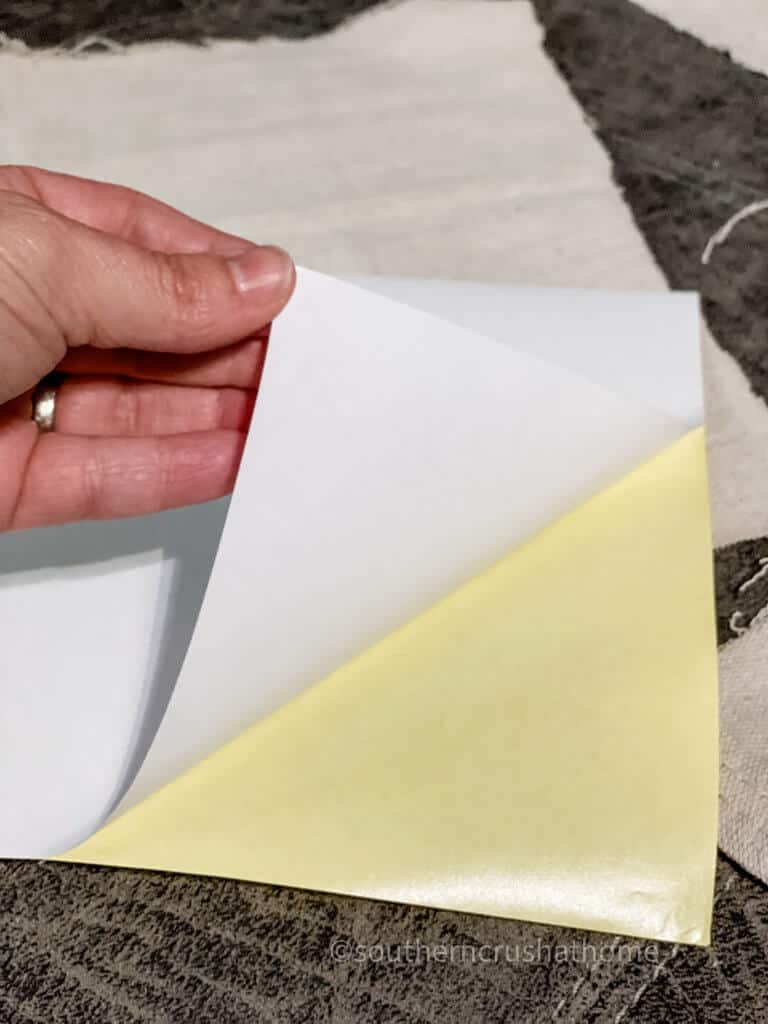
- 8.5″ x 11″ Sticker Paper
- Burlap Canvas (optional)
- Small throw pillow (optional)
- Inkjet Printer

How to make Drop Cloth No Sew Decor
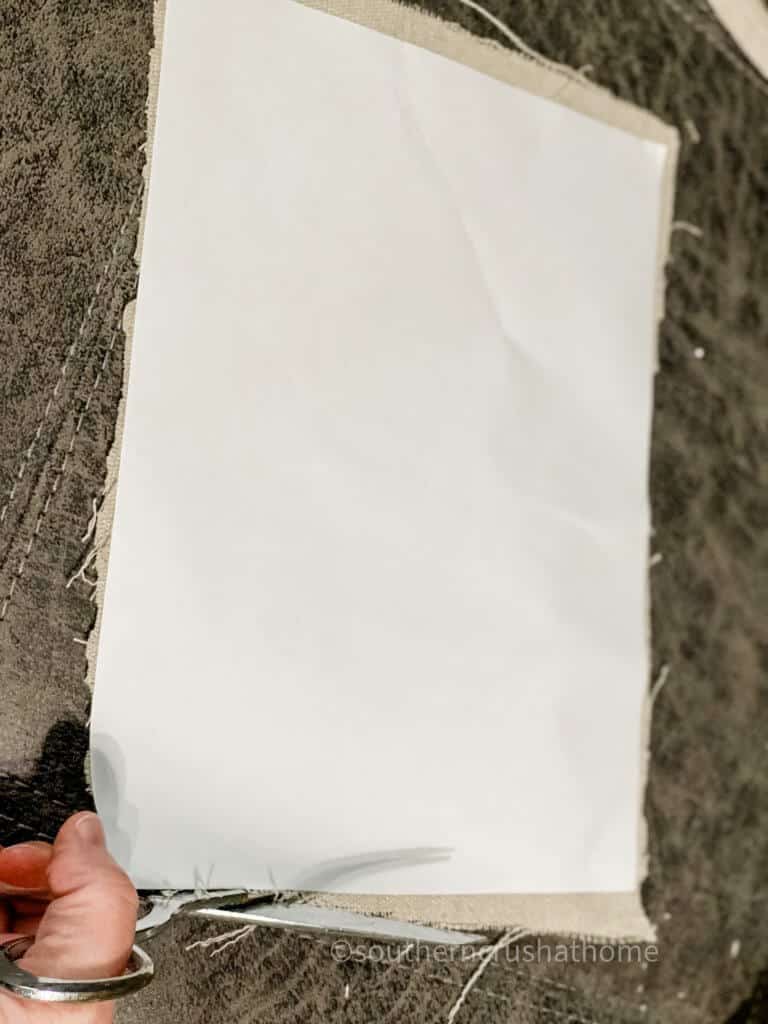
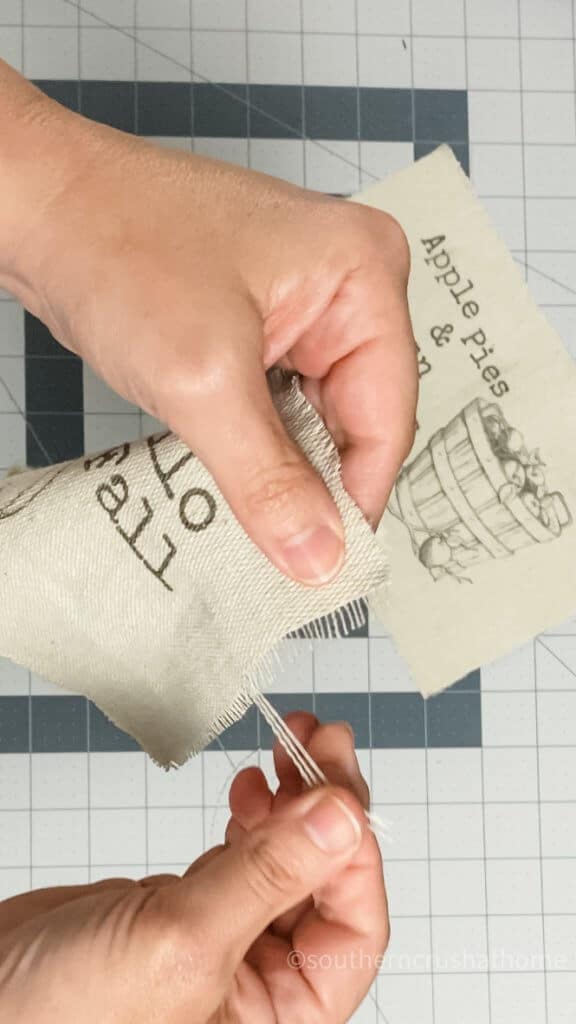
Start by sticking a piece of sticker paper down on the drop cloth. I chose to start in a corner to allow for minimal waste of material. Cut the drop cloth using the 8.5″ x 11″ sticker paper for a pattern. I made sure to trim off the hemmed edges of the drop cloth for this project.
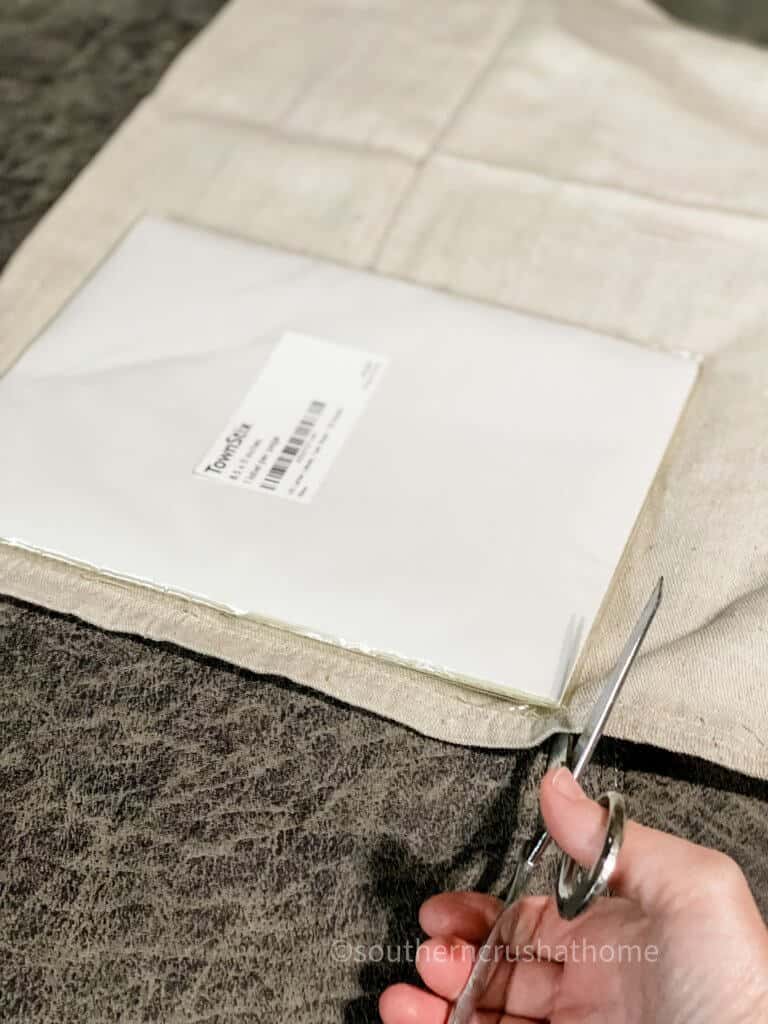
Peel the backing off of one sheet of the sticker paper and place it onto the drop cloth section.
Using the sticker paper as a pattern, trim the four edges of your design.
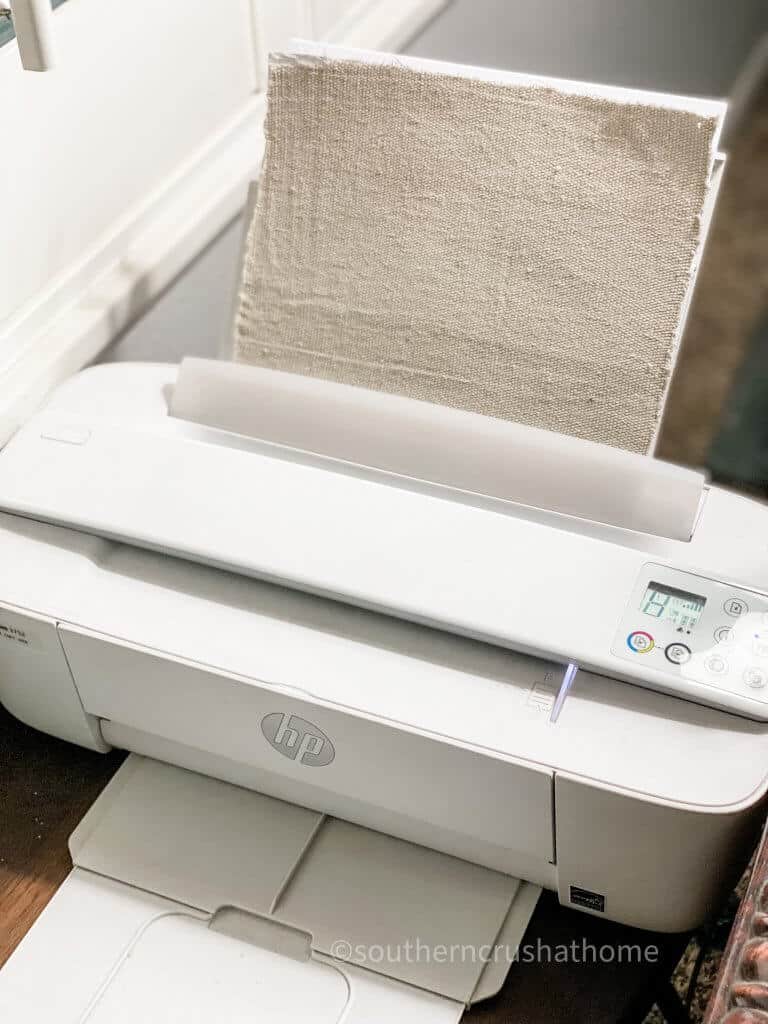
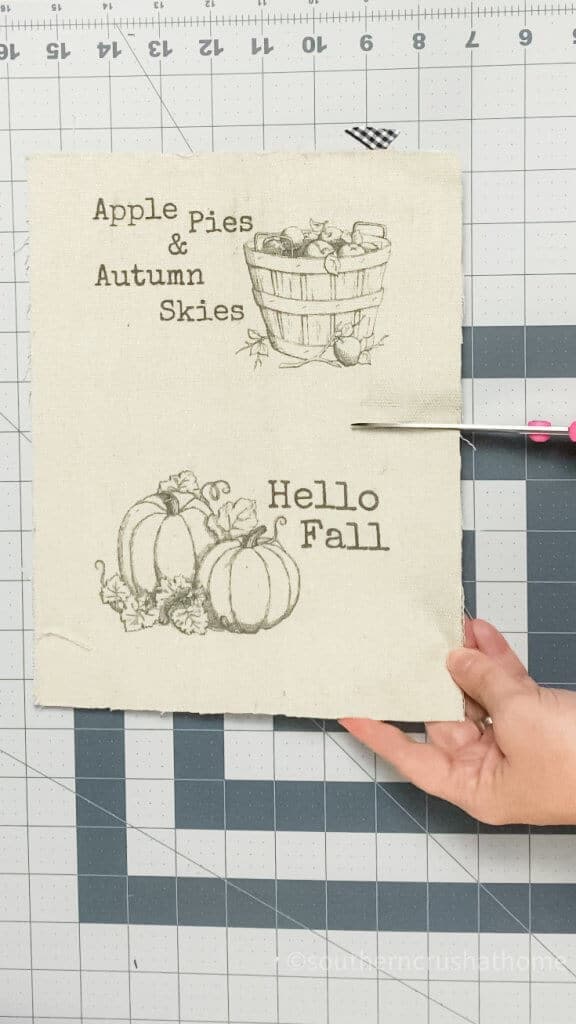
Choose your favorite design online and feed your sheet of drop cloth into your inkjet printer, drop cloth side up.
Print out your designs. Here are my FREE DESIGNS including the two used in this project.

add the PRINTED drop cloth to your decor
Now, secure the printed and frayed drop cloth to your favorite home decor using brass colored thumb tacks. I'm sharing a couple of different ways to use the printed drop cloth, but there are really endless possibilities. I'll share some other ideas at the end of this post.

NEXT…
Simply use the thumb tacks to add a pretty hello fall design to a pillow. You can pick up pre-made pillow covers for cheap at craft stores, or online. So this makes it a super simple no sew pillow project.
Doesn't this pillow look so pretty? Plus, you can easily remove the thumb tacks and replace the drop cloth with an updated design once fall is over. I already have a Christmas design planned!
This one is sitting on my entry table right beneath my fall tree and I love it!

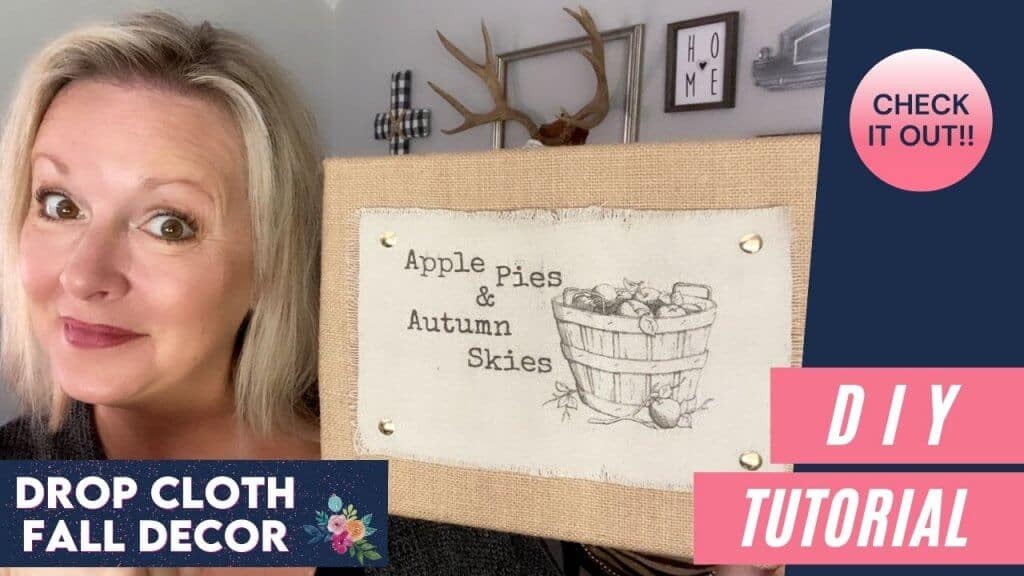
DROP CLOTH BURLAP CANVAS SIGN
In addition to the pillow, I printed a fun Apple Pies and Autumn Skies design and secured it to a pre-made burlap canvas sign. Again, I used the same brass thumb tacks to secure the drop cloth to the frame.

Simply replace it with a holiday design after Thanksgiving.
DECORATE WITH YOUR Drop Cloth No Sew Decor
Here is the pretty drop cloth messy bow that I recently shared with the pillow. If you wanted, you could also pin the messy bow to the corner of the pillow for a little extra texture. So fun!

Here are just a few ways you can decorate with your drop cloth decor:
- Attach it to a small piece of wood and add it to the center of a wreath.
- Secure it to a vase or mason jar. You can cut a small opening on each end of the printed drop cloth and run ribbon through it.
- Make a hanging banner for your mantle with a several pieces of drop cloth and ribbon, or twine.
Don't you love these ideas? How would you use the drop cloth decor? Let me know if you make your own by leaving a comment below.
step by step video tutorial
If you want to see the exact step by step process, be sure to check out this video tutorial below over on my YouTube Channel!
BE SURE TO CHECK OUT THESE OTHER DIY fall IDEAS!
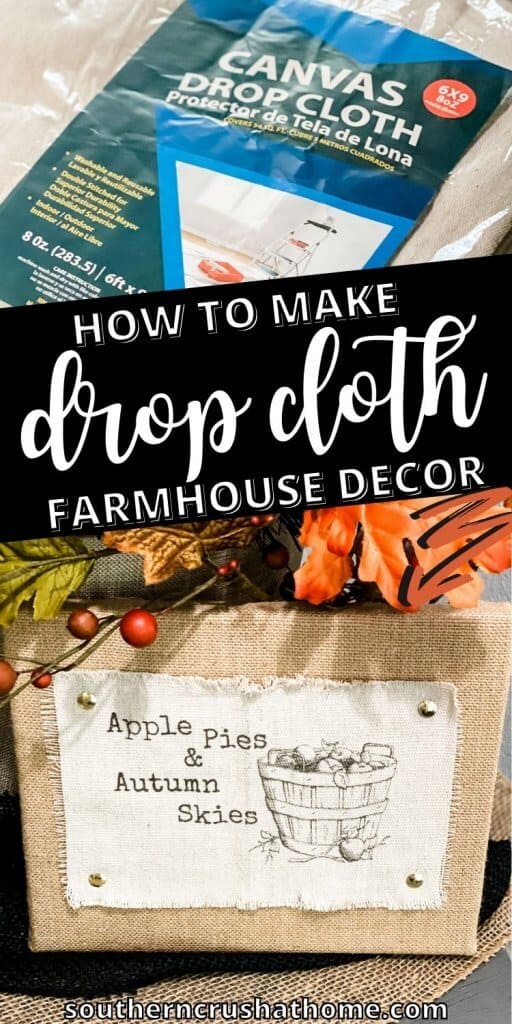
Be sure to PIN this for later!

Drop Cloth No Sew Decor
Equipment
- scissors
Materials
- Drop Cloth
- Thumb Tacks
- Sticker Paper
- Inkjet Printer
- Craft Cutting Mat
Instructions
- Cut a square of drop cloth using the sticker paper as a guide.
- Print your design on the drop cloth.
- Cut out your design and remove sticker paper.
- Use thumb tacks to secure it to a pillow, or wall sign.
Wouldn’t the tacks be a safety issue in the pillow? Choking hazard for little ones and pets and sticking you if sat on or next to pillow since tacks are only pushed into the pillow?
Not at all. This is decor only. It is a purely decorative super small pillow used only for display up on my entry table as mentioned on the YouTube video…
When one has littles in their home, they have to use caution, but those who are past that stage in life are able to loosen those precautions a bit! Hold tight, unfortunately those days with littles pass much too quickly! Just hang on to these wonderful decorating ideas until it won’t be dangerous to you family!
Brilliant!
Why thank you so much! I’m glad you liked it!
Have you ever tried washing one of the items you’ve transferred to? Thanks!
I have not and I don’t think that I would… just for looks!