Decoupage Dollar Tree Easter Burlap Banner
When it comes to Easter decor, nothing beats a cute banner for my mantle! This Easter burlap banner was super fun to make from almost all Dollar Tree supplies.
I also recently fell in love with MacKenzie Childs courtly check print which is a whimsical black and white check with some abstract watercolor accents. I decided to go online and grab my own set of these cute napkins to create this easy DIY.
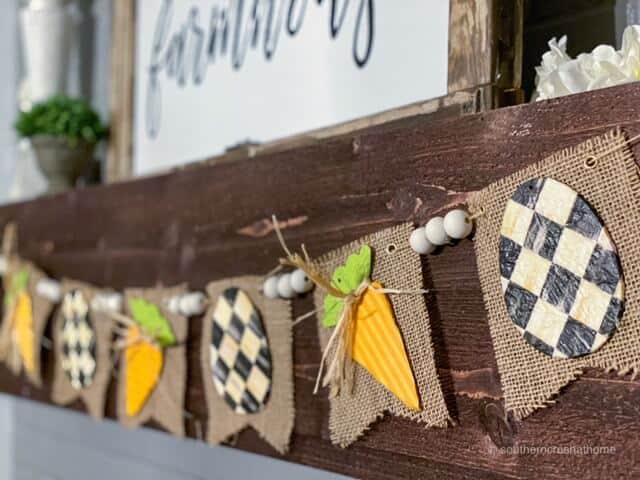
See how I take these Dollar Tree wooden ornaments in the shapes of eggs and carrots, black and white check napkins and a burlap banner to make a pretty Decoupage Easter Burlap Banner.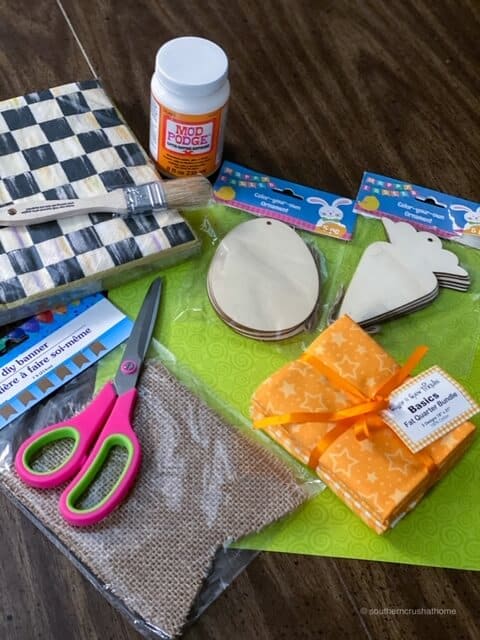
supplies for dollar tree easter banner
- Dollar Tree Burlap Banner
- Dollar Tree Wooden Ornaments (egg and carrot)
- Mix of Fabric Squares
- Scrapbook Paper
- Mod Podge
- Chip Brush
- Scissors
- Hot Glue Gun
- MacKenzie Childs Courtly Check Napkins
- Wooden Beads
step by step instructions for burlap banner
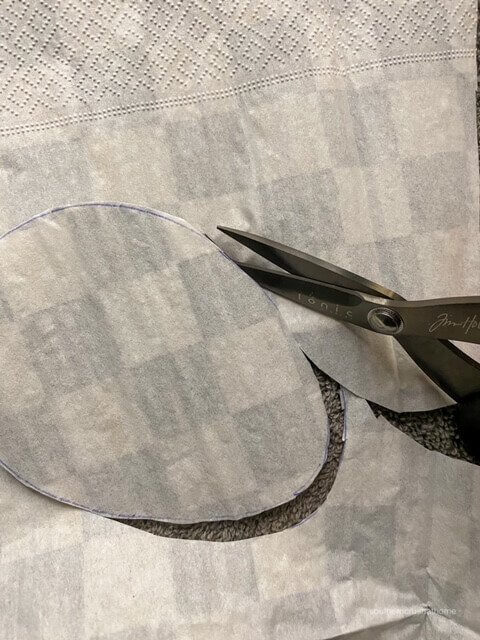
- Using a pen or pencil trace your wooden ornament's shape onto the back of your napkin, scrapbook paper and/or fabric. This will make it easier to cut the shape out. Cut each shape out of the napkins and fabric. Using the green scrapbook paper; cut out the carrot tops. Repeat this process for all ornaments.

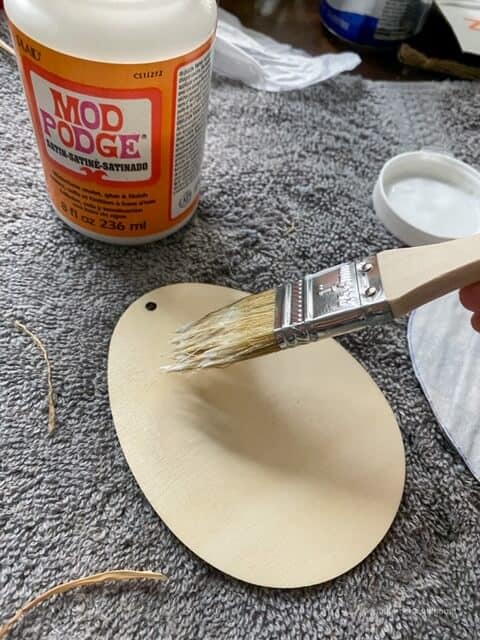
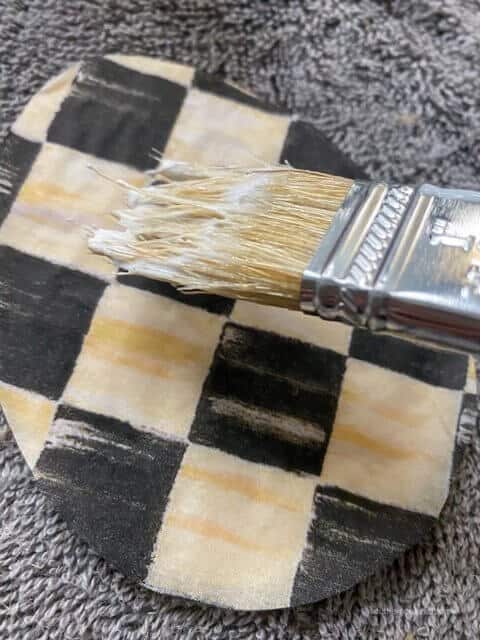
- Apply mod podge to the top of each of your wooden ornaments using a cheap chip brush, one at a time. This is where less is more. A small thin layer is all that is necessary. Let it dry a bit to tack.
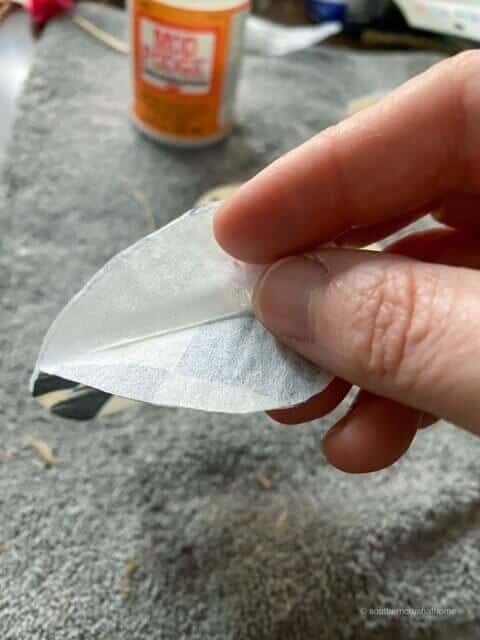
- Place your fabric, scrapbook paper or napkin cutout on top of your wooden ornament. When applying the napkin decide if you want to use 1 or 2-ply portion of the napkin. The thinner the napkin, the more wrinkles it will have. The wrinkles didn't bother me though.
- Once your fabric, paper, or napkin is adhered to the top, add your topcoat of mod podge to seal it. Using a thin layer with even strokes is best.
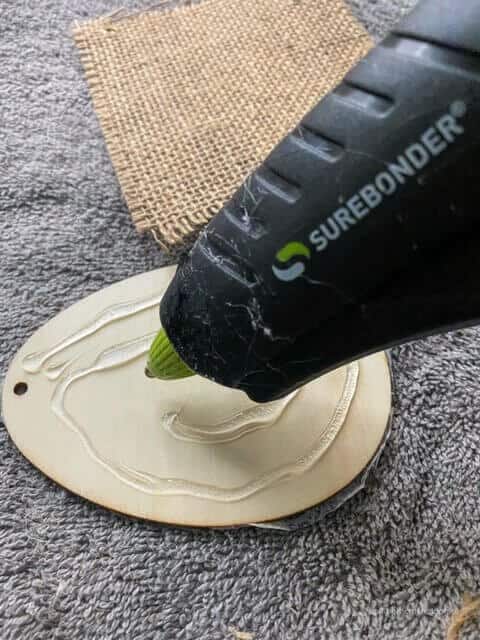
- Once dry, hot glue the ornaments to the burlap banner pieces. You can center them on the burlap sections or arrange them at a tilt like I did. Be generous with the hot glue!
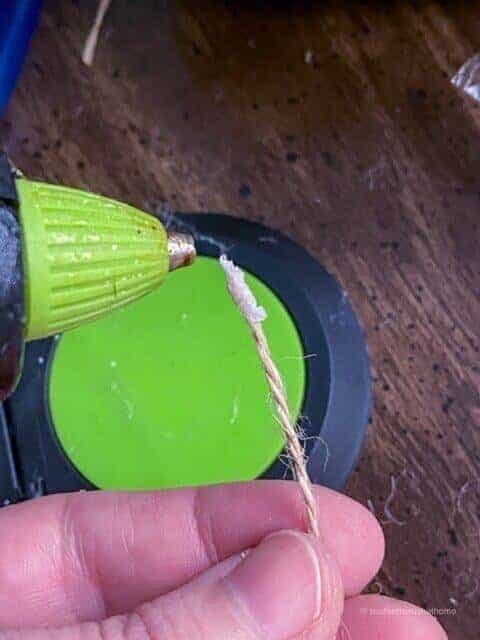
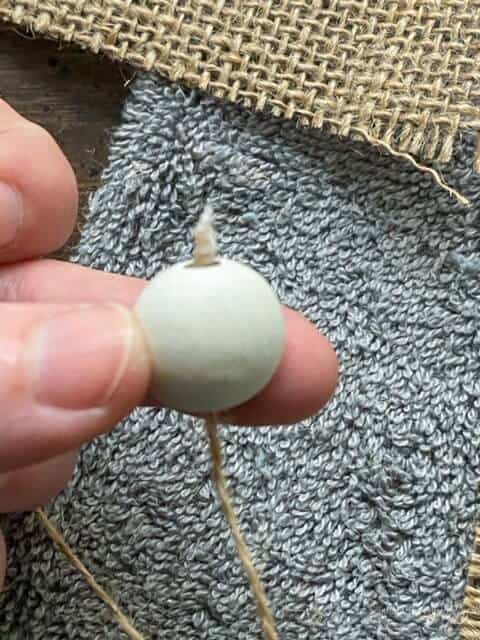
- For extra embellishment, I added a row of three wooden beads in between each burlap banner piece, gluing them together to keep them from sliding back and forth on the twine. It's a good idea to reinforce the eyelets on the burlap banner with some glue as well to keep them in place. To keep the twine from fraying and make threading the beads much easier; I added a small bead of glue to the tip end of the twine.

VIdeo tutorial for dollar tree easter banner
If you missed the video tutorial, watch it here.
viola! An Easter burlap banner with dollar tree ornaments!
I'm in love with the look of this super easy DIY. This may very well easterbe one of my favorite banners! The Courtly Check design on the napkins combined with the super cute variety of orange fabrics on the carrots, make this seem more expensive than it is! 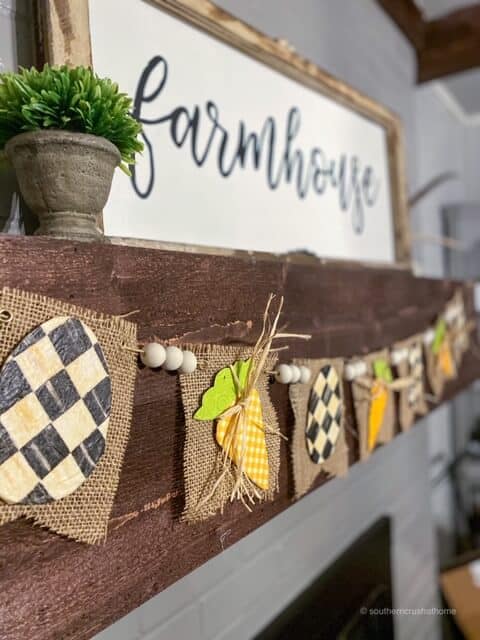
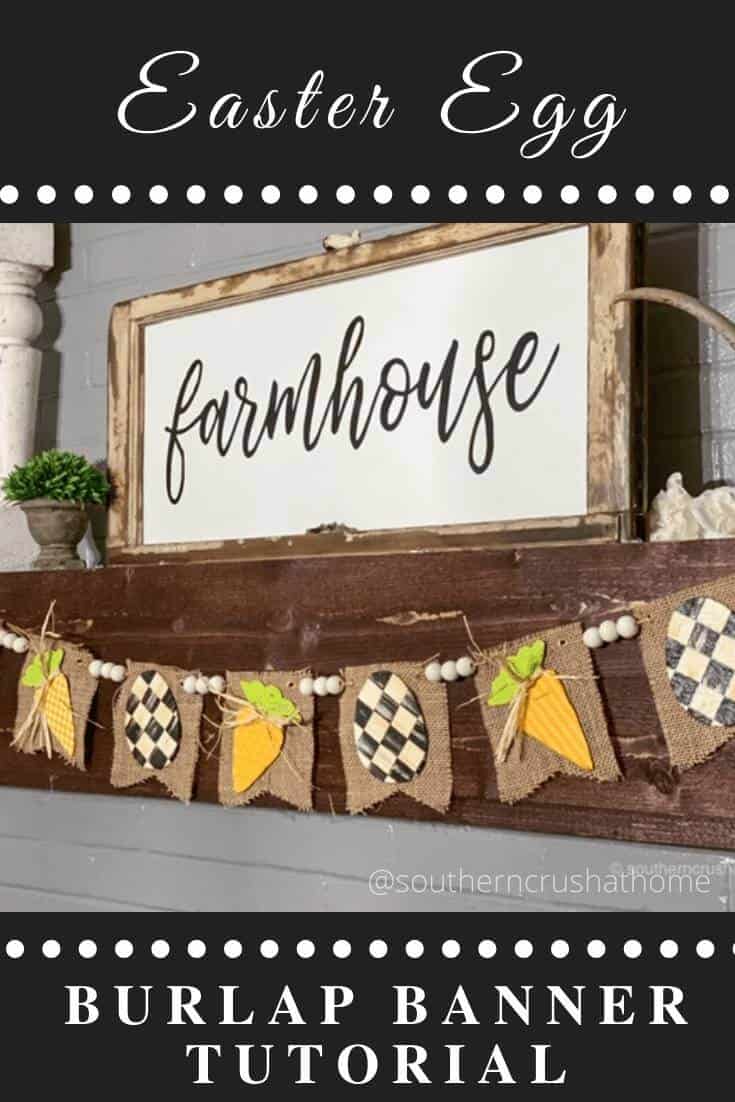
>>>BE SURE TO PIN THIS FOR LATER!<<<
If you love these kind of DIY ideas, you need to be getting my emails, friend! Each week I send out a couple of emails that include updates, crafts, shopping experiences and decor inspiration. Be sure to get yourself signed up below. I can’t wait to meet you!
>>Leave your thoughts below in the comments please… BTW— Life is short—Enjoy the mess!
I absolutely loved this
I watched the live and feel in love with this banner. Still need to make one. I bought all the stuff.
This is so cute!! I love the patterns you’ve matched together.