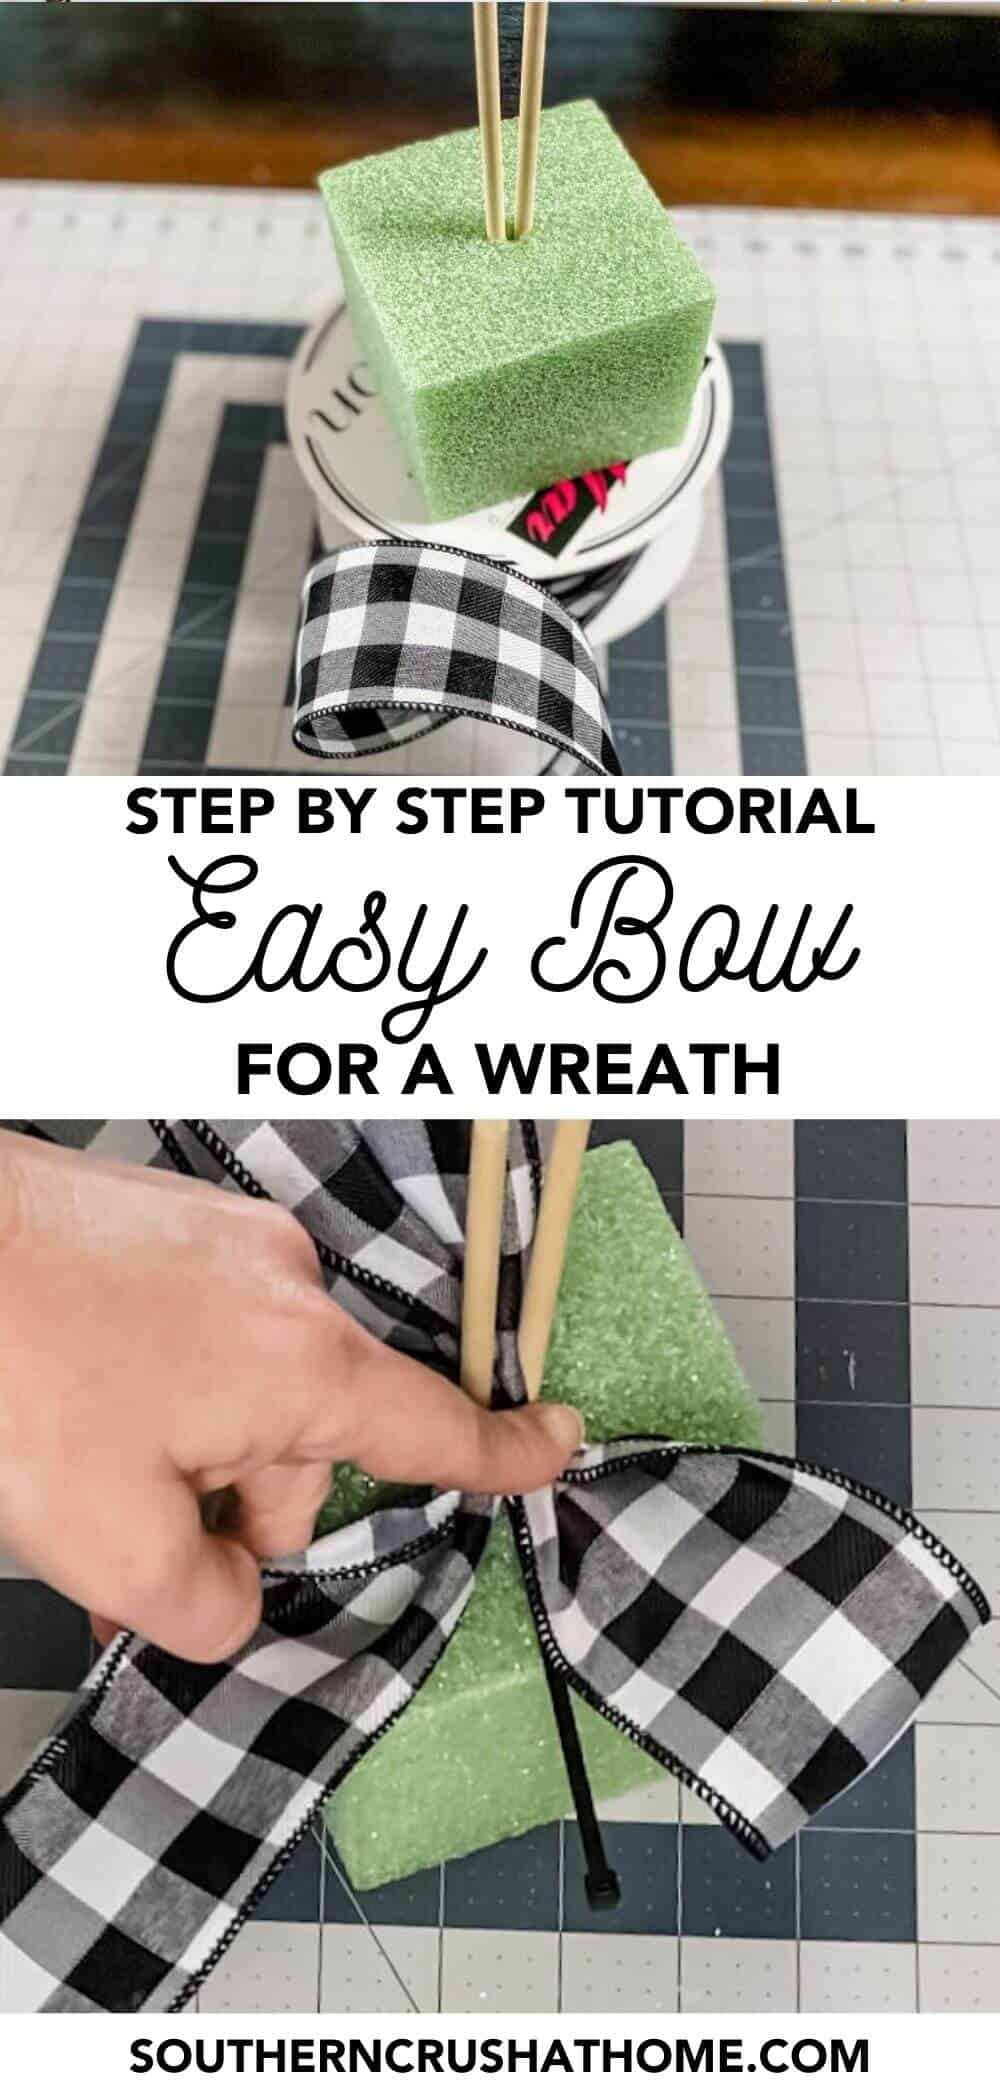
How to Make an Easy 5 Minute Bow for a Wreath (Step by Step Instructions)
Making a ribbon bow for a wreath is easy and can be done in just 5 minutes! In this step-by-step tutorial, I'll show you how to make a bow with a basic single-loop or double-loop bow that will look great on any wreath.
So let's get to bow-making and have some fun with this simple bow project!
PIN this for later!

This blog post contains affiliate links. The opinions are wholly my own from my own experience. I may earn a small commission from clicks through to the websites that end in a purchase.
Today I'm showing you how to use my Melanie's DIY Bow Maker to make a super easy ribbon bow in just 5 minutes. The DIY bow maker will revolutionize your bow-making experience, I promise.
This bow-making tool makes making simple bows so easy and multiple beautiful loop bows using various ribbons quickly.
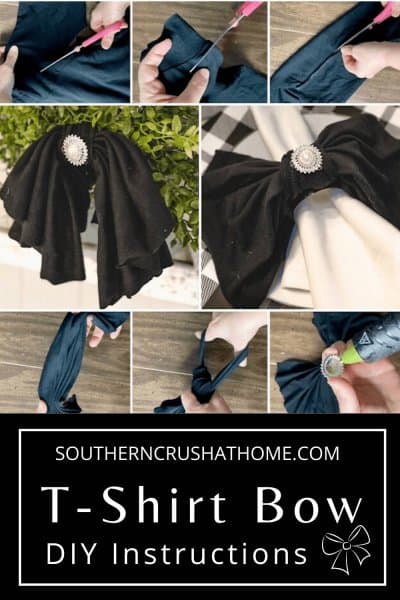
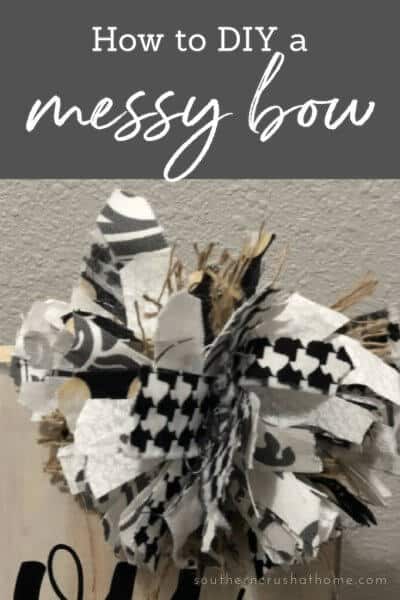
If you are a regular visitor here (thank you!) you may have seen my signature DIY messy bow.
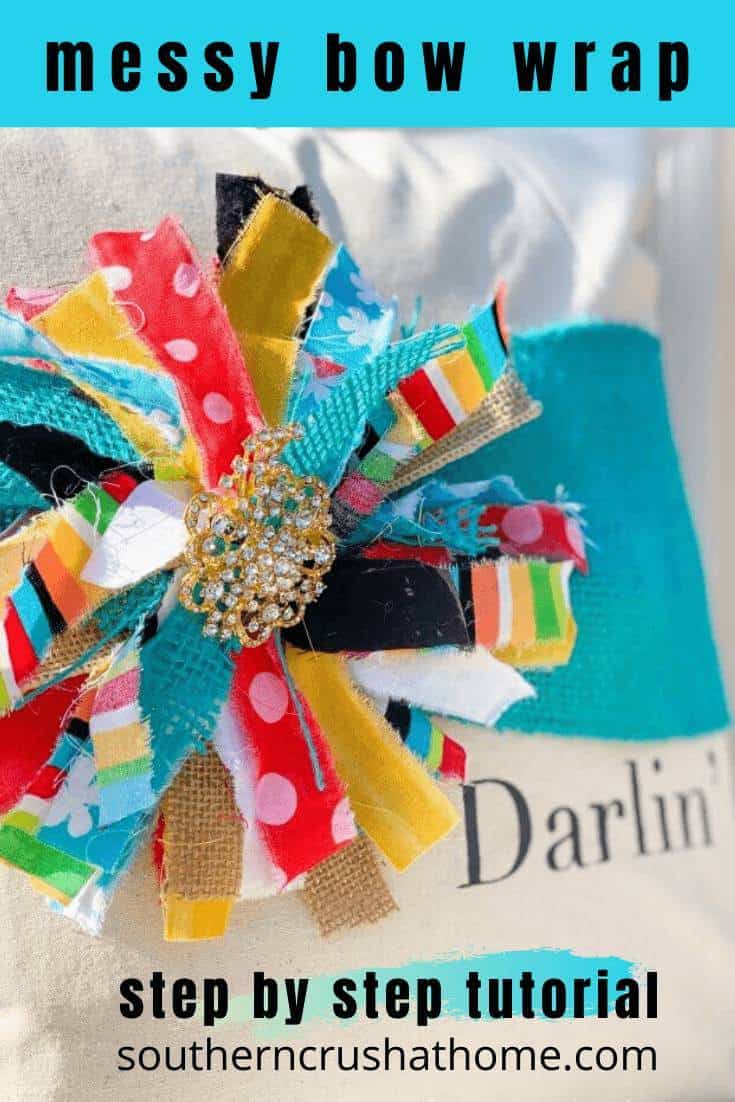
It is a fun ribbon bow out of fabric scraps that anyone can make, even with zero bow-making experience.
So you'll definitely want to check out this simple bow made of scrap fabric and cut ribbon, too.
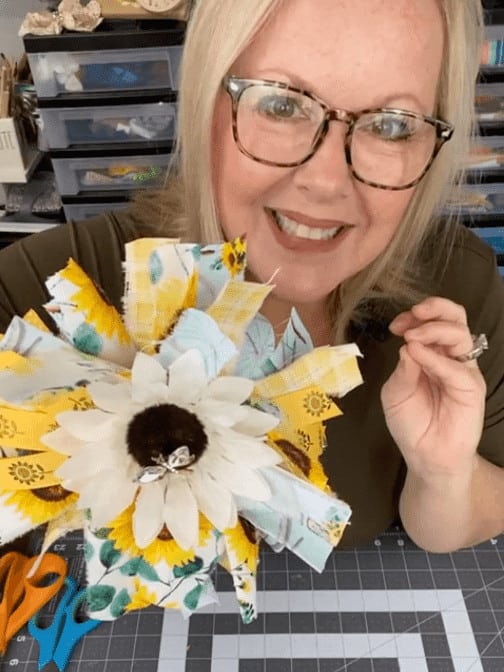
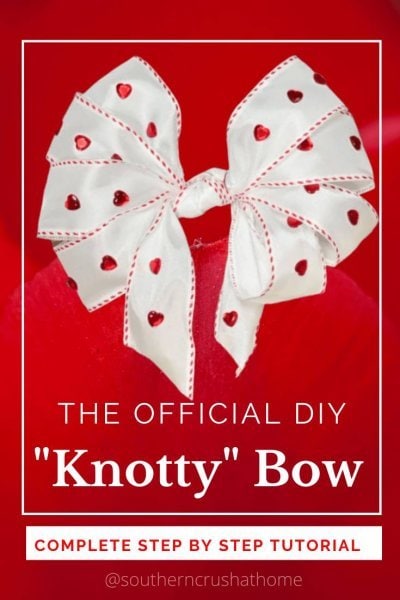
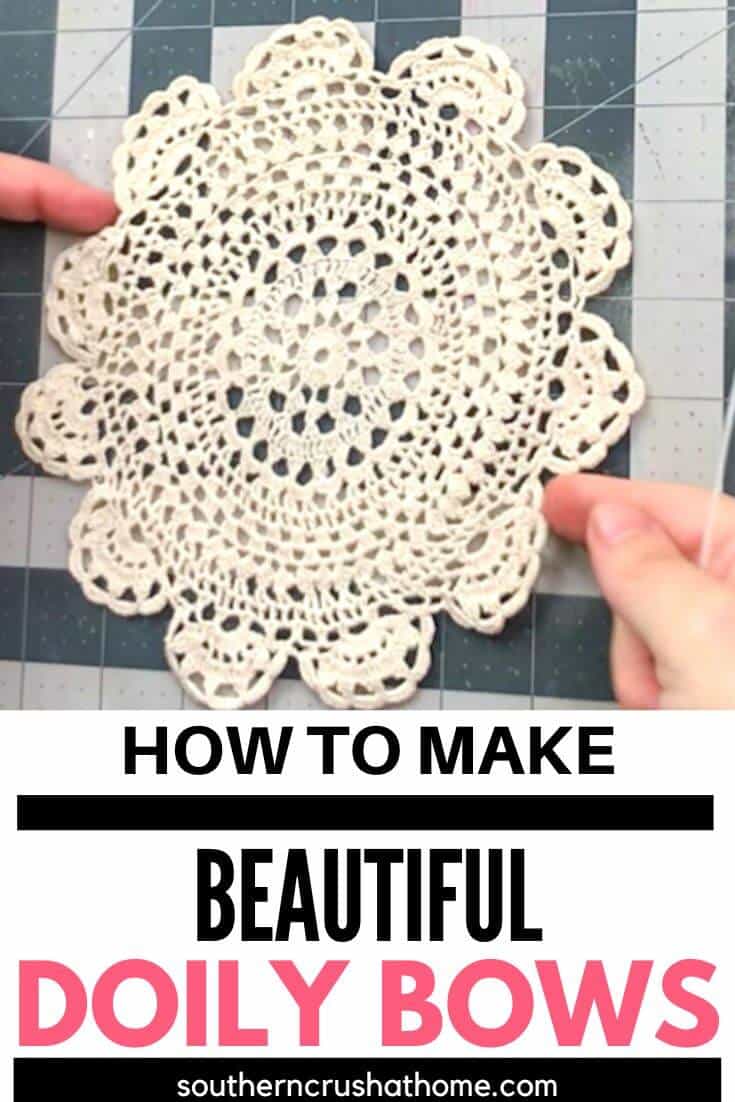
Take a look at several other DIY Bows I've shared:
Click on each photo for the complete bow tutorial!


Here is the quick step-by-step instructions so you can make your own ribbon bow…
Supplies Needed for an Easy 5-Minute Ribbon Bow
- Wired Ribbon (I used buffalo check ribbons)
- Zip Tie or Floral Wire
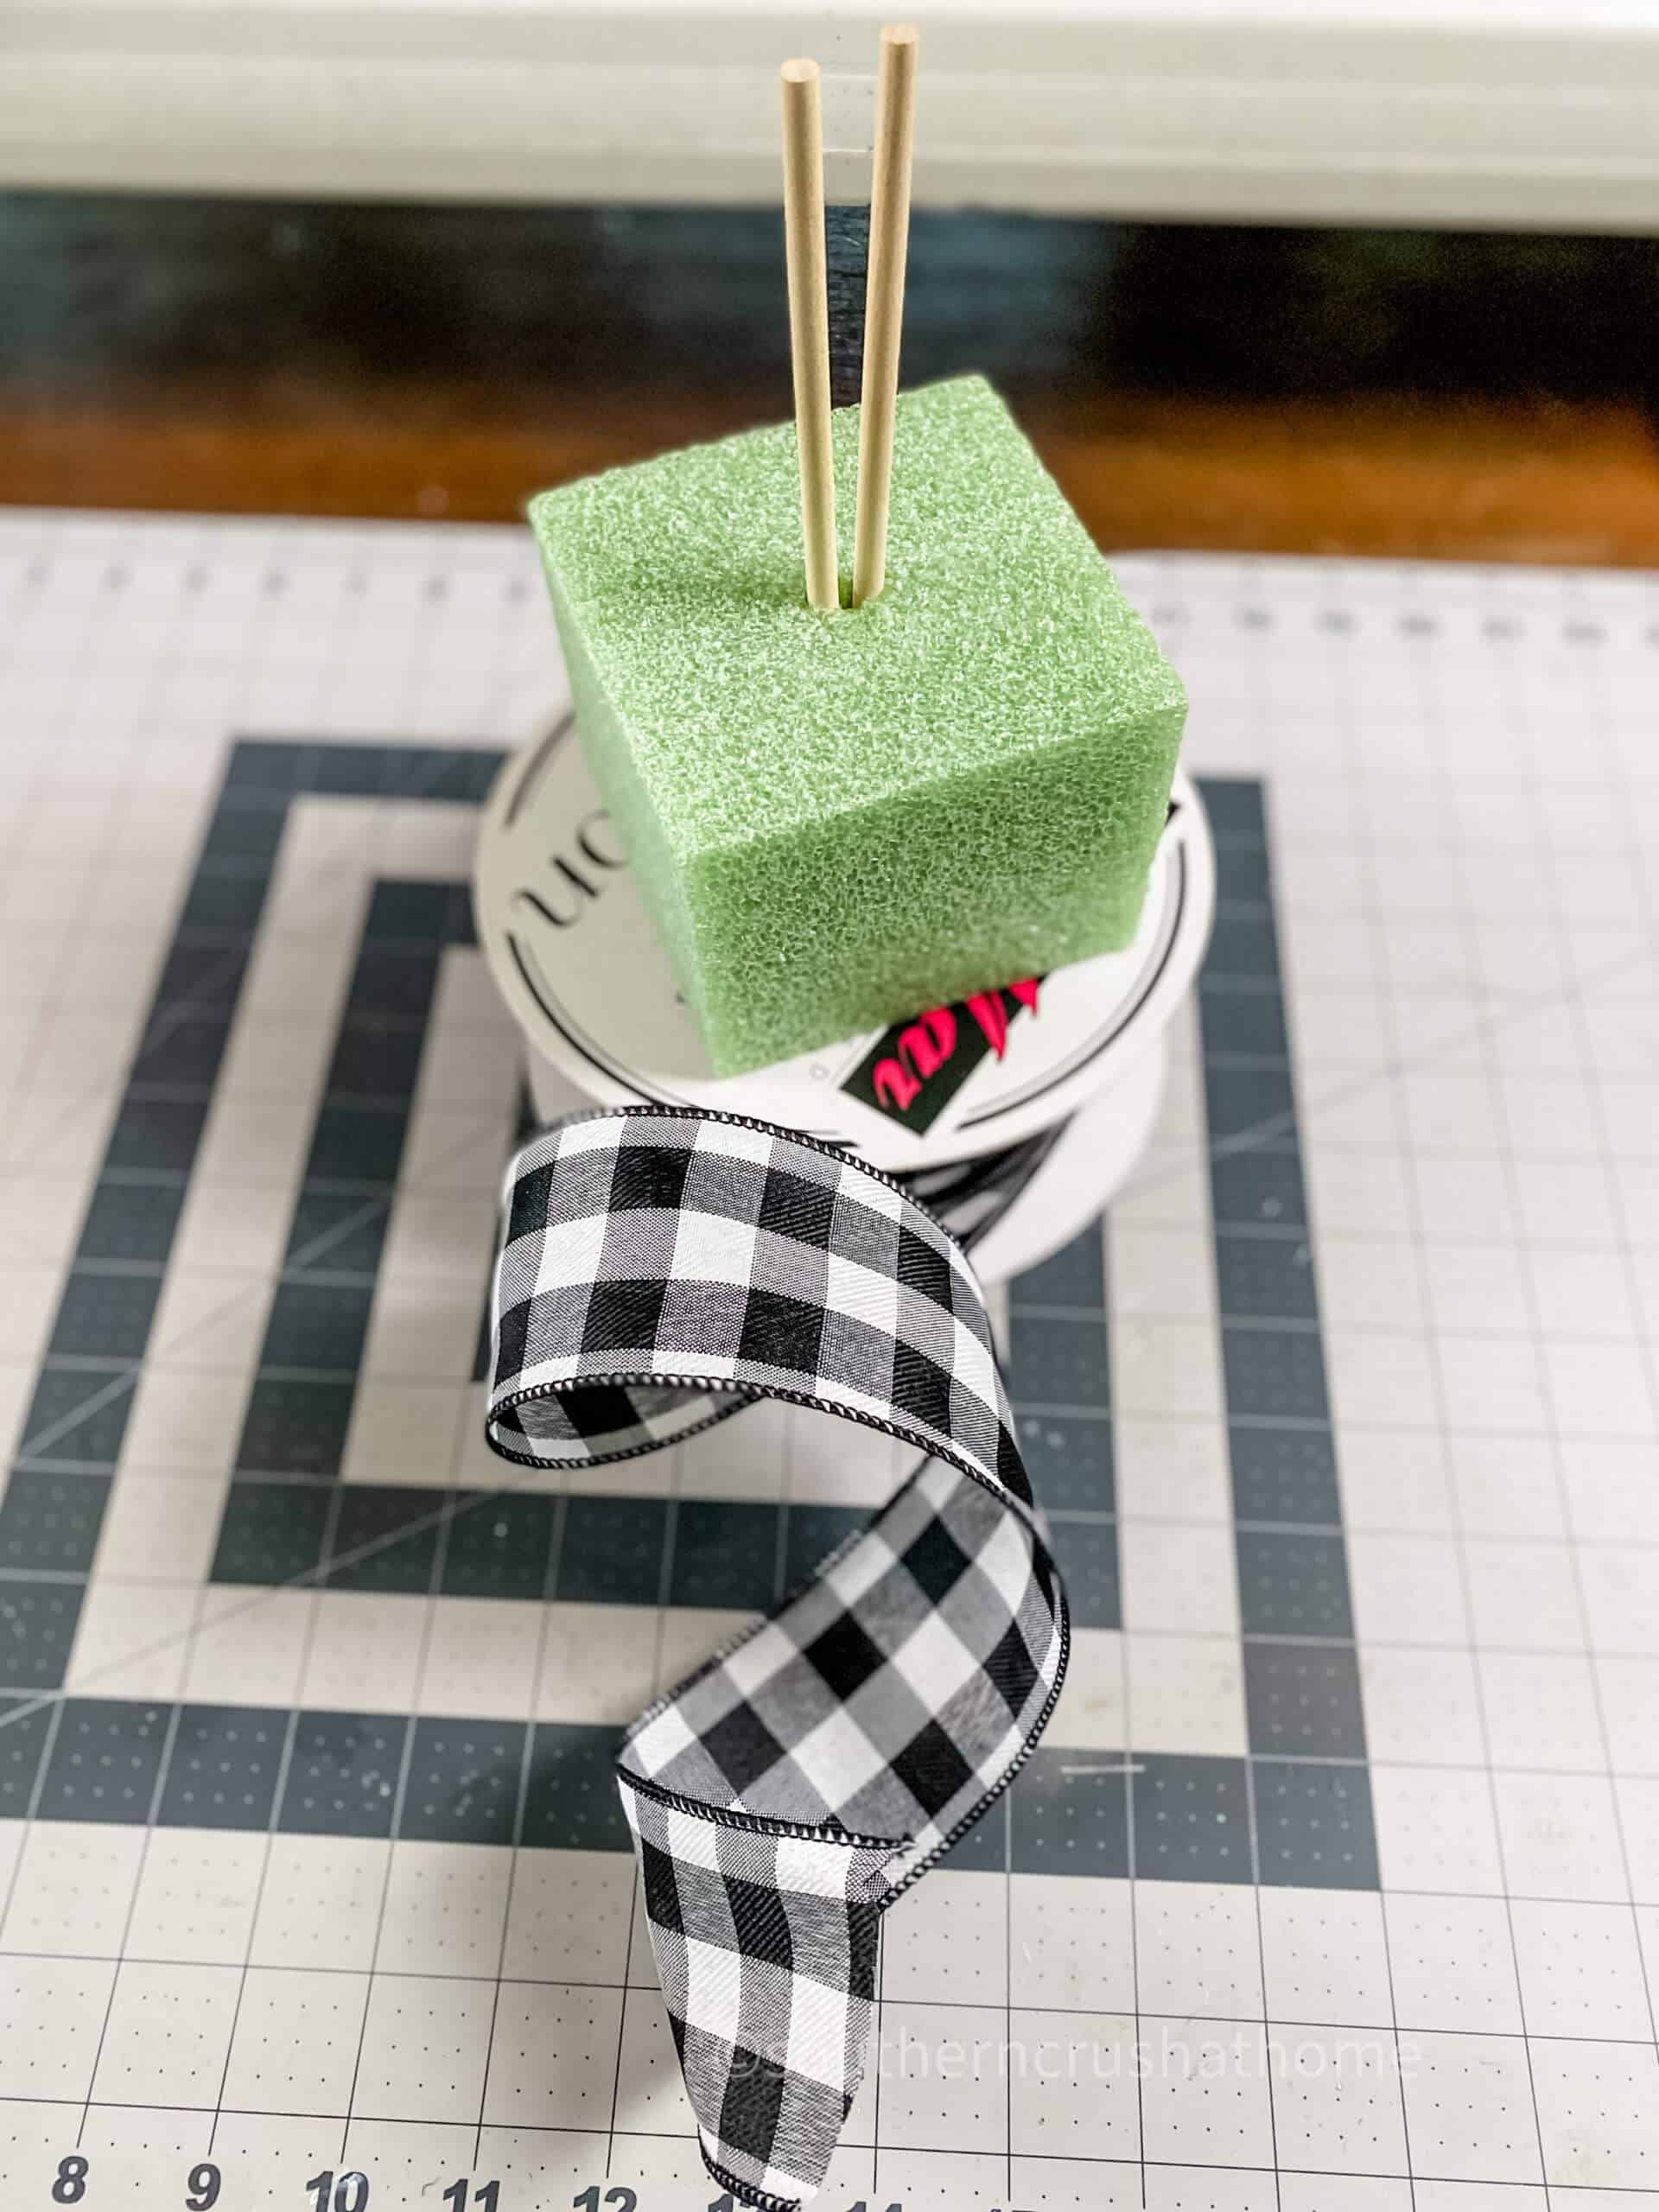
- $2 DIY Bow Maker
How to Make a Bow Out of Ribbon – An easy ribbon bow for beginners
Step-by-Step Video Tutorial
If you want to see the exact step-by-step process, be sure to check out this video below over on my YouTube Channel!
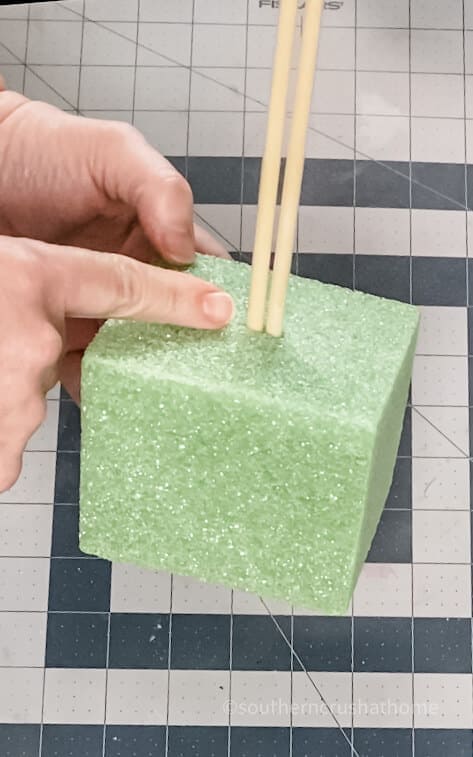
Step 1.
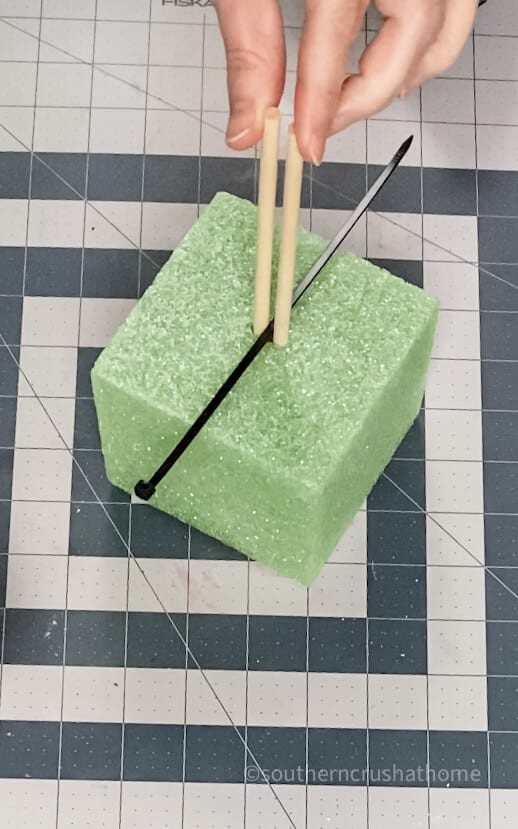
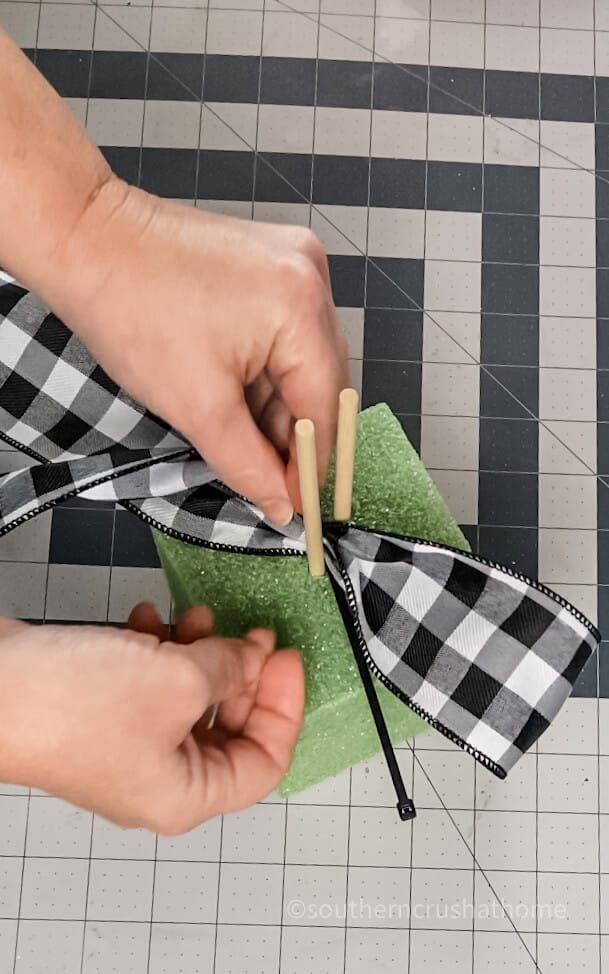
Start by placing a zip tie or floral wire or even a pipe cleaner between the two wood dowel rods of the bow maker. This will serve to secure the bow shape on the finished bow after you form all the loops.
Step 2.
Now how to make a bow out of ribbons–
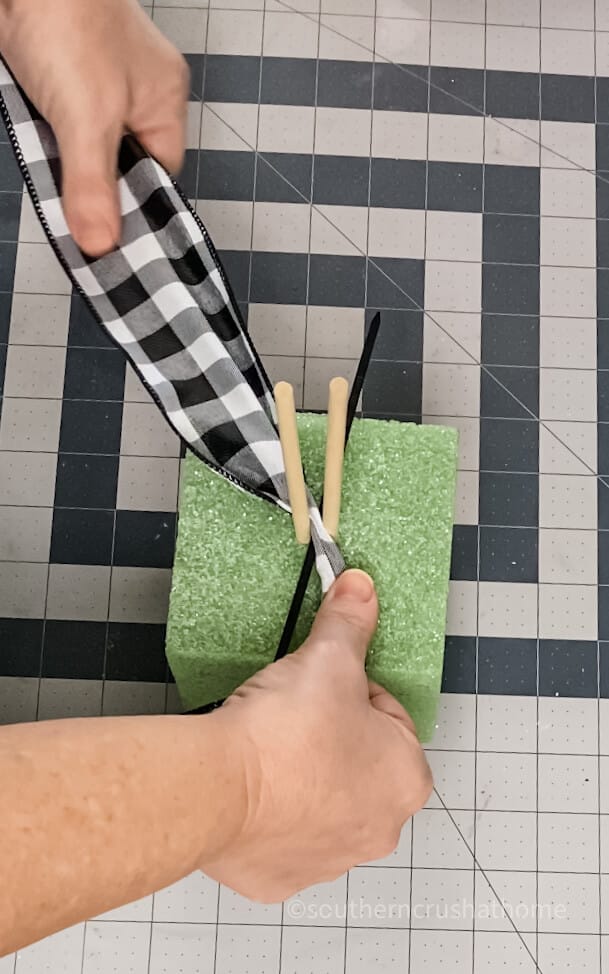
Slide a single strip of wired ribbon (I prefer buffalo plaid ribbon or buffalo check ribbon) between dowels on top of the zip tie leaving out enough pieces of ribbon to cut tails to the desired length of your bow.
You do not have to have a ribbon tail at all if you prefer just a small poof bow instead.
Step 3.
Now it's time to form loops. The loops can be any size from a small loop to large loops, it's completely up to you.
The ribbon bow can also have as many loops as you like. For this tutorial, I'm sharing how to make a bow using buffalo check wide ribbon, with one loop and two loops.
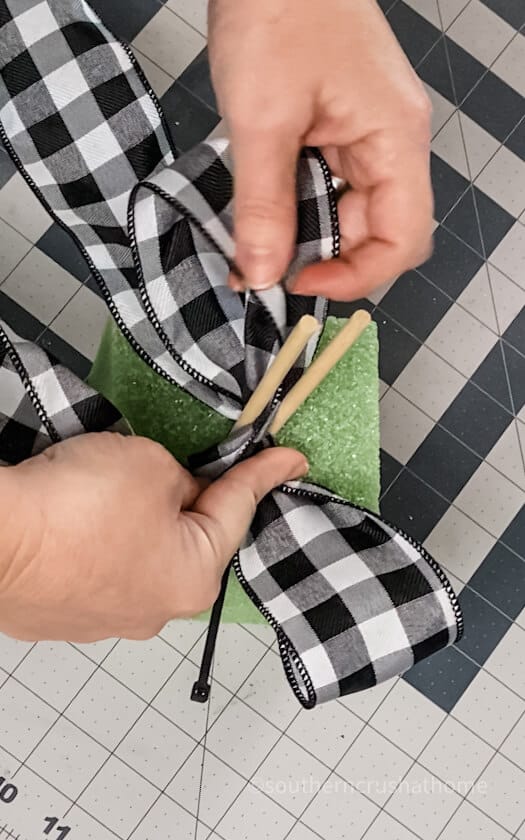
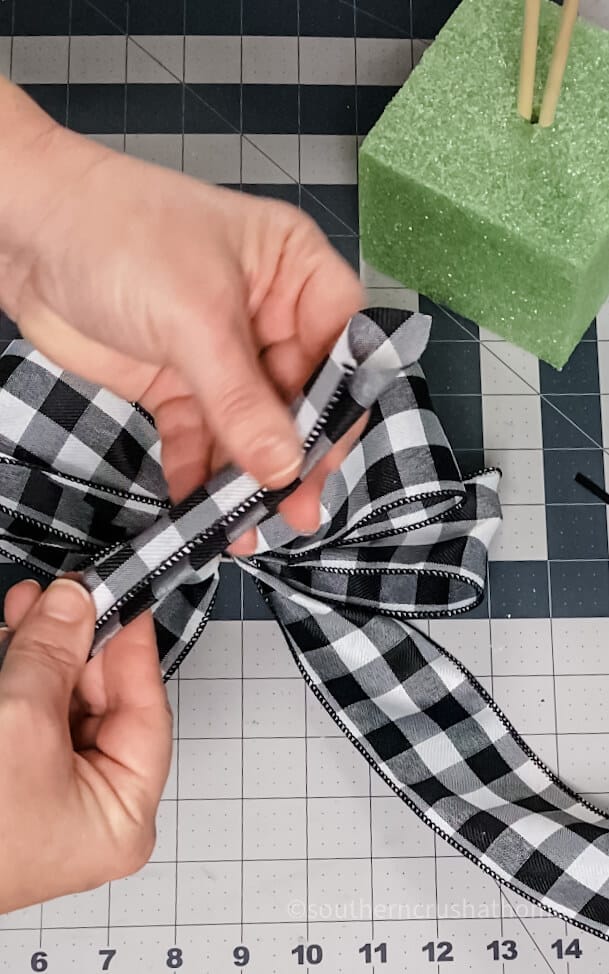
Start by creating the first loop which is a single loop for the bow by folding one end of the ribbon in half lengthwise through the wood dowels. This will form your first right loop for your ribbon bow.
Step 4.
Next up, create the second loop with the ribbon on the opposite side with a twist on the bow maker. This will be the left loop.
Hold down the first loop with your index finger to keep the center of the bow in place while you twist the ribbon.
This is when the wire in the wired ribbon edges really helps in the bow-making process.
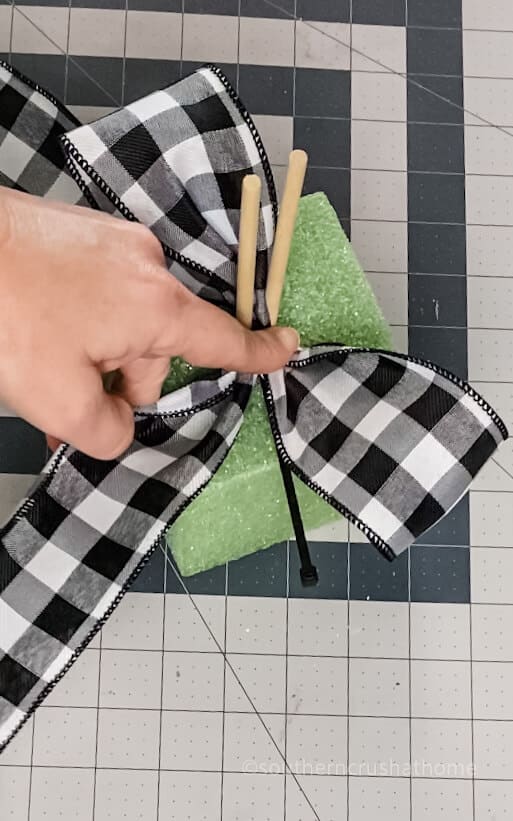
Repeat this process back and forth with the remaining ribbon to create as many loops as you would like your ribbon bow to have.
Step 5.
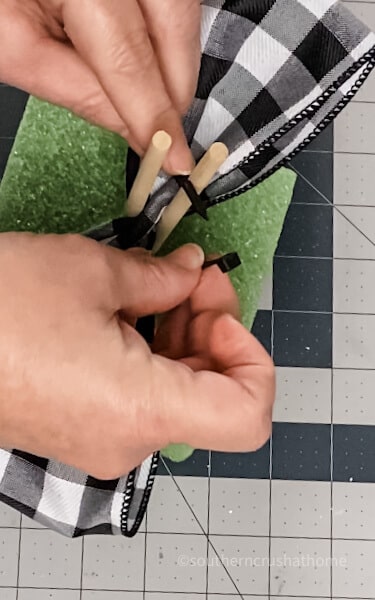
Now that you have your loops created, place your index finger in the center again to hold it and bring the zip tie up to secure the bow.
I've found that the zip tie is hands down the best shortcut to make a bow that looks amazing. Of course, the buffalo check ribbon doesn't hurt, either.
If you used floral wire, pull the wire up and twist in the center, then cut with wire cutters.
I just love making bows, don't you?
Be sure to pull the zip tie nice and tight so it will hold the bow in place.
Zip ties are perfect for making a bow out of ribbon and are something I keep in my craft stash for all kinds of uses.
They are on my list of top craft supplies to purchase from Dollar Tree.
Step 6.
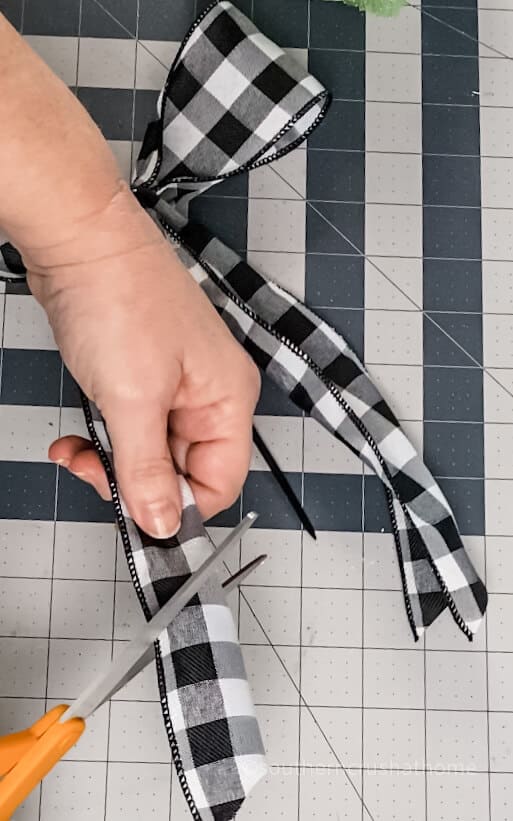
Remove the bow from the bow maker and fold each tailpiece of ribbon in half to trim with the bunny ear trick.
Using your fabric scissors create a cut ribbon dovetail shape by cutting the ribbons at an angle or trim bunny ears by making two points on each of the ends of the ribbon.
Repeat this for each piece of ribbon. You can fold both ribbons at the same time for this finishing touch or just fold one piece of ribbon at a time as shown below.
Optional additional finishing touch to the center of the bow. Instead of a center loop to cover the zip tie; take a small piece of ribbon and fold it in on the sides.
Tie the ribbon piece in a single loop knot or double knot around the center of the bow to cover the wire or pipe cleaner used to secure the ribbon.
The ribbon piece can also be secured with hot glue. Be careful when using hot glue to only use a little so that it doesn't bleed through the ribbon.
Be sure to fluff the loops and flatten out the tails on this simple bow and then get ready to show it off!
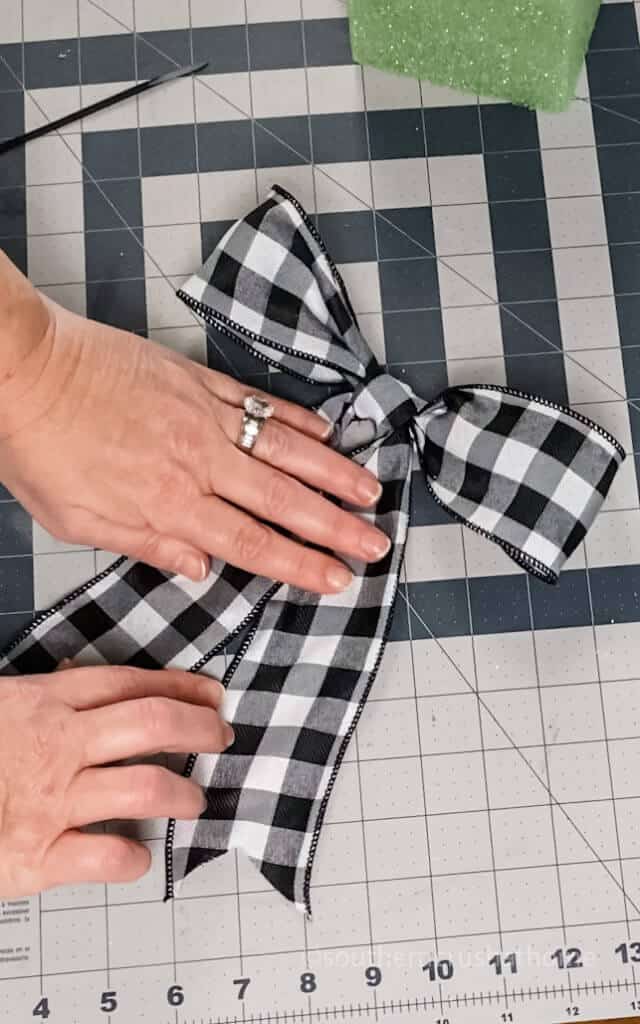
Now your easy bow out of ribbon is complete in under 5 minutes. WooHoo!
That is how to make a bow the easy way. It almost feels like cheating! You will want to make a bow now for everything. It's addicting!
Wired Ribbon Bows are My New Best Friend
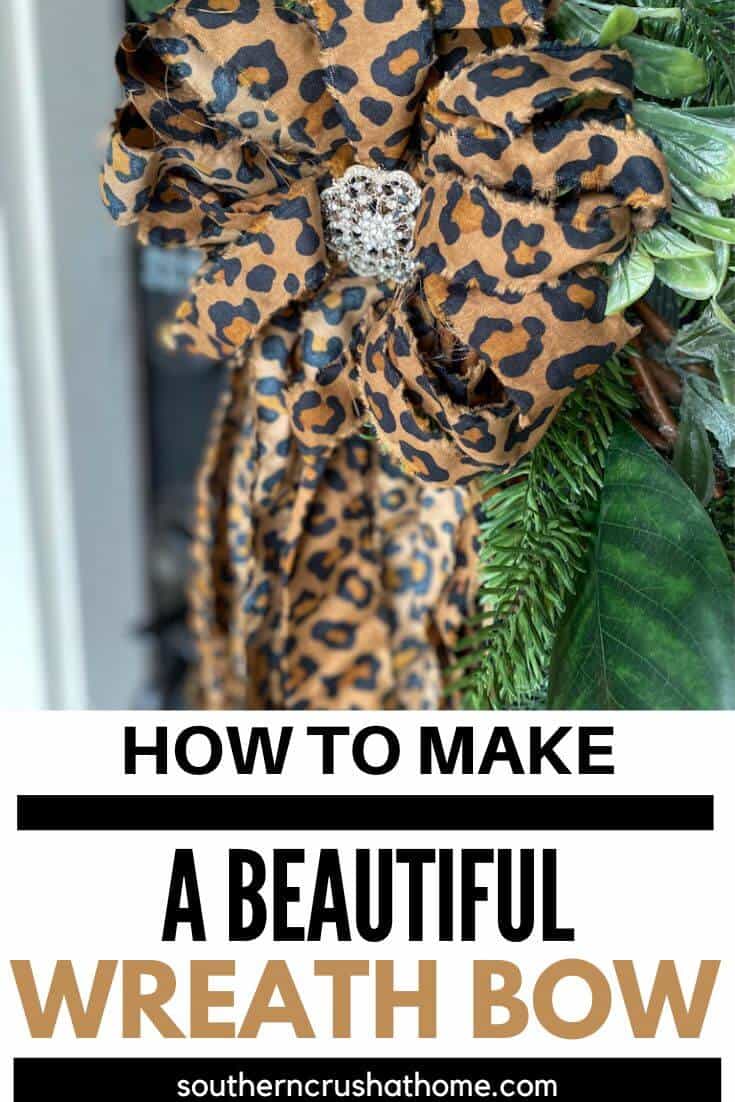
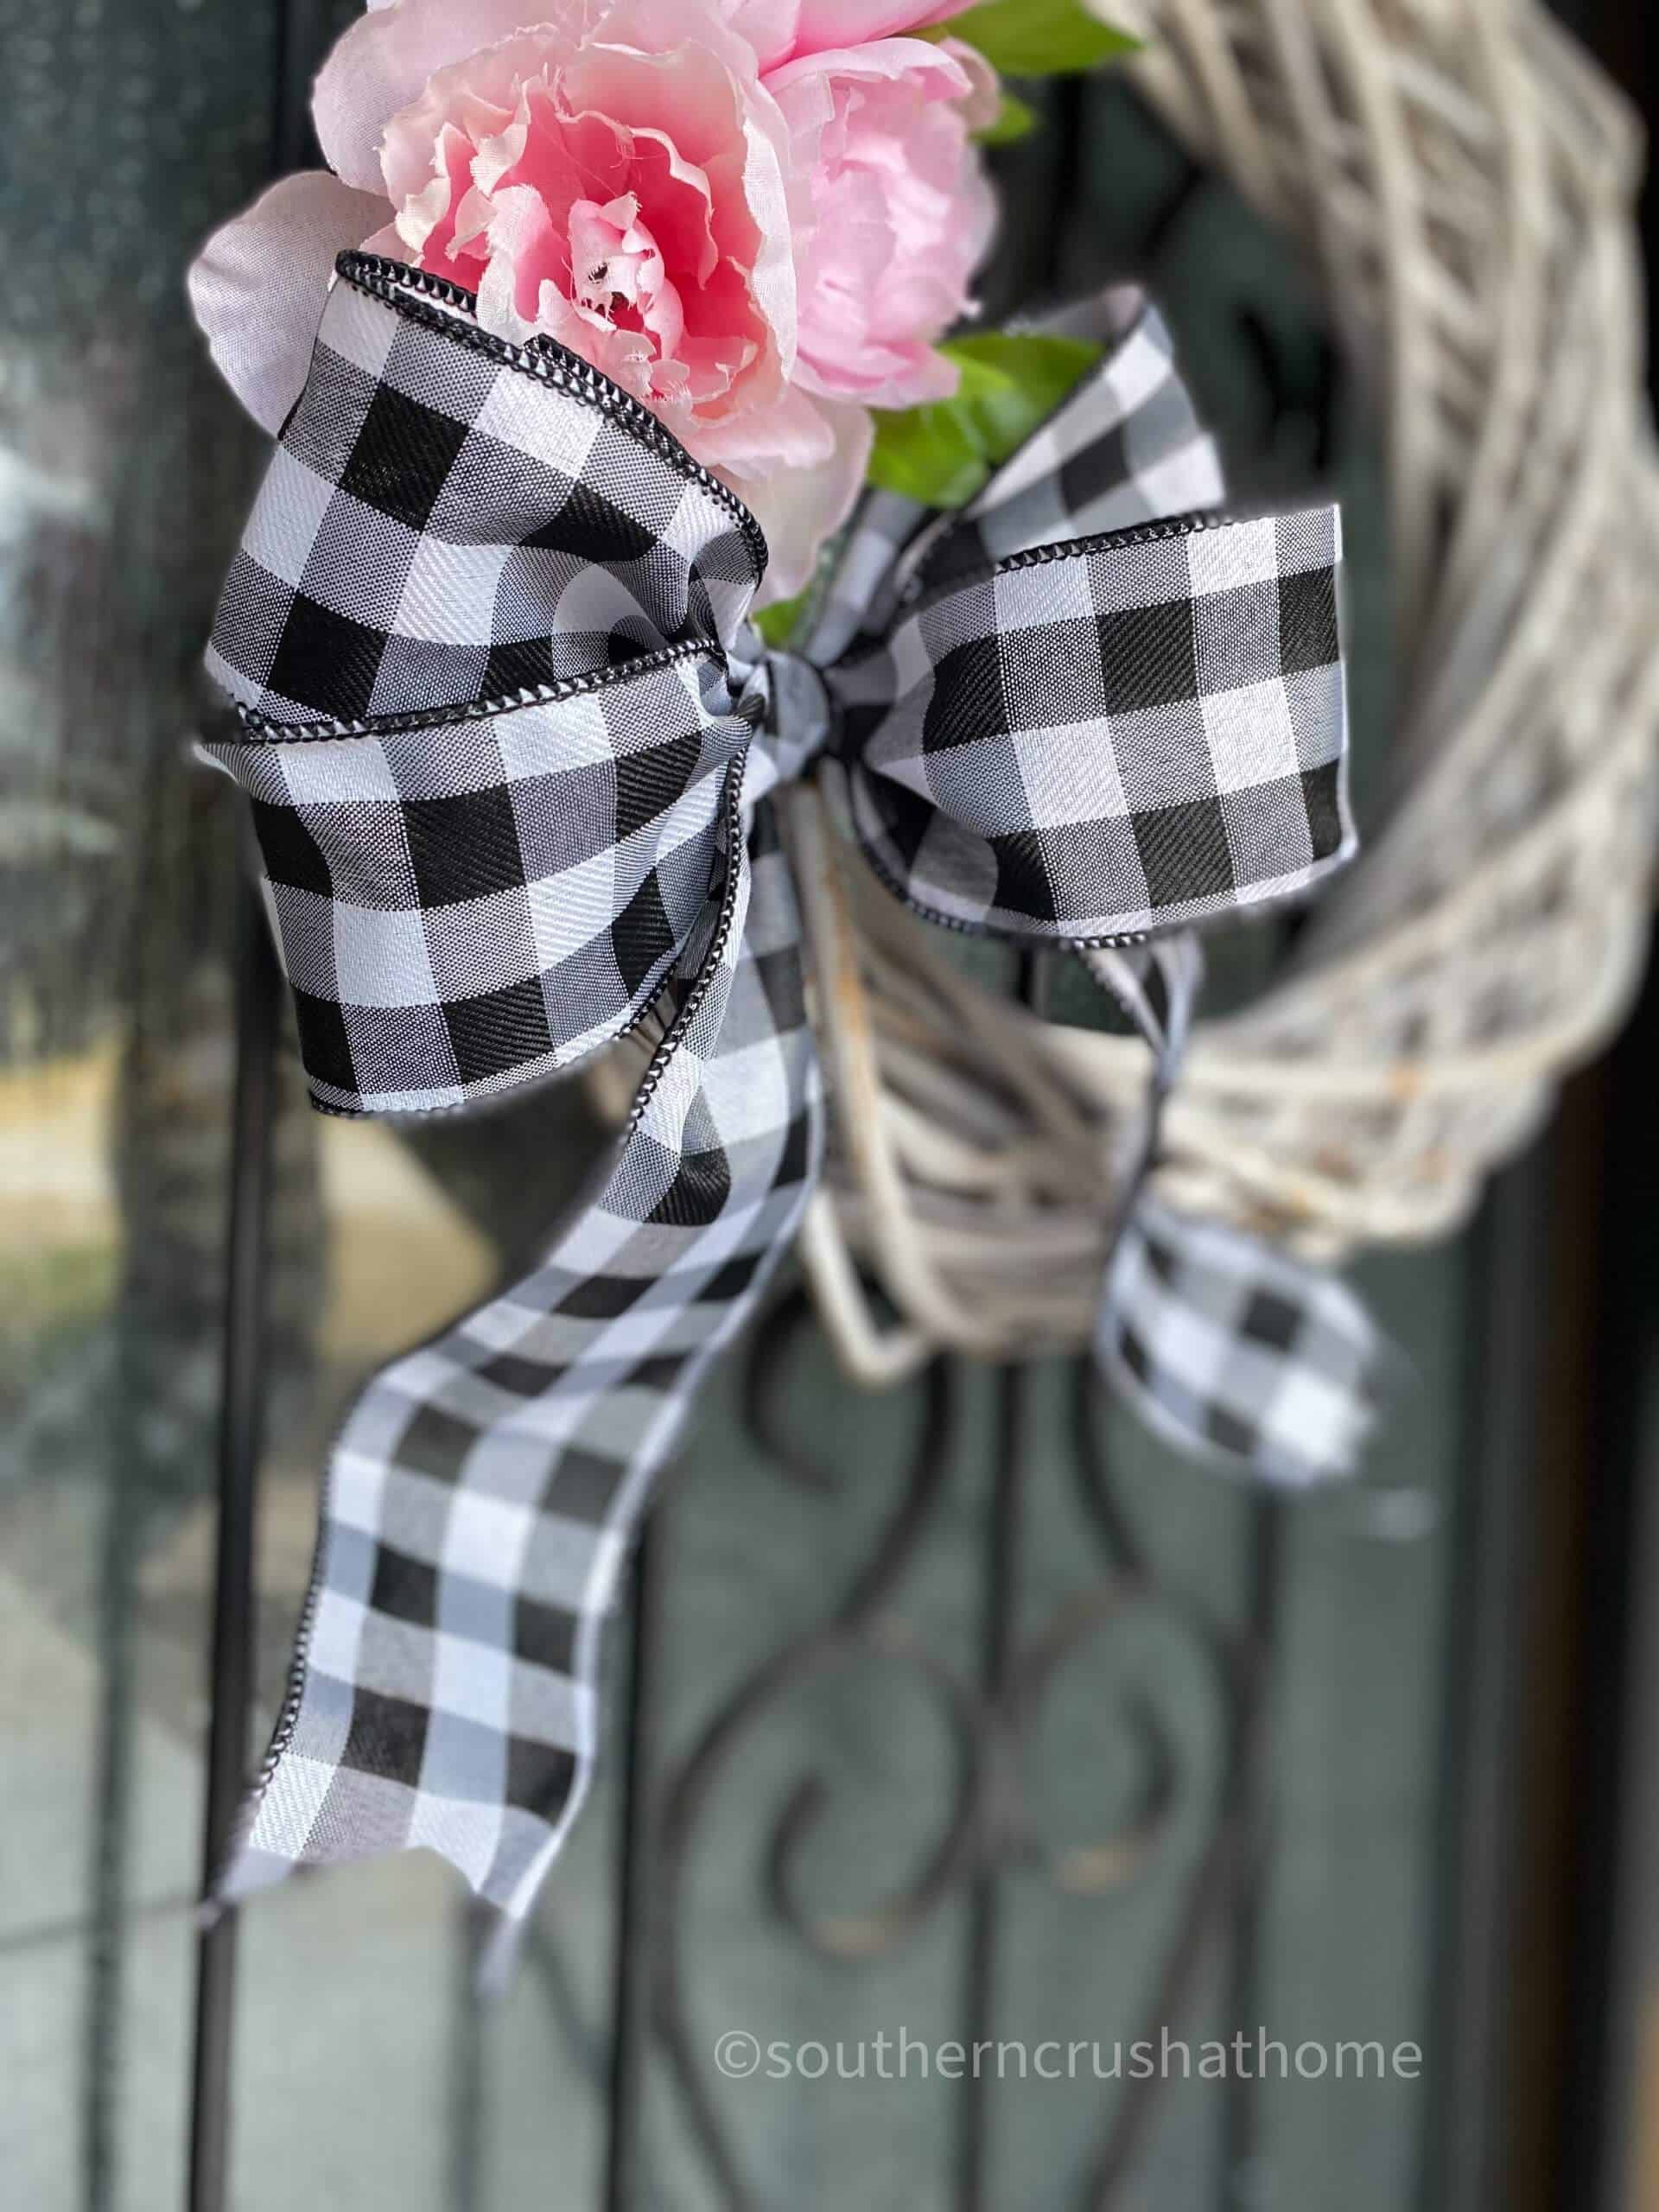
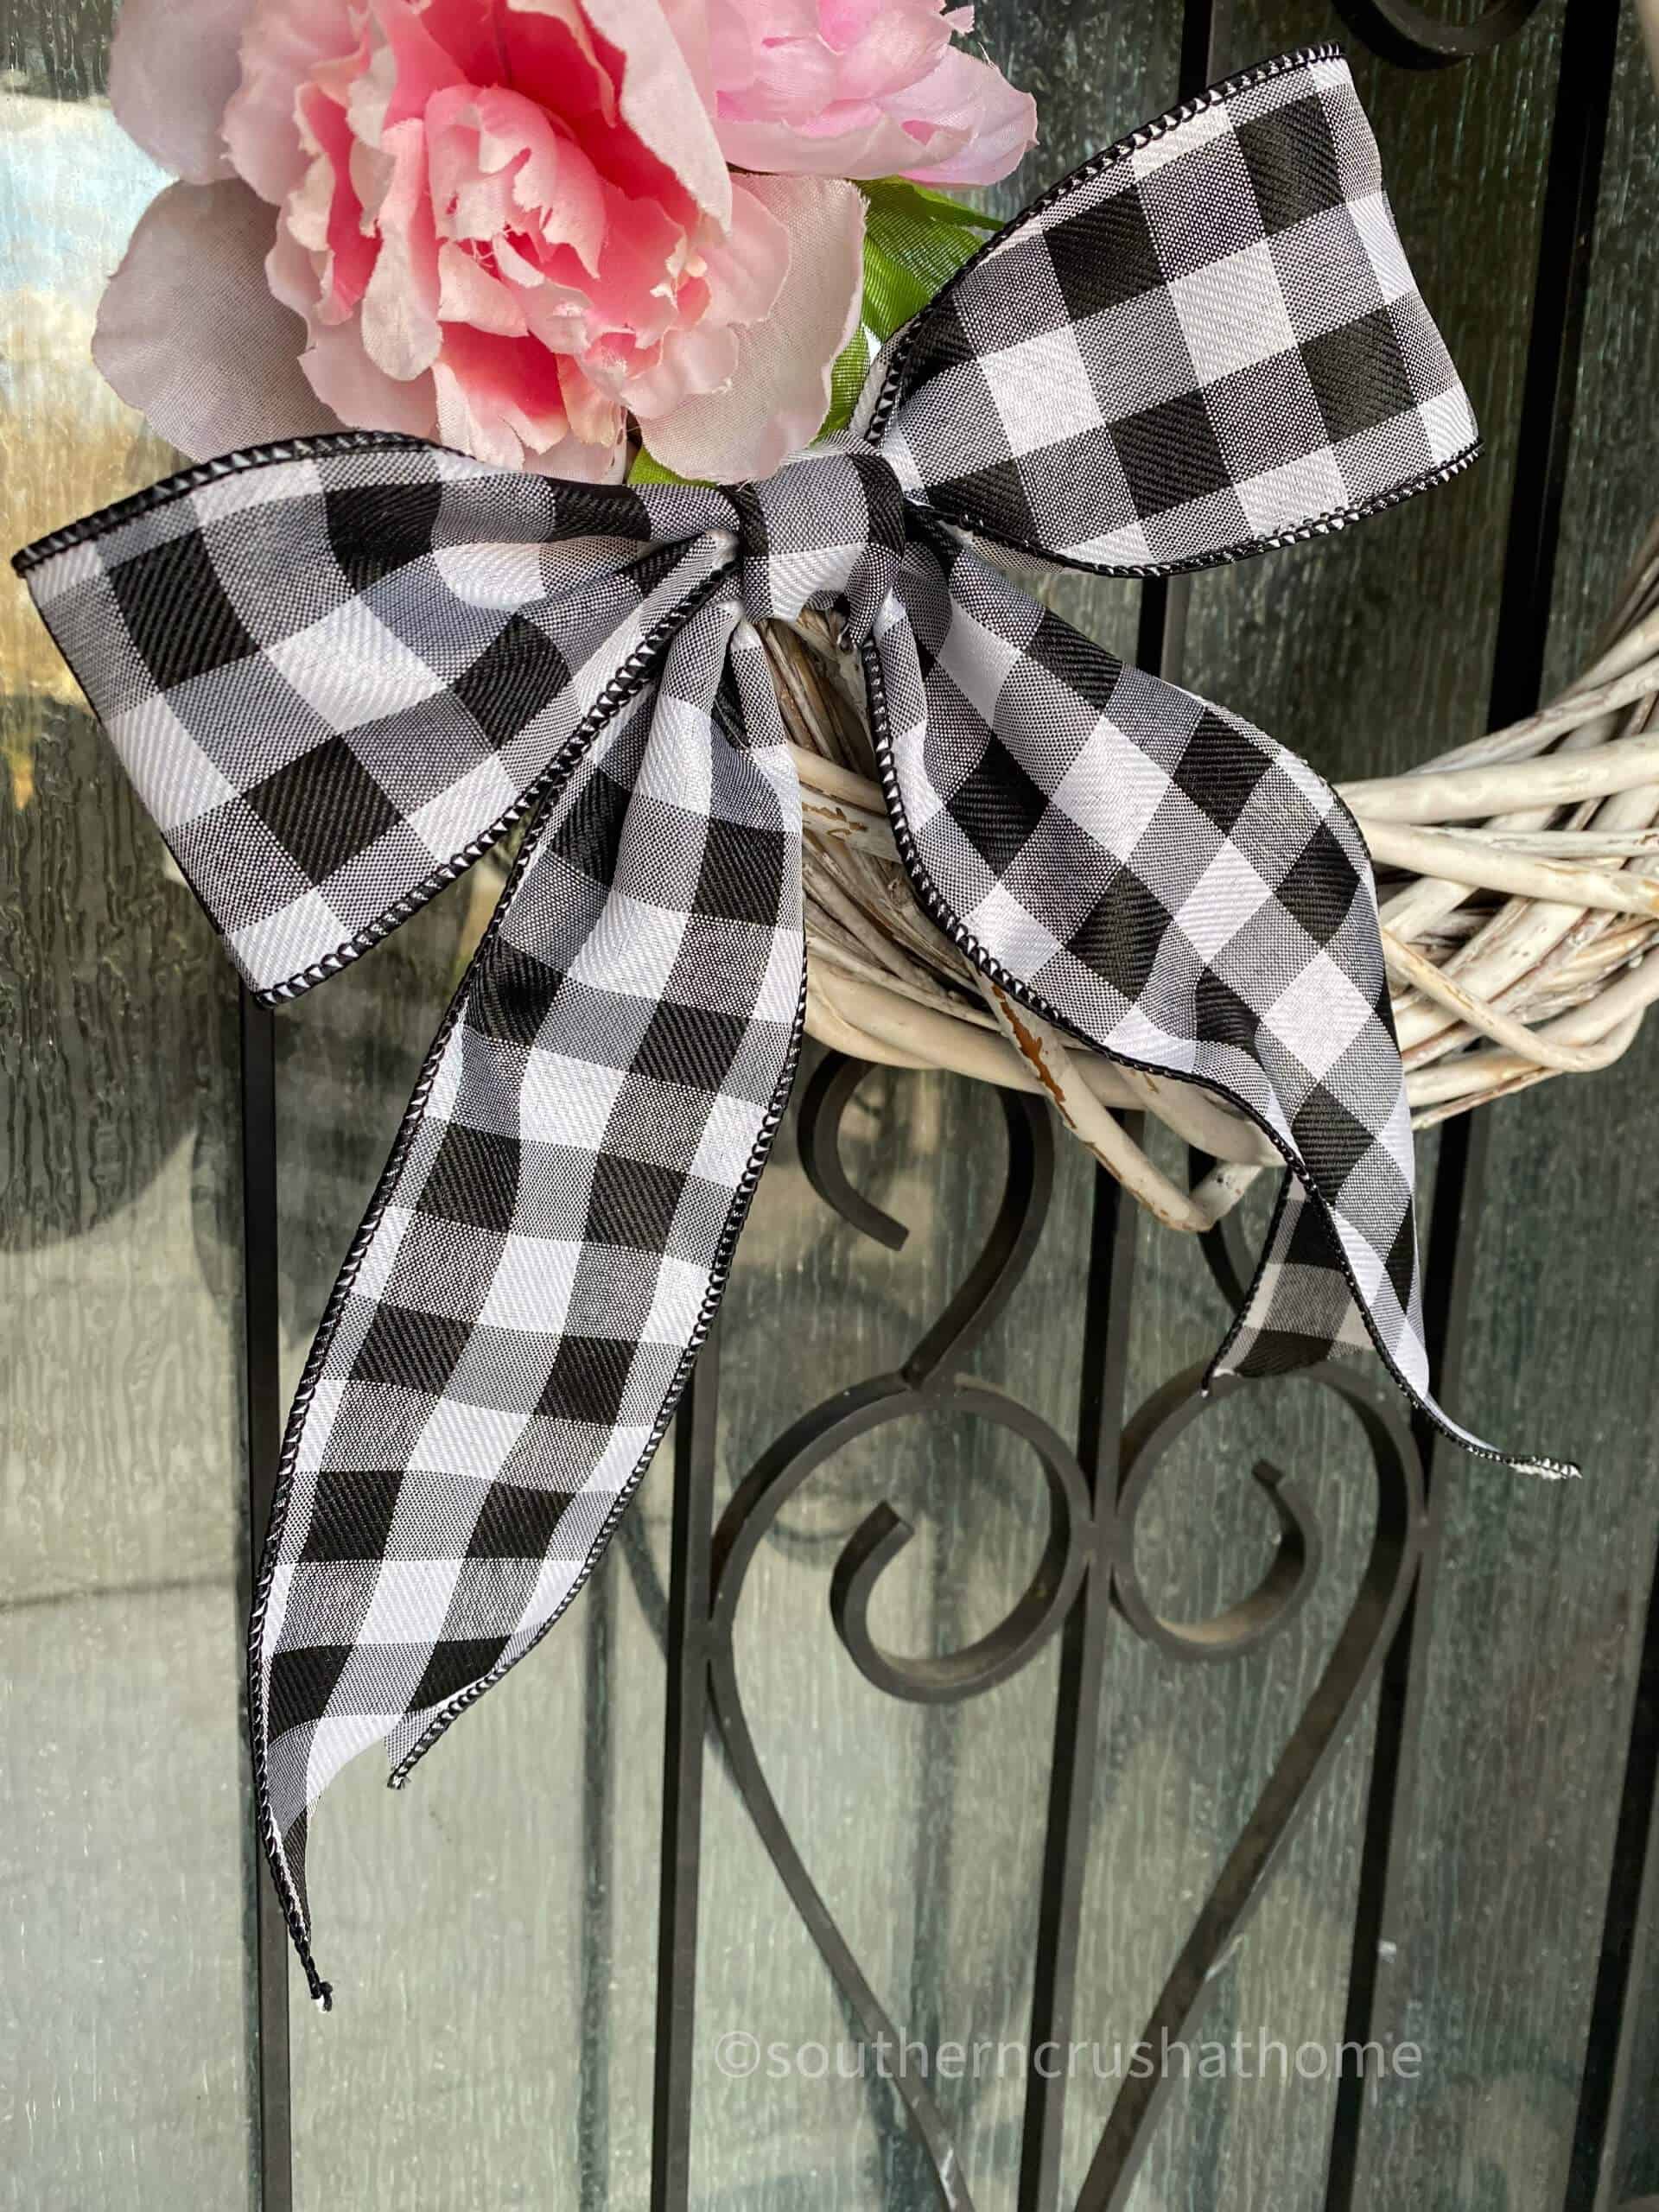
Ribbon bows, in my opinion, are the easiest bows to make without any experience or expertise. They make beautiful bows, especially on a wreath for your front door.
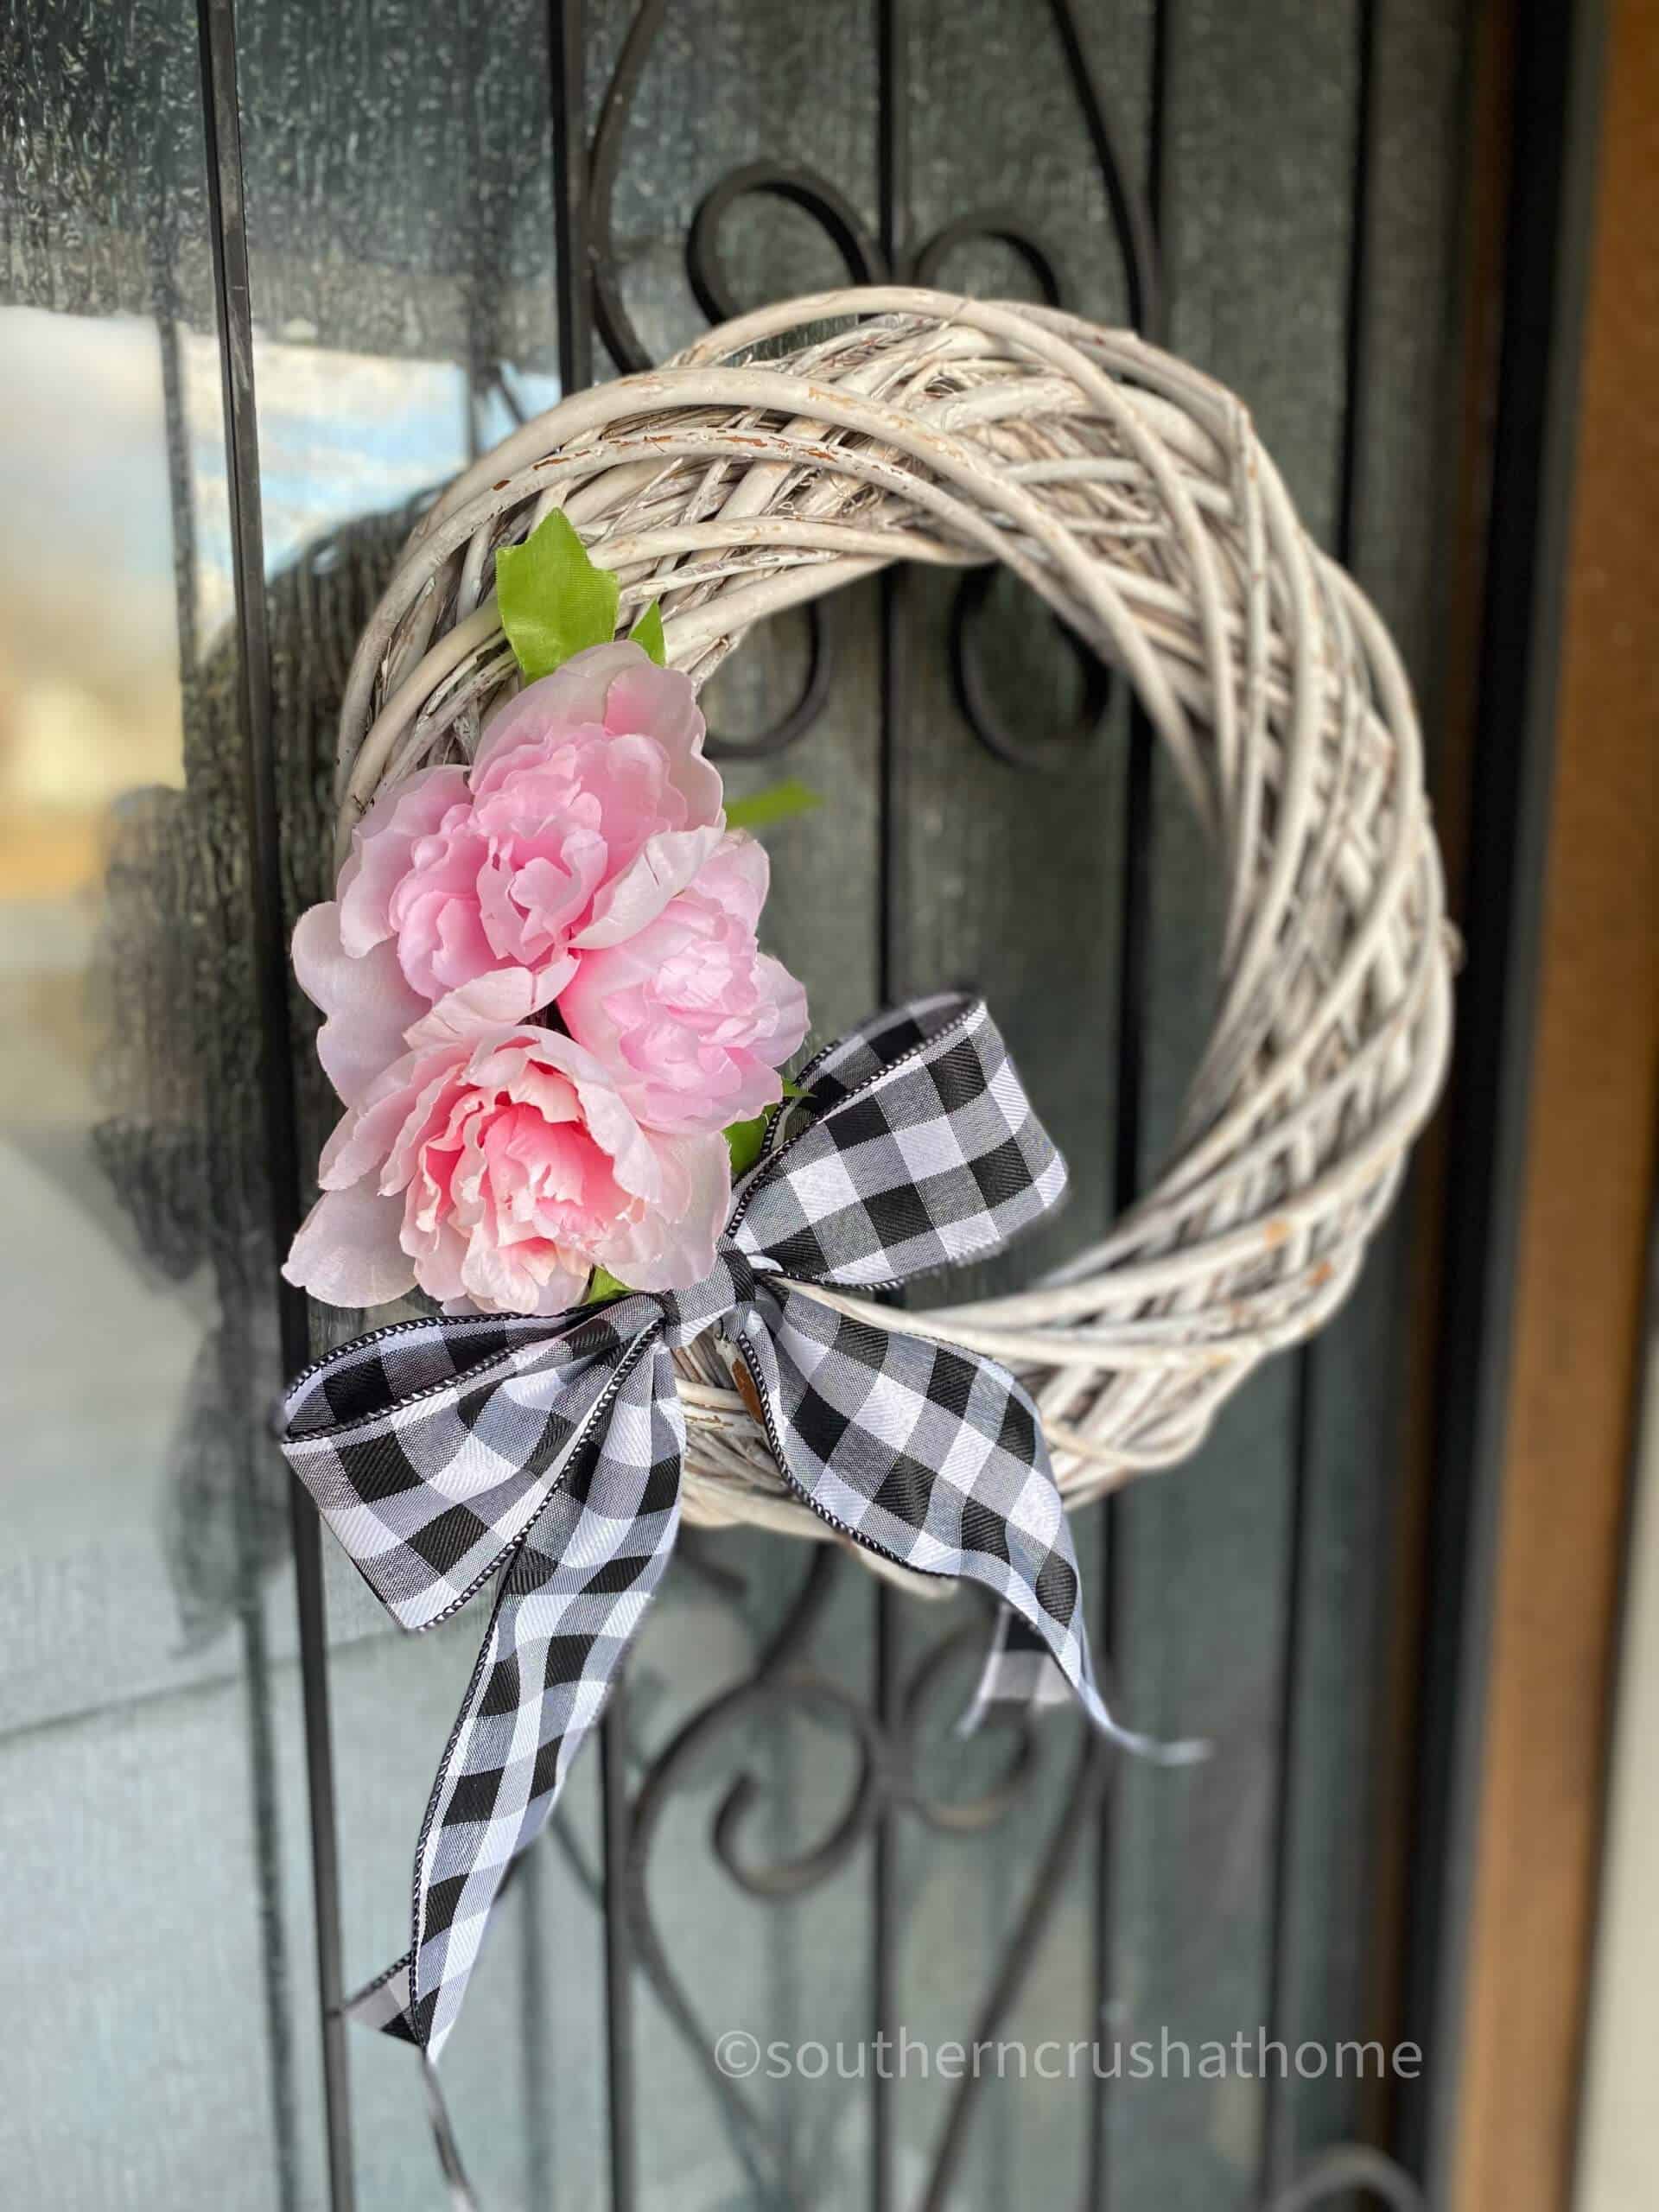
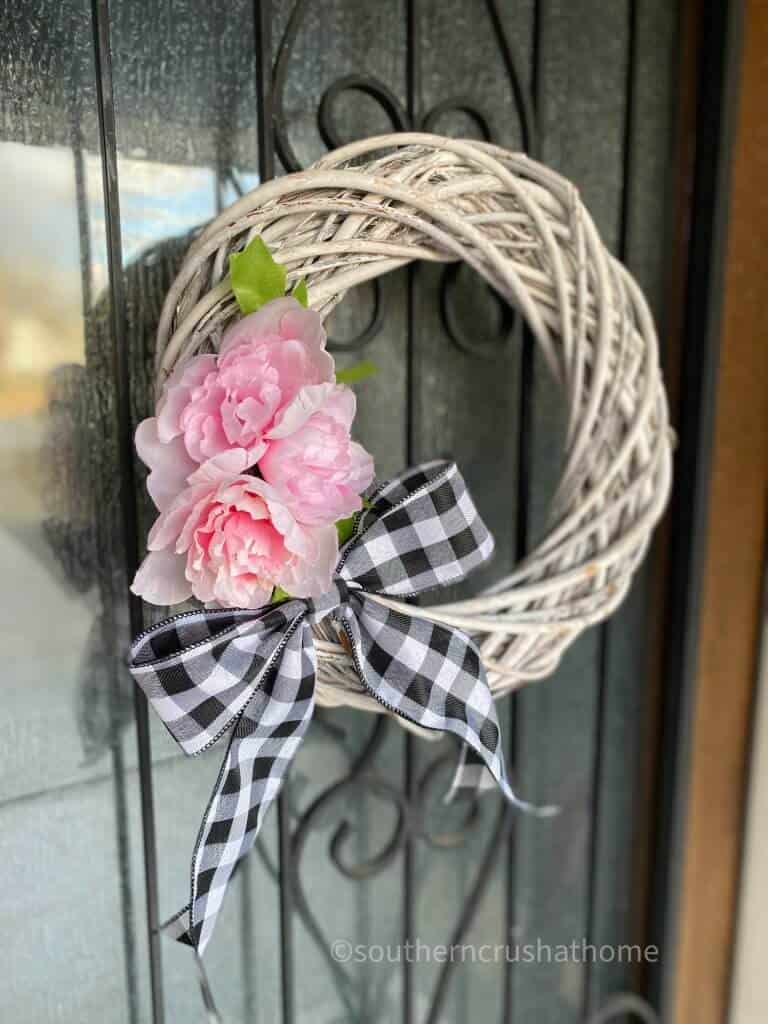
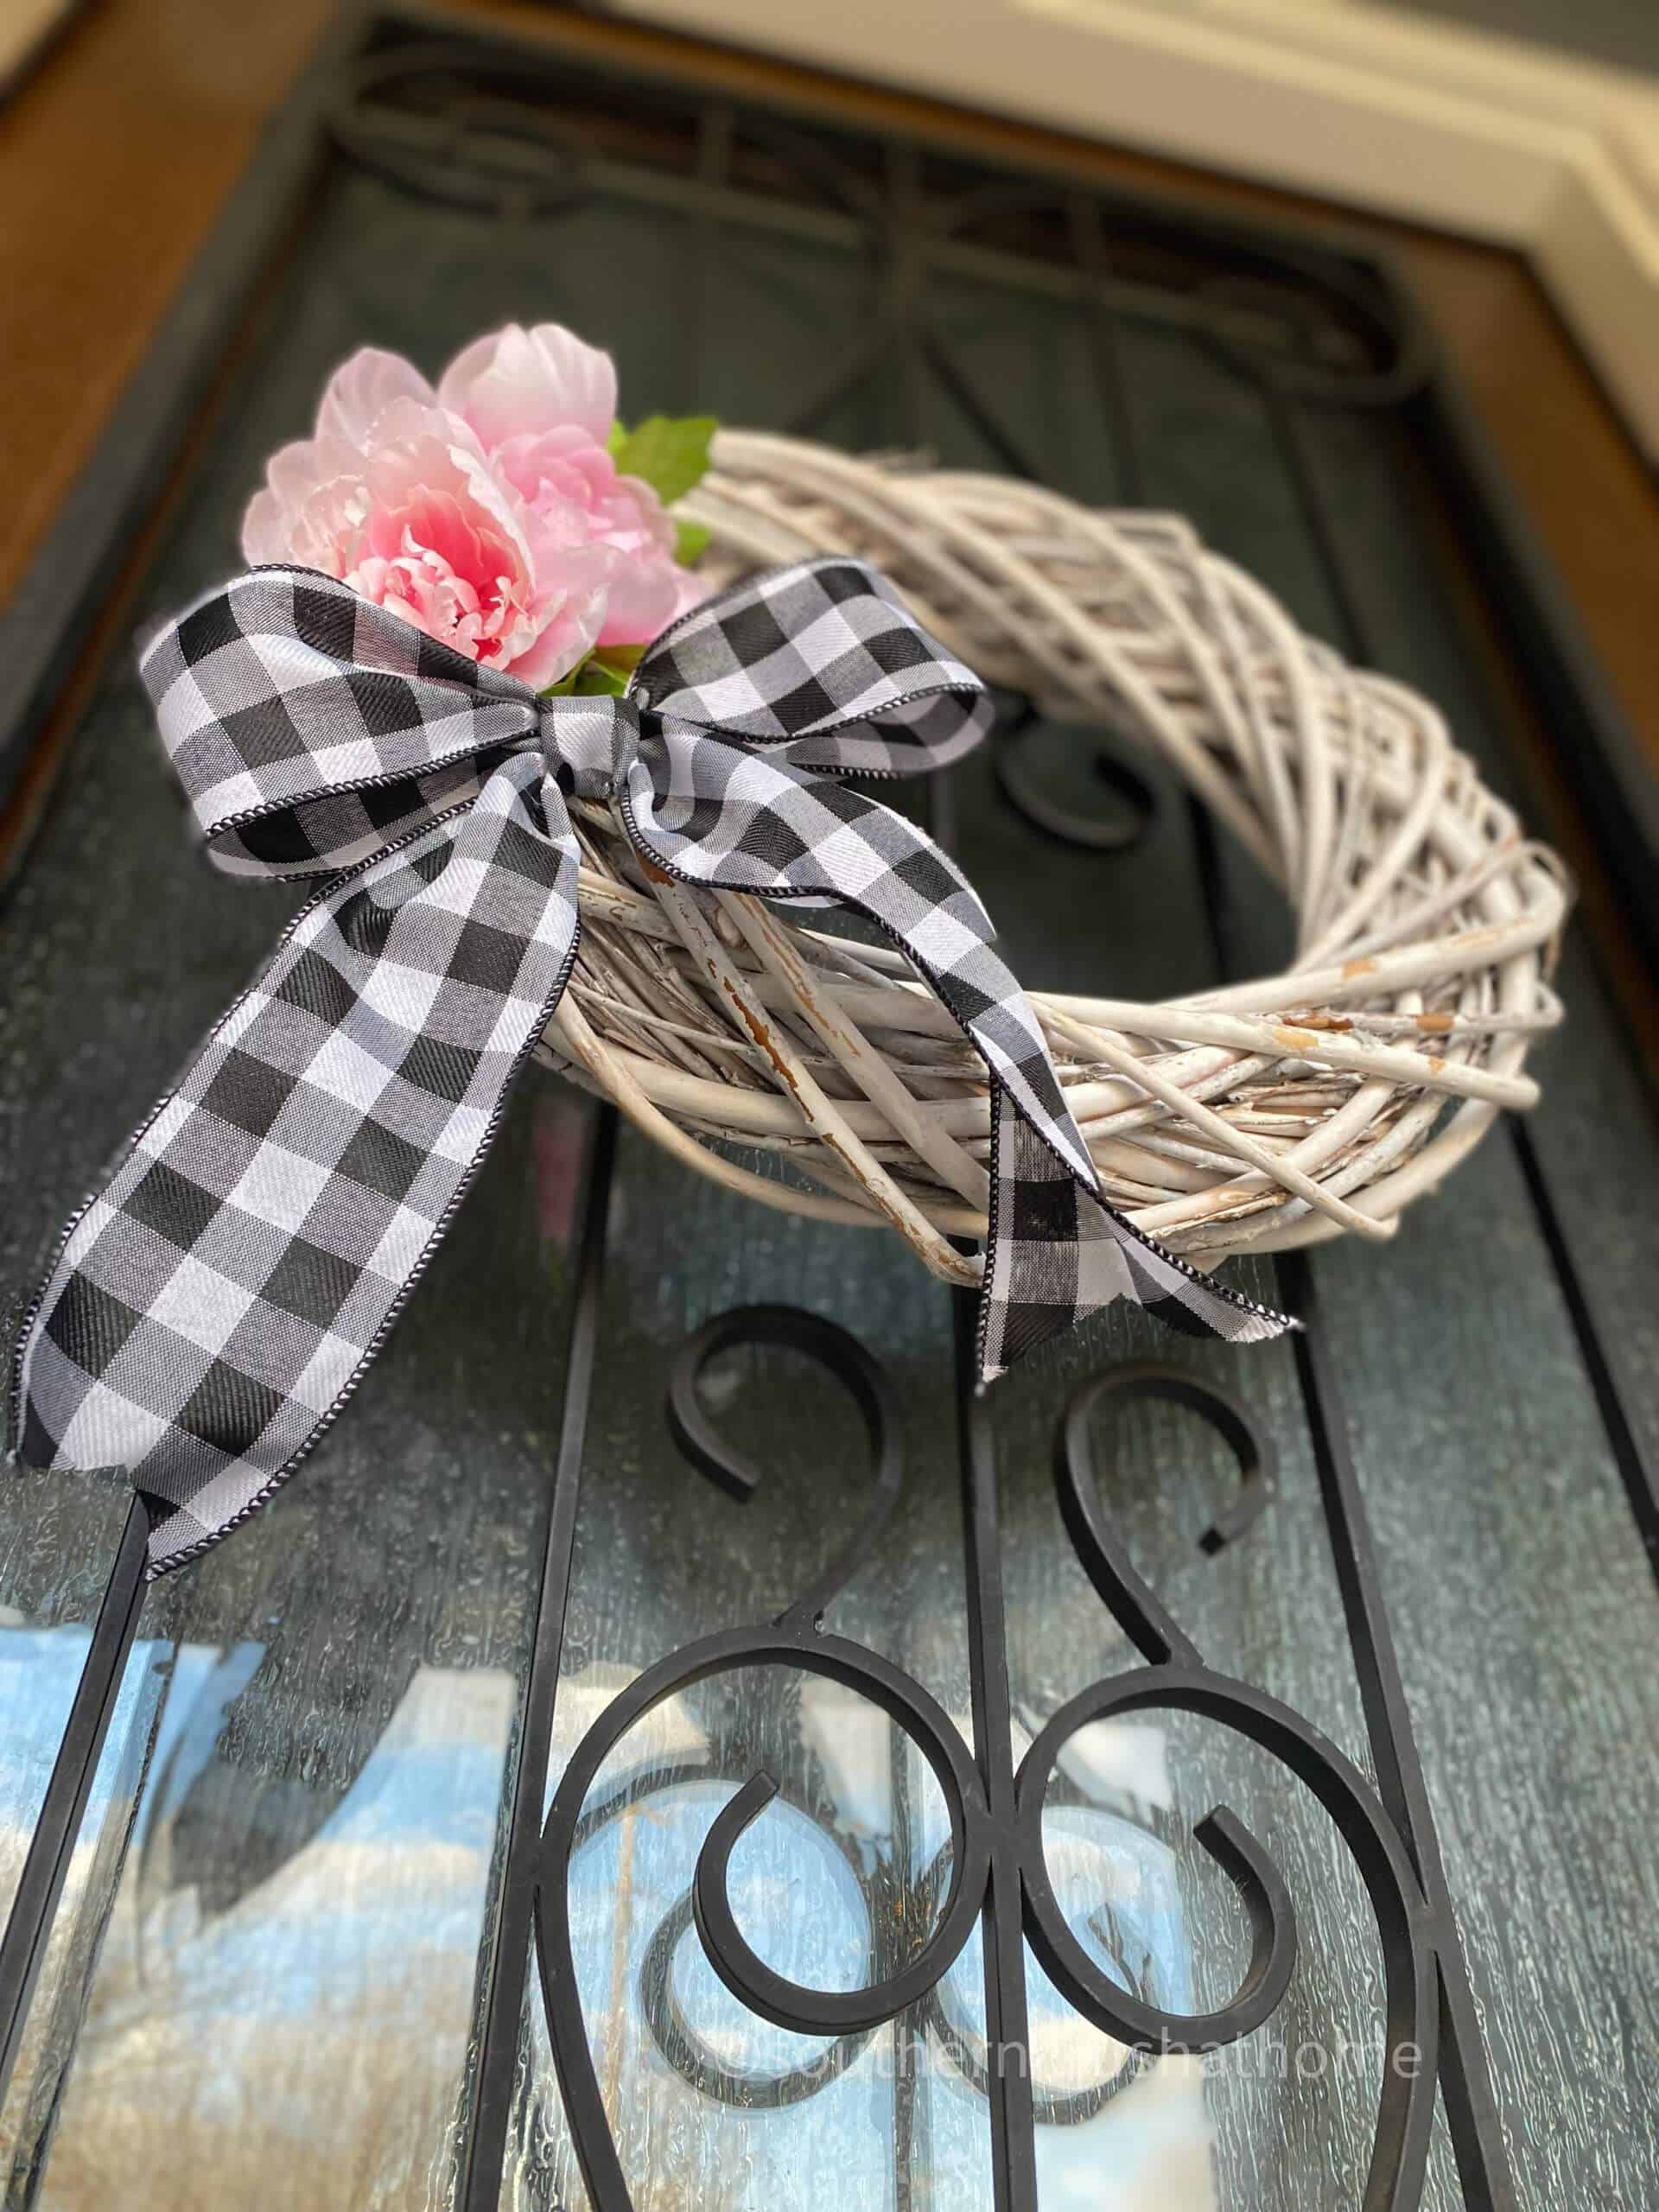
I attached this beauty to a simple grapevine wreath and hung it on my door. It looks so pretty, doesn't it?
Make your own bows using your favorite ribbon and this amazing new tool.
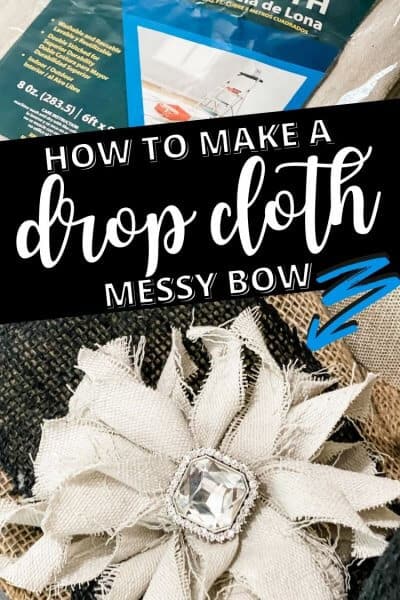
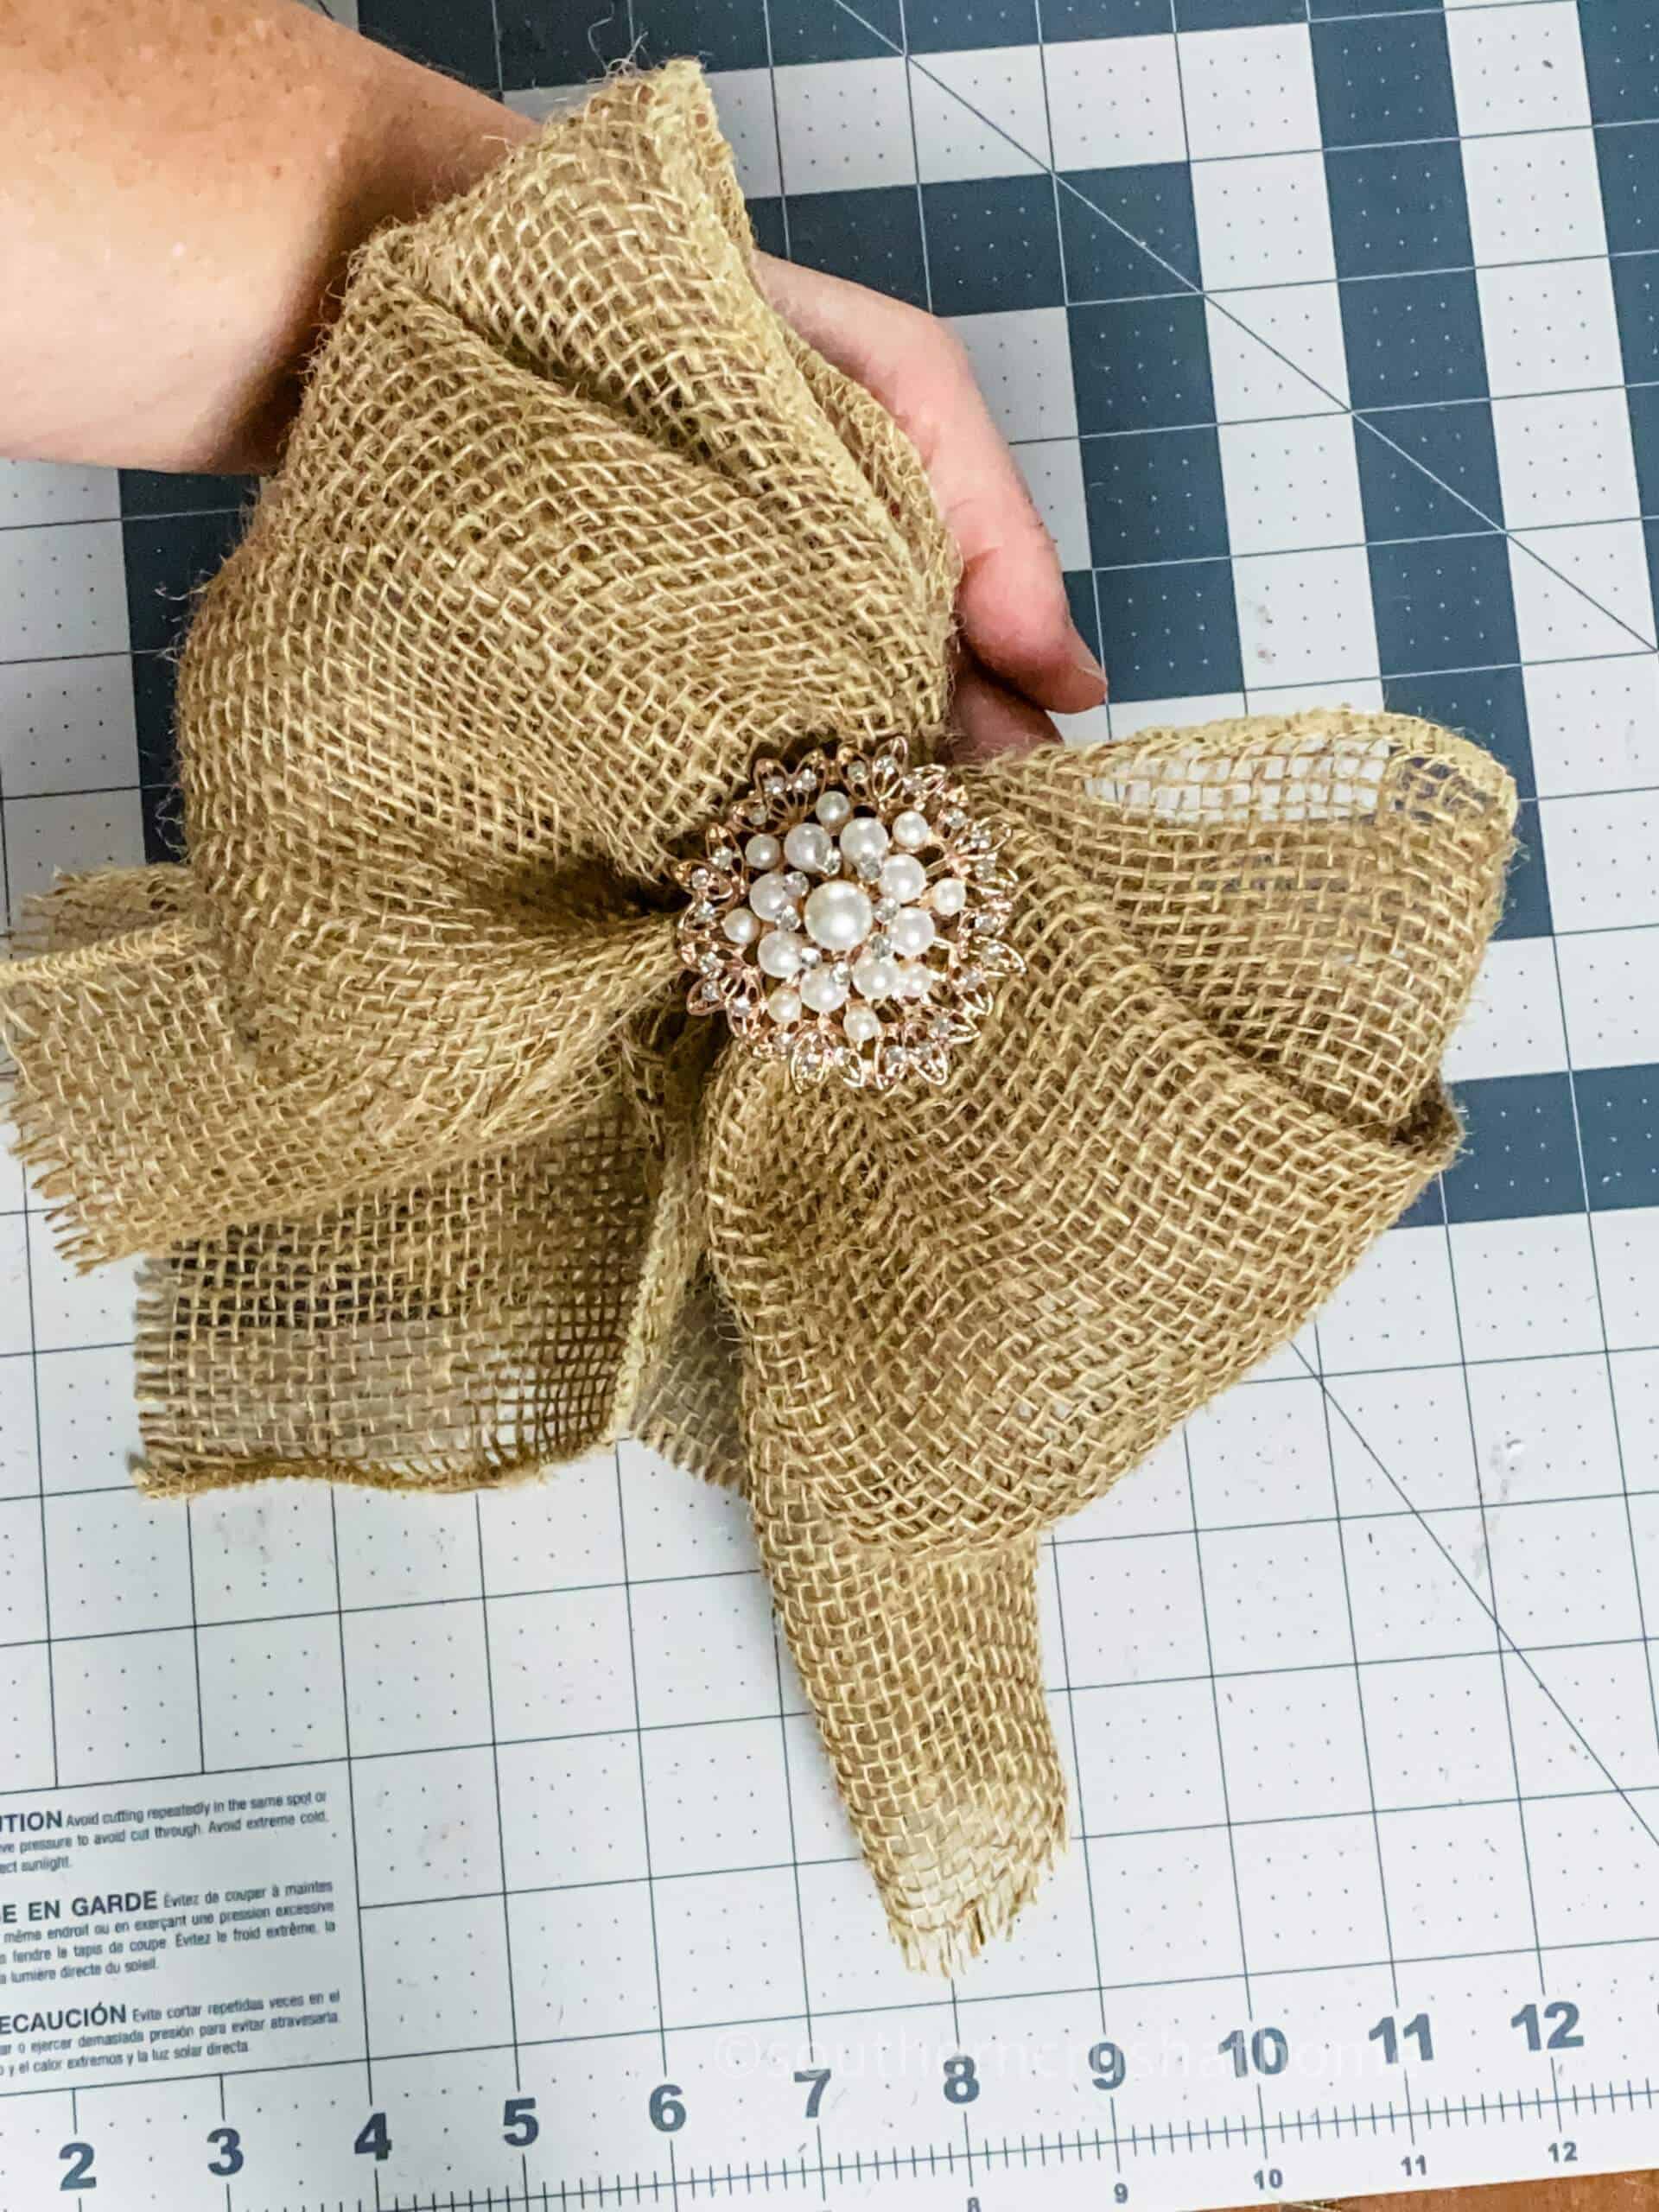
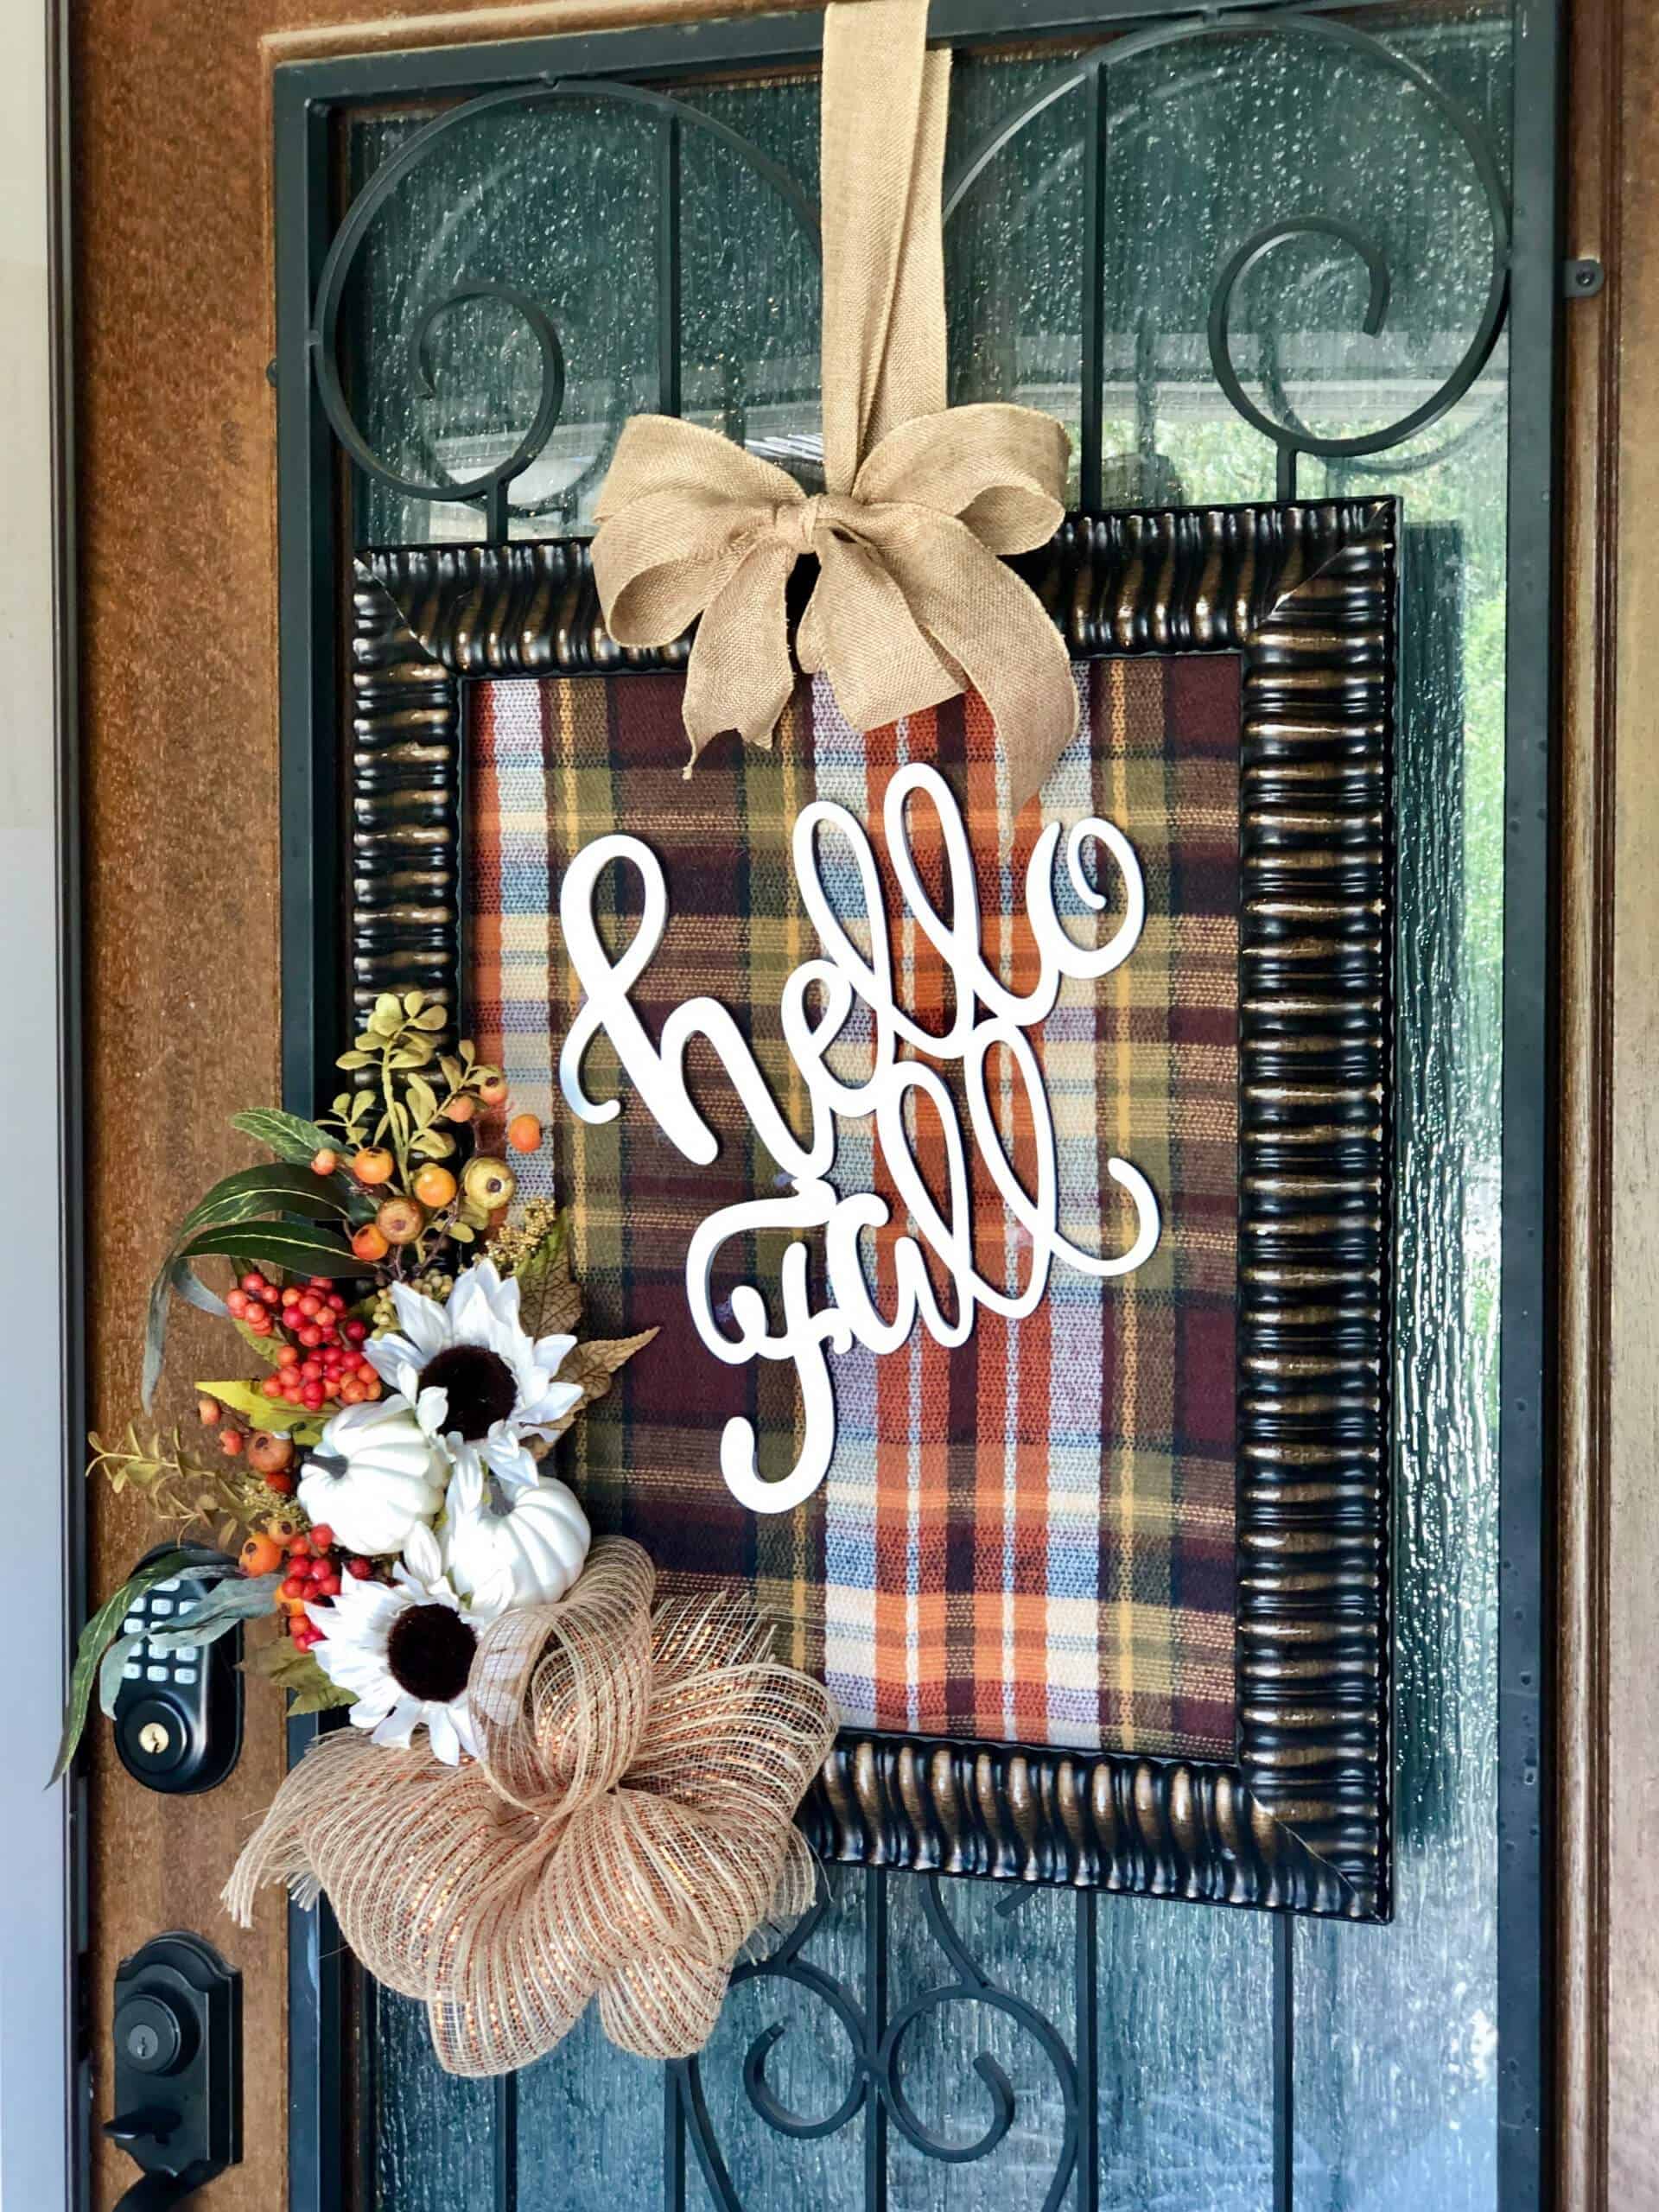
Burlap ribbon would be gorgeous. Have you seen my Easy Burlap Bow Tutorial?
My Easy Mesh Bow uses deco mesh instead of ribbon and is also a great wreath bow to use.
Instead of wire, I use a rubberband on this one with sweet little tails that flair out for added character. Make one here…
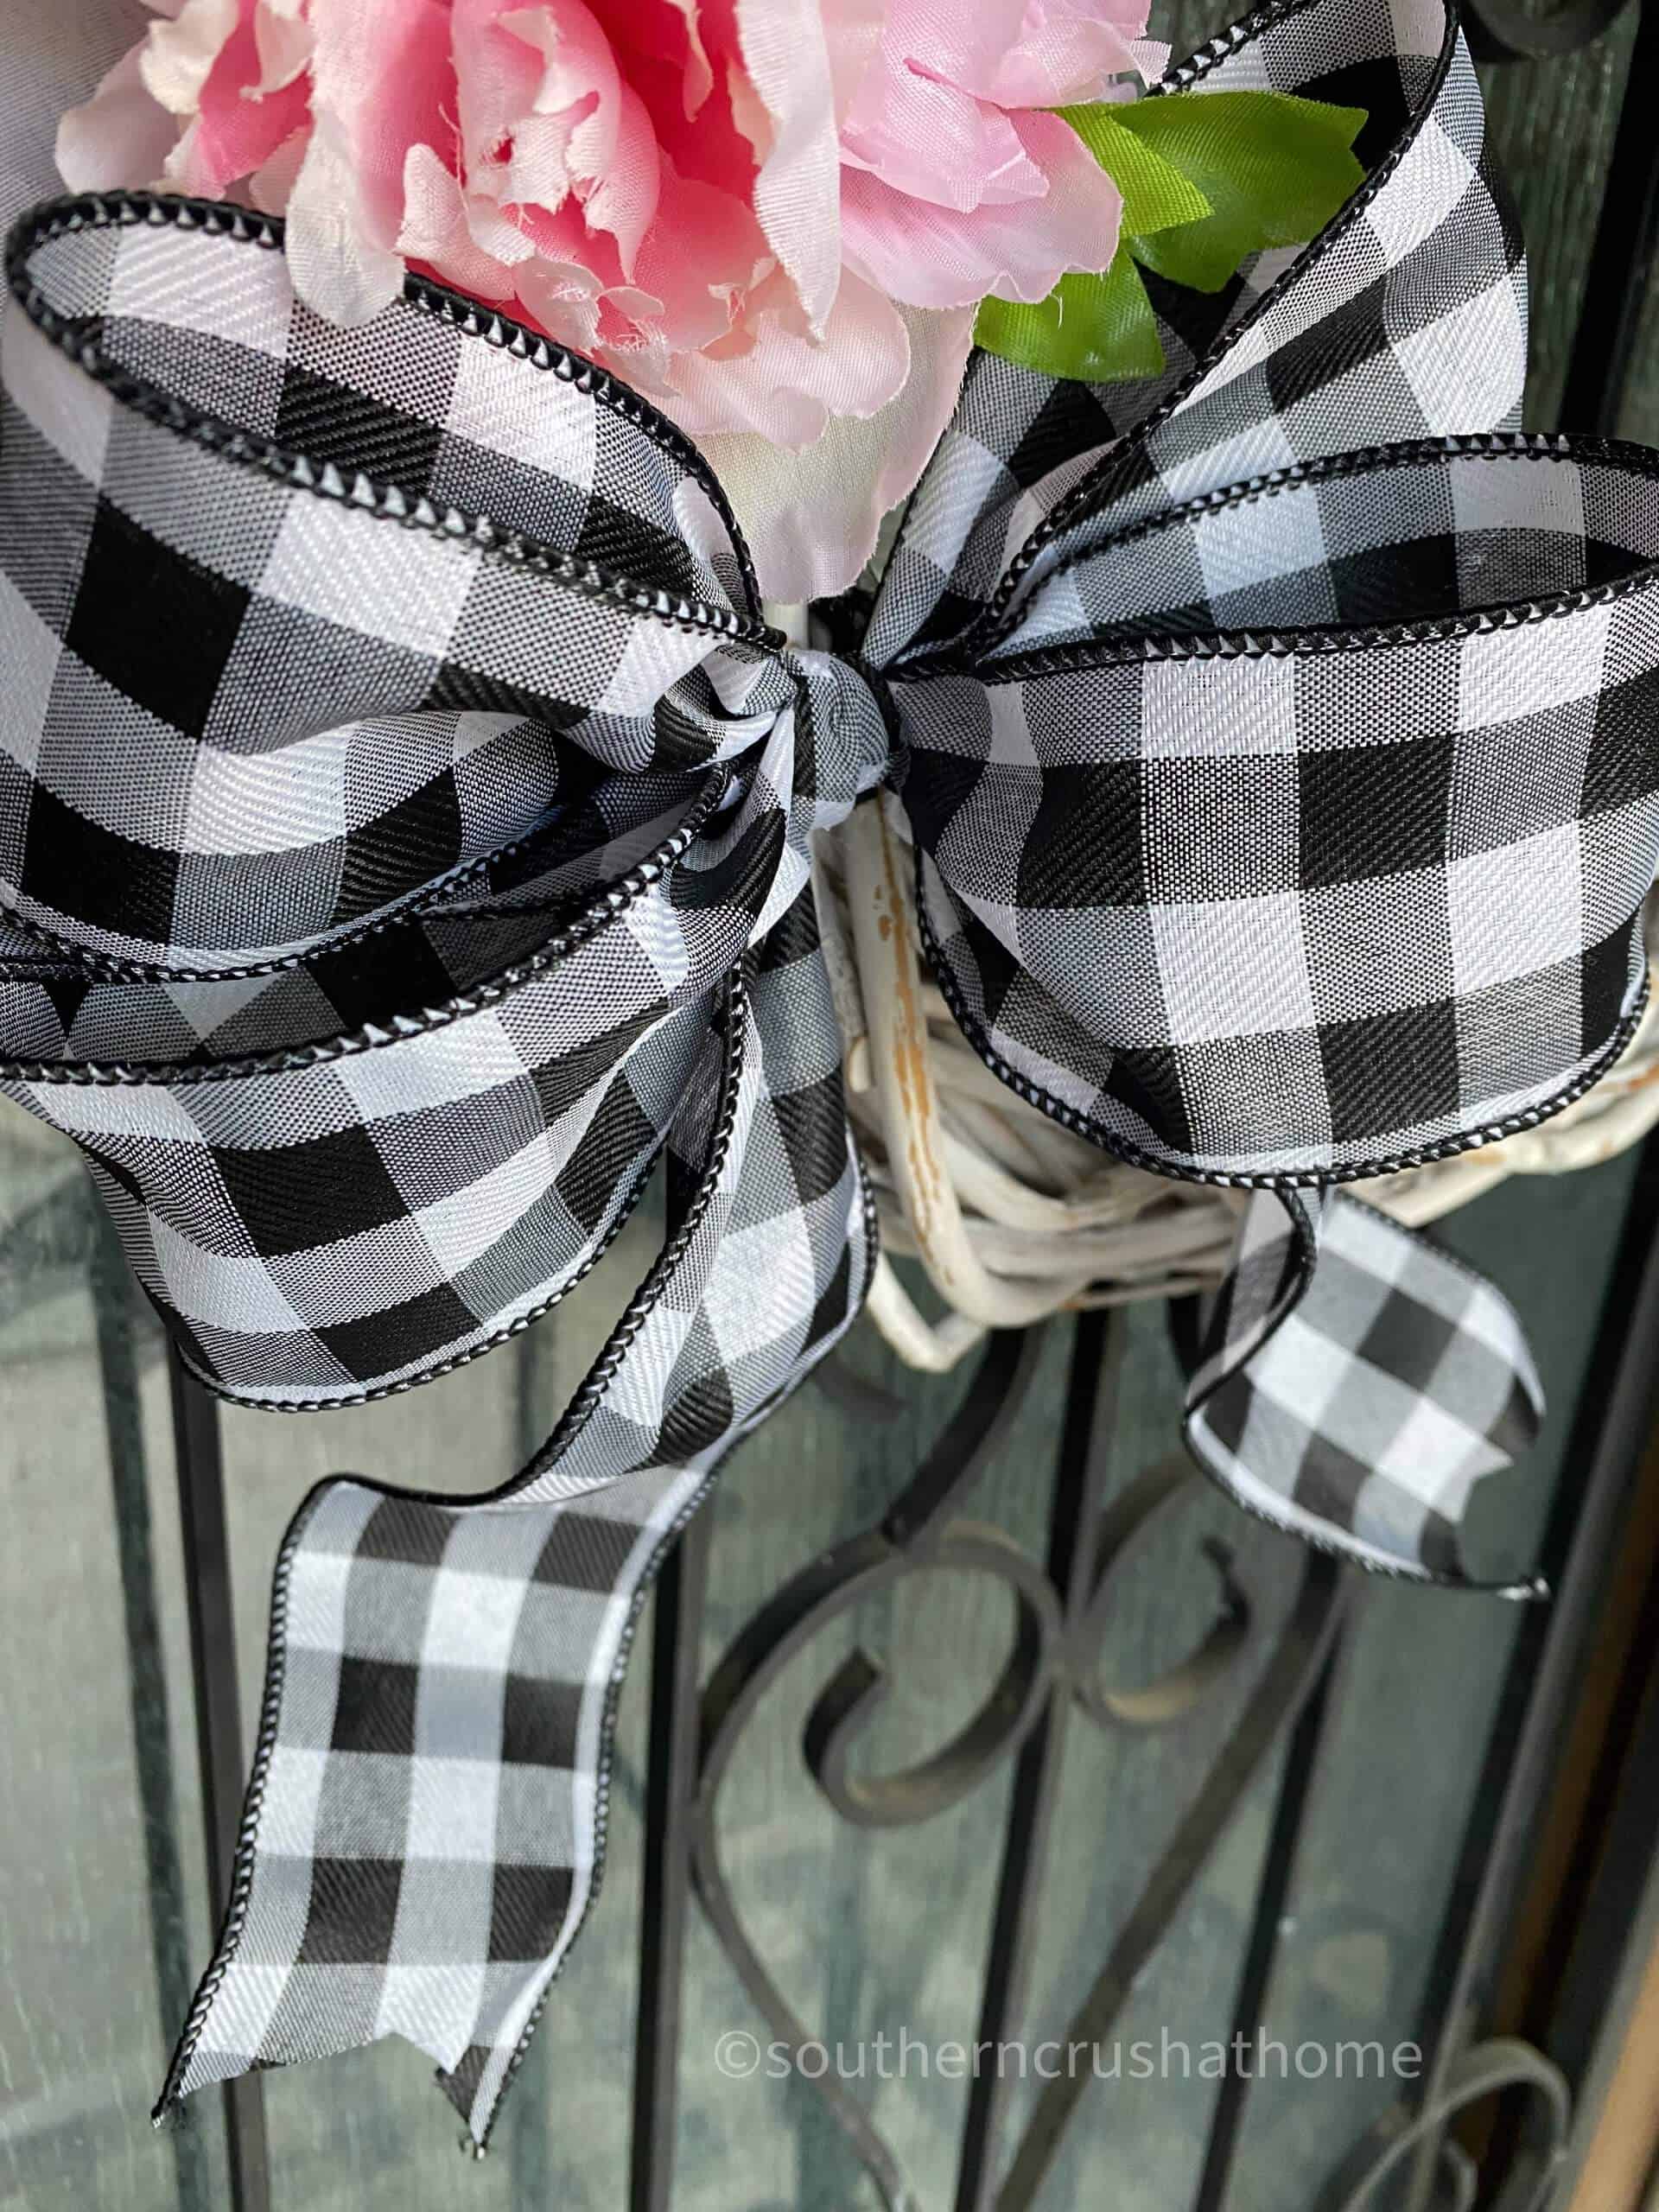
I'm still loving the simple look of this ribbon bow below though. You can get super creative with ways to use it and the ribbon choices are endless for this bow.
Wire or no wire, this one turns out pretty every single time.
How to Make a Big Bow for Beginners
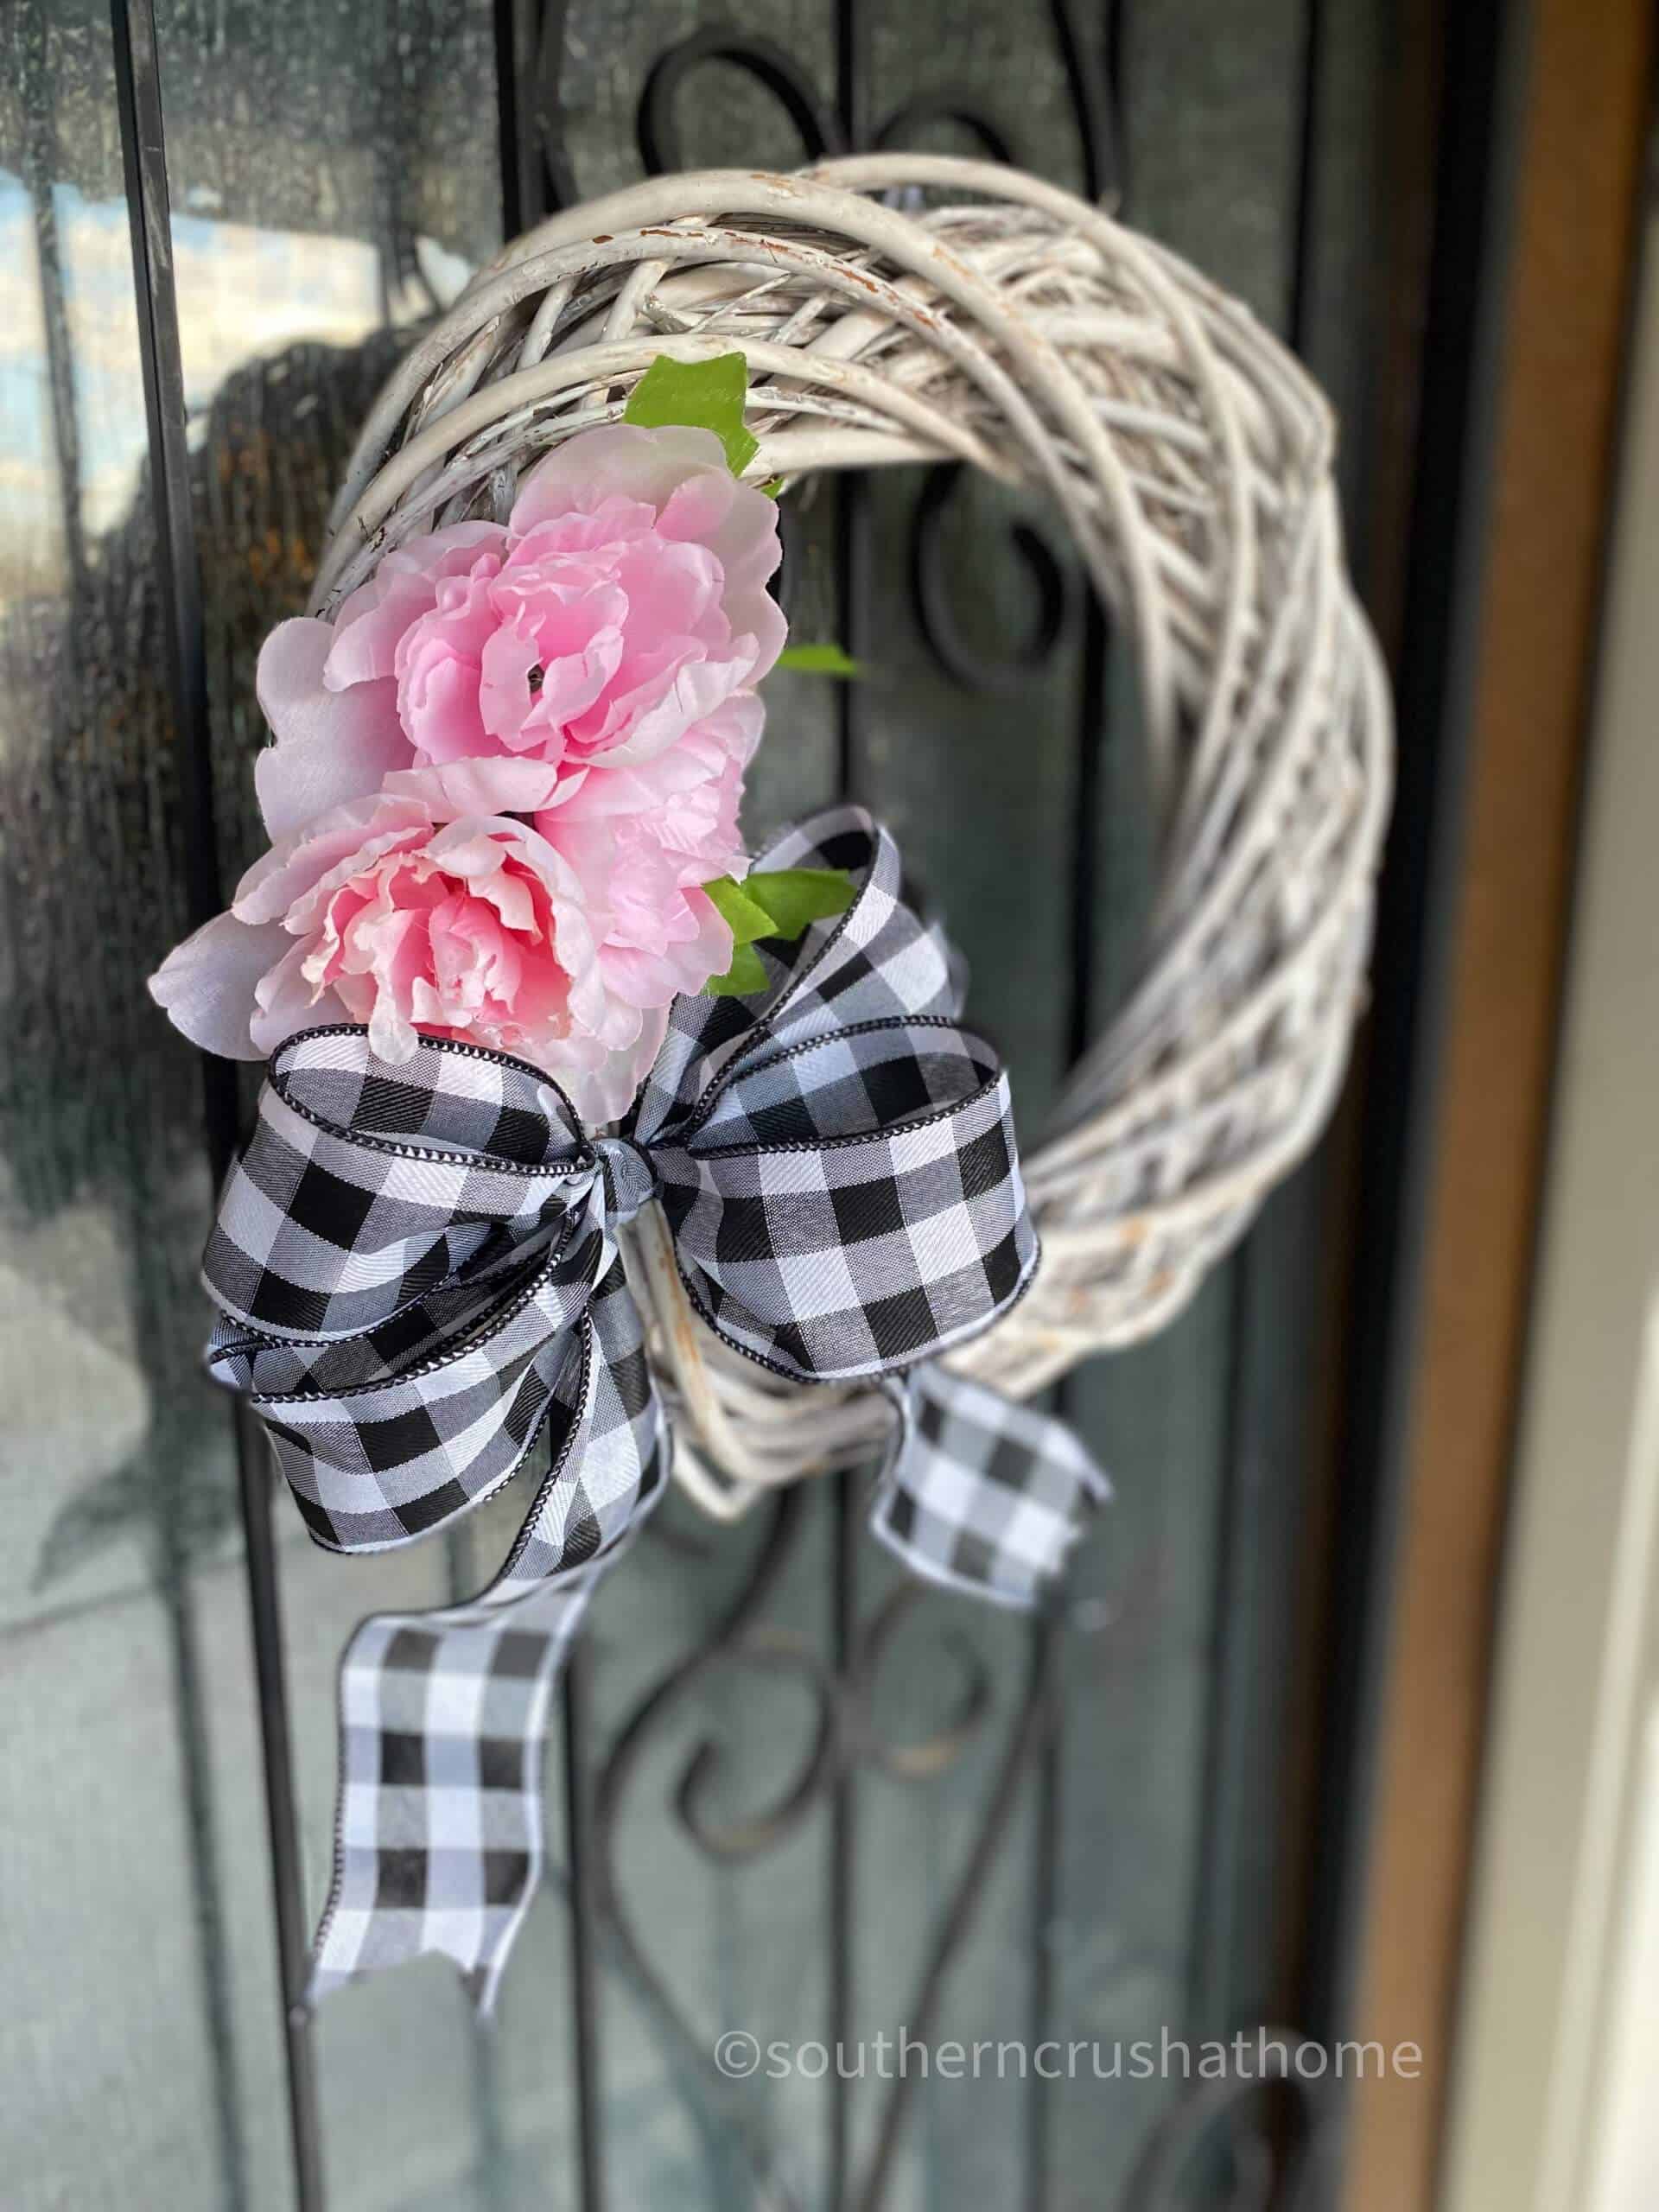
This is how the double loop bow turns out using my DIY Bow Maker. I just love it! How about you?
The double-loop ribbon bow is a big bow that makes a statement for any wreath.
It really pops on this simple wreath with a few spring flowers.
When the bow turns out this pretty, is this easy, and only takes 5 minutes or less; it's a winner in my book!
Look at it on a wreath for my front door!
Melanie's Bow Maker
This bow maker makes it so incredibly easy to create fabulous bows in all shapes and styles.
Add them to your mantel, make a bunch for a Christmas tree, add one to a gift box, us them in your holiday decorating. There are so many uses.
Tips and Tricks for the Perfect Bow
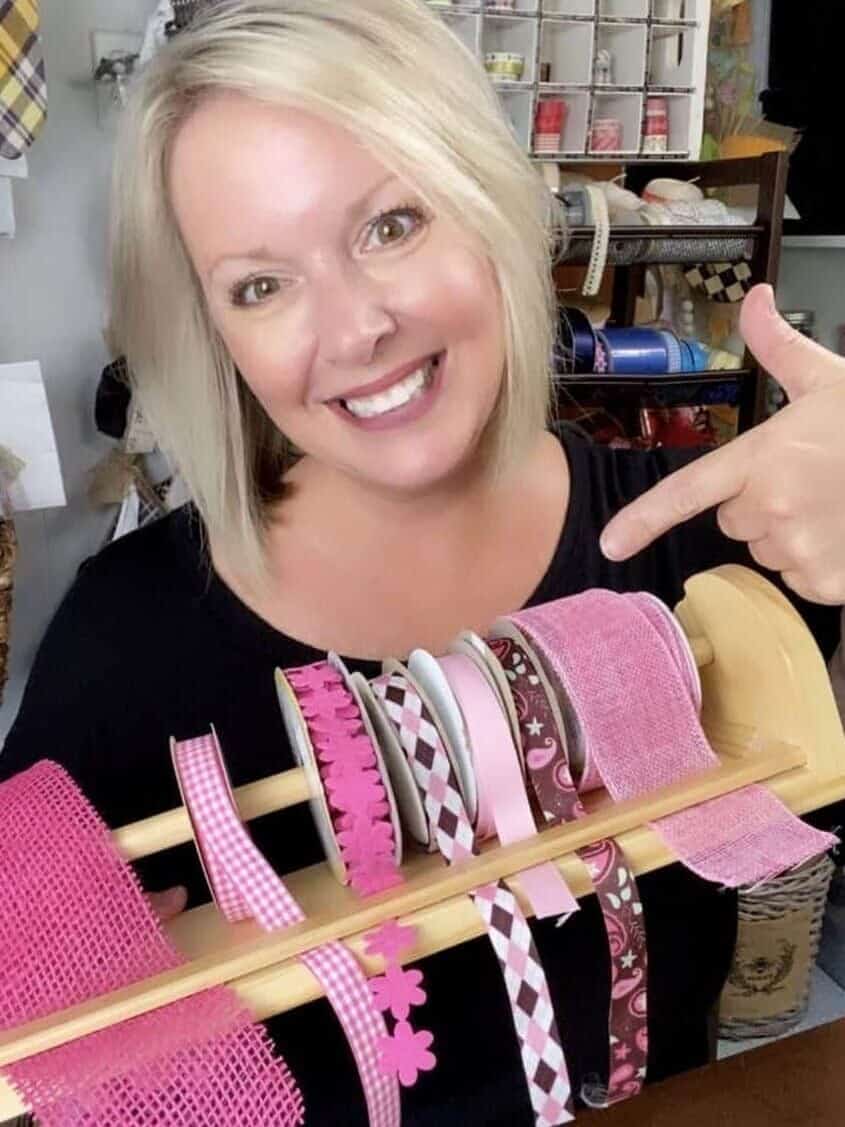
Whichever tool you choose to use, it is super important to remember that a good quality wired ribbon is your bow's best friend when it comes to shape.
PIN this for later!
Wired Ribbon is the key to a good wreath bow! When making a bow for a wreath, use high-quality for amazing bows every single time.
Ribbon Buying Tips
I usually stock up on good-quality ribbons when it’s 50% off from the craft stores. I watch for the sales on the ribbon at Hobby Lobby with this handy Sale Cheatsheet I put together for us!
If you must use a non-wired ribbon like satin, use shorter and fewer loops and you will still love the way it turns out!
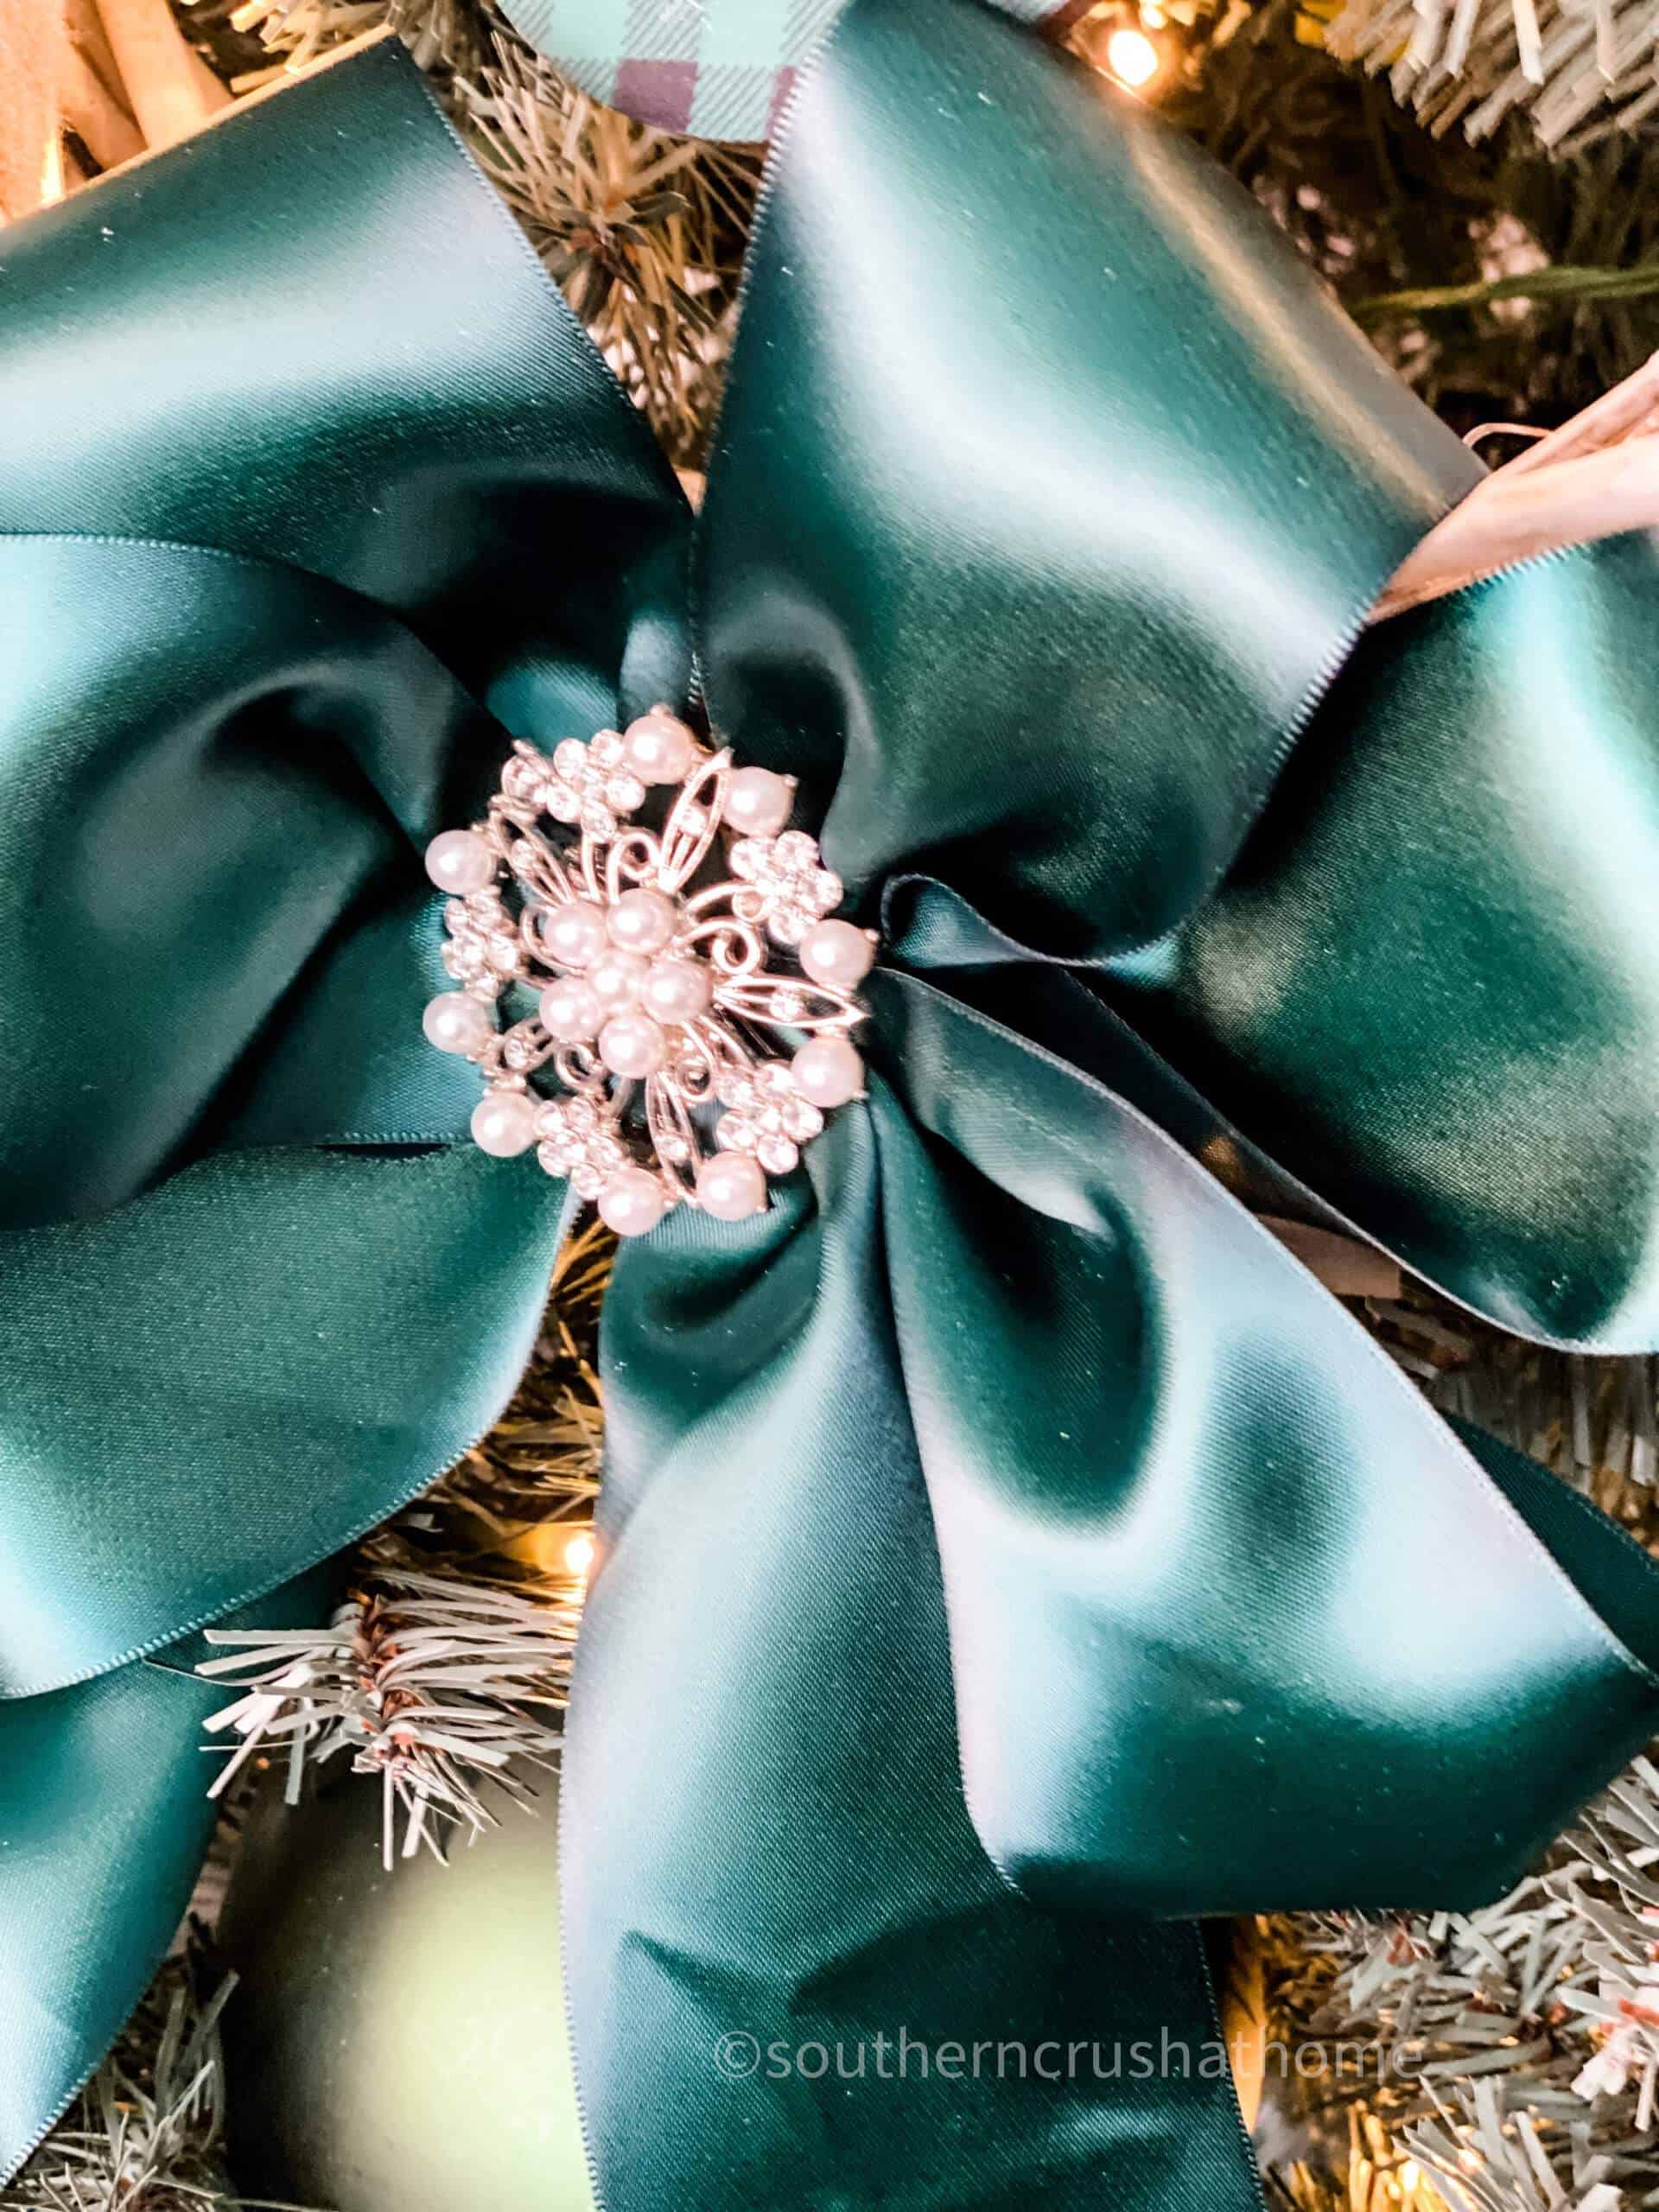
I decorated my entire Christmas tree with deep dark green wide satin ribbon bows with bling in the center this year and I'm in love with the way it looks.
I hope I've inspired you with this idea to grab some ribbon and make your own handmade ribbon bows using my bow maker tool.
I'd love to read your follow-up comments below if you make your own bows.

How to Make an Easy 5 Minute Bow for a Wreath
Equipment
- Melanie's DIY Bow Maker
- scissors
Materials
- 1 wired ribbon
- 1 zip tie
Instructions
- Start by placing a zip tie or floral wire or even a pipe cleaner between the two wood dowel rods of the bow maker.
- Slide a single strip of wired ribbon between dowels on top of zip tie leaving out enough piece of ribbon to cut tails to the desired length of your bow.
- Start by creating the first loop which is a single loop for the bow by folding one end of the ribbon in half lengthwise through the wood dowels.
- Next up, create the second loop with the ribbon on the opposite side with a twist on the bow maker.
- Repeat this process back and forth with the remaining ribbon to create as many loops as you would like your ribbon bow to have.
- Now that you have your loops created, place your index finger in the center again to hold it and bring the zip tie up to secure the bow.
- Remove the bow from the bow maker and fold each tail piece of ribbon in half to trim with the bunny ear trick.
- Take a small piece of ribbon and fold it in on the sides. Tie the ribbon piece in a single loop knot or double knot around the center of the bow to cover the wire or pipe cleaner used to secure the ribbon.
- Be sure to fluff the loops and flatten out the tails on this simple bow and then get ready to show it off!
Oh Melanie,
I am struggling so bad with making my bows. I made ur bow maker but its not working out so great. I can’t figure out what I am doing wrong. HELP!!!!!
Thank you,
Michelle
Practice, practice, practice is my best advice. You’ll get better each time!