Dollar Tree Whisk Spider (featuring a Spider Messy Bow)
This Dollar Tree Whisk Spider is a BOOtiful craft for Halloween. It is simply adorable and will make a sweet addition to your Halloween decor. Gather your Dollar Tree supplies so you can make your own festive whisk spider! 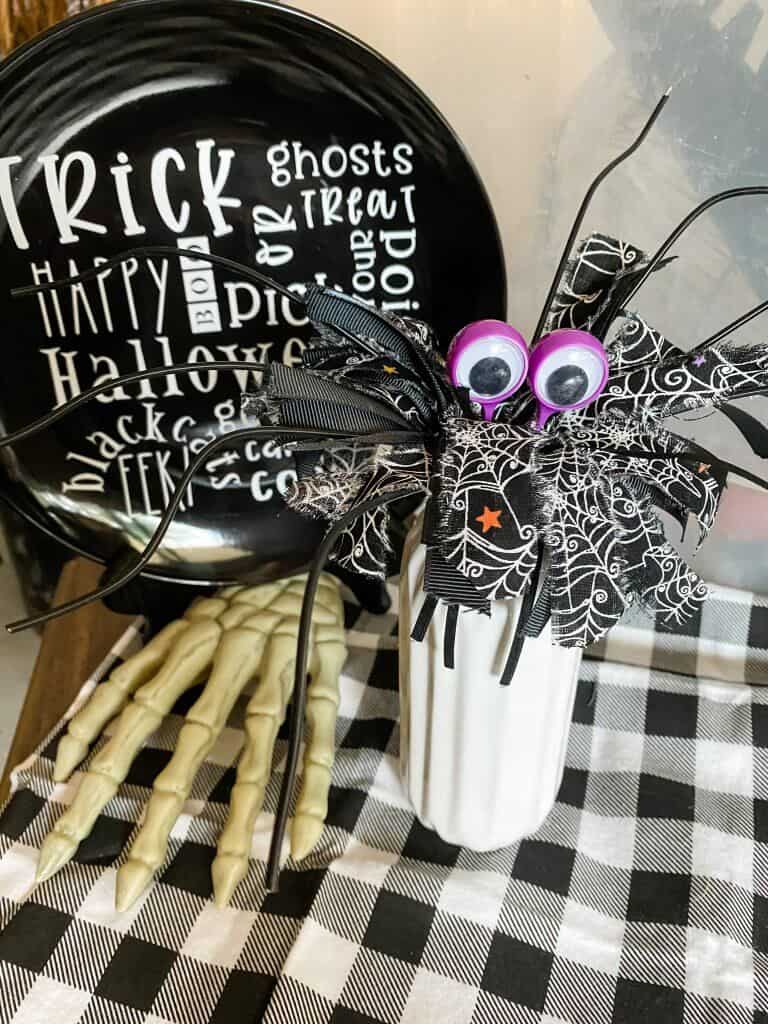
I'm so excited to share this Dollar Tree whisk spider with you. One of the reasons I LOVE to decorate my home for Halloween is because you can throw out all the rules and just have fun! Do you like to decorate your home for Halloween?
It includes my signature messy bow. If you haven't made one yet be sure to check out the quick and easy tutorial. You will want to make these for the upcoming holidays. Once you make one, you’ll be hooked. You will want to make “all the messy bows”!
TAKE A LOOK AT SEVERAL OTHER DIY MESSY BOWS I’VE SHARED:
- 5 Minute Lace Messy Bow
- Denim Messy Bow
- Messy Bow Burlap Pillow Wrap
- Christmas Tree Topper
- Messy Bow Fall Wood Block Decor
- Drop Cloth Messy Bow
Let me show you what you need for this little guy so you can make your own.
Be Sure to PIN this for Later!
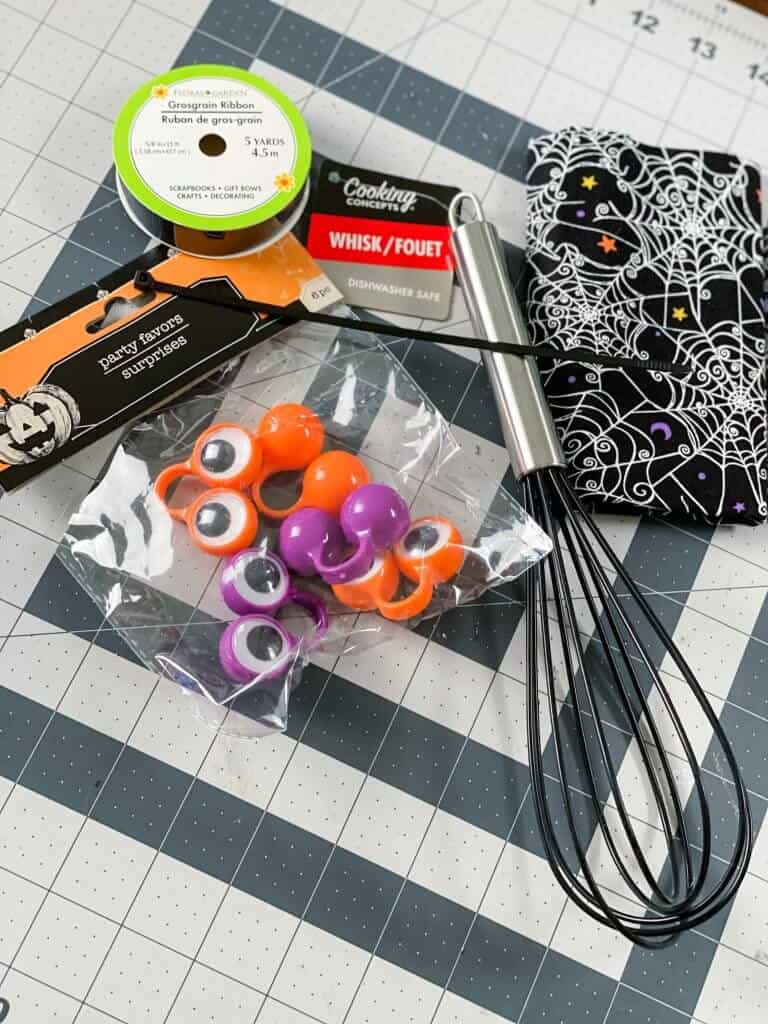
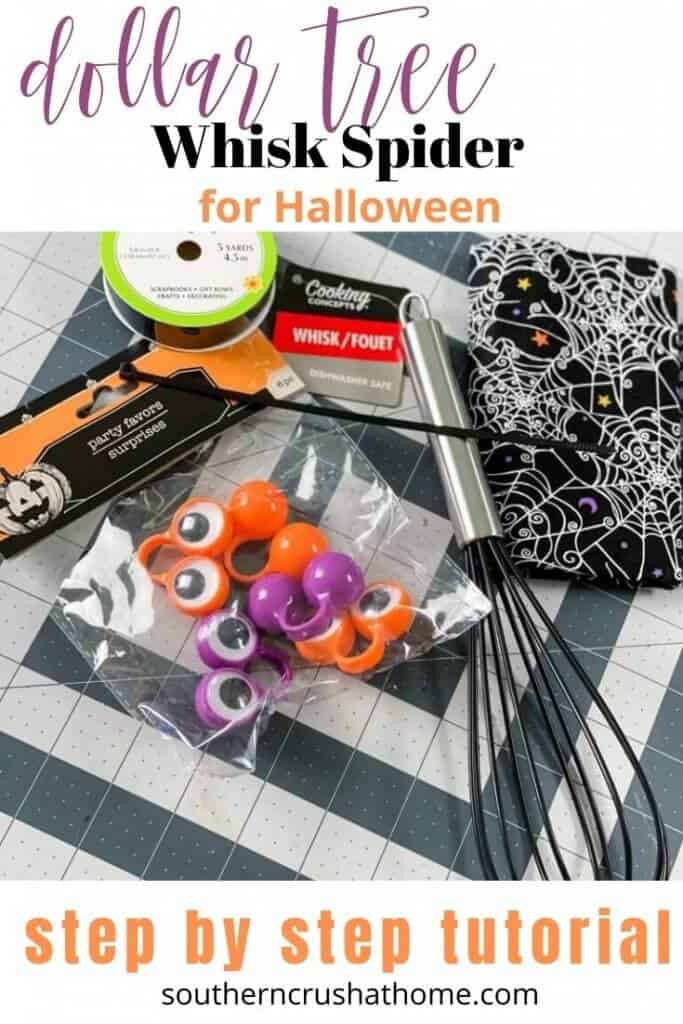
WHAT YOU’LL NEED TO MAKE a Dollar Tree Whisk Spider
All the supplies needed can be found HERE in my Amazon Shop!
- Scissors
- Zip Ties
- Dollar Tree Kitchen Whisks
- Black Grosgrain Ribbon
- Halloween Fabric
- Halloween Party Favors (eyes)
- Wire Cutters
- Hot Glue Gun
HOW TO MAKE a Dollar Tree Whisk Spider
Start by making your messy bow. This will be the base of the spider. Use scissors to place small cuts about 1″ inch apart across the length of your Halloween fabric. You can simply rip the fabric at the start of each cut to create your strips.
Cut the strips in half again. Make the bow larger or smaller by the amount of fabric strips that you use. For this messy bow I used approximately 12-15 strips.
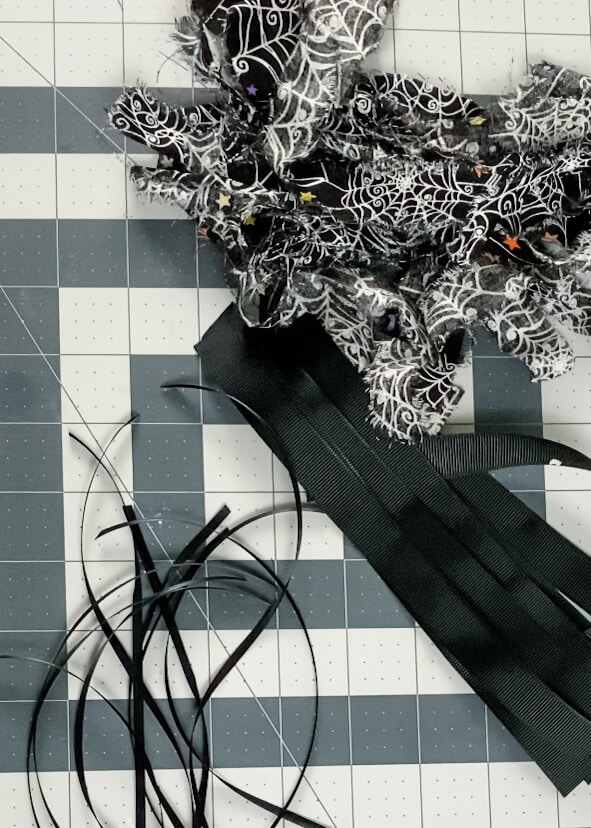
Cut your ribbon in the same length as your fabric. Simply lay all of the pieces in a criss-cross circular pattern until all the scraps are used. This really does not take long at all. Start to finish this only takes about 10 minutes.
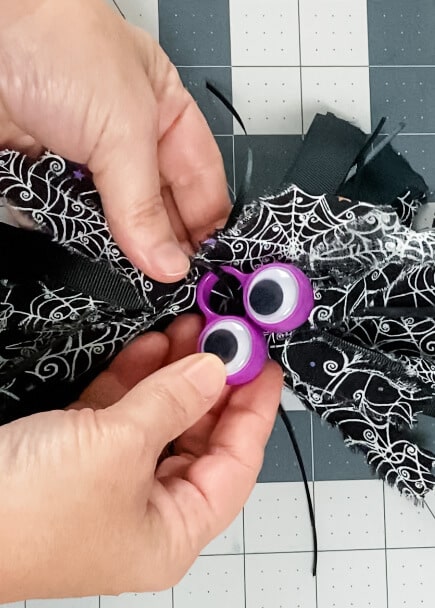
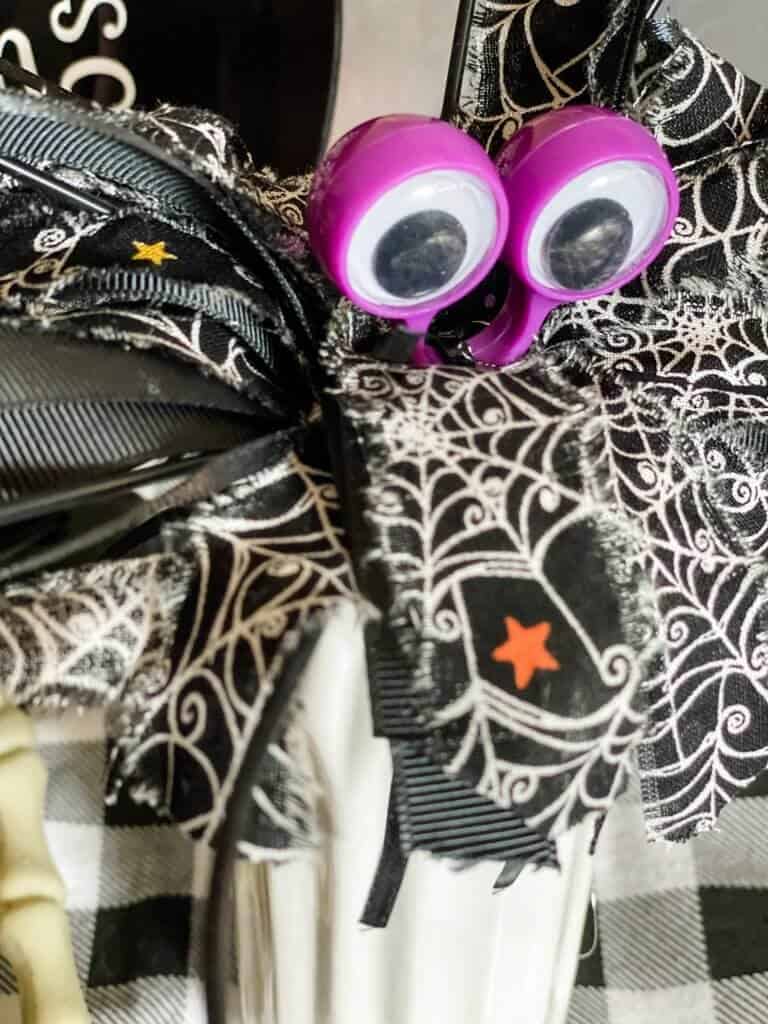
Attach the fun craft googly spider eyes into the center of the messy bow using the zip tie to secure.
Dollar Tree Whisk Spider
NEXT…
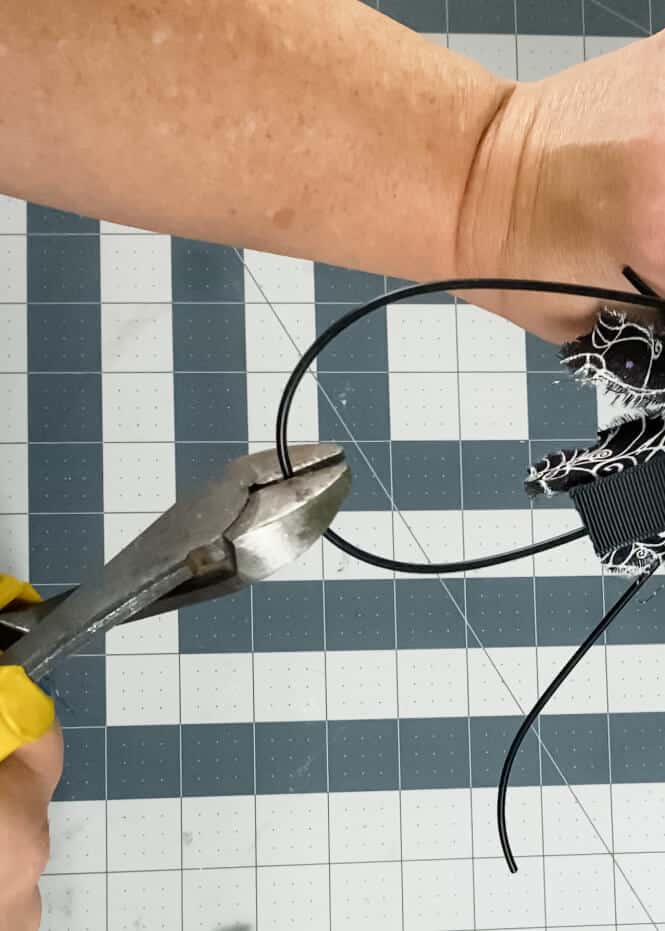
Cut the top middle of each individual wire of the whisk with wire cutters. These are going to be the spider's legs.
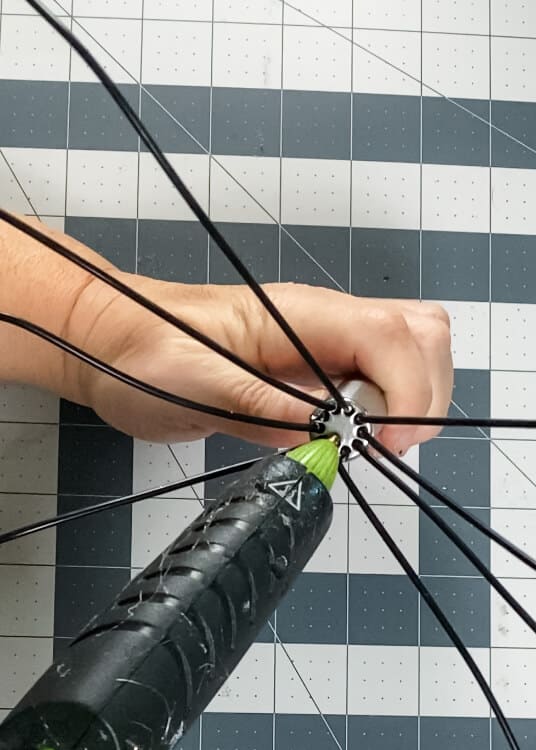
Bend each of the wires to create the spider legs. I removed two of the wires to make four legs on each side of the whisk.
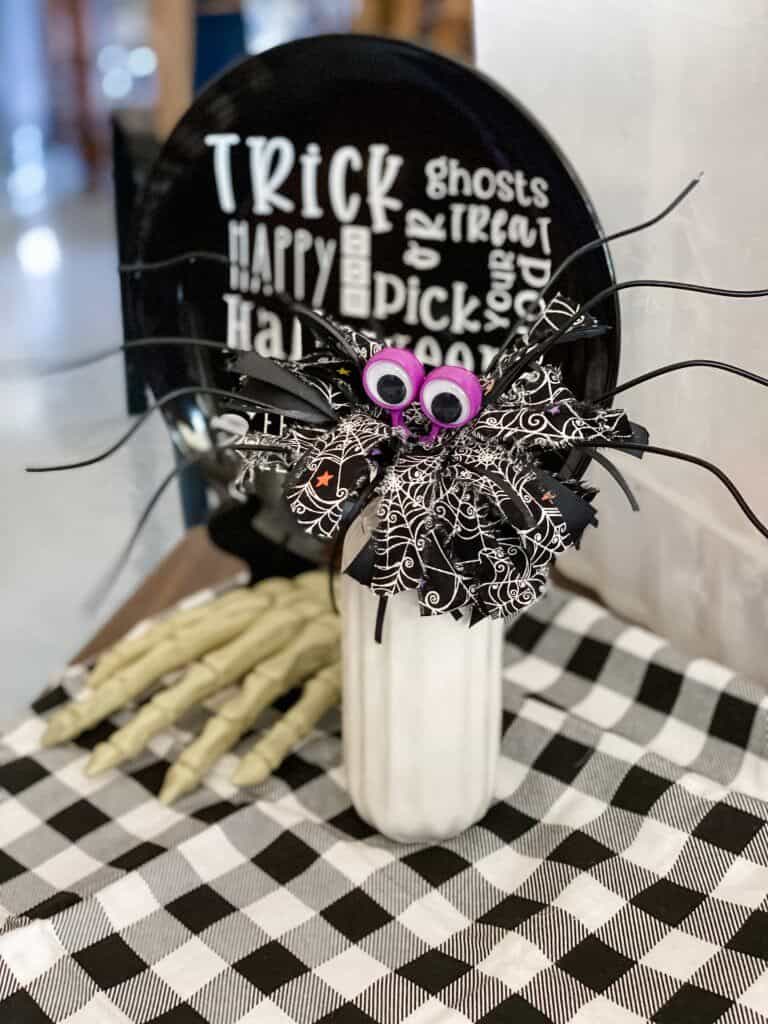
Hot glue your messy bow to the center of the whisk base.
THAT'S IT!
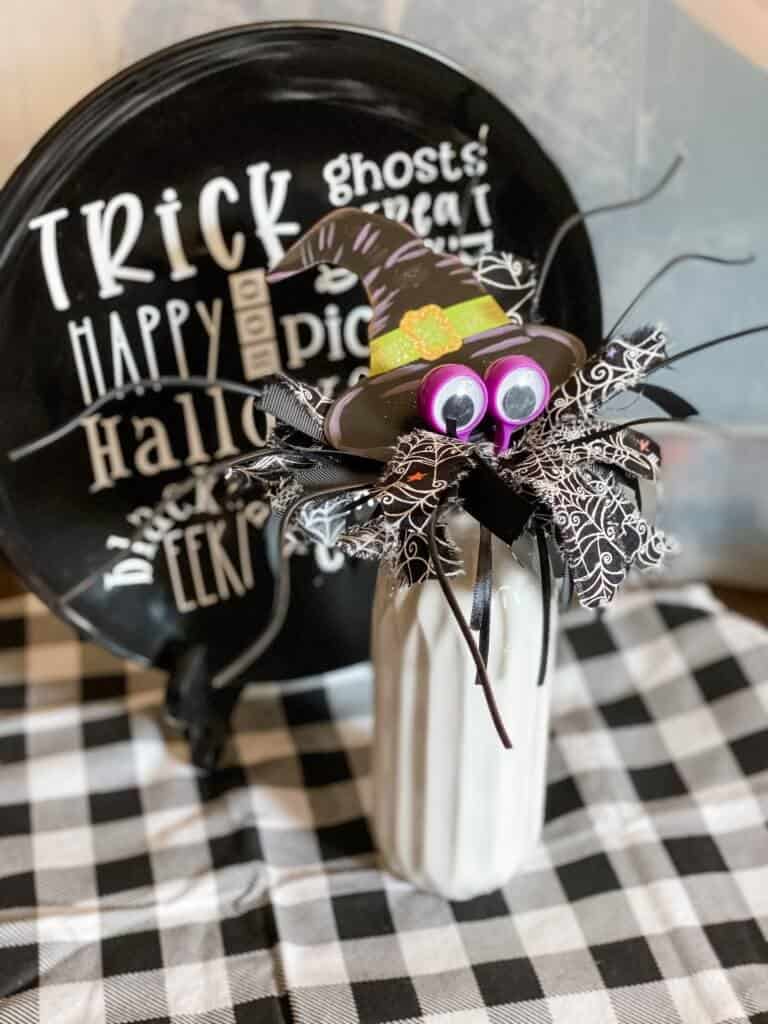
There are so many fun ways to decorate with these spiders. I placed it on top of a small jar. You can use mason jars, add it to a tray. Simply place it on a side table, or in a Halloween vignette. I hope you enjoyed this darling Halloween whisk spider. Let me know if you give it a try!
I even added a little witch hat to the spider for an extra bit of fun!
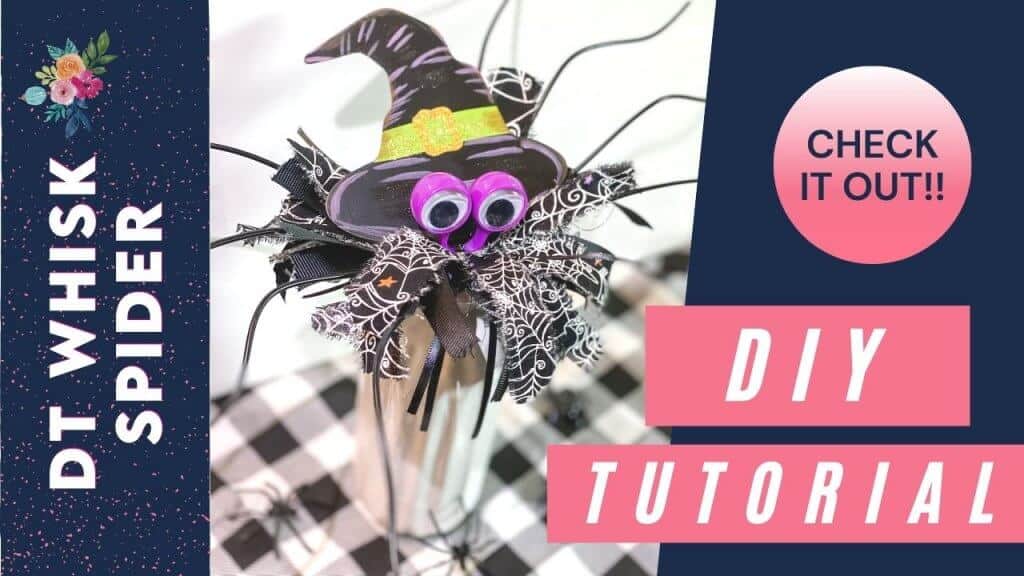
STEP BY STEP VIDEO TUTORIAL
If you want to see the exact step by step process for this whisk spider, be sure to check out the video tutorial below over on my YouTube Channel!
Be sure to PIN this for later!
BE SURE TO CHECK OUT THESE OTHER Dollar tree HALLOWEEN ideas!
- Dollar Tree Halloween Gnome Banner
- Cricut Dollar Store Halloween DIY
- Halloween Coffee Table Tray Decor
Dollar Tree Whisk Spider with Messy Bow
Equipment
- scissors
- Wire cutters
Materials
- Zip Ties
- Dollar Tree Kitchen Whisk
- Black Grosgrain Ribbon
- Halloween Fabric
- Halloween Party Favors (eyes)
Instructions
- Start by making your messy bow.
- Use scissors to place small cuts about 1″ inch apart across the length of your Halloween fabric.
- You can simply rip the fabric at the start of each cut to create your strips.
- Cut the strips in half again.
- Cut your ribbon in the same length as your fabric.
- Simply lay all of the pieces in a criss-cross circular pattern until all the scraps are used.
- Attach the fun spider eyes into the center of the messy bow using a zip tie.
- Cut the top middle of each individual wire of the whisk with wire cutters.
- Bend the whisk wires back so they are spread out on each side of the whisk base.
- Hot glue your messy bow to the center of the whisk base.
- Bend the legs to create the spider legs. Add a witch hat.