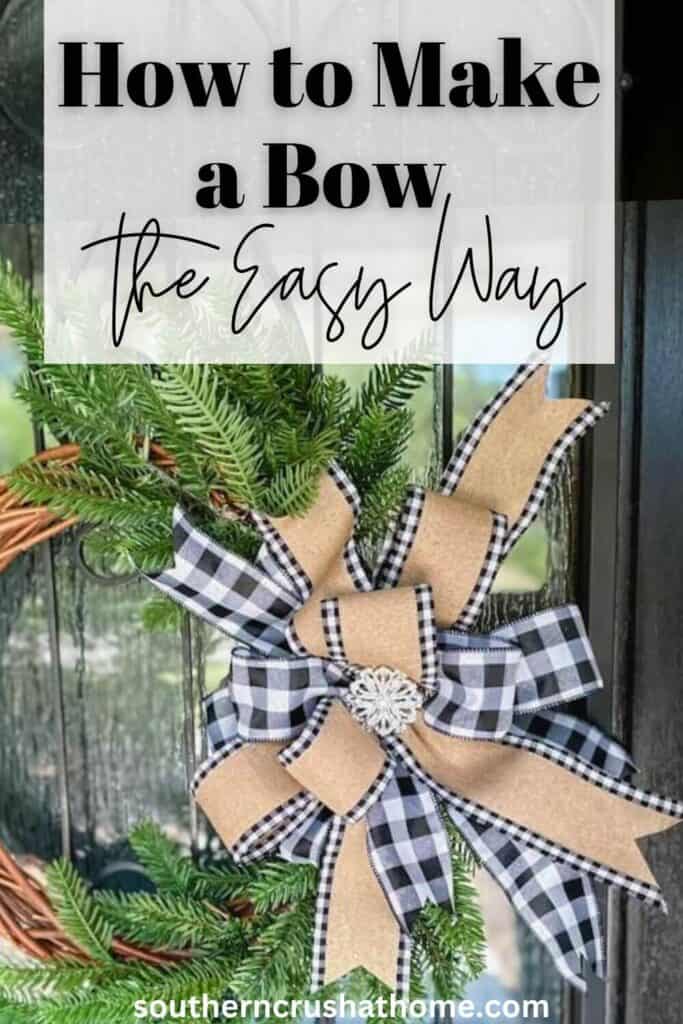
How to Make a Bow the Easy Way: EZ Bow Maker Tutorial
Do you struggle with how to make a bow? Or spend hours trying to make the perfect bow with inconsistent results? Today, we're diving into the world of easy bow-making using the amazing EZ Bow Maker tool.
No more wasting hours trying to get your bows just right – this clever device is here to help us create perfect bows in no time. So, let's get started and have some creative fun crafting beautiful bows!
PIN this for later!
Bows are the perfect finishing touch for so many projects, wreaths, gifts, and more. There's no reason not to learn how to make them for yourself. This step-by-step tutorial will help you learn how to create a bow the easy way.
This blog post contains affiliate links. The opinions are wholly my own from my own experience. I may earn a small commission from clicks through to the websites that end in a purchase.
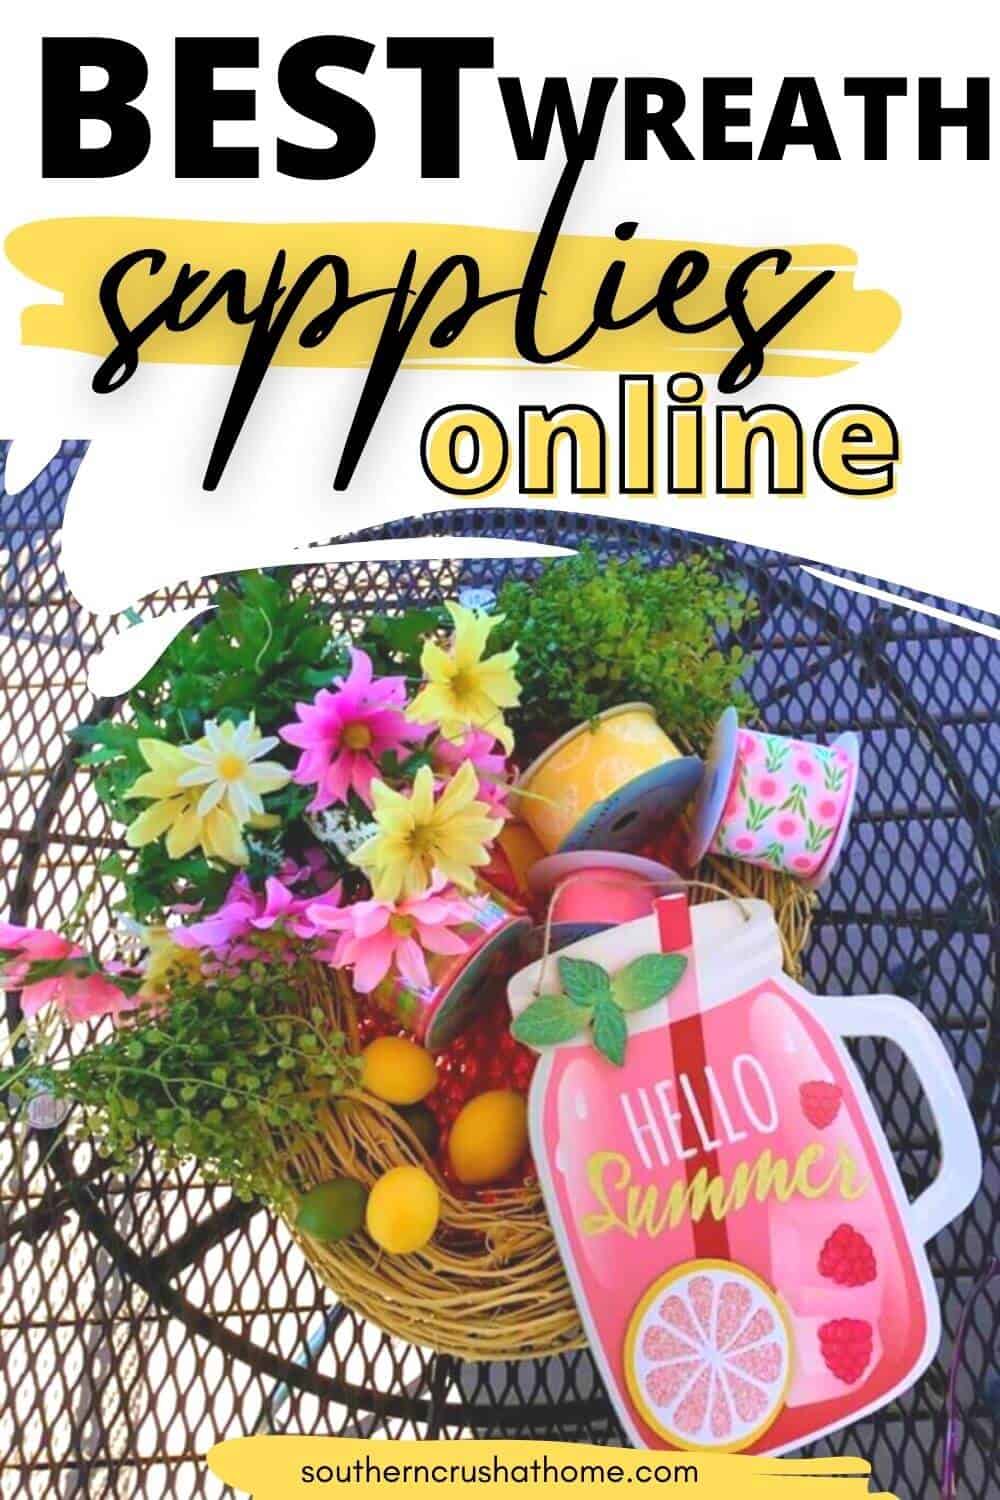
Supplies Needed for Making DIY Bows
Before we dive into the bow-making extravaganza, ensure you have all the necessary supplies.
- EZ Bow Maker
- 1-4 Different Wired Ribbons of your choice pick colors and patterns that complement your project (buffalo check ribbon is my favorite or can't you tell?LOL)
- Pair of scissors
- Wire snippers
- Either some floral wire or zip ties for securing your bow
- Chenille stem or pipe cleaner for attaching your bow
- Cutting mat with measurements (optional)
- Hot Glue (optional)
- Bling Embellishments (optional)
Bow Making Tools
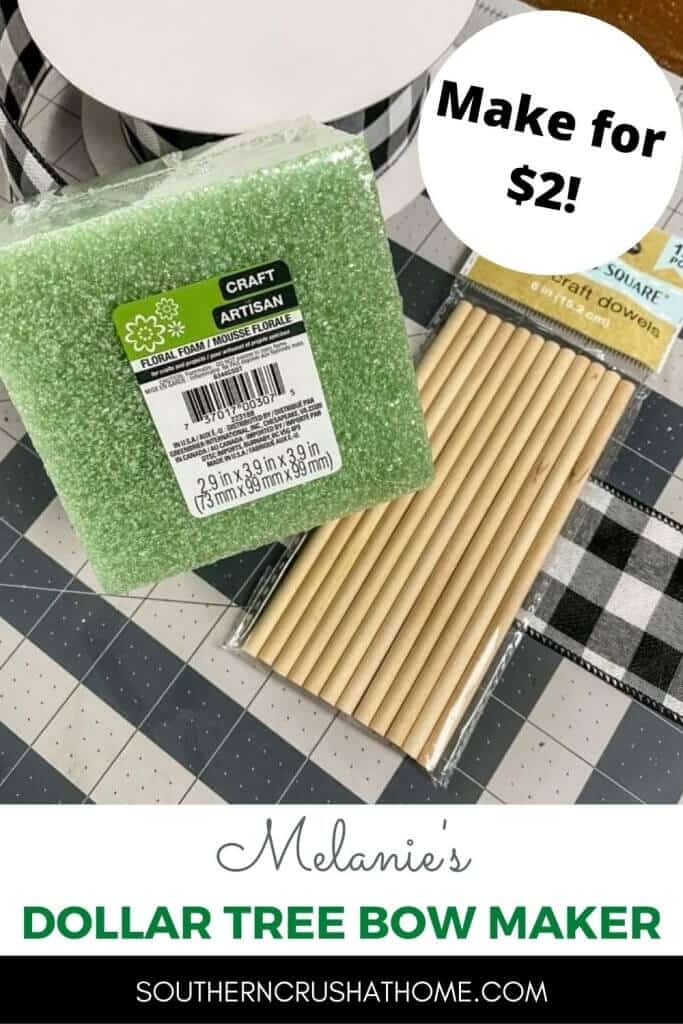
There are many bow-making tools on the market, some of my favorites are the EZ Bow Maker, the popular Bowdabra, and the Pro Bow the Hand. If you're on a super tight budget, you can also opt to make your own DIY Bow Maker with the tutorial I created using only Dollar Tree supplies and hot glue seen below.
YouTube Video Tutorial on How to Make a Bow
If you prefer to watch the video version of this tutorial you will find it on my YouTube channel below. Be sure to leave a comment and subscribe while you're over there!
Step-by-Step Tutorial on How to Make a Bow Out of Ribbon
These are the easy steps to making all sizes of beautiful bows from wired ribbons. You can make a single loop, double loop, single layer simple bows, double layered bows, or a combination of loop layers as I will show you below. Let's get started!
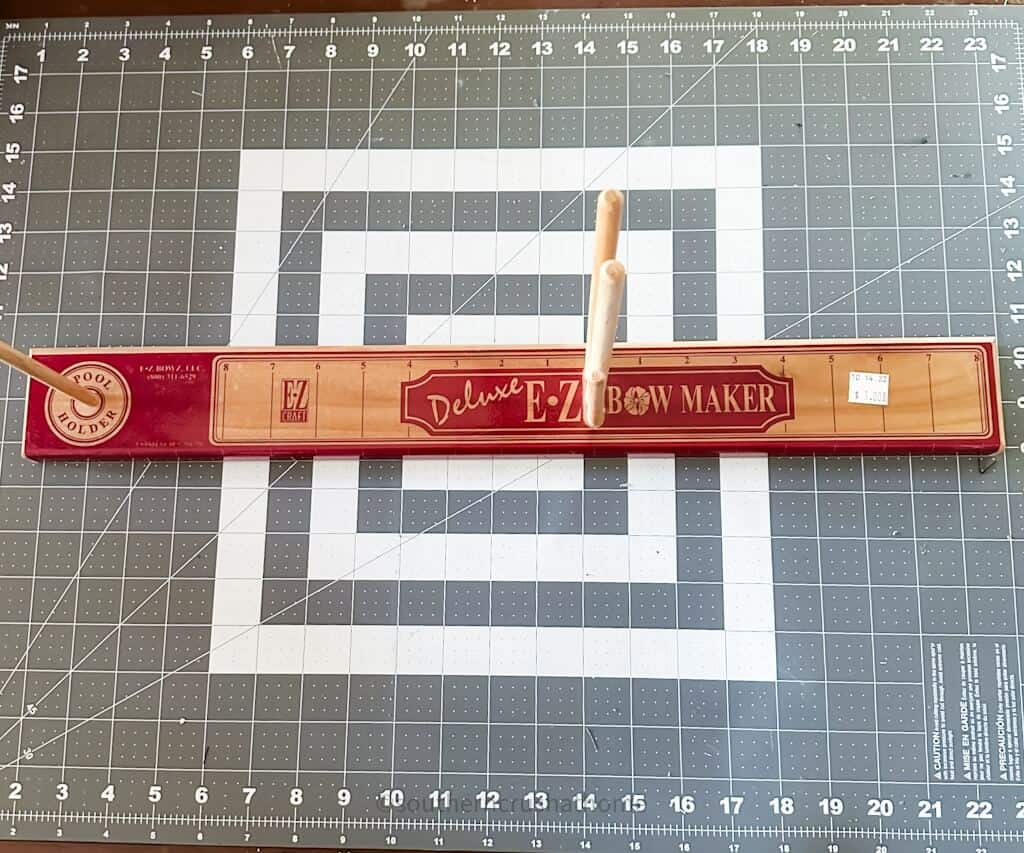
Getting Familiar with the EZ Bow Maker
The EZ Bow Maker consists of a 20.5″ long board with four different removable pegs running along the length. To assemble, simply hammer the pegs in their appropriate spot. On one end is the peg for holding spools of wired ribbon.
On the opposite end, there is space for three more pegs. The two longer pegs are what will be used to create your bow. The shorter peg can serve as a method to secure your bow with floral wire.
The two pegs for creating the bow should be spaced apart a bit to leave an opening for the ribbon. Don't be tempted to glue the pegs in the holes as this will lock them in place and you need them to be flexible. As you become more comfortable, you can adjust the width of the pegs to create bows of varying sizes.
I scored mine from a thrift store shopping trip for only $1.00! Truly amazing, but you can also grab one here online. EZ Bow Maker
Step 1: Choosing Your Ribbon
Choosing the right ribbon for your bow doesn't need to be an intimidating process. In fact, it's quite the opposite! It should be fun! The main thing to remember is that the better quality the ribbon, the better quality the bow. Here are a few places I like to find my wired ribbon for bows below:

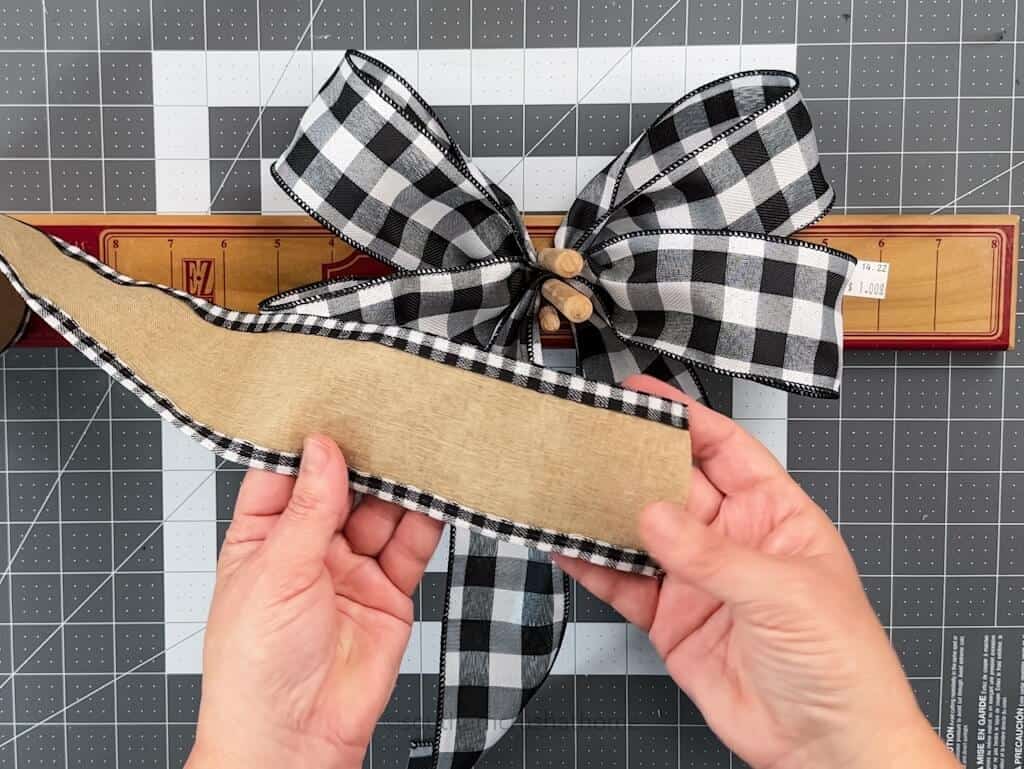
When it comes to patterns and patterned ribbons, I like to follow a simple 1:1 formula. For every patterned ribbon, I alternate an unpatterned or single-colored ribbon. If there is an odd number of layers to the bow, I use an extra unpatterned ribbon.
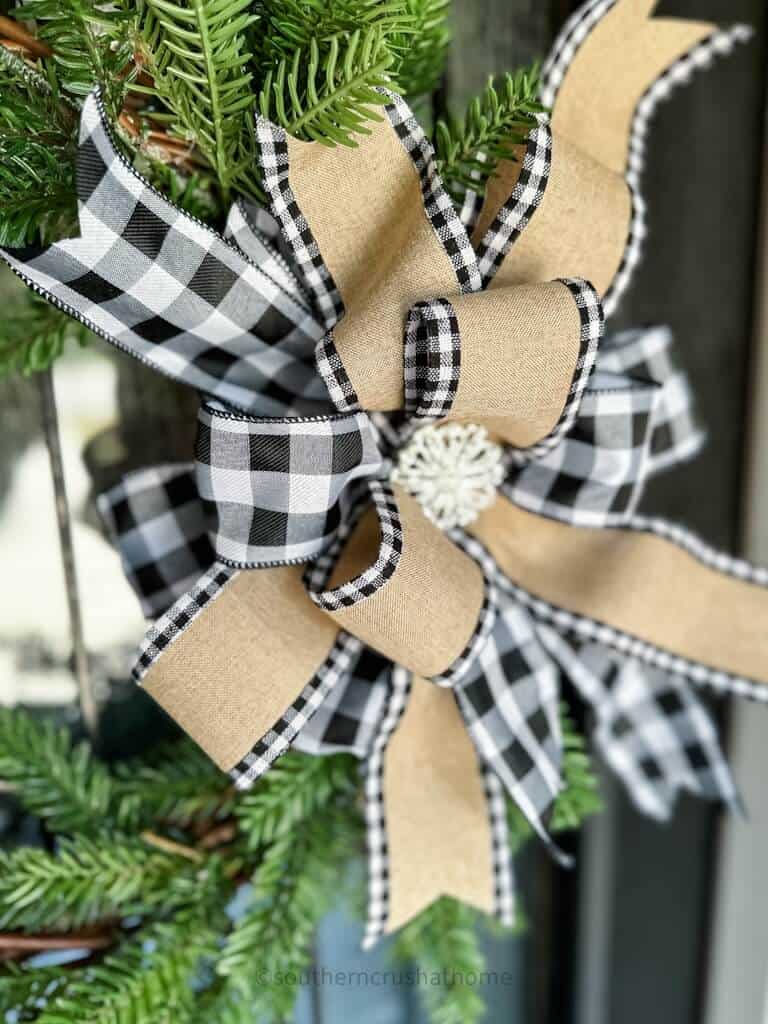
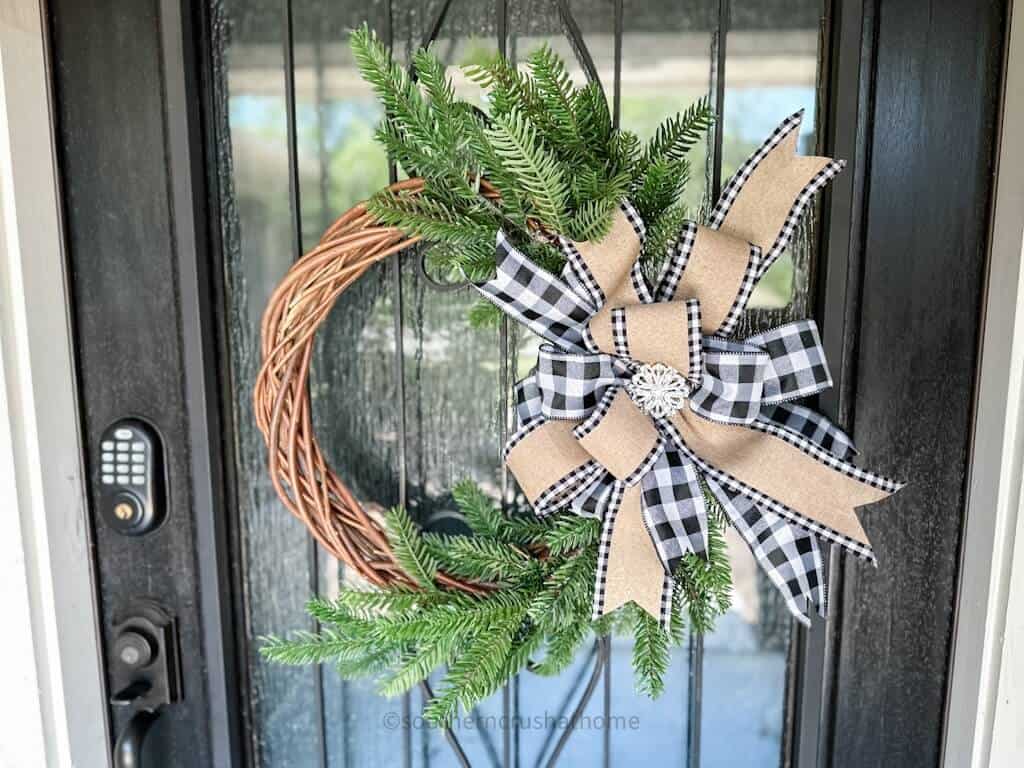
For this ribbon bow and most of my ribbon bows, I like to use some form of buffalo plaid ribbon and a burlap ribbon.
Ribbon Sizes for Making Bows
When it comes to making a bow out of ribbon, ribbon size, and length really depend on your project. For a wreath bow, a good 2.5″ wide ribbon 10-yard bolt is a great start. Of course, you can alternate with smaller ribbons to create interest as well.
For a larger bow for holiday decorating, like a Tree Topper Bow, you can start with an even wider wired ribbon, like a quality 3-4″ ribbon.
You can also create a beautiful bow out of scraps of ribbon, too, so just use what you have to get started until you get the hang of it.
Dollar Tree Ribbon for Bows
Remember when I said that the main thing to remember is the better quality the ribbon, the better quality the bow? This is still true; however, I have found some pretty cute wired ribbons at my local Dollar Tree to use in bows.
Now, I still stand by my original statement for bows you plan to sell at craft fairs and a wreath bow you plan to sell on Etsy or anywhere else. But when it comes to your personal ribbon bow creations for fun craft projects, I think Dollar Tree Ribbon can be a great option. Not to mention how affordable it is. Just be prepared to fuss with it a bit more as it isn't as easy to work with as high-quality ribbon.
In general, keep in mind also that unwired satin ribbon rarely does well in making larger bows that require some amount of stability, so I say stick with a good quality wired ribbon for ribbon bows.
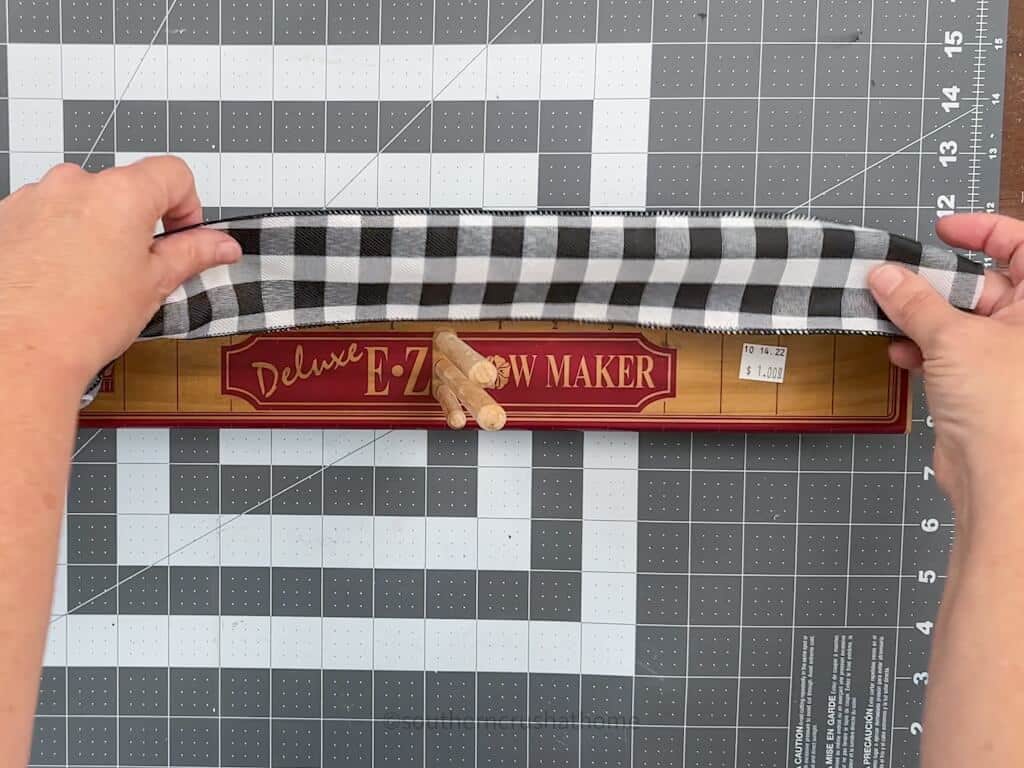
Step 1: Measuring Your Ribbon for Tails
Start by deciding on the size of bow you would like to create based on the end use. Is it for a wreath, a sign, a craft, a wedding pew, or a gift?
Next, choose whether or not to include tails for your bow and how long you would like them to be on the finished bow. Using the EZ Bow Maker with the optional cutting mat underneath, measure the desired length of ribbon for your first tail, leaving a little extra for allowance.
Step 2: Creating the Loops
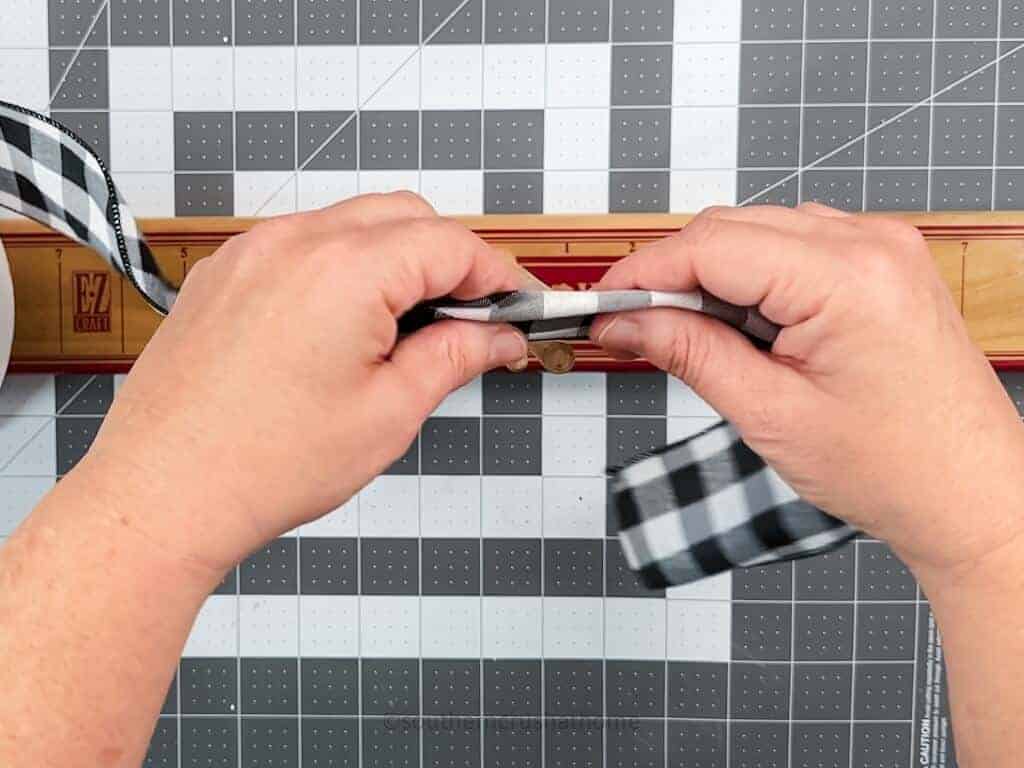
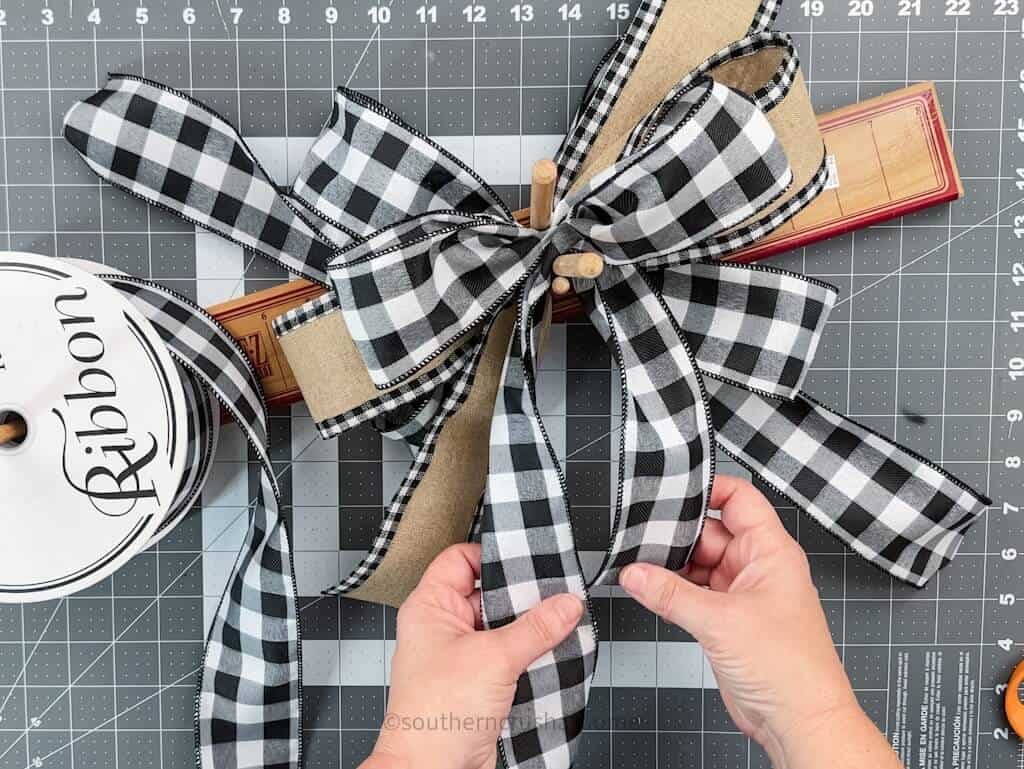
It's time to start creating the loops! This is a simple process and it is the only part that requires your focus. Make as many loops as you like. The more loops, the larger the ribbon bow.
Simply take the wired ribbon in between your fingers at your desired length point and pinch it followed by a twist.
Pinch the ribbon first as seen below.
Then twist the ribbon as you guide it through the two pegs on the EZ Bow Maker.
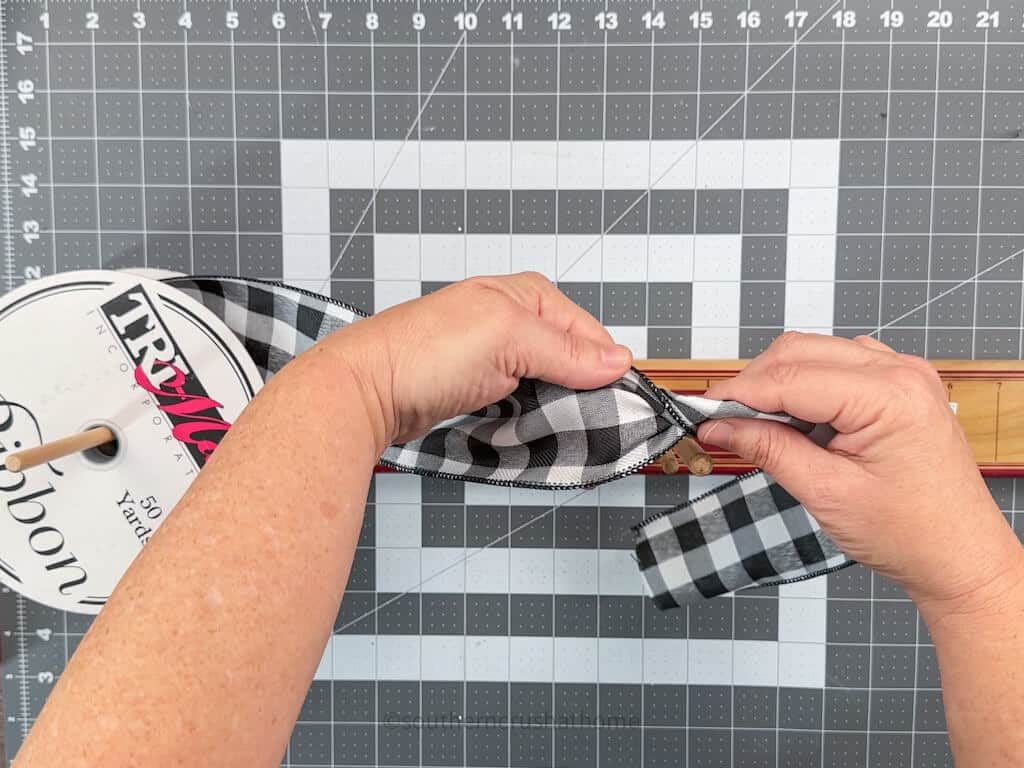
Decide how large you would like the loops to be, you can make large loops around 6-8″ or a small loop. Measure using the easy guide on the top of the EZ Bow Maker tool.
Fold the ribbon gently over to create the left loop or first loop and then repeat the pinch and twist technique as you guide the ribbon through the two pegs again pushing down in the middle with your index finger.
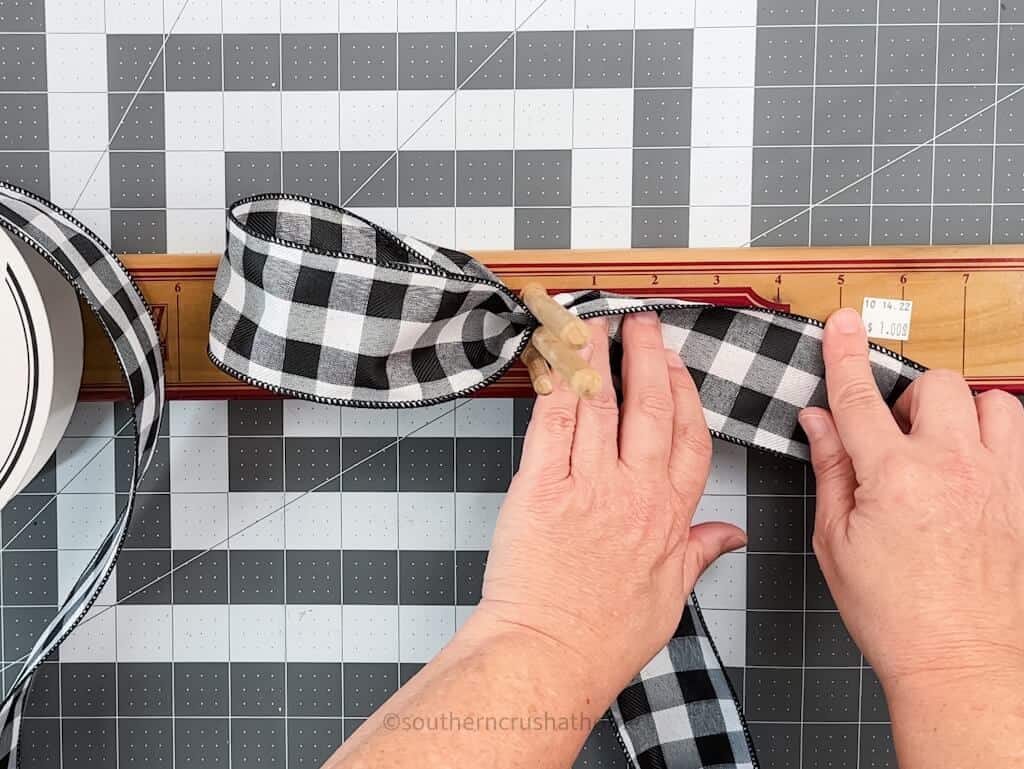
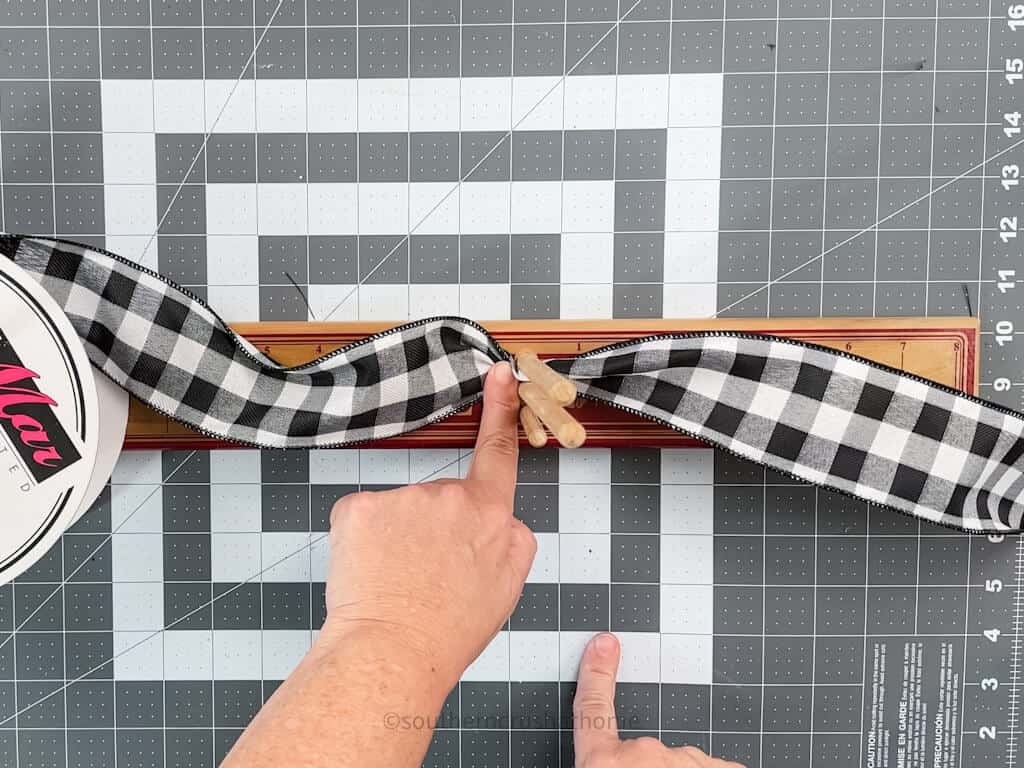
Repeat this process for the opposite side or right loop as shown.
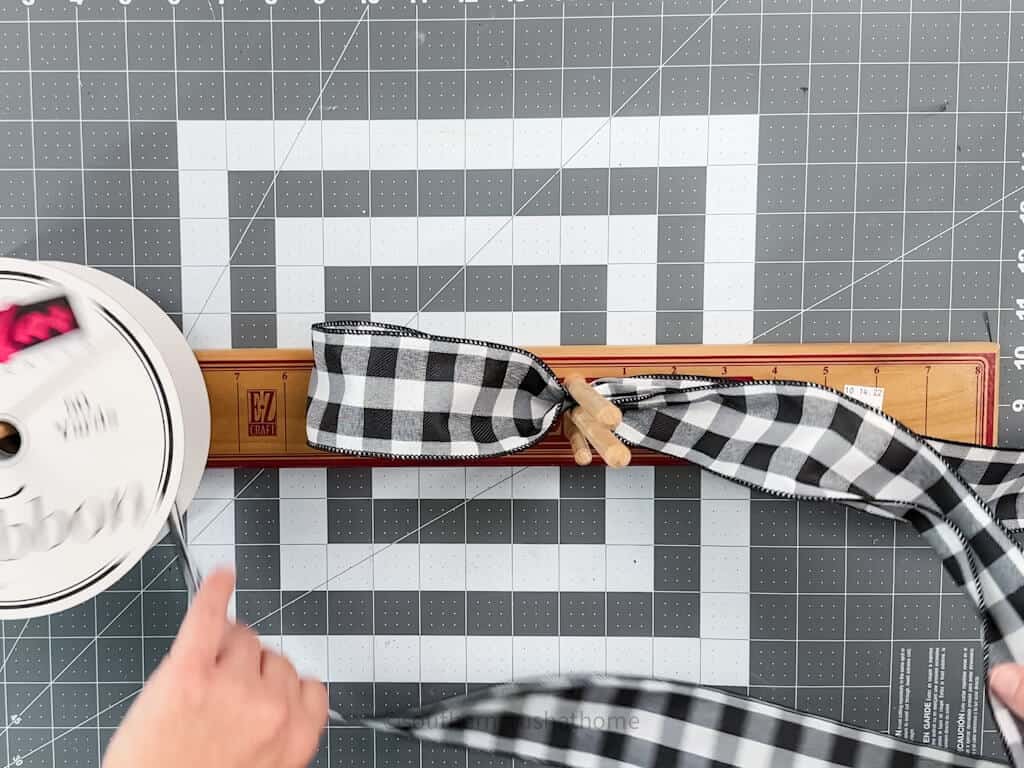
Once the loops are in place, cut your second tail to match the length of the first one.
Congratulations! You've created a single-layer loop ribbon bow! You can stop here and secure the center loop or continue creating as many loops as you like.
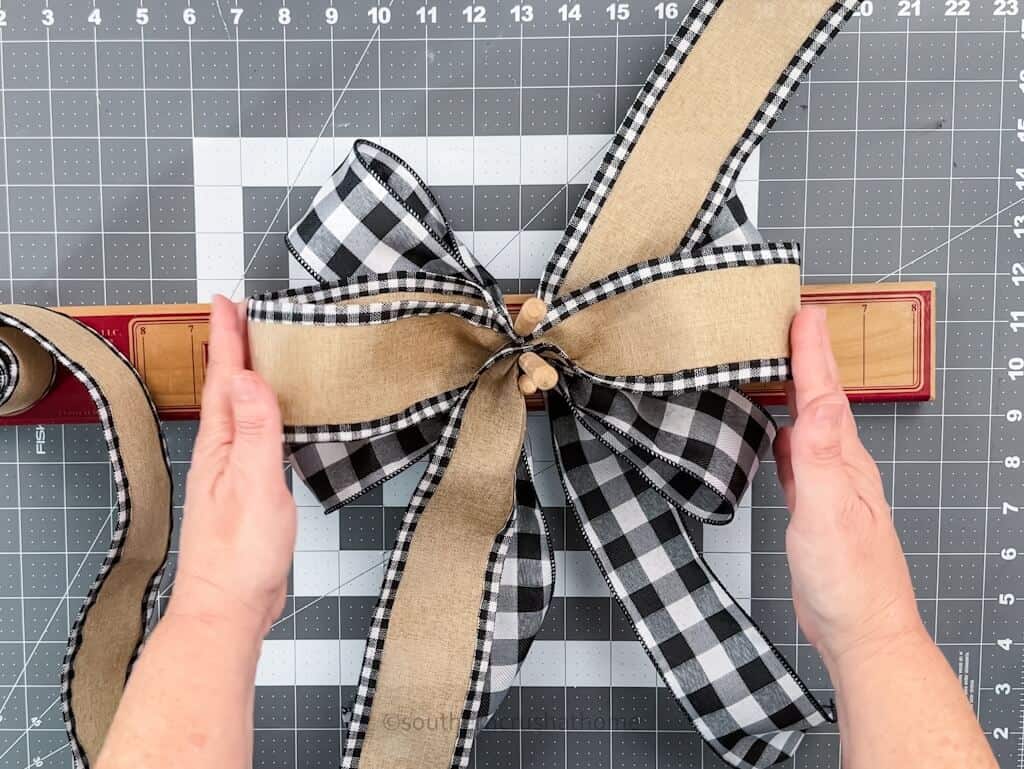
To create a double loop ribbon bow or larger, continue this same process to form loops. Let the pegs serve as your extra hands to hold the bow in place as you move the loops and tails around. Don't be nervous, you cannot mess this up, I promise!
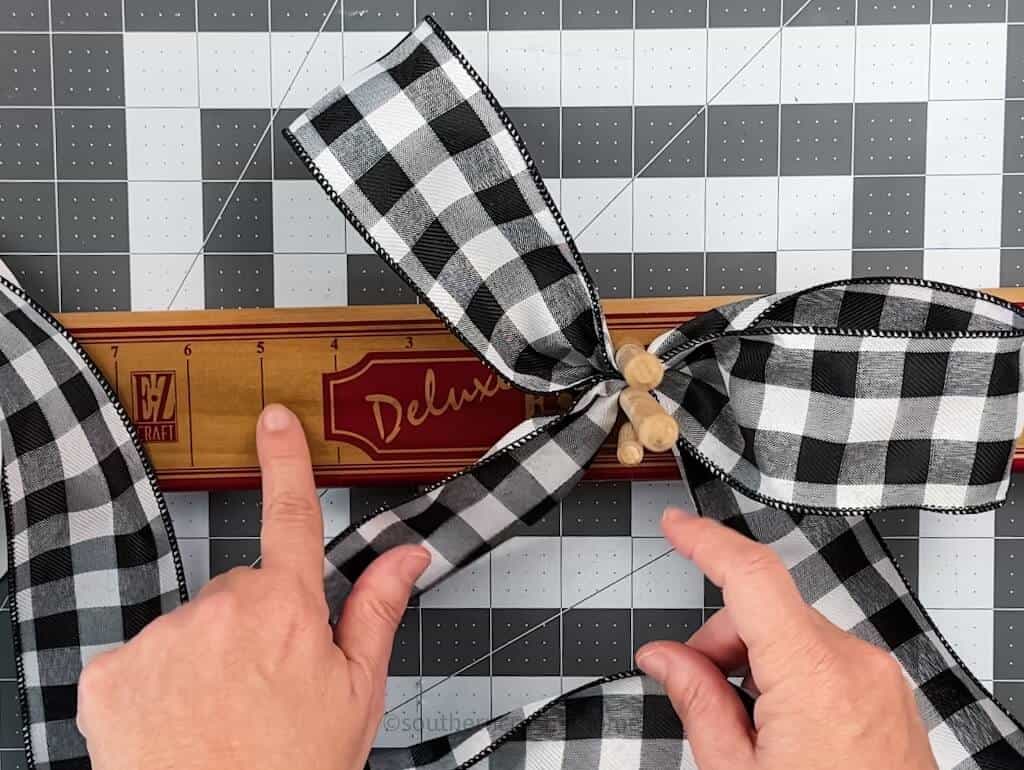
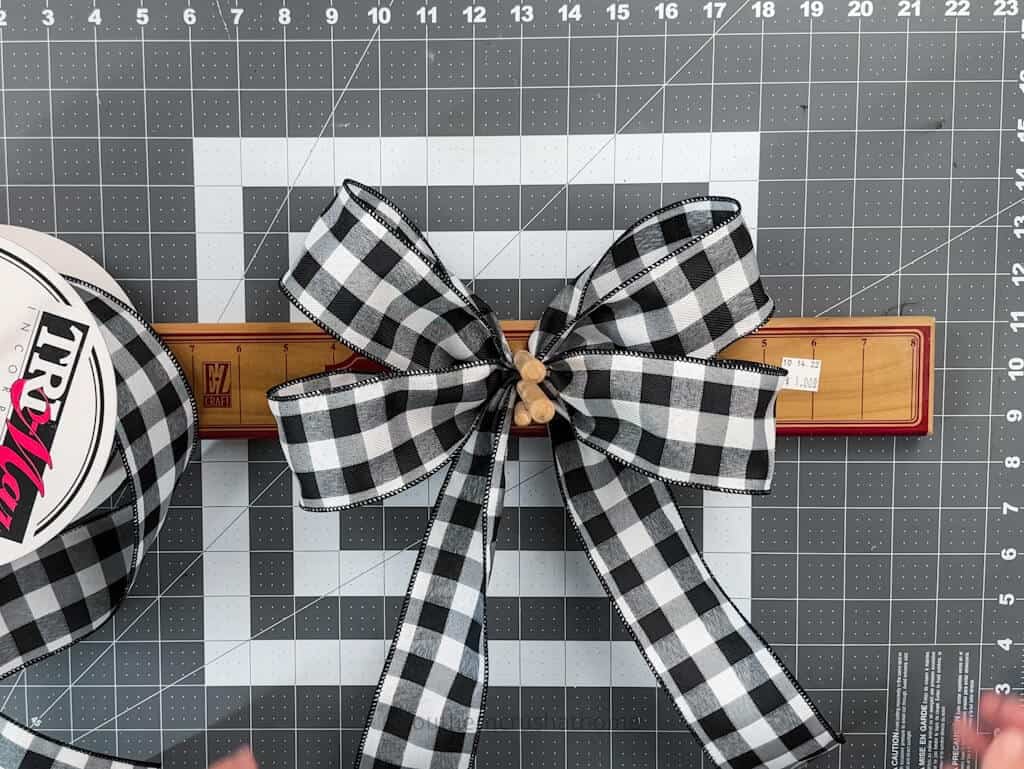
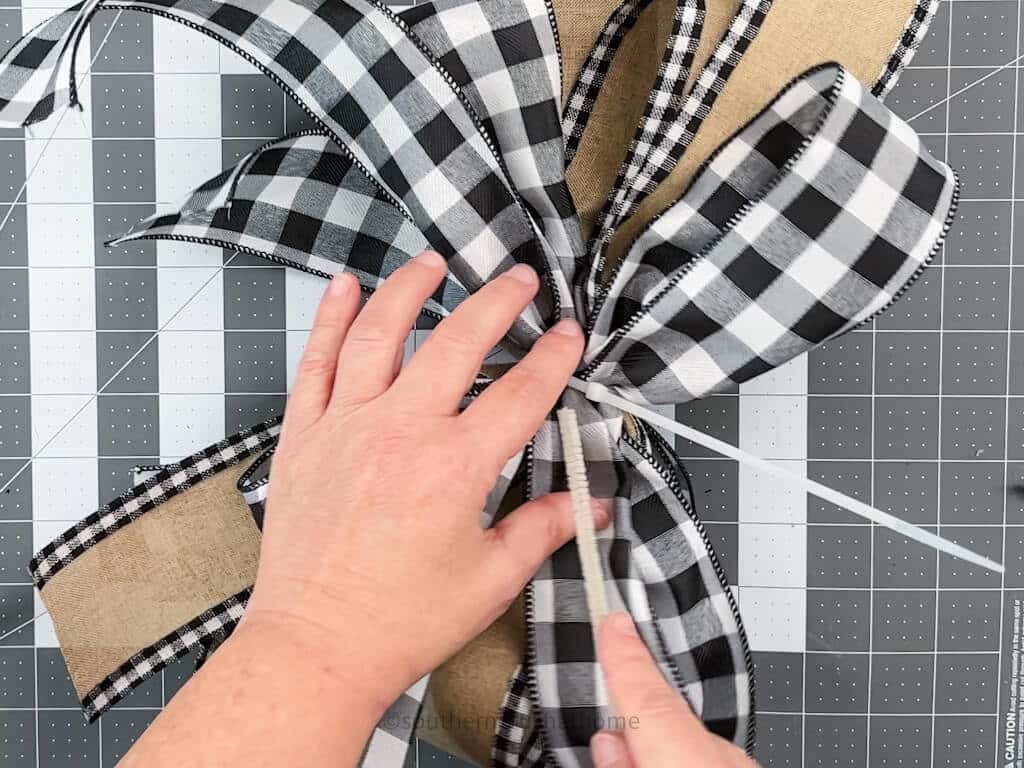
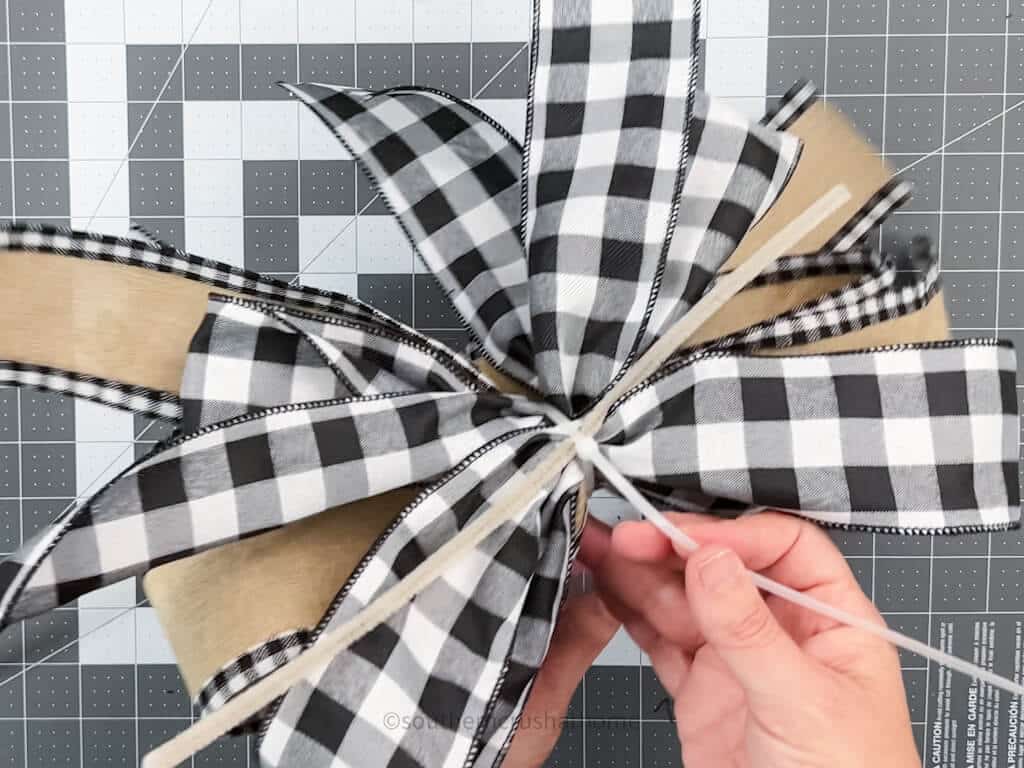
Step 3: Fluffing and Adjusting
Now comes the fun part! Carefully fluff and arrange the loops to achieve the fullness and bow shape you desire.
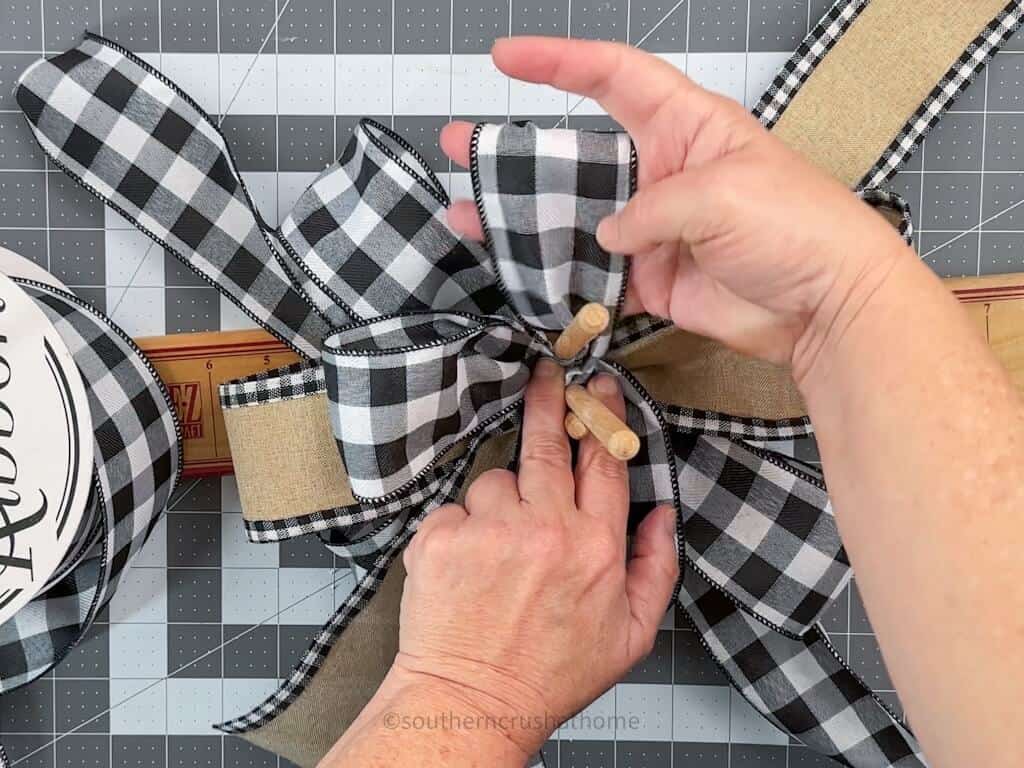
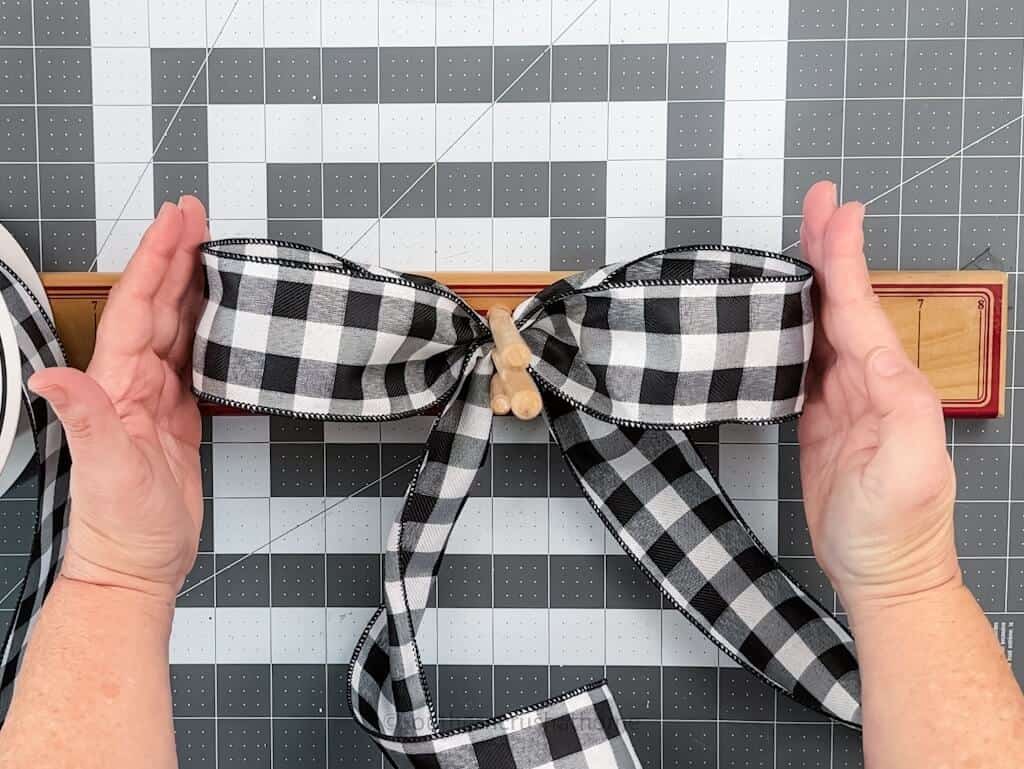
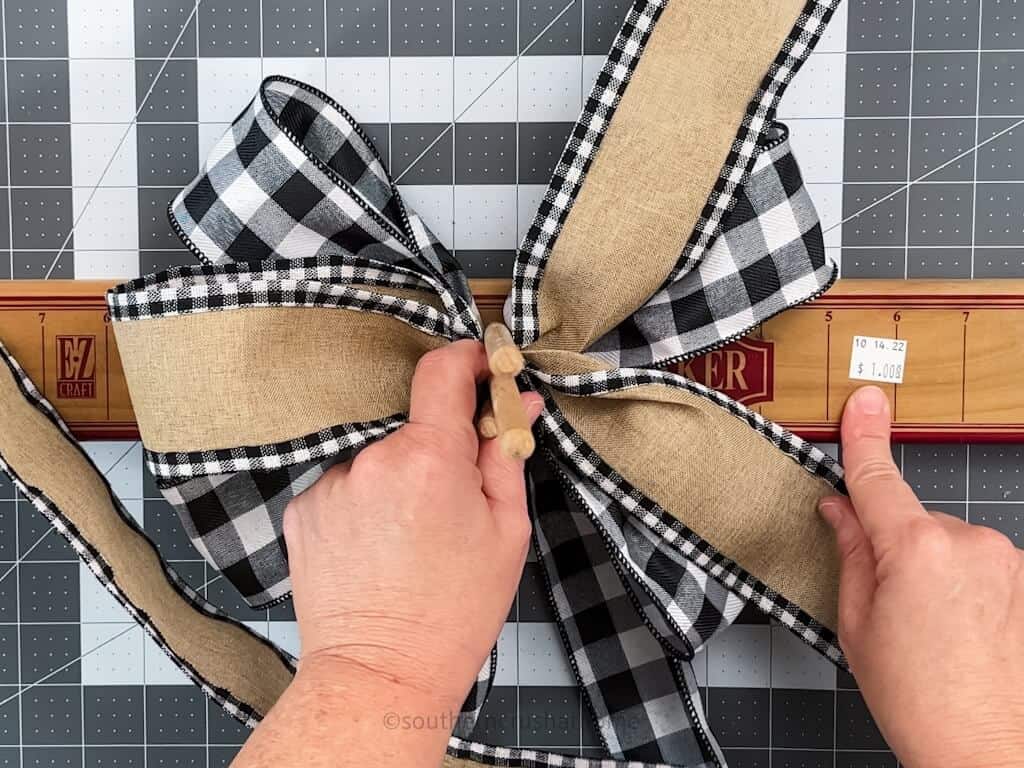
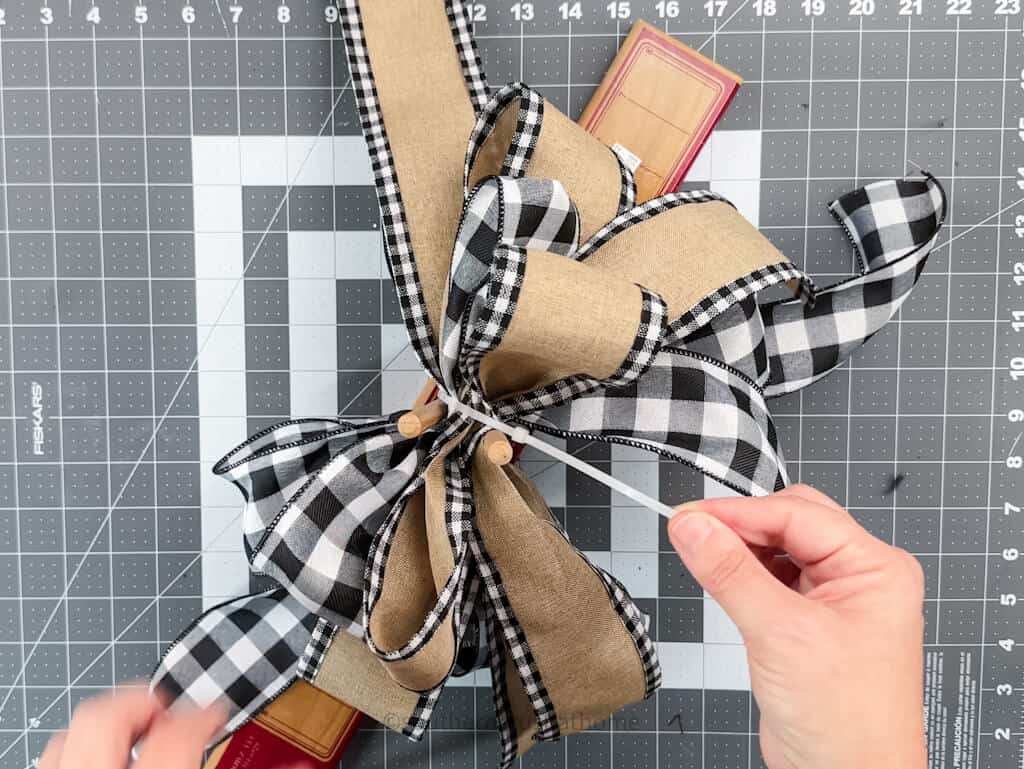
Step 4: Securing the Center Loop of the Bow
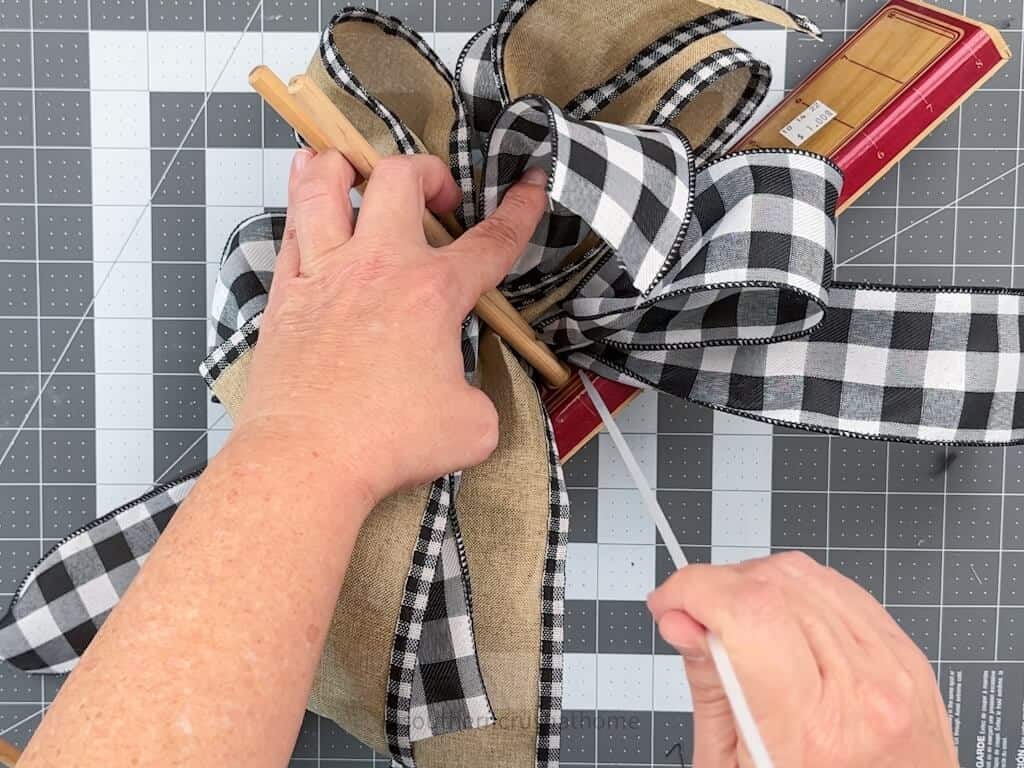
With all the loops still securely pinched and twisted between the two pegs, take your zip tie, pipe cleaner, floral wire, twine, or another small piece of ribbon (about 6 inches) and slide it under the loops at the center of the bow. (If you use a piece of scrap ribbon, wrap it around the center loop and then tie it off with a double knot)
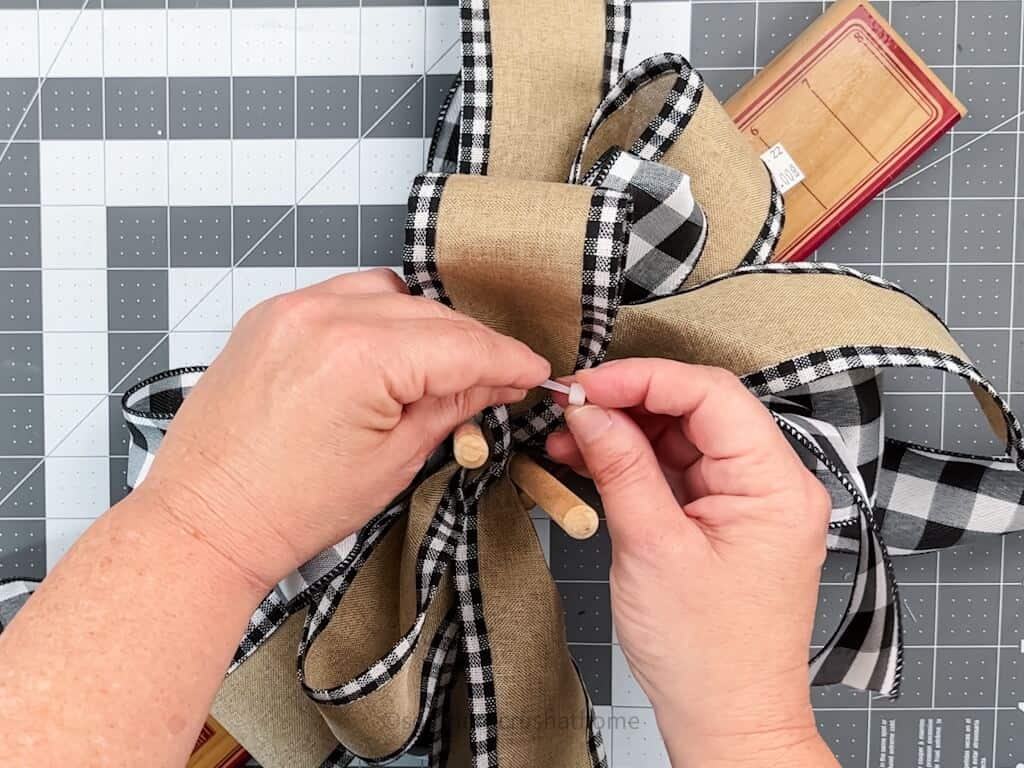
Gently slide the loops off the pegs bringing the ends of the zip tie up and secure the loops in place.
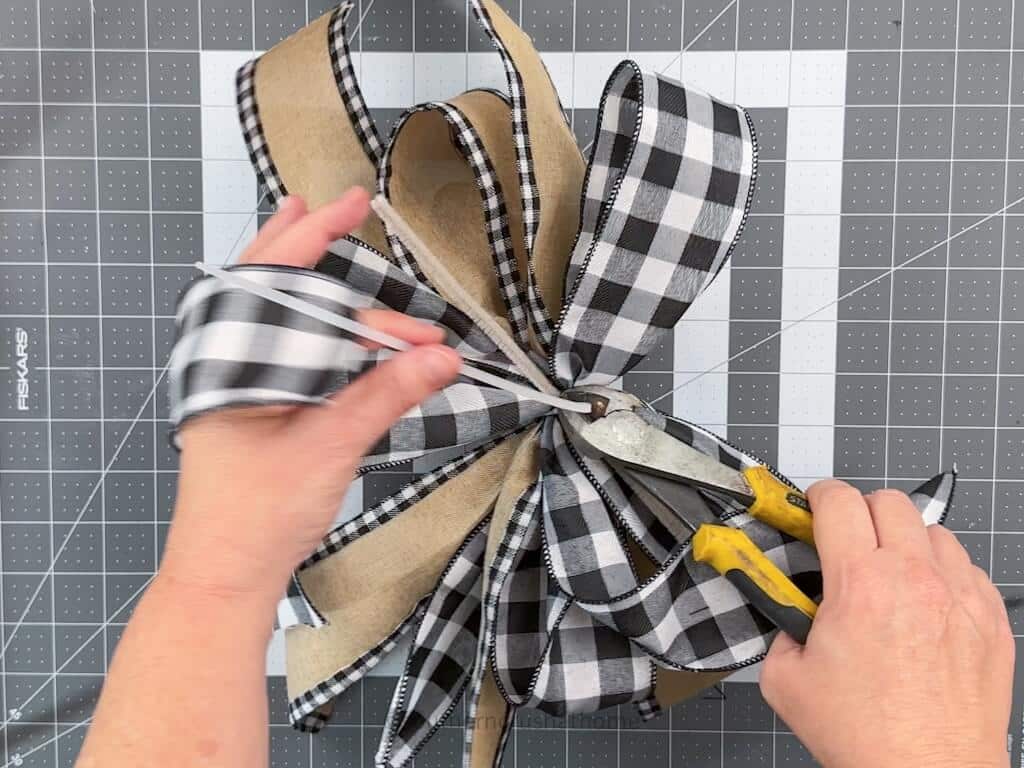
If you opt for my favorite choice, the zip tie, be sure to leave it loose and add a chenille stem or pipe cleaner to match the bow so that you can use it to later hang your bow. Finally, trim off the end of the zip tie using wire cutters. See below.
Step 5: Finishing Touches
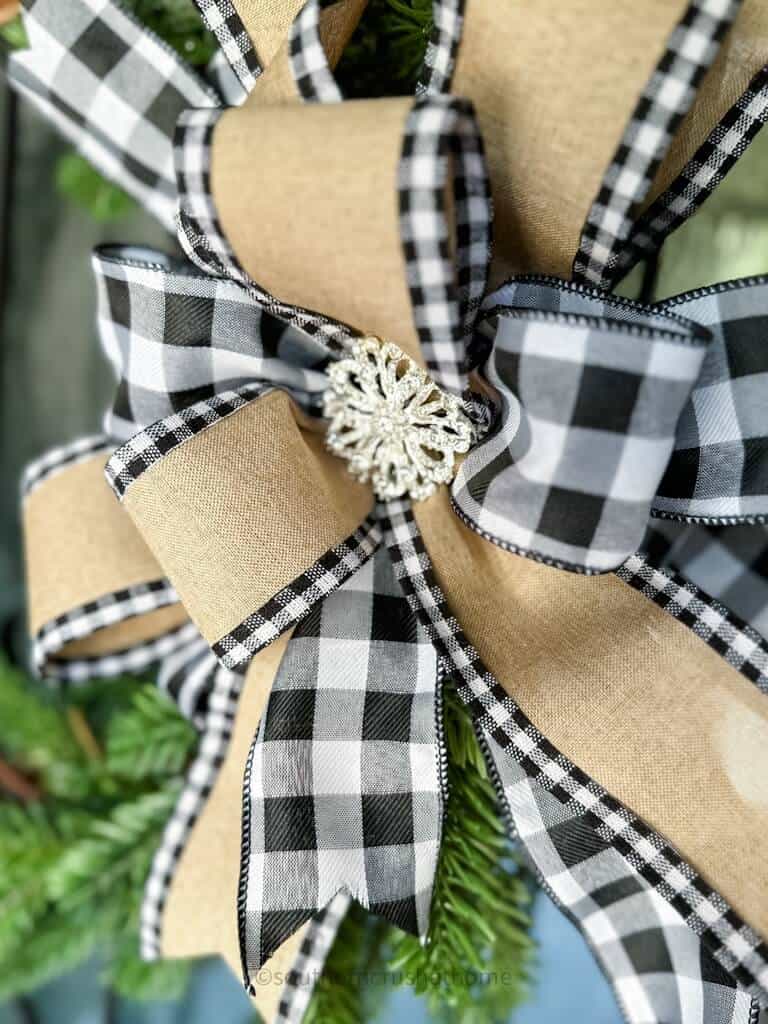
Refluff your loops if needed. In place of a center knot try embellishing the center with fun touches of sparkle bling! I love to do this to my bows. Simply pin or hot glue the embellishment in place.
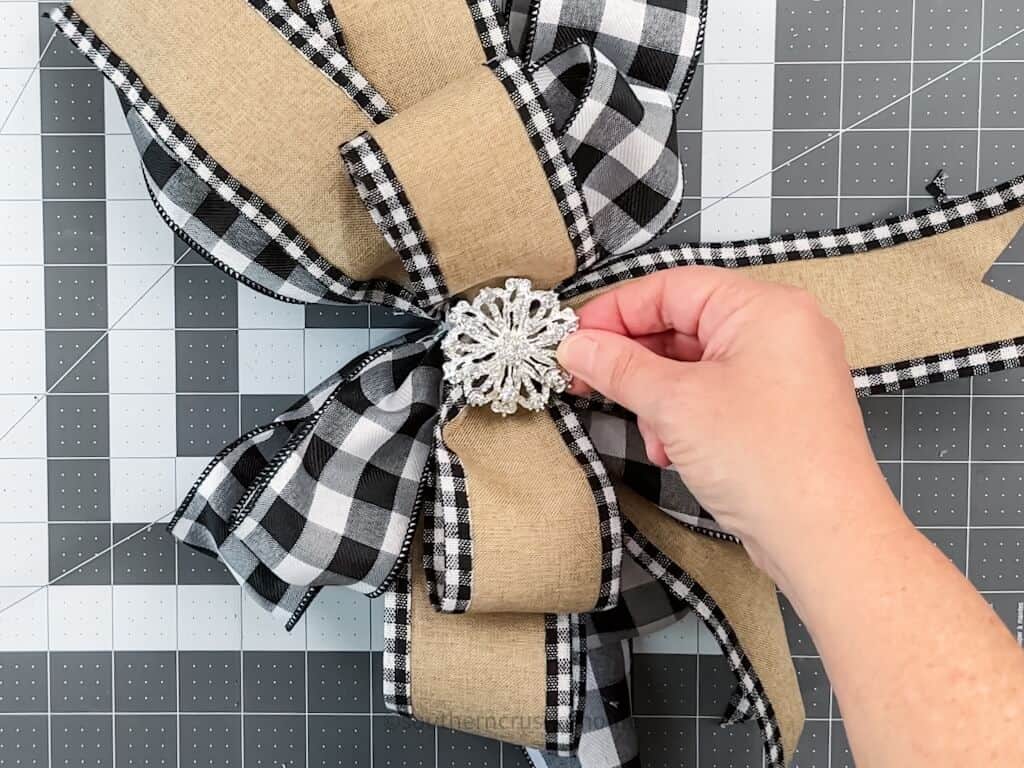
Here is where I find my favorite bling https://www.southerncrushathome.com/bling
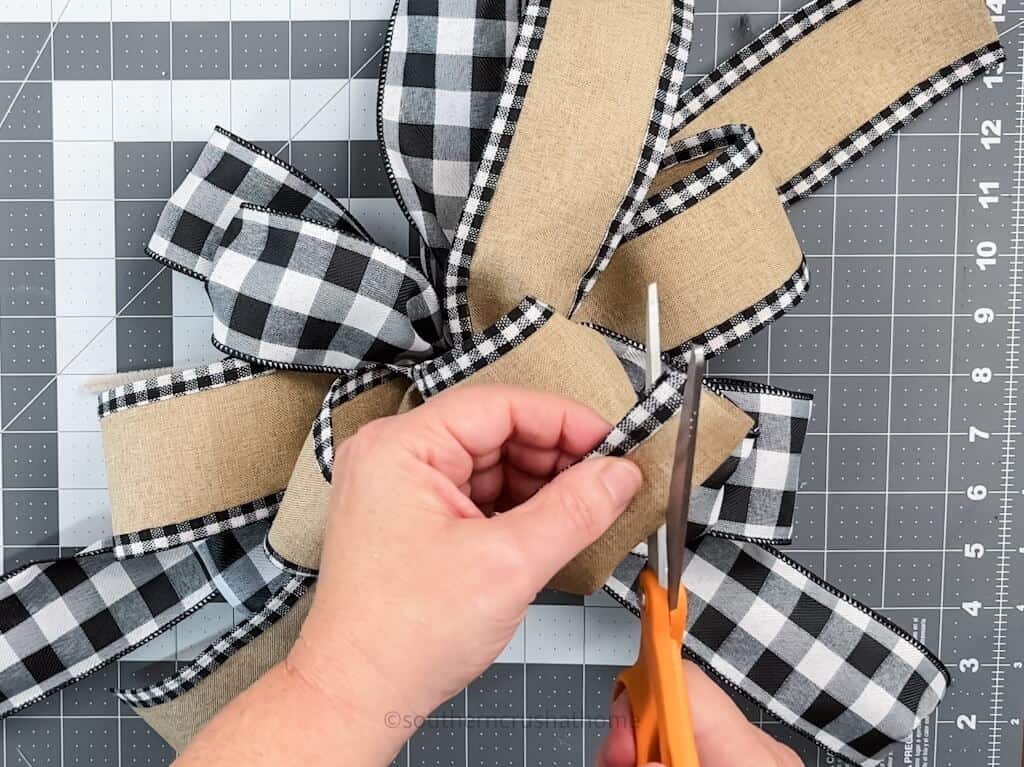
Optionally, you can use the bunny ear trick to cut bunny ears, a mermaid tail, or a dovetail at the bottom of each ribbon tail to finish off the look. Fold the tail piece in half lengthwise, then taking your scissors, cut tails at an angle from the non-wired, folded edge of the ribbon as shown below.
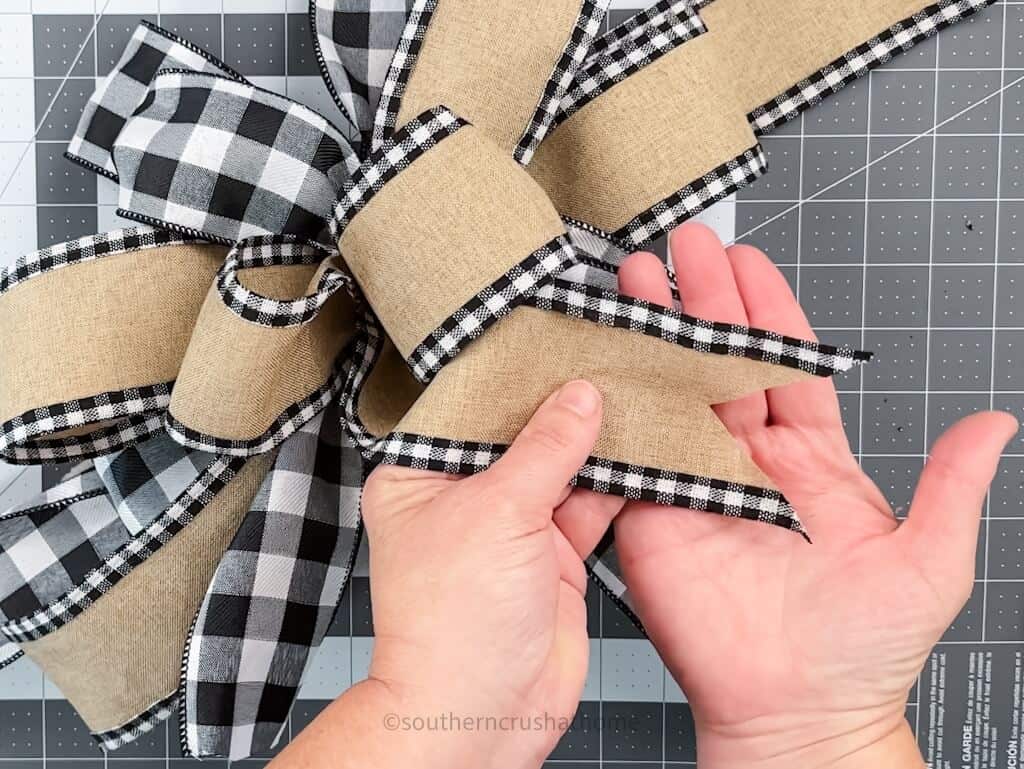
Trim any excess remaining ribbon to even up the ribbon edges on your newly finished masterpiece.
It will create this really pretty professional touch making it look store bought.
Step 6: Wow the World with Your EZ Bow Maker Creations!
Congratulations! You've now mastered the art of bow-making using the EZ Bow Maker. It's time to incorporate these stunning bows into your crafts, gift wrapping, home decor, and more. From delightful wreaths to eye-catching gift presentations, your creativity knows no bounds!
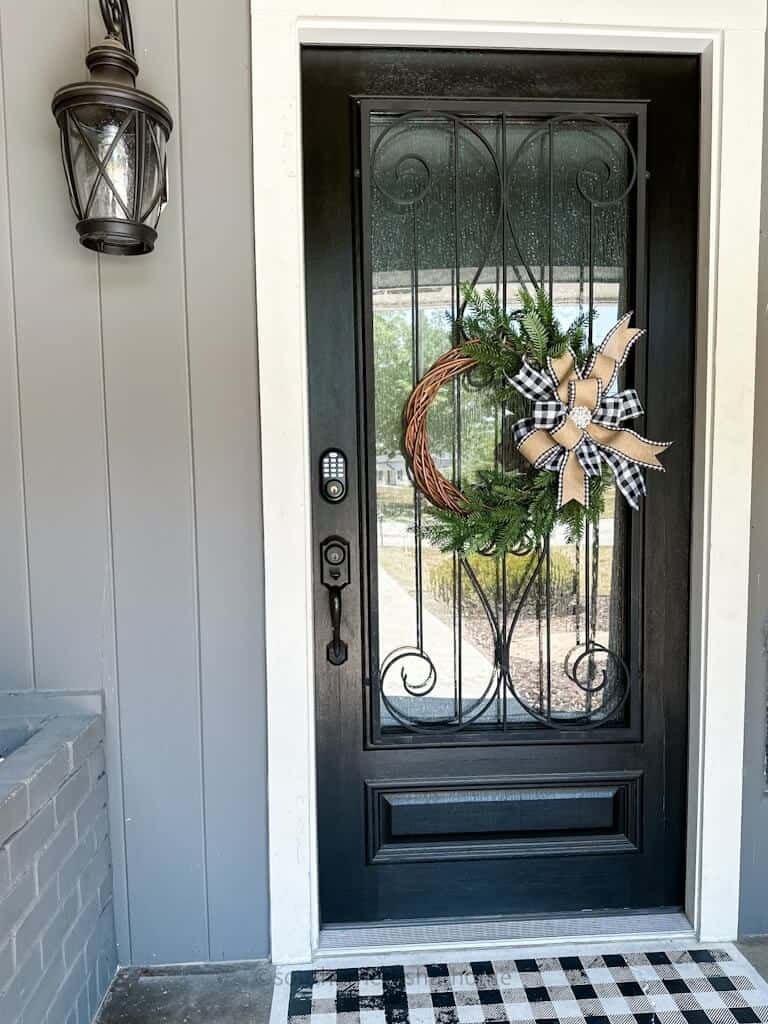
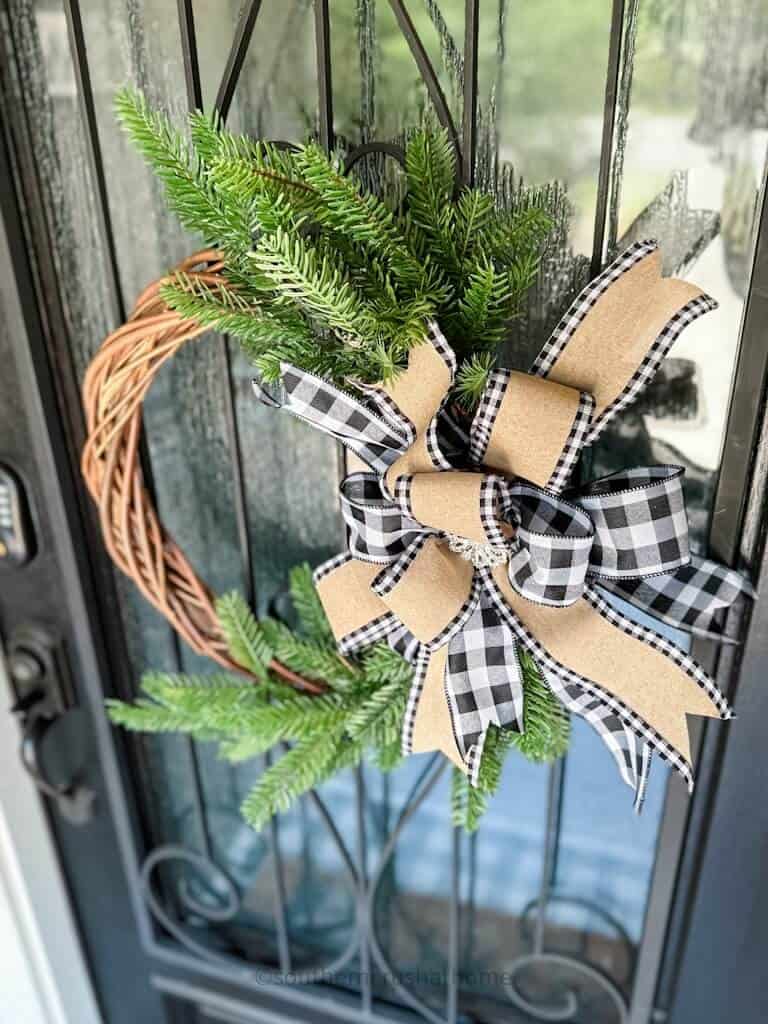
I added mine to this grapevine wreath I had laying around from the thrift store and it really made a difference!
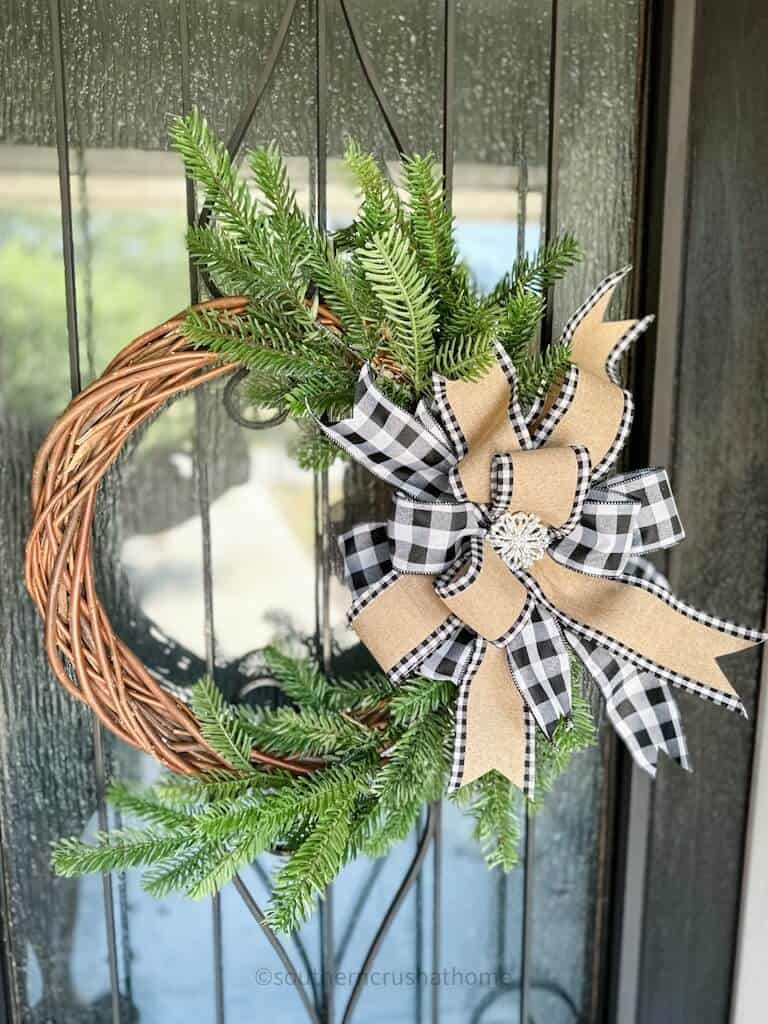
My entry way is thanking me for this cute wreath with the amazing buffalo check ribbon bow on it! LOL
Buffalo plaid is my go-to color for bow-making.
In fact, I have a FREE Facebook group for all of my friends who also love buffalo check. Join us there below!
The EZ Bow Maker is a game-changer for any craft enthusiast wanting to make a DIY bow for a wreath. It takes the frustration out of bow-making, allowing you to focus on what matters most – letting your creativity flow. So, dive into this wonderful tool, experiment with various ribbons, and get ready to make bows that will leave everyone in awe!
I hope you found this tutorial on how to make a simple bow helpful. Remember, practice makes perfect, so don't be discouraged if your first effort isn't flawless.
Whether you use the EZ Bow Maker, the Bowdabra, or the Pro Bow the Hand for making bows out of ribbon, keep honing your skills, and soon you'll be a bow-making pro in no time at all!
Share your creations with us in the comments below and let's inspire each other to craft the most stunning bows ever!
Happy bow-making my friend!
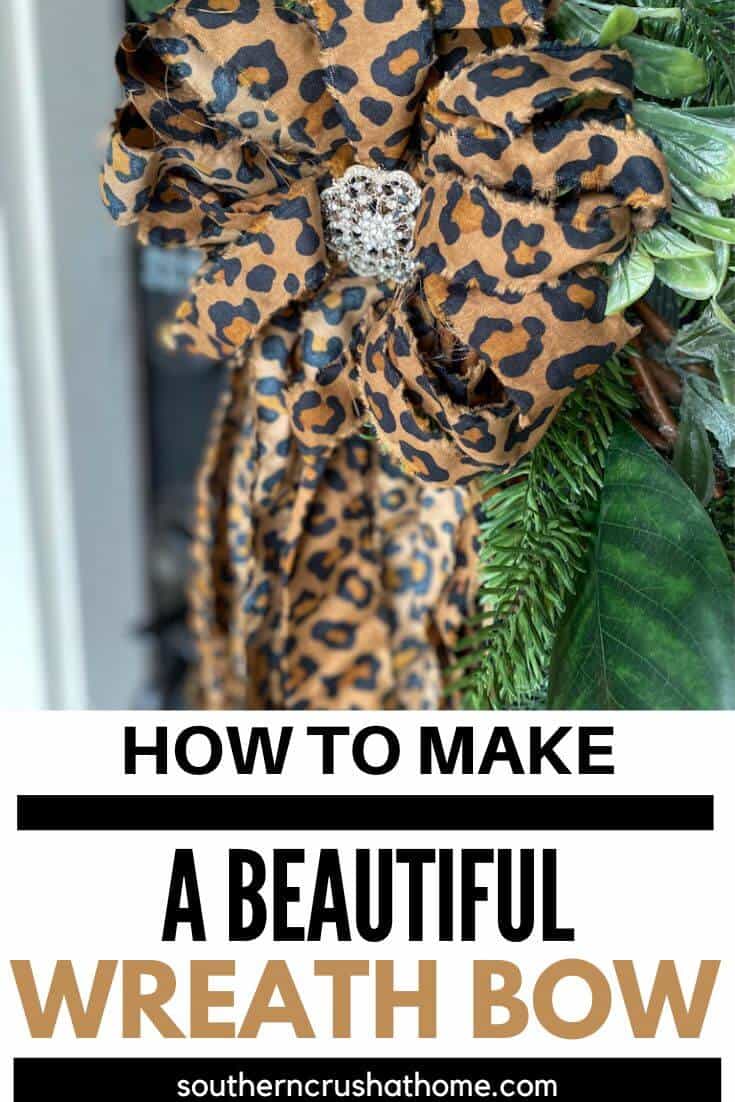
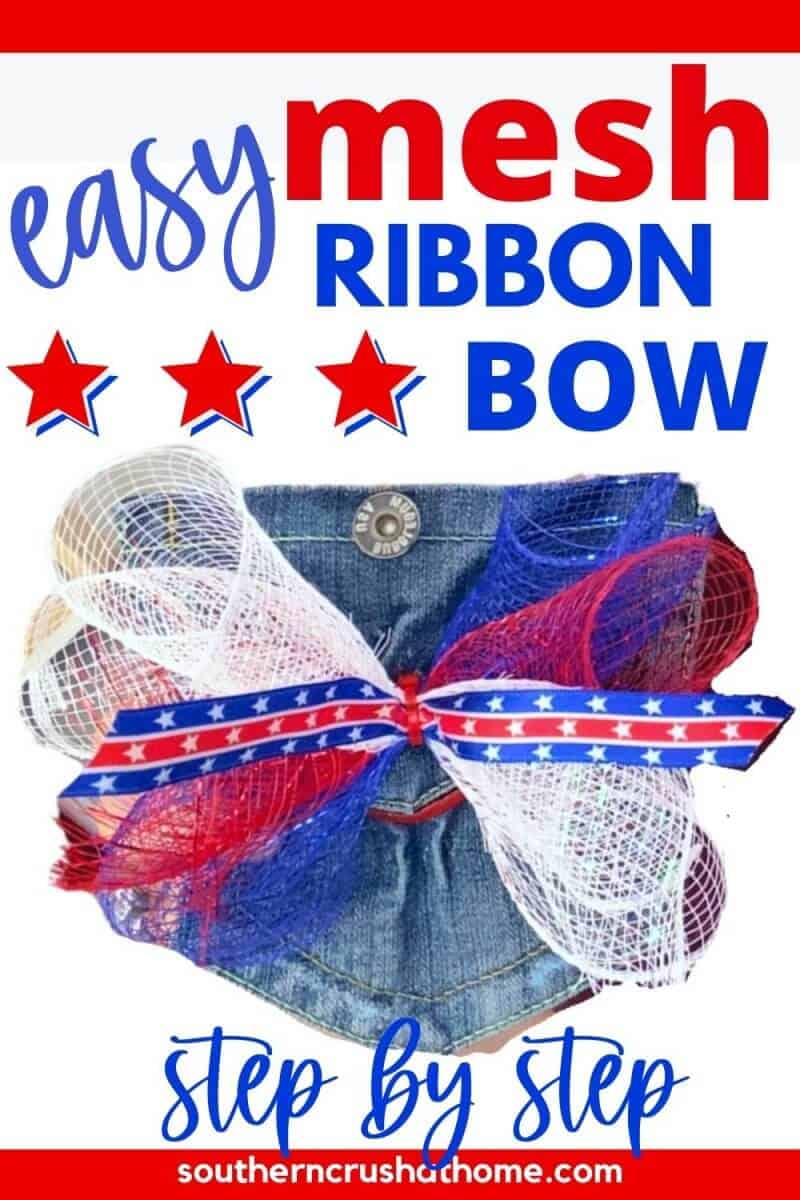
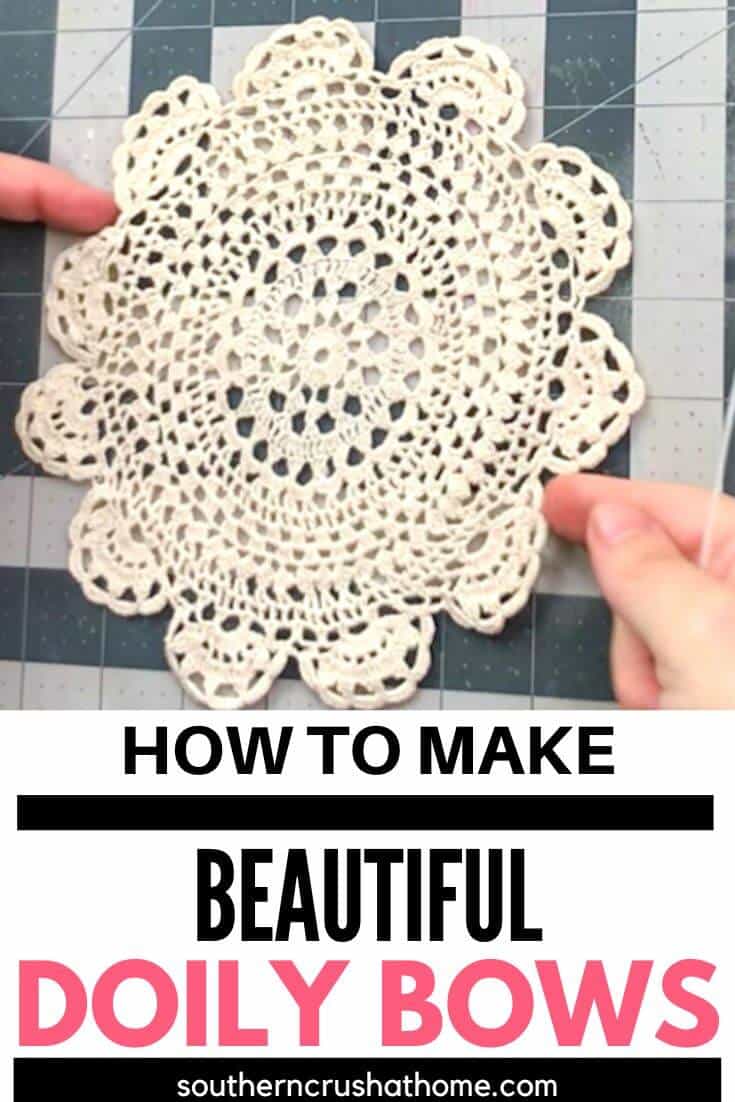
More Bow Tutorials
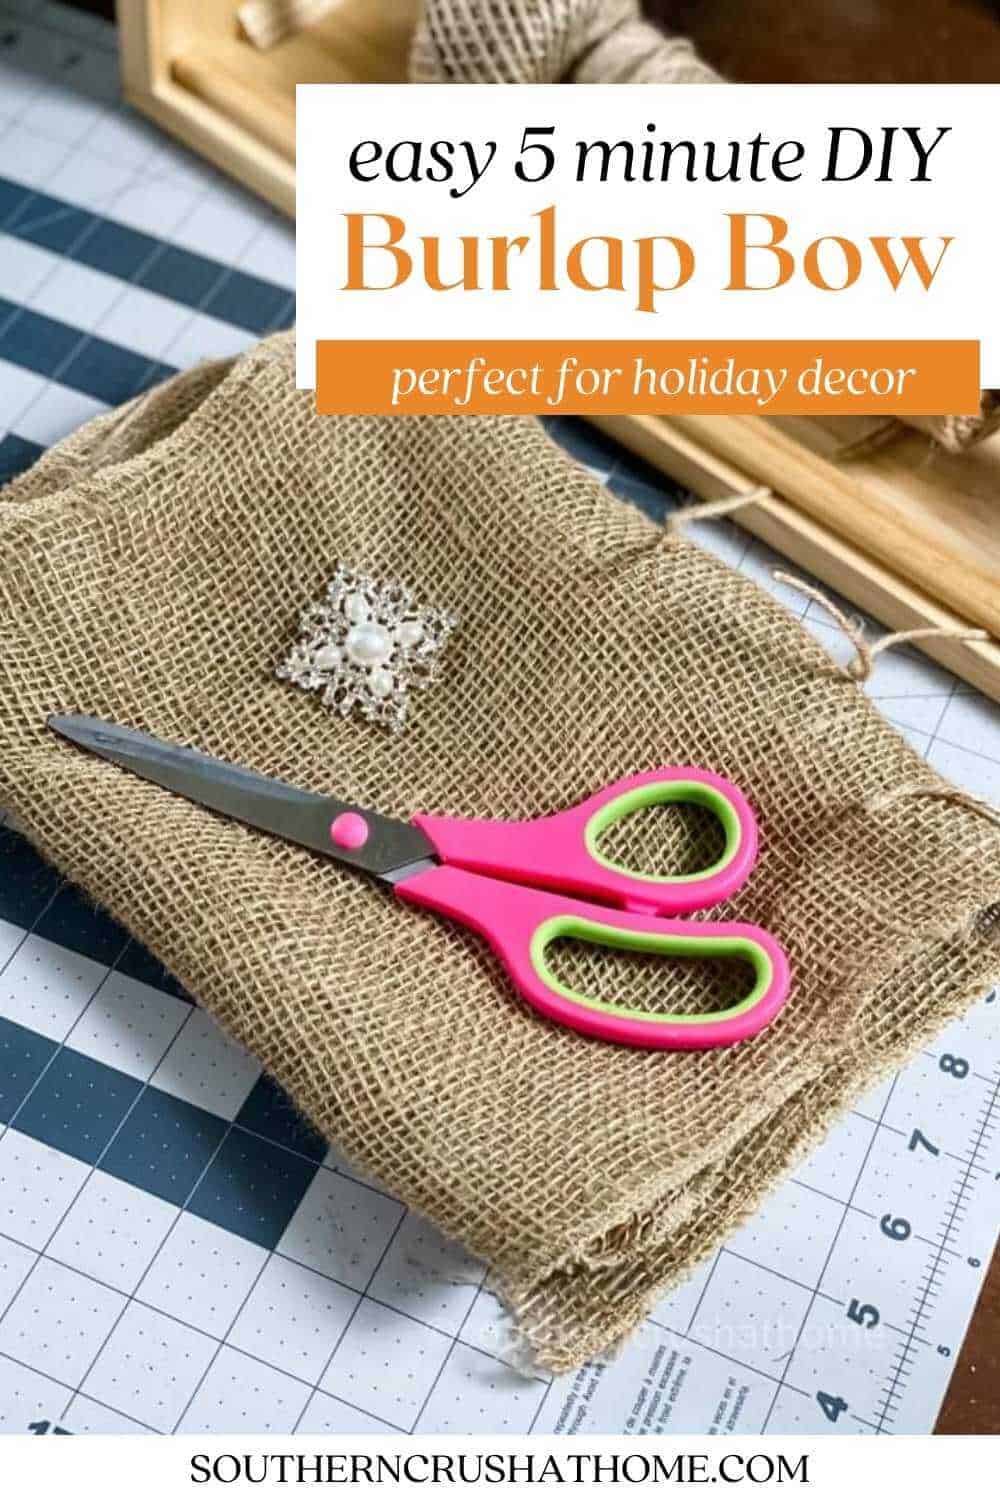
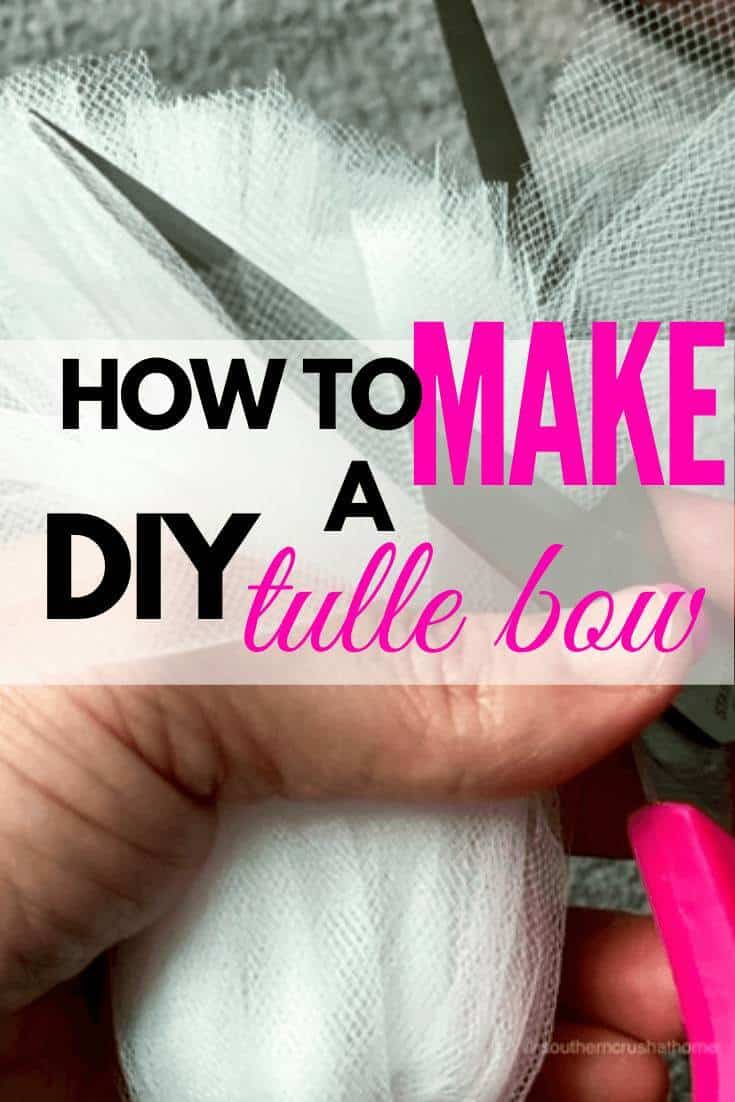
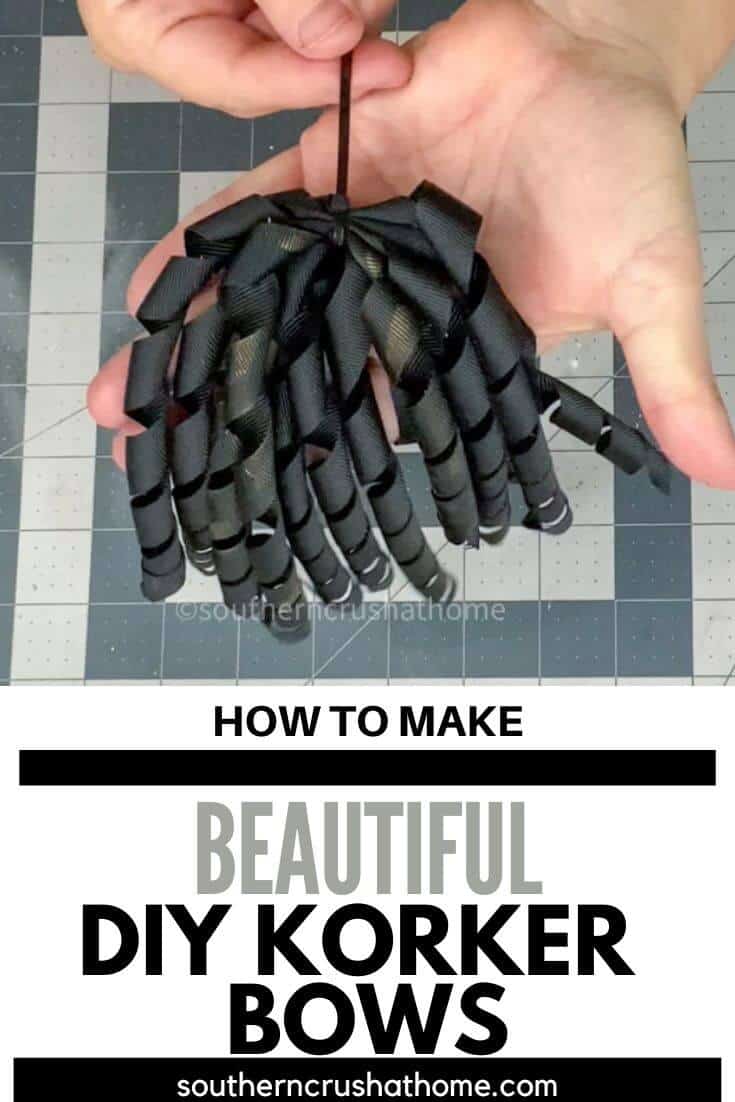
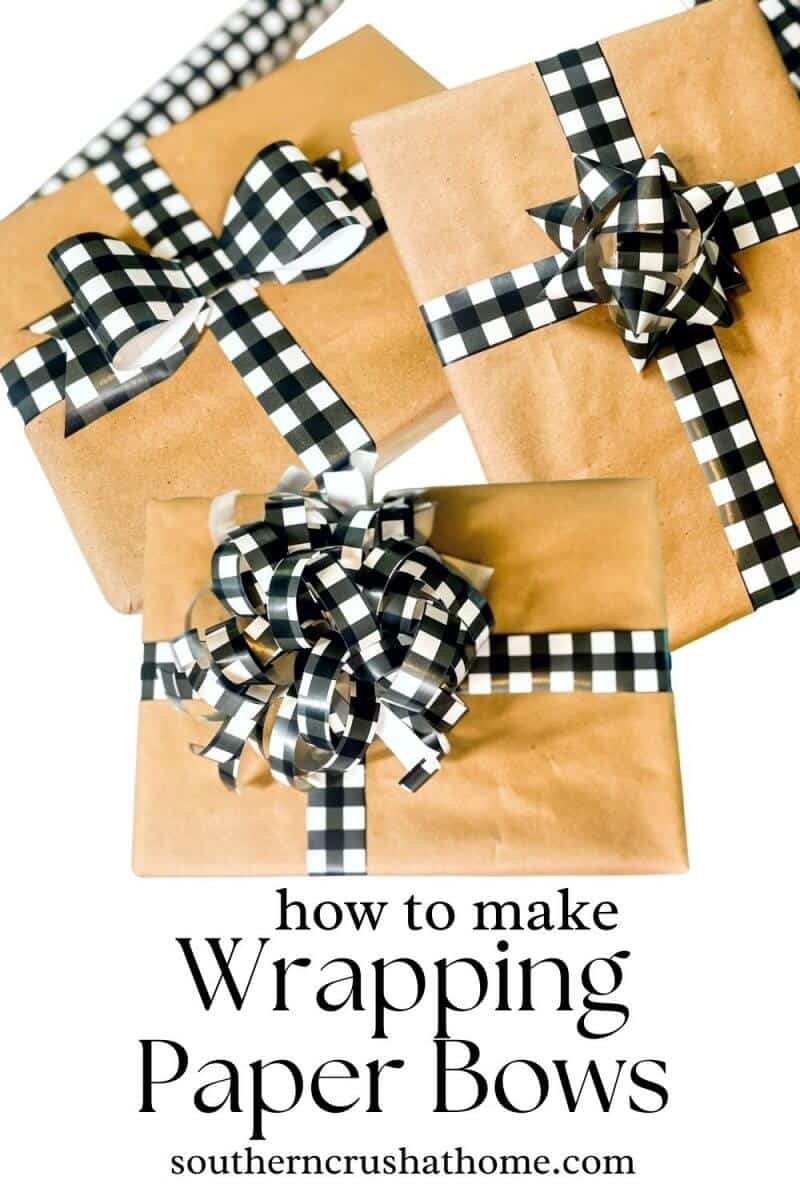
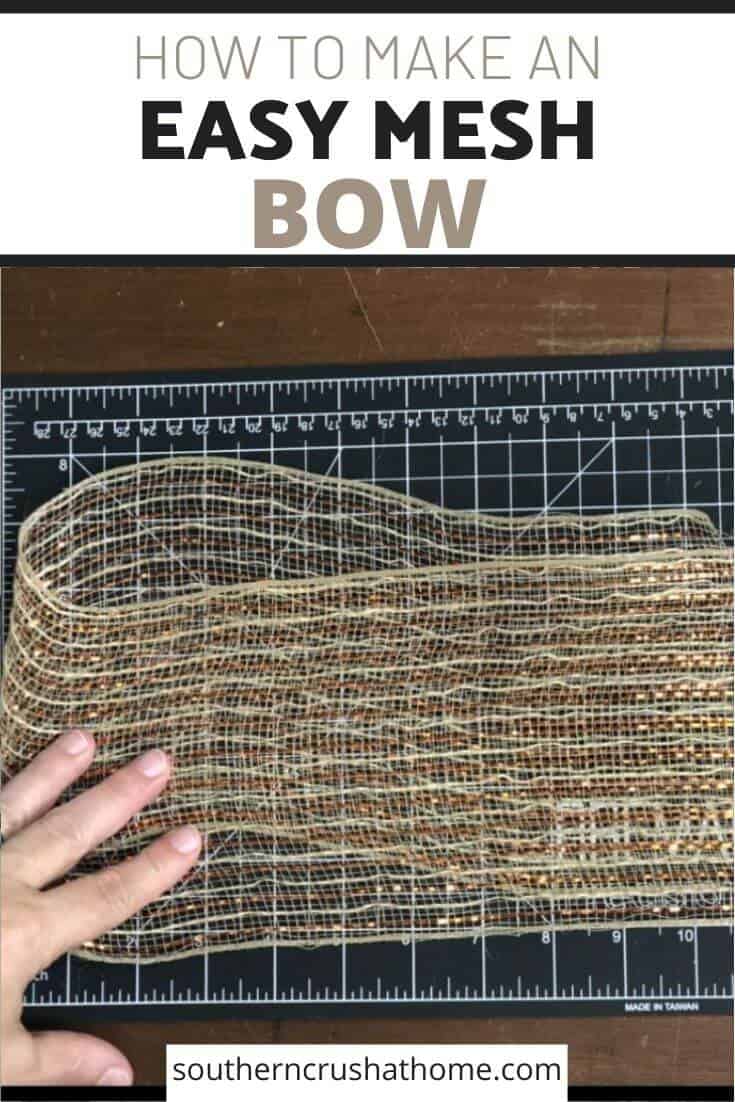
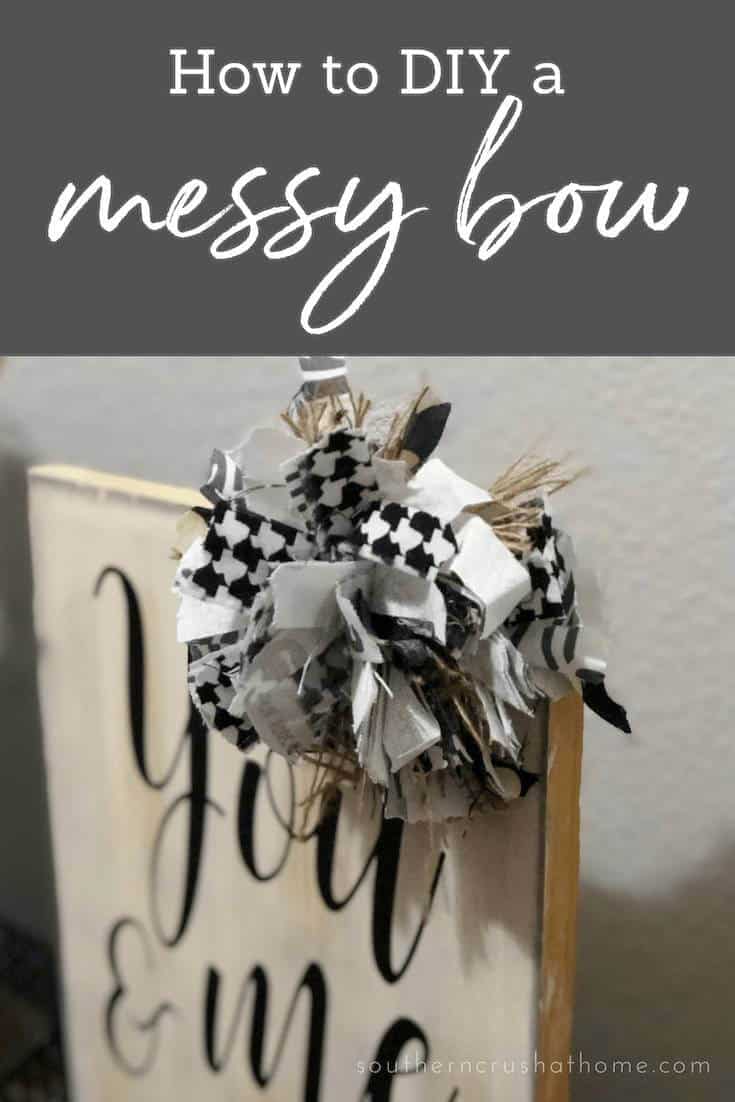
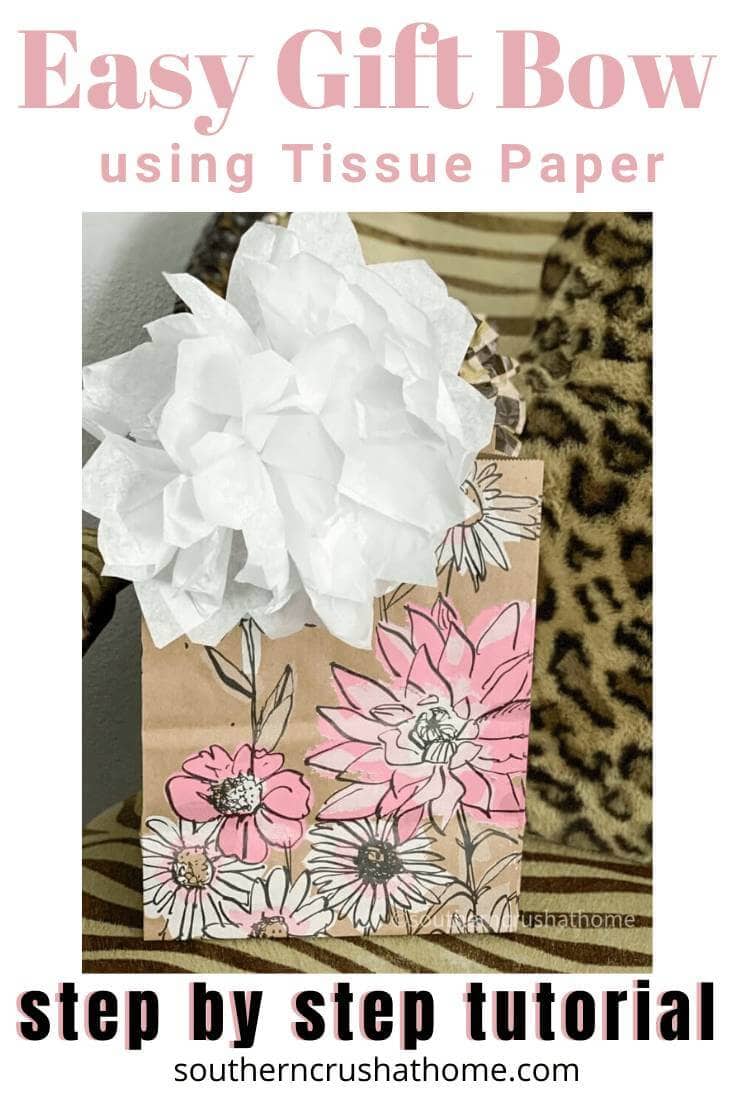
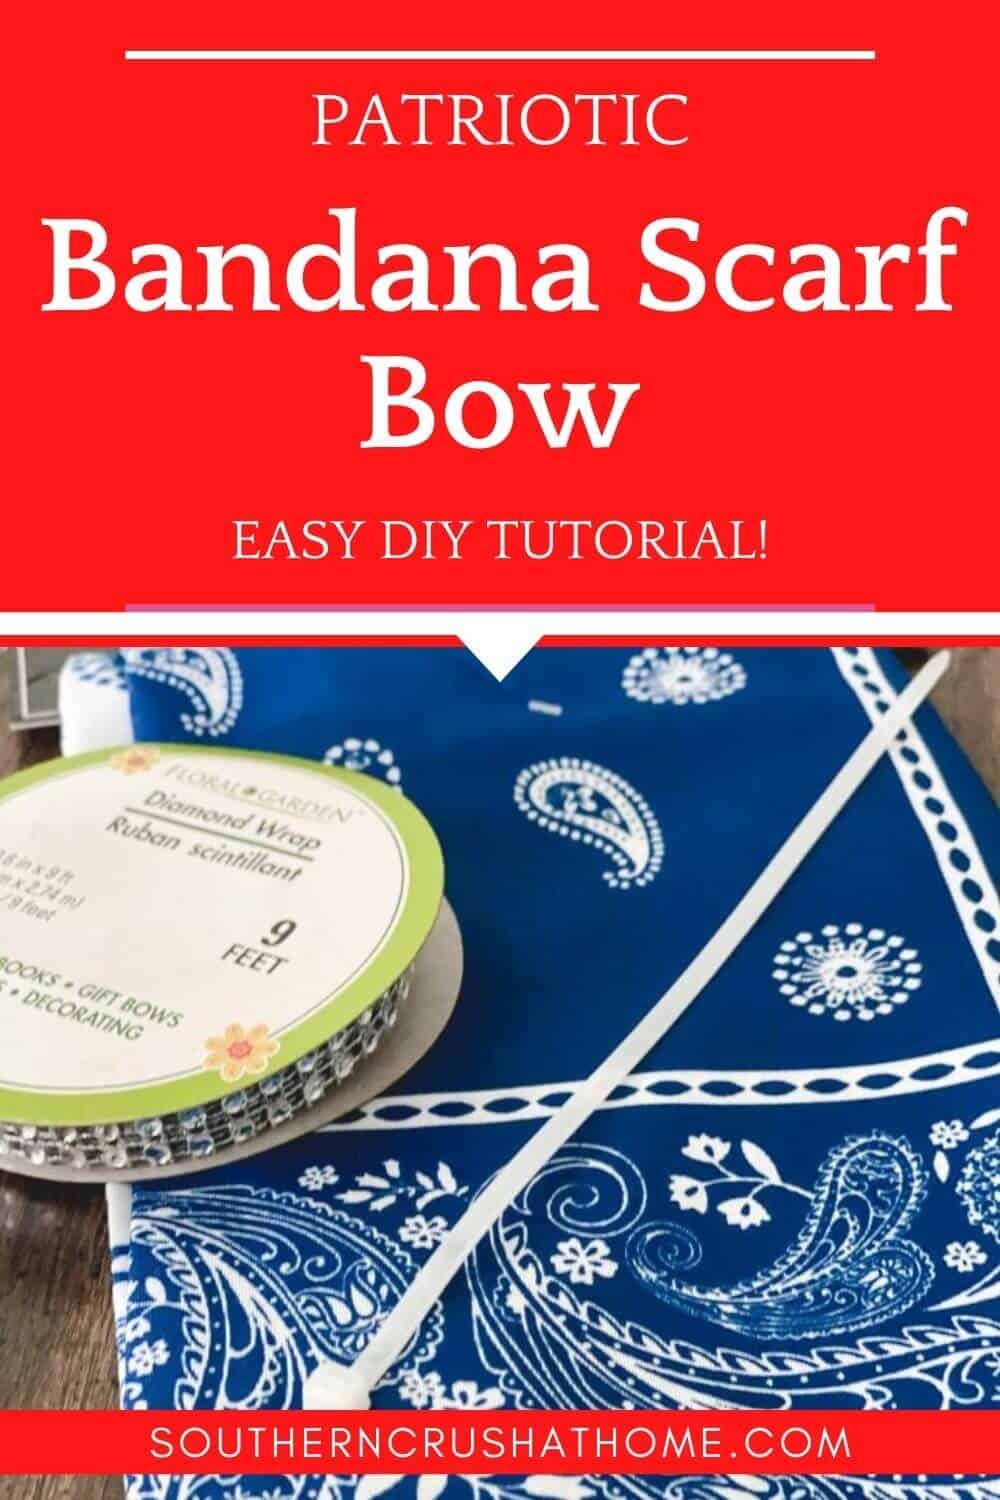
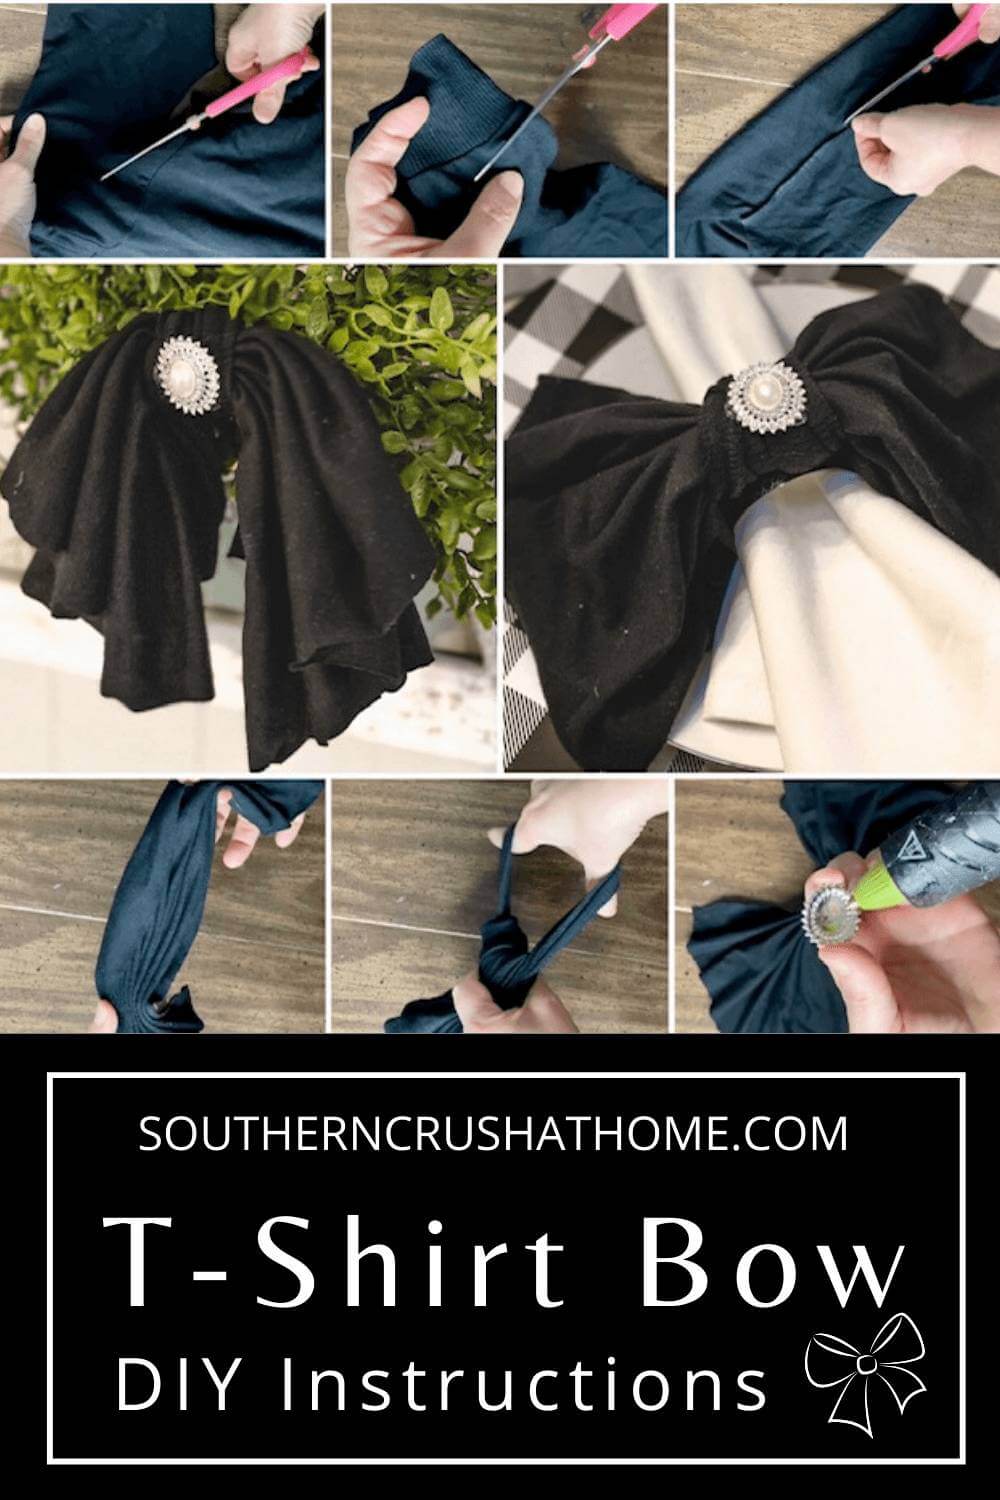
Here are several more ribbon bow tutorials, along with how to make a bow for beginners, a quick and easy 5-minute bow, a bow for a wreath, a doily bow, a burlap bow, a mesh ribbon bow, a fun korker bow, a pretty wedding tulle bow, a messy bow, bows out of gift wrapping paper for the holidays, a budget-friendly tissue paper bow, a bow out of a Dollar store bandana, even a bow upcycled from a thrift store t-shirt.
You're guaranteed to never run out of ribbon bow-making ideas on my blog! Southern Crush at Home is the perfect place to get creative and make something special for your home.
Whether you're looking for a great gift idea or just want to add some pizazz to your decor, I've got something for everyone here. From wreaths and bows to garlands and flower arrangements – I have all sorts of fun projects that are sure to bring beauty to your home.
Plus, all of my tutorials are easy to follow and require minimal supplies, so you can get started creating right away! So go ahead – give it a try and I'm sure you won't be disappointed! Happy crafting! ♥️

How to Make a Bow the Easy Way: EZ Bow Maker Tutorial
Materials
- EZ Bow Maker
- 1-4 Different Ribbons of your choice pick colors and patterns that complement your project
- Pair of scissors
- Wire snippers
- Either some floral wire or zip ties for securing your bow
- Chenille stem or pipe cleaner for attaching your bow
- Cutting mat with measurements (optional)
Instructions
- Start by deciding on the size of bow you would like to make based on the end use. Is it for a wreath, a sign, a craft, a wedding pew, a gift?
- Next choose whether or not to include tails for your bow and how long you would like them to be on the finished bow. Using the EZ Bow Maker with the optional cutting mat underneath, measure the desired length of ribbon for your first tail, leaving a little extra for allowance.
- It's time to start creating the loops! This is a simple process and it is the only part that requires your focus. Simply take the wired ribbon in between your fingers at your desired length point and pinch it followed by a twist.
- Pinch the ribbon first.
- Then twist the ribbon as you guide it through the two pegs on the EZ Bow Maker.
- Decide on how large you would like the loops to be and measure using the easy guide on the top of the EZ Bow Maker tool.
- Fold the ribbon gently over to creat the loop and then repeat the pinch and twist technique as you guide the ribbon through the two pegs again.
- Repeat this process for the opposite side of your bow as shown.
- Once the loops are in place, cut your second tail to match the length of the first one.
- Optionally, you can cut a mermaid tail or dove tail at the bottom to finish off the look. Taking your scissors, cut at an angle from the non-wired, folded edge of the ribbon as shown below.
- To create a double loop bow or larger, continue this same process. Let the pegs serve as your extra hands to hold the bow in place as you move the loops and tails around. Don't be nervous, you cannot mess this up, I promise!
- With the loops still securely pinched and twisted between the two pegs, take your ziptie, pipe cleaner, floral wire, twine, or another small piece of ribbon (about 6 inches) and slide it under the loops.
- Gently slide the loops off the pegs bringing the ends of the zip tie up and secure the loops in place.
- If you opt for my favorite choice, the zip tie, be sure to leave it loose and add a chenille stem or pipe cleaner to match the bow so that you can use it to hang your bow. See below.
- Now comes the fun part! Carefully fluff and arrange the loops to achieve the fullness and shape you desire.
- Embellish your bow with fun touches of sparkle bling! I love to do this to my bows. Here is where I find my favorite bling.