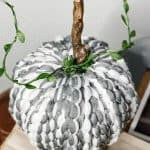
Dollar Tree Braided Pumpkin DIY (Using a Mop Head)
It's easy to make your own Fall home decor with this simple braided pumpkin DIY. These precious little pumpkins are made with Dollar Tree styrofoam pumpkins and a Dollar Tree braided mop head! See how it's done…

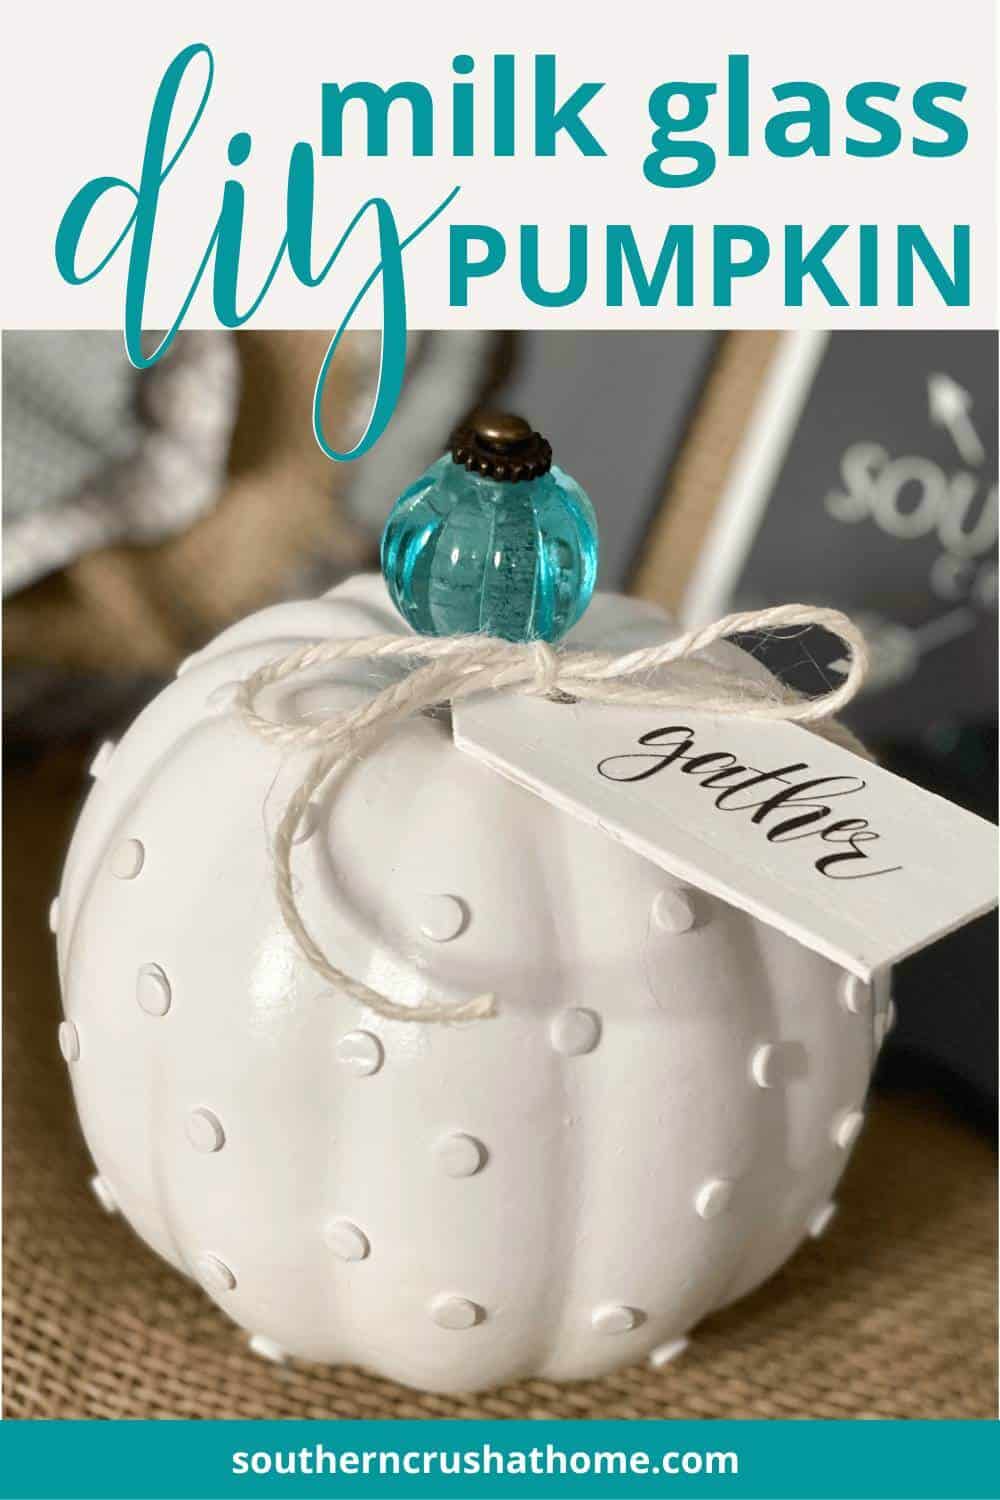
I'm pretty sure that pumpkins are my thing. My blog is full of them! One of my favorites is this Hobnail Milk Glass Pumpkin made with items from Dollar Tree! These are fun and stylish to use as part of a centerpiece, on a mantle, or anywhere you need a pop of Fall. The braided look is definitely a trend in pumpkins now!
PIN this for later!
You may also love my other FAVORITE DIY PUMPKINS HERE


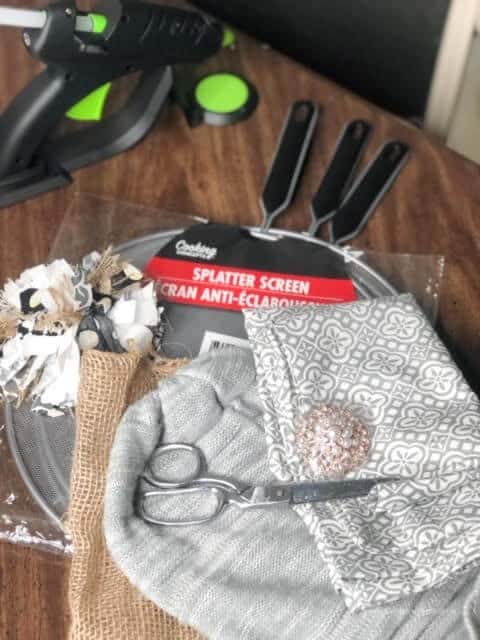
Supplies Needed to Make Your Own DIY Braided Pumpkin
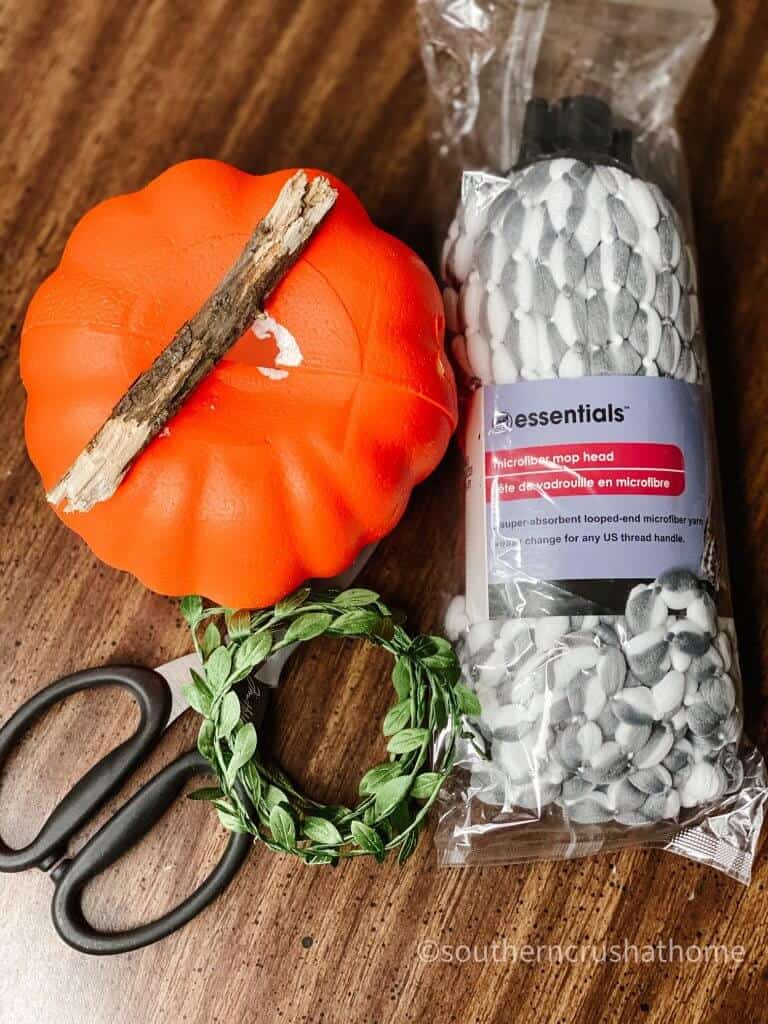
- Dollar Tree styrofoam pumpkin (remove the stem)
- Dollar Tree microfiber mop head
- Glue gun
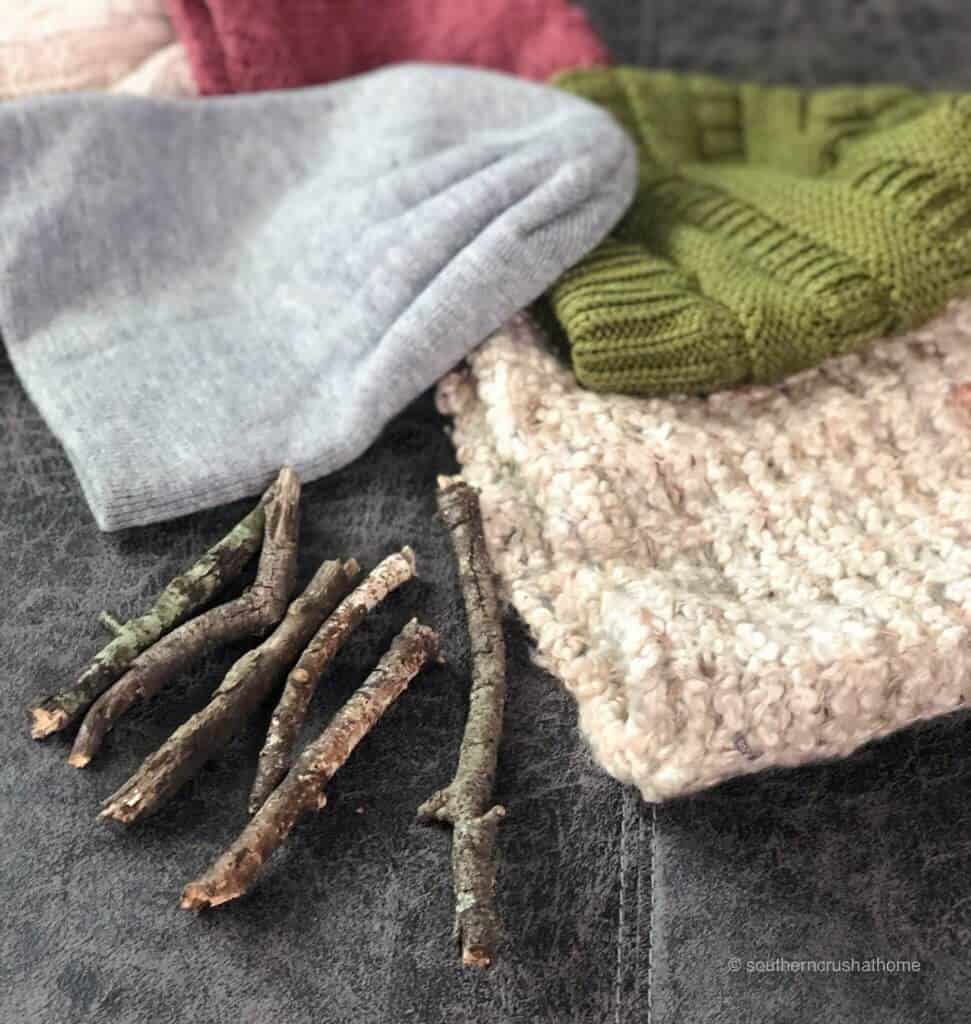
- Stick from the yard
- Spray Paint with a color to match your mop head (optional)
- Greenery (optional)
Easy Steps to Make a Pumpkin with a Braided Look
Step One
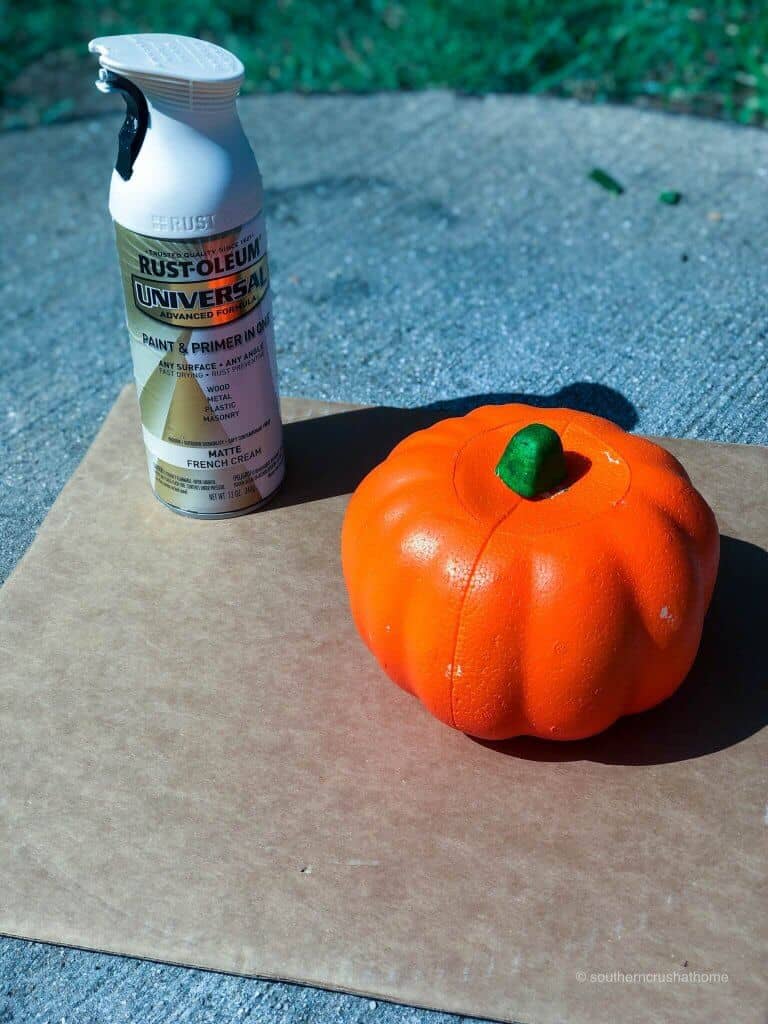
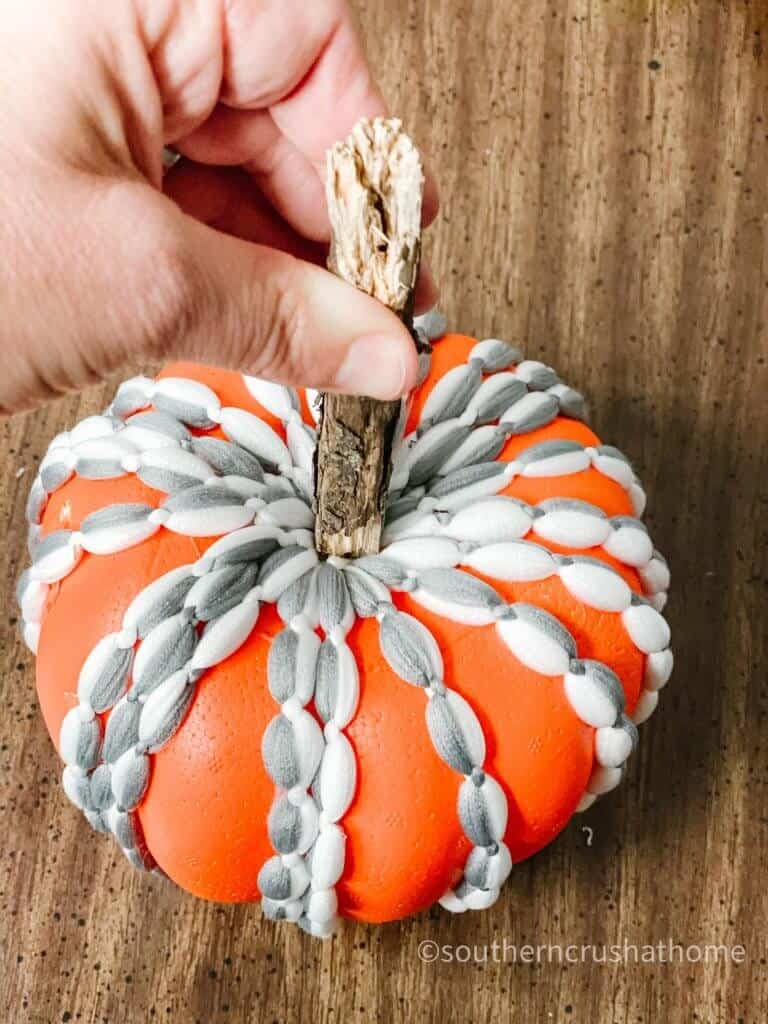
Remove the stem from your pumpkin and create a small hole in its place.
Step Two
Spray paint your pumpkin to better blend with your mop head strands. (I did not do this on my first try, but I did on my second and it made all of the difference. Be sure to spray light even strokes from far away so the spray paint doesn't melt your pumpkin)
Dollar Tree now sells white foam pumpkins, so you can purchase those instead and skip the painting step!

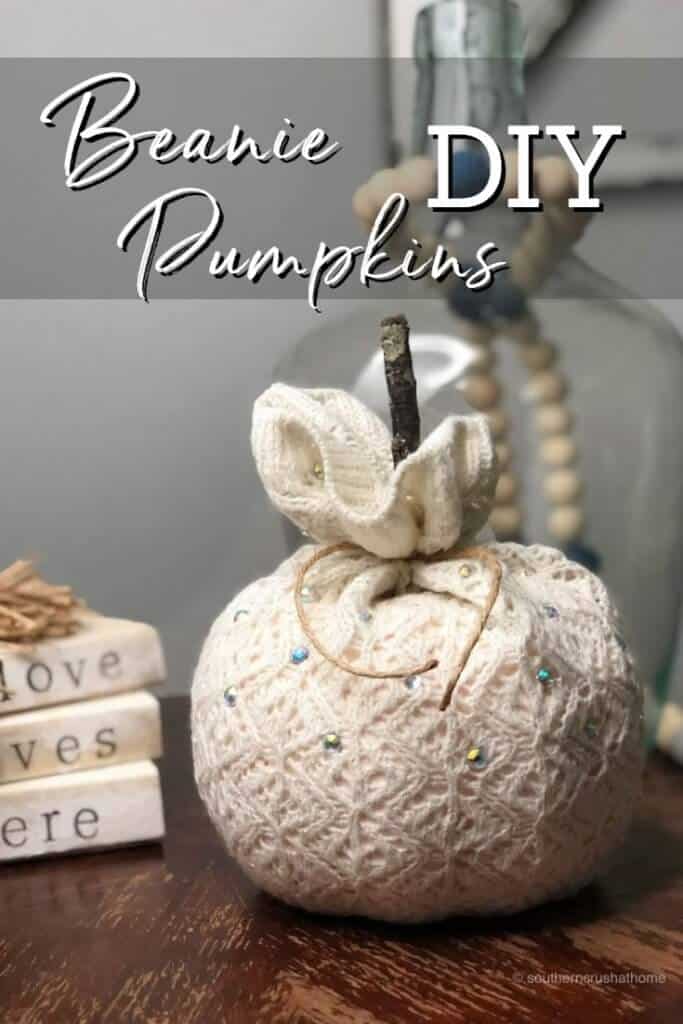
- These are the same EXACT pumpkins I used in this super Easy Beanie Pumpkin DIY project! Check it out!
Step Three
Remove the mop strands from the attachment by cutting them with scissors
Step Four
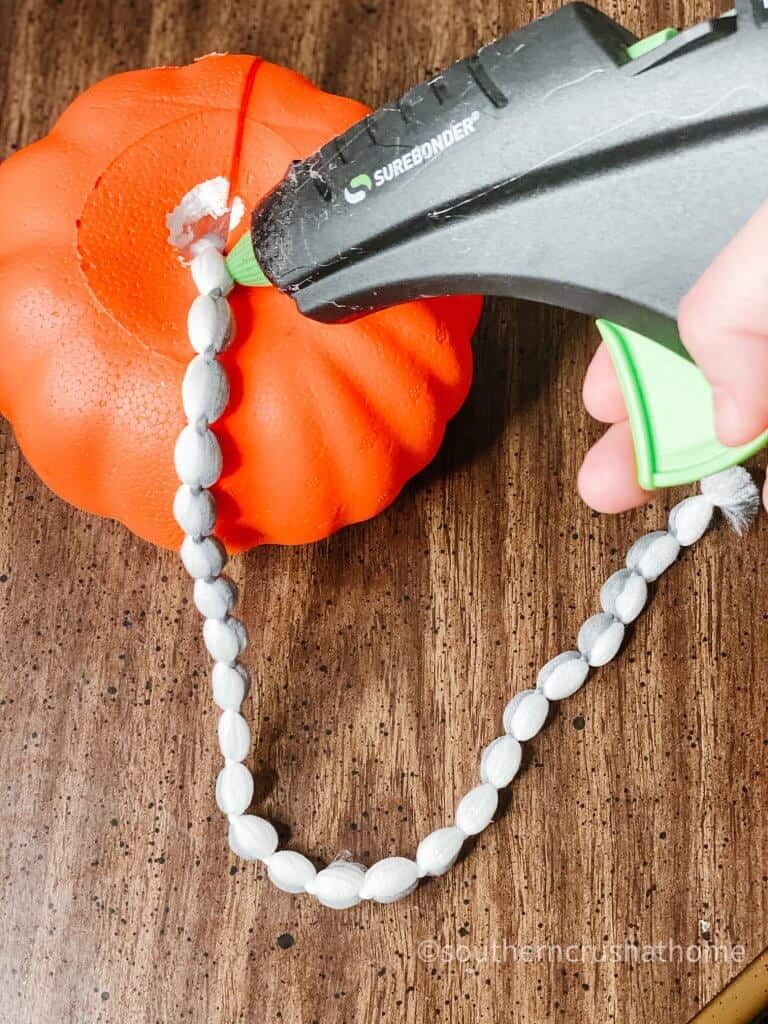
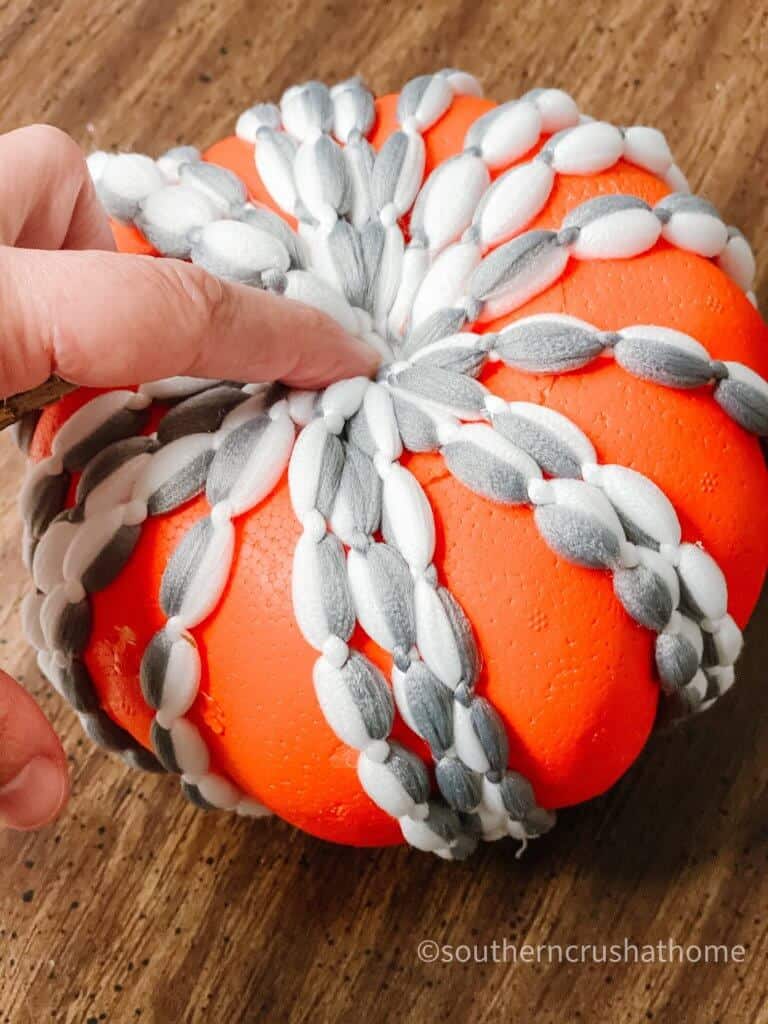
Tuck each mop strand into the top of the pumpkin wrapping around the circumference of the pumpkin and securing it with your hot glue where needed.
Step Five
Repeat this process until the entire pumpkin is covered.
Step Six
Insert your stick from the yard and use it to tuck any loose strands into the center.
Step Seven
Add greenery around the stem as desired. I grabbed a spare piece of wired boxwood and twisted it around my stick.
If you missed the video tutorial, SEE IT HERE
You can browse my inspiration pumpkins below as well as my final braided pumpkin DIY project using the dollar tree materials.

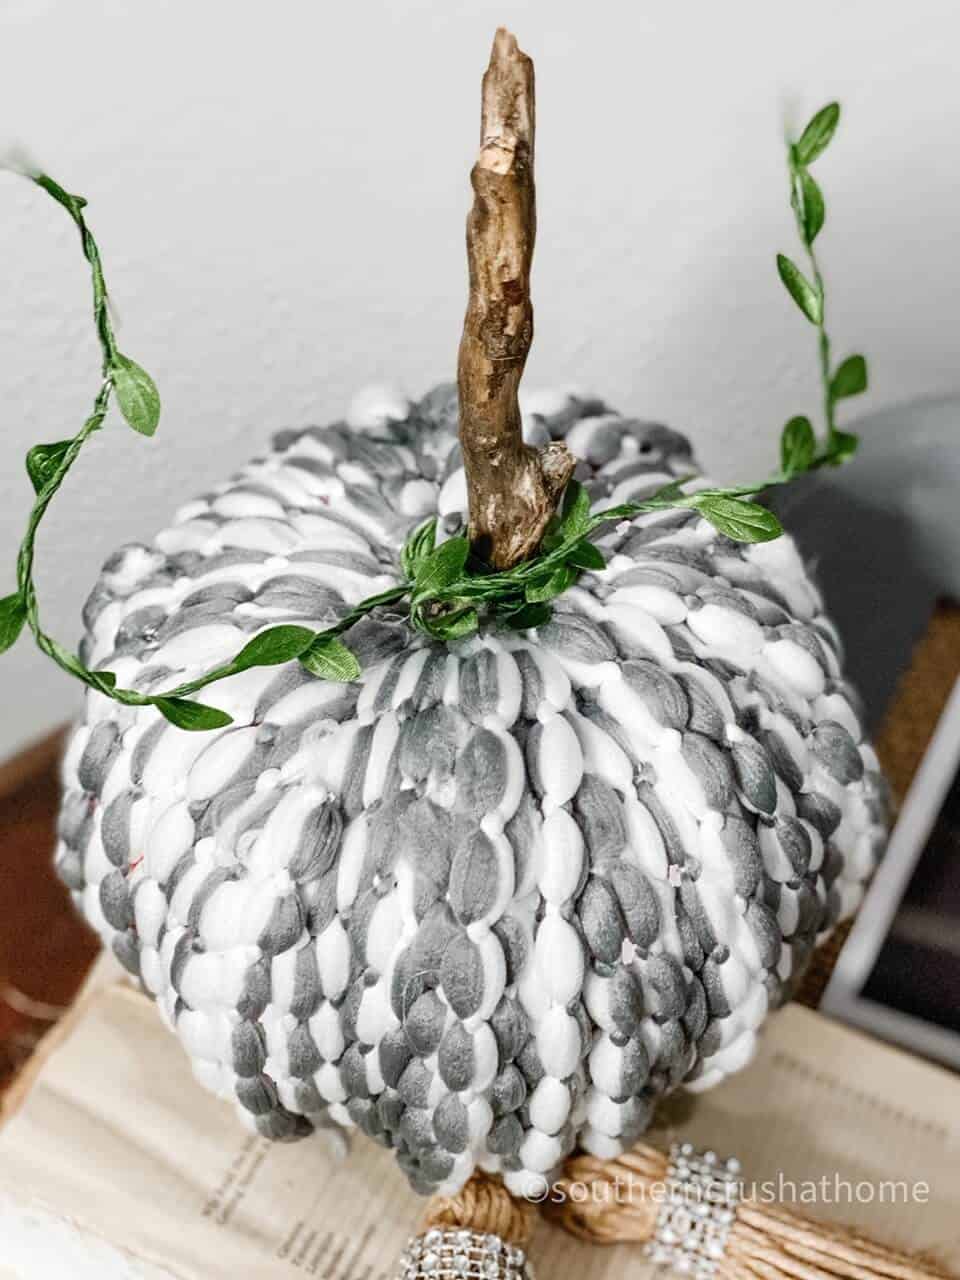
The braided yarn is so pretty and the gray and white really give it a similar neutral look!
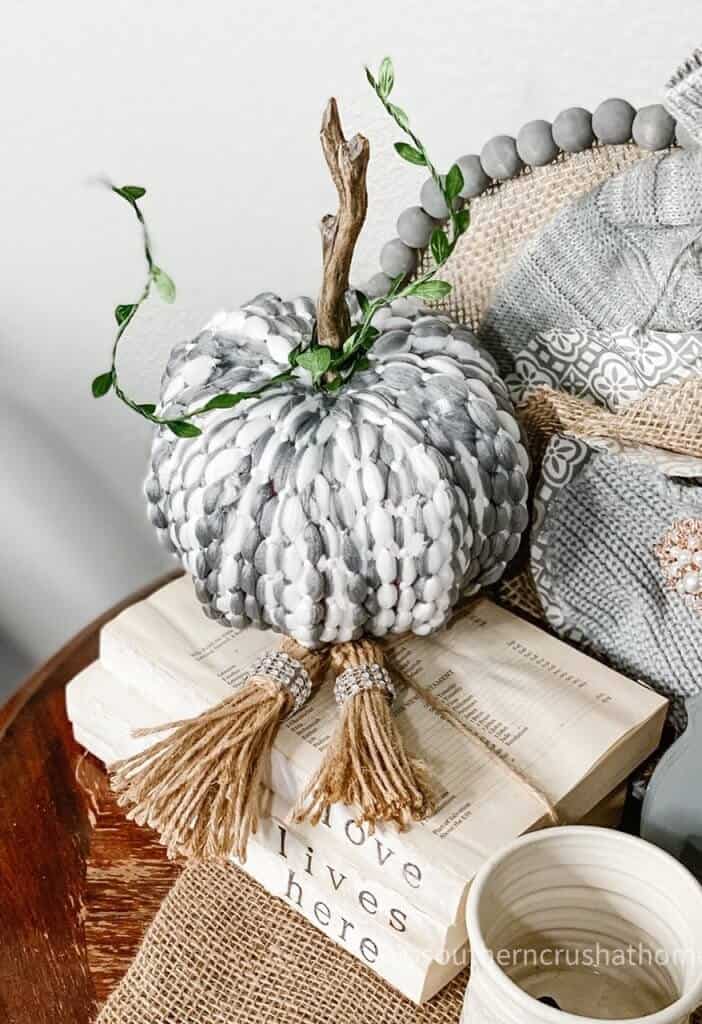
It's fun sitting here on display on top of a stamped book stack DIY that I made here — DIY Decorative Books with Homemade Tassels
I just love decorating with neutrals! In fact, this DIY Splatter Screen Pumpkin was another of my farmhouse gray pumpkin projects, which you may enjoy, as well!
How to Display Your Braided Mop Head Pumpkins
- On an entryway table as you walk in create a welcoming view.
- On a mantel above a fireplace in groupings to bring in all the fall feels.
- Display on a cake stand pedestal to create varying heights that add interest.
- Put them in a built-in bookcase or an armoire to decorate your space.
- Add them to a fall tablescape in your dining area.
- Take smaller versions and add them to each place setting on top of the plates.
- Place one on a floating shelf as part of a larger fall gallery wall display.
- Create a small fall vignette for a tray or to place on a nightstand using the following:
- faux pumpkins (these are my favorite ones),
- candles (here are some easy DIY candles you'll love)
- book stack (create your own with this easy tutorial)
- wood bead garland (this is how I make my own with tassels)
Other Ways to Create DIY Pumpkin Decor on a Budget
- Use fabric scraps and make a stuffed pumpkin for a pillow.
- Crochet a cover for your pumpkin.
- Cut up an old sweater and grab an embroidery hoop of any size to make this cute pumpkin DIY.
- Place a vintage doily over the top of the pumpkin and glue it into place.
- Use a drop cloth to create a neutral farmhouse-looking pumpkin.
- Cover a pumpkin with a thrift store beanie as seen in this DIY!
If you are brand new to me from HomeTalk, WELCOME! You need to be getting my emails, friend! Each week I send out a couple of emails that include updates, crafts, shopping experiences and decor inspiration. Be sure to get yourself signed up below. I can’t wait to meet you!
If you love this kind of DIY project, you need to be getting my emails, friend! Each week I send out a couple of emails that include updates, crafts, shopping experiences, and decor inspiration. Be sure to get yourself signed up. I can’t wait to meet you!
>>Leave your thoughts below in the comments, please… BTW— Life is short—Enjoy the mess!
Dollar Tree Mop Head Pumpkin DIY
Materials
- 1 Dollar Tree styrofoam pumkin
- 1 Dollar Tree microfiber mop head
- 1 Glue gun
- 1 Stick from the yard
- 1 Spray Paint with a color to match your mop head optional
- 1 Greenery optional
Instructions
- Remove the stem from your pumpkin and create a small hole in it's place.
- Spray paint your pumpkin to better blend with your mop head strands
- Remove the mop strands from the attachment by cutting them with scissors
- Tuck each mop strand into the top of the pumkin wrapping around the circumference of the pumpkin and securing with your hot glue where needed.
- Repeat the process until the entire surface is covered.
- Insert your stick from the yard and use it to tuck any loose strands into the center.
- Add greenery around stem as desired. I grabbed a spare piece of wired boxwood and twisted it around my stick.
Don’t miss the recent Redfin article this project was featured in:
“20 Easy Fall DIY Decor Ideas that You’ll Absolutely Love”
With leaves on the ground and pumpkin spice lattes in hand — there’s no doubt that fall is in full swing. One of our favorite things about this time of year is all the traditions that come with it, like roasting marshmallows by your backyard fire pit or watching scary movies. But nothing makes it feel like the new season is upon us like decorating our homes with festive, fall decor.
Whether it’s gathering materials from your yard to create warm-colored tablescapes or visiting your local craft store to make a DIY fall wreath, there are many creative and easy ways to embrace autumn in your home.
To help inspire your seasonal decorating, Redfin reached out to experts for our most creative — yet simple — fall home decor projects. So before the cold temperatures approach and you have to prepare your home for winter, check out the Redfin article I was featured in and try out one (or more) of these fall DIY projects this season!
Absolutely love how this turned out!
Thank you my friend
Oh my goodness!! I LOVE this!!! ????????
I love this!!! Pumpkins are my thing too and fall decorating is my favorite!
Amazingly beautiful! Has a look of a $60.00 plus decoration item! Thank you!
I’ll have to check and see if you can order from dollar tree! Only have a family dollar in my town and they don’t carry hardly any crafting supplies! Live 90 miles from nearest place to get crafting supplies!
these are tooooooo cute!!!! and it just so happens I had purchased one of the mop heads to use for something else like dusting and it’s still laying on top of the dryer waiting to be use — now I just need to go to my she shed and get one of those pumpkins that I bought last fall — thansk so MUCH! for this idea
I did the same thing just this last weekend. Needless to say I was thrilled when I saw this DIY!!
Absolutely adorable. Love fall.
I love this. I just bought the sturff to make it
Love this idea
Love this craft !!! I love yours more than the original !!!
love how it turned out
I love this pumpkin in the gray and white!
LOVE Fall decorations!
Cute idea for another pumpkin in my patch.
This is adorable, unfortunately my Dollar tree doesn’t have the styrofoam pumpkins this year.
I’m a newbie, and I’m L❤VIN’ your talents. I’m looking forward to seeing more. ???? ????????
Awe! Thank you so much!
Love this it’s so adorable!
Thank you for such thorough instructions. I am curious as to why you crossed out the glue gun? Did you find a better way to attach it??
Love this! Absolutely beautiful!!
I thought this pumpkin was so cute that I had to make one. I love it! Thanks Melanie ????
Awe thank you! I’m so glad you did!
So clever and so cute!!
Thank you!
Super cute! I just love the colors! Thank you for sharing at Embracing Home and Family!
Thank you!
I cannot get over how cute these came out! Plus, the fact that it uses Dollar Tree items!! Win-Win!
Beautiful project and I will be featuring this project this week on our Embracing Home and Family Link-up party this Friday! Congrats 🙂
Thanks for linking up and sharing your post with on the Embracing Home and Family Link-up party! We hope you join us again this Friday!
-Cherelle
Yay! Thank you for the sweet compliments! This one was fun! Can’t wait to be linked up!
Such a fun upcycle that is quick and easy!! I’d love for you to share over at our weekly Wednesday Creative Crafts Linky Party
Have a great week!
Creatively, Beth
Thank you and yes! I’d love to share!
Well, I subscribed to your blog and chose your post as one of my features on the Little Cottage Link Party tomorrow.
Wow!! Thank you so much! I cannot wait to head over tomorrow and see all of the goodness you share!
These are so clever and unique! Love the texture too. Pinned!
Thank you so much! I appreciate you!
This is brilliant! So clever and creative! Pinned!
Awe thank you so much!
Very Cute 🙂
thank you!
Did anyone else have an issue with the spray paint melting the styrofoam?
That is common and difficult to avoid unless you spray in light even strokes from far back instead of close up. Since I created this project, Dollar Tree has come out with white styrofoam pumpkins that solve the problem of the orange color all together. Thank you for stopping by!
I appreciate how you’ve highlighted the versatility of mason jars in DIY projects. They can be transformed into so many wonderful decor pieces, and your painted jars are a perfect example of that.