Easy Barbie Pink No-Carve Pumpkin Decorating Ideas: How to Create Glamorous Halloween Decor
If you're a Barbie enthusiast and love all things pink, I've got the perfect no-carve pumpkin decorating ideas for you. In this blog post, I'll show you how to transform dollar-store foam pumpkins into fabulous pink masterpieces that will add a glamorous touch to your Halloween decor. Get ready to unleash your creativity and create stunning pumpkin decorations using a simple beanie trick! Let's dive into these easy and budget-friendly craft projects to add a touch of Barbie glam and fun to your Halloween decor!
PIN this for later!
This blog post contains affiliate links. The opinions are wholly my own from my own experience. I may earn a small commission from clicks through to the websites that end in a purchase.
More No-Carve Pumpkin Decorating Ideas

How to Make Barbie-Inspired Decorative Pumpkins
Embrace the chic and glamorous side of Halloween! In this blog post, I'll show you how to transform ordinary pumpkins into fabulous Barbie-inspired Halloween decor using Rustoleum color pink paint in three stunning hot pink colors and a thrift store Barbie Beanie complete with Barbie Logo. Let's get crafting and add a touch of Barbie magic to your Halloween decor!
Supplies Needed for Decorative Pumpkins
- Dollar Tree foam pumpkins
- Rustoleum spray paint in three shades of pink (light pink, Berry pink, and Magenta pink)
- Barbie Beanie or any hot pink beanie
- embroidery floss in hot pink color
- spray adhesive
- glitter or diamond dust
- sticks for stems
- hot glue gun
YouTube Video Tutorial
If you prefer a visual guide, we've prepared a step-by-step video tutorial for you. Check out the video below and subscribe for more crafty inspirations.
Step-by-Step Instructions for Beanie Pumpkin
Step 1: Prepare the Pumpkins
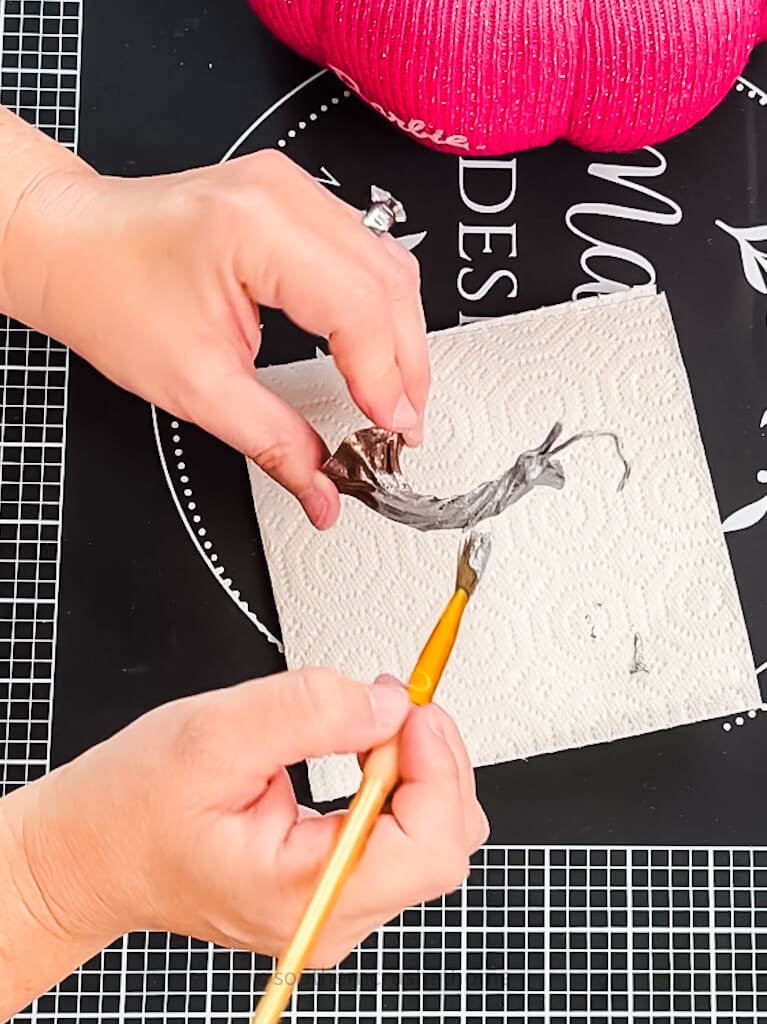
Remove and reserve the stem and original covering from the foam pumpkin if needed.
Paint the reserved stem in a silver acrylic paint color if desired.
Step 2: Add a Beanie Pumpkin Cover
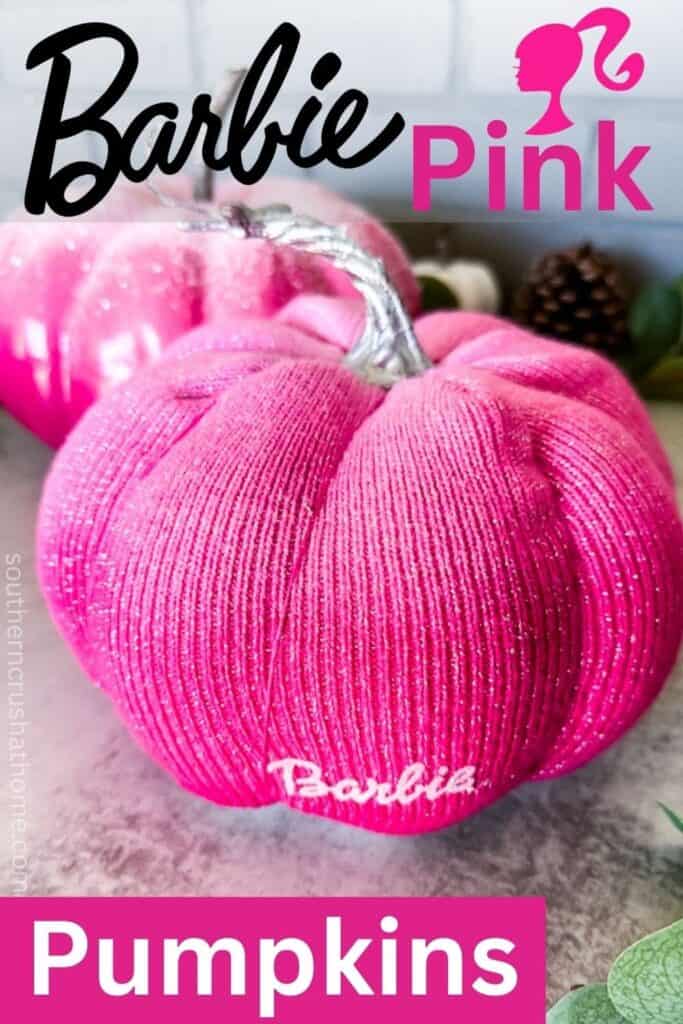
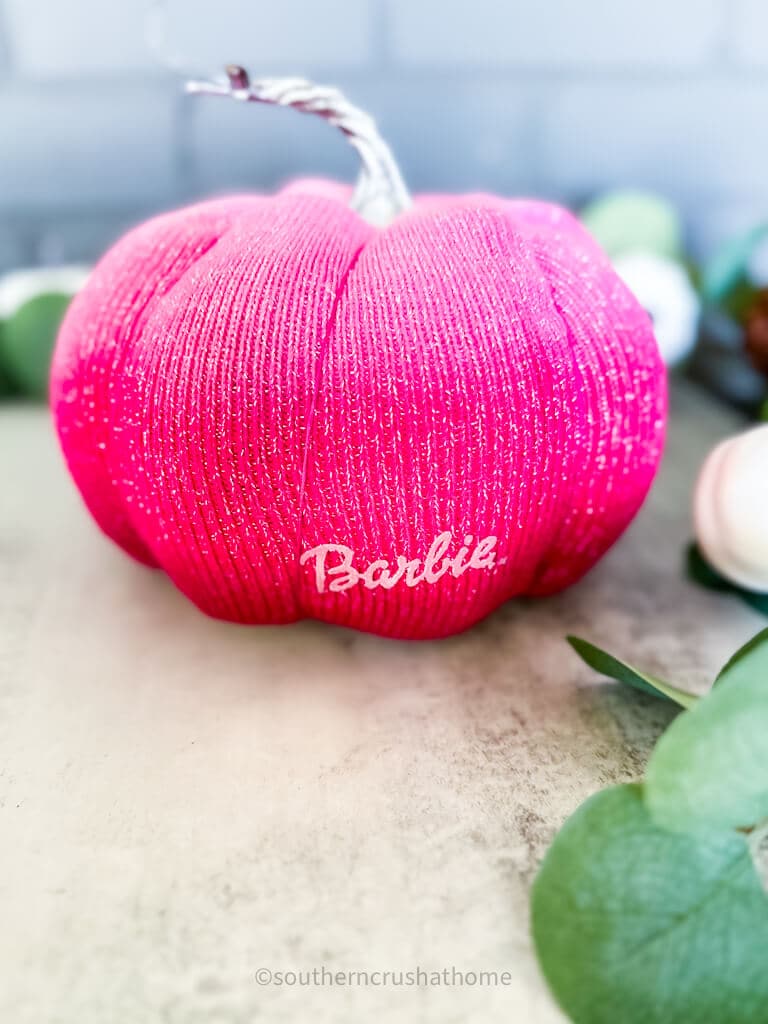
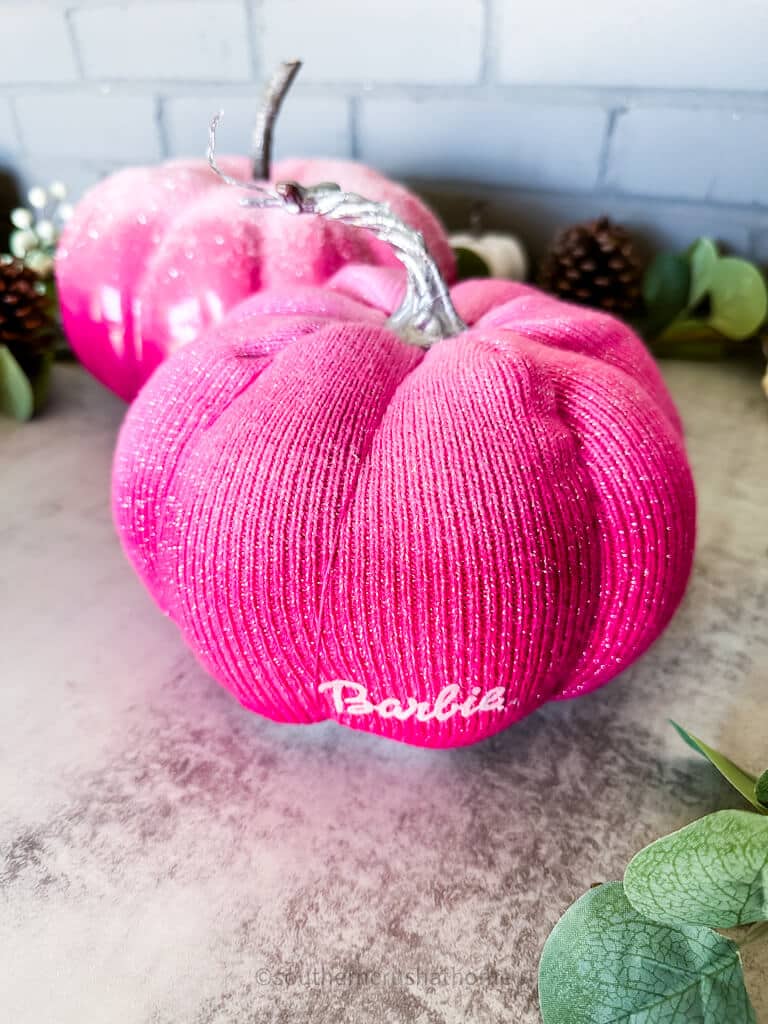
This is where the magic happens! We'll turn simple beanies into creative pumpkin covers. Take your beanie of choice and ensure it fits the foam pumpkin well. While out thrift shopping, I found a pile of pink clothing for young girls, and on the top was this hot pink Barbie brand beanie complete with the official Barbie logo on it.
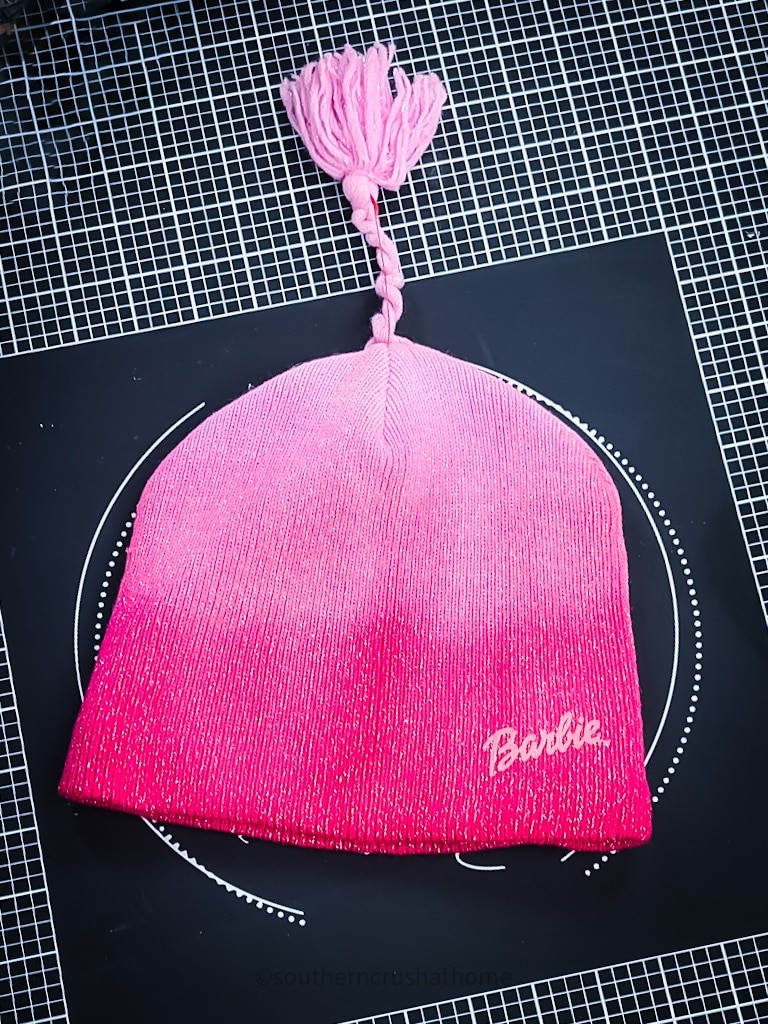
You can opt for cute beanies with pom-pom tops for a unique twist on the traditional pumpkin stem. If your beanie has a pom-pom, dig a small hole in the bottom of the foam pumpkin and tuck the beanie in, leaving the pom-pom on top to create a crafty little stem.
Step 3: Tuck the Foam Pumpkin Inside the Beanie
With the beanie pumpkin cover ready, gently tuck the foam pumpkin inside the top of the beanie, ensuring it reaches all the way down to the bottom.
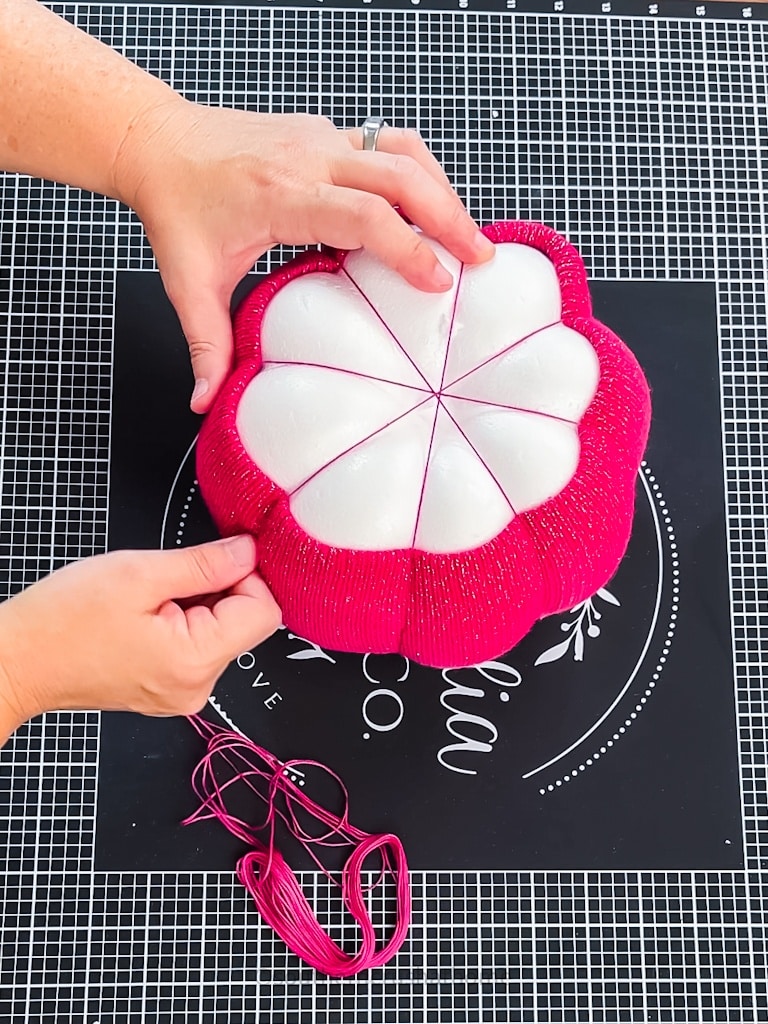
Step 4: Secure the Beanie
Using hot pink embroidery floss or twine or yarn, wind around the beanie sections to secure the pumpkin cover in place. This will give your foam pumpkin a cohesive and polished appearance.
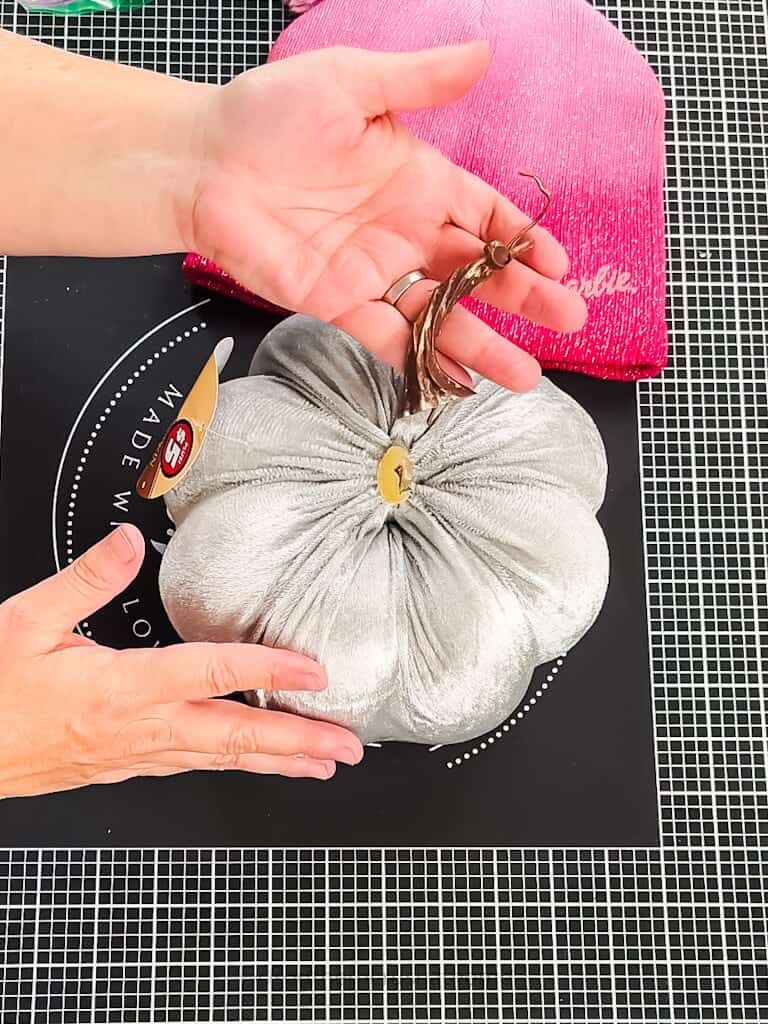
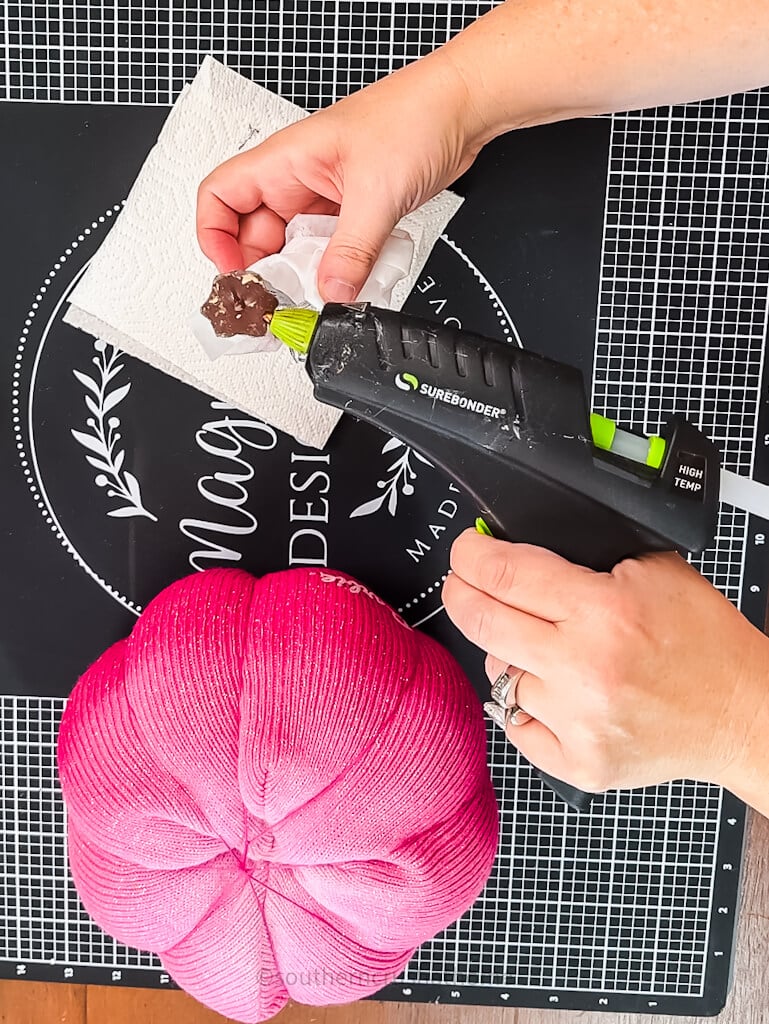
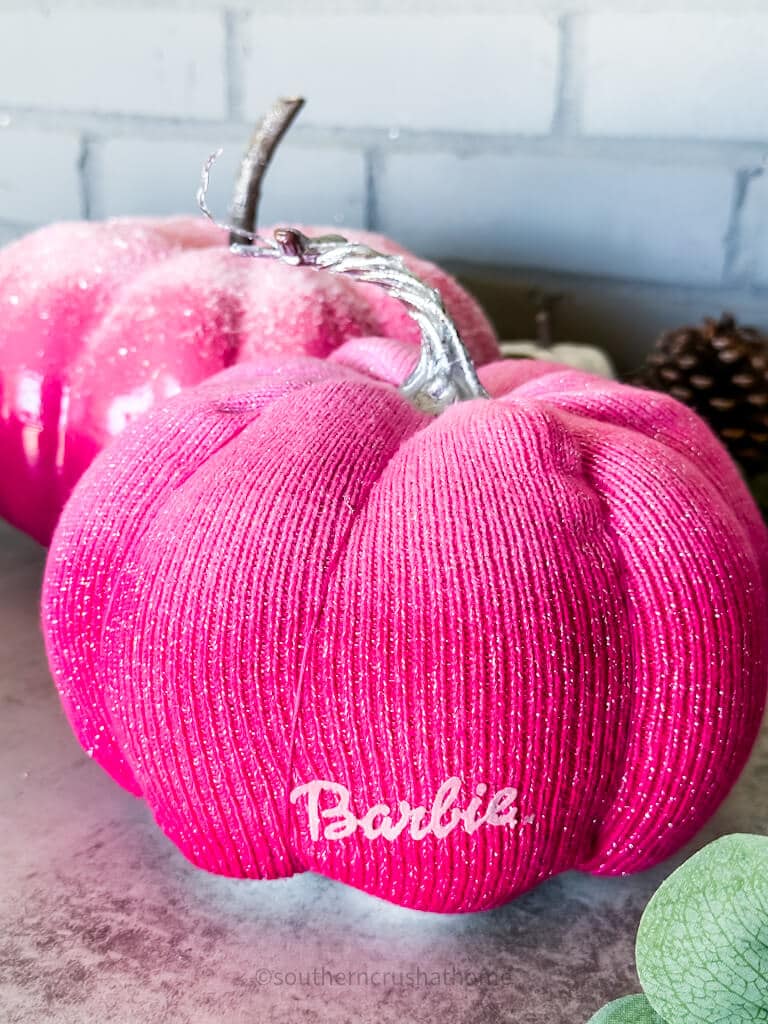
Step 5: Add the Pumpkin Stem
Using the reserved stem, add a touch of silver paint and hot glue in place to the top of the pumpkin as shown below.
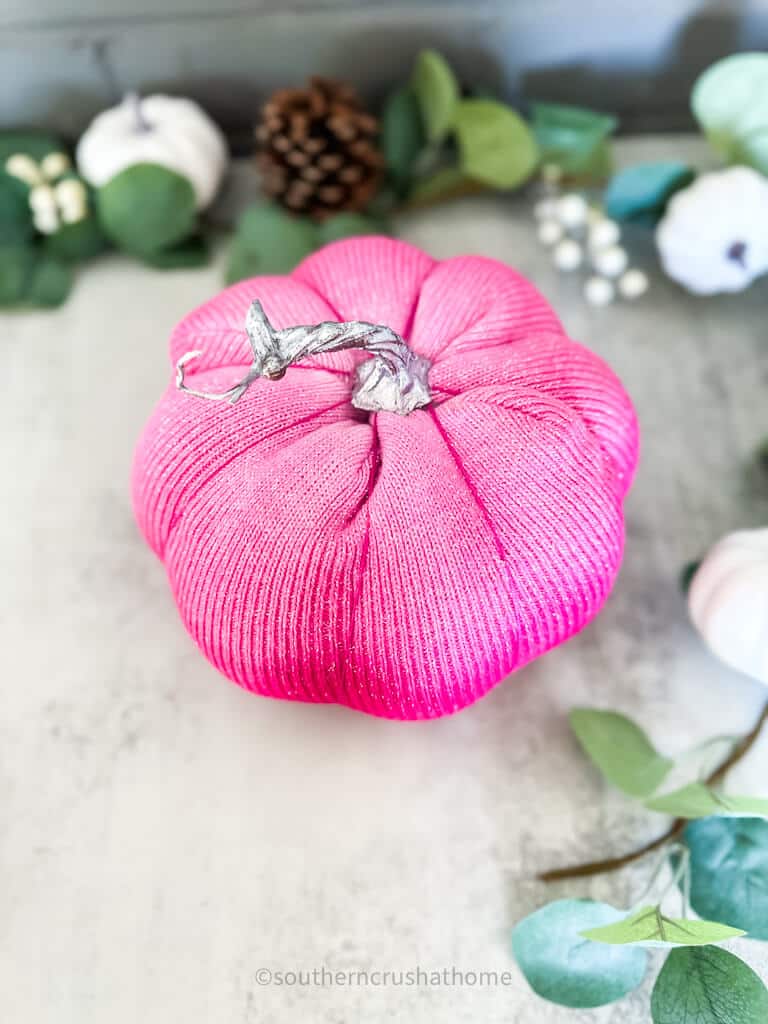
So adorable! I love this pumpkin decorating idea! How about you?
Step 6: Explore More Creative Options
With the basic DIY beanie pumpkin technique mastered, feel free to explore more creative options! You can experiment with different-colored beanies, varying lengths of twine, or even add additional embellishments like rhinestones or ribbon bows for a personalized touch.
Step-by-Step Instructions for Pink Painted Pumpkins
Step 1: Gather Your Supplies
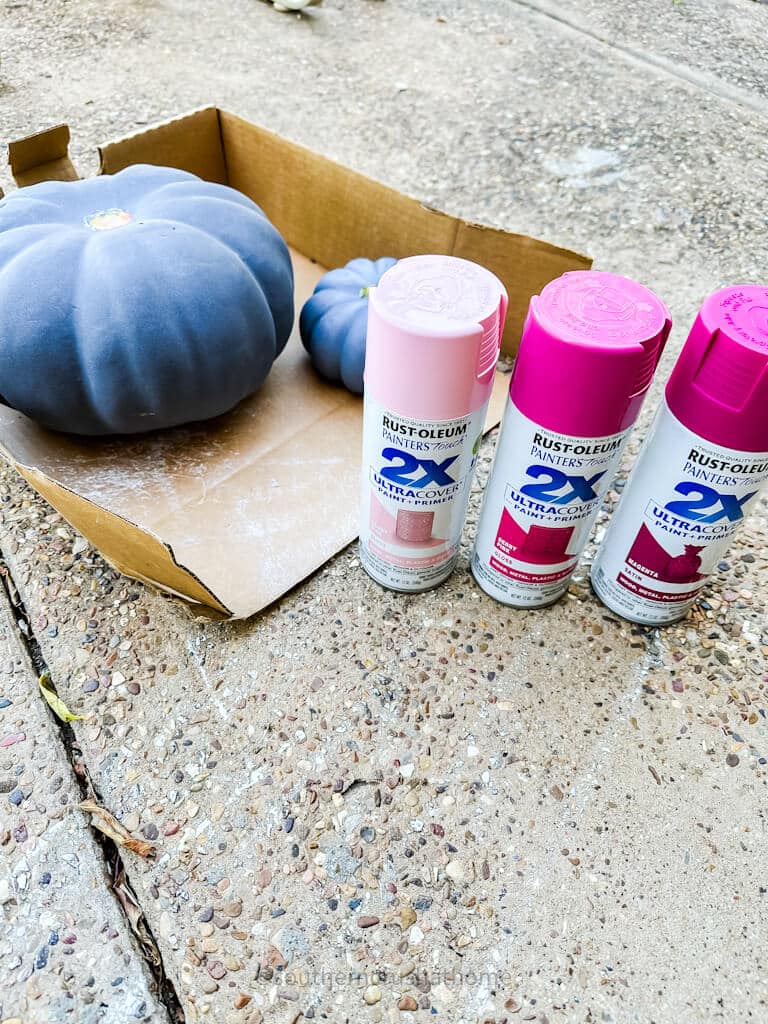
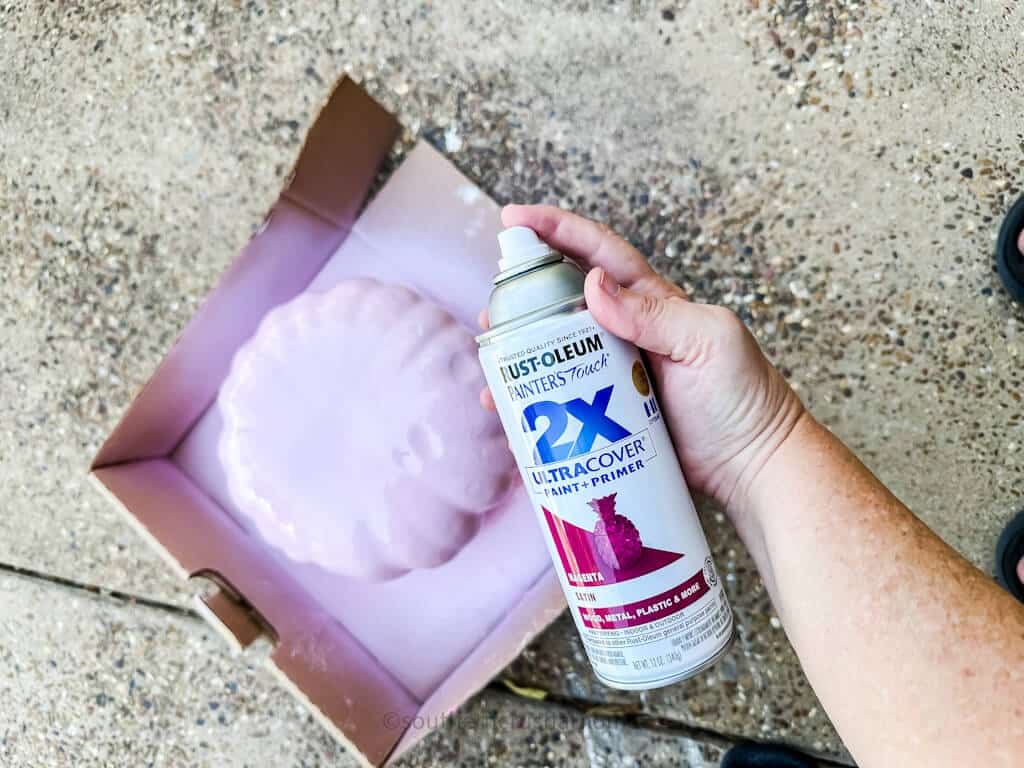
Wipe down your pumpkins to ensure they're clean and free from any dirt. Now, it's time to get imaginative! With the no-carve approach, we'll preserve the natural beauty of the pumpkins while adding that glamorous touch. Apply a base coat of the light pink Rustoleum spray paint to each pumpkin and let them dry completely.
Step 2: Graduation of Hot Pink Paint Colors
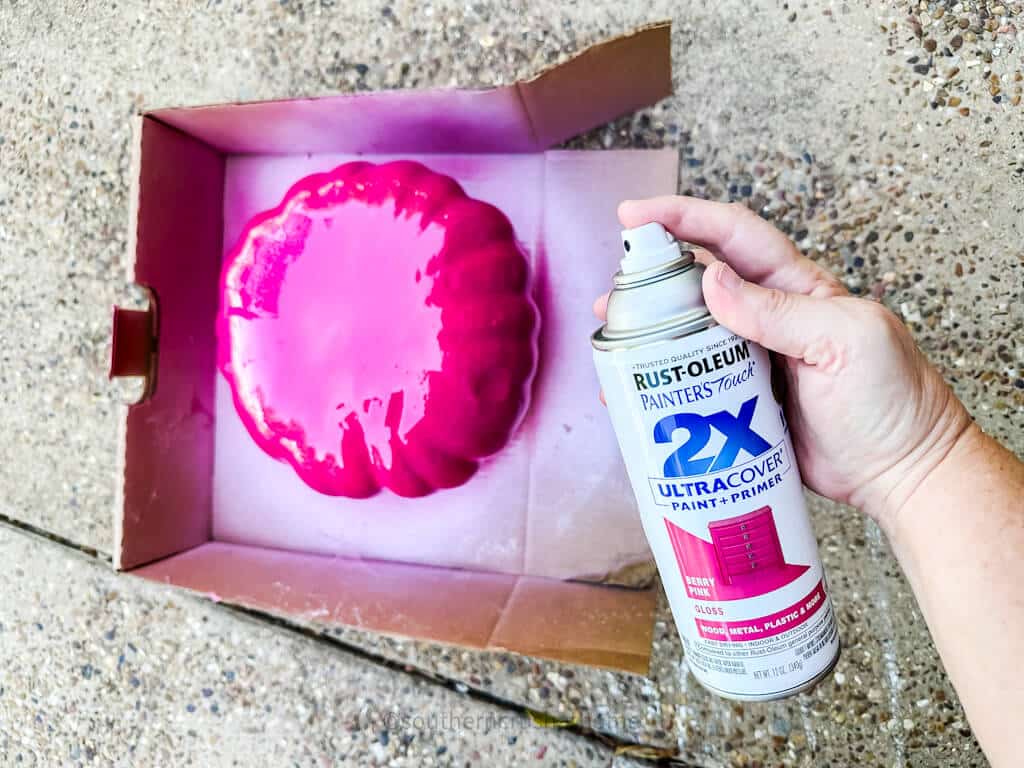
To create a mesmerizing gradation effect on your pumpkins, grab the Berry Pink Rustoleum spray paint and start spraying it from the bottom, gradually moving upwards.
The idea is to create an ombre effect, transitioning from light pink to Berry Pink. Allow the pumpkins to dry thoroughly before moving on to the next step.
Step 3: Embrace the Deep Pink
Now, let's take it up a notch with the Magenta Pink Rustoleum spray paint. Apply this color to the bottom portion of the pumpkin, creating a stunning gradient from deep pink to medium pink to light pink. Blend the colors together for a seamless transition. Once again, give your pumpkins ample time to dry.
Step 4: Glam Up Your Pumpkins
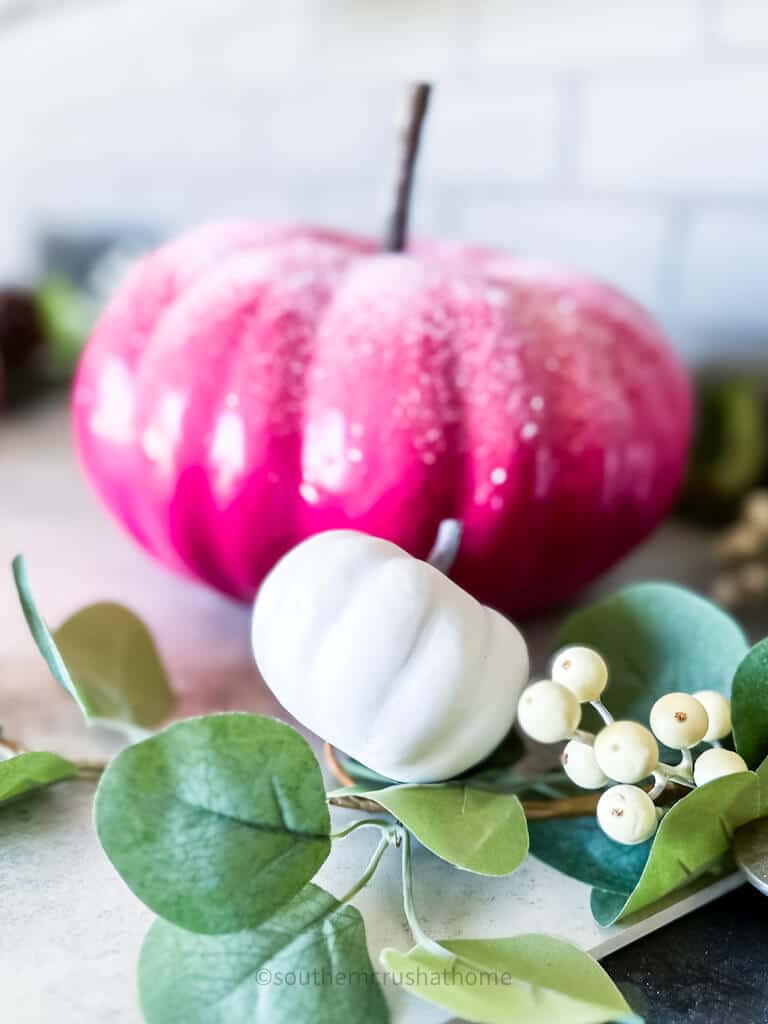
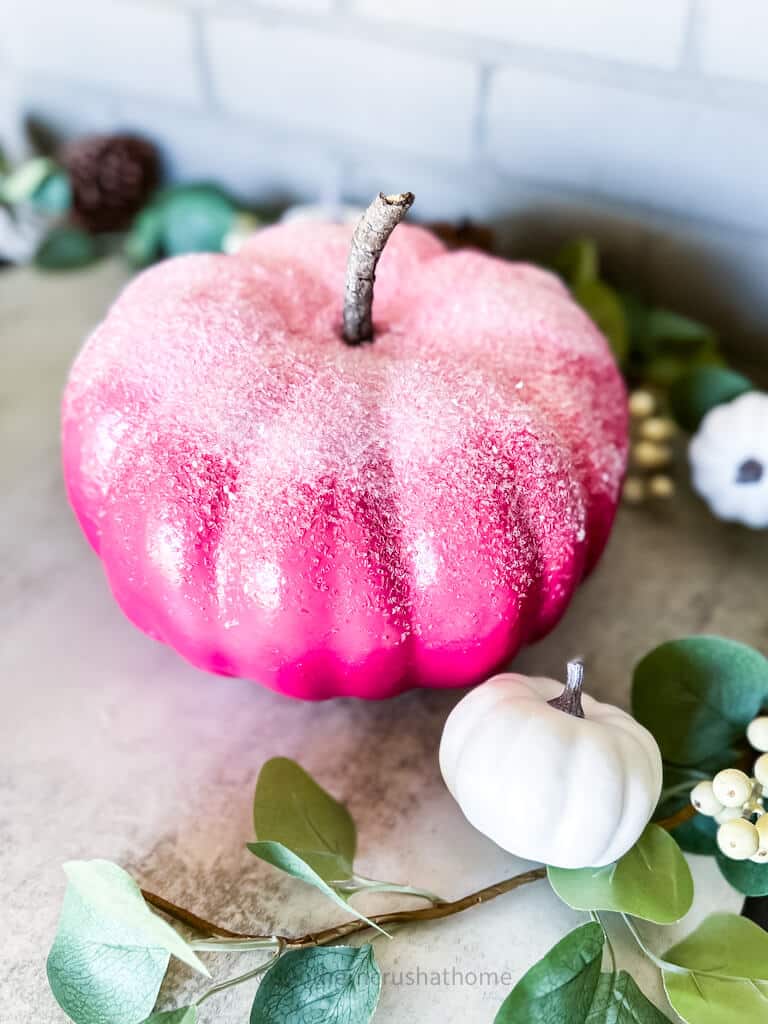
With the mesmerizing gradient colors as the backdrop, it's time to add that extra wow factor, add a light coat of spray adhesive to your dry, painted pumpkins. Immediately sprinkle some glitter or diamond dust over the pumpkins.
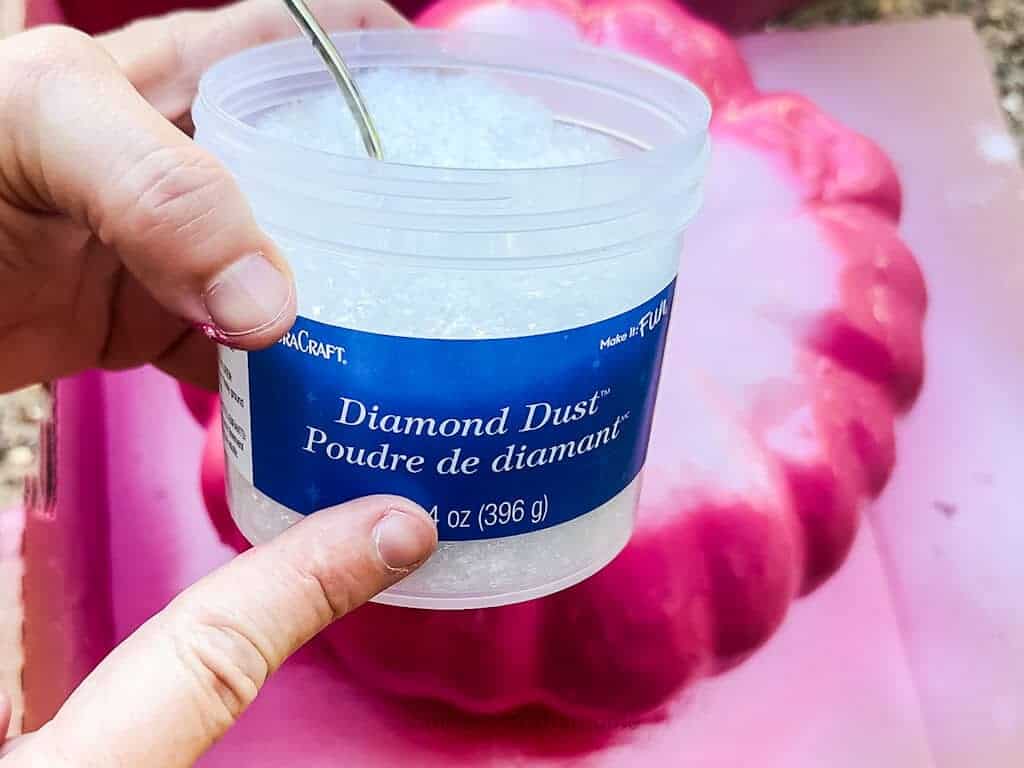
This will give them a touch of enchanting magic, perfect for the Halloween season. Be generous with the glitter, and let it sparkle in the moonlight!

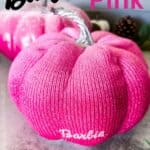
Such a gorgeous glam pumpkin with the added sparkle! Don't you think?
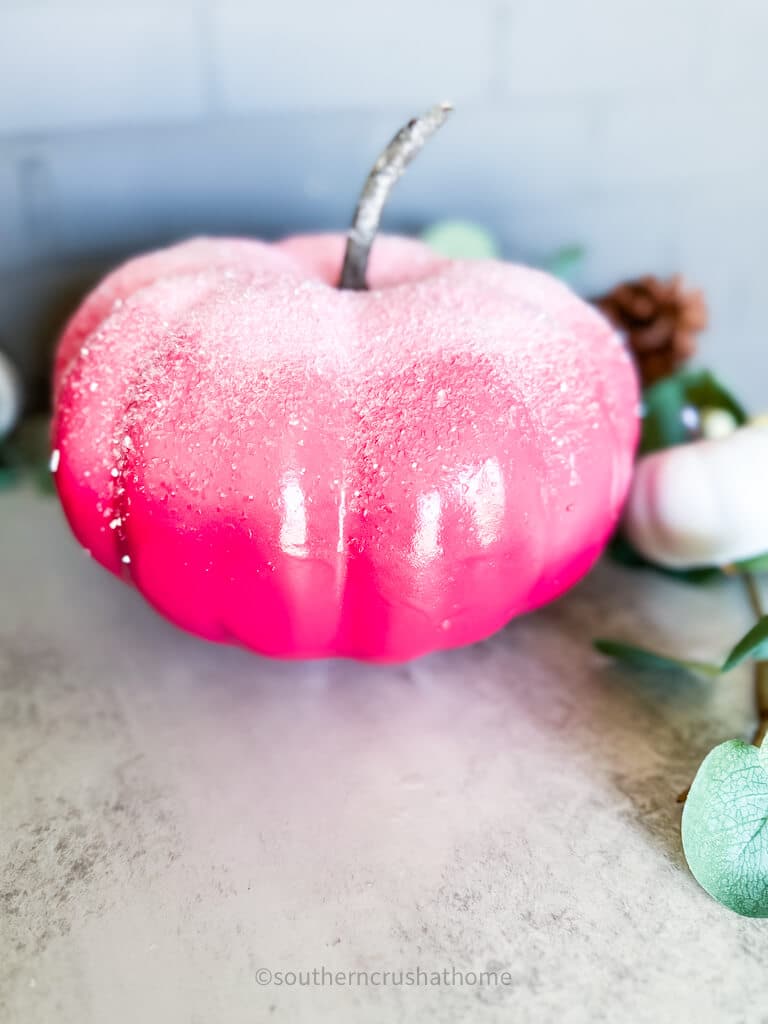
I added a bit of white pumpkin garland for styling. You can find it here in my Amazon favorites for Fall!
Glitter Alternatives:
Unleash your inner fashion designer. Use the Barbie Logo stickers or printouts from your Cricut Maker machine and carefully adhere them to the pumpkins in creative ways. You can have the logo wrapped around the pumpkin or use individual stickers to create patterns. Play around with the design and remember, there are no wrong choices here!
Step 6: Add a Barbie Doll for a Fall Barbie Party
Now comes the fun part – bringing Barbie and her friends to the pumpkin patch party! Using your high-fashion imagination, add Barbie dolls or figurines all around the bright pink pumpkins. You can create scenes like those from the new Warner Bros hit 2023 Barbie movie starring Margot Robbie and Ryan Gosling or have Barbie dolls striking fashionable poses. Get as creative as you like. If you have little girls, they will think this is so much fun!
And there you have it – glamorous Barbie no-carve pumpkin decorations that will elevate your Halloween decor to the next level! Whether you're a die-hard Barbie girl fan, had a little girl who is, or simply love pink colors, these chic and stylish pumpkins will add a touch of elegance to your otherwise spooky celebrations. So, gather your supplies, unleash your creativity, and have a fabulous time crafting your very own hot pink Barbie-inspired pumpkin masterpieces.
Don't forget to share your creations with me, until next time, stay crafty and have a happy, glamorous Halloween!
What is the Official Color of Barbie Pink?
The true Barbie pink color is HEX code: #E0218A is the color used by Mattel's Barbie in trademarks, packaging, and promotional materials.
The entire Barbie Doll Pinks color scheme contains five colors as follows:
- Barbie Pink (#E0218A)
- Raspberry Pink (#ED5C9B)
- Pastel Magenta (#F18DBC)
- Small Girl Pink (#F7B9D7)
- Classic Rose (#FACDE5)
More Pink Paint Craft Ideas
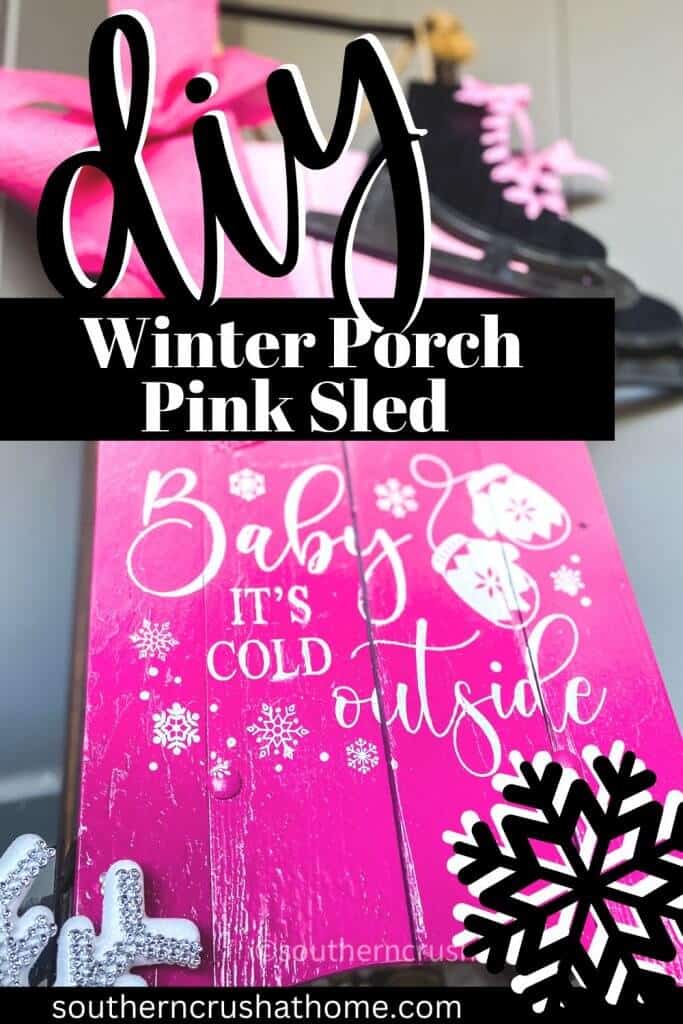
Did you see the fun Barbie-inspired Winter sled idea? Find it below!
Easy Barbie Pink No-Carve Pumpkin Decorating Ideas: How to Create Glamorous Halloween Decor
Materials
- Dollar Tree foam pumpkins
- Rustoleum spray paint in three shades of pink light pink, Berry pink, and Magenta pink
- Barbie Beanie or any pink beanie
- embroidery floss in Barbie pink color
- spray adhesive
- glitter or diamond dust
- sticks for stems
- hot glue gun
Instructions
Step by Step Instructions for Beanie Pumpkin
- Prepare the Pumpkin
- Add a Beanie Pumpkin Cover
- Tuck the Foam Pumpkin Inside the Beanie
- Secure the Beanie and Stem
- Explore More Creative Options
Step by Step Instructions for Barbie Pink Painted Pumpkins
- Gather Your Supplies
- Graduation of Colors
- Embrace the Deep Pink
- Glam Up Your Pumpkins
So cute for a girls room!
I haven’t seen the Barbie movie yet but friends who have liked it. I think the pink would also be great since October is breast cancer awareness month. ????
My granddaughters would love this! So easy but so perfect!
Pink is my favorite color!