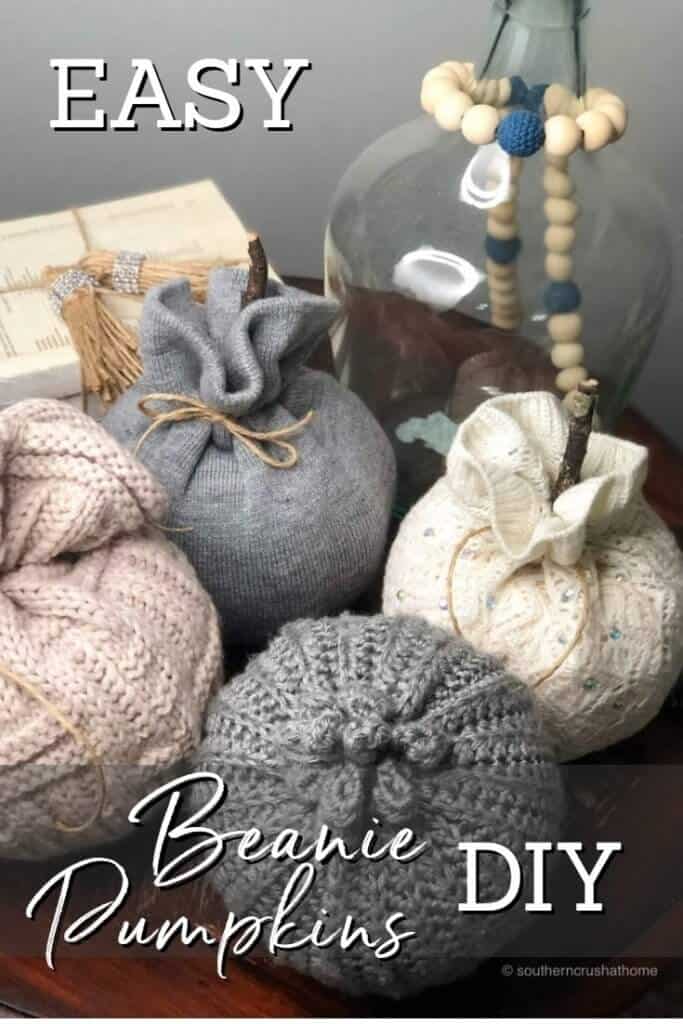
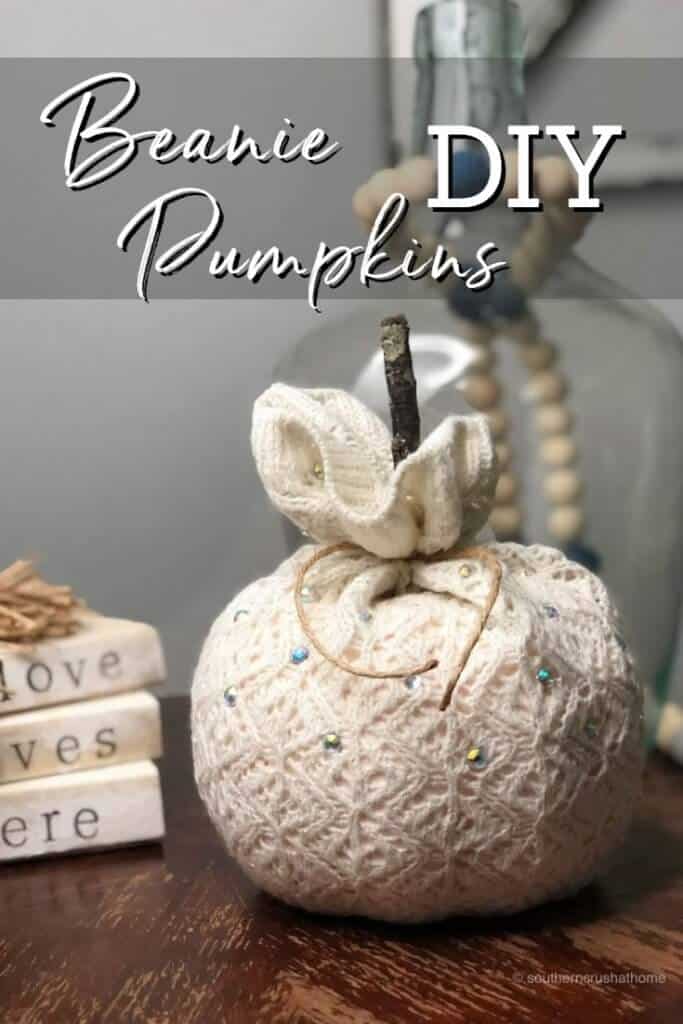
Pumpkin Beanie – Easy DIY Pumpkin Decor
Turn your old winter beanies into DIY fabric pumpkins. It's so simple! This DIY pumpkin decor is one of the easiest home decor crafts ever!
When I think of pumpkins, several things come to my mind. The first thing, of course, is ‘pumpkin spice' naturally, then the colors of fall and usually cooler weather outside. The cooler temps bring with it all the fun fall accessories, like cute infinity scarves, crocheted headbands, and beanies! This easy DIY decor combines both the pumpkins and beanies!
I decided I wanted to make some fun fall DIY pumpkin decor this year. But, I knew I also wanted them to be super easy; you know, no-sew, no glue, and virtually no skills needed.
Introducing my easy beanie pumpkins!
Ya'll, don't forget to pin this project for later!
By the way, Have you heard of the
CRAFTATHON™?
It is an entire two-day online event where 54 expert crafters share fresh ideas and projects with you for the upcoming Fall Season! Complete details are HERE. There are sponsors, cute t-shirts and prizes given away!
How To Make DIY Pumpkin Decor
This home decor craft is so easy that virtually anyone can make it – even kids! If you are doing this craft with a couple of kiddos, you might want to prep the pumpkins first.
I love that there is basically no sewing and no gluing. These DIY fabric pumpkins come out looking so cute that they fit in perfectly with any farmhouse decor. They would even make really cute homemade gifts!
SUPPLIES
- a styrofoam pumpkin form or any styrofoam sphere (I used some from Dollar Tree)
- spray paint if needed
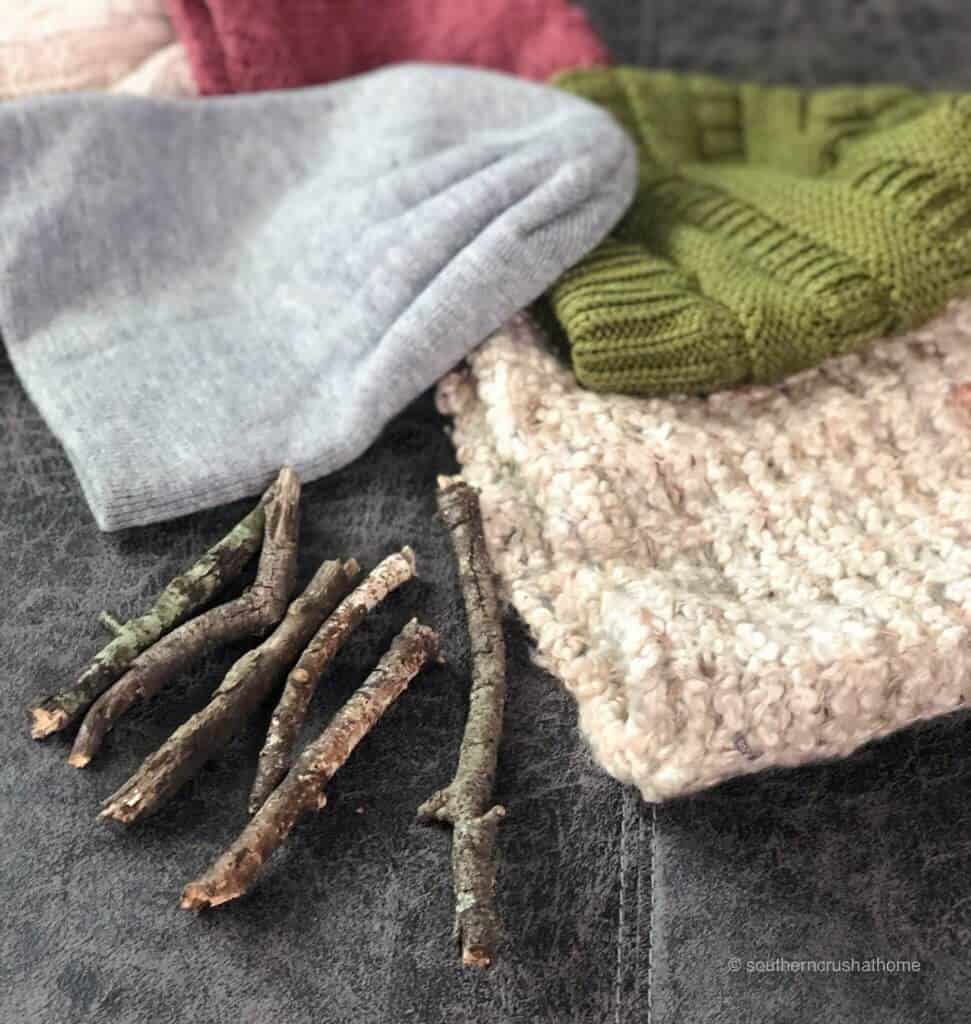
- cute or plain beanies of choice (mine were from a local thrift store)
- stick from the yard or park
- twine or yarn
- scissors
You can literally go nuts with these and get as creative as the beanies you can find! They were so fun and easy to make that I believe any age can get in on the fun!
WATCH THE Video Tutorial HERE
Here is the video tutorial with instructions. Follow along and make your own with me.
DIY pumpkin decor step-by-step guide
I have a printable card with the entire tutorial on it at the end of this post.
First, I thought I'd share some photos of the process so you can compare it to your crafts, just in case you have any questions.
1. Spray Paint the pumpkin
Spray paint pumpkin if needed for beanies that have sparse coverage. If you are using a foam ball from the craft store, you can skip this step.
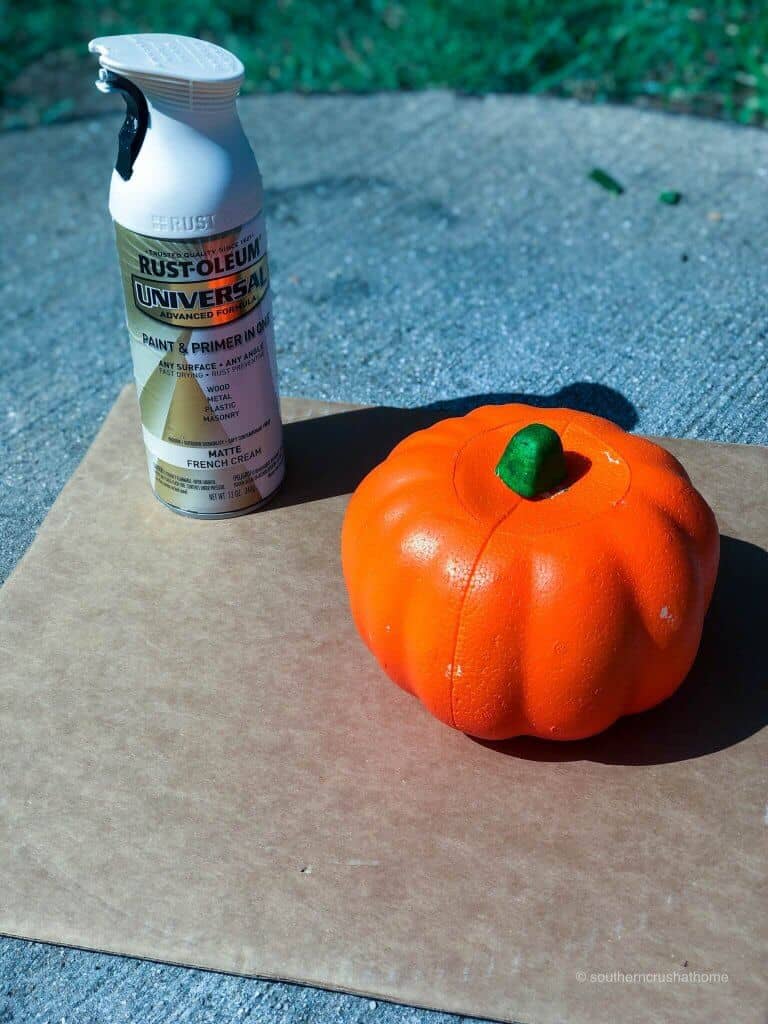
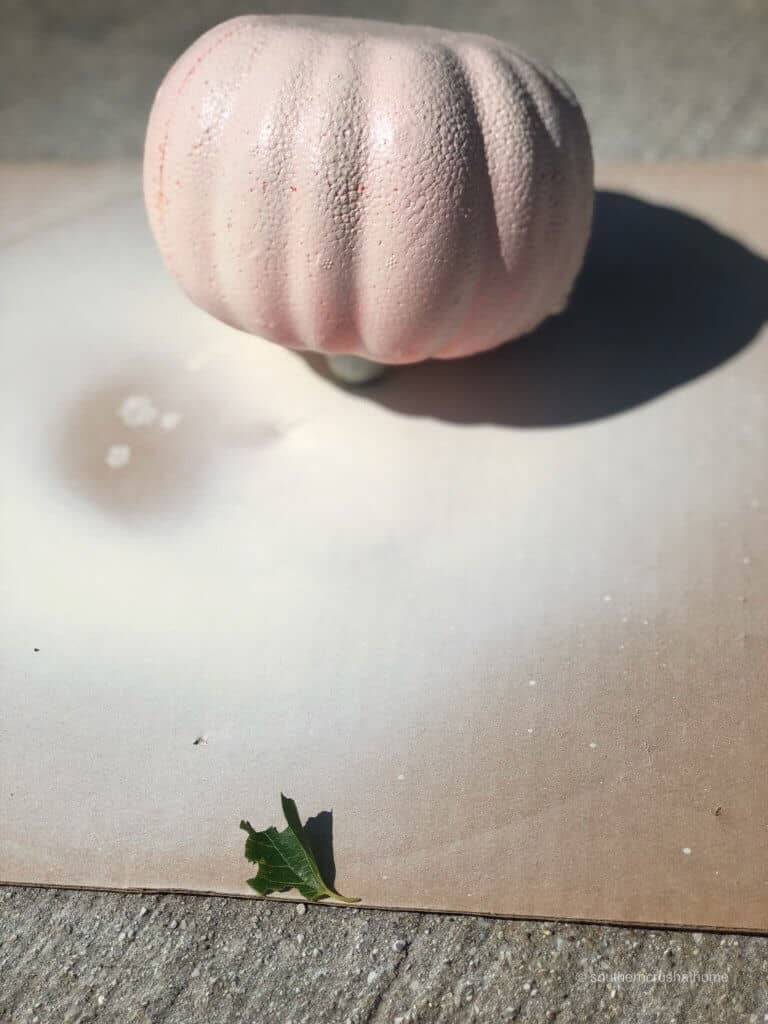
This is what it will look like after you spray paint it. The goal is to make the pumpkin match the color of your beanie.
2. Remove the Stem
Remove styrofoam stem, if there is one. You need the pumpkin to have a flat top since you will be adding your own stem later.
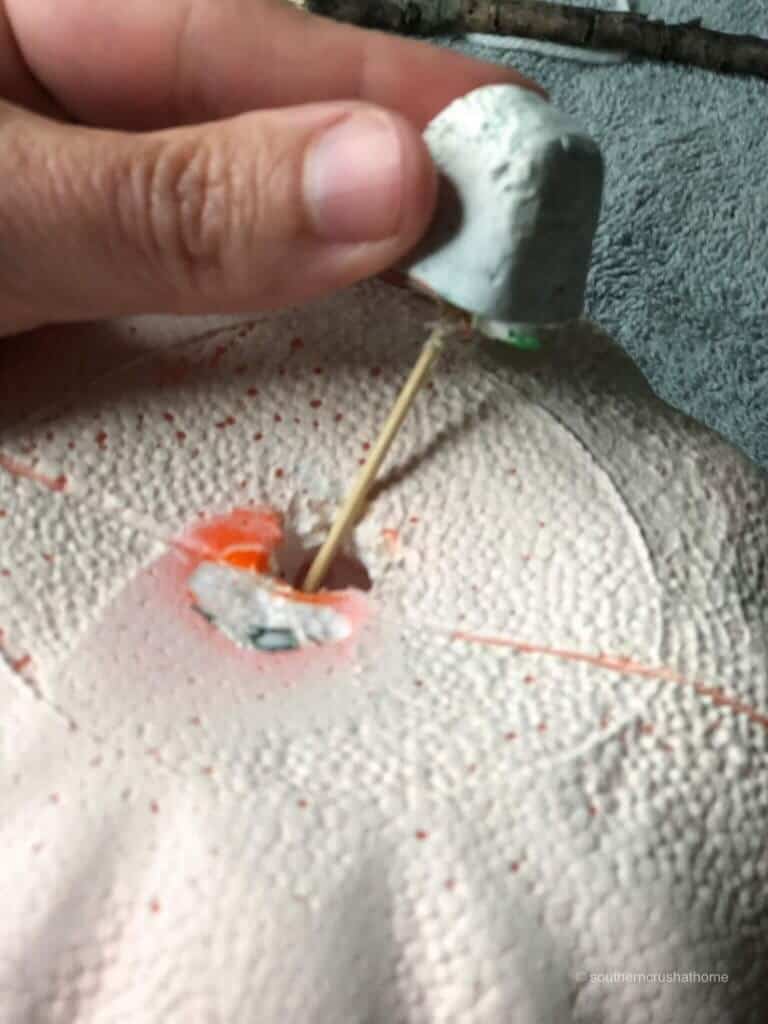
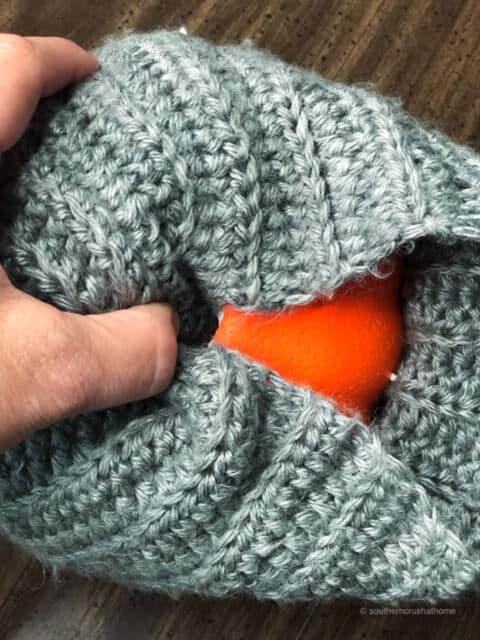
3. Carve a hole in the bottom
Next, dig out a small hole in the top or bottom of the pumpkin, depending on your beanie.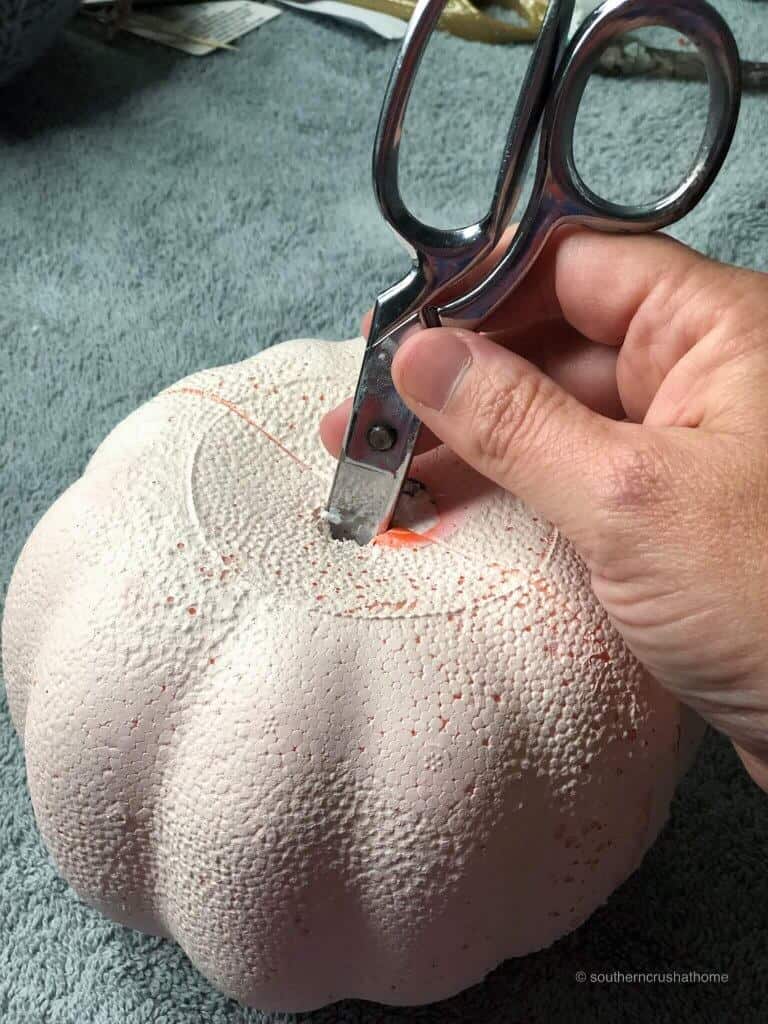
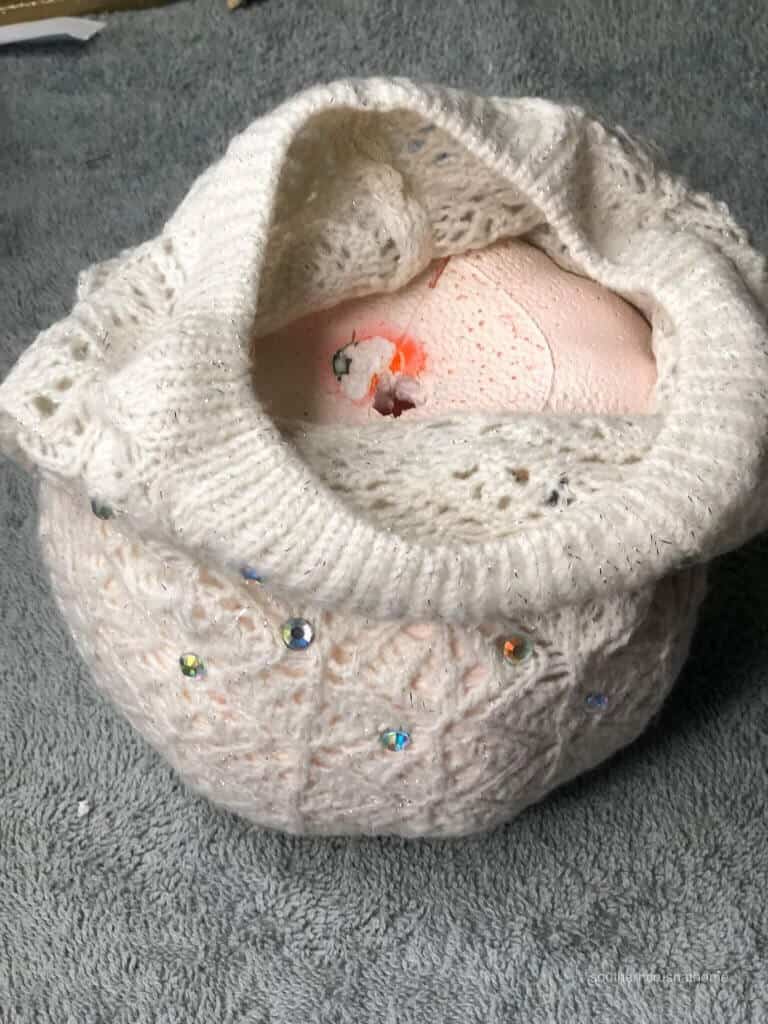
4. Place the pumpkin in the beanie
Tuck your pumpkin form down inside the top of the beanie. Push it all the way down to the bottom.
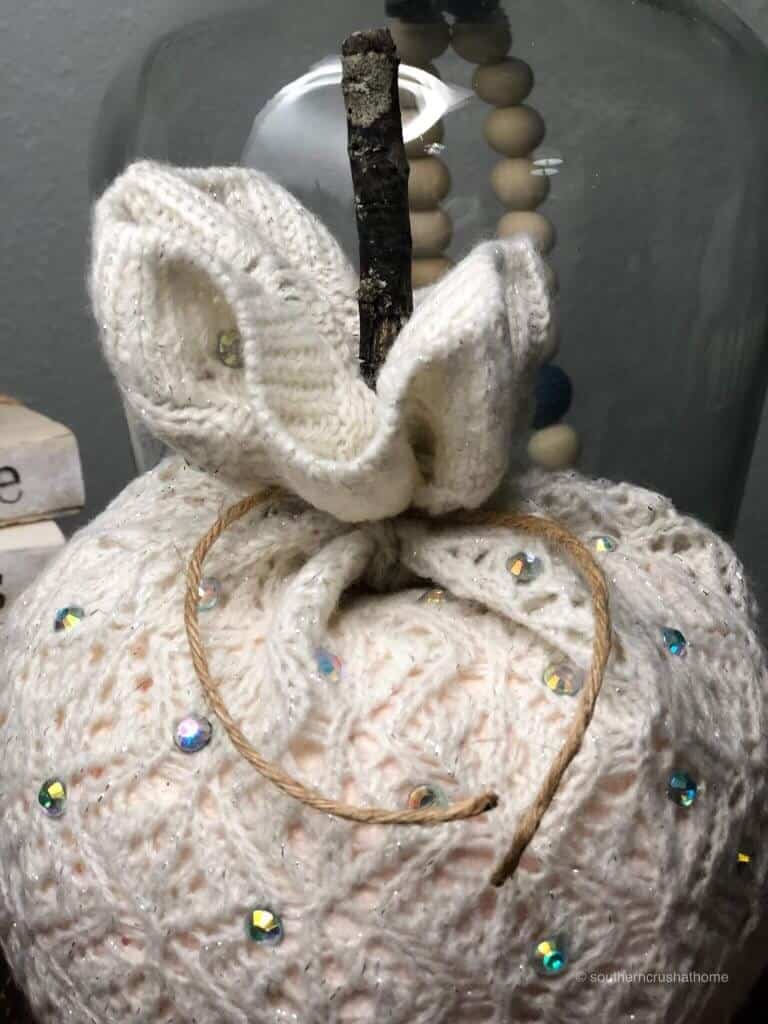
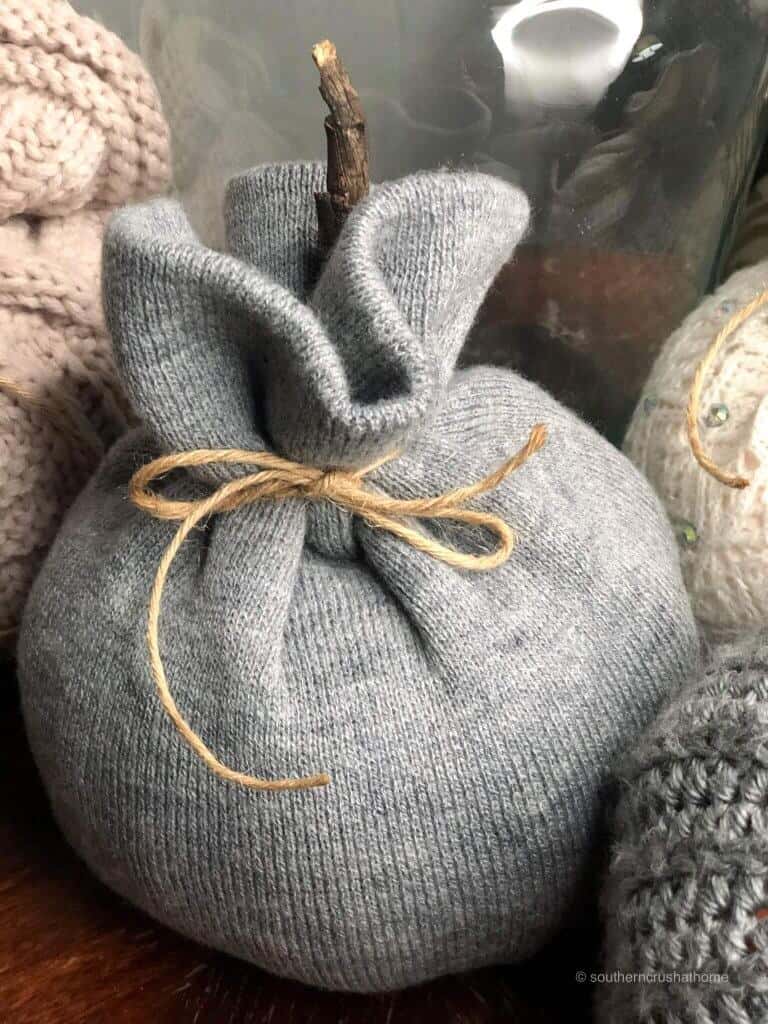
5. Add the stick as the stem
Add your stick as your stem in the top hole.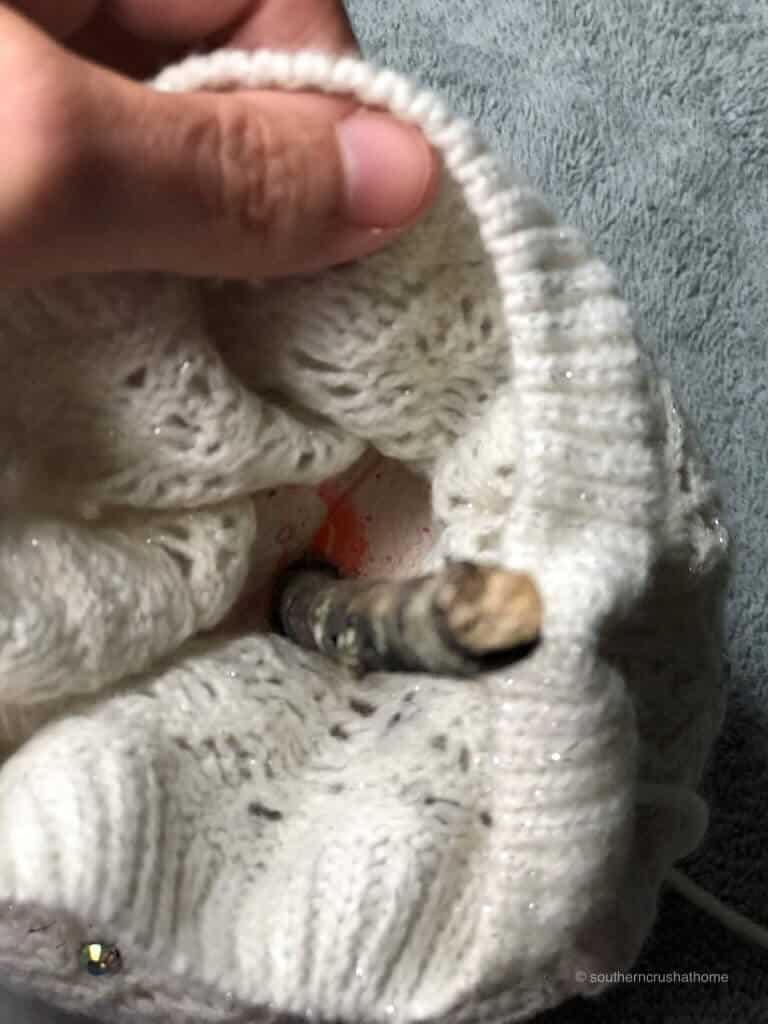
6. Tie off the top with twine
Tie off the remainder of the bottom of the beanie with twine around the stick.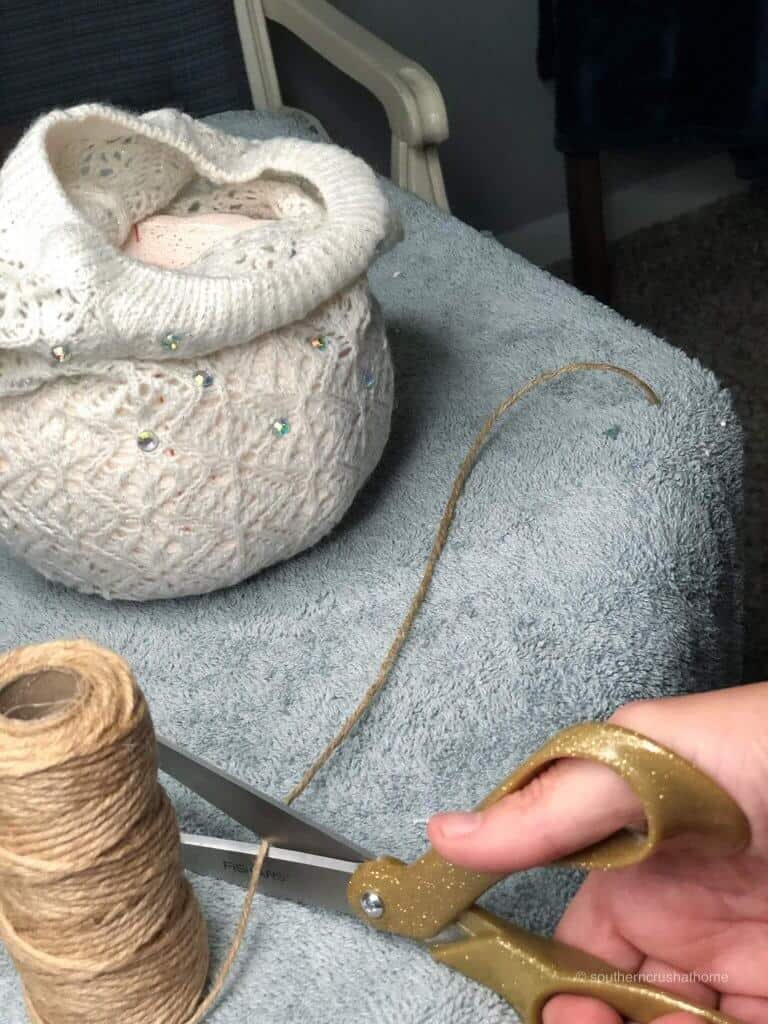
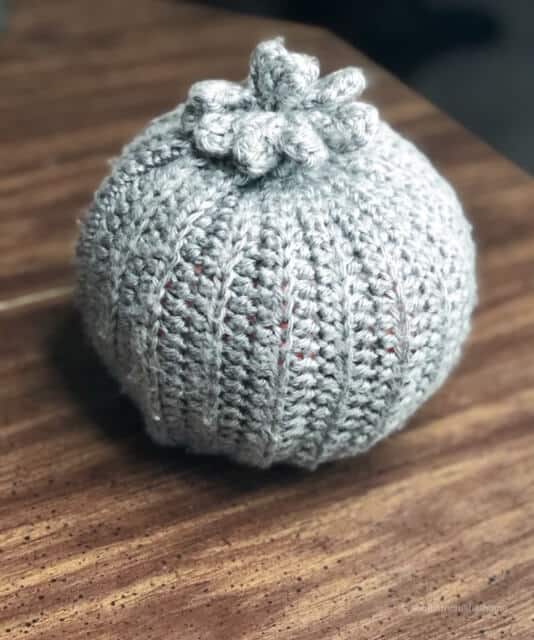
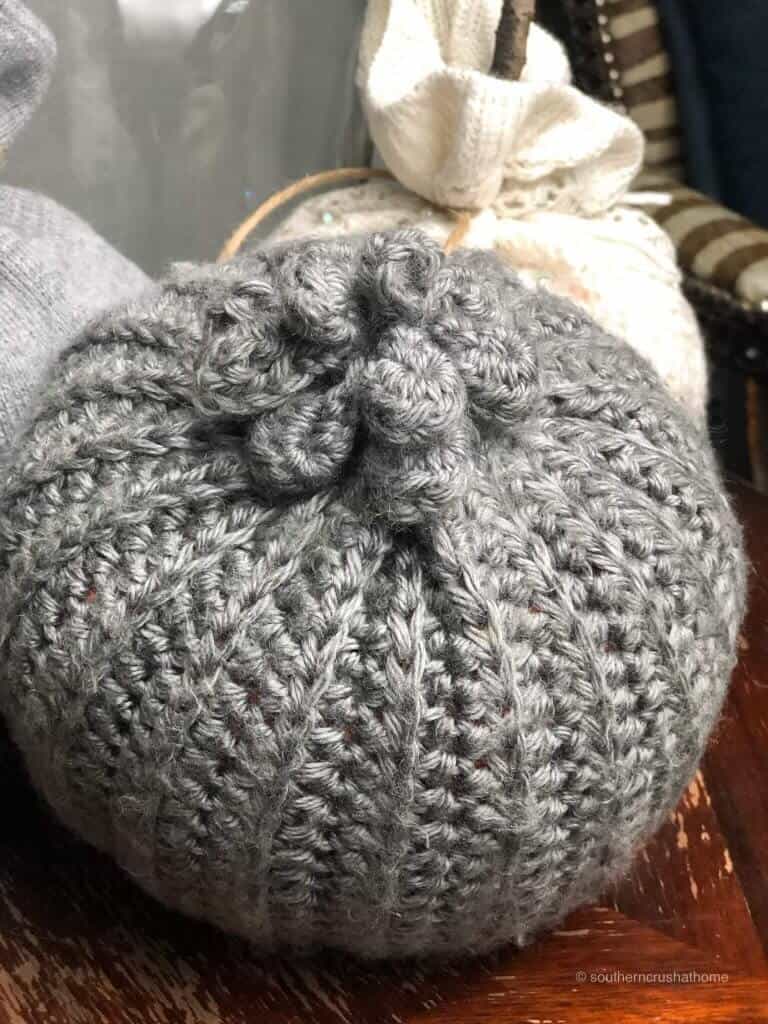
How to use a beanie with a pom-pom top
If you have a beanie with a cute pom-pom top, then you'll need to dig out a small hole in the bottom of the pumpkin and tuck the beanie into the bottom of the pumpkin. Leave the cute pom-pom on top of the pumpkin.
It will look like a crafty little stem!
Here is what those steps look like when you do it.

Easy DIY Fabric Pumpkins
Here's the complete craft card. Print this out and don't forget to pin this post.
DIY Pumpkin Decor - Beanie Pumpkins
Equipment
- scissors
- Spray Paint
Materials
- 1 styrofoam pumpkin
- 1 beanie or winter hat
- 1 small stick or branch
- 6 inches twine or yarn
Instructions
- Spray paint the pumpkin if the beanie is see-through.
- Remove the styrofoam stem.
- Dig out a small hole in the pumpkin.
- Tuck the pumpkin inside the beanie.
- Add sticks as the stem in the top hole.
- Tie off the bottom of the beanie with twine or yarn.
- Tuck the rest of the beanie into the pumpkin.
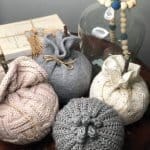
How To Display DIY Pumpkin Decor
It seems like after doing this project that I look for cute used beanies everywhere! No-sew projects are some of my favorite ones to do. You can arrange these on a side table, in a pretty bowl, on a coffee table, style them in a tray or use them as a whimsical centerpiece.
Basically, display them anywhere you would put an orange or white pumpkin.
This is one of the easiest projects you will ever make! It's honestly a 10-minute craft that you can do while you are watching TV.
Creative Ways to personalize Fabric pumpkins
If you want to take this craft one step further, personalize the pumpkins for your home or as a DIY gift! If you know that someone is a sports fan, use a beanie from their favorite sports team.
You can also hot-glue rhinestones or other decorations around on the pumpkins.
Finally, adding your monogram is a whimsical way to add some southern charm.
These would be fun to do for a fall crafting get together or party and call it B.Y.O.B. or ‘bring your own beanie'! Your options are endless. I hope you make some of these and better yet, include someone else, and have some fun together.
More Fall Craft Projects
If you enjoyed seeing this pumpkin project, you will want to see what I did with this faux succulent pumpkin project for my porch! It was equally fun and easy and I love how you cannot mess it up!
This splatter screen pumpkin is just as easy and looks lovely with the beanie pumpkins too.
**P.S. Please join us over on our Facebook Page to see more fun “Live”.
I like this idea. I have a beanie to use. My mom knitted or crocheted and made it the wrong size. Great to use it for. Thank You ?
Awesome! I’m so glad you’ll be trying this project out! Let me know how it goes! Super easy, super fun!
I just bought beanies at the thrift store. I’m running mine in the dryer incase there’s lice or something gross. I’ve been making sweater pumpkins and poke the hole and then use a closed highlighter to push the hole bigger, and reinforce with hot glue so the material won’t come out of the hole. Just love the beanie idea and will be doing that tonight. I wish we could post our photos for you to see.
Good idea!!
Love love love these pumpkins