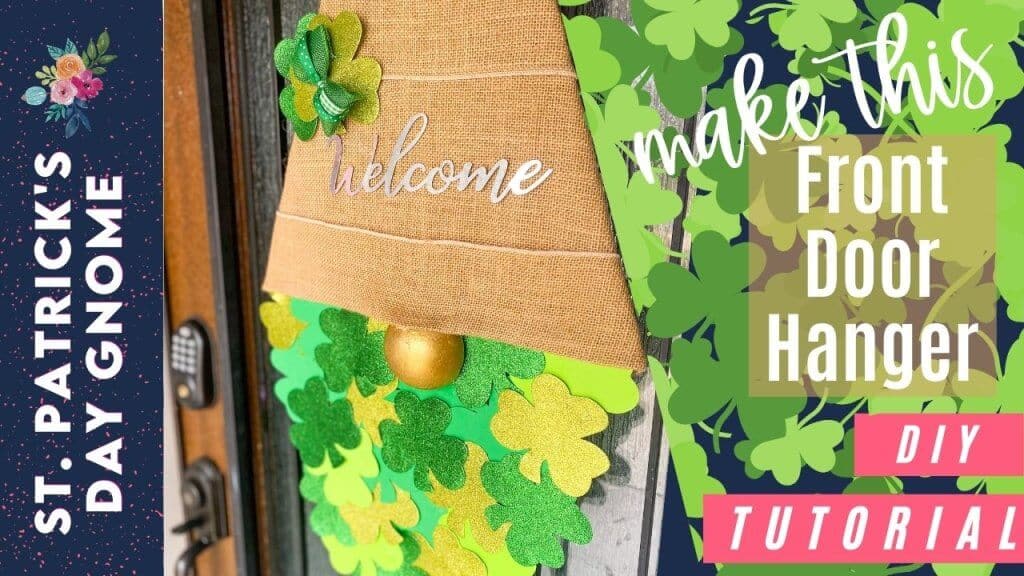
St. Patrick’s Day Gnome Door Hanger
Let's get a little crafty by making the cutest St. Patrick's Day gnome door hanger. It's made with Dollar Tree supplies so it's super budget-friendly to DIY.
It's a simple project that anyone can do, and it's sure to add some festive Irish flair to your home. So gather your supplies and let's get started!
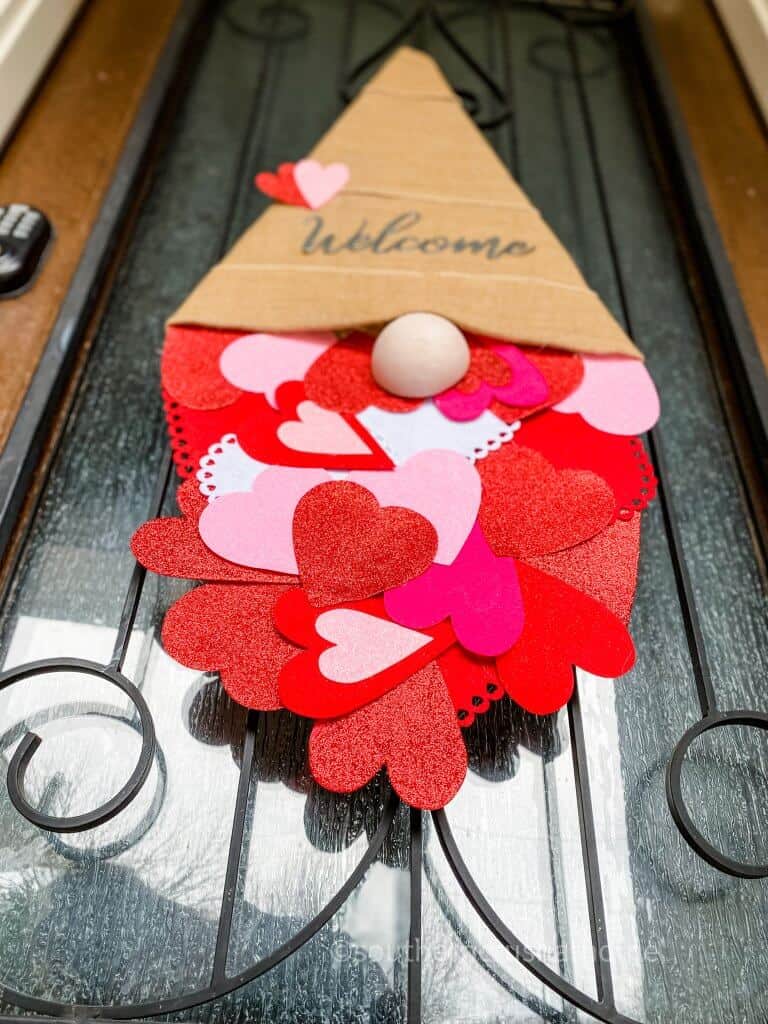
I had so much fun making a Valentine's Day gnome for my front door, that I just had to make a St. Patrick's day one too! I'm kind of obsessed with this little DIY. Aren't they the cutest?
If you have visited the blog before, you know how much I love to make gnome hangers. See some below.
Take a look at several other DIY GNOMES I've shared:
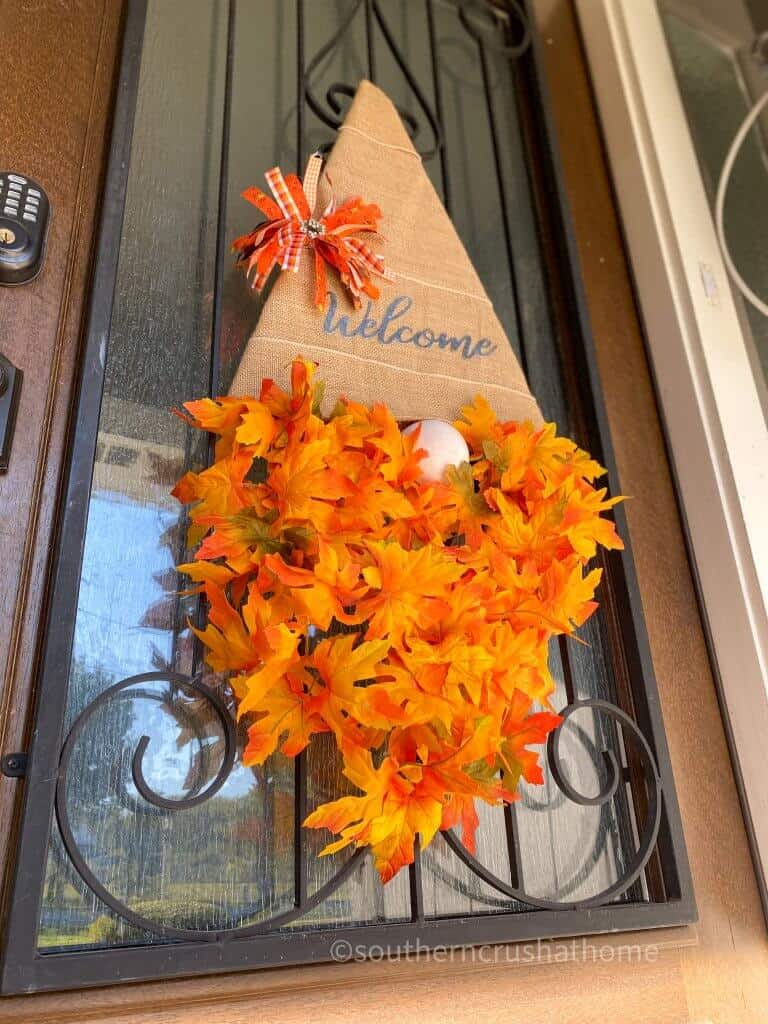
- Fall Gnome Door Decor
- DIY Gnome Ornament
- Paint Brush Gnome Ornaments
- Halloween Gnome Banner
- Gnome DIY Christmas Tree
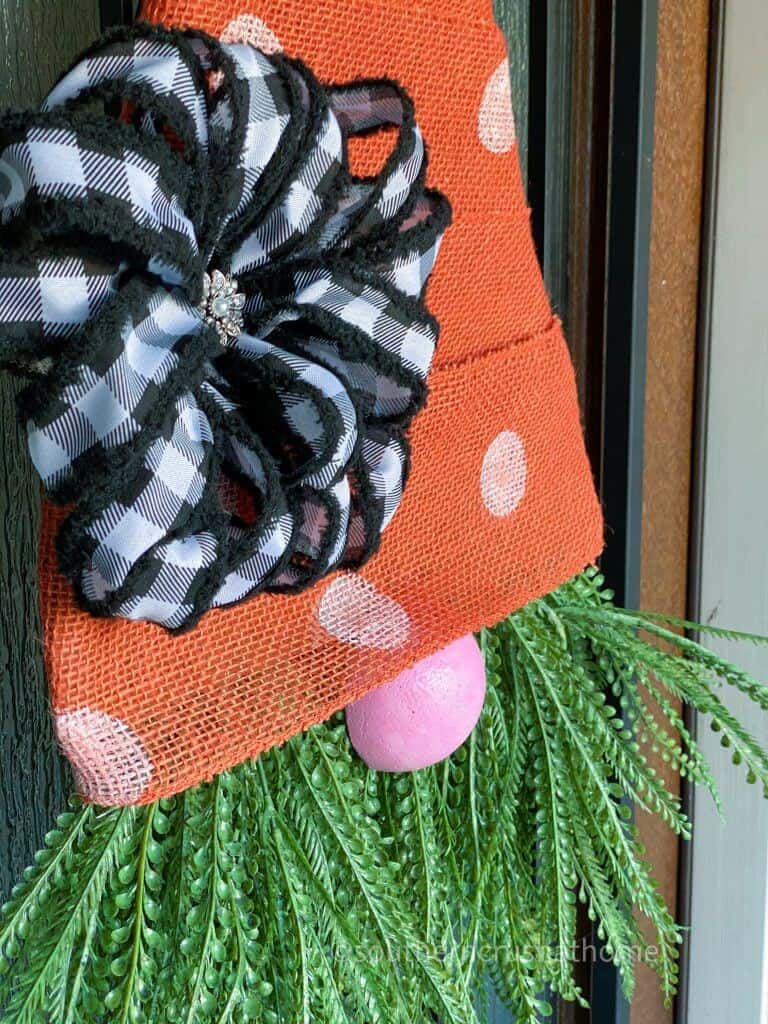
- Burlap Carrot Gnome Door Decor
Here are the simple steps so you can make your own gnome. Let's get to it!
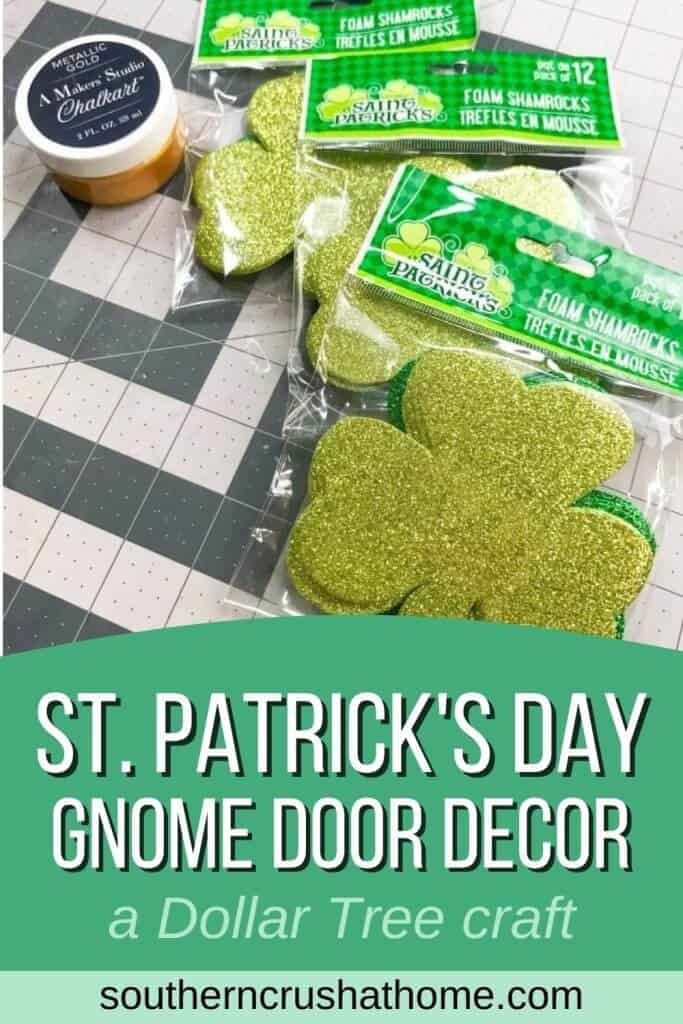
Supplies for St. Patrick's Day Gnome Door Hanger
All the supplies needed can be found HERE in my Amazon Shop!
- Styrofoam sphere half
- Cardboard
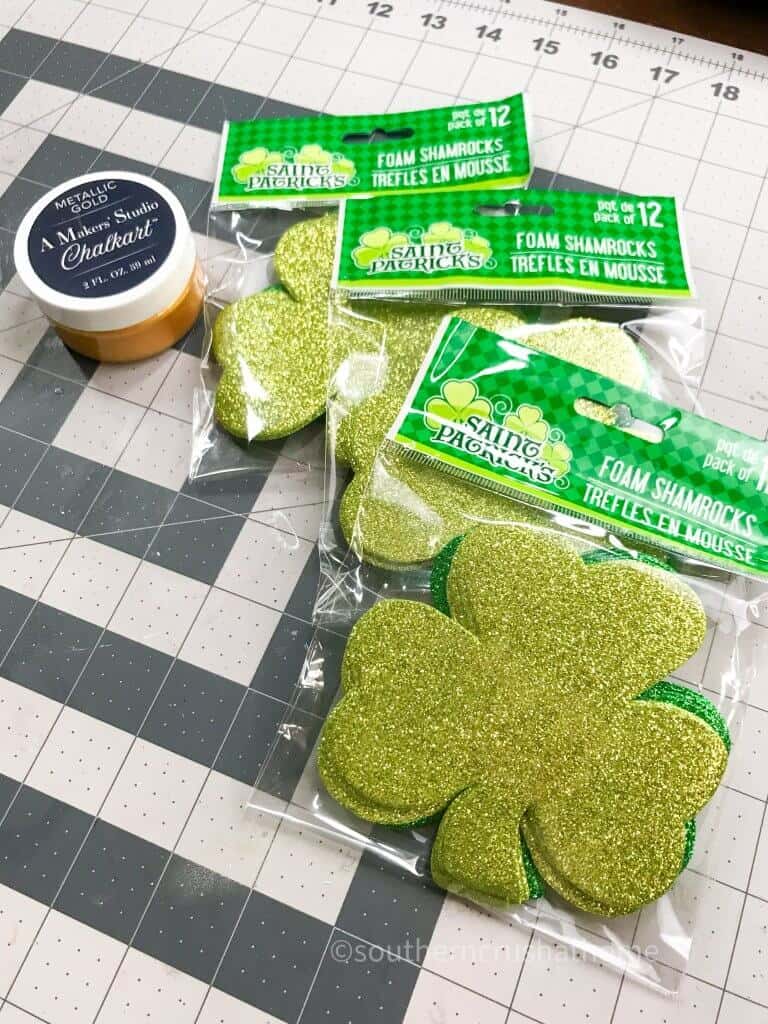
- Assorted Shamrocks – felt, paper, doilies or scrap fabric
- Burlap
- Box Cutter or zipsnip cutters
- Metal Welcome
- Hot Glue Gun
- Assorted ribbon
- Ziptie
How to Make a St. Patrick's Day Gnome Door Hanger
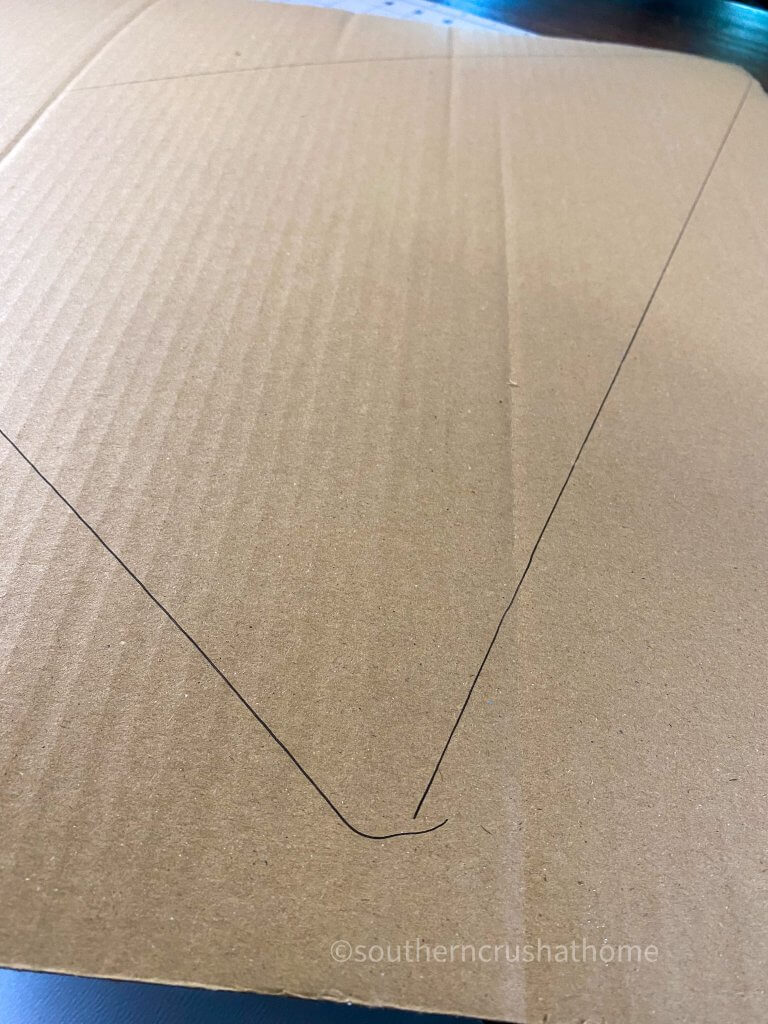
Step 1.
Start by tracing a triangle onto the cardboard for the gnome's hat. I wanted mine large to hang on my door. But, you can cut it any size you want.
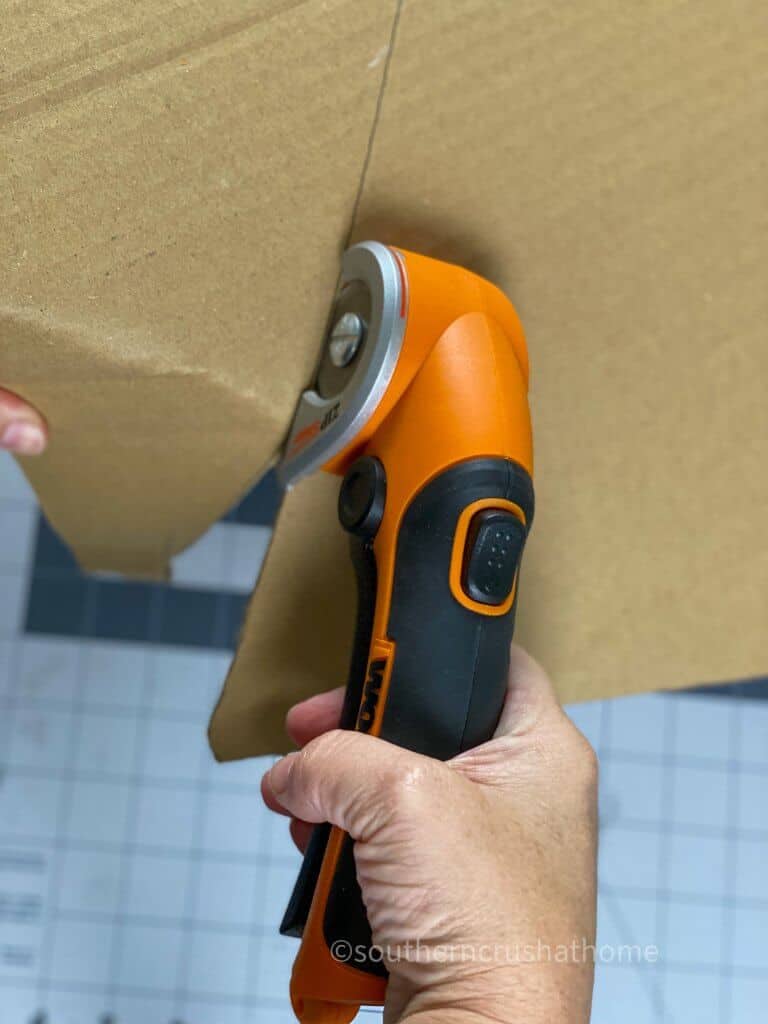
Step 2.
Use your box cutter, or zipsnip cutters to cut out the cardboard hat.
Step 3.
Step 4.
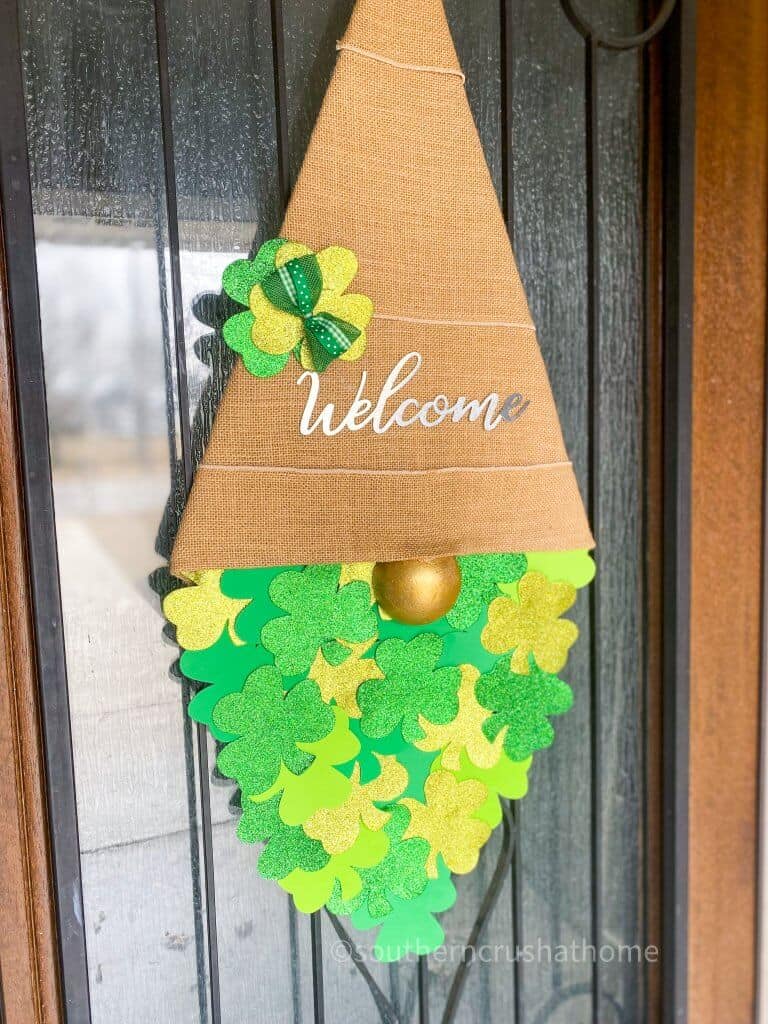
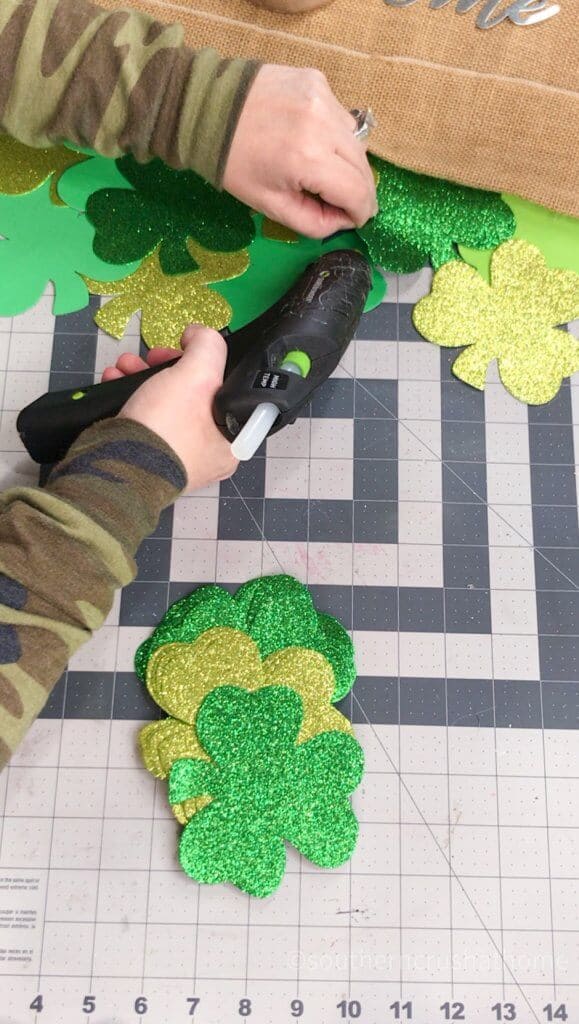
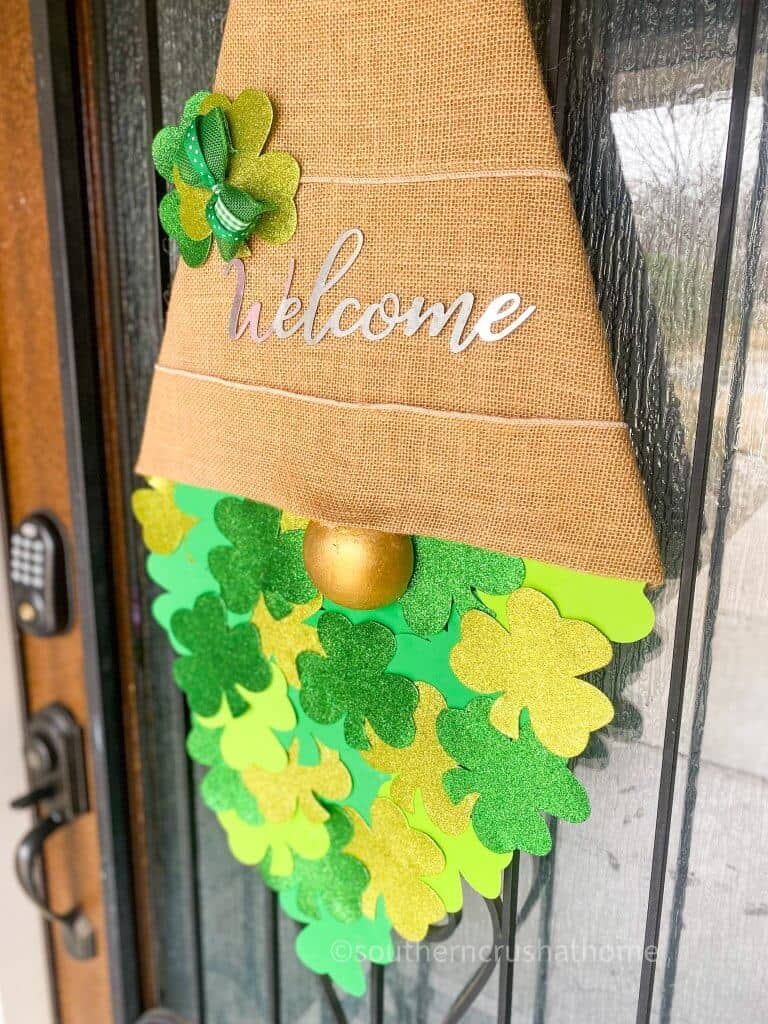
Begin gluing the assorted shamrocks under the bottom of the gnome burlap hat. Alternate different sizes and colors of shamrocks. These were from the Dollar Tree. I simply flipped some of them over to vary the colors.
Continue gluing the shamrocks until the gnome beard is nice and full. Create a reverse triangle look so it represents a beard.
Step 5.
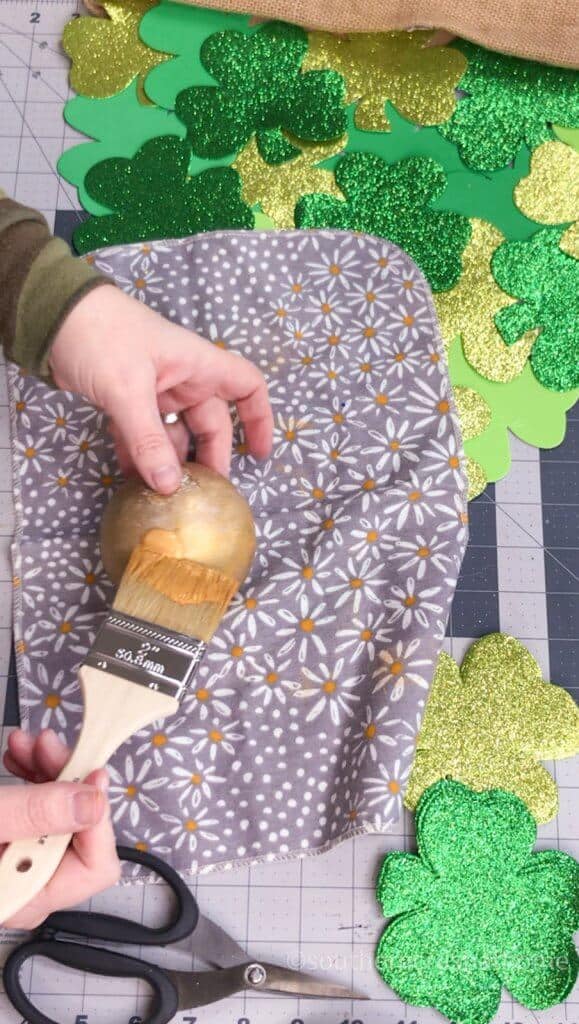
Cover the half styrofoam sphere with the gold gilder's wax to give it a nice, solid gold finish. You can use a paper towel or soft cloth for this.

Step 6.
Step 7.
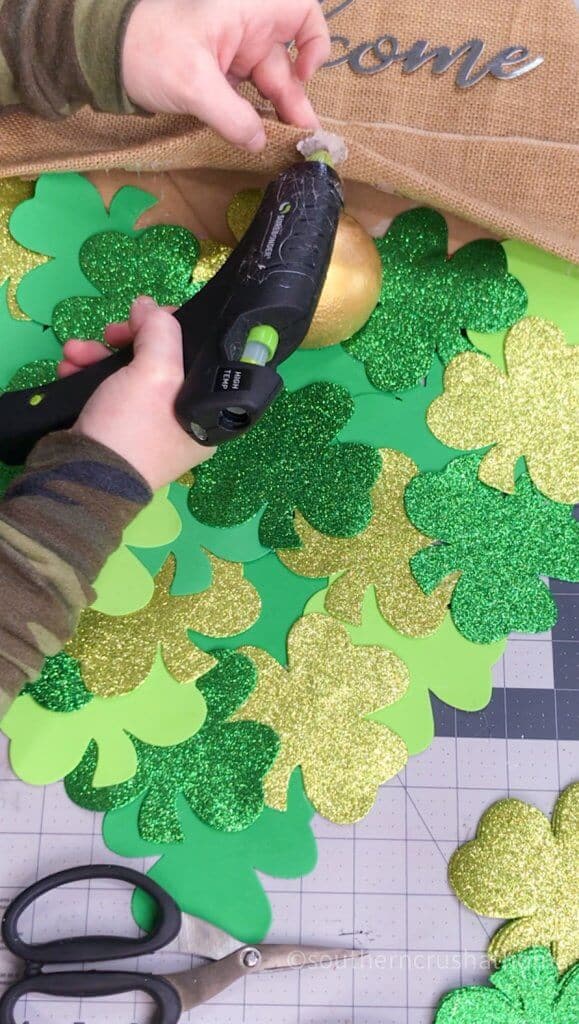
Glue the gnome nose just under the rim of the burlap to make it appear to “peek” out from under the front.
Step 8.
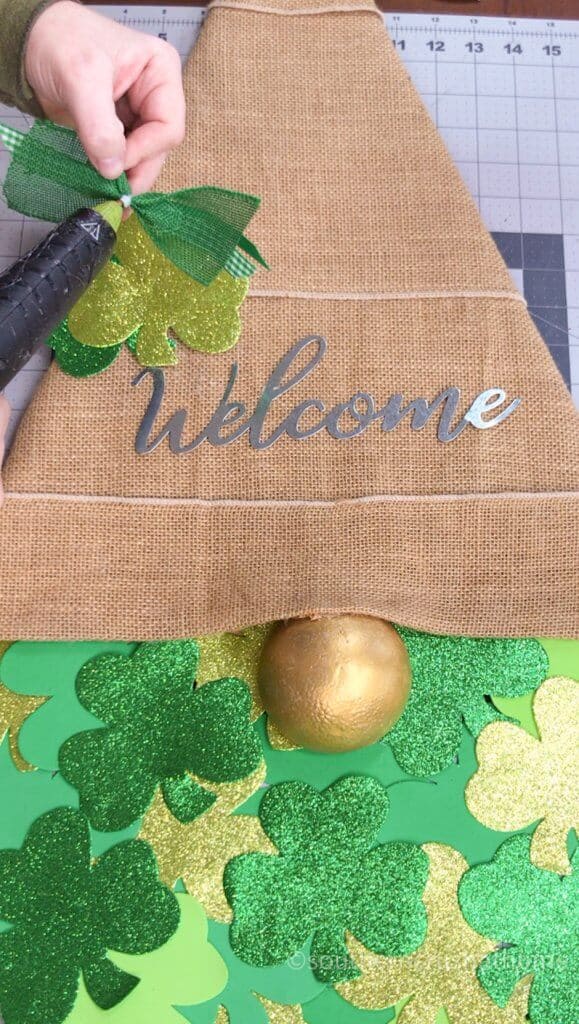
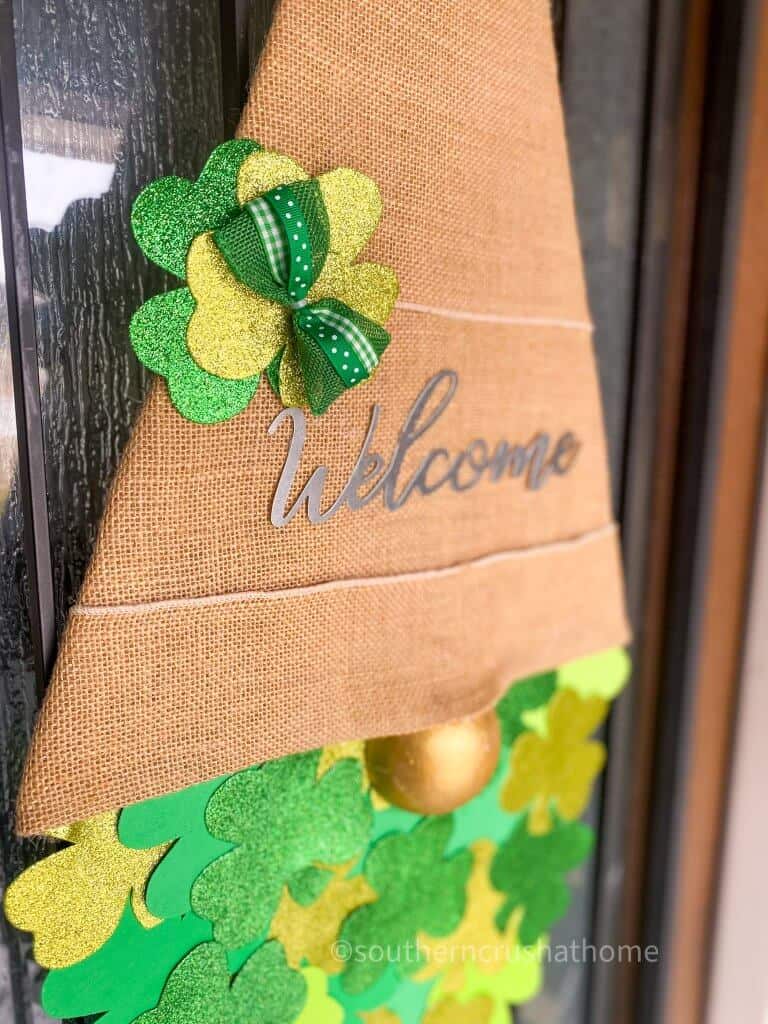
Hot glue the welcome sign to the front of the gnome hat and finish it off with a couple of sparkly shamrocks topped with a simple zip tie bow in the corner.
Step 10.
Attach a zip tie to the back of the burlap and secure it with a small piece of cardstock and a little hot glue.
lastly…
Hang the sweet gnome on your front door, or inside and wait until you see how your friends and family smile when they see this little cutie!
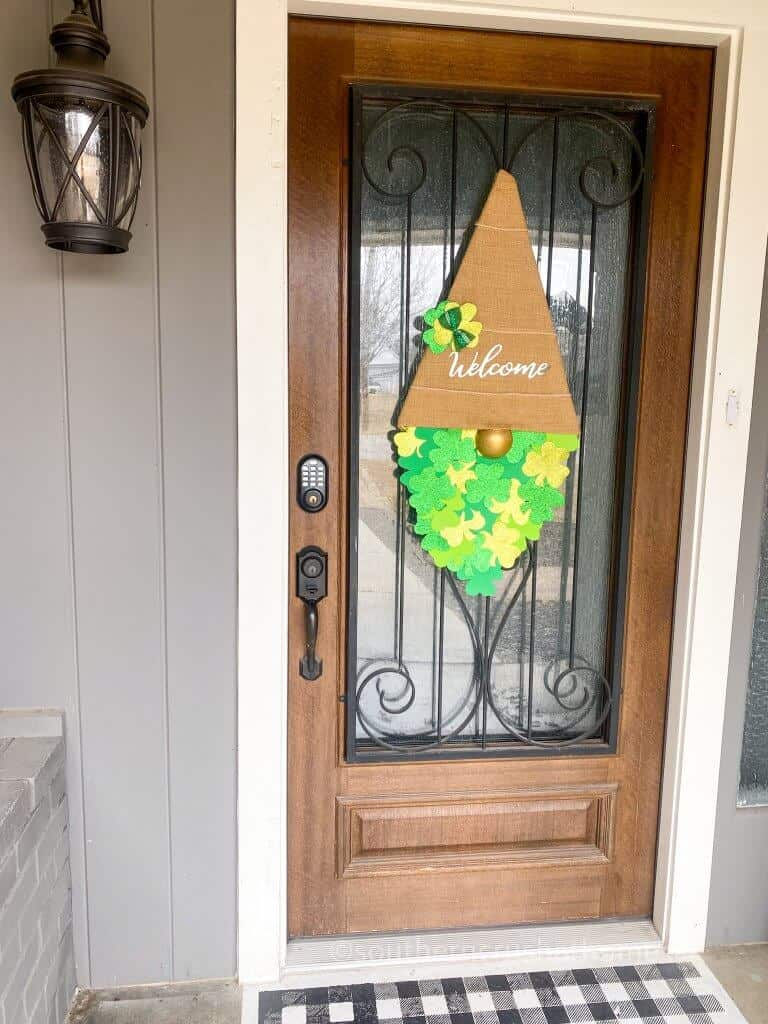
Doesn't this sweet gnome door hanger look just darling on my front door?
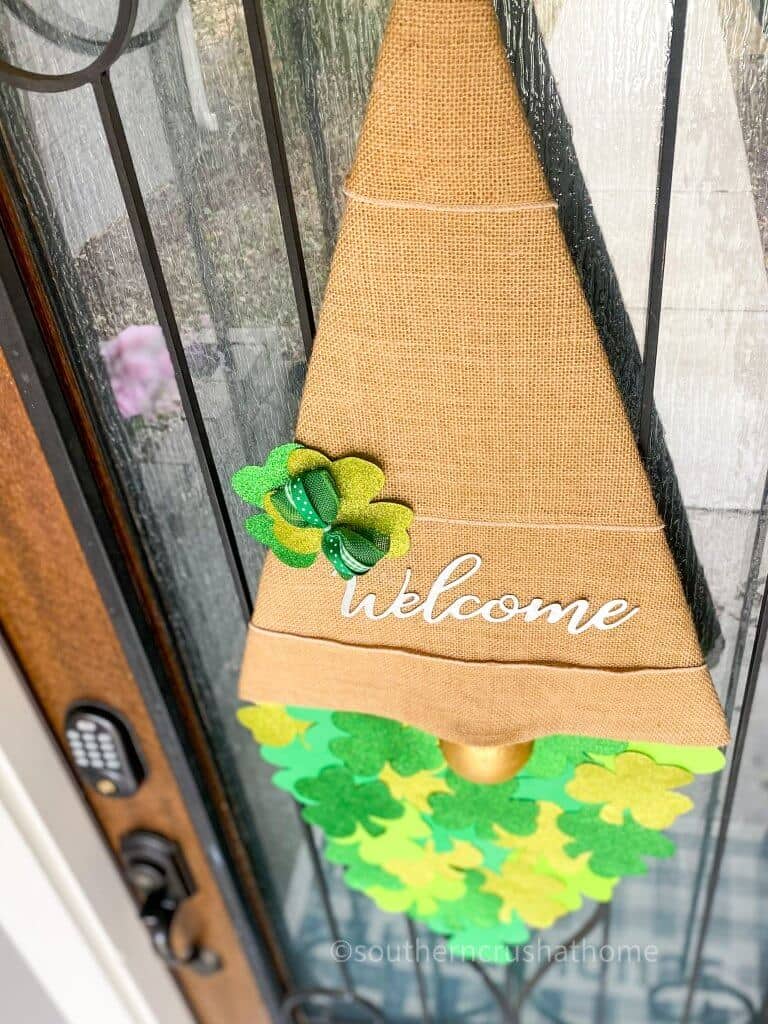
Another view of the gnome hanging on my front door.
Definitely keep this idea on your list for a festive St. Patrick's Day craft! Super budget-friendly and fun!
step by step video tutorial
If you want to see the exact step-by-step process, be sure to check out this video tutorial below over on my YouTube Channel!
I hope you enjoyed this darling St. Patrick's Day gnome door hanger. If you make your own please share in the comments below. I’d love to see it!
BE SURE TO CHECK OUT THESE ST. PATRICK'S DAY AND SPRING IDEAS!
- St. Patrick's Day Oreo Truffles
- Dollar Tree St. Patrick's Day Craft
- DIY Wood Bead Garland
- Spring Front Door Wreath
Be sure to PIN this for later!

St. Patrick's Day Gnome Door Decor
Equipment
- Fabric Scissors
- Box Cutter
Materials
- Wooden Beads
- Cardboard
- Assorted Shamrocks
- Welcome Sign
Instructions
- Draw a triangle on the cardboard for the gnome hat. Cut the hat.
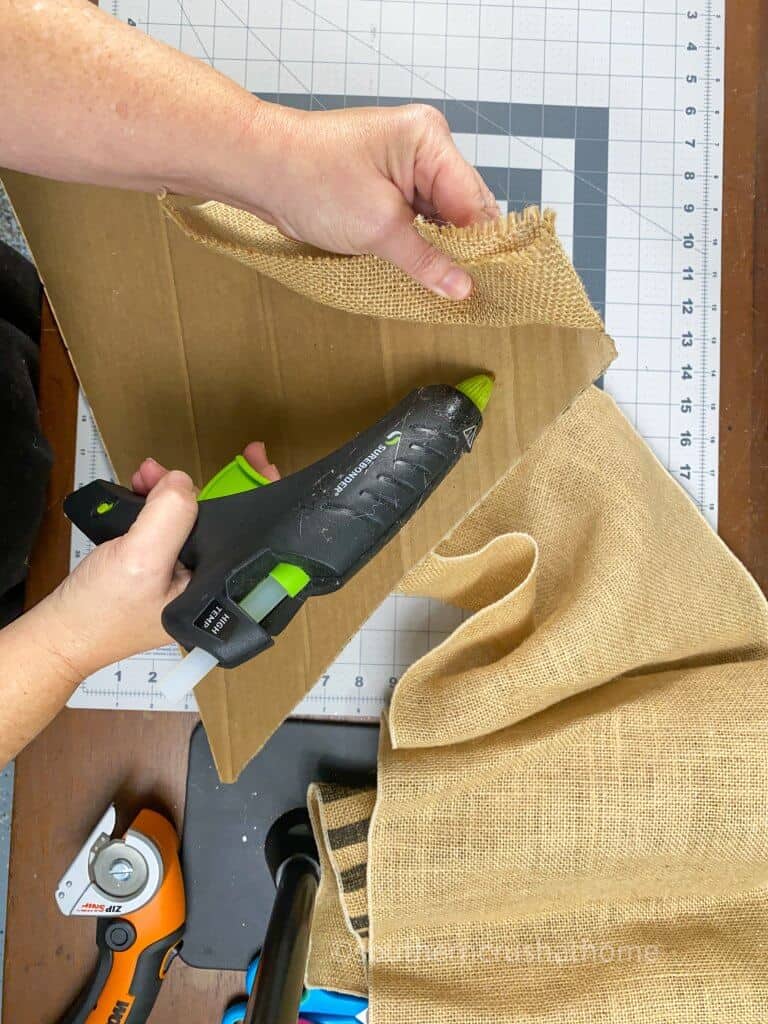
- Hot glue burlap to cover the cardboard.
- Paint the wood bead for the gnome nose.
- Let dry and hot glue it just under the hat.
- Begin gluing the assorted shamrocks on the bottom of the burlap hat.
- Continue gluing the shamrocks until the beard is full.
- Hot glue a zip tie to the back of the hat for hanging.
- Secure the welcome sign to the middle of the hat.
- Finish the hat with a couple of sparkly shamrocks on the corner of the hat.
- Hang our adorable gnome!
4 Comments