Paint Brush Gnome Ornaments
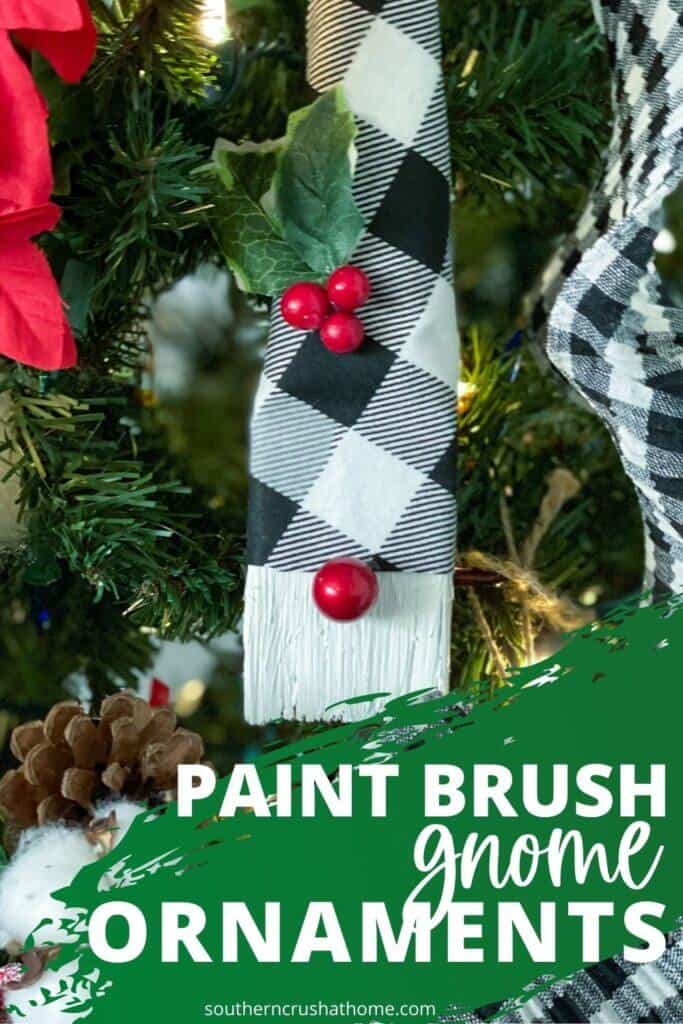
These adorable paint brush gnome ornaments are such a budget-friendly Christmas decor project – in fact, you can probably make it with odds and ends you already have lying around! Try customizing it with your own materials to make some extra cute, one-of-a-kind gnome friends to hang on your Christmas tree!
Be sure to PIN this one for later!
How to Make DIY Gnome Ornaments
You can easily switch up the style of these gnomes with different fabrics and decorative accents. They could make wonderful gifts for everyone in your family, especially if you try to match the style of the gnome to the human receiving them!
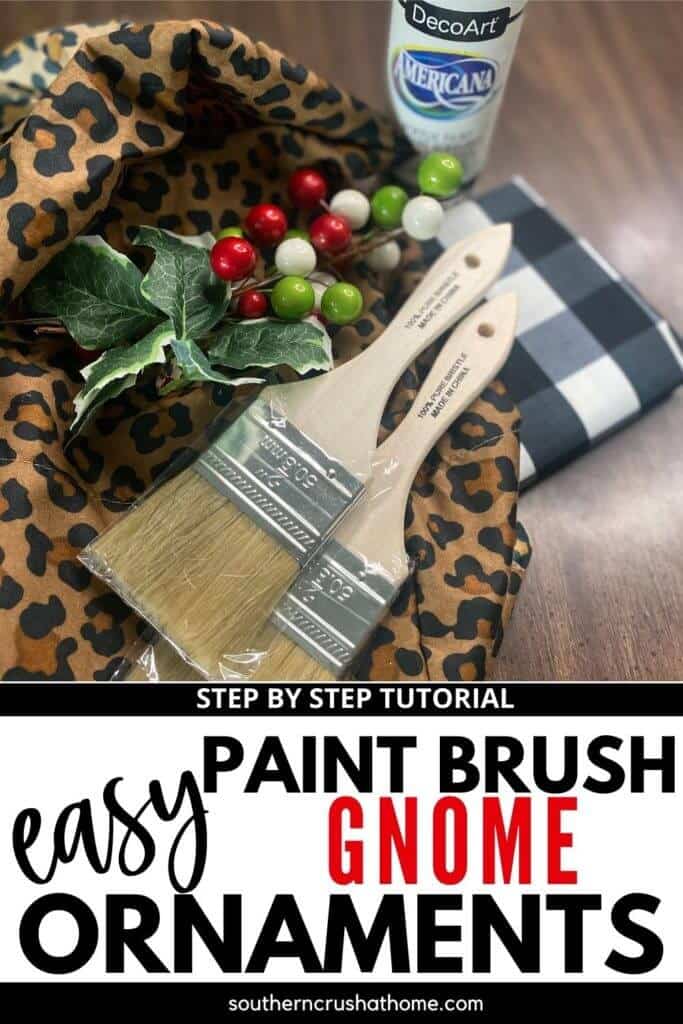
What You’ll Need
- Scissors
- Paper Plate
- (2) 2” Wooden Paint Brushes
- Cardboard
- Fabric
- Black Sharpie
- Holiday Holly Berry Pick
- White Acrylic paint
- Small Paint Brush
- Glue Gun
- Twine
Steps for Making paint brush Gnome Ornaments
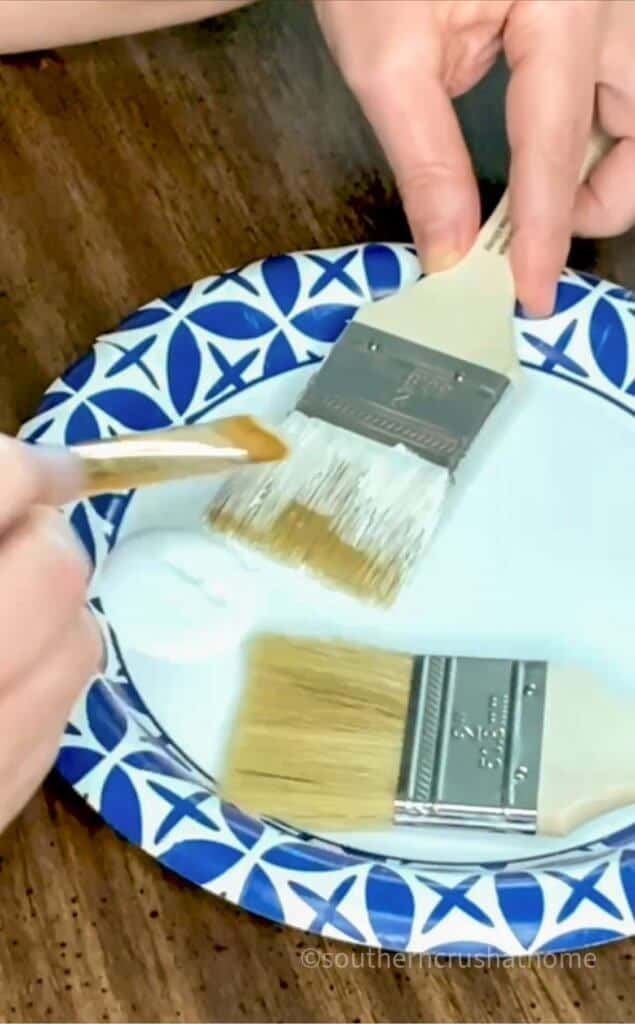
- Unwrap the paint brushes and lay them out on the paper plate.
- Add a small amount of white acrylic paint to the plate.
- Use the small paint brush to paint the outer bristles of the 2” paint brushes white.
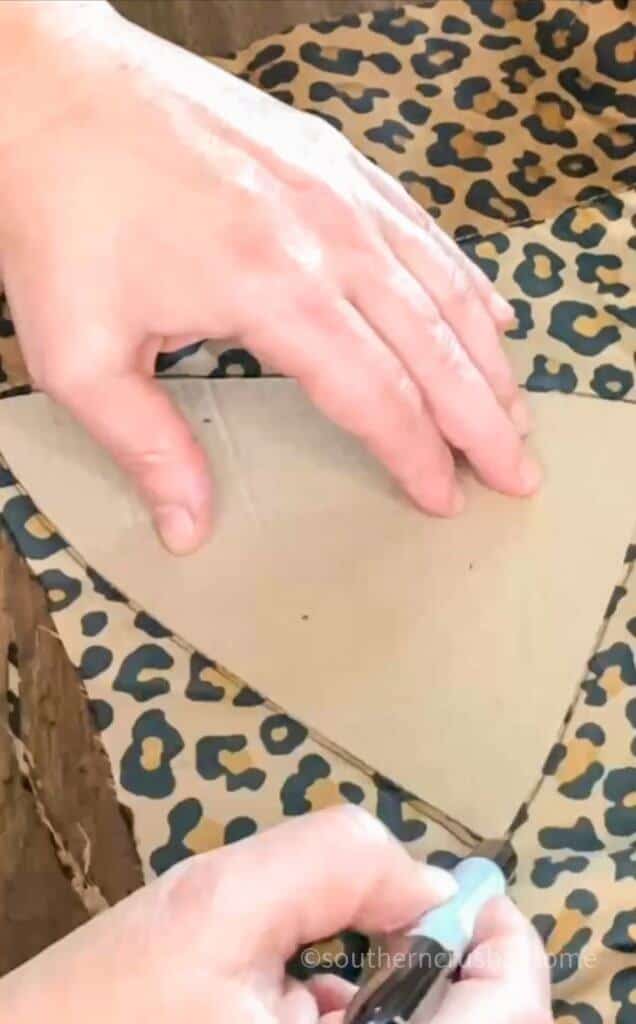
- Create a cardboard pattern to cut the gnome hats out of fabric scraps. You want a rounded triangle with a base of about 4.25 inches and a height that is tall enough to cover the paint brush handle.
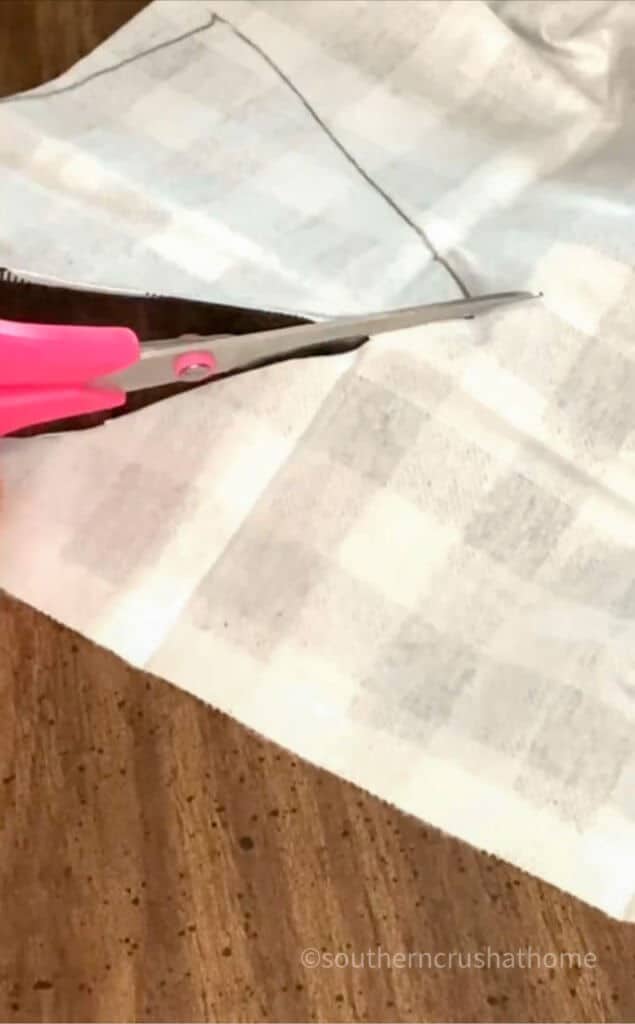
- Cut out the fabric piece for the hat.
- Center the fabric piece onto the paintbrush so that the base of the fabric triangle lines up with where the bristles meet the brush handle.
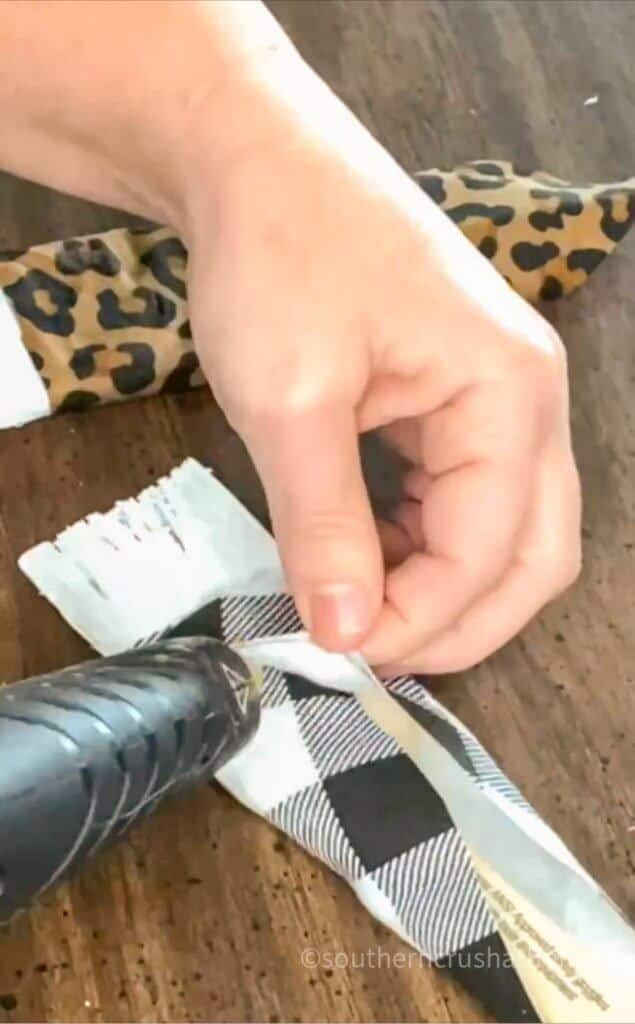
- Hot glue the fabric onto the brush, wrapping the fabric around to make a semi “cone,” applying hot glue to secure the hat in place.
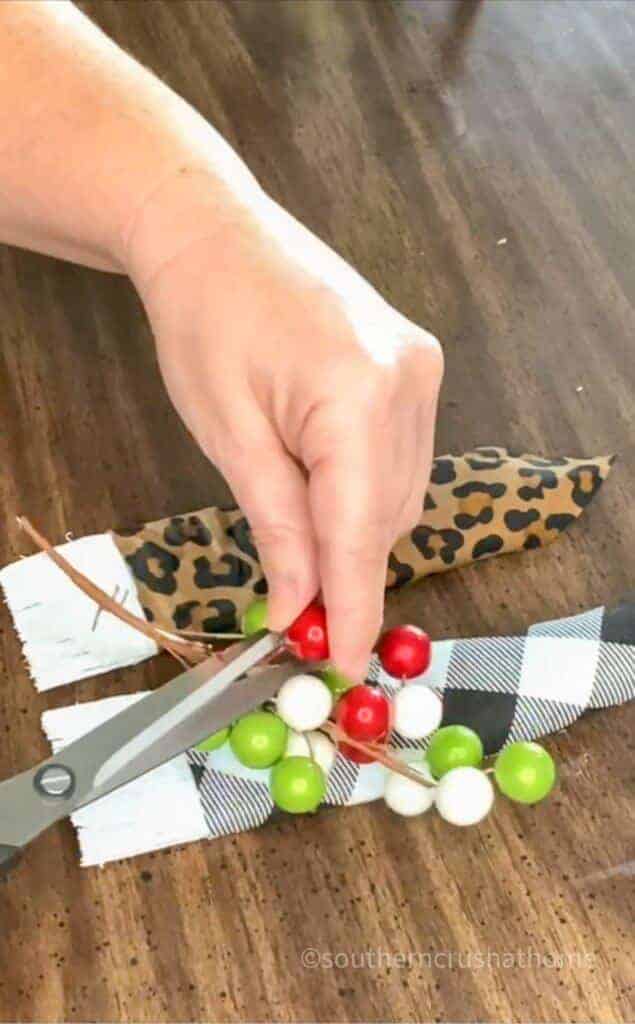
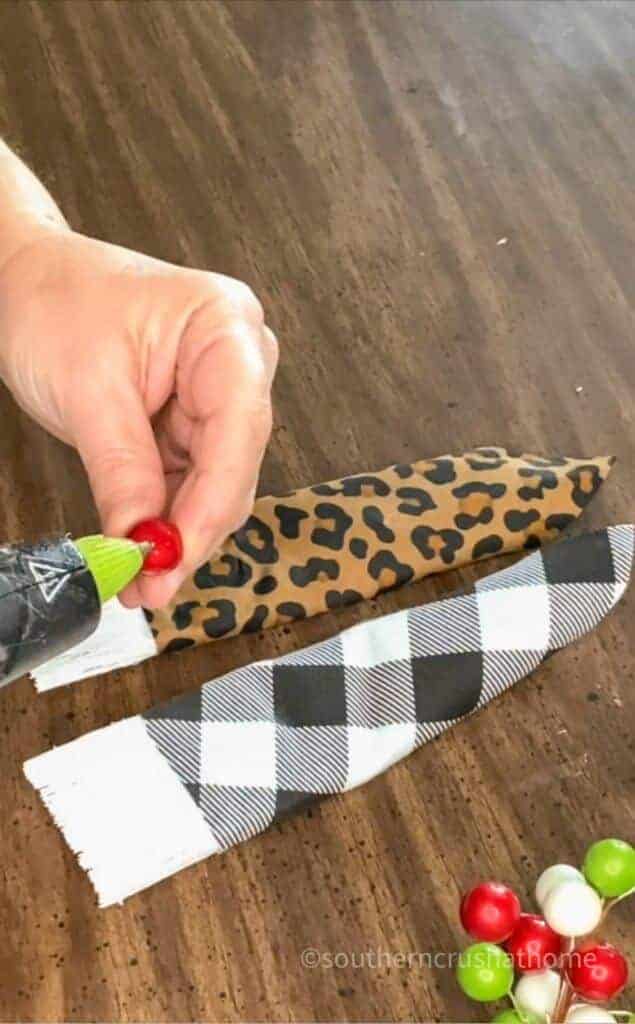
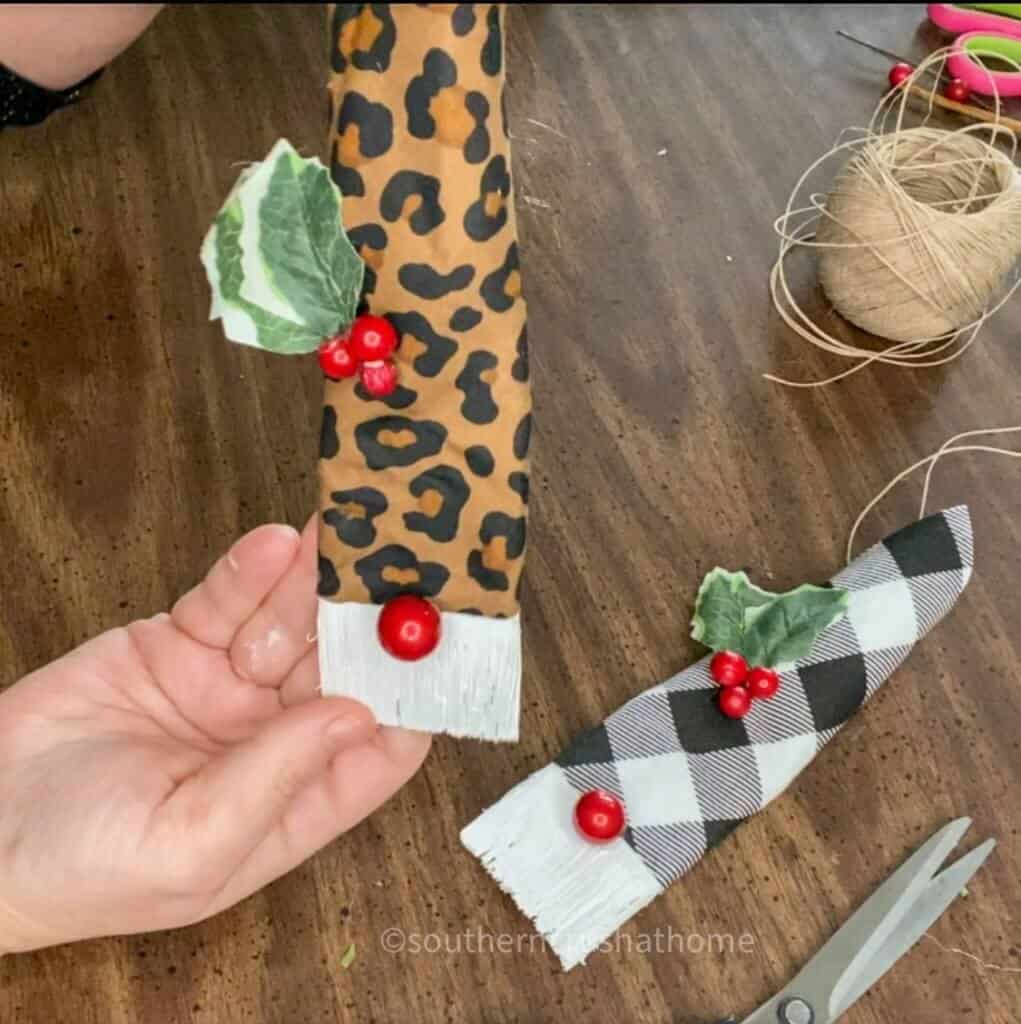
- Remove a mistletoe berry from the faux sprig and hot glue in the center of the hat’s base where the gnome’s nose would be.
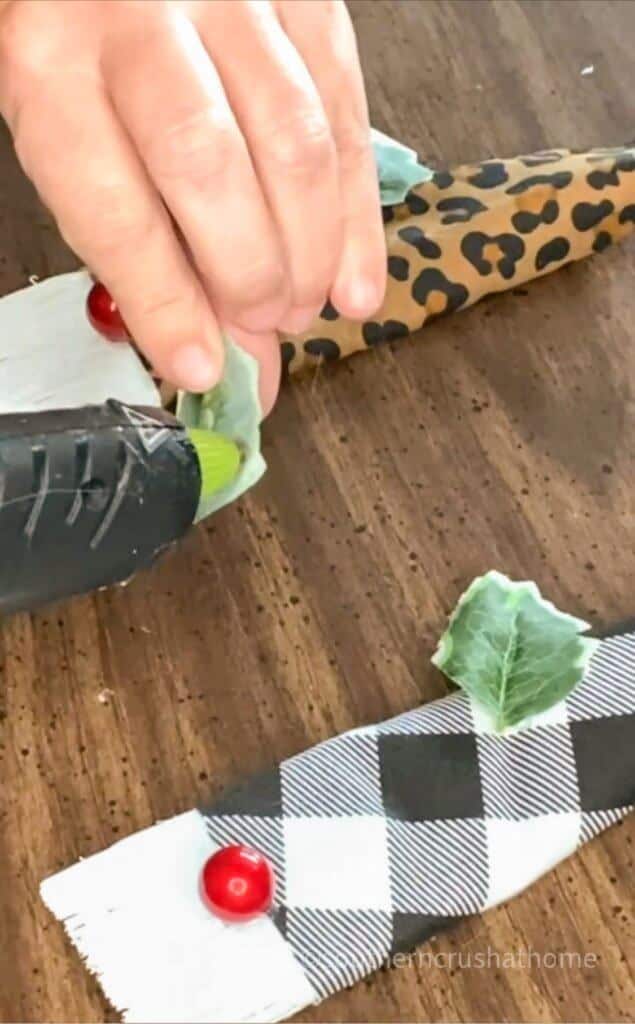
- Hot glue mistletoe leaves and additional berries onto the hat as a decorative accent.
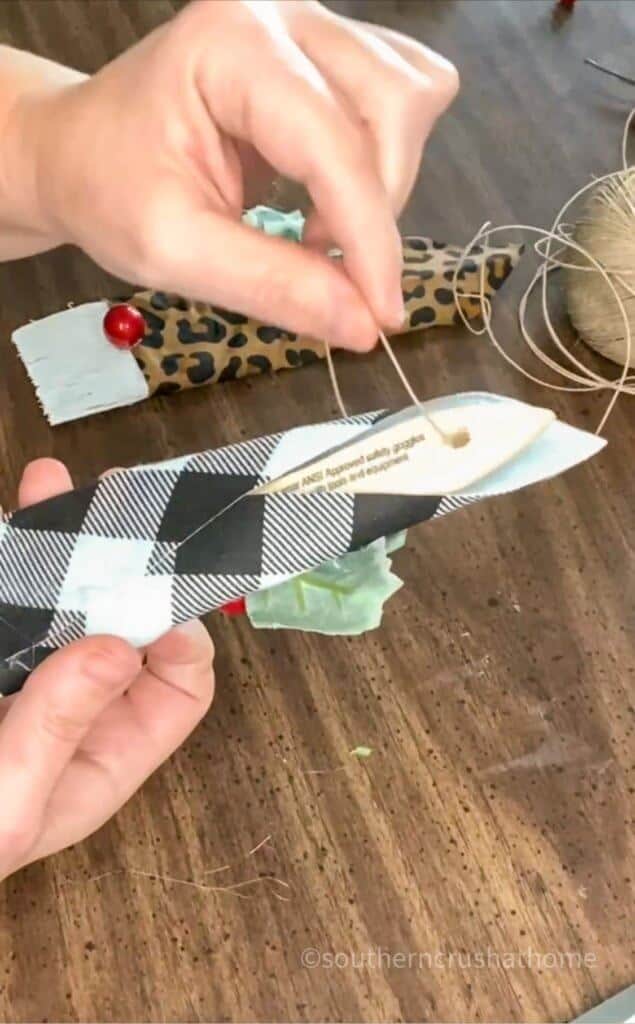
- Loop twine through the hole on the end of the paint brush to hang the ornament from.
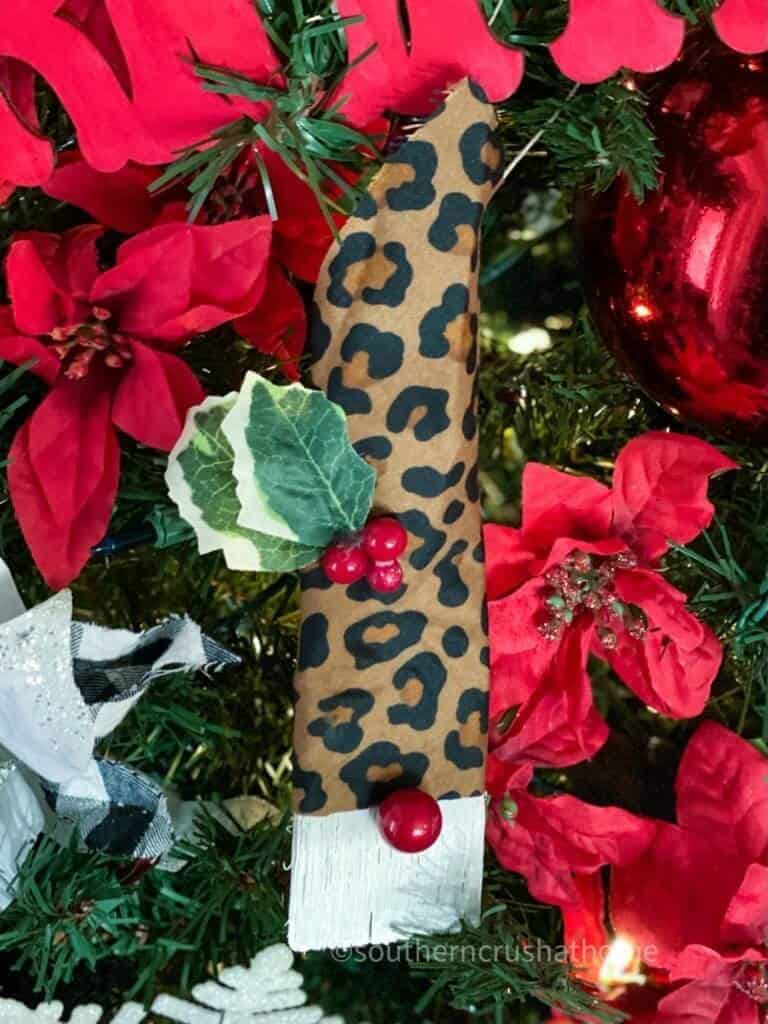
- Hang your new Christmas gnome and enjoy!
If you missed or prefer the 3 minute video tutorial; i’ve linked it here for your convenience. video tutorial
Gnome Christmas Decor Made from affordable Materials
Seasonal decor that you can make from inexpensive supplies is just the best – why break the bank for cute gnome Christmas decor? It would be so much fun to create a small army of little DIY gnome ornaments with all different fabrics and accents.
Be sure to PIN this one for later!
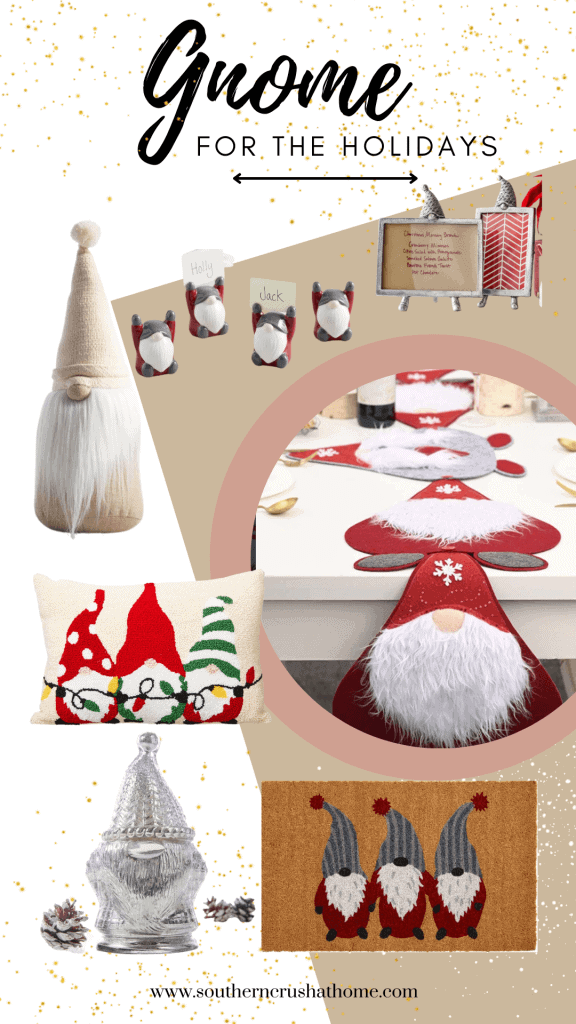
More Christmas Gnome Decor and DIYs You Might Like:
SIGN UP FOR MORE DIY’S
If you love these kinds of DIY ideas, you need to be getting my emails, friend! Each week I send out a couple of emails that include updates, crafts, shopping experiences, and decor inspiration. Be sure to get yourself signed up below.
I can’t wait to meet you! Leave your thoughts below in the comments, please… BTW— Life is short—Enjoy the mess!
Paint Brush Gnome Ornaments
Equipment
- scissors
Materials
- Paper Plate
- 2 2” Wooden Paint Brushes
- Cardboard
- Fabric
- Black Sharpie
- 1 Holiday holly berry pick
- White Acrylic paint
- Small Paint Brush
- twine
Instructions
- Unwrap the paint brushes and lay them out on the paper plate.
- Add a small amount of white acrylic paint to the plate.
- Use the small paint brush to paint the outer bristles of the 2” paint brushes white.
- Create a cardboard pattern to cut the gnome hats out of fabric scraps. You want a rounded triangle with a base of about 4.25 inches and a height that is tall enough to cover the paint brush handle.
- Cut out the fabric piece for the hat.
- Center the fabric piece onto the paintbrush so that the base of the fabric triangle lines up with where the bristles meet the brush handle.
- Hot glue the fabric onto the brush, wrapping the fabric around to make a semi “cone,” applying hot glue to secure the hat in place.
- Remove a mistletoe berry from the faux sprig and hot glue in the center of the hat’s base where the gnome’s nose would be.
- Hot glue mistletoe leaves and additional berries onto the hat as a decorative accent.
- Loop string through the hole on the end of the paint brush to hang the ornament from.
- Hang your new Christmas gnome and enjoy!



2 Comments