DIY Gnome Ornament (Using a Mop Head)
I knew the moment I saw the mop head at Dollar Tree that I was going to make a DIY Gnome Ornament with one! All it took was a plastic bulb, a mop head and a whimsical buffalo check sock to make the most inexpensive and super cute Gnome ornament for my Christmas Tree! Look at the steps and see if you will make several for yourself, too!
Be Sure to PIN this one for later!
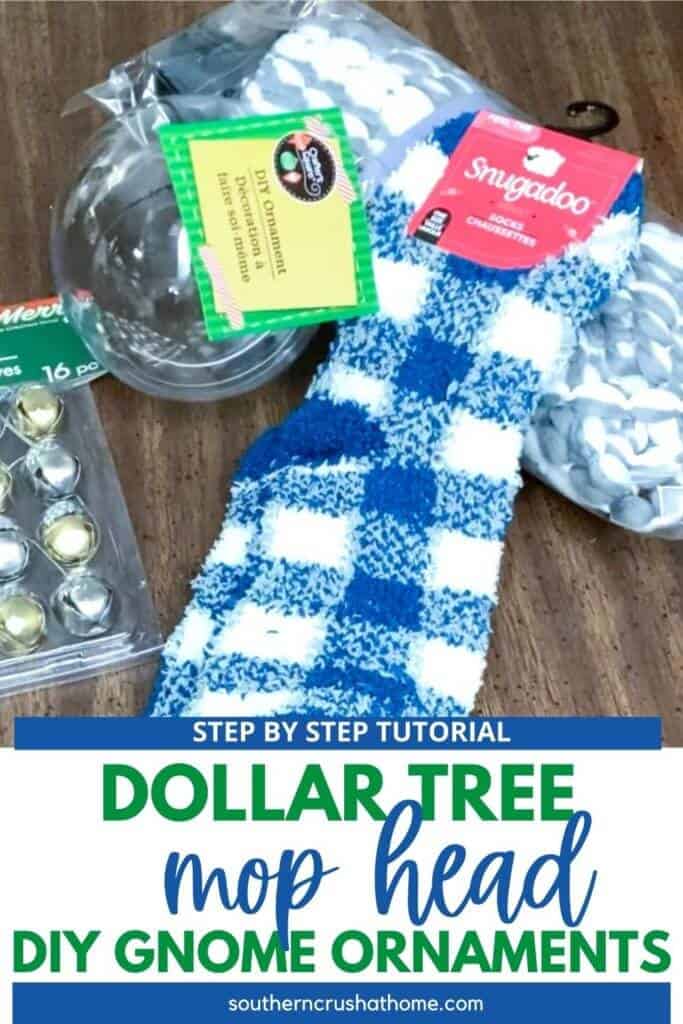
supplies you’ll need to make a diy gnome ornament
- plastic bulb ornament from the Dollar Tree
- mop head (I used microfiber gray and white one from Dollar Tree)
- cute sock of your choice (I found this cute buffalo check one at the Dollar Tree)
- Single Holiday Holly pick with berries for nose (or you can use wooden beads and paint them)
- hot glue and glue gun
- pliers
- scissors
- optional jingle bell for tassel (I used one from the Dollar Tree)
- optional ribbon for bow
step by step tutorial for ornament
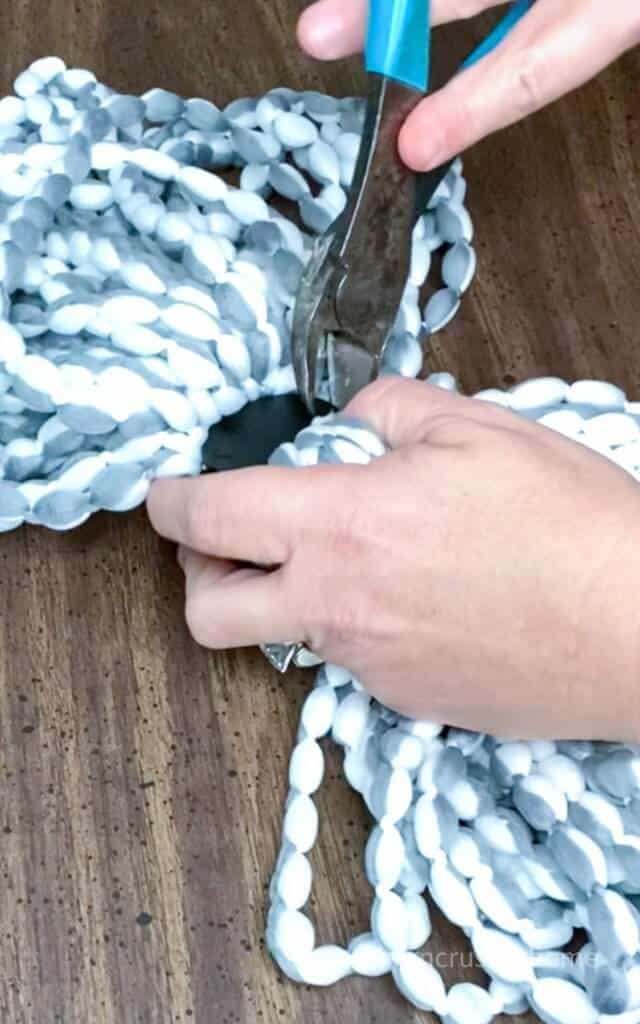
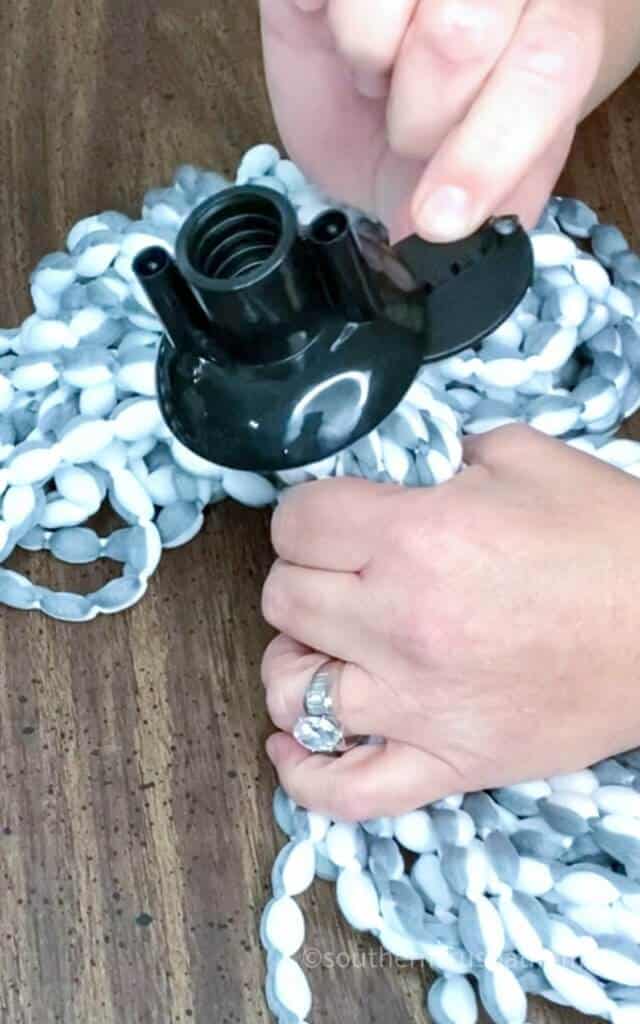
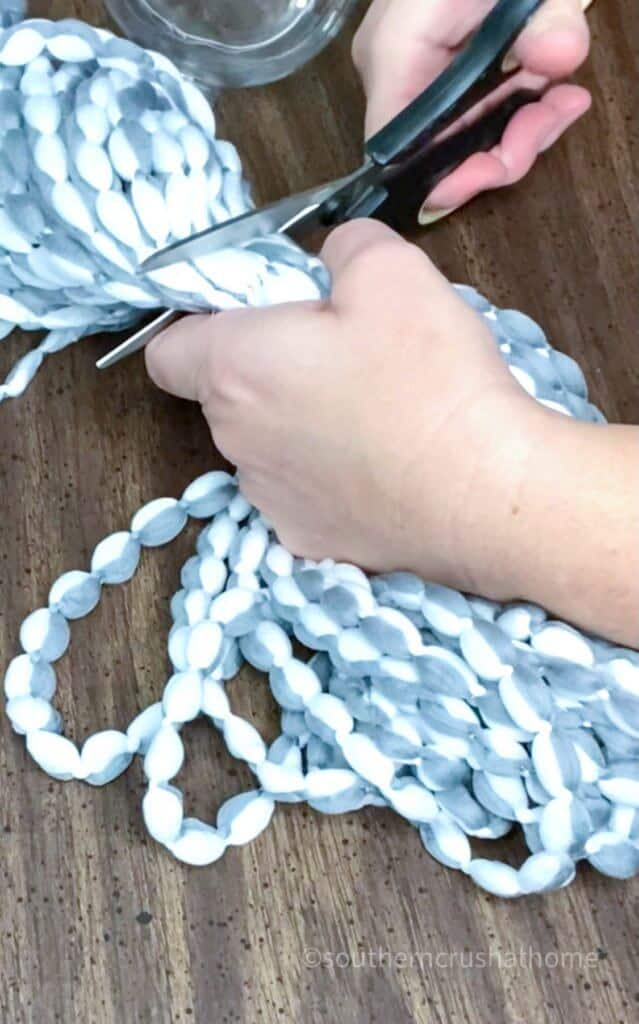
- Remove the black plastic piece from the mop head with a pair of pliers as shown.
- Cut the mop head in half right down the center.
- Remove the metal hanger from the plastic ornament.
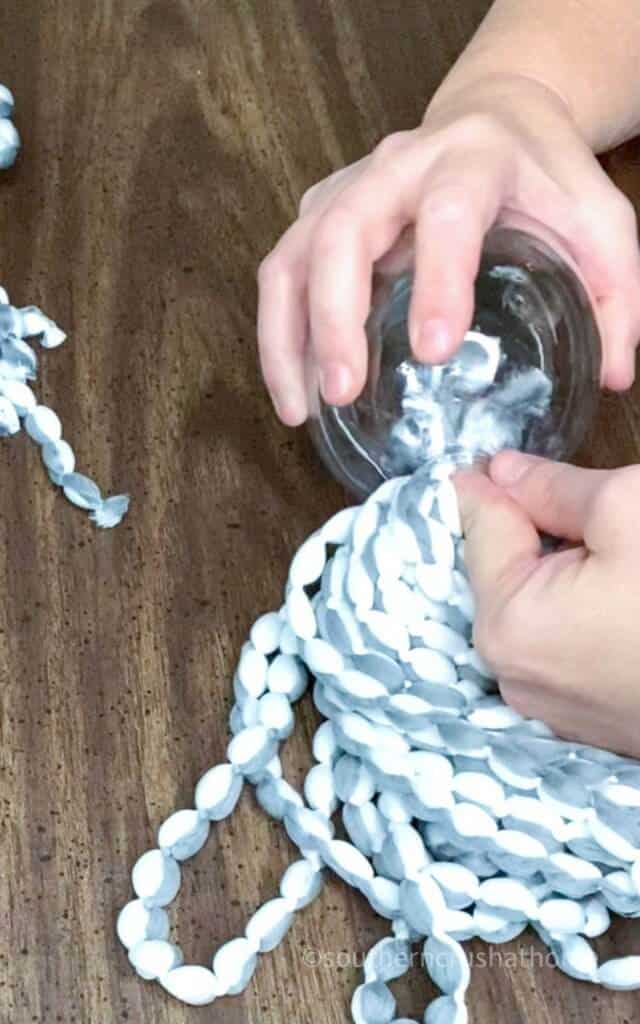
- Tuck the mop head strings into the opening of the bulb ornament.
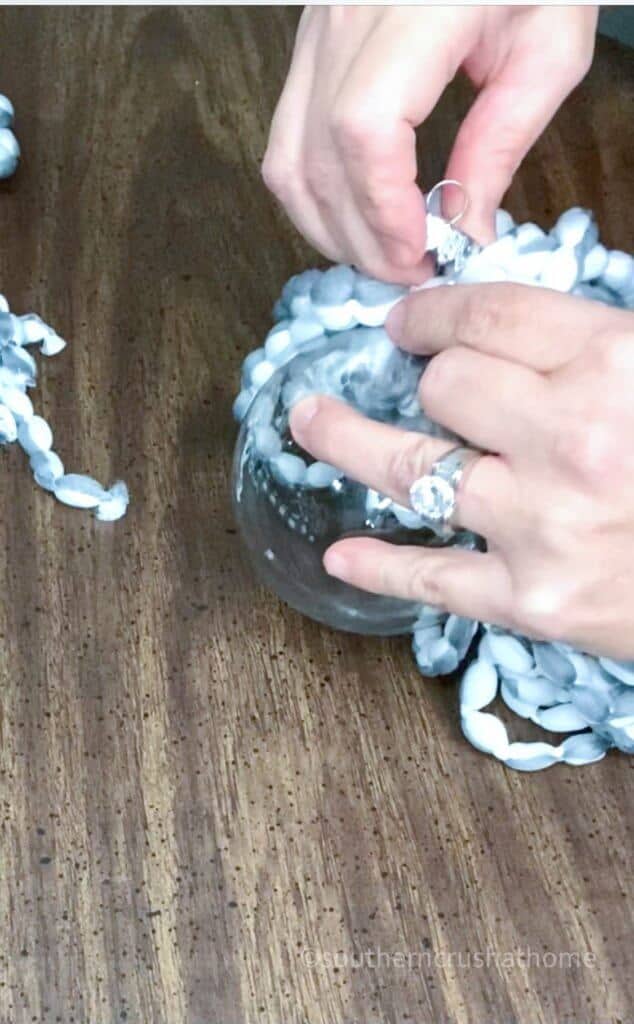
- Replace the original metal hanger into the ornament.
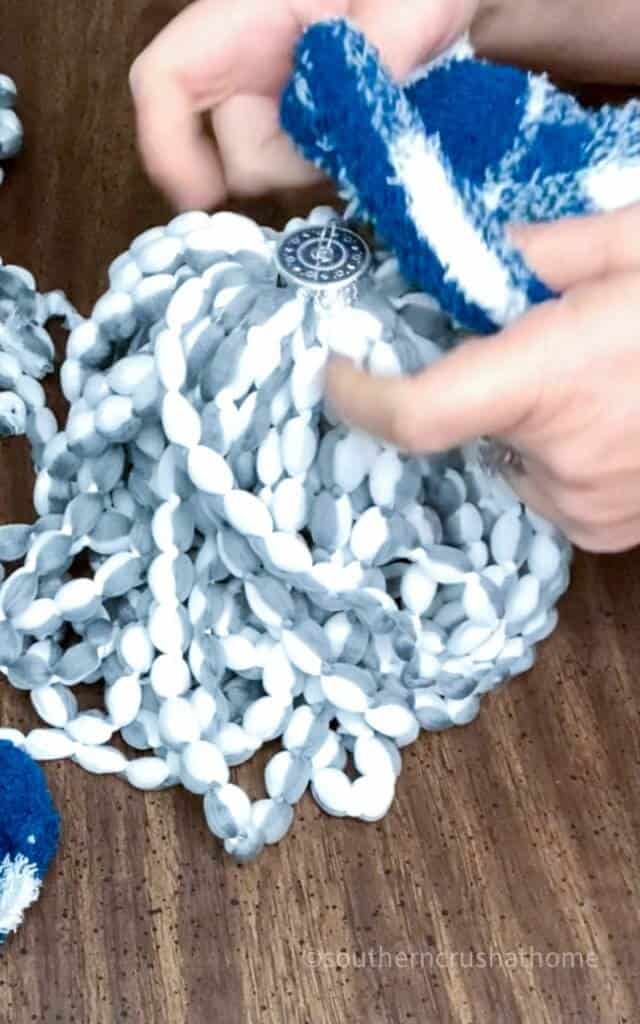
- Place sock over the top of the ornament hanger. (optionally you can add a way to hang the ornament at this point by threading it through the sock and the hanger.)
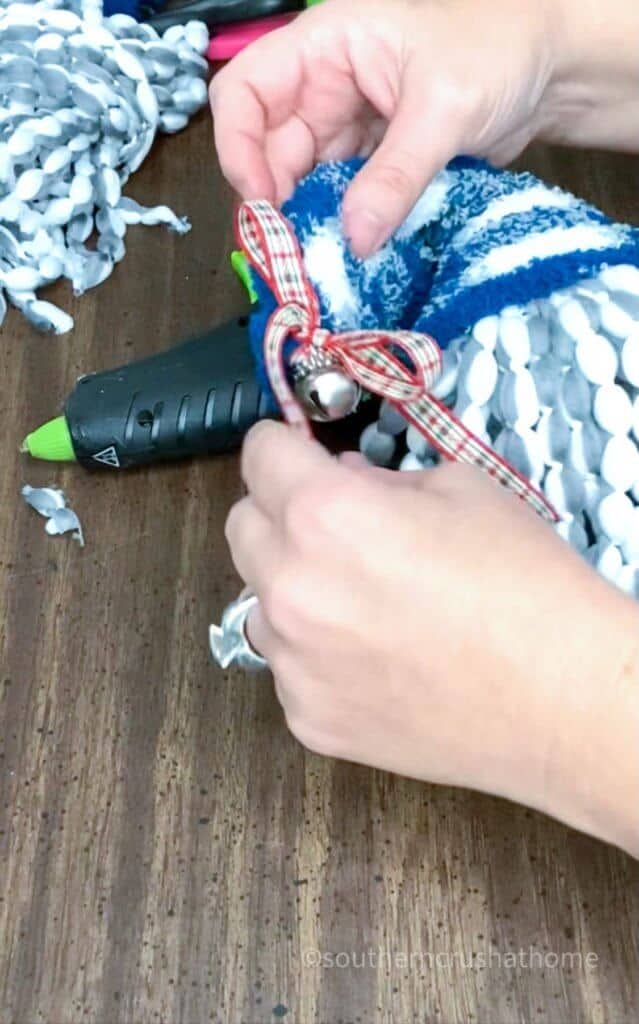
- Tie on a jingle bell to the tip end of the sock gnome cap.
- Optionally tie on a bow with your ribbon just above the jingle bell.
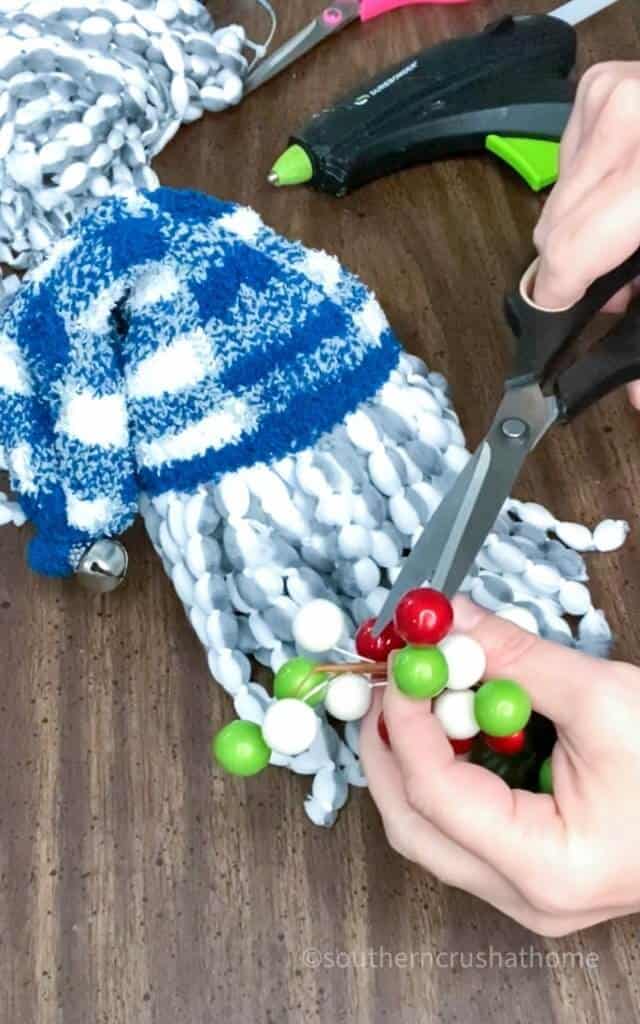
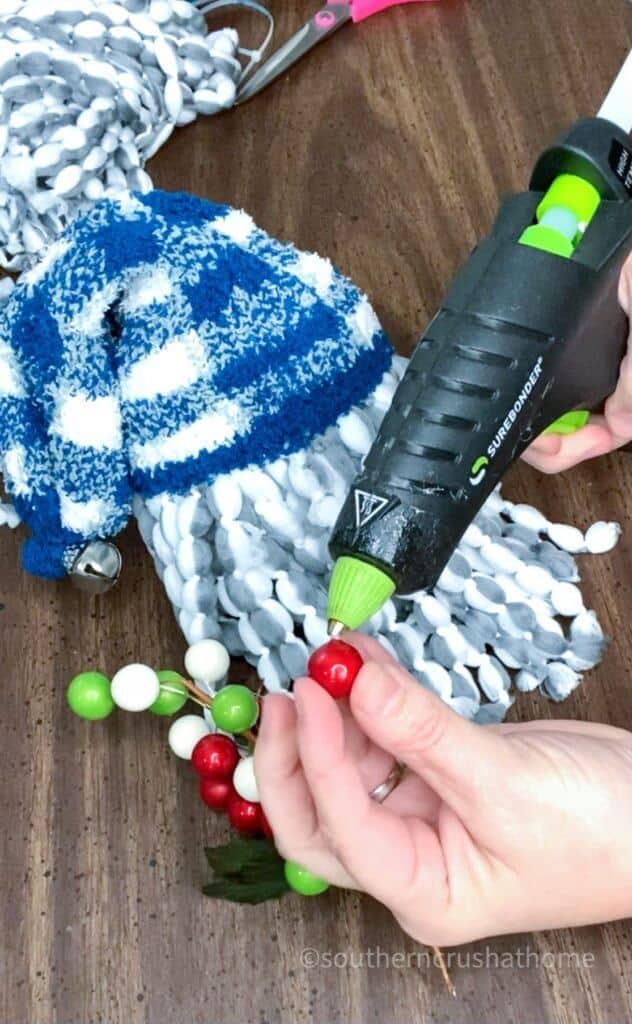
- Cut a single berry off the holiday pick and hot glue it to the mop head just under the sock cap to use as the “nose” for the gnome. (If you don’t have a berry, you can substitute with a painted wooden bead.)
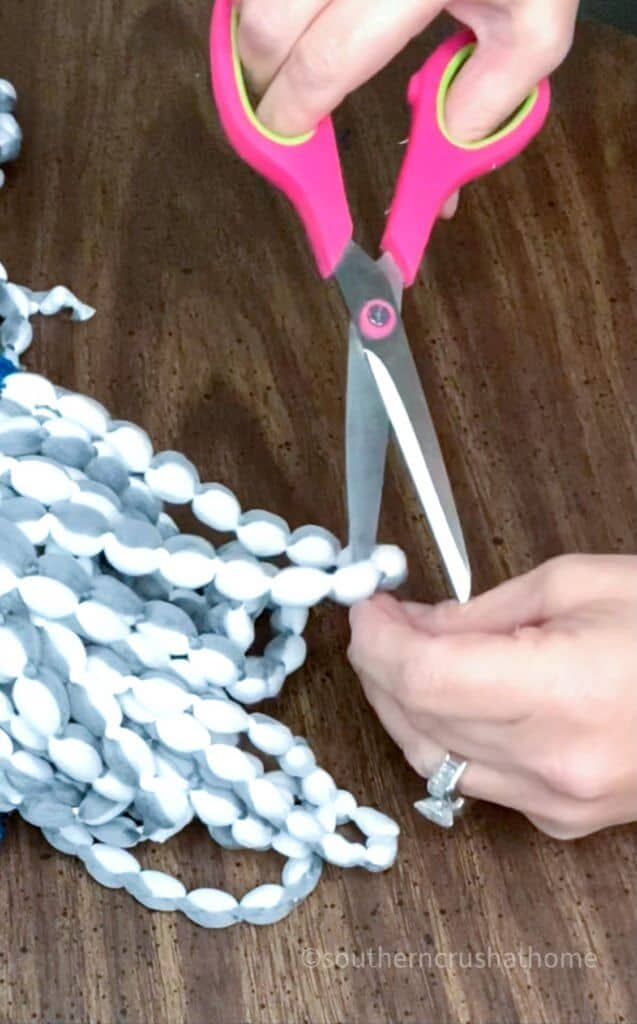
- Trim the gnome’s beard or the bottom of the mop head strings making them even if you wish.
in case you missed the amazing 3 minute video tutorial, I’ve linked it here for your convenience. VIDEO TUTORIAL
Super cute gnome ornaments are fun to make
These trending little guys are so cute and with the materials being super affordable, why not make some of them for your Christmas decor? 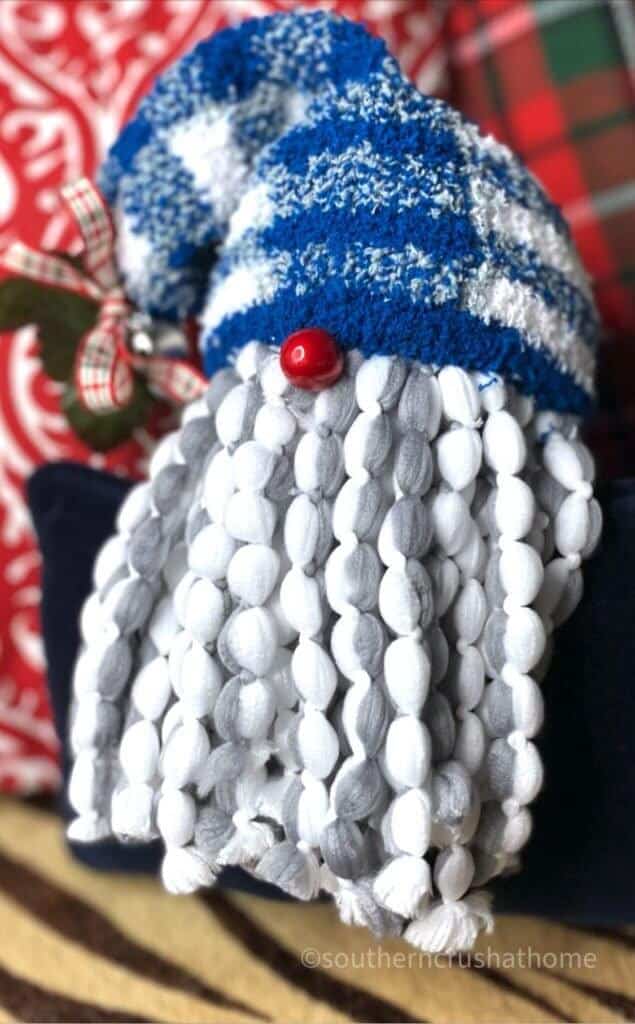
- Tabletop Christmas Cone Trees (Using a Mop Head)
- How to Make a $2 DIY Wreath with Easy Tulle Bow (using a Mop Head)
- Easy Christmas Ornament DIY (Using a Mop Head)
other gnome diy’s you may love
- Gnome DIY Christmas Tree + FREE Pattern
- Paint Brush Gnome Ornaments
- Easy Mason Jar Lid Ornaments For Christmas
SIGN UP FOR MORE DIY’S
If you love these kinds of DIY ideas, you need to be getting my emails, friend! Each week I send out a couple of emails that include updates, crafts, shopping experiences, and decor inspiration. Be sure to get yourself signed up below.
I can’t wait to meet you! Leave your thoughts below in the comments, please… BTW— Life is short—Enjoy the mess!
DIY Gnome Ornaments using a Mop Head
Equipment
- hot glue and glue gun
- pliers
- scissors
Materials
- 1 plastic bulb ornament from the Dollar Tree
- 1 mop head I used microfiber gray and white one from Dollar Tree
- 1 cute sock of your choice I found this cute buffalo check one at the Dollar Tree
- 1 Single Holiday Holly pick with berries for nose or you can use wooden beads and paint them
- optional jingle bell for tassel I used one from the Dollar Tree
- optional ribbon for bow
Instructions
- Remove the black plastic piece from the mop head with a pair of pliers as shown.
- Cut the mop head in half right down the center.
- Remove the metal hanger from the plastic ornament.
- Tuck the mop head strings into the opening of the bulb ornament.
- Replace the original metal hanger into the ornament.
- Place sock over the top of the ornament hanger. (optionally you can add a way to hang the ornament at this point by threading it through the sock and the hanger.)
- Tie on a jingle bell to the tip end of the sock gnome cap.
- Optionally tie on a bow with your ribbon just above the jingle bell.
- Cut a single berry off the holiday pick and hot glue it to the mop head just under the sock cap to use as the "nose" for the gnome. (If you don't have a berry, you can substitute with a painted wooden bead.)
- Trim the gnome's beard or the bottom of the mop head strings making them even if you wish.


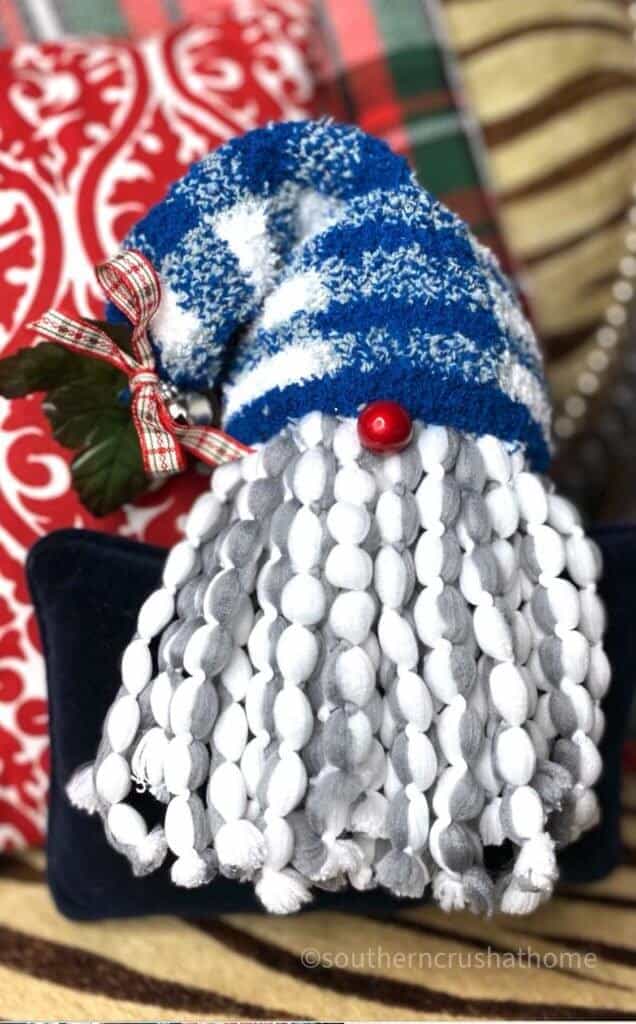

There is no link for the mop head gnome
This IS the tutorial for the mop head gnome and there is also a link to the video here. Please let me know if you need anything else. Thank you!
Do you use the whole mop when you cut it in half
You’re so talented! I love this DIY!
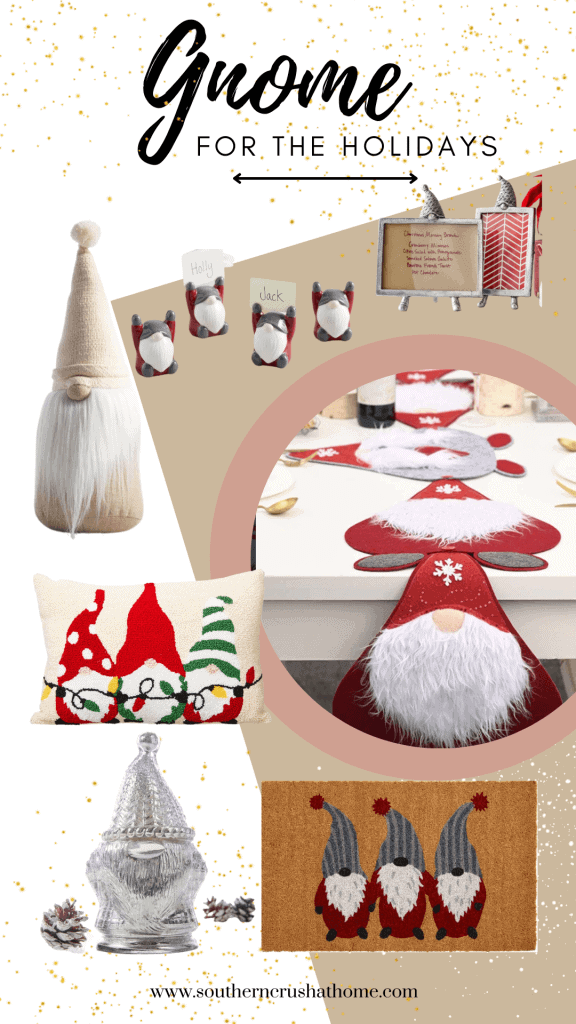
Are there links for the Gnome for the Holiday items? Thanks?
I’m not sure what you’re referring to; however, all of my links can be found on my storefront here https://amazon.com/shop/southerncrushathome