Easy Soap Decoration | How to Decoupage Soap Bars
I'm so excited to share this easy soap decoration with you! Plus, I'm sharing simple tips to show you how to decoupage your own soap bars using mod podge and napkins.
Decorative soaps make great gifts, and they are inexpensive (and fun) to make!
This blog post contains affiliate links. The opinions are wholly my own from my own experience. I may earn a small commission from clicks through to the websites that end in a purchase.
If you haven't tried decorating your own soaps yet, get ready to have a new favorite craft! These look like they belong in a store!
I am slightly obsessed with this project and plan to make several more versions of these soaps most likely all with different but gorgeous results.
I've used mod podge and napkins to decorate some related DIY projects like this vintage hanging colander and vintage toolbox but this is my first time trying to decoupage soap.
Here is the super simple DIY tutorial on how to make decorative soaps.
Supplies needed for Easy Soap Decoration
- Jergens Soap (I got this 3 pack collection of white, light scent bathroom soap bars from the Dollar Tree)
- Mod Podge
- Decorative Napkins
- Sanding Block from Dollar Tree
- Small Paintbrush

How to Decoupage Soap Bars
One popular way to decorate soap bars is with decoupage. This crafty technique can be used to create beautiful, unique soaps that are perfect for gifts or personal use.
Decoupage is a process whereby paper or fabric is glued to a surface, typically using Mod Podge or another glue designed specifically for decoupage projects. Once the paper is glued down, it can be sealed with another layer of glue or varnish.
Soap bars are an ideal surface for decoupage because they're smooth and relatively flat. Plus, they provide a great canvas for soap makers to show off their creativity!
Have you ever made homemade soap as a gift? Maybe I'll take a shot at it! In the meantime, let's decorate some soap instead…
Step by Step Video Tutorial on How to Decoupage Soap
If you prefer to watch a step-by-step video tutorial on how to decoupage soap, then watch the YouTube video below.
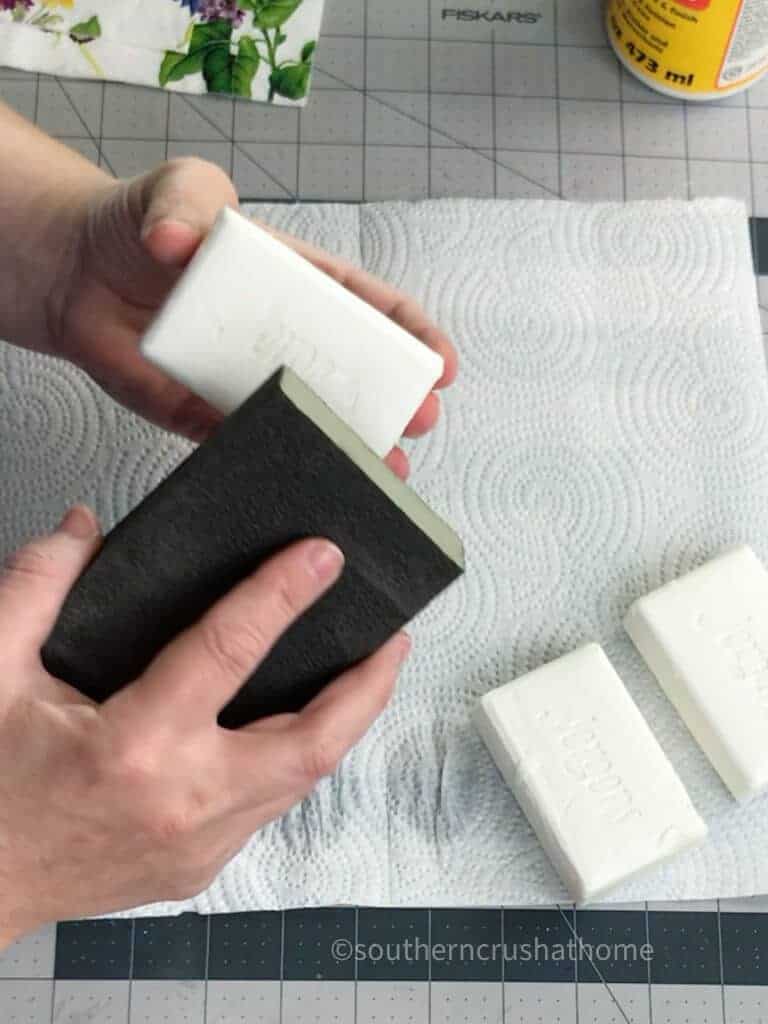
Step 1. First Sand the Raised Letters
Start by sanding the raised letters on the soap. I'm not sure if all soaps have their logo carved into the top and bottom, but I know several of them do this.
Take a sanding block to remove the raised lettering and don't be afraid to be aggressive. It does leave a messy residue on the sanding block, so be prepared to toss it when finished.
This decoupaging soap bars technique works best on square soap bars vs. curved soaps depending on your napkin design.
I also like to stick to soaps with a white color with a light scent, so that the pattern of the napkin shows through the best. Darker soaps may have different results.
I used Jergens, but you can also use Ivory or whatever your favorite brand of white color bathroom soap is.
Simply rub the sanding block across the brand letters until you have a smooth finish. It won't be perfectly smooth, but just knock it down a bit to get the best decoupage results.
Step 2. Choose the Napkin Designs for Decorating
Now you want to choose your decorative napkins to be used to decorate the top of the soap. This is my favorite part!
There are so many fun and pretty patterns available. To help you with your search, here are a few of my favorite brand MacKenzie-Childs napkins!
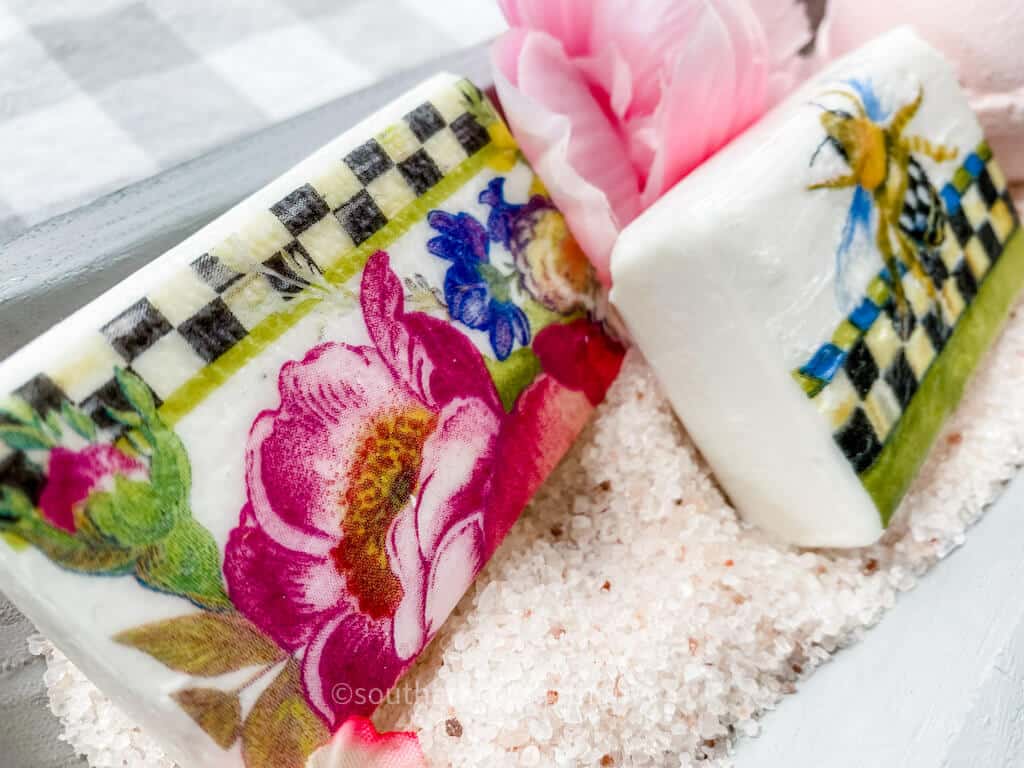
I used pretty napkins in different designs and colors. The script design is one of my favorites!
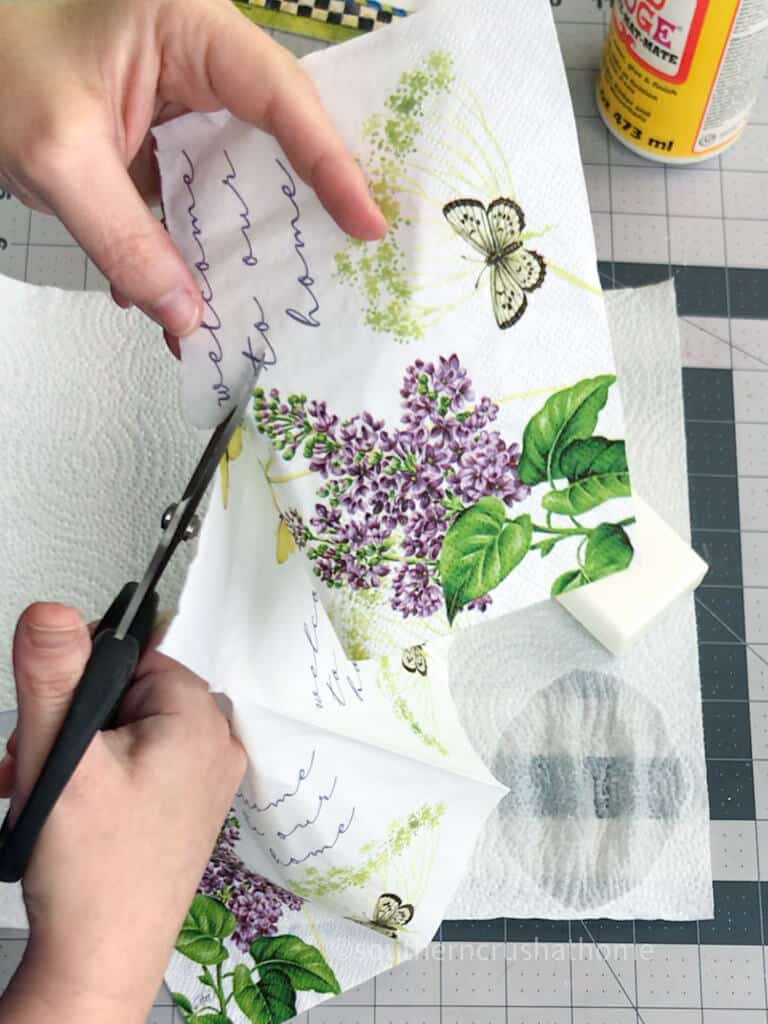
Step 3. Trim your Napkin Design
Cut out the napkin section you want to use. Then cut around the actual image portion of the napkin you want to apply to the soap bar.
You don’t have to cut it exactly, but try to cut out the main image without a lot of excess border.
If your napkin design contains any wording, like mine below, make sure the wording is the right size to fit on the soap bar and still be legible.
Check back with your bar of soap for sizing and trim your napkin design as needed in order to fit the soap.
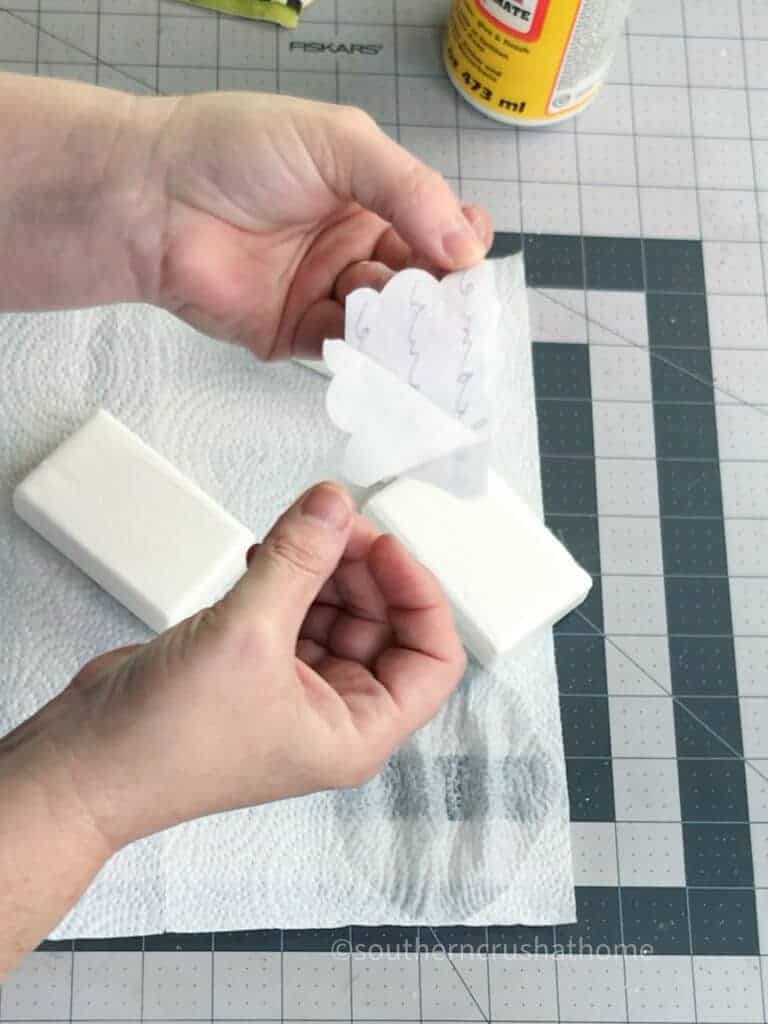
Step 4. Separate the Napkin Layers
This is crucial in the decoupage process and not to be skipped. In order for the decoupage to look seamless and not have bubbles, it's important to only use a single layer of the napkin.
Separate the napkin layers until you are left with a single layer of the napkin. Some decorative napkin packages will tell you how many layers the napkin is for easy reference; however, most have at least 2-3 layers.
Quick Tip:
The easiest way to address separating the napkin layers is to apply a piece of tape to the corner of the back of the napkin and peel away the back layers one at a time. This will free the layer that needs to be removed.
Repeat until only one layer is left behind.
Step 5. Apply Mod Podge to your Soap Bars
Use a small artist paintbrush to apply a generous layer of mod podge directly to the top of the soap bar.
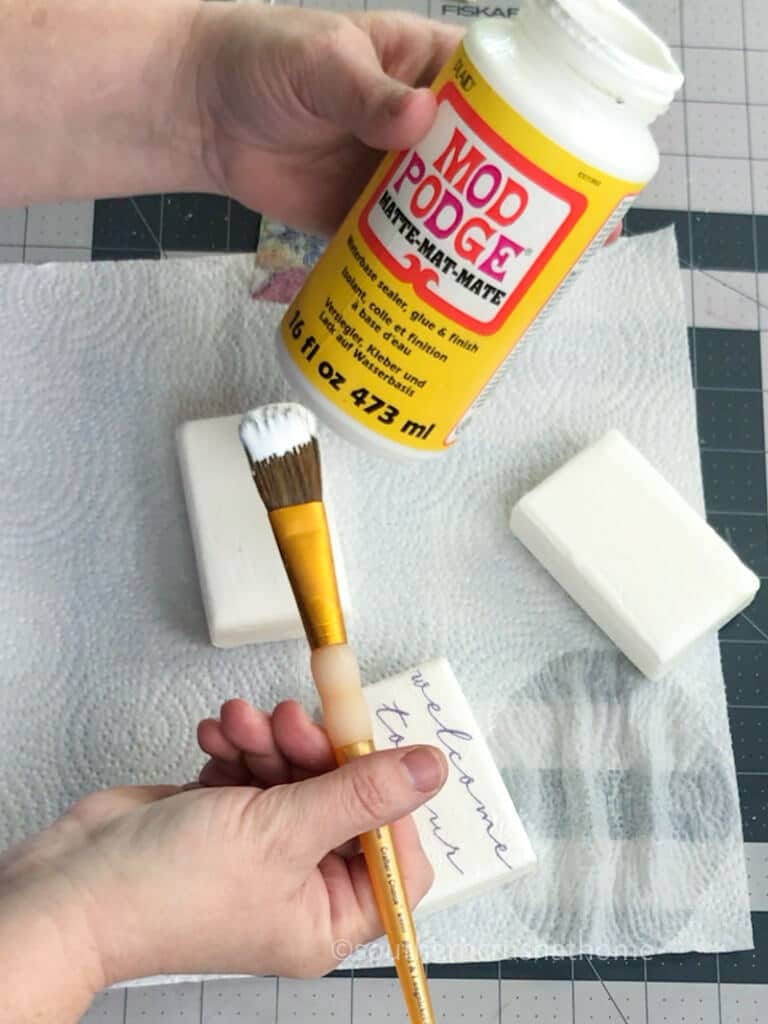
Apply a nice, even layer to the top of the bar only so the image will be smooth.
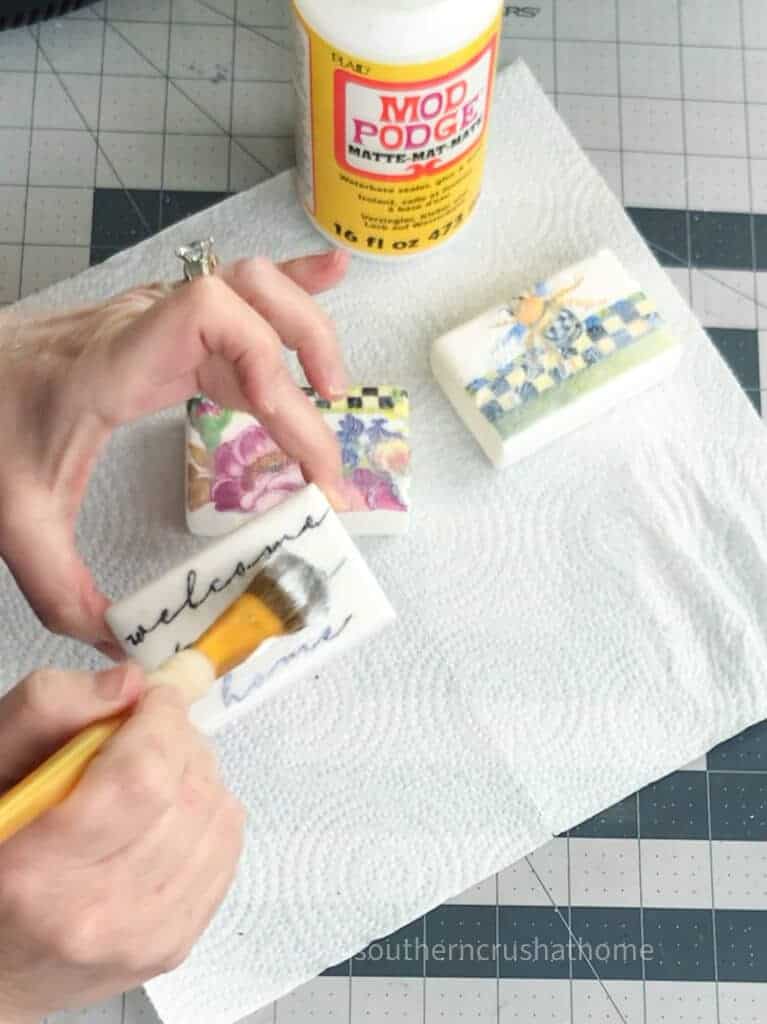
Step 6. Seal the Soap Decoration
Lightly press the napkin onto the mod podge and gently smooth it over with either plastic wrap or a Ziploc baggie as a barrier between the napkin and your fingers.
Let it dry. You can speed this process up by using a heat gun on low being careful not to get your soap bar too hot!
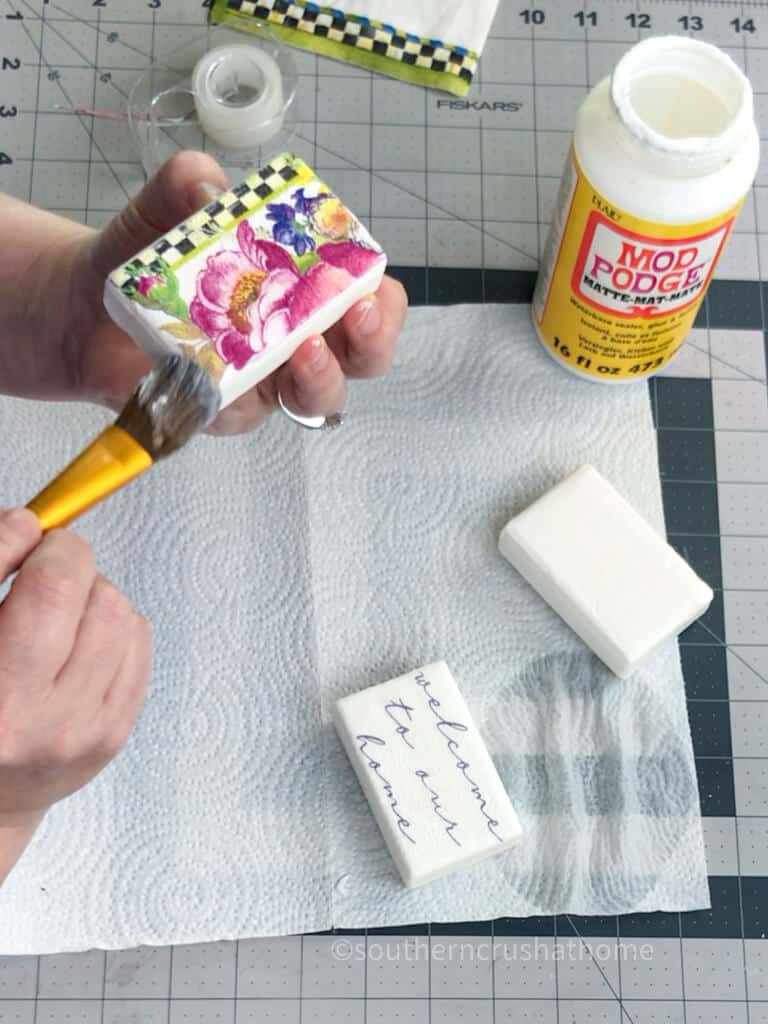
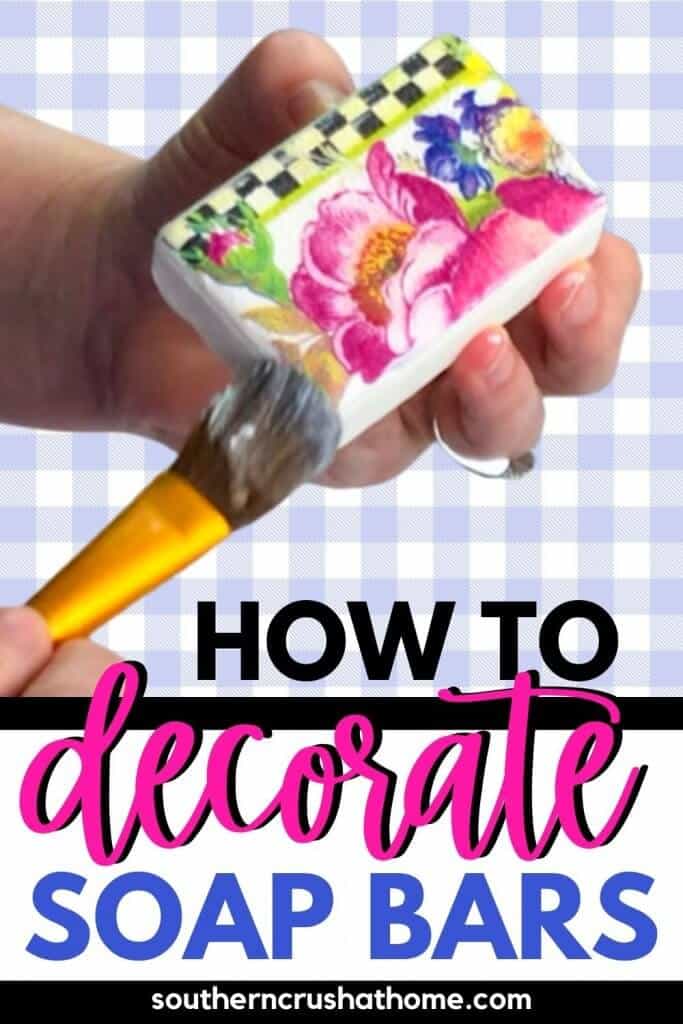
Once dry, brush a generous top coat of mod podge onto the decoupaged decorative soap.
I use a matte mod podge to give the soap a nice flat finish.
You will need to add 2-3 coats to the top of the bar. Add mod podge to the sides of the soap if any of your napkin design hangs over the edges. Let dry.
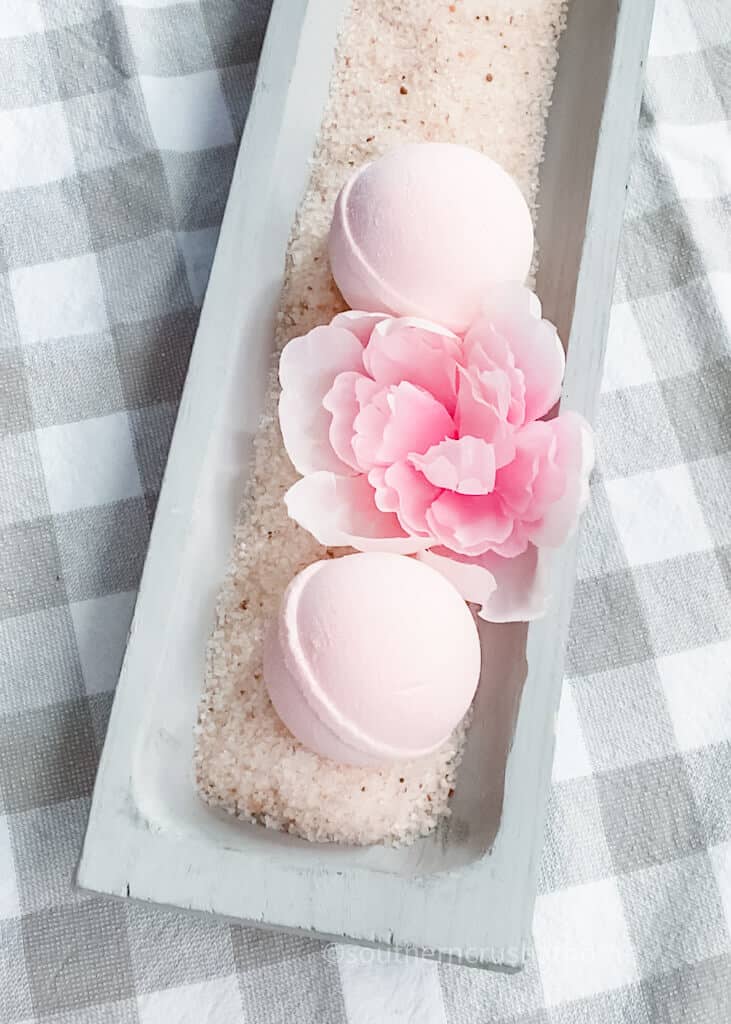
Step 5. Display your Soap Decoration
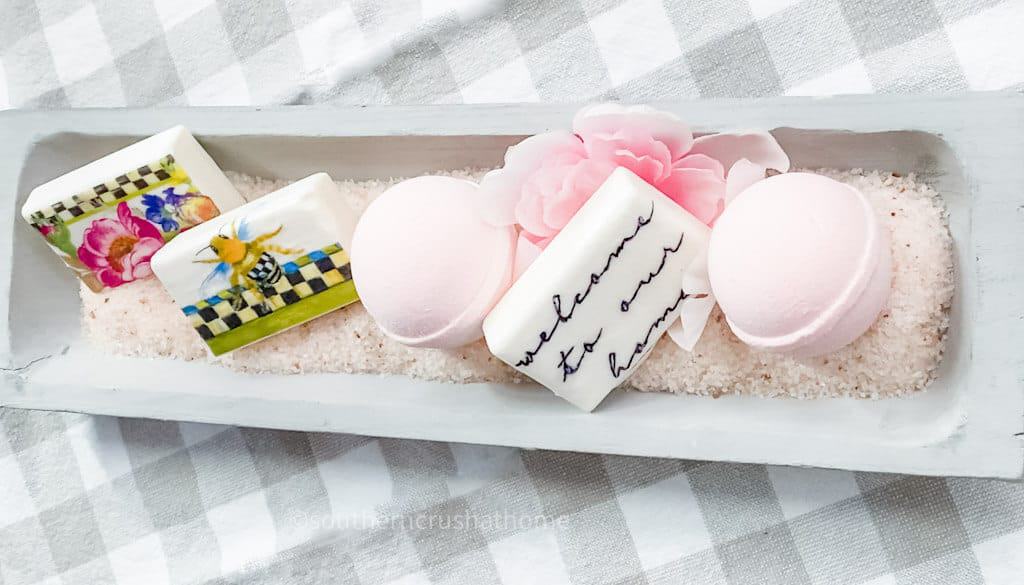
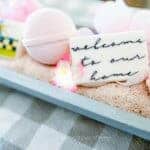
After you create your great bathroom soaps, it's time for the extra fun part-decorating with your decoupage soap! There are so many easy ways to display your new decorative soaps.

I decided to add mine in a pretty wooden dough bowl that I filled with Himalayan bath salt, faux silk flowers, and the prettiest DIY bath bombs.
I'm sharing my favorite dough bowls below to save you some search time!
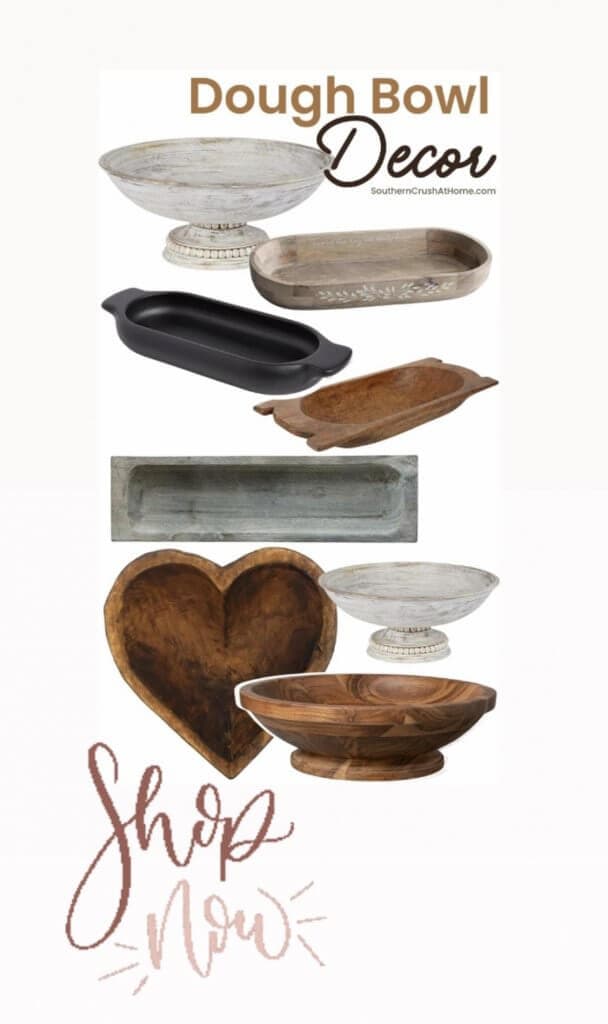
Soap decoration is an easy way to add some personality to your guest bathroom and would even look good in your kitchen.
These ideas are just the beginning – get creative and come up with something new and some of your own designs!
What do you think of these decorative soap ideas? I just love them! They are so pretty and look like ones you'd find in a little boutique or even a department store.
Are you ready to make your own or maybe a make collection or set of these soaps as a gift?
Be sure to PIN this for later!
Frequently Asked Questions about Decorative Soaps
How to Decorate Soap Bars
There are several ways you can decorate soap. I love them all! Here are some of the most popular ideas:
- Decoupage with pretty colorful napkins, tissue paper in any color, add different scrap fabrics or lace, and even wrapping paper (the only limit is your price range, some materials are at a more affordable price than others)
- Add colorful dried flowers to the top of your soap bars! You could use rose petals with a rose scent.
- Make our own unique handmade soap that you can decorate with essential oils and add colors. These would be a great, most thoughtful gift, I know anyone would love to receive.
How to Display Decorative Soaps
- Place them in a glass jar and add them to a shelf in the bathroom
- Display them on a pretty tray that matches your bathroom decor color
- Find a shallow bowl to hold the soaps and set them on the counter
- Add a few pretty soaps to a tiered tray by the kitchen sink
More Related Posts You Might Like
Easy Soap Decoration | How to Decoupage Soap Bars
Equipment
- scissors
- Sanding Block
Materials
- Mod Podge
- Soap
- Paint Brush
- Napkins
Instructions
- Start by sanding the raised letters on the soap with a sanding block.
- Use a small paintbrush to apply mod podge directly to the soap bar.
- Apply your cut napkins on top of the soap and mod podge.
- Lightly press the napkins onto the mod podge and smooth gently.
- Brush 2-3 coats of mod podge onto the decoupaged soap. Let dry.
- Decorate with your soap!
OMG! This is BRILLIANT. I love to decopage and have a ton of amazing napkins – as well as a good sized ziploc bag full of scraps that are big enough to use. These would make a great gift, or just when you want to give someone a pick me up!
Yay! I’m so glad you love this idea and already most of the supplies! Yes, they are excellent as last minute gifts!
Your soaps are gorgeous. Cn you actually use the soap once you modge podge it?
Yes
I love the look and the simplicity of it. I do projects for my sororiety of 13 girls and the only problem I see with this is the drying time in between each coat. I have to have a completed project within 90 minutes or so. I will make them for myself though!
You can drastically speed up drying time with this little tool! You’ll be knocking out decorated soaps left and right!