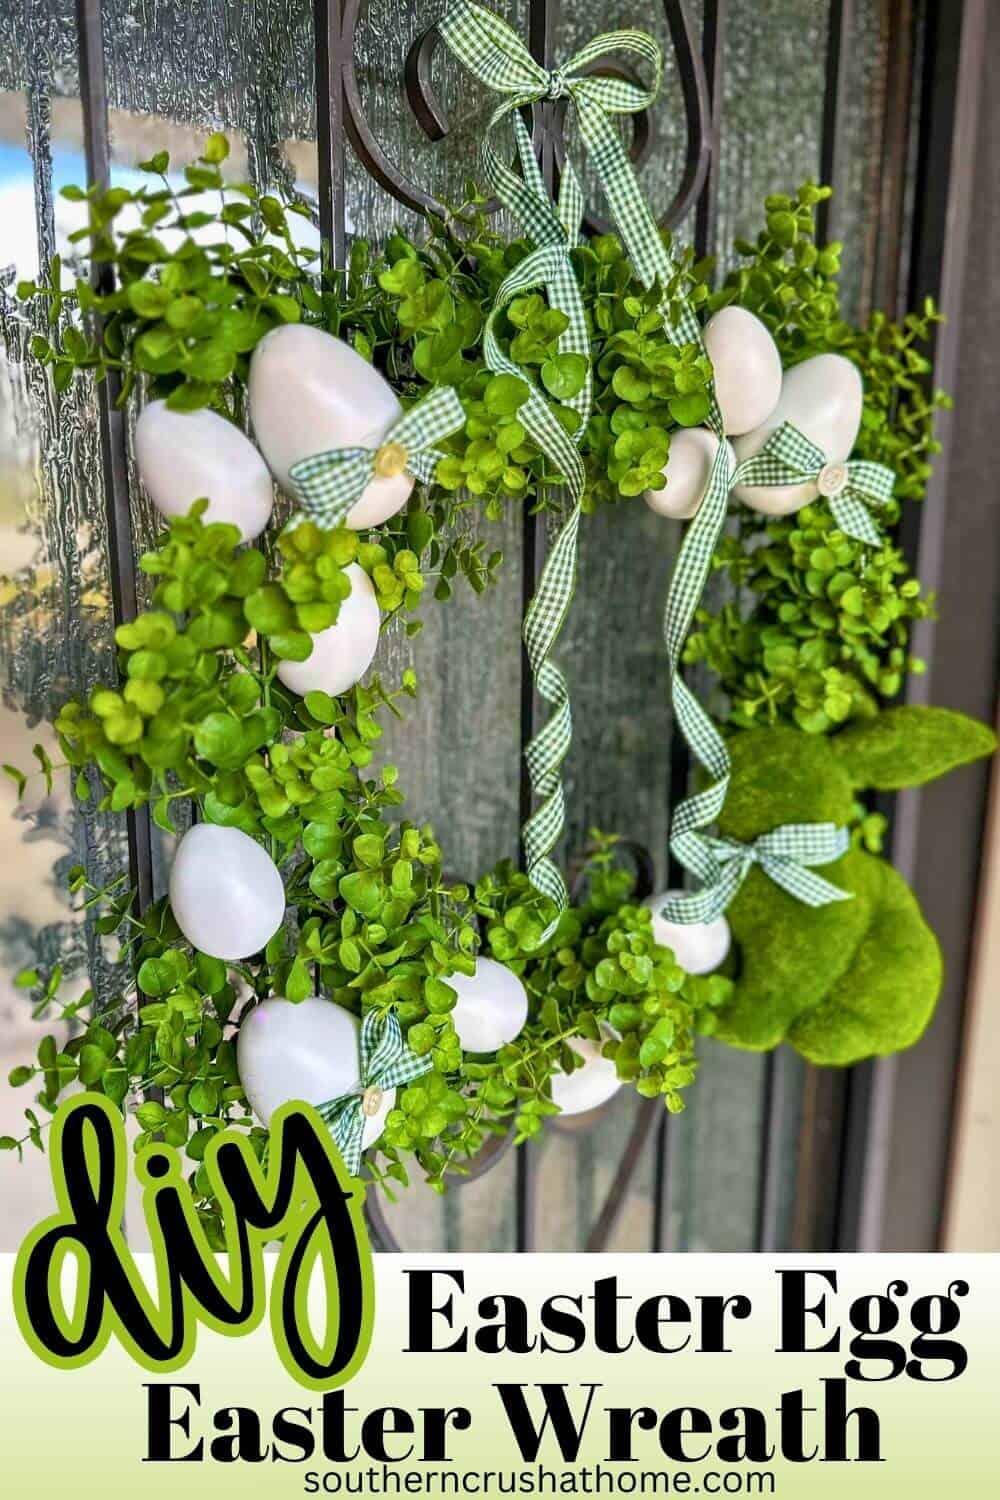
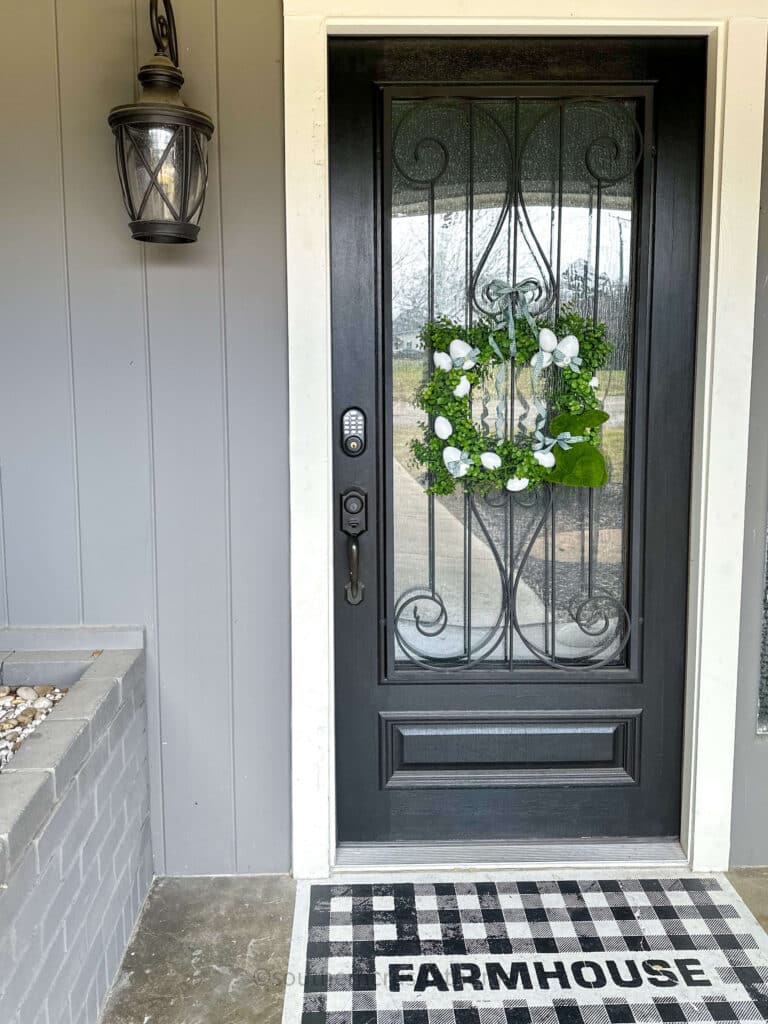
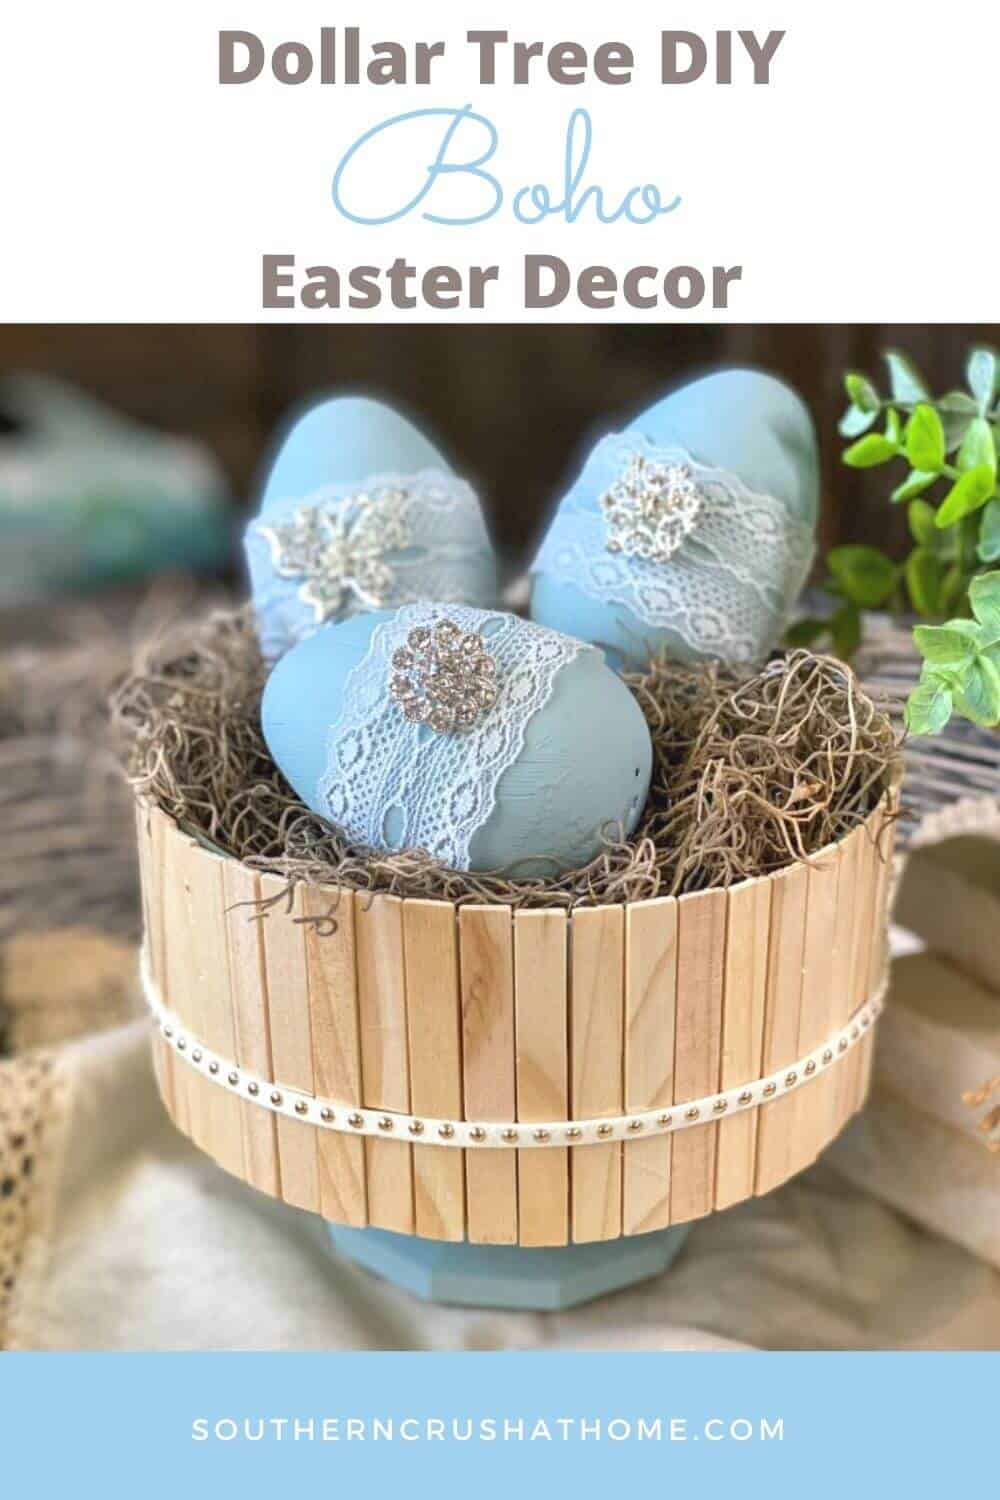
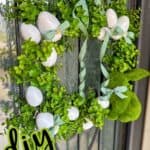
Easy Plastic Easter Eggs Easter Wreath Idea
I'm excited to share with you a super simple-to-make craft project perfect for spring – an Easy Plastic Easter Eggs Easter Wreath. This neutral spring wreath is not only a wonderful way to welcome the season but also makes beautiful front door decor. Let’s hop into the fun of creating this Easter decoration!
PIN this for later!
This blog post contains affiliate links. The opinions are wholly my own from my own experience. I may earn a small commission from clicks through to the websites that end in a purchase.
Why Choose a Plastic Easter Eggs Wreath?
Plastic Easter eggs are colorful, durable, and incredibly versatile, making them ideal for crafting a festive wreath. This Easter wreath idea is not only simple and cost-effective but also a fantastic way to add a pop of color and Easter spirit to your home.
Materials Needed
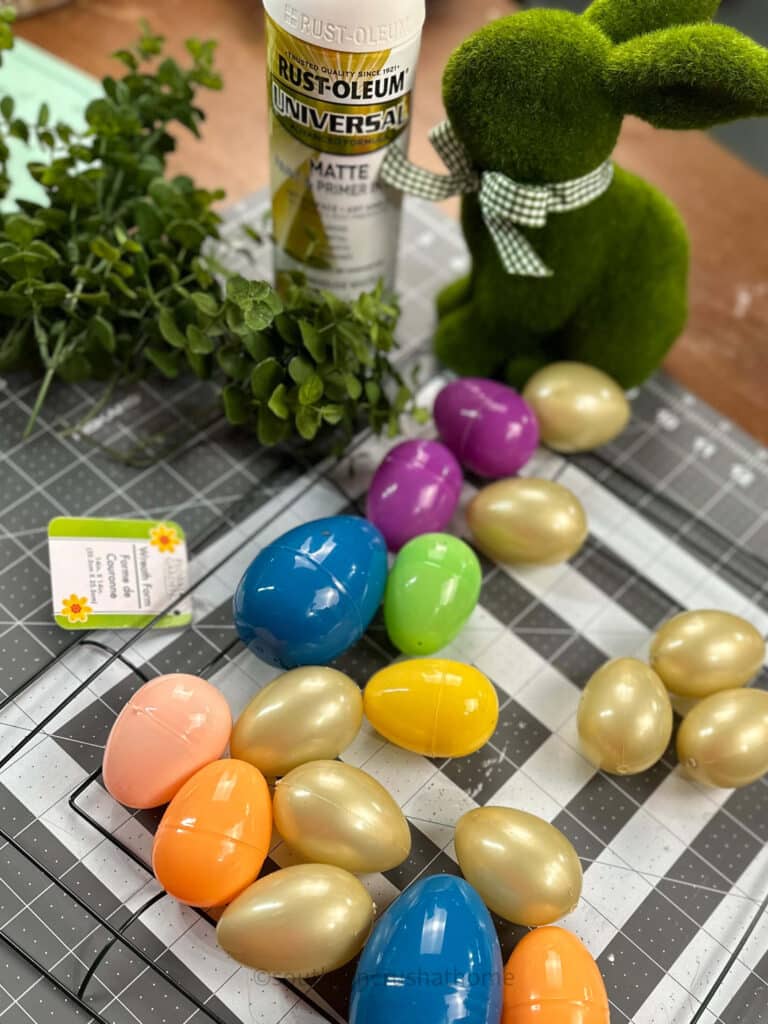
- A wreath form (mine is square from Dollar Tree)
- A variety of plastic Easter eggs in different sizes and colors (mine are from Dollar Tree)
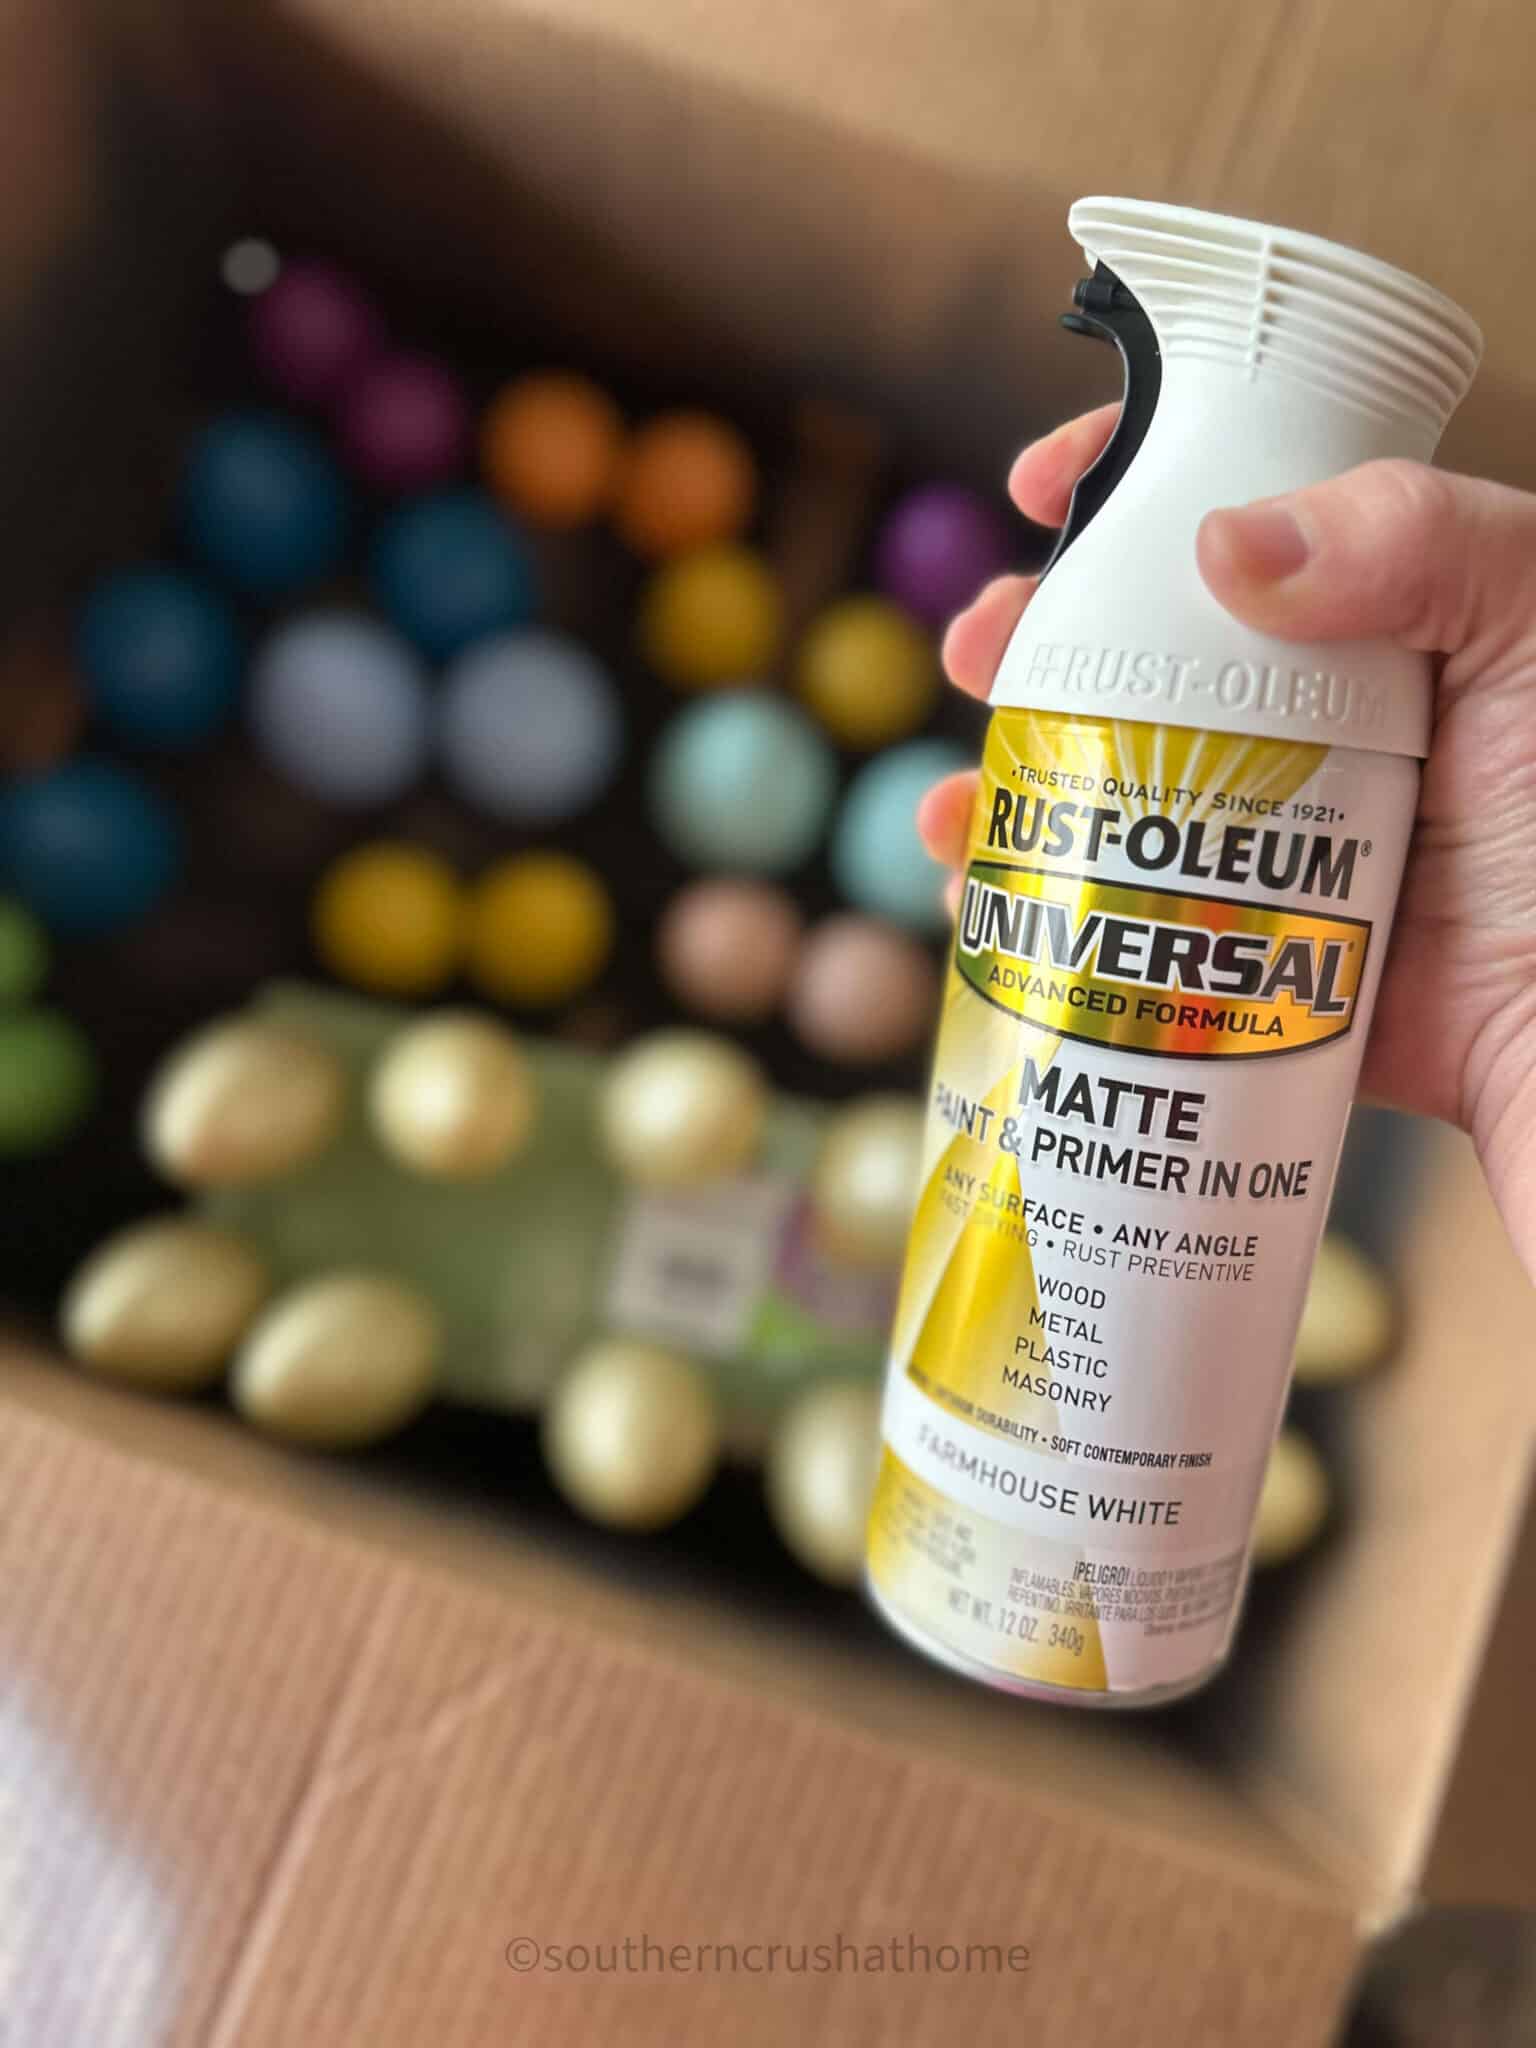
- RustOleum Universal All Surface Spray Paint, 12 oz, Matte Farmhouse White
- Hot glue gun and glue sticks
- Optional decorations: ribbon, artificial flowers, Easter-themed embellishments
- Wire or ribbon for hanging
Where to Buy RustOleum Spray Paints
Steps to Create Your Easter Egg Wreath
Creating an Easy Plastic Easter Eggs Easter Wreath is not only a fun springtime activity but also a great way to bring the joy of Easter into your home.
Prepare Your Wreath Form:
Choose a wreath form as the base. A square wire wreath form works well for this project.
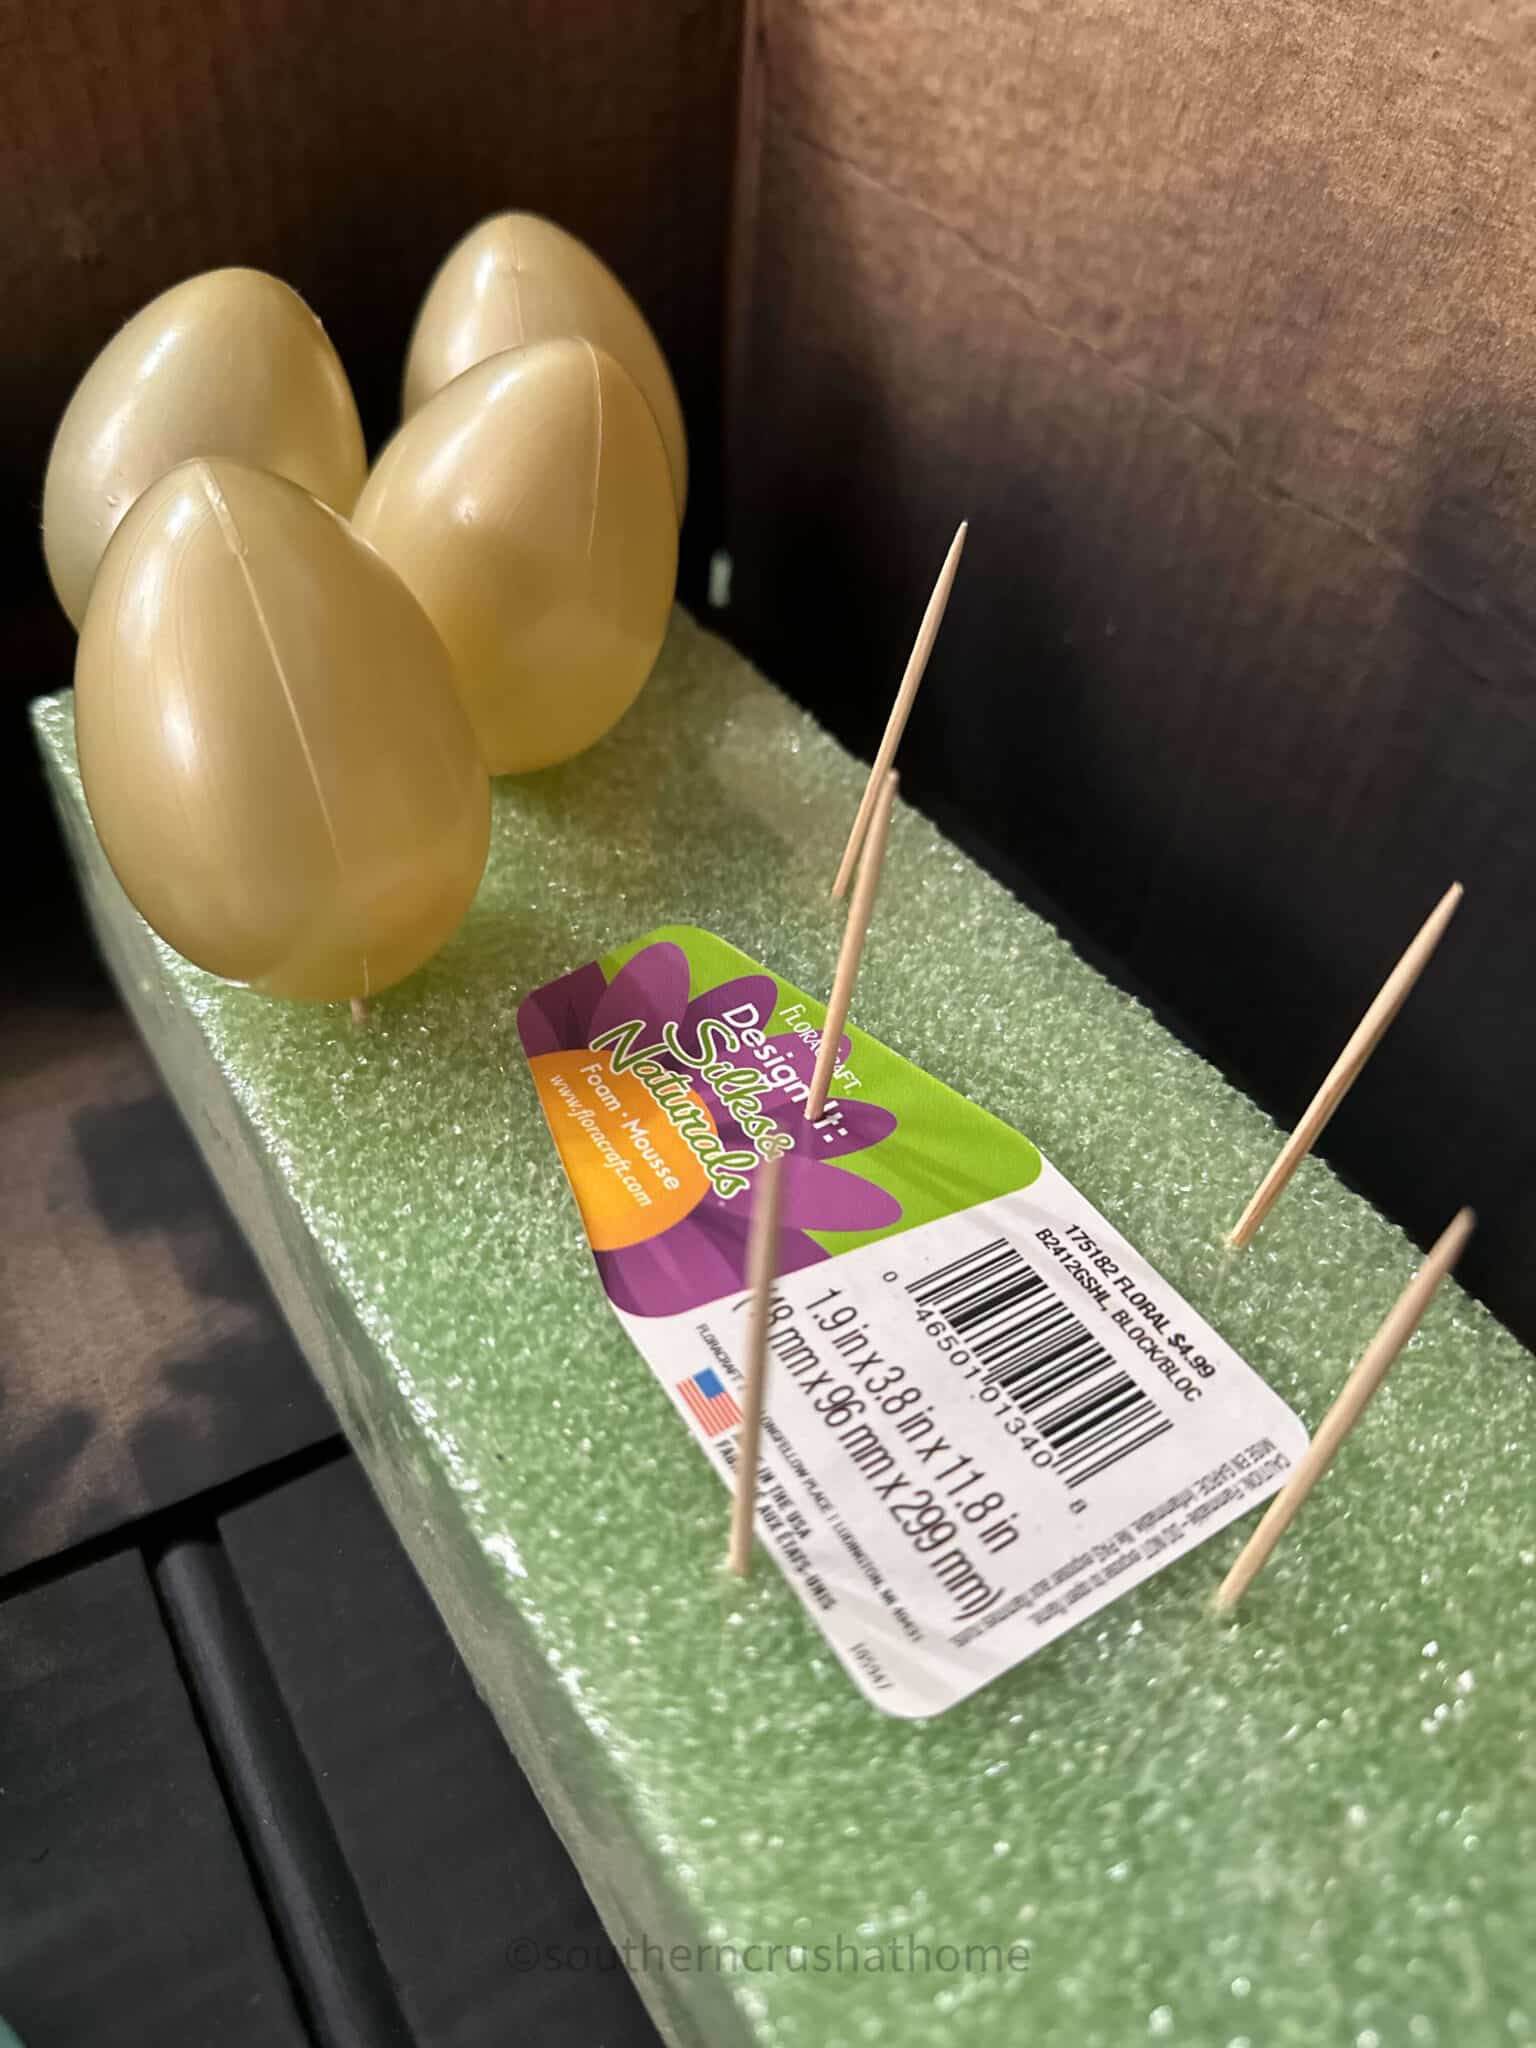
Paint the Plastic Eggs:
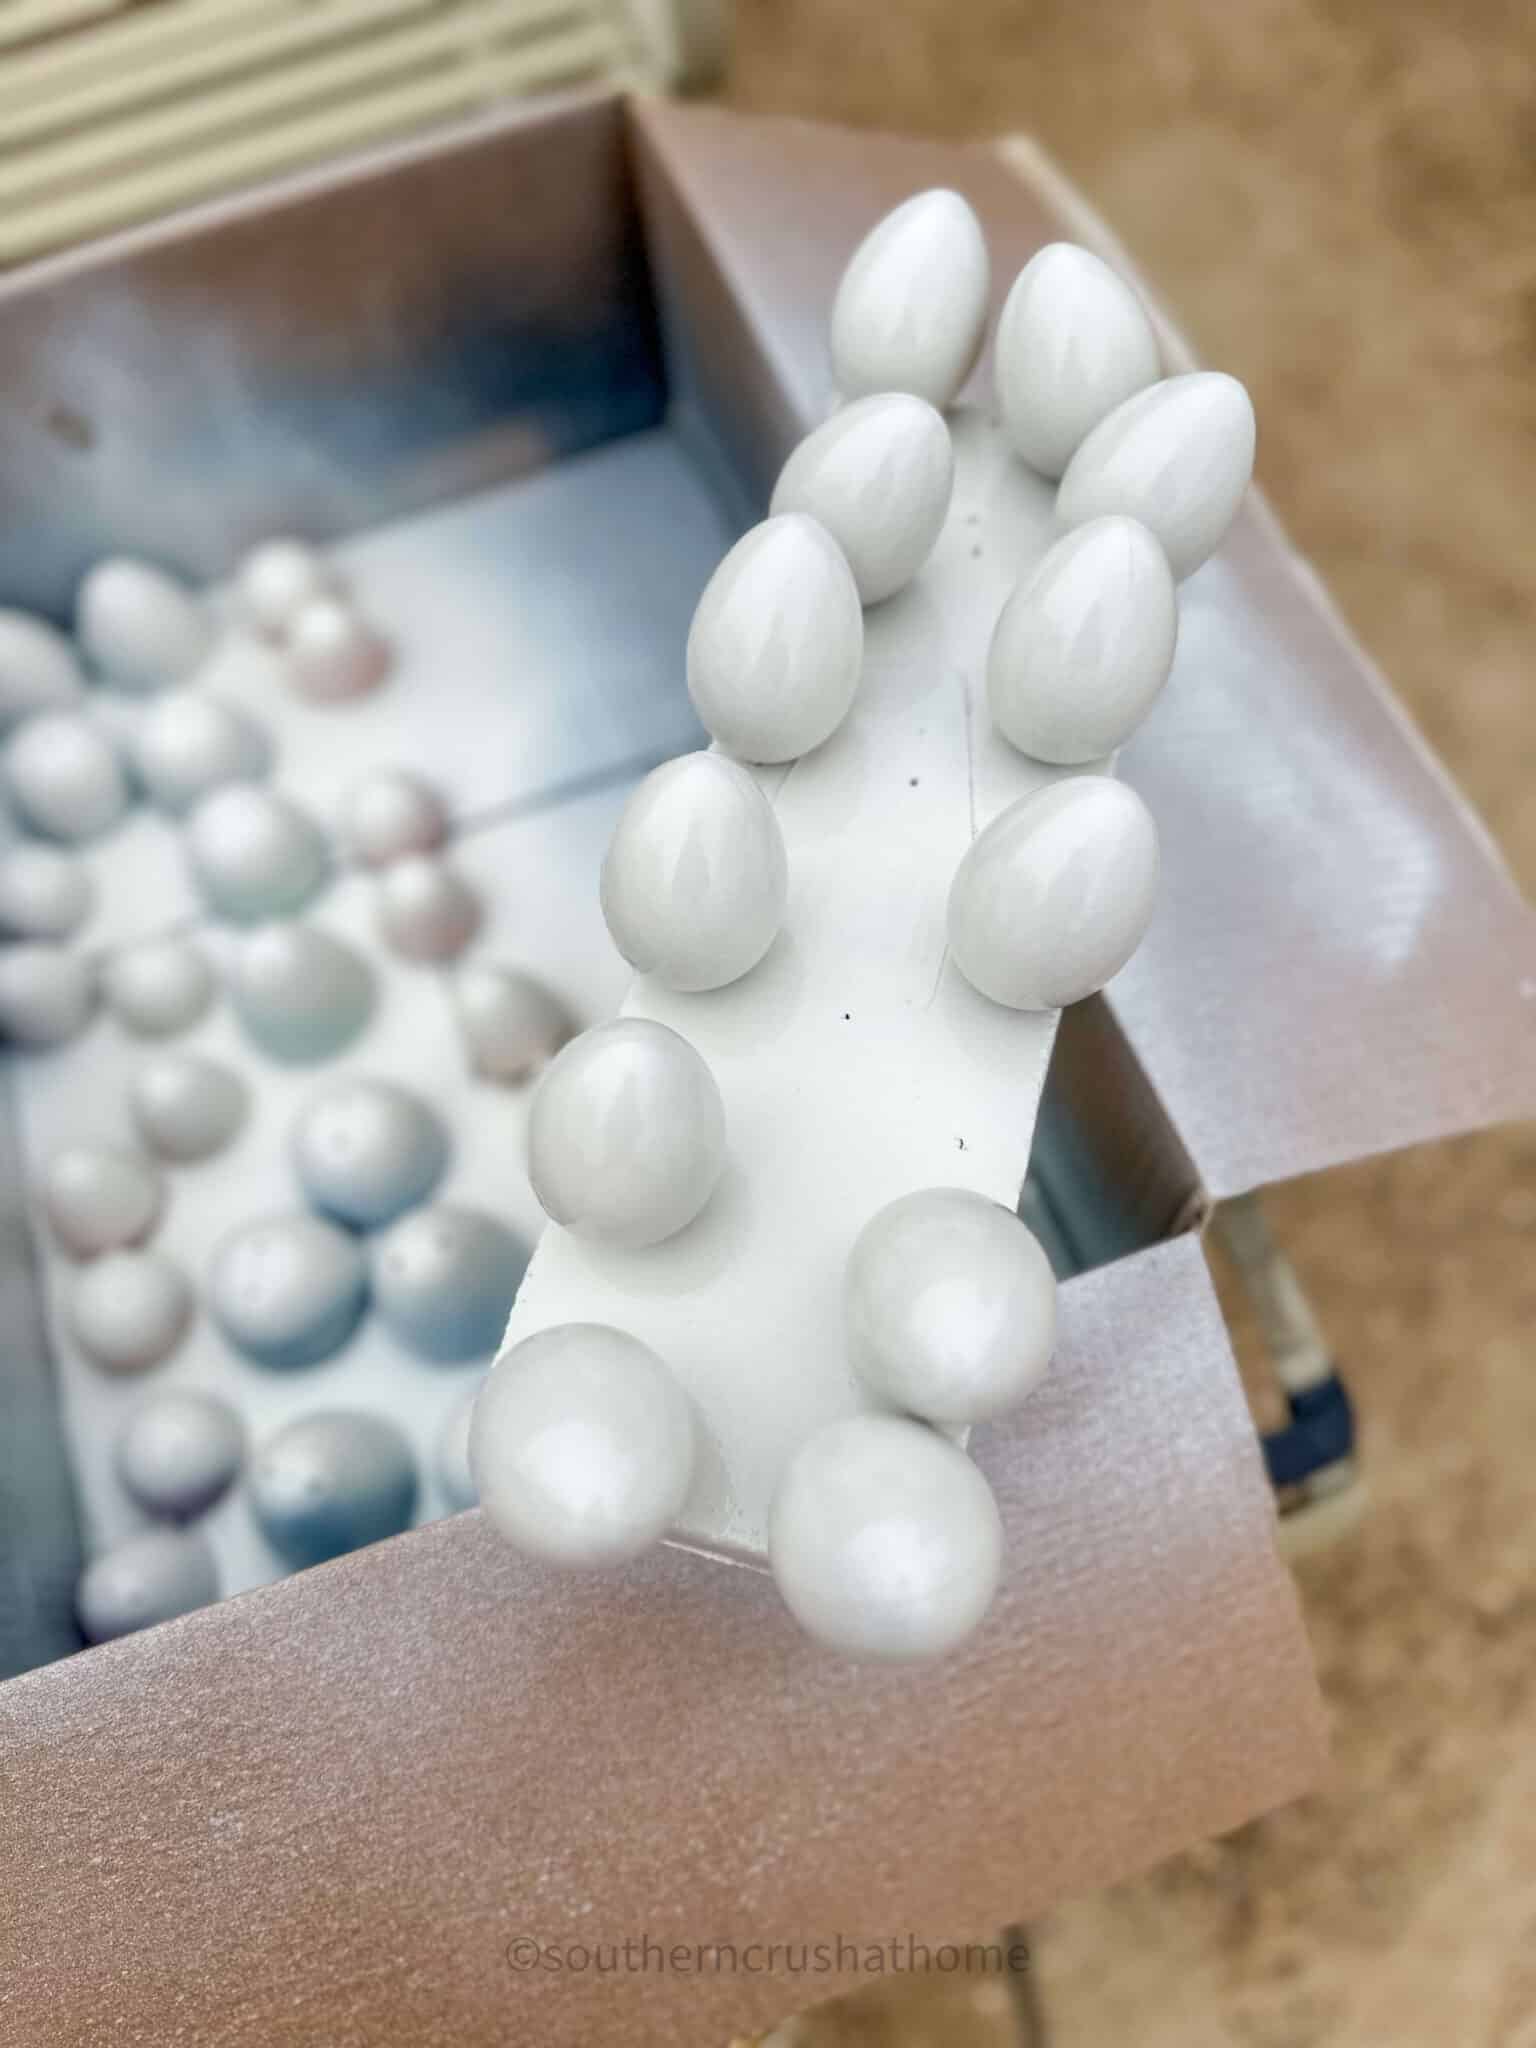
Lay out your plastic Easter eggs on a piece of scrap cardboard. Open them up face down or secure them to a foam block using toothpicks as shown.
Spray using light, even strokes. Allow to dry completely.
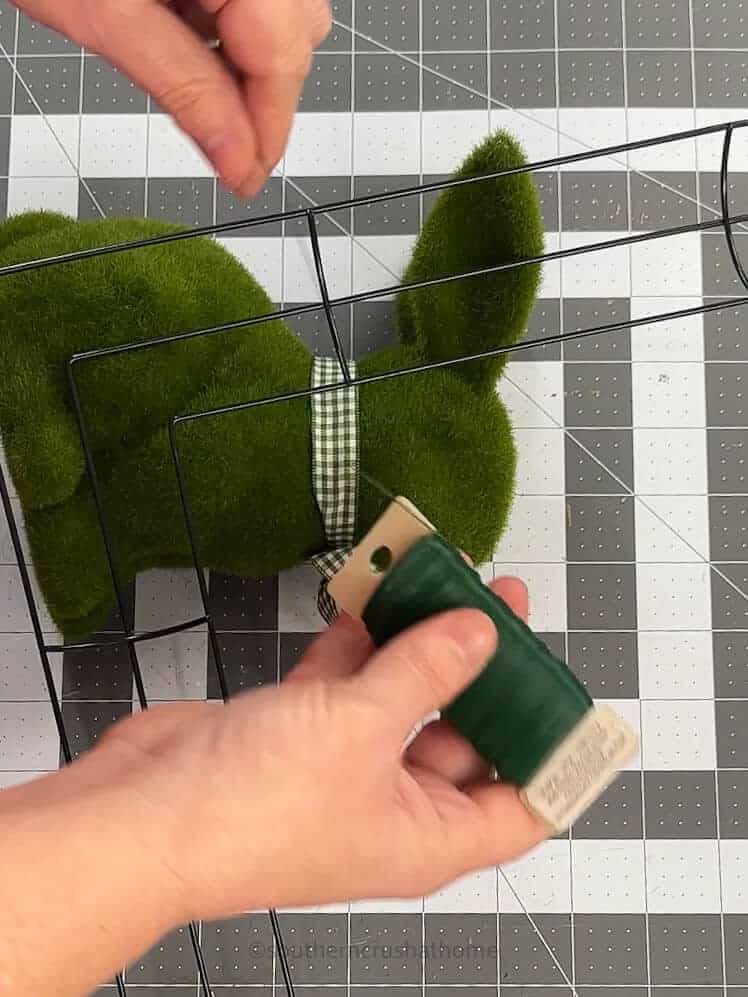
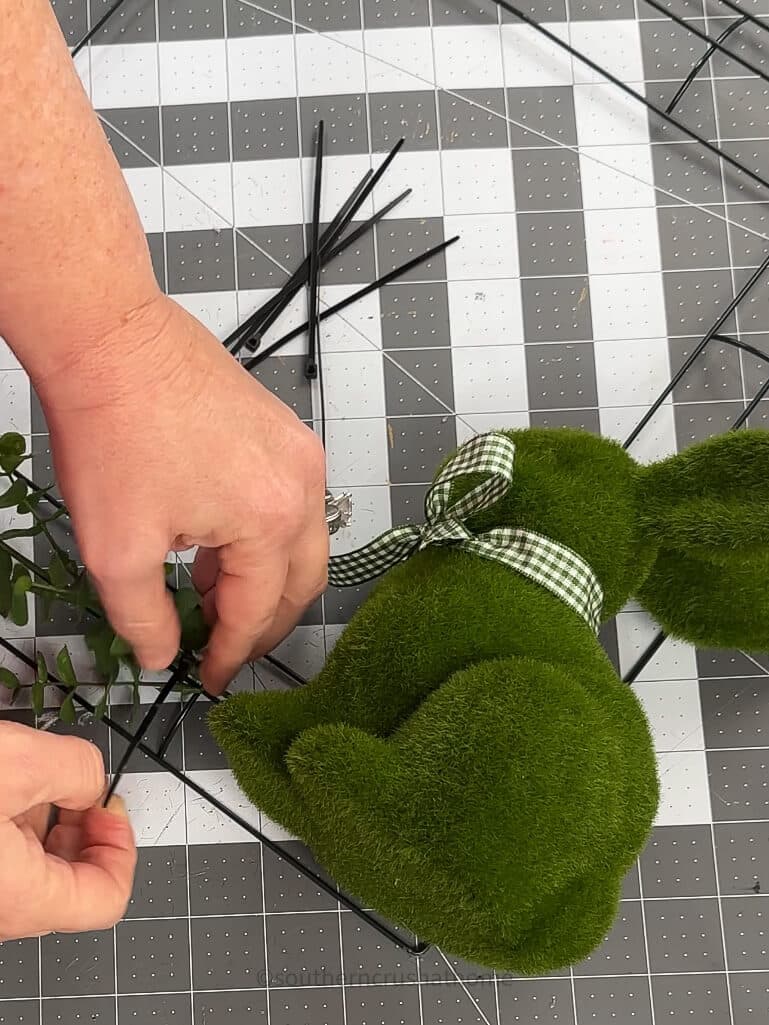
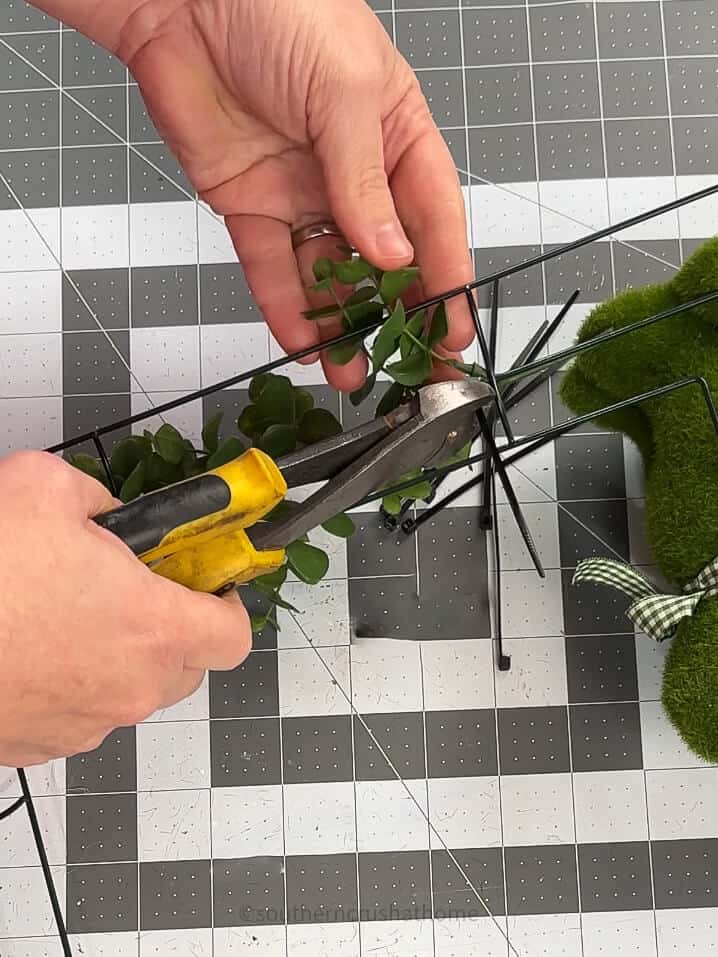
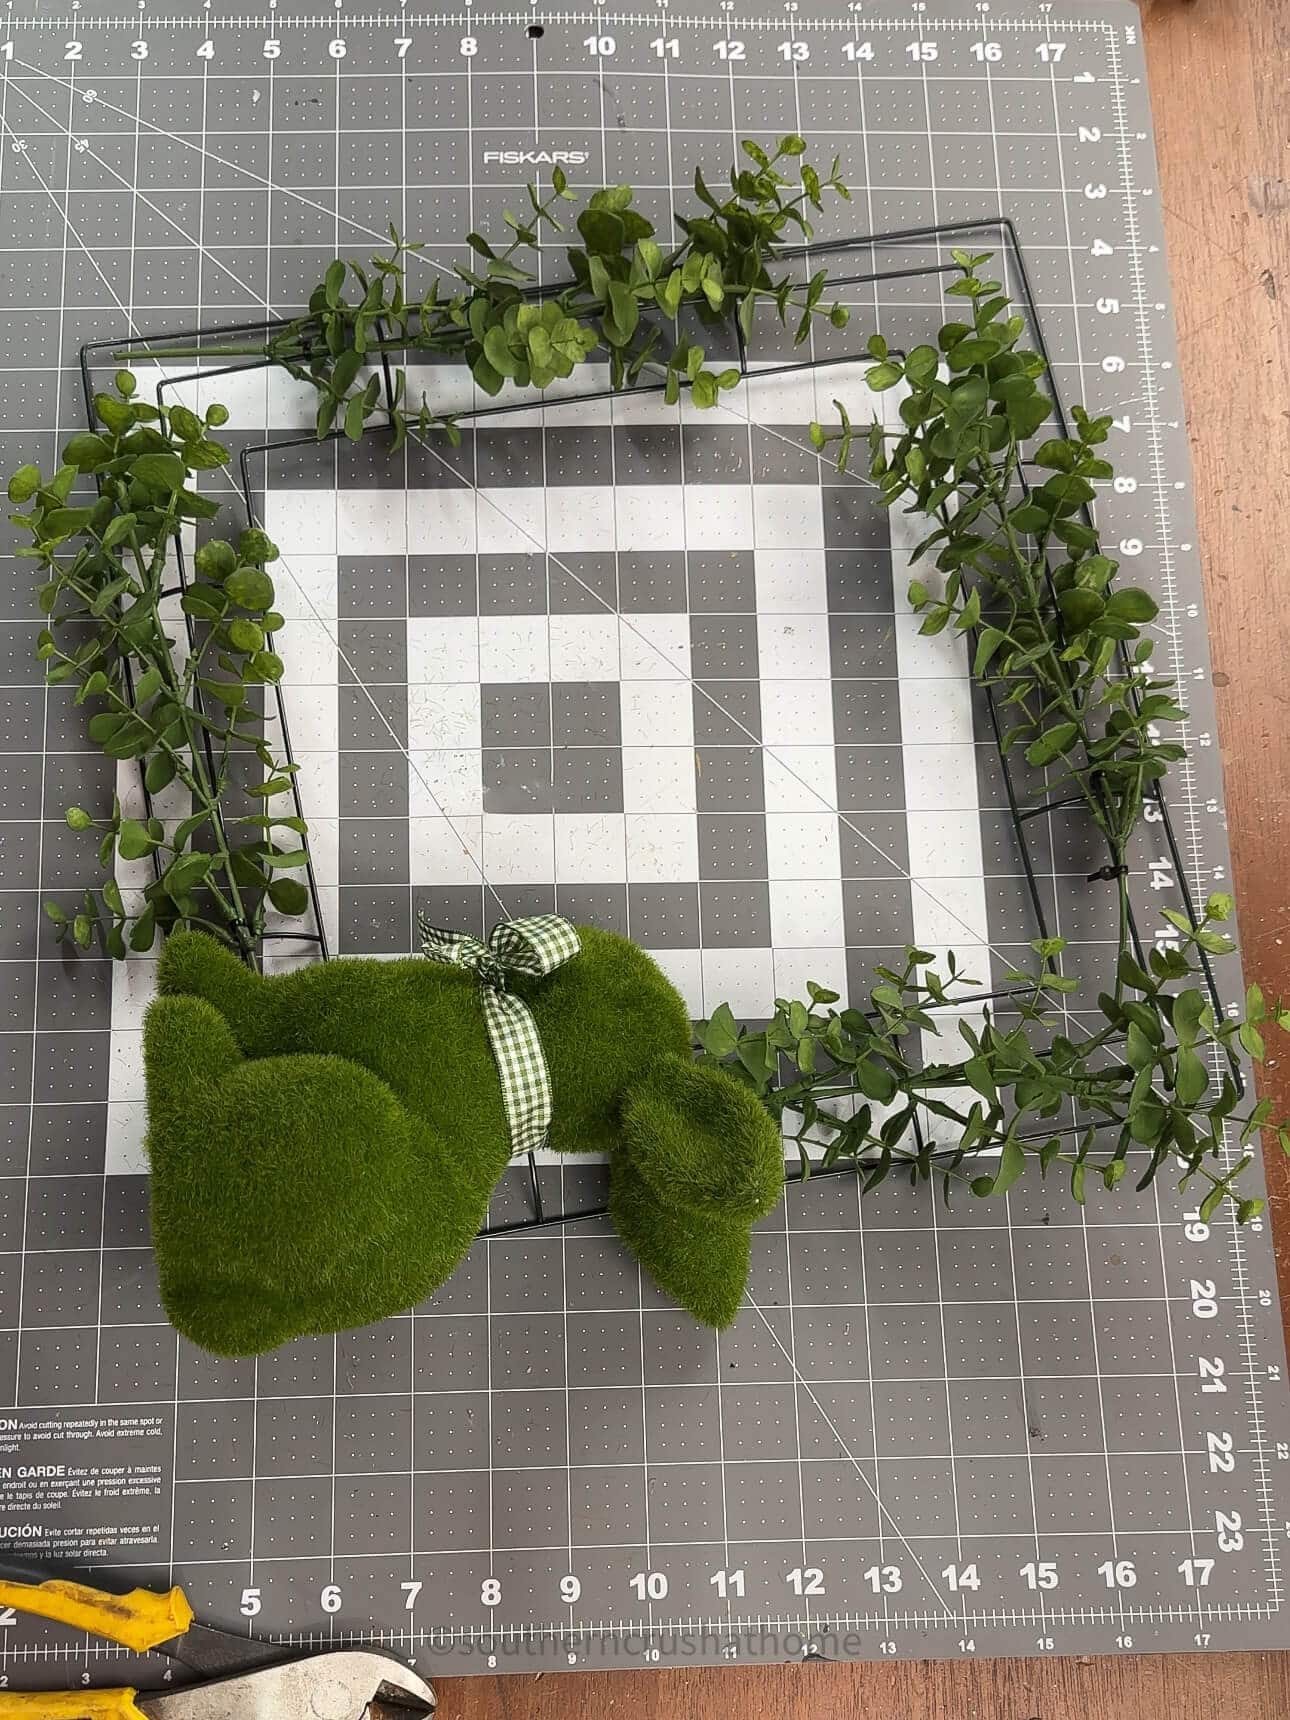
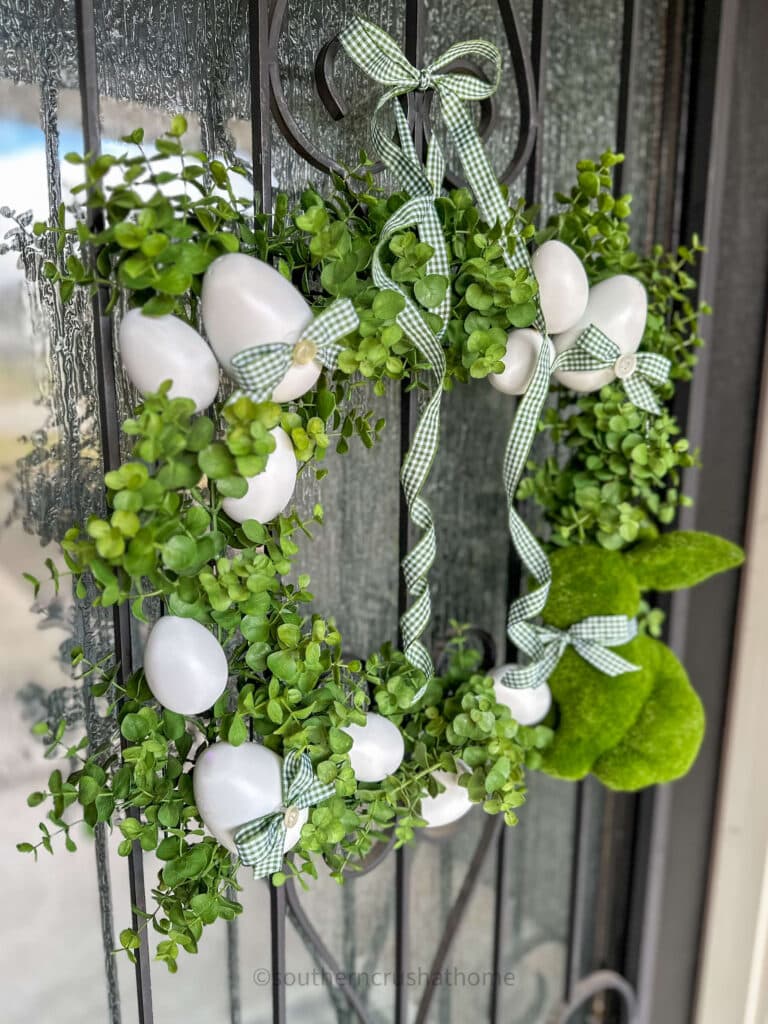
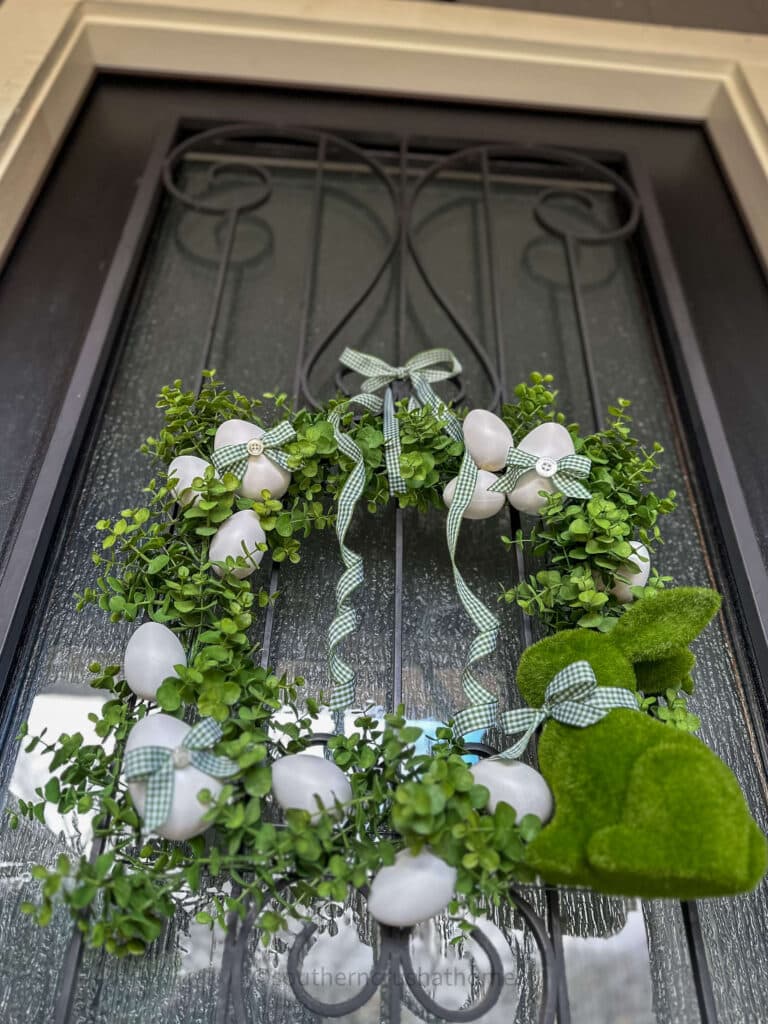
Attach the Bunny and Greenery to the Wreath Frame:
Using floral wire and zip ties, begin attaching the bunny and boxwood greenery sprigs to the wreath form.
Start from the outside edge and fill in gaps moving towards the inside wire.
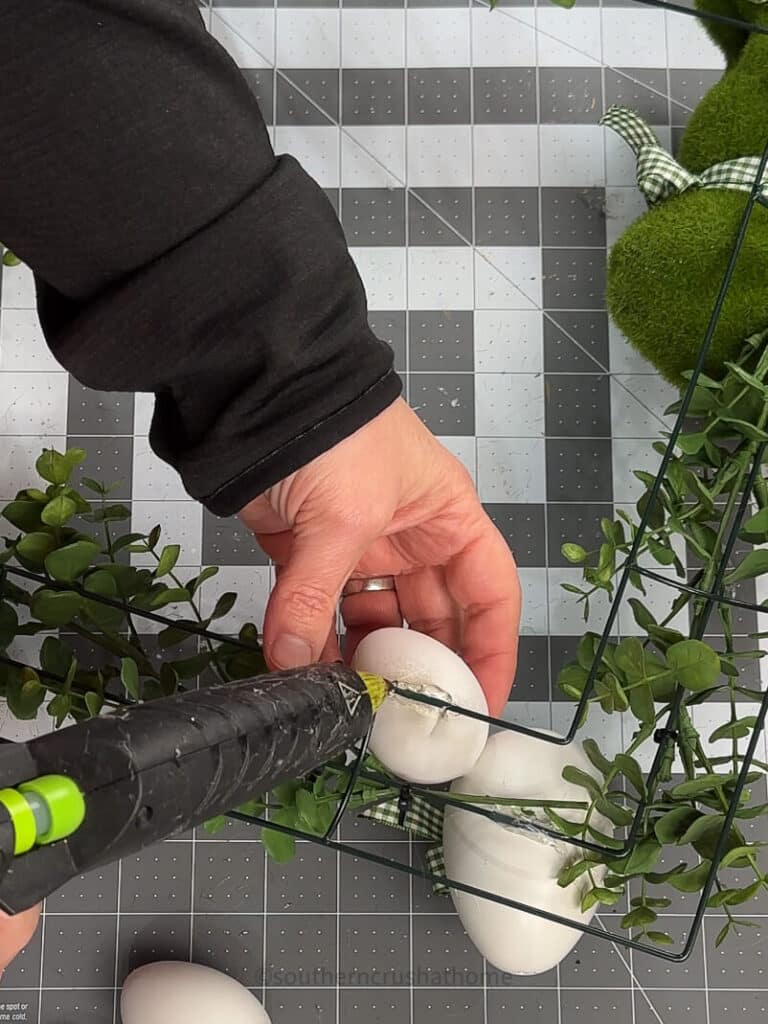
Glue the Eggs:
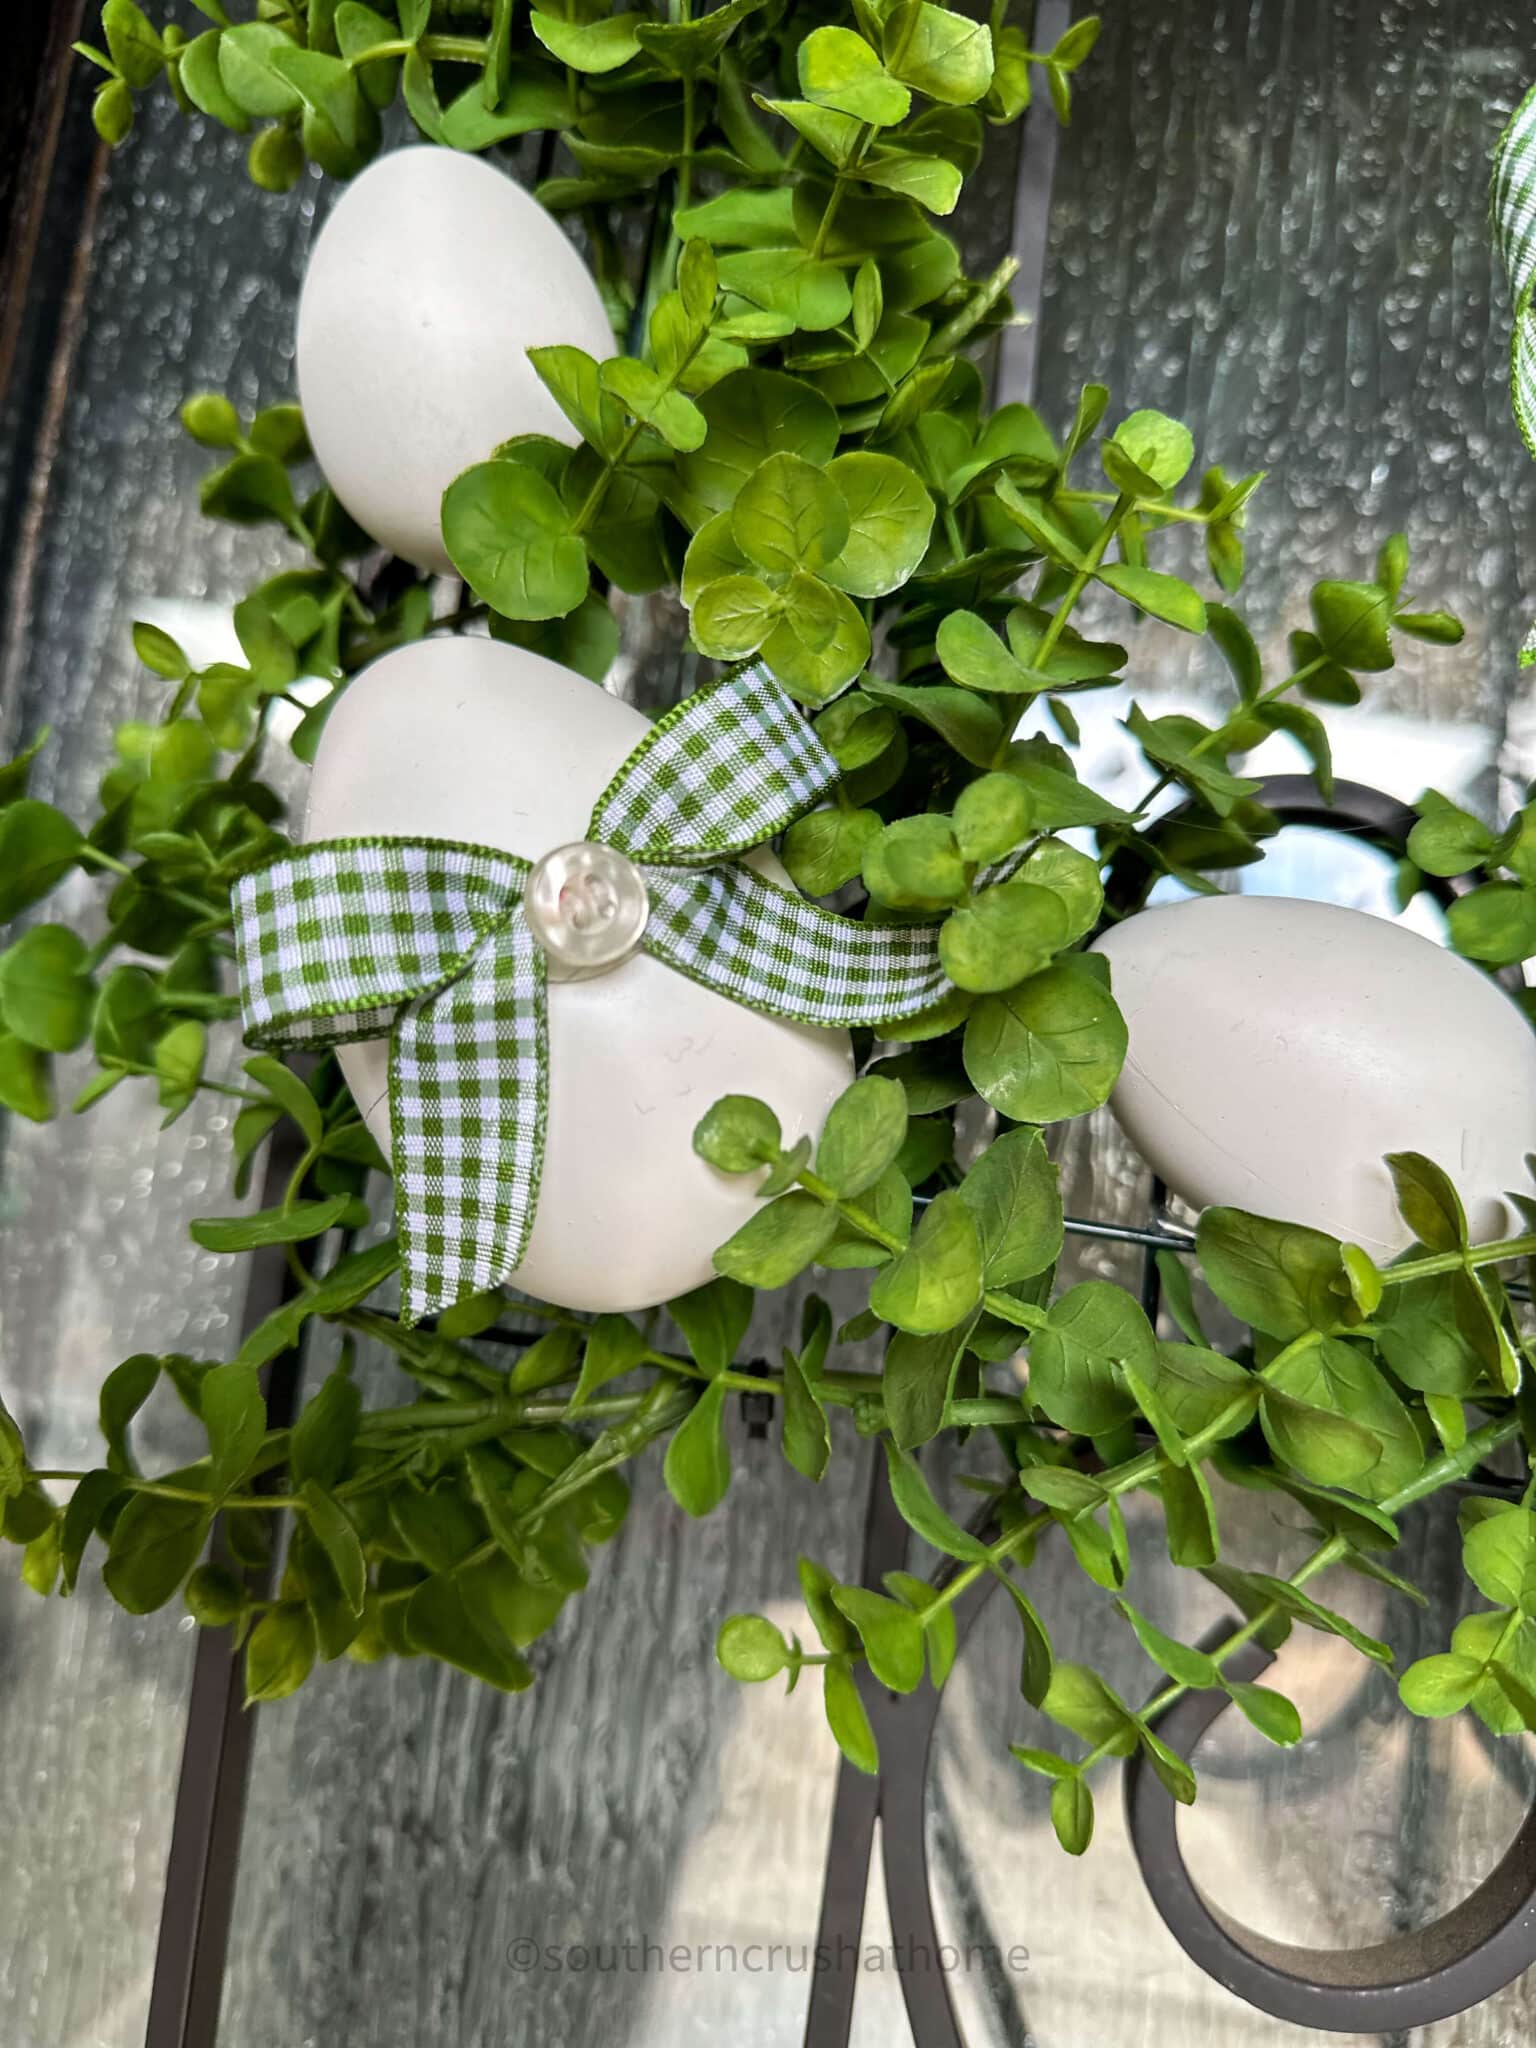
Using a hot glue gun, begin attaching the eggs to the wreath form. Start from the outside edge and fill in gaps moving towards the inside wire.
I found it easiest to glue from the back of the wreath frame as shown.
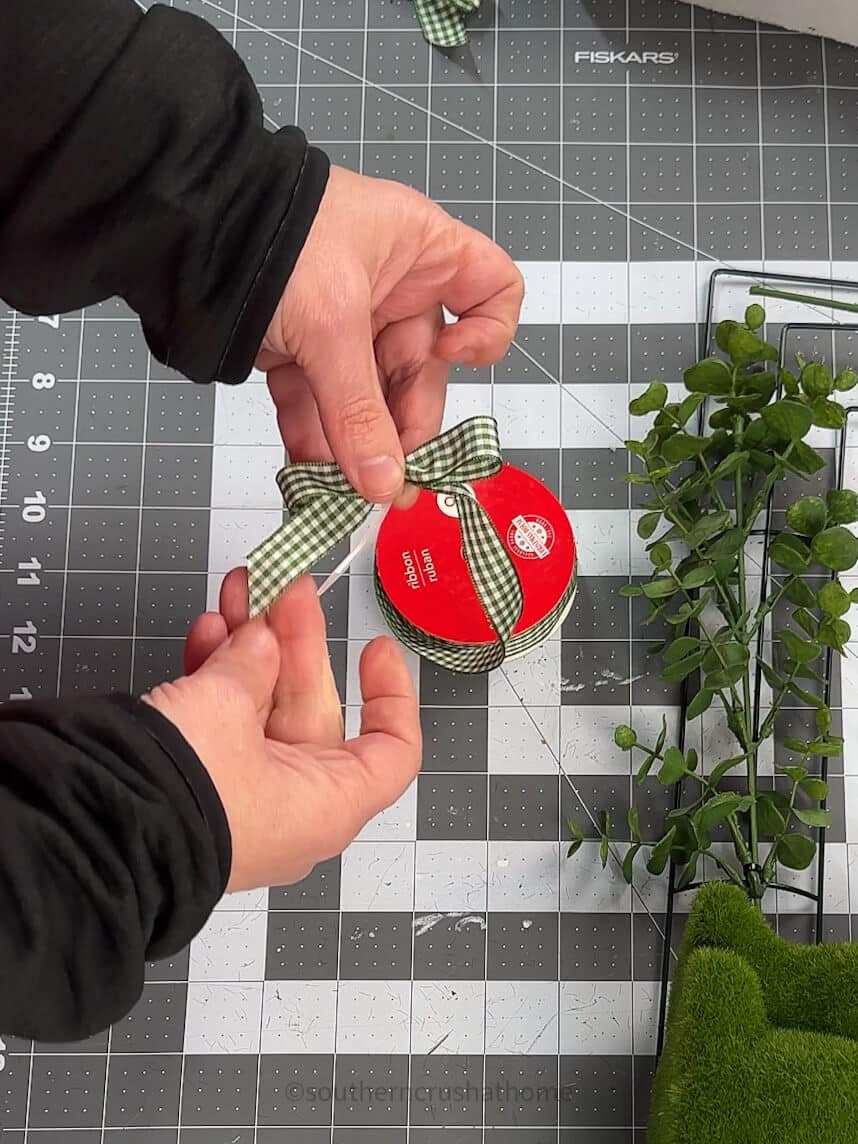
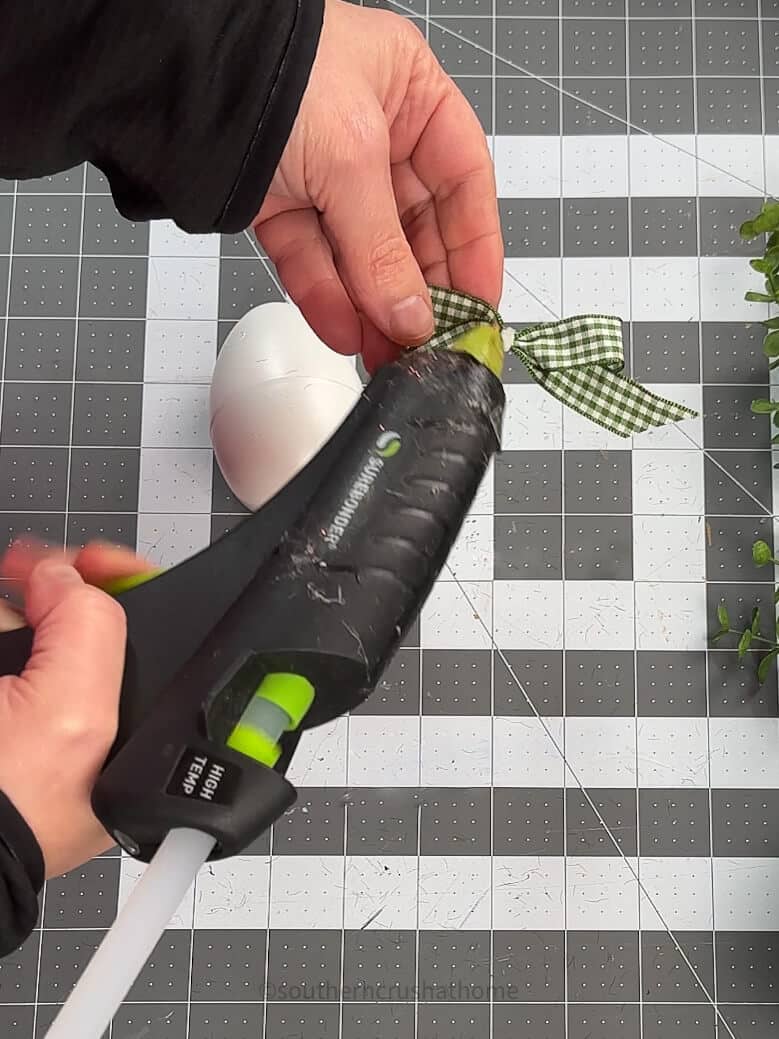
Add Decorations:
Embellish your wreath with ribbons, artificial flowers, extra greenery or other Easter-themed decorations. This is a great way to add a personal touch.
I chose to add sweet little vintage cream colored buttons on a bow for each of the larger plastic Easter eggs.


Secure a Hanger:
Attach a piece of wire or ribbon to the back of your wreath for easy hanging.
Tips for a Perfect Easter Wreath
- Color Coordination: Choose a color scheme that complements your home decor or go for a traditional Easter palette of pastels.
- Layering: For a fuller wreath, layer eggs on top of each other in places.
- Symmetry: While asymmetry can be visually interesting, a symmetrical design often works well for a balanced look.
- Be Generous with Glue: Ensure the eggs are securely attached, especially if the wreath will be hung outdoors.
YouTube Video Tutorial
If you prefer to watch a video tutorial, check this one out over on my YouTube channel.
Easter Wreath Display Ideas
This DIY project is an excellent opportunity for crafters of all levels to express their creativity and add a personal touch to their Easter decorations.
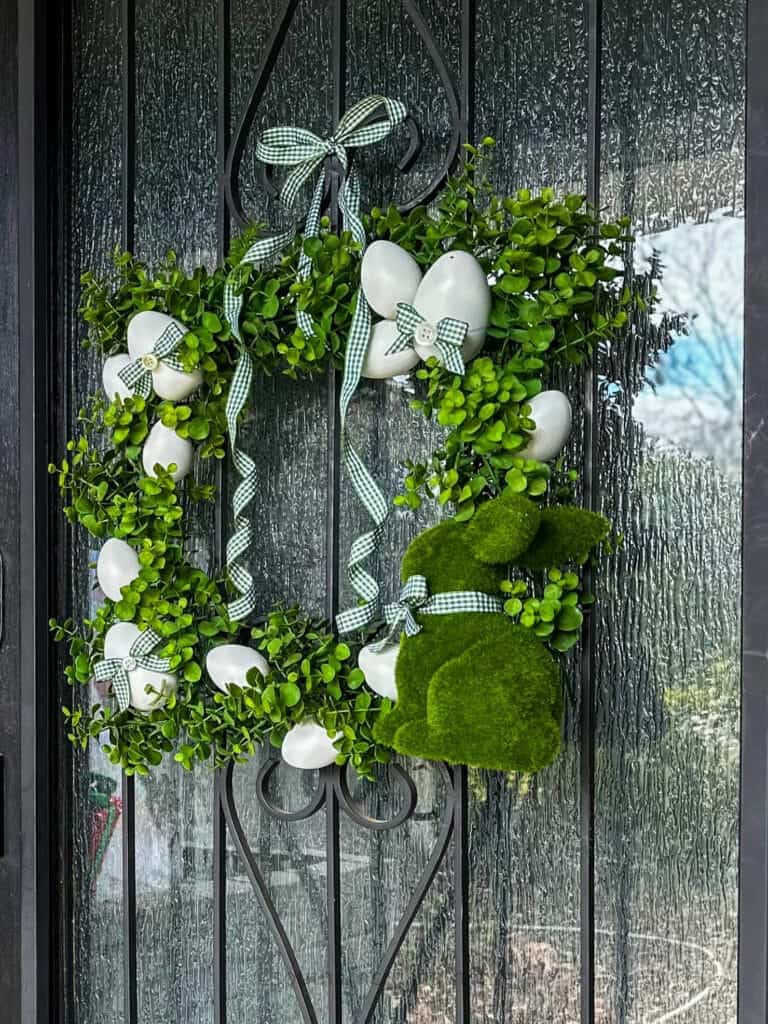
Front Door Welcome:
Hang your Easter egg wreath on your front door as a festive welcome for guests.
Indoor Decor:
Display the wreath on a wall or above the mantle for a touch of Easter cheer indoors.
Table Centerpiece:
Lay the wreath flat on your dining table and place a candle or a vase of flowers in the center for a unique centerpiece.
Gather your materials, unleash your creativity, and get ready to craft a beautiful, egg-citing Easter wreath llike this one with Rust-Oleum products!
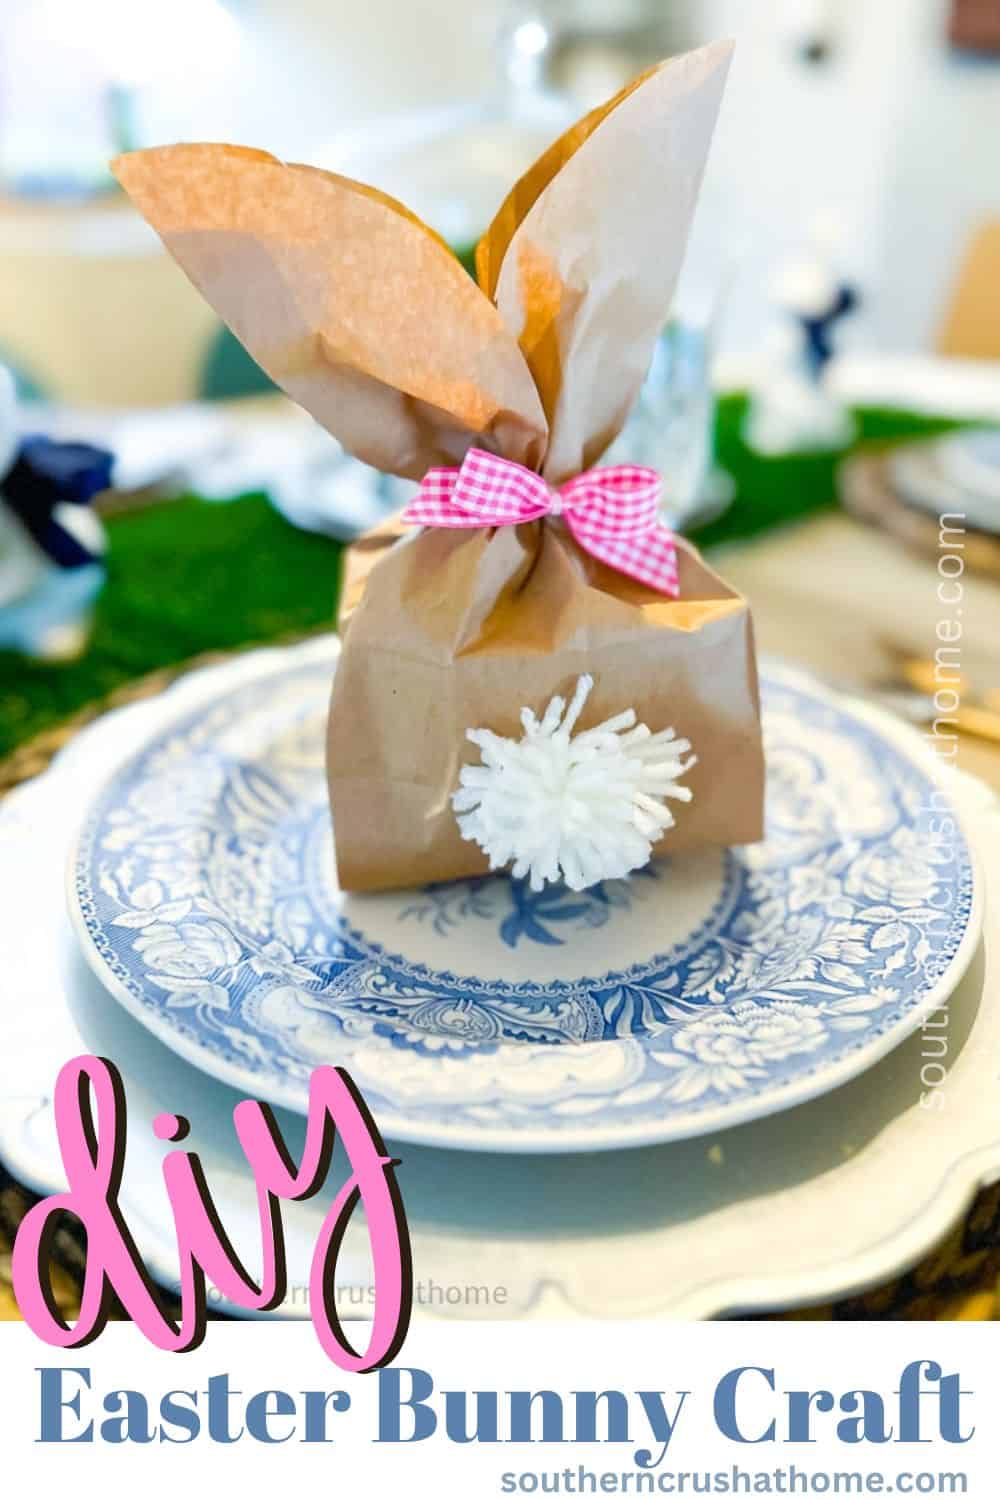
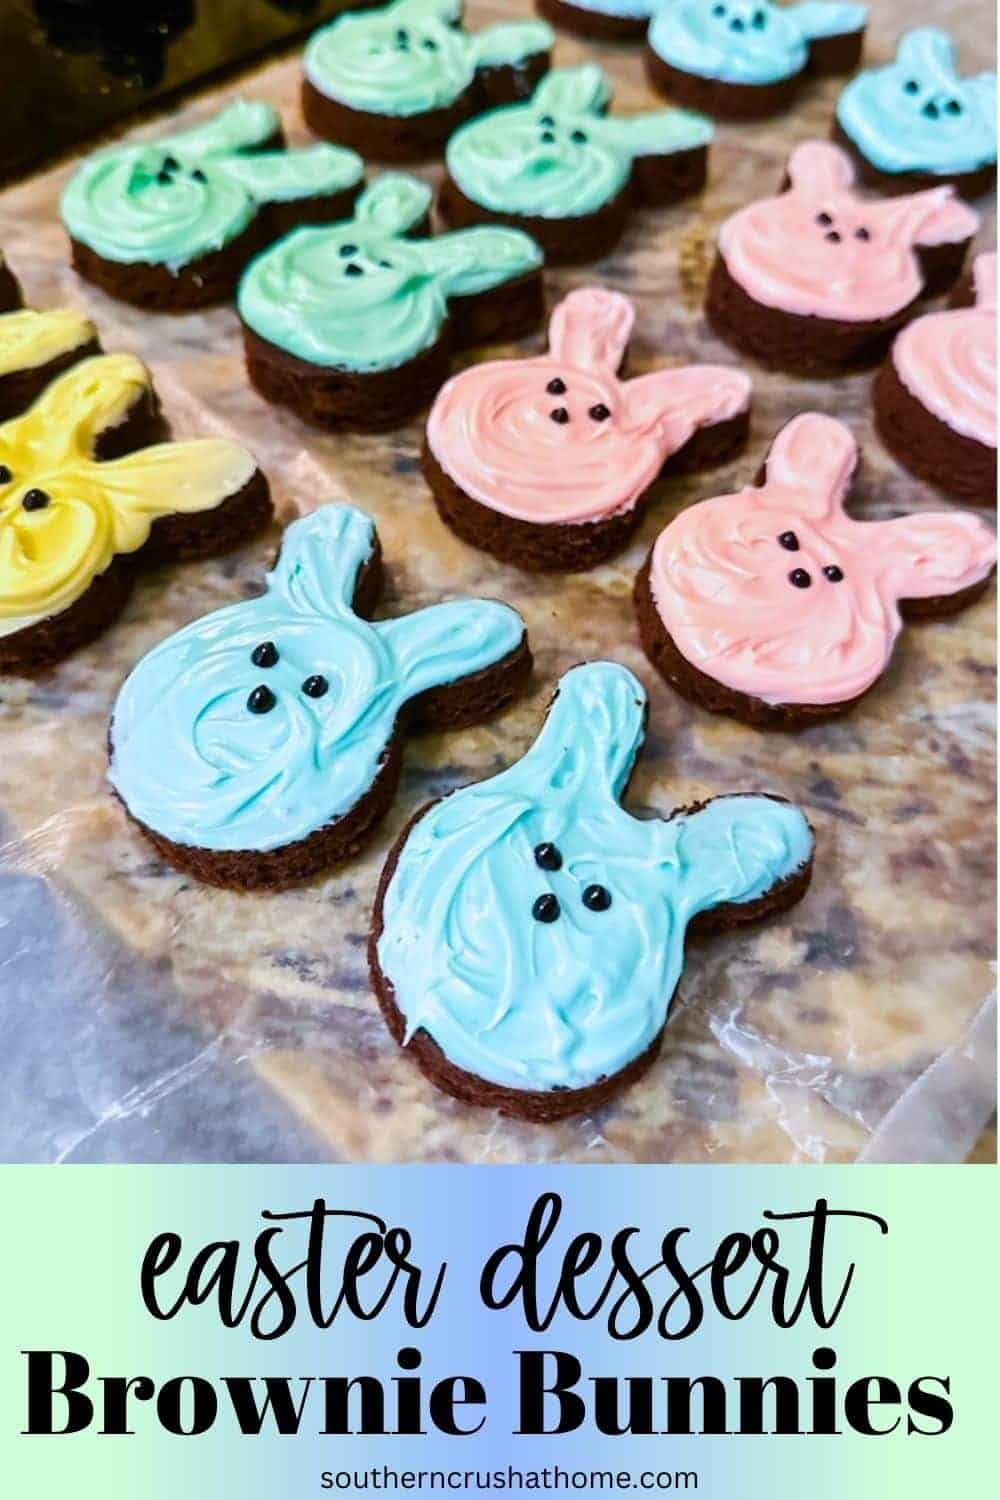
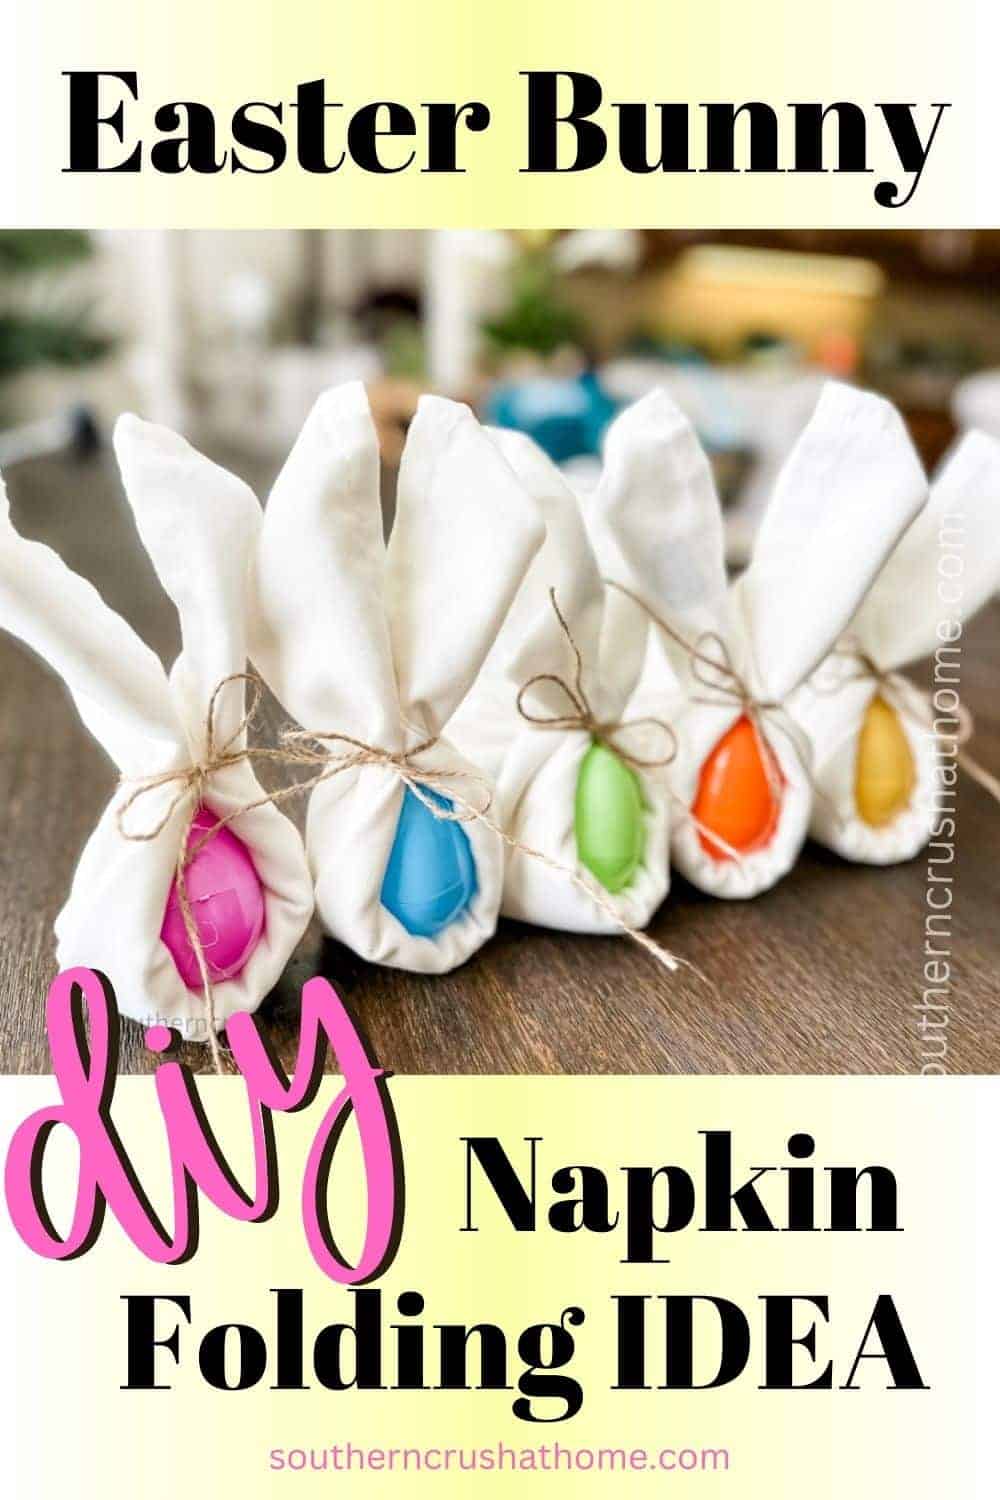
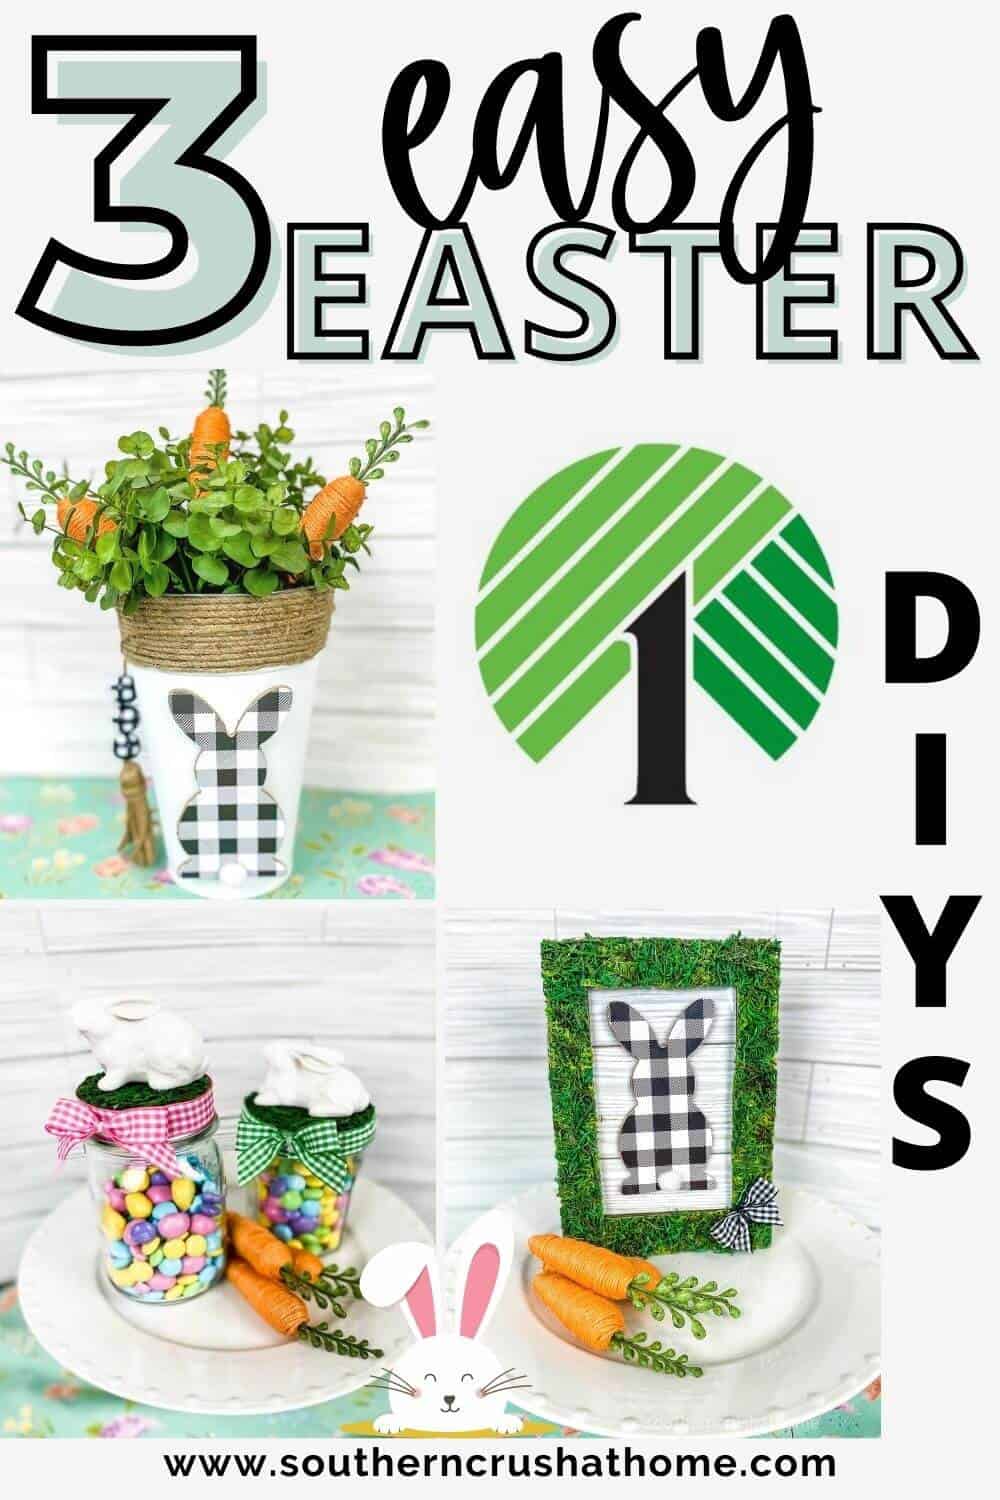
More Easter Crafts
Beyond the delightful Easter wreath, there are numerous ways to infuse your home with the spirit of Easter.
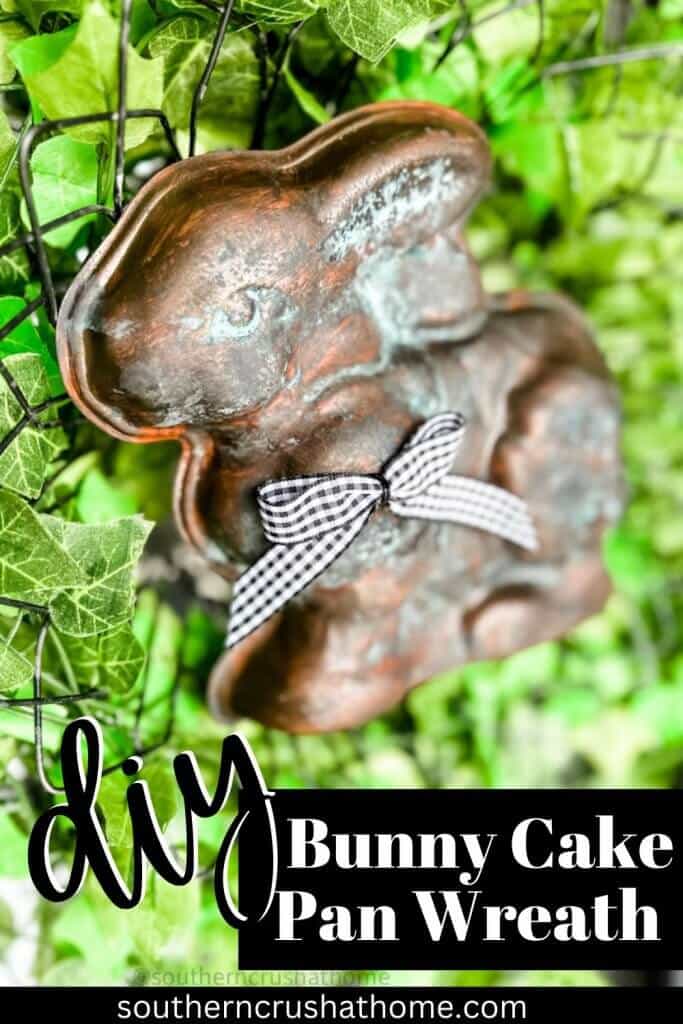
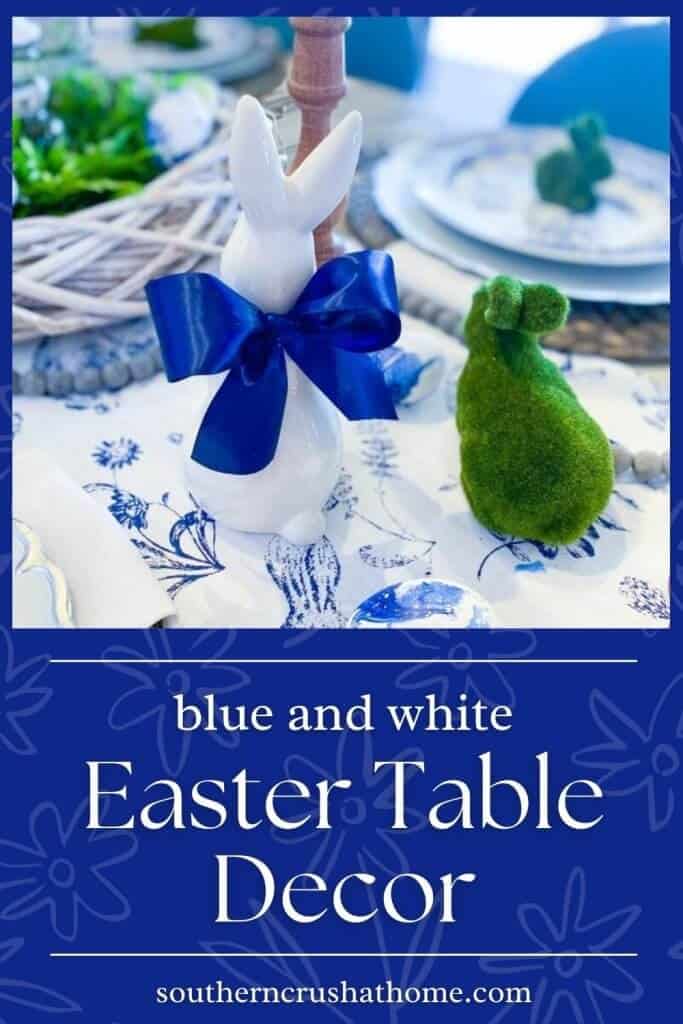
Consider creating a themed Easter centerpiece for your dining table like some of the ideas here below.
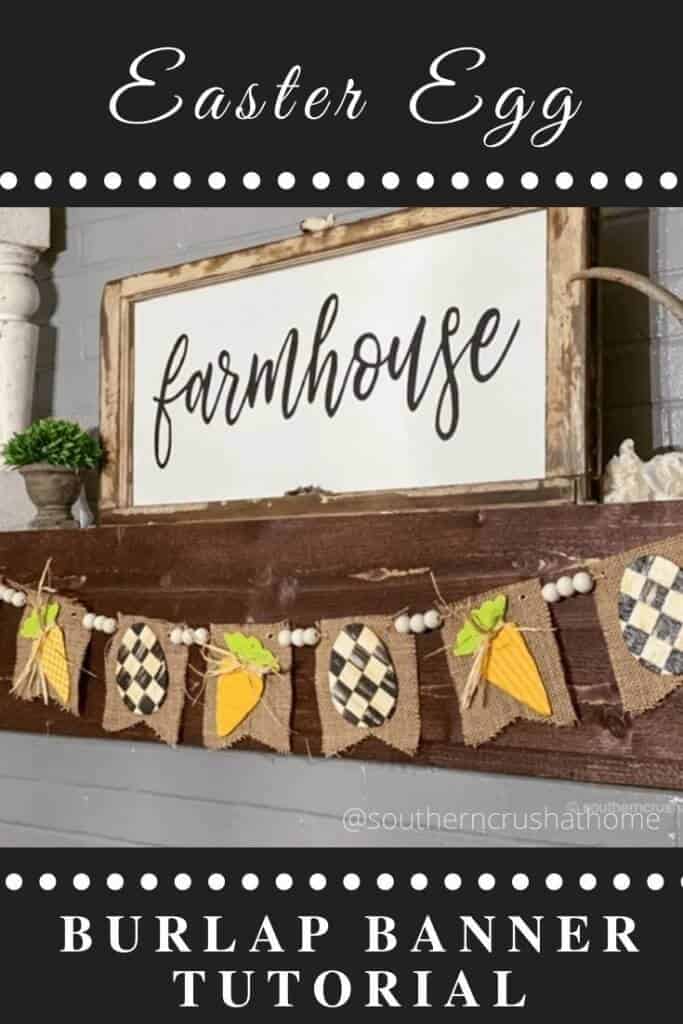
Another idea is to set up an Easter-themed mantle display. I'm loving this Easter banner idea below.
Easter Activites and Ideas
Easter is a perfect time to engage in crafting activities that also serve as home decor. One engaging activity is egg painting – a classic Easter tradition. You can host an egg-painting party, providing hard-boiled eggs or papier-mâché eggs, along with paints, brushes, and other decorative items like stickers or glitter.

These painted eggs can then be displayed in a decorative bowl or used as part of a larger Easter display.

Remember, Easter decorating is all about celebrating the joy and renewal that comes with spring. Whether you choose to create a sophisticated Easter decor or lean towards playful and whimsical designs, the most important part is to have fun and let your creativity shine. Happy Easter decorating!

Easy Plastic Easter Eggs Easter Wreath Idea
Materials
- A wreath form mine is square from Dollar Tree
- A variety of plastic Easter eggs in different sizes and colors mine are from Dollar Tree
- RustOleum Universal All Surface Spray Paint 12 oz, Matte Farmhouse White
- Hot glue gun and glue sticks
- Optional decorations: ribbon artificial flowers, Easter-themed embellishments
- Wire or ribbon for hanging
Instructions
Prepare Your Wreath Form:
- Choose a wreath form as the base. A square wire wreath form works well for this project.
Paint the Plastic Eggs:
- Lay out your plastic Easter eggs on a piece of scrap cardboard. Open them up face down or secure them to a foam block using toothpicks as shown.
- Spray using light, even strokes. Allow to dry completely.
Attach the Bunny and Greenery to the Wreath Frame:
- Using floral wire and zip ties, begin attaching the bunny and boxwood greenery sprigs to the wreath form.
- Start from the outside edge and fill in gaps moving towards the inside wire.
Glue the Eggs:
- Using a hot glue gun, begin attaching the eggs to the wreath form. Start from the outside edge and fill in gaps moving towards the inside wire.
- I found it easiest to glue from the back of the wreath frame as shown.
Add Decorations:
- Embellish your wreath with ribbons, artificial flowers, extra greenery or other Easter-themed decorations. This is a great way to add a personal touch.
- I chose to add sweet little vintage cream colored buttons on a bow for each of the larger plastic Easter eggs.