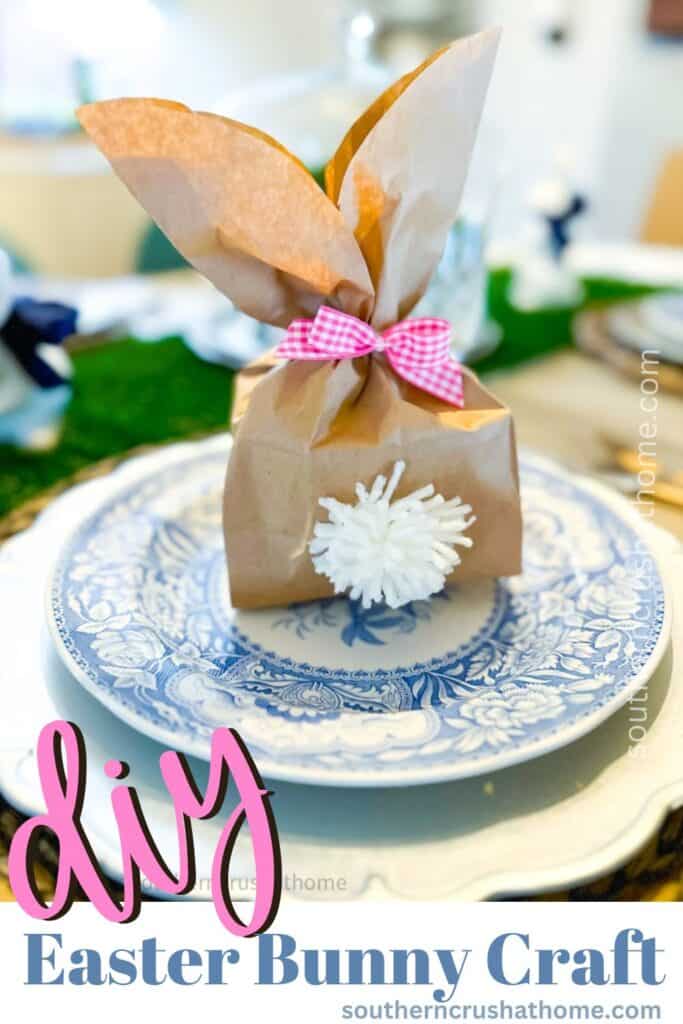
How to Make an Easy Easter Bunny Craft using Paper Bags
Easter is almost here my friend! Time for food, family, and fun! These lunch bag bunnies are the perfect craft to include in your festivities. Make them for decorating each table setting or stuff them with goodies, either way, they’re sure to be a hit! Let me show you how easy they are to make.
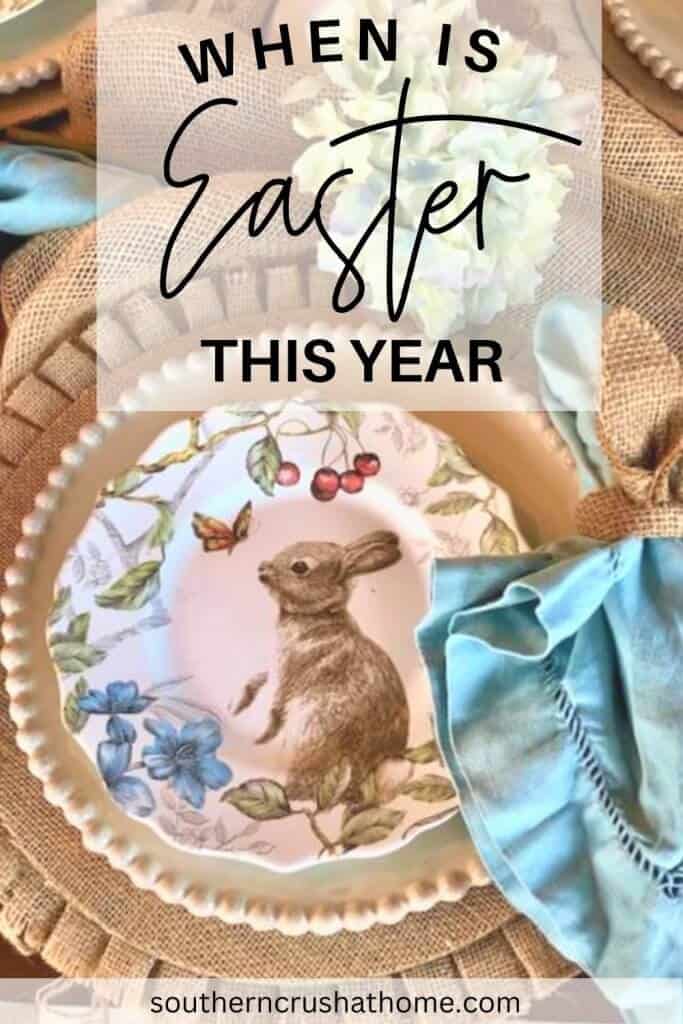
Read all about Easter and find tons more inspiration and ideas in the post below while you’re here!
This blog post contains affiliate links. The opinions are wholly my own from my own experience. I may earn a small commission from clicks through to the websites that end in a purchase.
Supplies Needed to Make Lunch Bag Bunnies
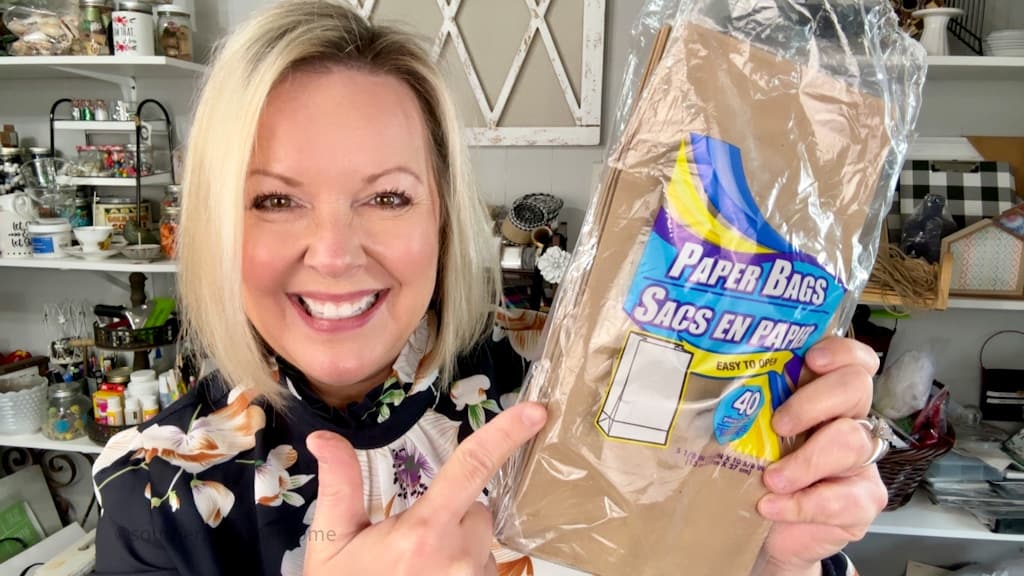
- Brown Paper Lunch bags (I got mine from Dollar Tree)
- Yarn
- Ribbon (optional)
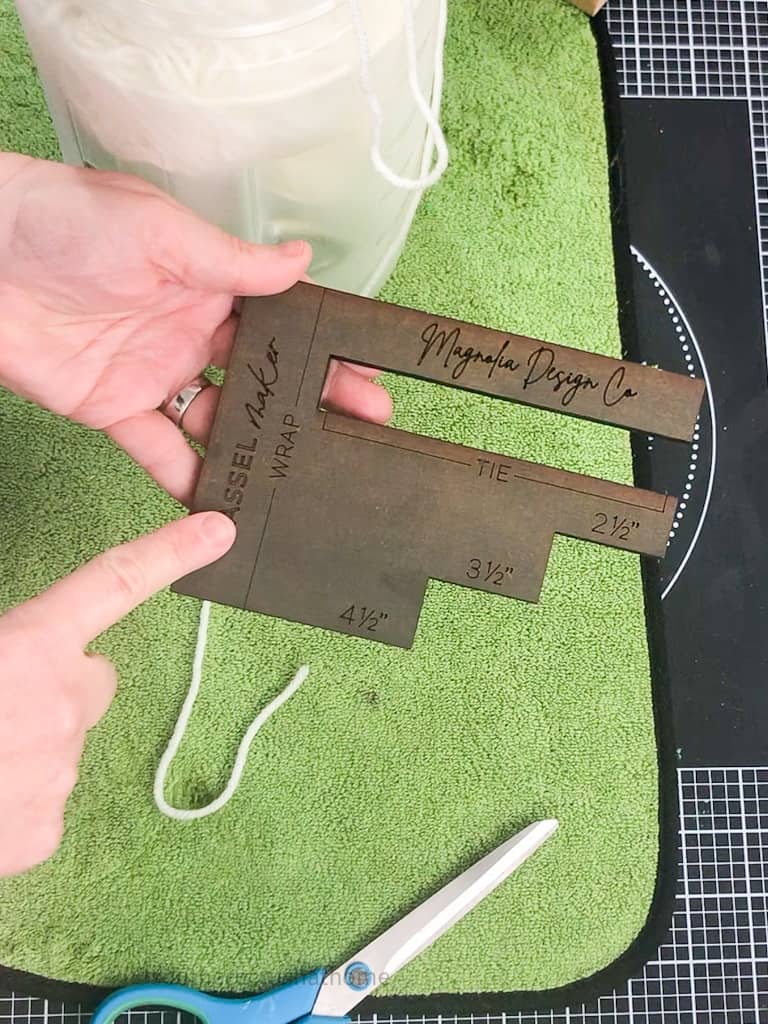
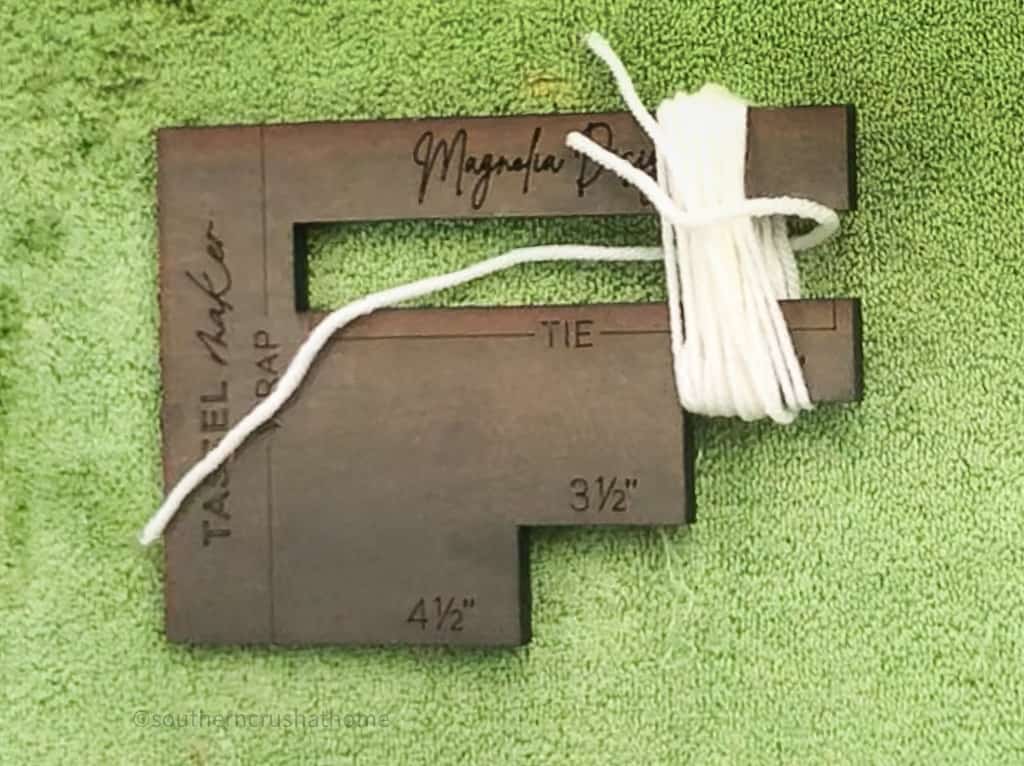
- Pom Pom Maker
Watch This YouTube Video Tutorial
I have added this video for you to see the steps and there are a couple of other lunch bag crafts included on the same video for even more inspiration! Enjoy!
Instructions on Making a Lunch Bag Bunny
These are the cutest little crafts to make this Easter! Whether you’re looking for a fun afternoon activity or something to do with the kiddos, this Easter bunny craft is sure to bring all sorts of joy! Get creative and try these for yourself!
Be sure to PIN this for later!
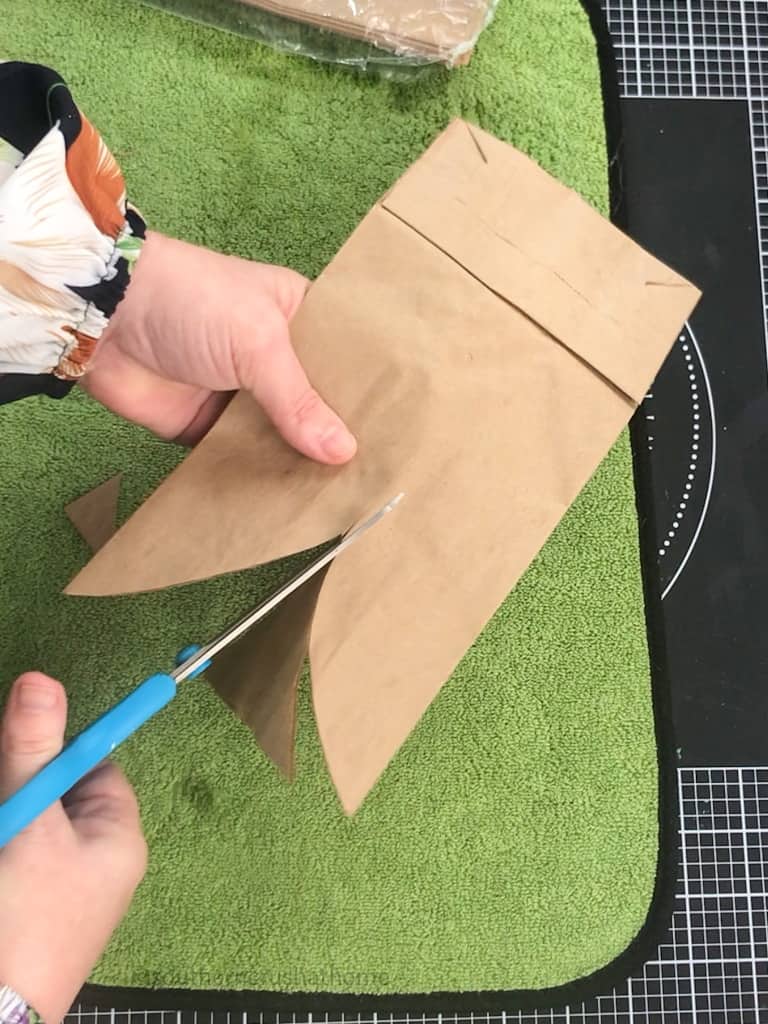
Step One
Start by cutting out two ear shapes at the top of the open end of your lunch bag.
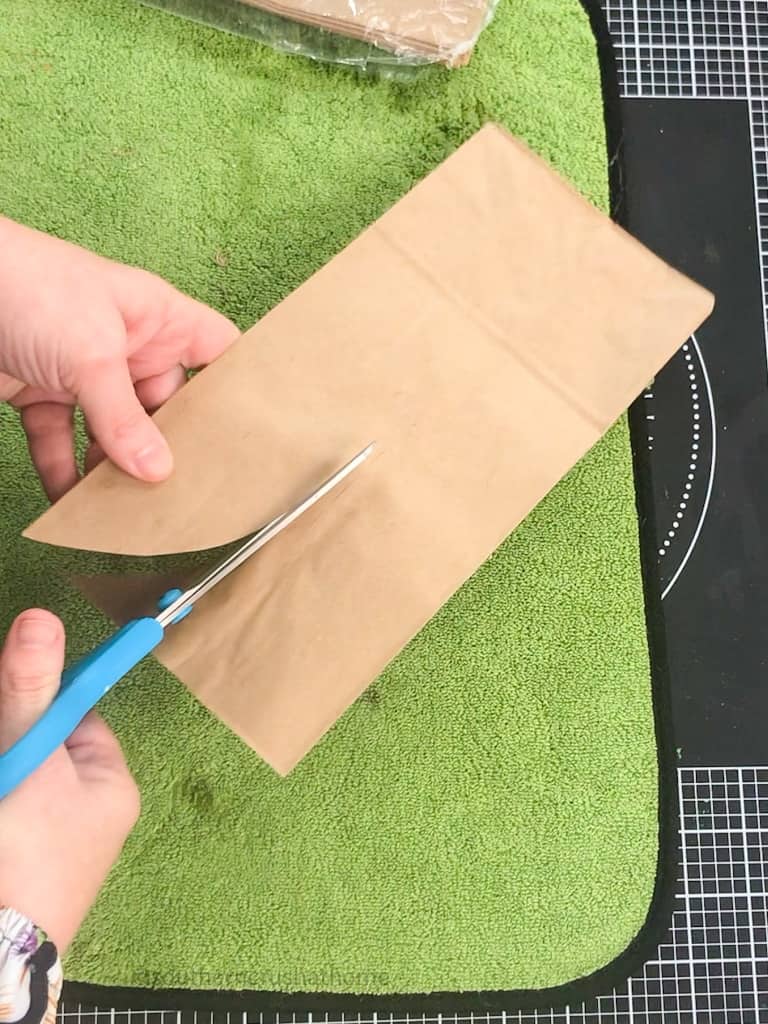
Make sure that each meets in the center. The further down you cut the ears, the longer the ears will be.
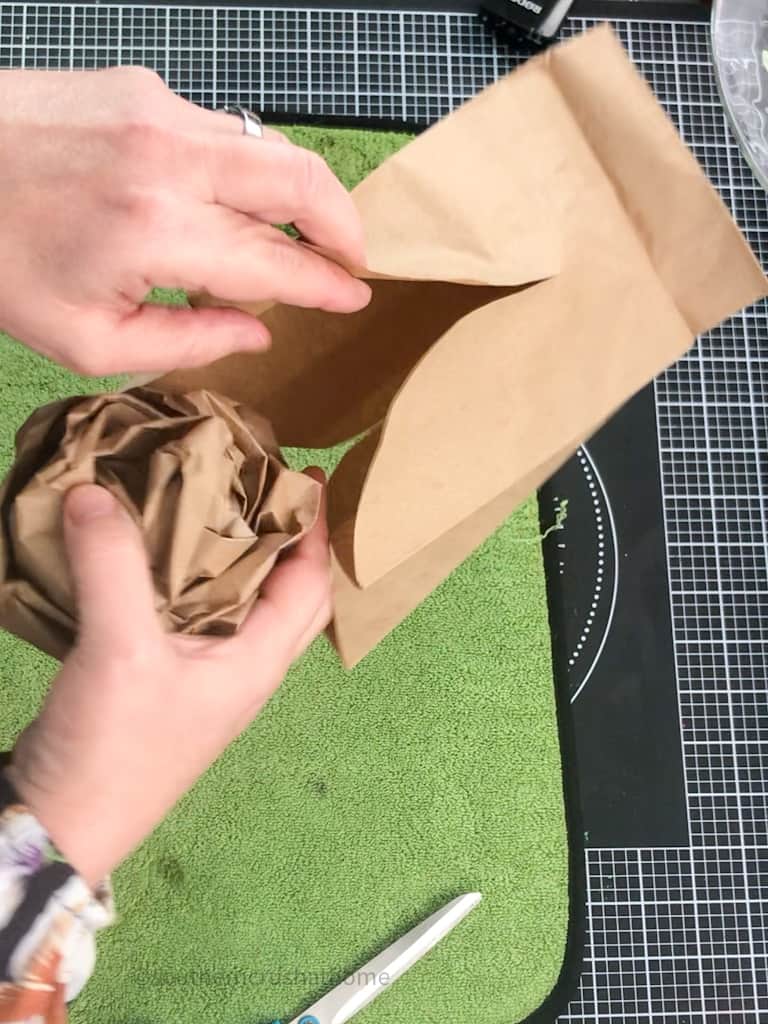
Step Two
Open up the lunch sack and add filler. I added another crumpled-up lunch sack, but you can choose from some of these ideas, too:
- shredded colored paper like a nest
- candies
- chocolate eggs
- plastic eggs filled with goodies
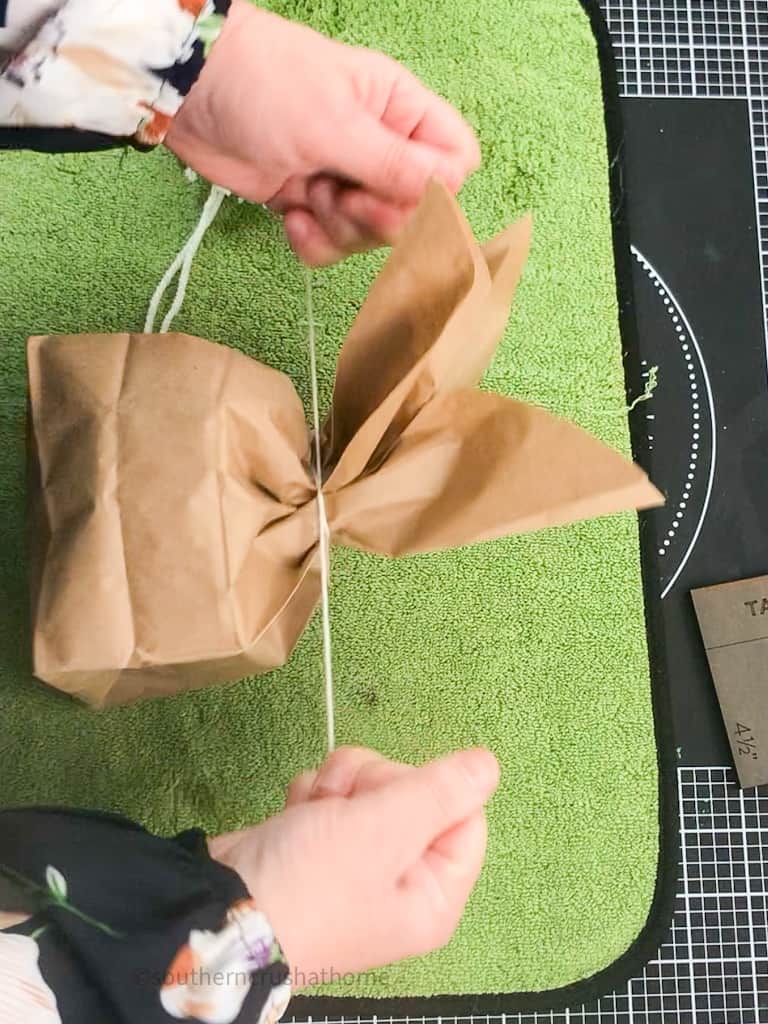
Step Three
Tie off the ears with some yarn and play with them to get them to look the way you like.
Step Four
Create a pom pom for the bunny tail! You can also purchase these at most craft stores, but making them is super fun as well.
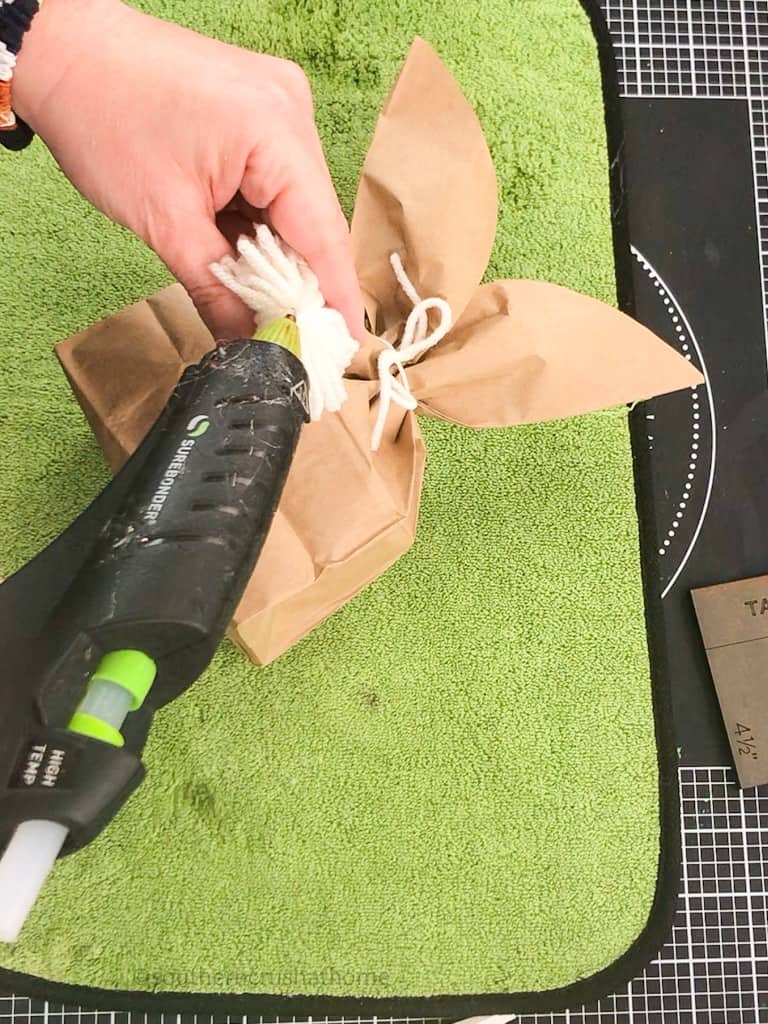
Step Five
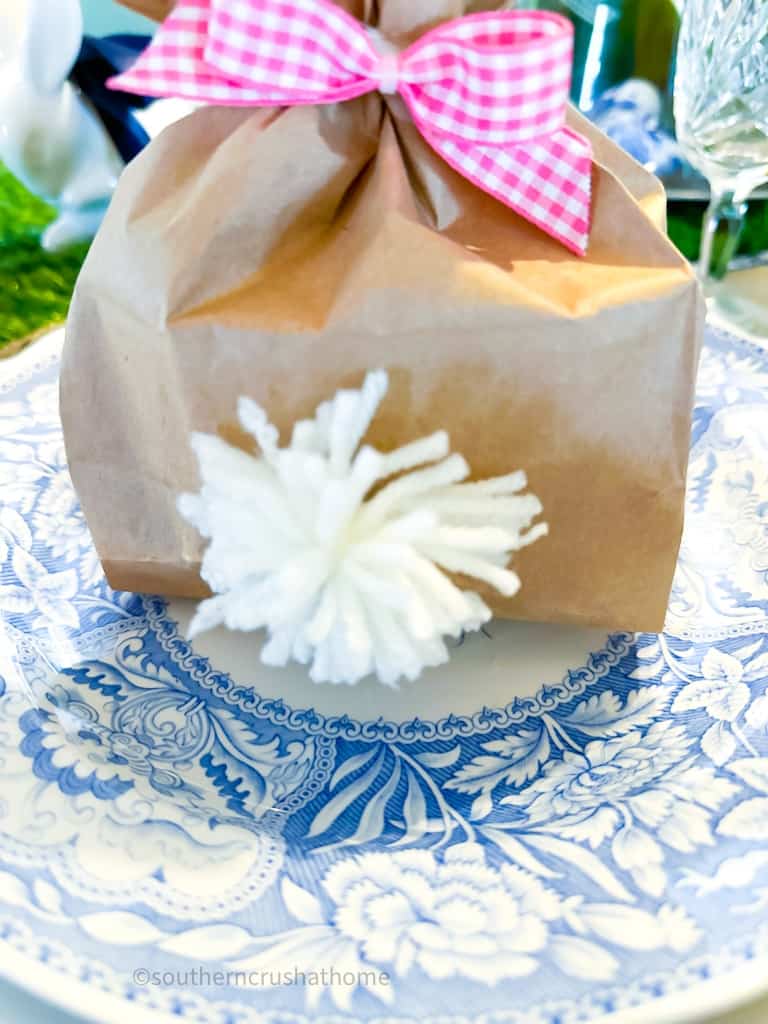
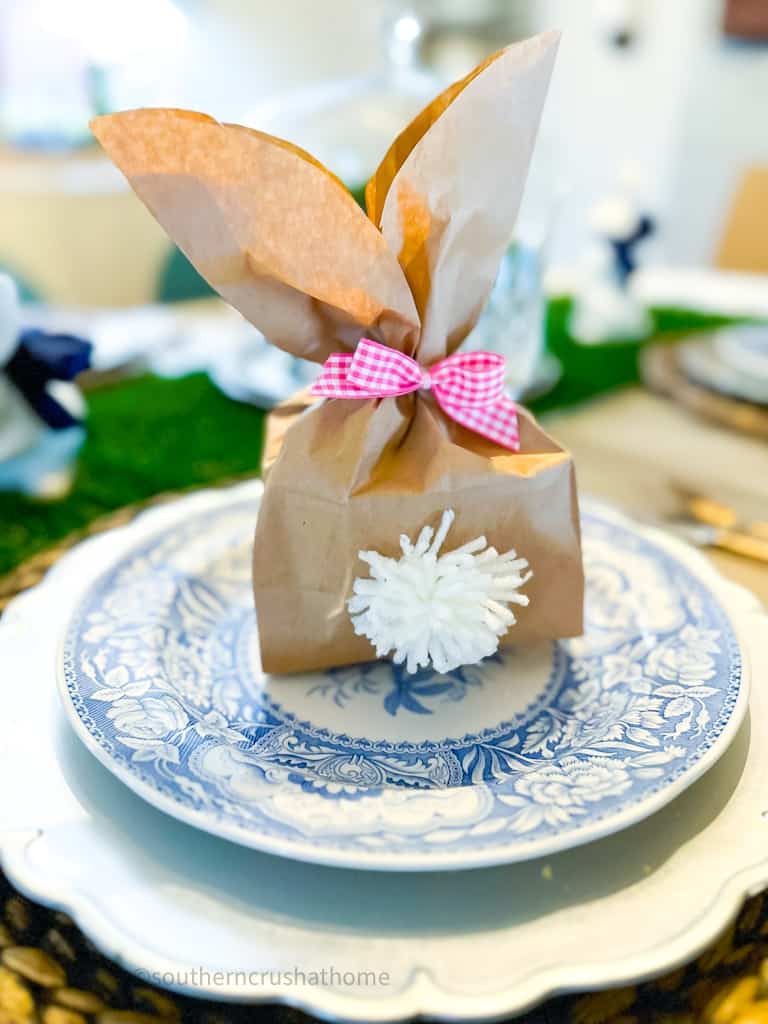
Hot glue the bunny tail to the paper sack.
Optionally, you can make a super cute tiny bow to add between the ears!
That’s it! Repeat until you have all the bunnies you need to decorate with or one for each guest.
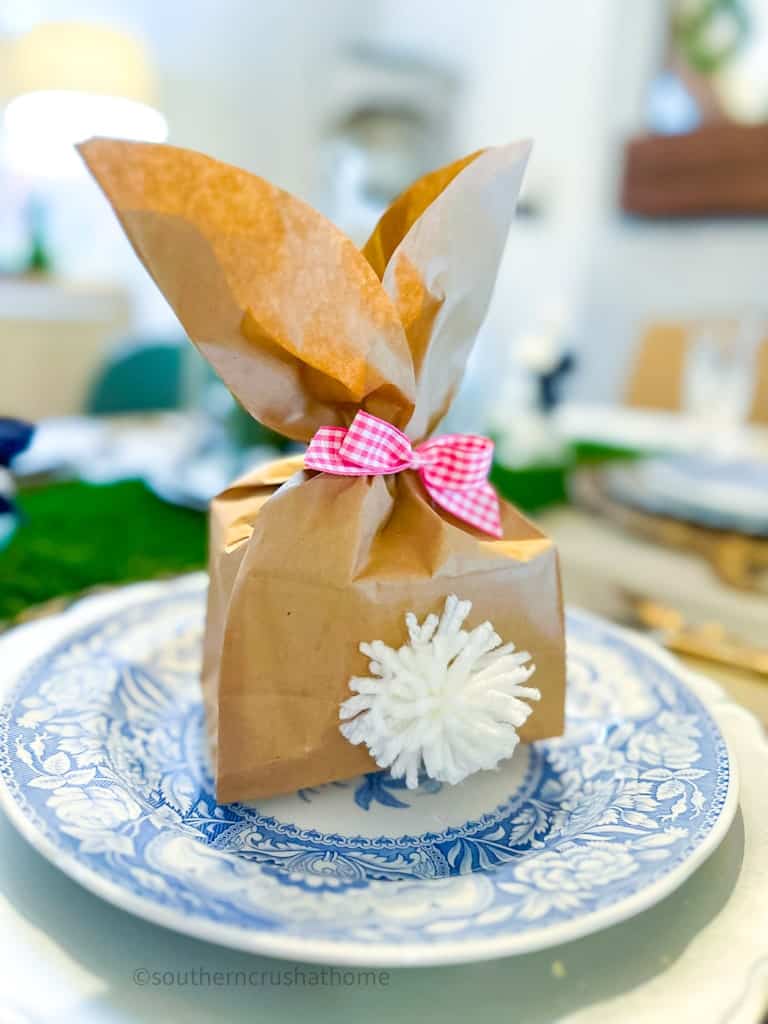
How to Display Your Easter Bunny Craft
I displayed mine on my Easter table setting. Read all about my Easter Table Setting HERE.
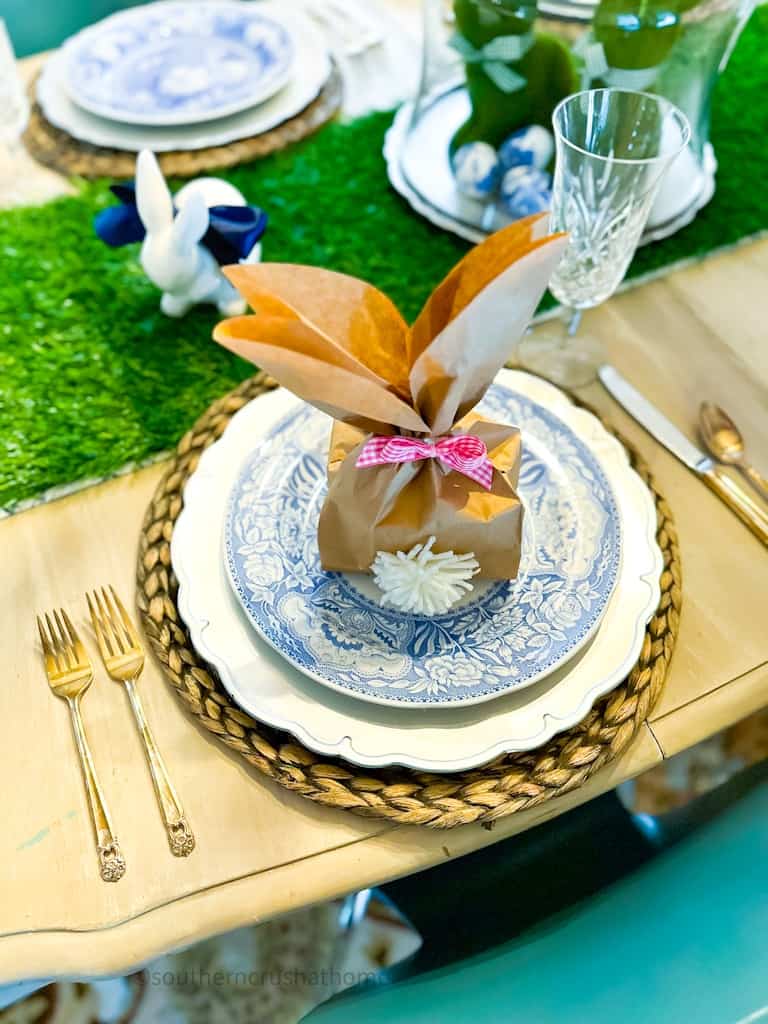
You could also place them on a buffet, in a china hutch, or sneak them into bookshelves for fun!
I hope you have an amazing Easter holiday with your loved ones and be sure to comment below to let me know if you try one of these!
How to Make an Easy Easter Bunny Craft using Paper Bags
Materials
- Brown Paper Lunch bags I got mine from Dollar Tree
- Yarn
- Ribbon optional
Instructions
- Start by cutting out two ear shapes at the top of the open end of your lunch bag. Make sure that each meets in the center. The further down you cut the ears, the longer the ears will be.
- Open up the lunch sack and add filler. I added another crumpled up lunch sack.
- Tie off the ears with some yarn and play with them to get them to look the way you like.
- Create a pom pom for the bunny tail! You can also purchase these at most craft stores, but making them is super fun as well.
- Hot glue the bunny tail to the paper sack.
- Optionally, you can make a super cute tiny bow to add between the ears!