Easy to Make Easter Bunny Ears Using a Coat Hanger
Everywhere I turn I'm seeing these adorable Easter bunny ears! They are on all kinds of home decor in the stores.
One morning, while staring into my closet trying my best to pick out a nice professional shirt to match my pajama bottoms (since I work from home) and it hit me!
I can make my own DIY Easter bunny ears using a wire coat hanger! Let's Go!
This blog post contains affiliate links. The opinions are wholly my own from my own experience. I may earn a small commission from clicks through to the websites that end in a purchase.
Making your own Easter bunny ears is a fun and easy craft that can be done with items you probably already have at home. All you need is a wire coat hanger, pliers, hot glue, a wire snipper, and some rope! Keep reading for an easy-to-follow guide to making your own Easter bunny ears.
Get Creative with Easter Bunny Ears Using a Coat Hanger!
Gather Your Materials
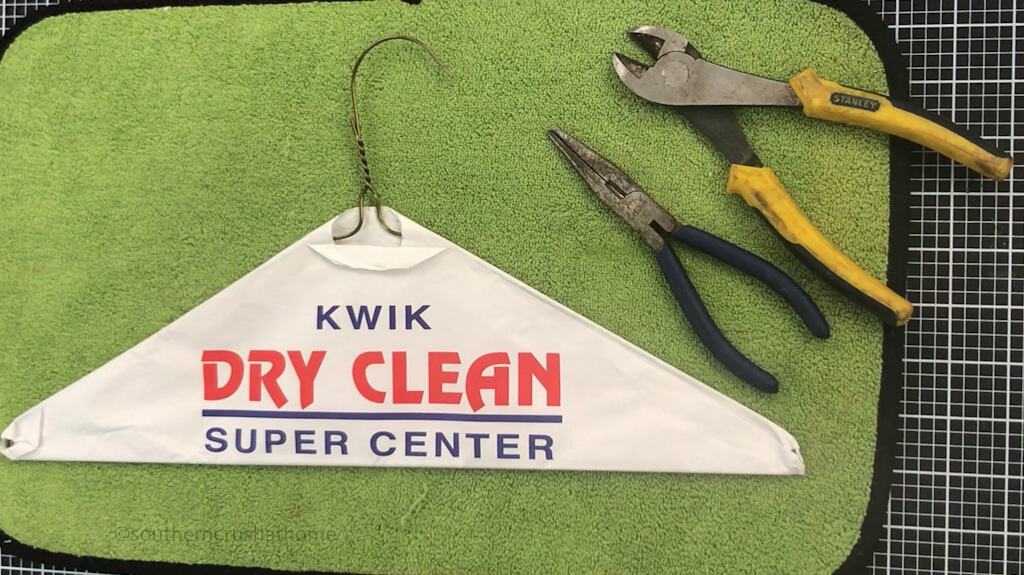
The first step in making your Easter bunny ears is to gather the materials necessary for the project. You will need the following:
- wire coat hanger
- wire snips
- pliers
- nautical rope (from Dollar Tree)
- scrap fabric (in the color of your choice)
- hot glue
- glue gun
Instructions to Make Easter Bunny Ears
Once you have all the supplies at hand, you’re ready to get started!
Disassemble the Coat Hanger
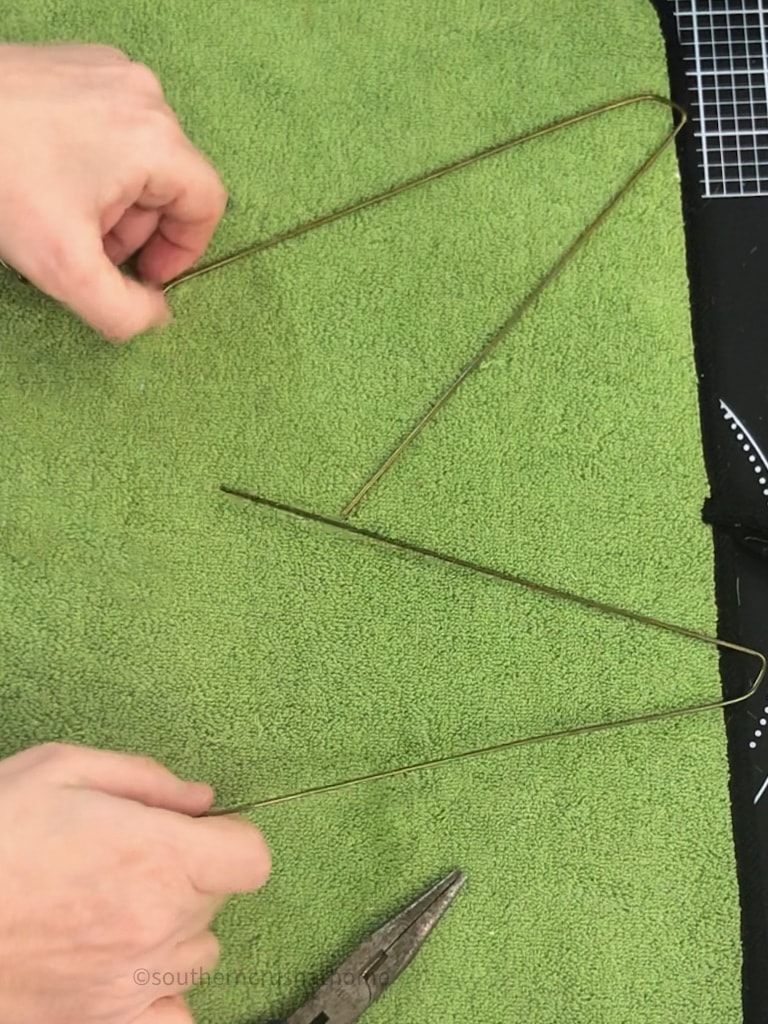
Take your coat hanger and untwist it at the curved handle part that is normally used to hang on a pole.

Once opened, it should look like this.
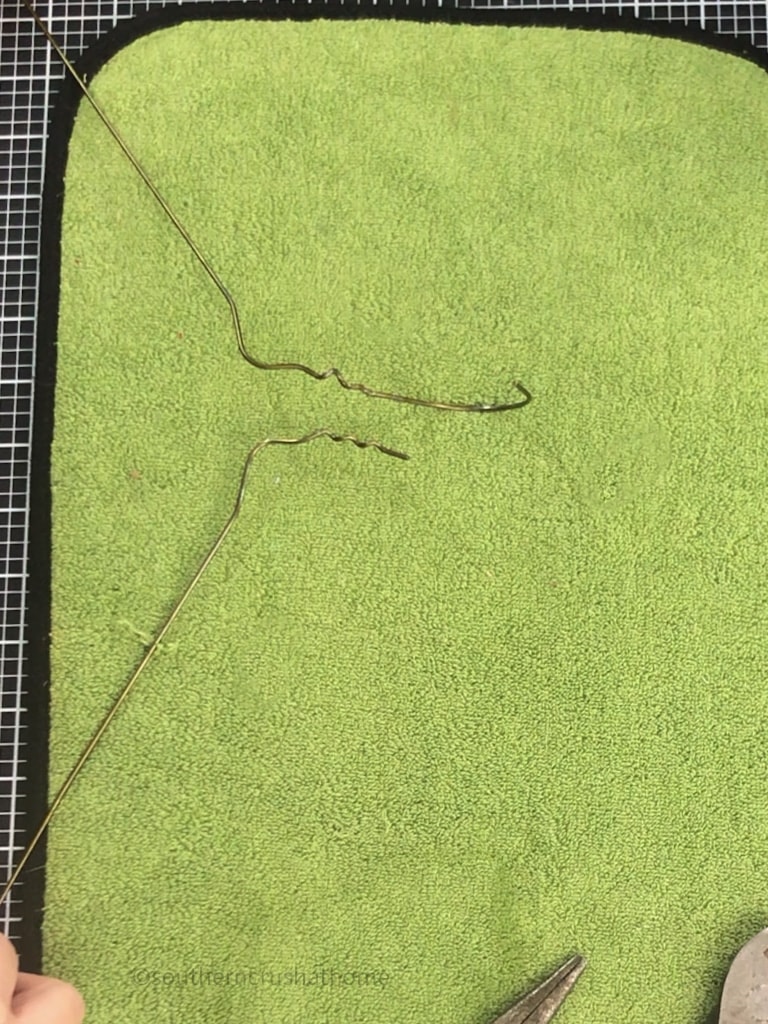
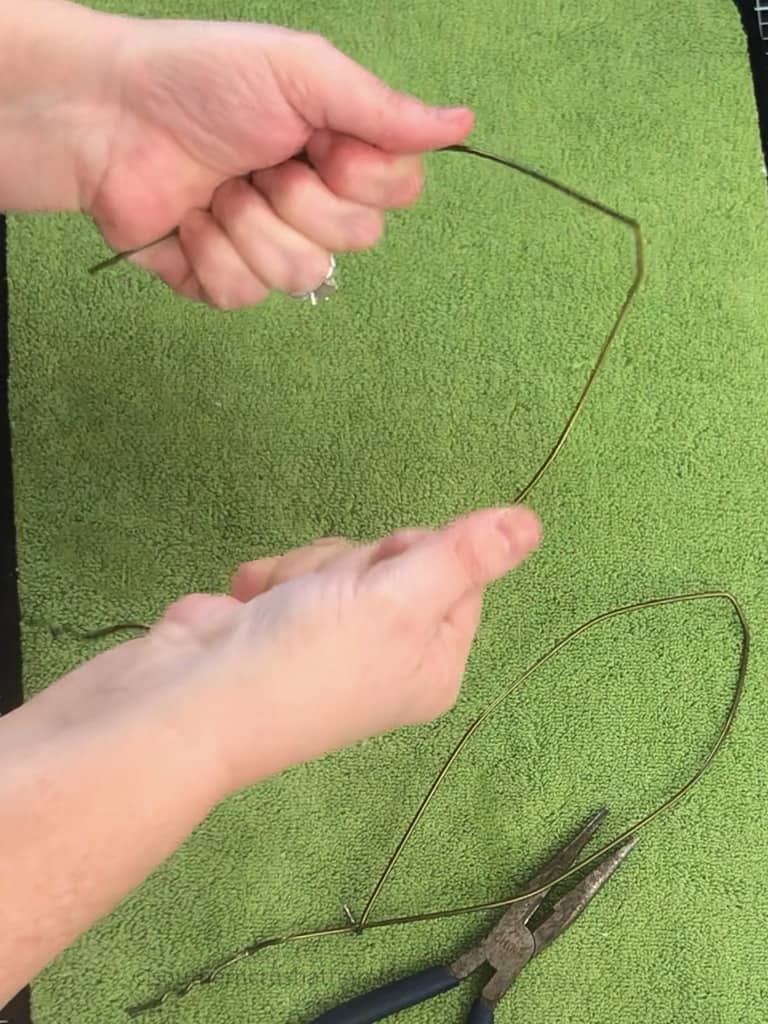
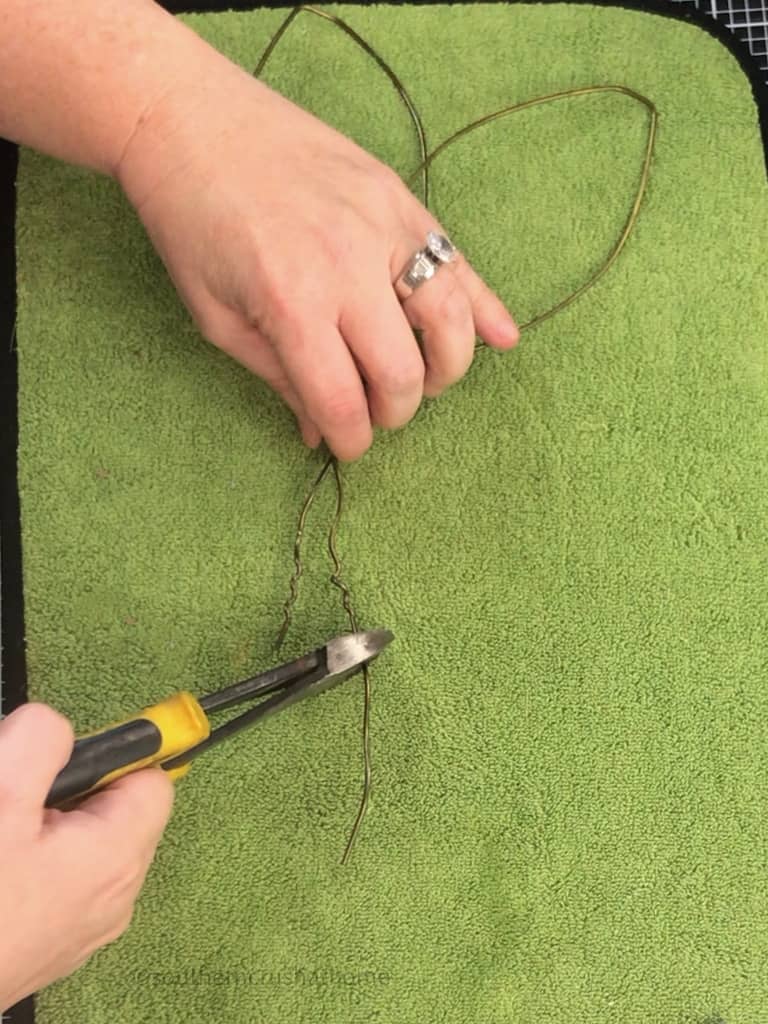
Using the wire snips, cut the coat hanger in half in the center of the straight-edge portion.
Now you have two separate coat hanger halves.
It's time to bend each half into an arch shape that resembles bunny ears.
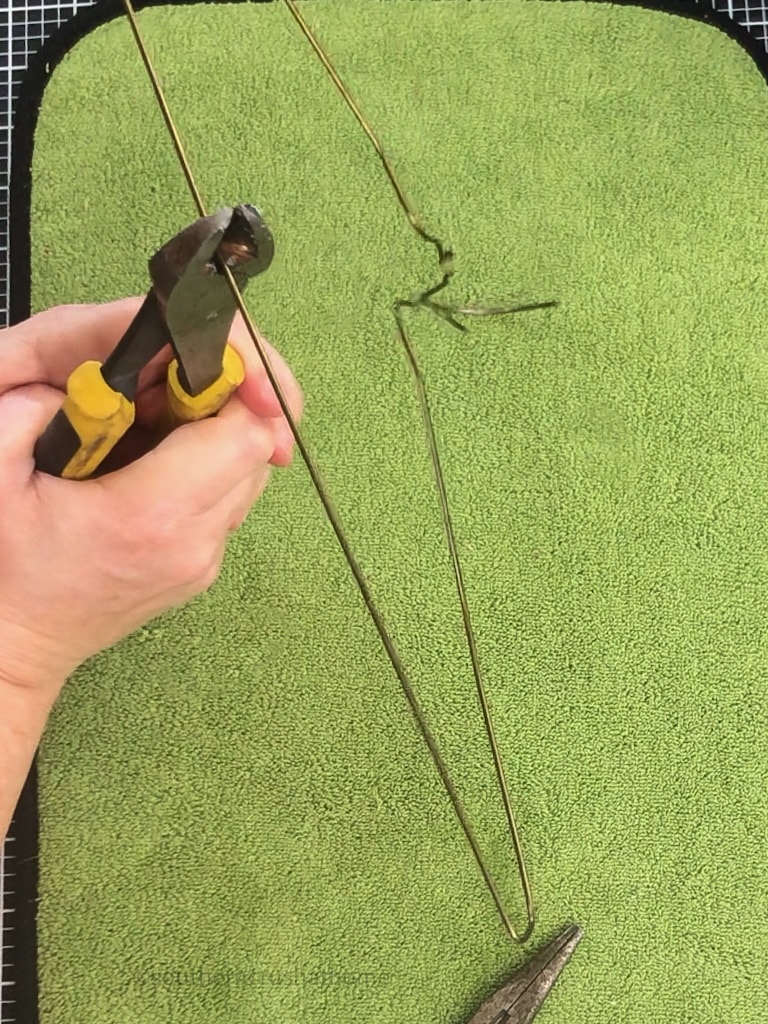
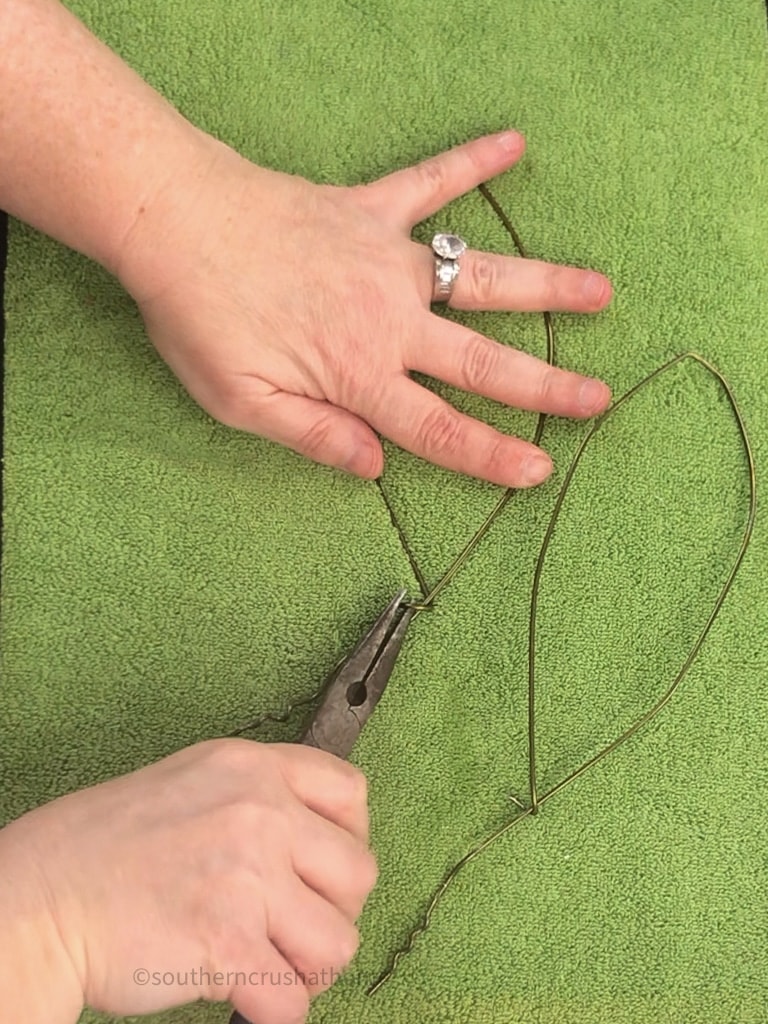
Then twist the bottom wire around itself using the pliers to keep it in place.
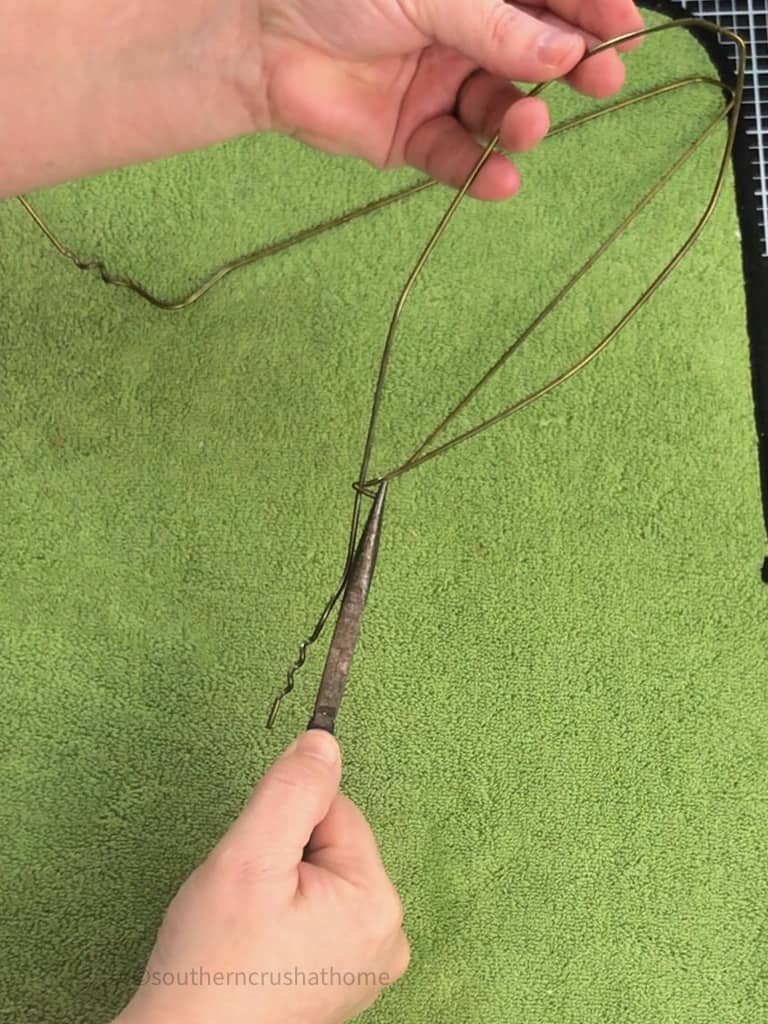
Use the table for resistance if needed.
Using the wire snips again, trim the bunny ear with the “hook” portion of the coat hanger so that it matches the length of the other bunny ear.
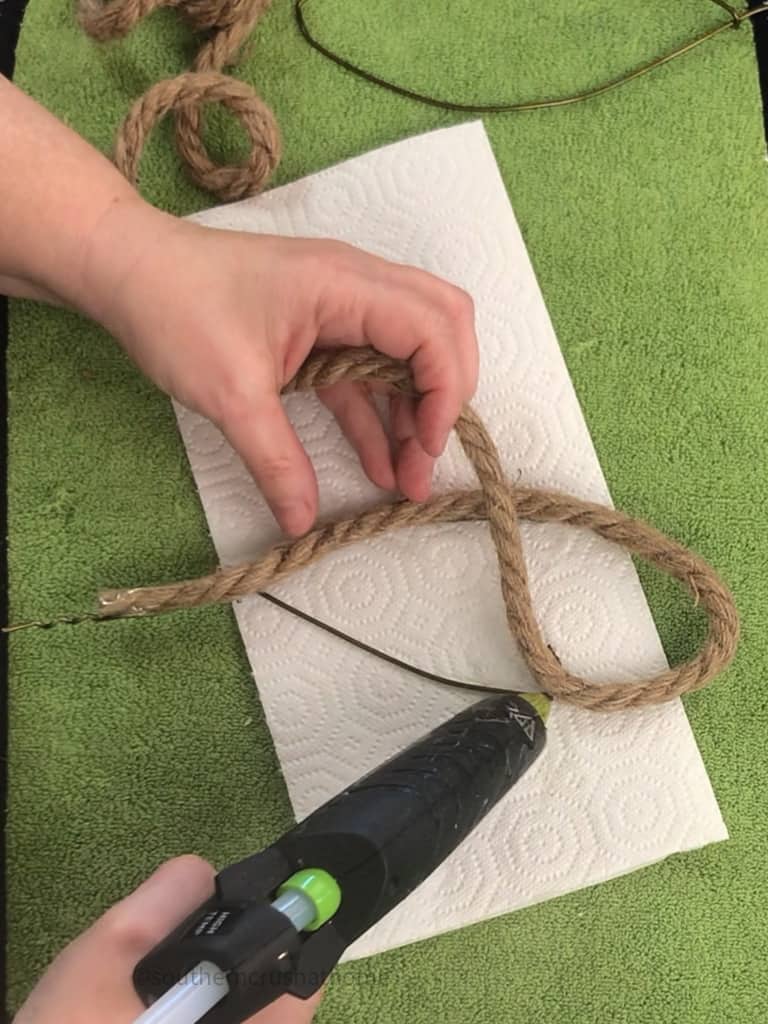
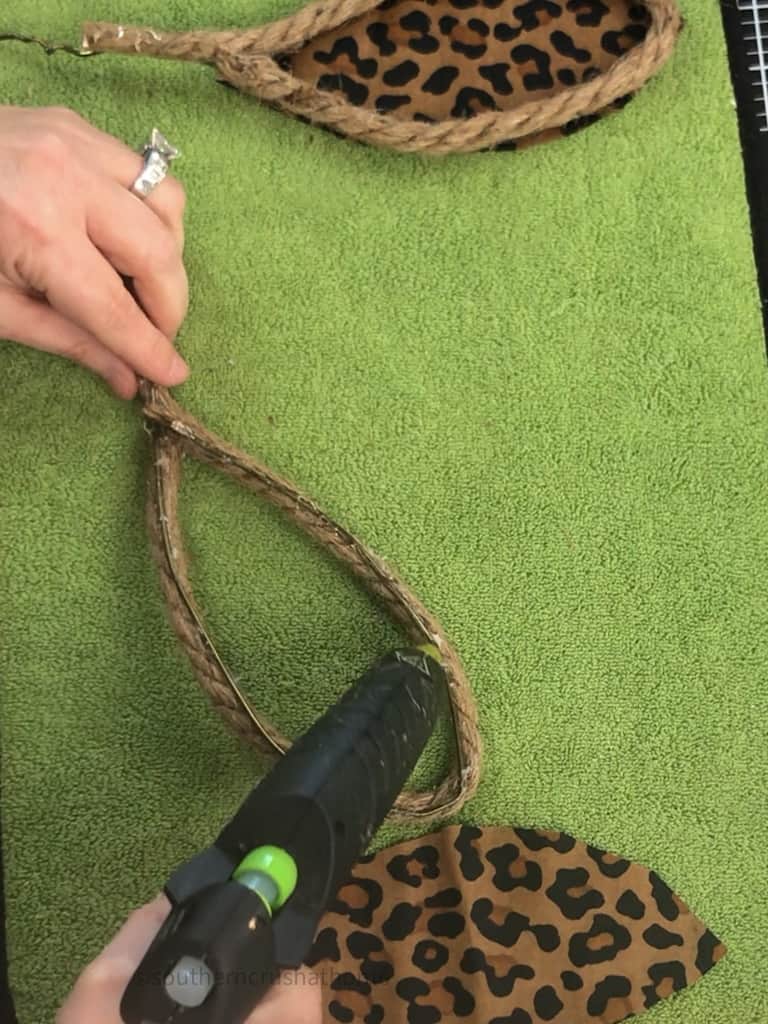
Add Nautical Rope Detail
Using hot glue, attach nautical rope along the top of the coat hanger wires on each Easter bunny ear until they are both covered completely.
Embellish Center of Easter Bunny Ears
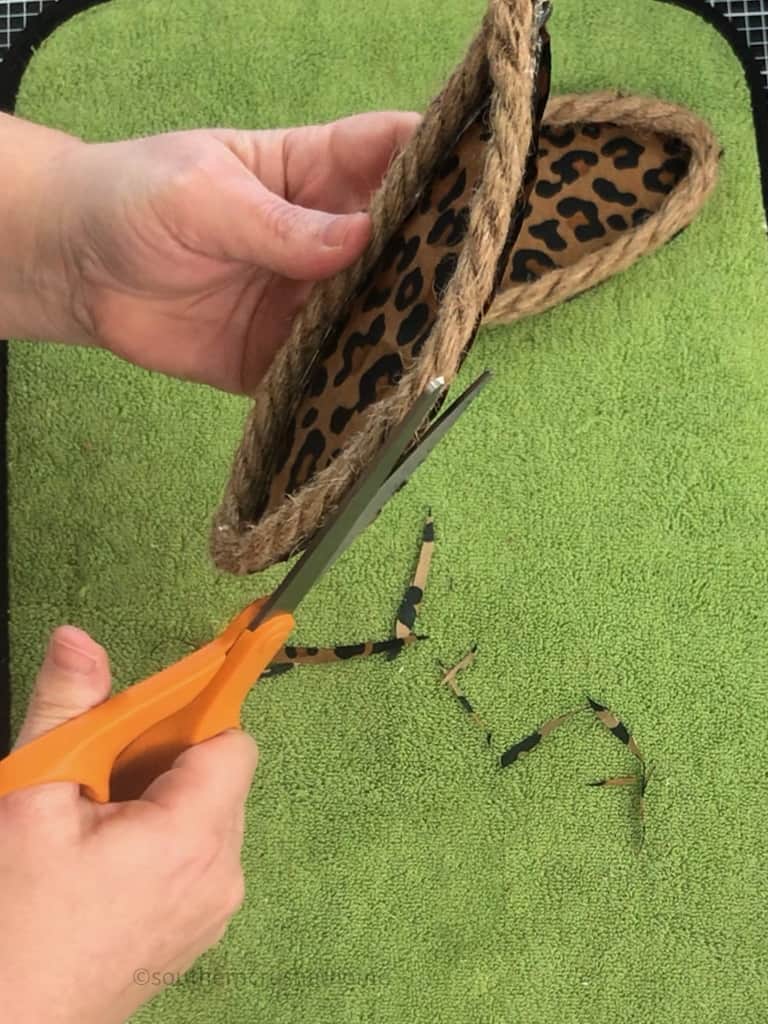
This is the fun part! Using your scrap fabric, cut out the shape of the inside of the bunny ears.
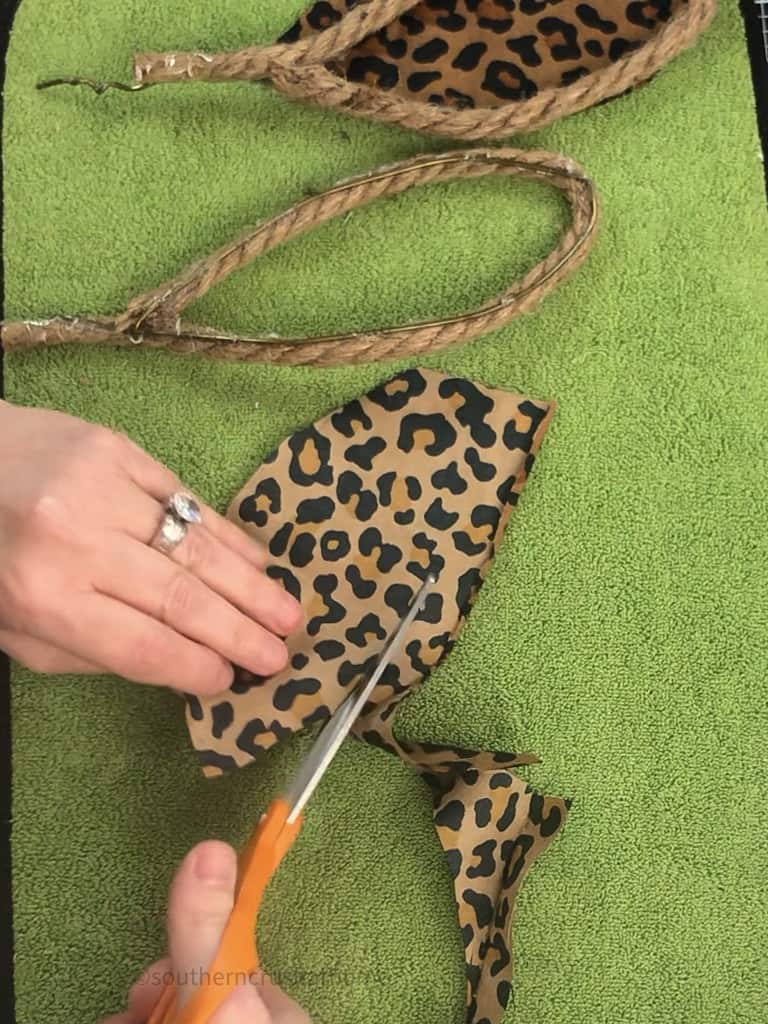
I used a marker to trace them first. They definitely do not need to be perfect.
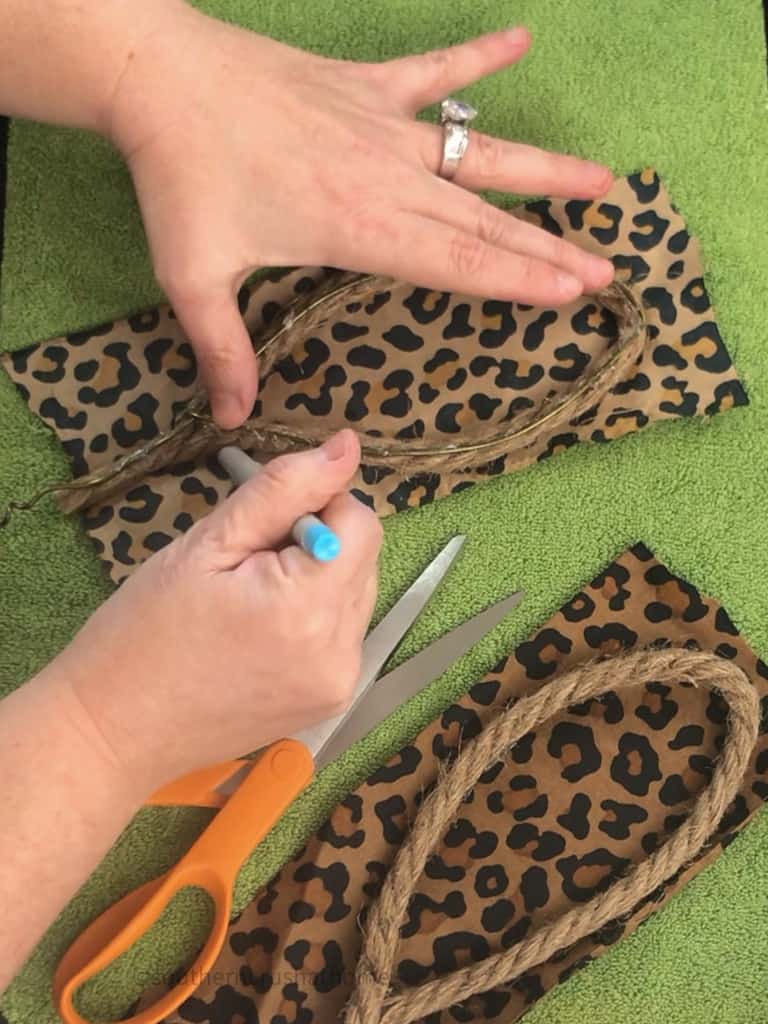
Add hot glue to the rim of the rope-covered bunny ear and lay the fabric pieces on top; be sure to face the front of the fabric towards the front of the bunny ear. Repeat this process for the other side of the coat hanger.
Trim the fabric around the outer edges of the bunny ears to finish off the look.
I think you could get super creative here and maybe even use some soft sherpa material or an old sweater from the thrift store!
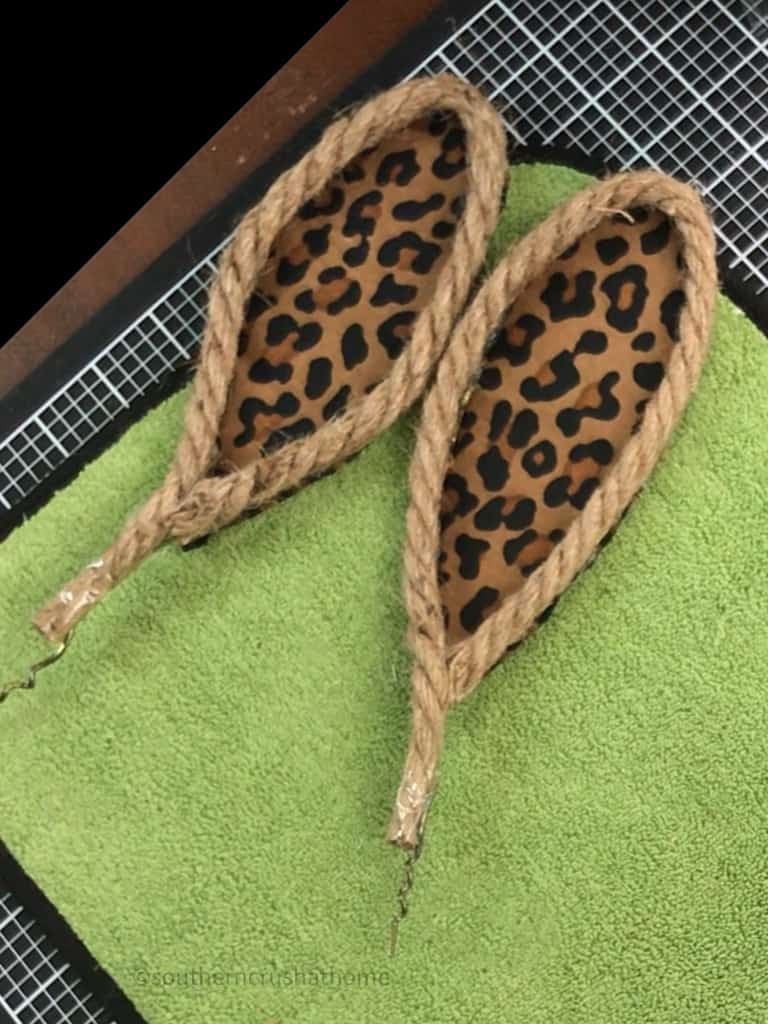
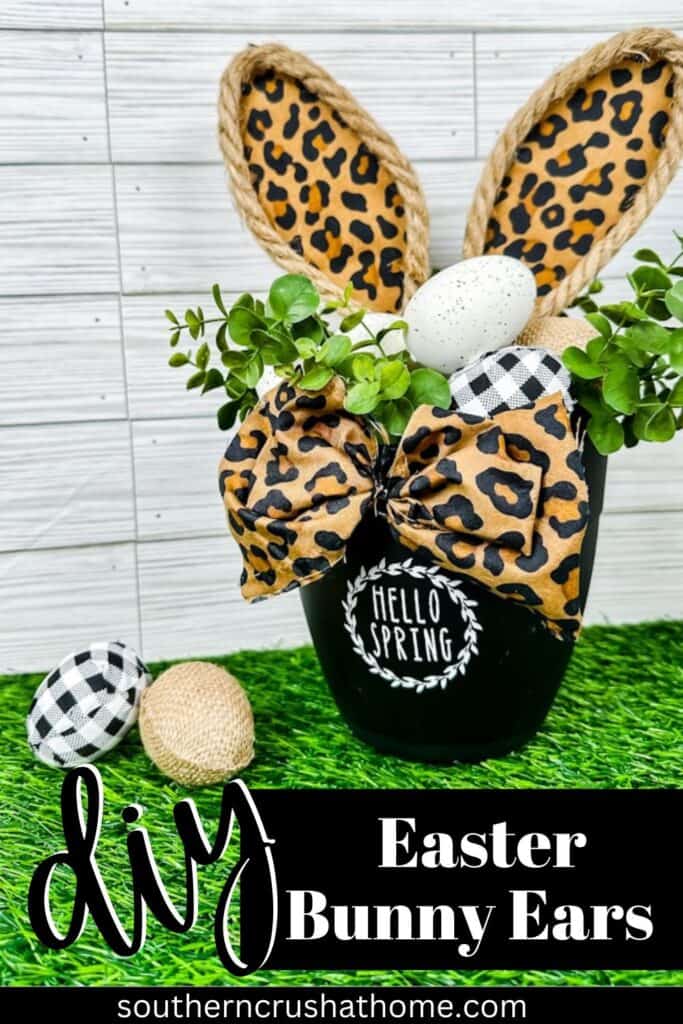
And there you have it – your very own Easter bunny ears made from a coat hanger!
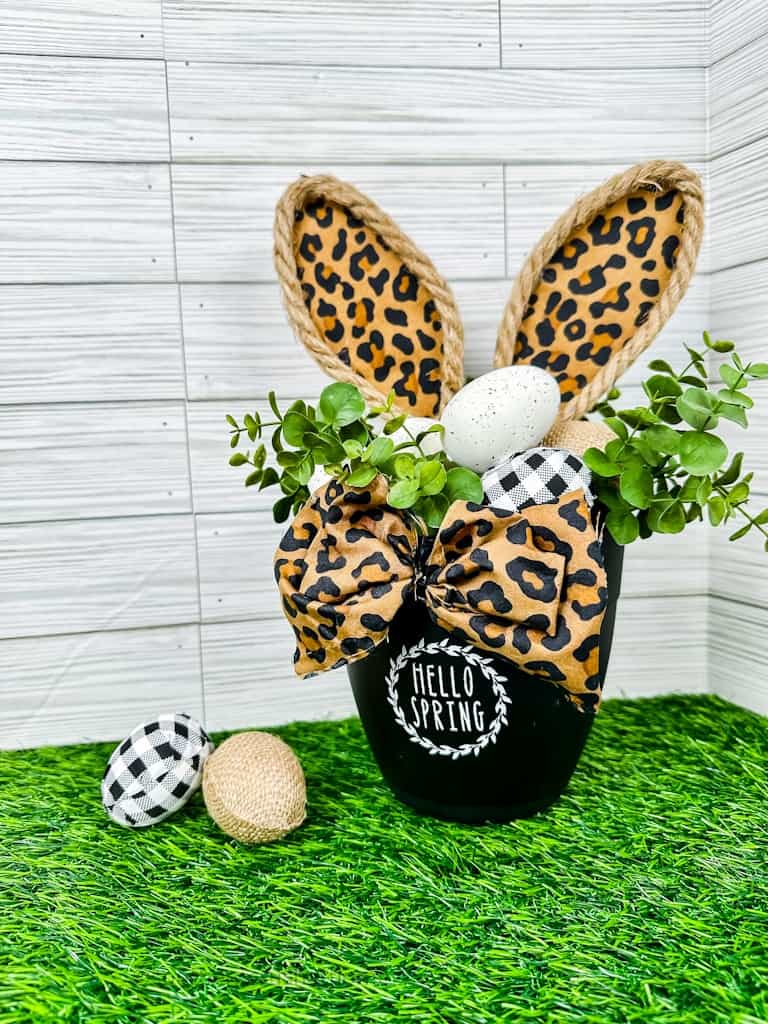
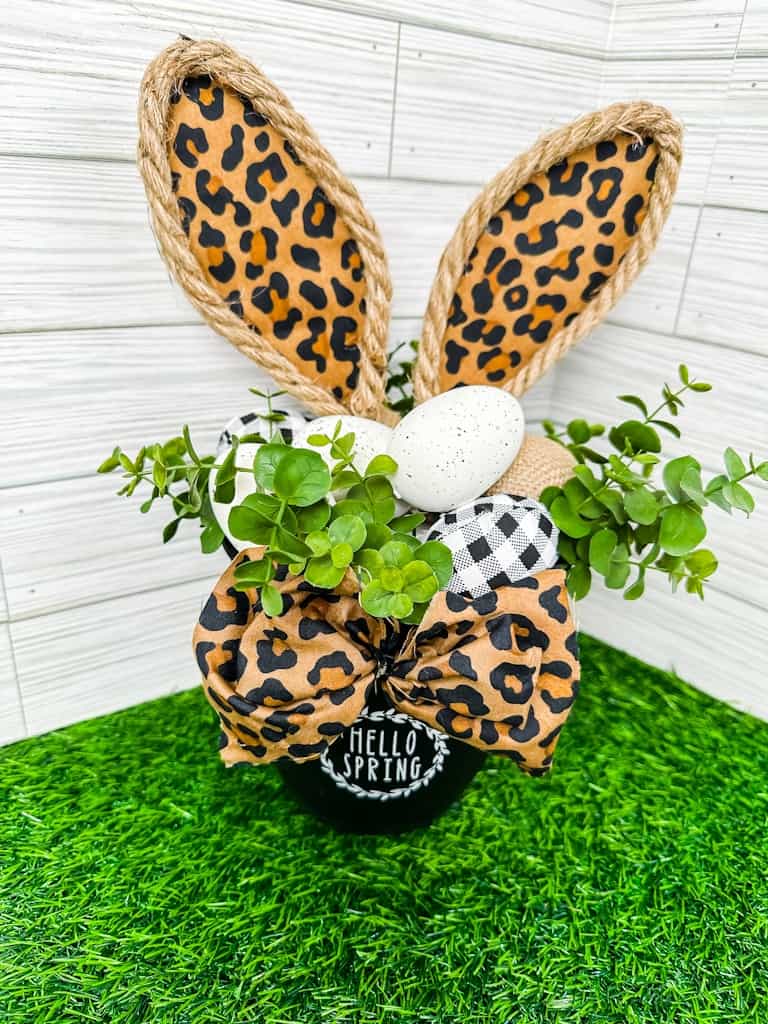
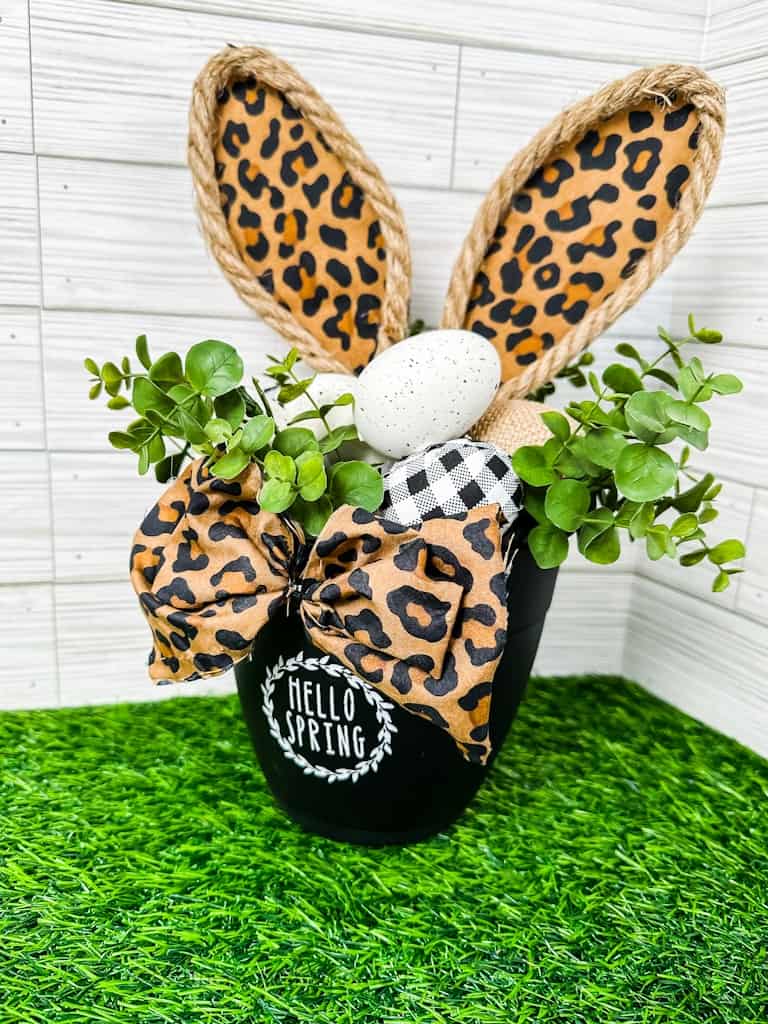
I added mine to a Dollar Tree flower pot using a styrofoam block and then I stenciled the pot with a Magnolia Stencil, hot glued Easter eggs, and tucked in some boxwood greenery.
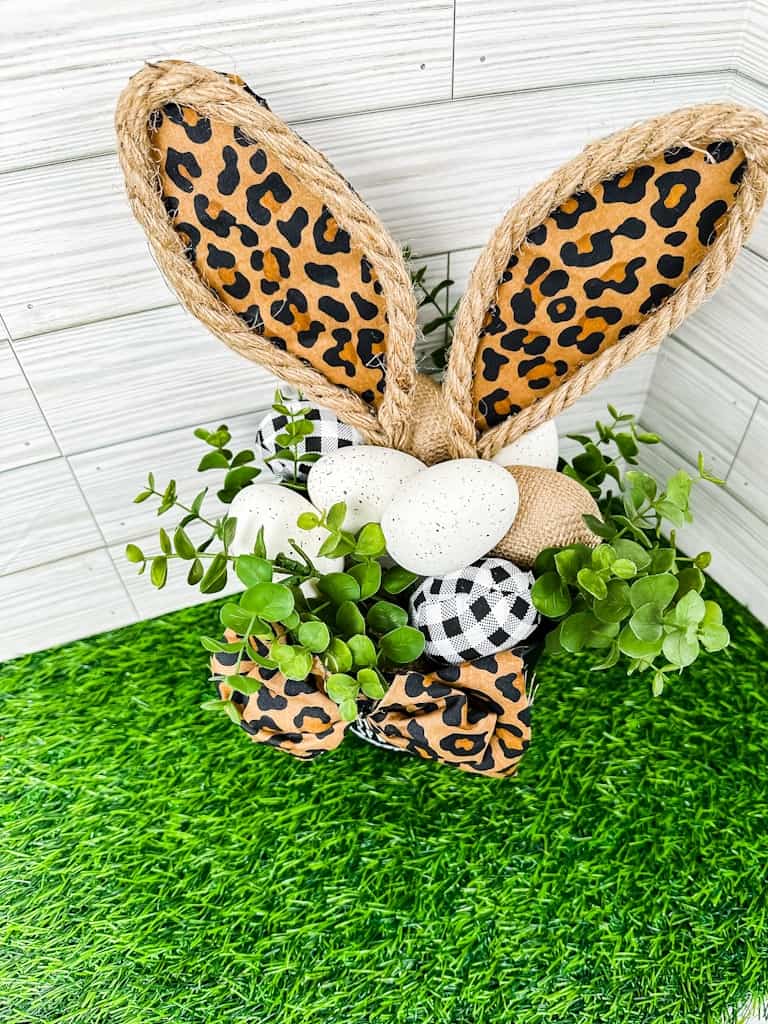
You can literally create whatever your heart desires using these super simple and fun Easter bunny ears! What will you make my friend?
YouTube Video Tutorial
If you'd like to see a YouTube Video Tutorial on how these are made along with a couple of other ideas see the video below.
Display Your Easter Bunny Ears
Finally, display your new DIY Bunny Ears in all kinds of fun Easter decorations! Here are some ideas to get you started:
- How about a fun Easter Table Centerpiece like this one?
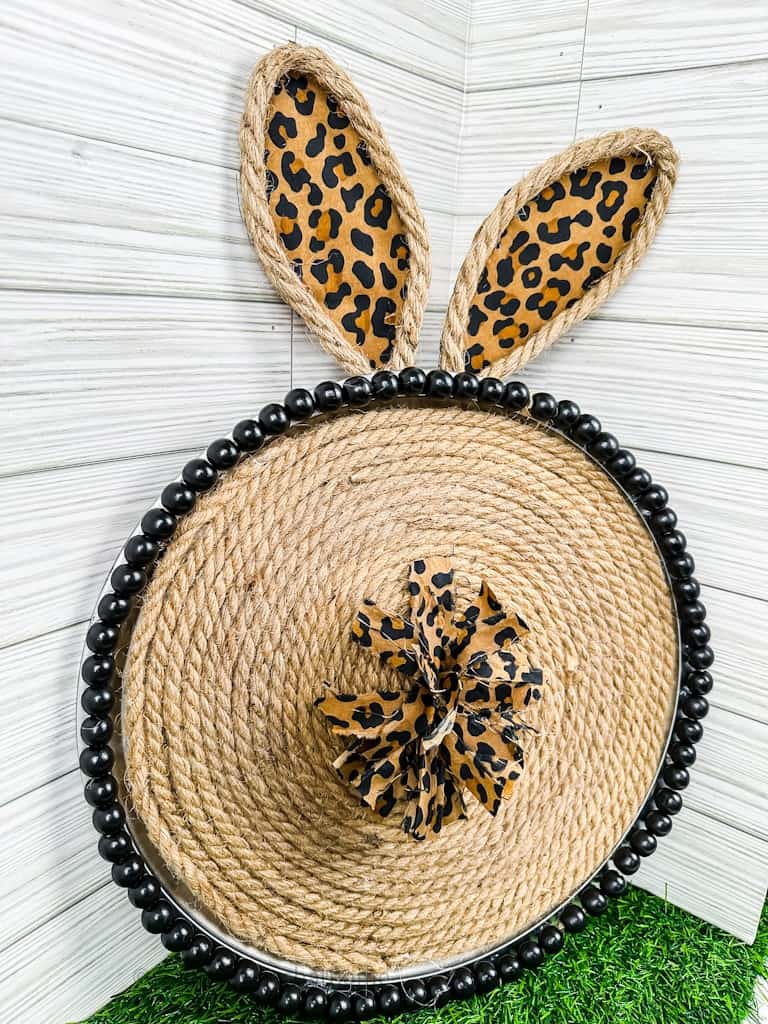
- What about a Dollar Tree Pizza Pan Wreath as shown here?
- Add them to a headband for a quick and easy costume
- Place them in a potted plant for a pop of whimsy
- Set them in a dough bowl with other Easter decor
- Decorate a Spring Wreath by adding them at the top
- Place them in a lantern with some Easter eggs
- Weave them into the front of a basket to make a one-of-a-kind DIY Easter basket
Whether you’re looking for some fun Easter craft ideas this Easter season or just trying something new and creative with household items – making Easter bunny ears out of a coat hanger is definitely worth giving a try!
With just some basic supplies and minimal effort involved in this project – anyone can become their own DIY crafter in no time at all! So don’t forget to give it a go – who knows what amazing creations await!
If you'd like to know more about this coming Easter holiday and ways to celebrate with fun crafts and recipes, check out this post below!


Easy to Make Easter Bunny Ears Using a Coat Hanger
Materials
Instructions
Disassemble the Coat Hanger
- Take your coat hanger and untwist is at the curved handle part that is normally used to hang on a pole.
- Using the wire snips, cut the coat hanger in half in the center of the straight edge portion.
- Now you have two separate coat hanger halves.
- It's time to bend each half into an arch shape that resembles bunny ears. Then twist the bottom wire around itself using the pliers to keep it in place.
Add Nautical Rope Detail
- Using hot glue, attach nautical rope along the top of the coat hanger wires on each Easter bunny ear until they are both covered completely.
Embellish Center of Easter Bunny Ears
- This is the fun part! Using your scrap fabric, cut out the shape of the inside of the bunny ears. I used a marker to trace them first.
- Hot glue the rim of the rope-covered bunny ear and lay the fabric pieces on top; being sure to face front of fabric towards the front of the bunny ear. Repeat this process for the other side of the coat hanger and then let them dry completely.