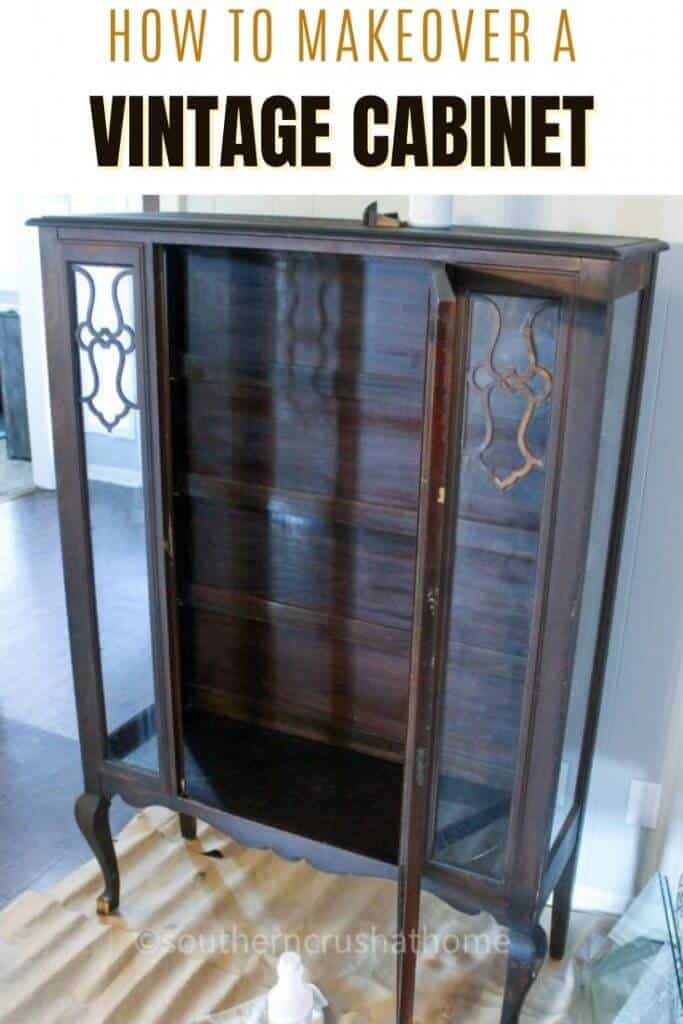
DIY Vintage Cabinet Makeover
I'm so excited to show you how I updated an already beautiful vintage cabinet with chalk paint. It's amazing what a little paint and elbow grease can do!
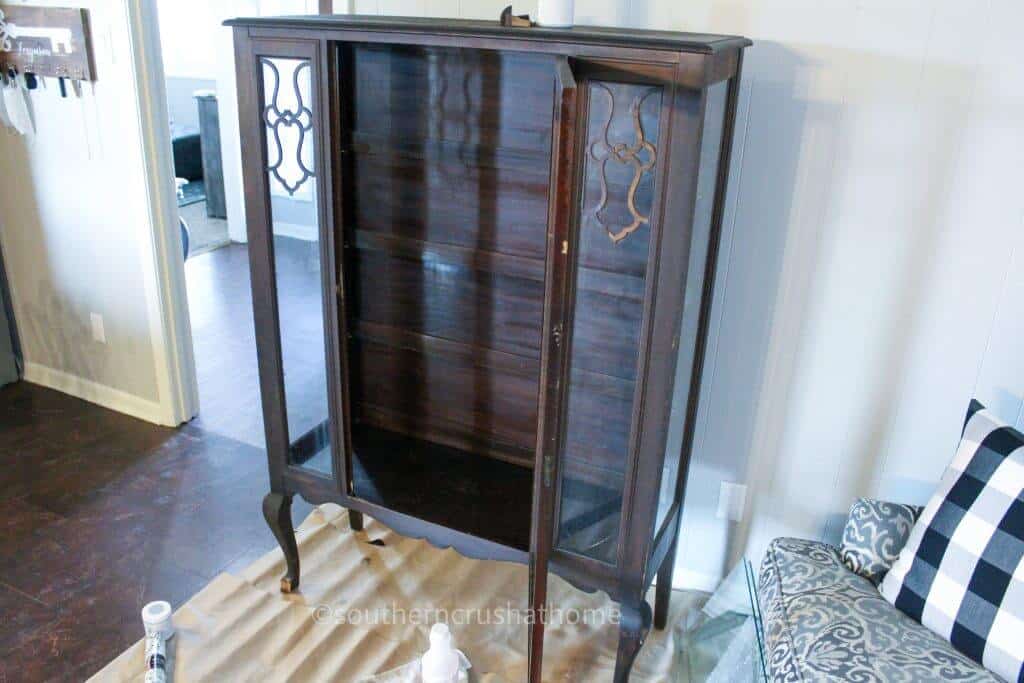
Have you ever had a piece of furniture that you really loved, but you knew you could love it even more with a little makeover? The lines and detailing on this vintage cabinet are stunning, but I thought they would show up even more with lighter color paint.
I left the inside of the cabinet the same and just painted the front and sides with pretty DecoArt chalk paint. I'm thrilled with how it turned out. Let me show you the simple steps.
Be Sure to PIN this for Later!
WHAT YOU’LL NEED for a DIY Vintage Cabinet MAKEOVER
- Vintage Cabinet
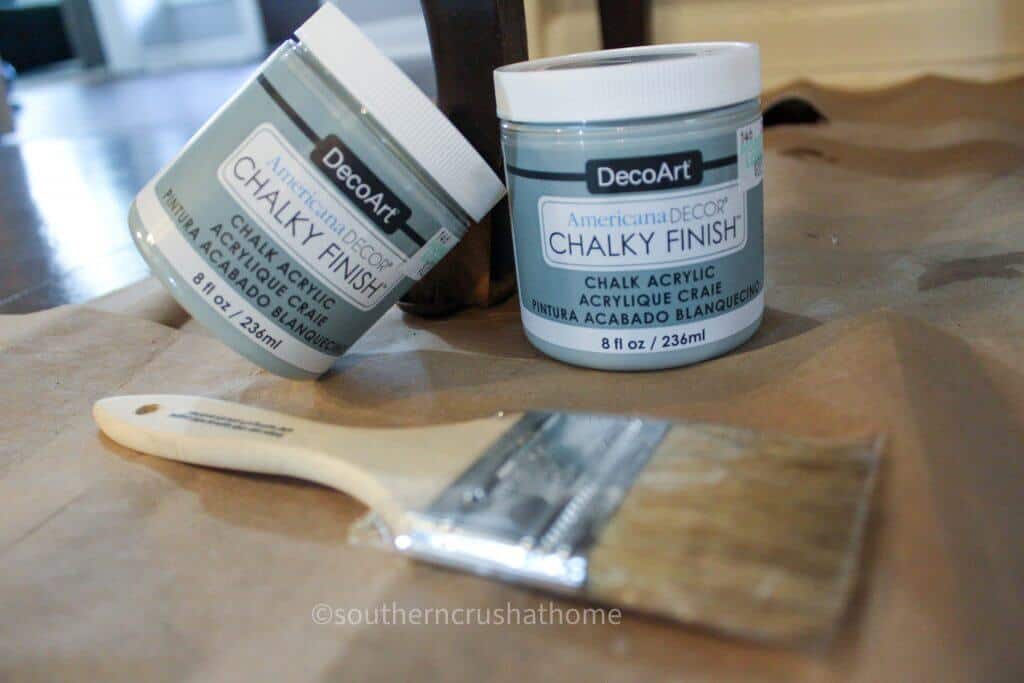
- DecoArt Vintage Color Chalk Finish Paint
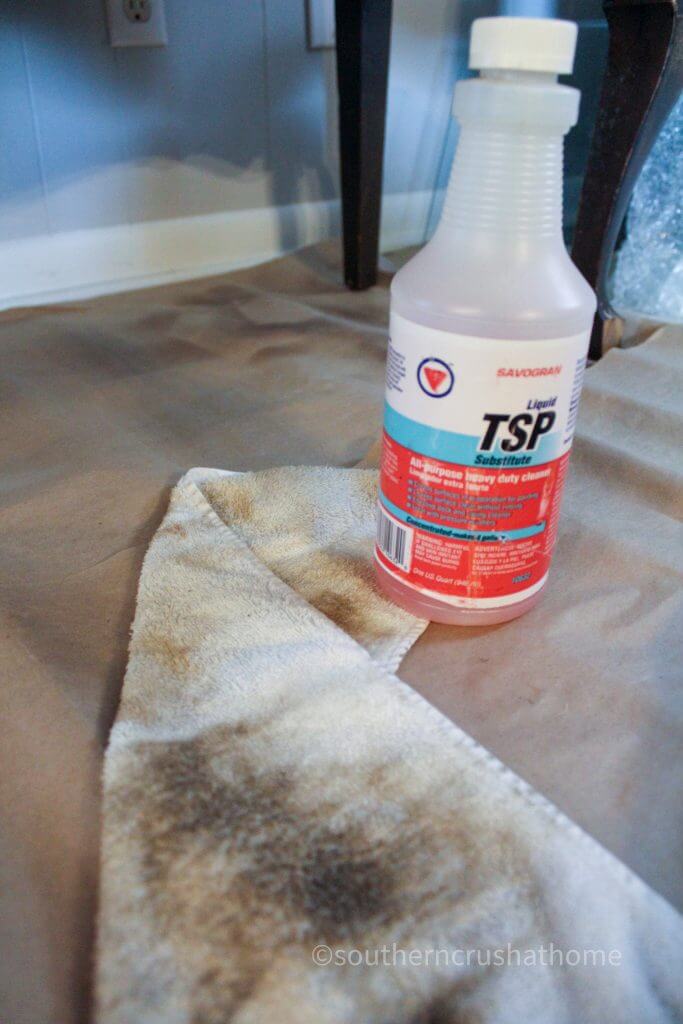
- Liquid TSP Cleaner
- Paint Brush
- Frog Tape Painter's Tape
DIY Vintage Cabinet MAKEOVER tutorial
Whenever I paint a piece of vintage furniture, I always start by giving it a good cleaning. My go-to for this is a Liquid TSP Cleaner. Use an old rag and give it a good cleaning inside and out. There are so many ways to restore old furniture and bring pieces like this back to life.
This is good to keep on hand for simple furniture and cabinet cleaning too. It can be used on a variety of surfaces, not just wood, including brick, stone, and cement.
NEXT…
Once the cabinet is clean, start painting. I used chalk paint in a vintage sage green color. I've talked before about my love for chalk paint. I even have a DIY chalk paint recipe with a video if you want to try your own. It's a great way to keep costs down, and it works great!
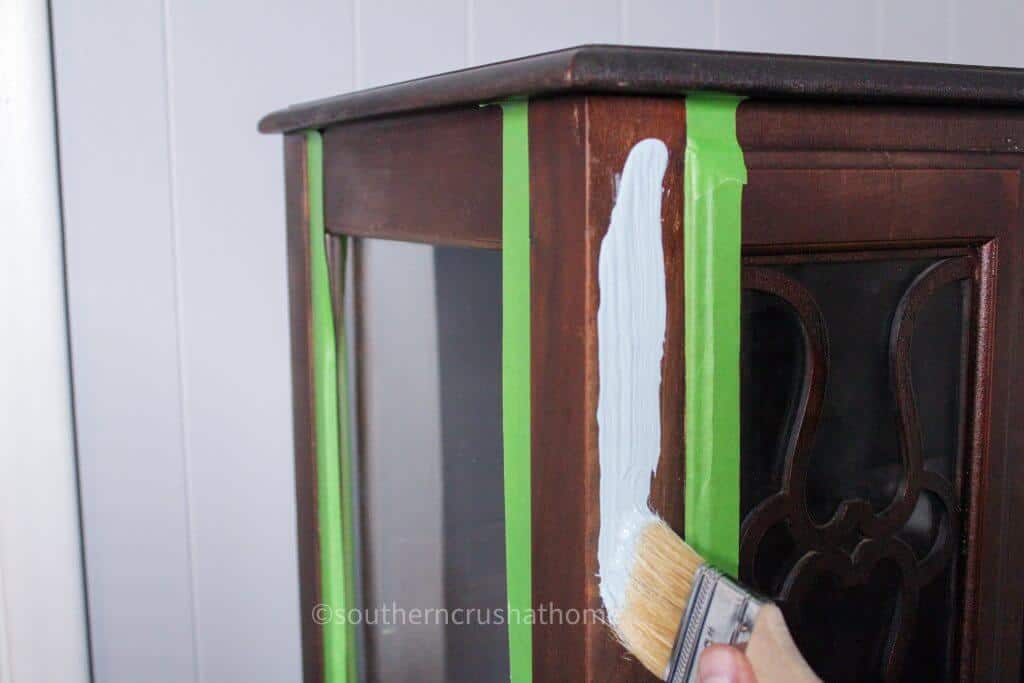
Tape off the edges around the glass where you will be painting. I love Frog Tape for this because it provides such a clean edge! When the results matter, Frog Tape painter's tape is my go to solution to prevent paint from bleeding outside the lines.
Start painting using paint strokes going with the grain of the wood. One tip I have is to not use a heavy hand with the paint. Start with a light, even coat.
Continue to paint the entire cabinet and let it dry completely. You will need 2-3 coats of paint to completely cover the dark wood. You can paint the inside of the cabinet if you want. It is totally a matter of preference. I liked the contrast of the two.
THAT'S IT!
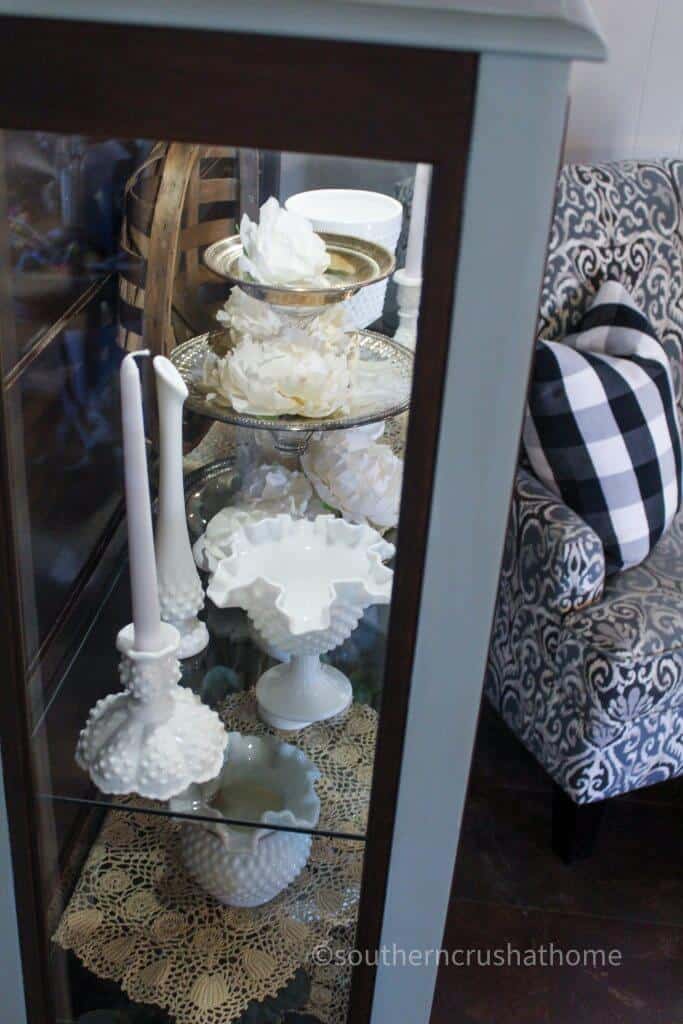
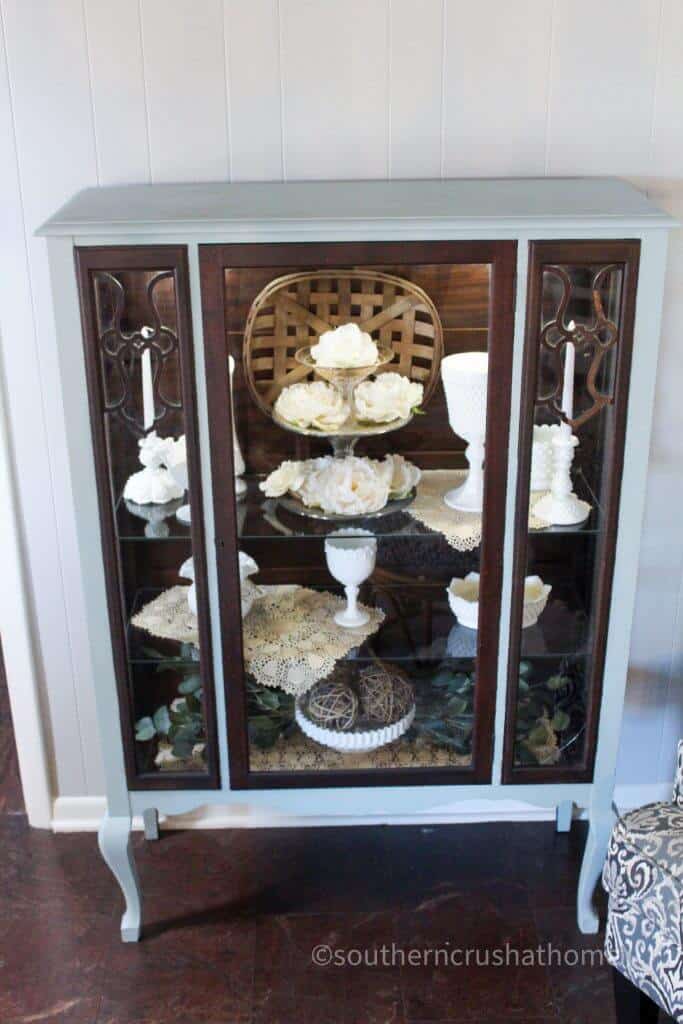
Once the cabinet is painted remove the painter's tape. Now is my favorite part-decorating! This cabinet is the perfect piece to display a few of my favorite hobnail milk glass pieces. Did you see my hobnail milk glass DIY? You can check it out here.
DIY Vintage Cabinet MAKEOVER
I also added a tobacco basket and a few other pretties. Do you have an old cabinet you'd like to makeover? Let me know if you give it a try by leaving me a comment below. I hope this inspired you!
There are so many ways you can makeover a furniture piece. Think of all the colors you could choose, and the painting techniques you could use. The main thing is to use your creativity and enjoy the process!
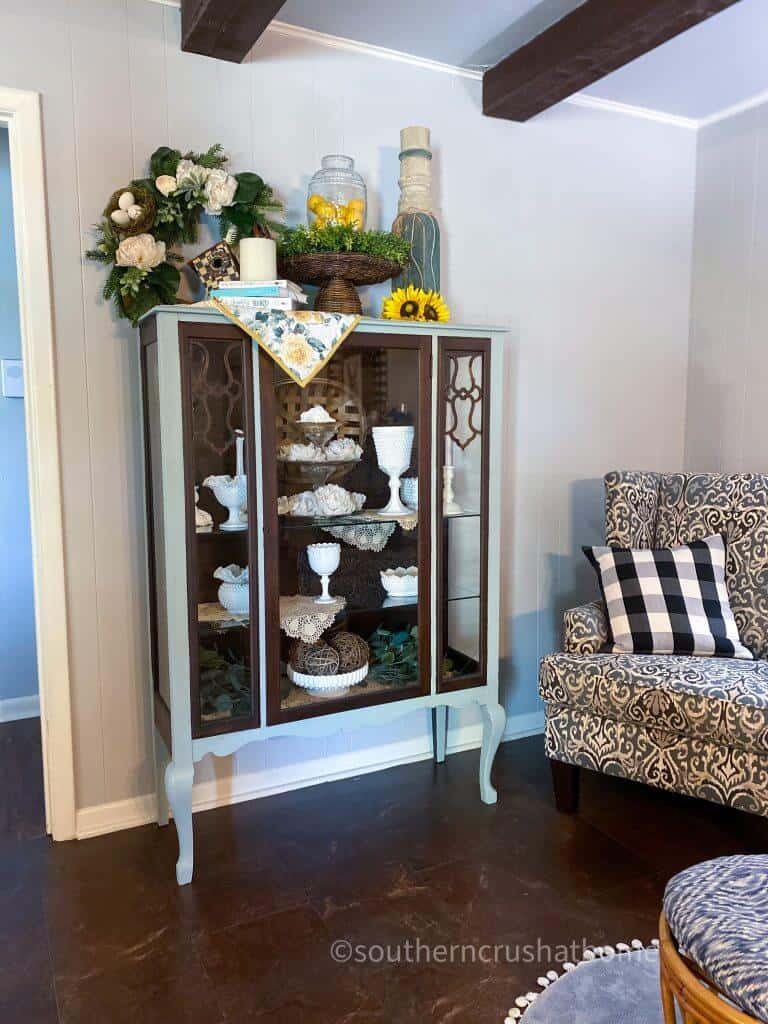
Doesn't this updated cabinet look so pretty lit up? I had a little fun decorating the top of the cabinet too with my thrift store wreath.
BE SURE TO CHECK OUT THESE OTHER VINTAGE DIY ideas!
GET DIY EMAILS
If you love DIYs and Ideas like these as well as seeing all the fun things I find out shopping, you need to be getting my emails, my friend! Each week I send out a couple of emails that include updates, crafts, shopping experiences, and decor inspiration. Be sure to get yourself signed up below. I can’t wait to meet you!

DIY Vintage Cabinet Makeover
Equipment
- paint brush
Materials
- Vintage Cabinet
- Chalk Paint
- Painter's Tape
- TSP
- Old Rag
Instructions
- Give the entire cabinet a good cleaning using TSP.
- Tape off the edges of the cabinet where it meets the glass.
- Use light, even strokes to paint the cabinet. Let dry.
- Repeat with 2-3 coats of paint allowing the paint to dry between coats.
- Remove the painter's tape.
- Decorate your beautiful vintage cabinet!
love the cabinet so prwtty
thank you!