Showstopper Spring Front Door Wreath Idea
Create a show-stopping spring front door wreath with this fun and easy project. This DIY wreath is perfect for welcoming in the new season!

As the days get warmer and the weather becomes more pleasant, it's the perfect time to start thinking about how you can update your home's exterior for spring. One easy way to do this is by adding a beautiful wreath to your front door.
In this blog post, we'll show you how to create a showstopping spring wreath using a gorgeous metal umbrella with a decoupage technique and silk flowers. So if you're looking for some inspiration, keep reading!
If you have visited the blog before, you know I love to make wreaths. They are actually one of my favorite crafts to make!
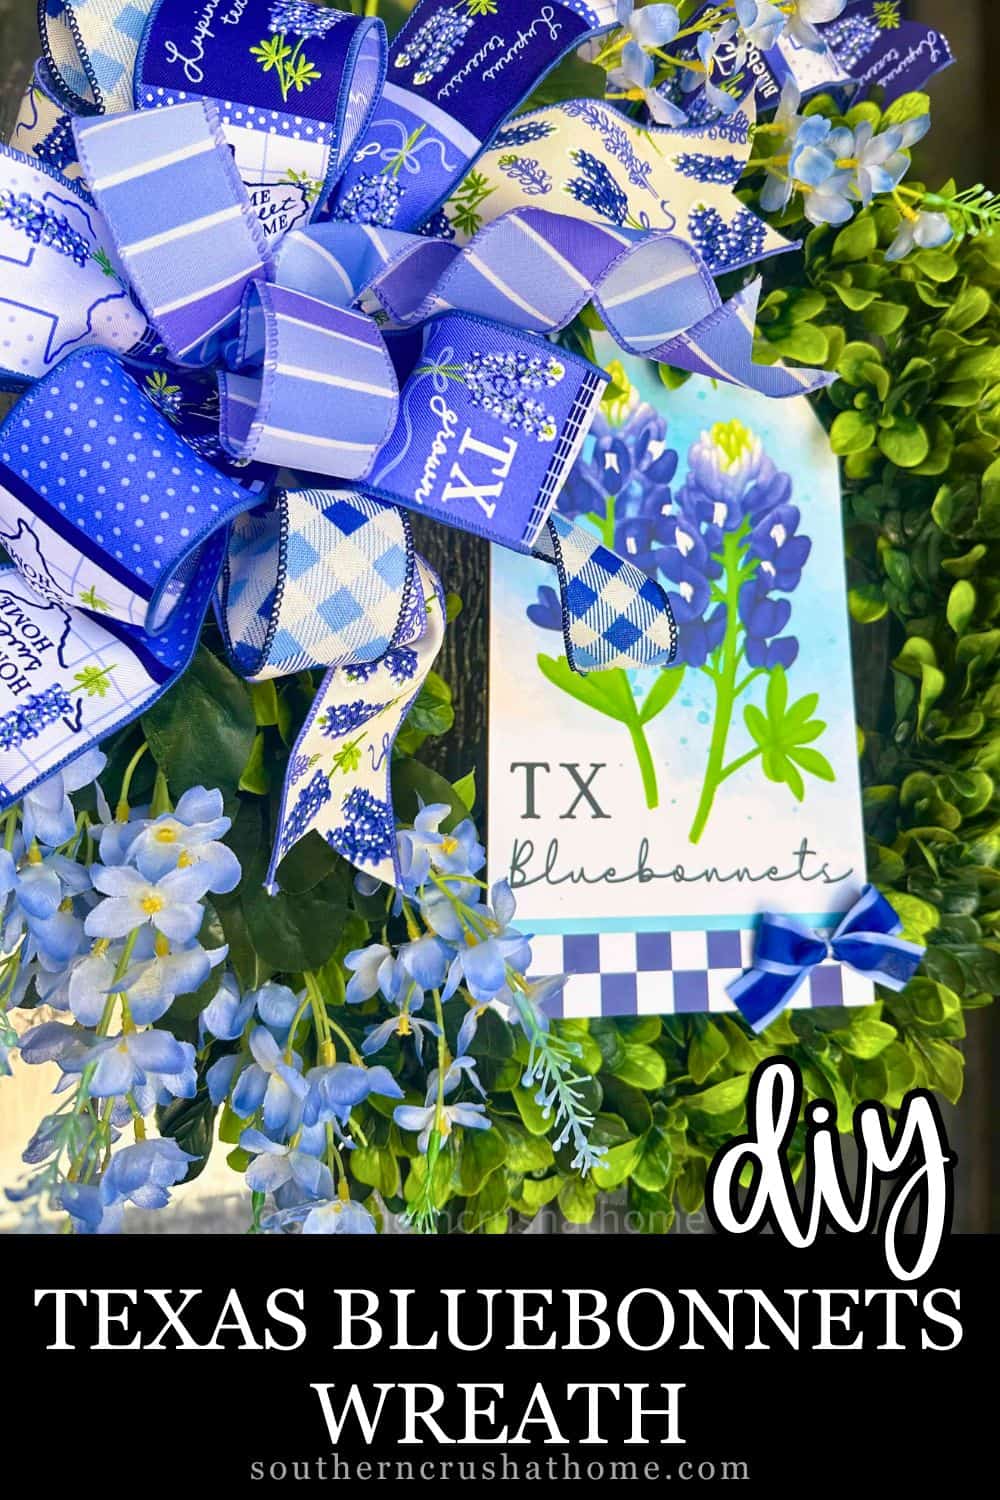
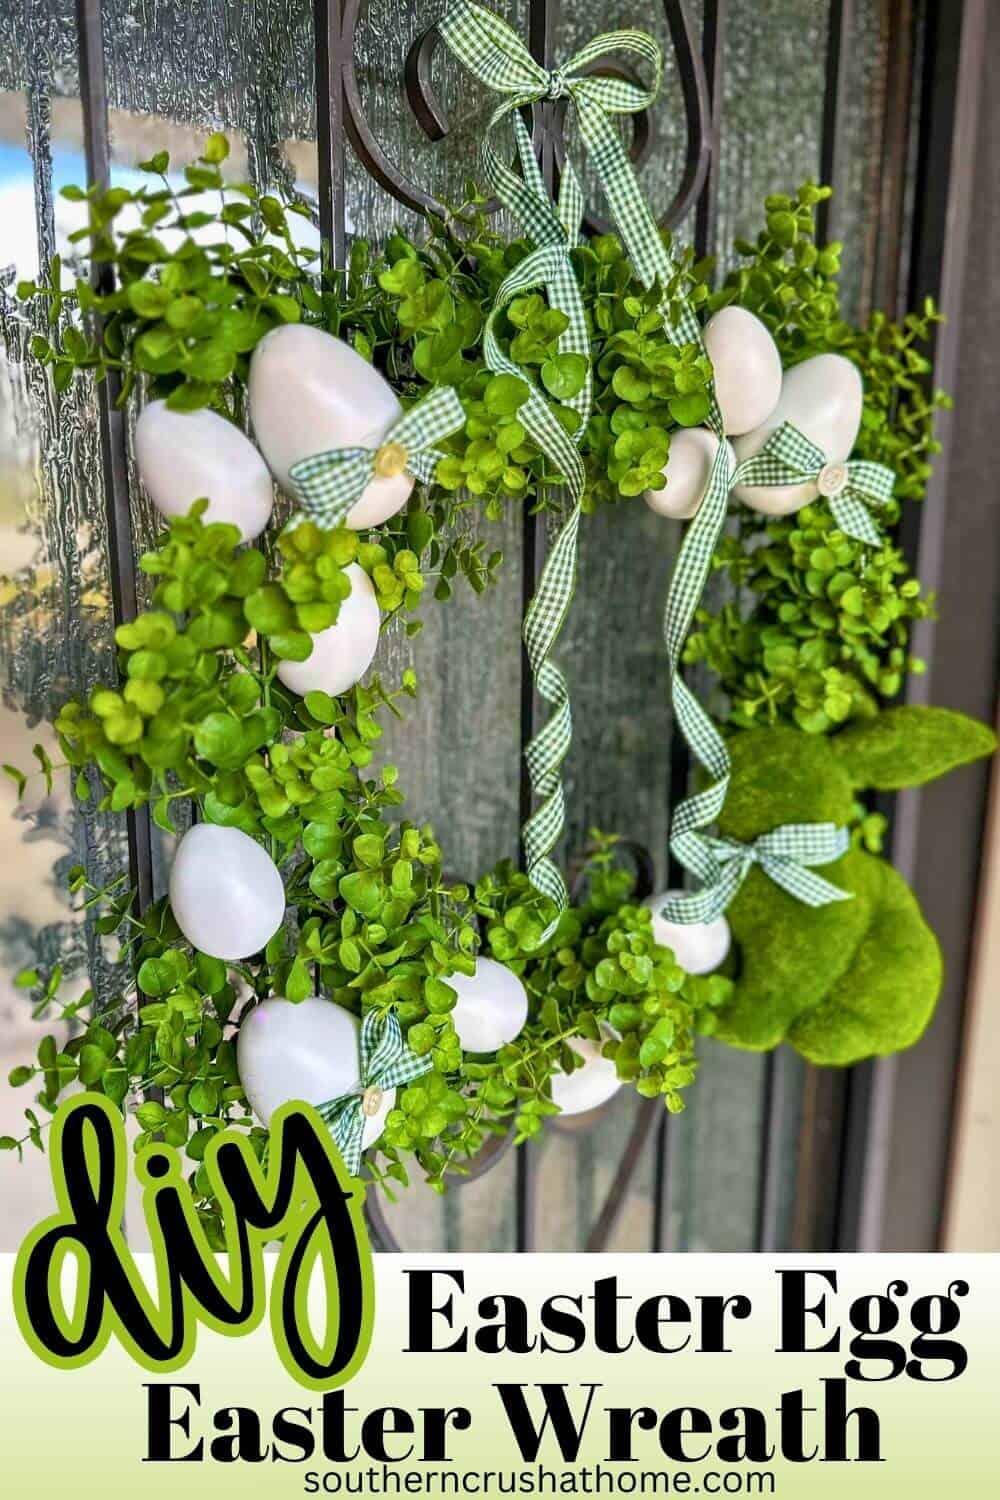
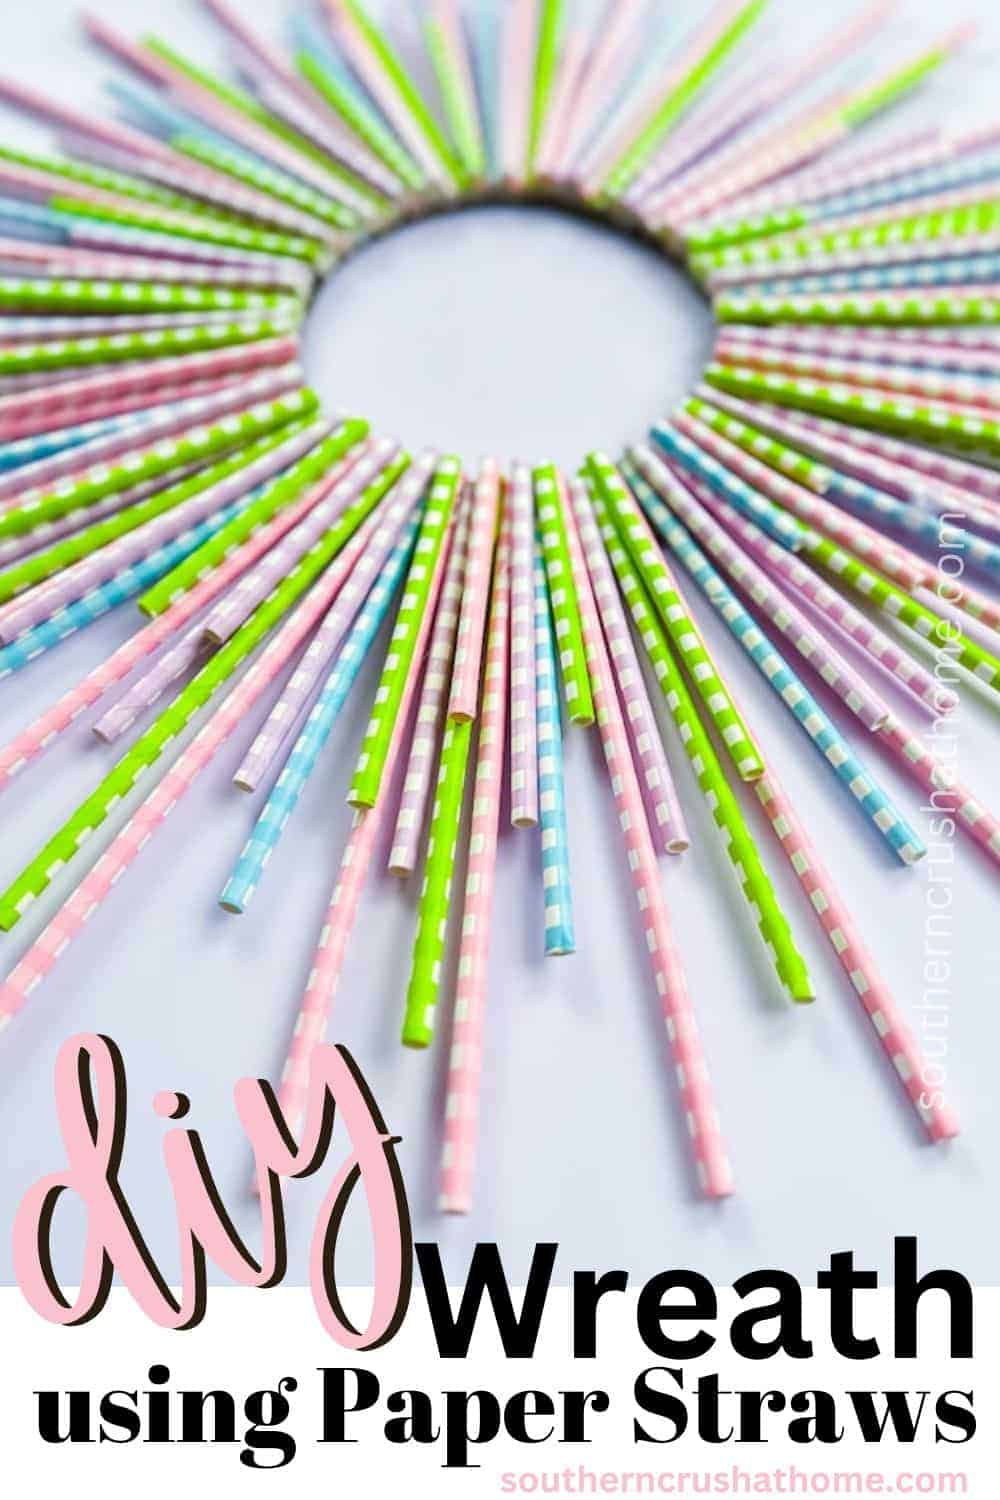
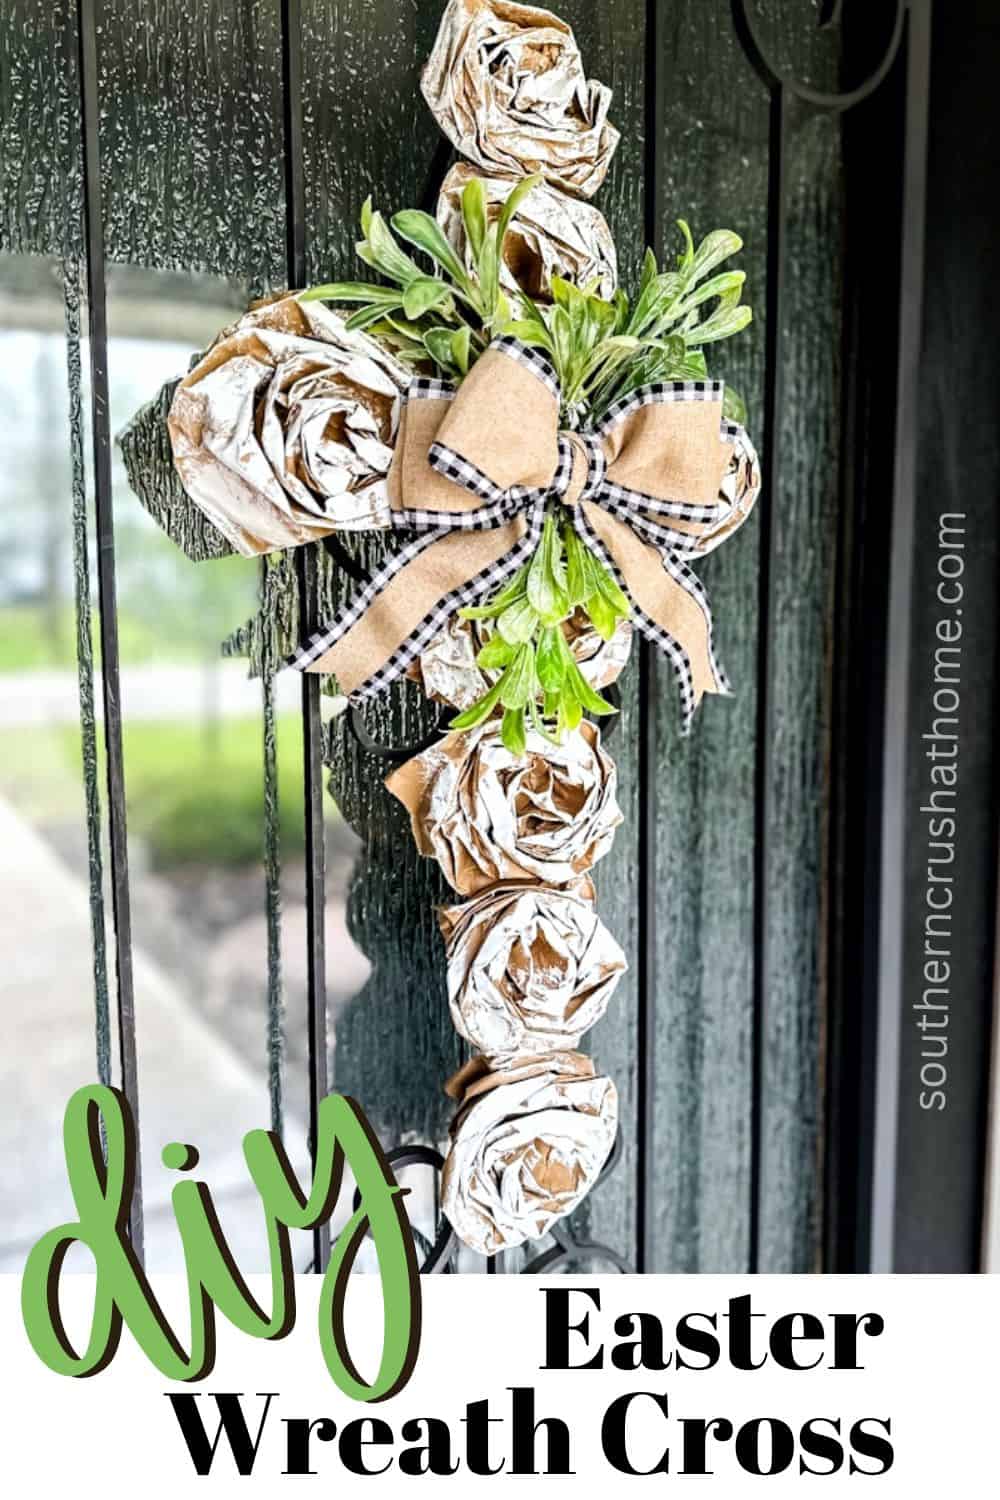
Take a look at several other DIY WREATHS I've shared:


This blog post contains affiliate links. The opinions are wholly my own from my own experience. I may earn a small commission from clicks through to the websites that end in a purchase.
Are you ready to see the easy steps to make this gorgeous wreath? Let's get to it!
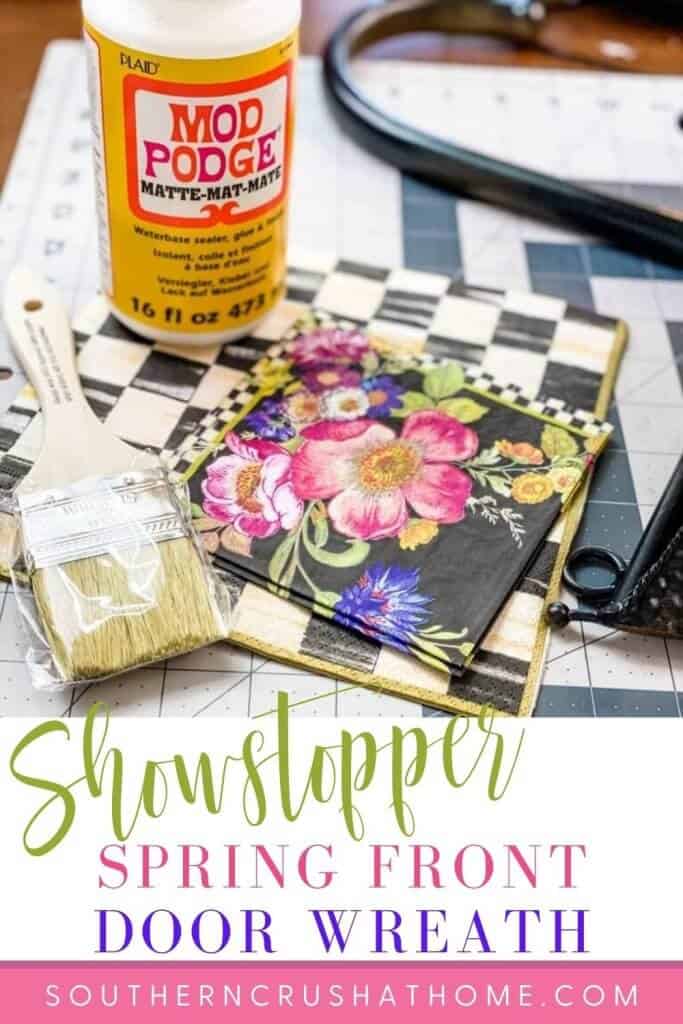
Supplies for Spring Front Door Wreath
All the supplies needed can be found HERE in my Amazon Shop!
- Mod Podge
- Spring Flowers
- Cardboard
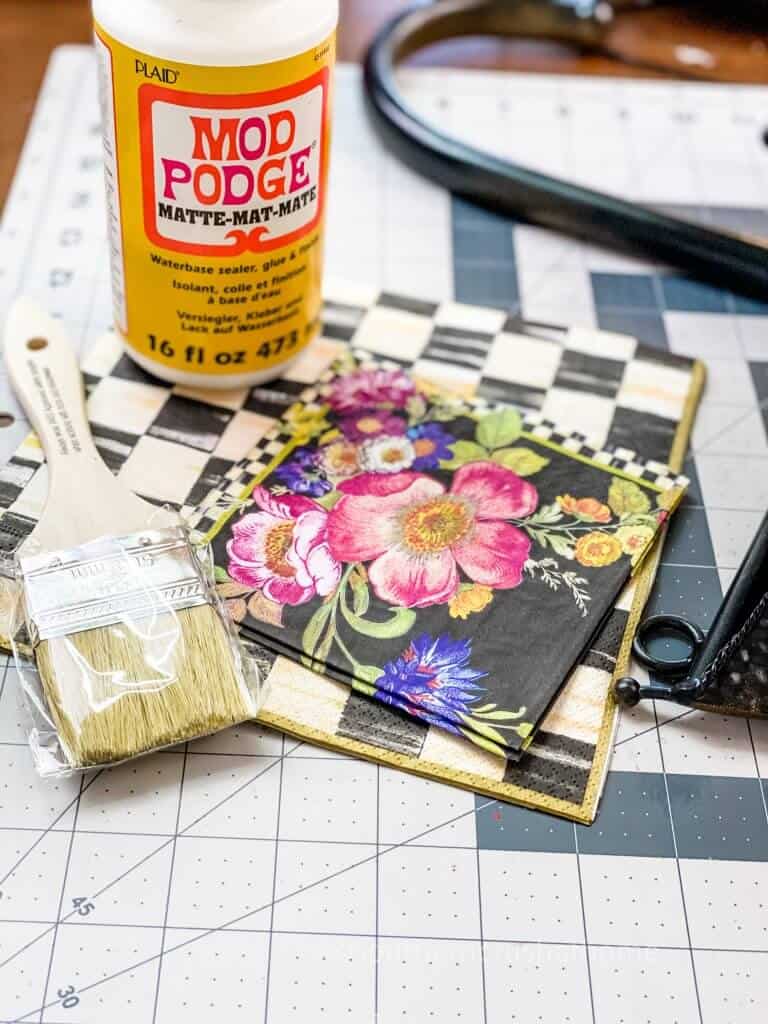
- Assorted Napkins – in complementary patterns
- Rotary Cutter
- Paint Brush
- Metal Umbrella – thrift store
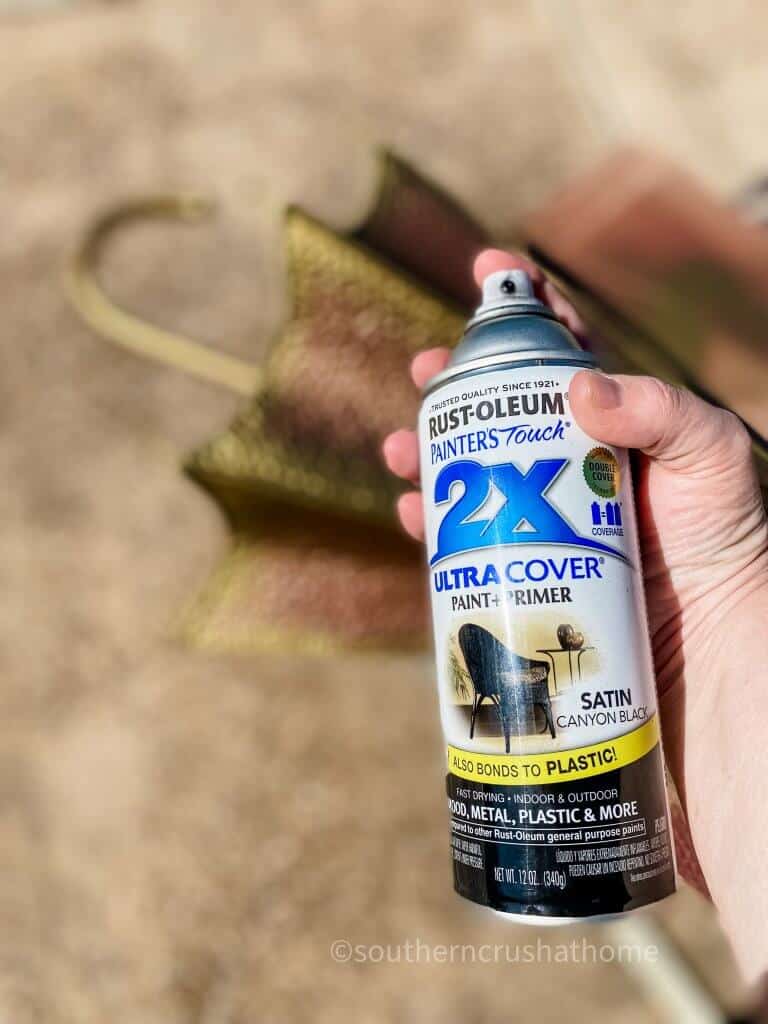
- Rustoleum Spray Paint
- Clear Adhesive
Step by Step Video Tutorial
If you want to see the exact step-by-step process, be sure to check out this video tutorial below over on my YouTube Channel!
How to Make a Spring Front Door Wreath
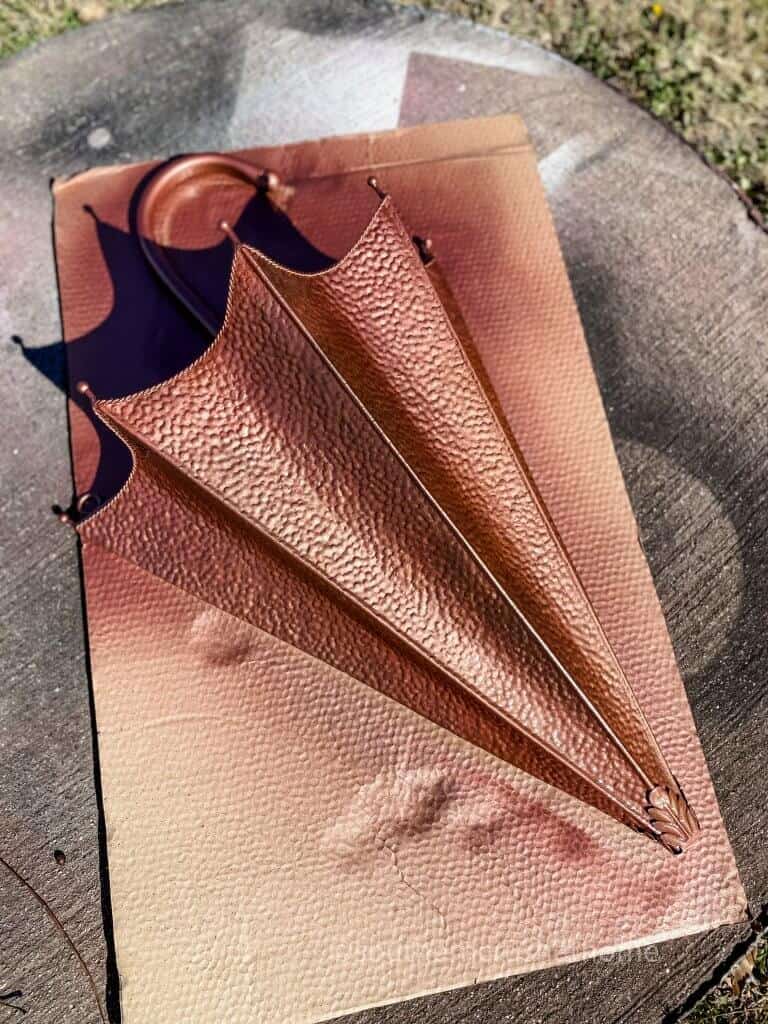
Step 1 Spray Paint Container
Start by spray painting the umbrella on a piece of cardboard in a well-ventilated area.
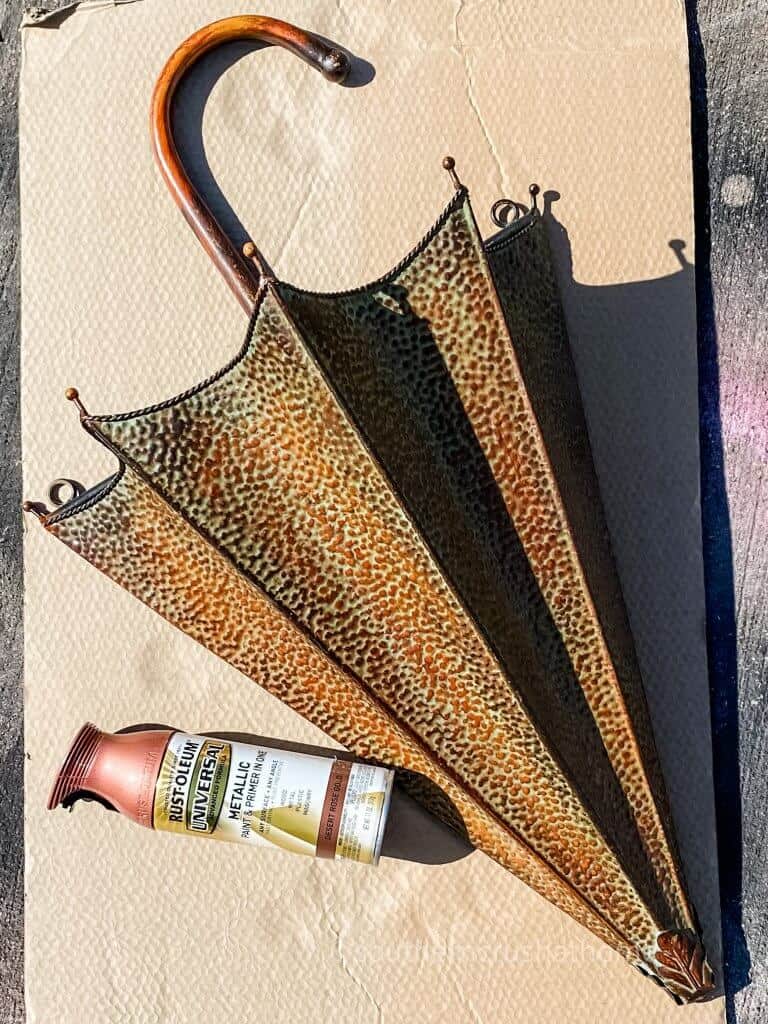
I used a pretty rose gold copper color with a built-in primer. This will allow the napkins that I will be adding to stand out a bit more.
Step 2 Adding Accent Paint
Be sure to spray paint the top and inside of the umbrella so it looks more finished. I added a gold brass color here for more interest.
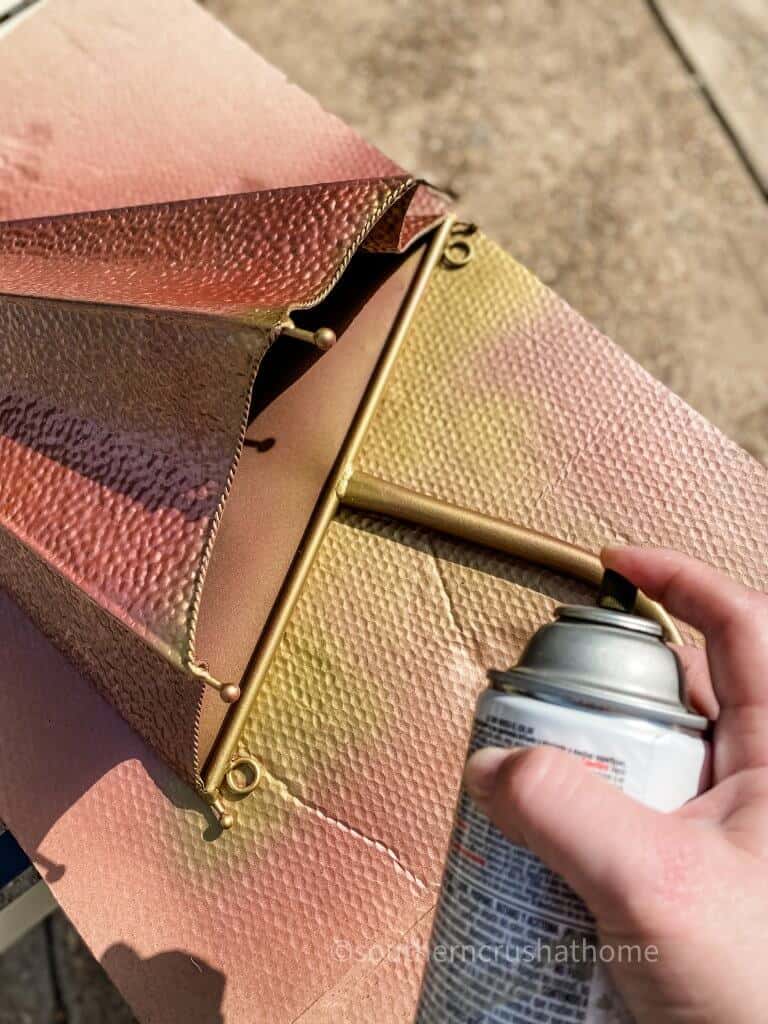
I ended with a few pops of black spray paint to cover the handle and edges.
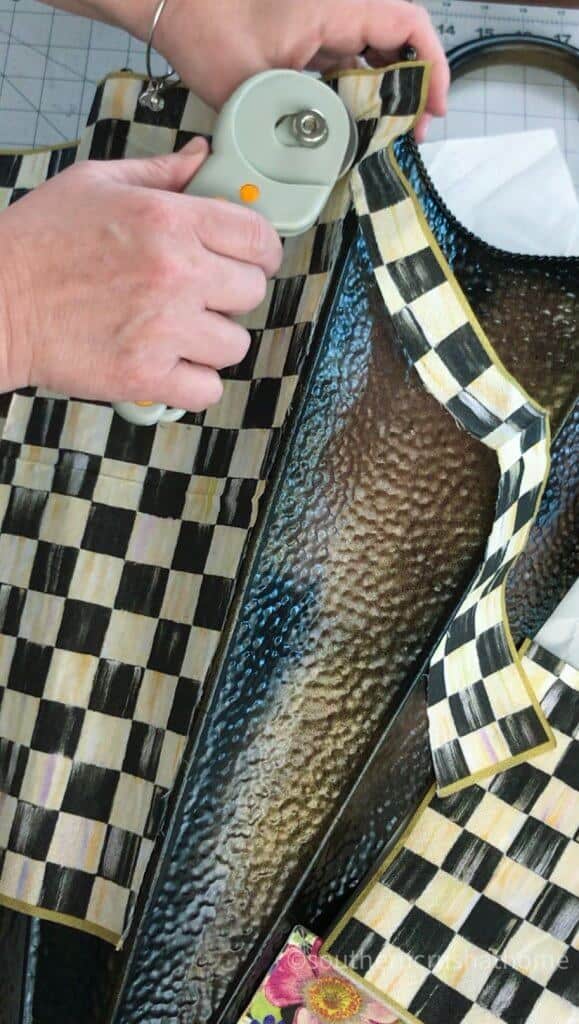
Step 3 Cutting Napkins to Fit Container
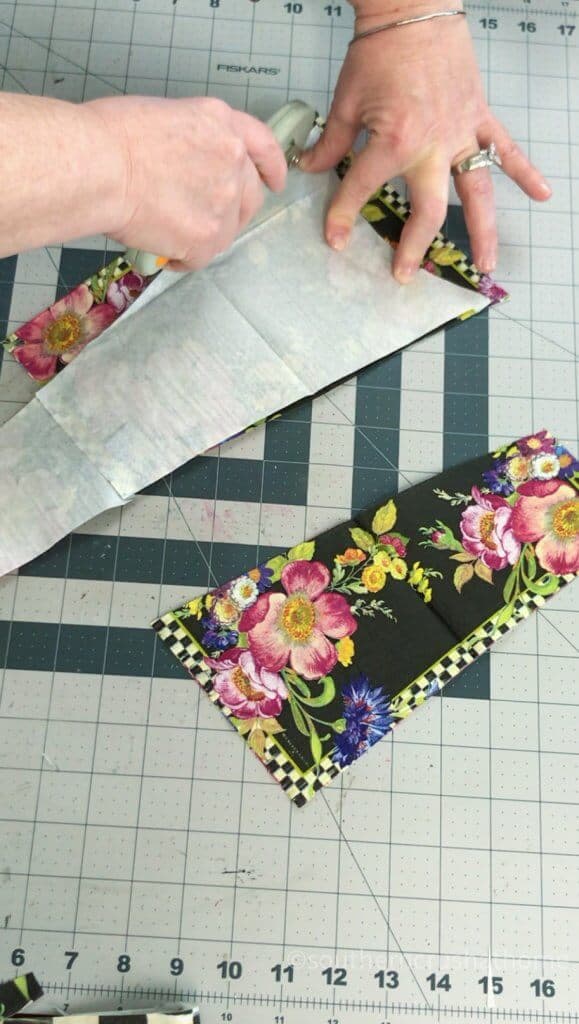
Step 4.
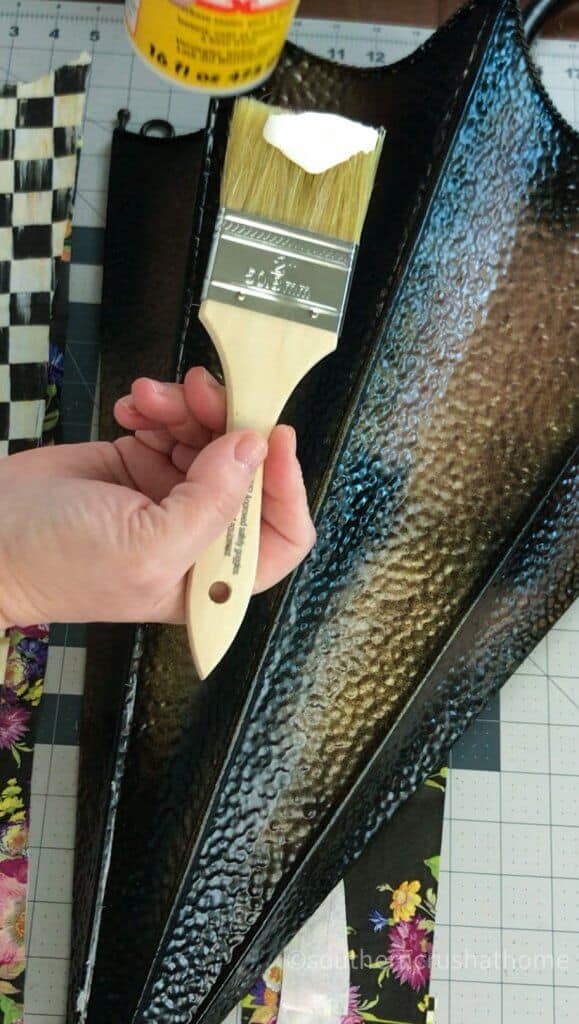
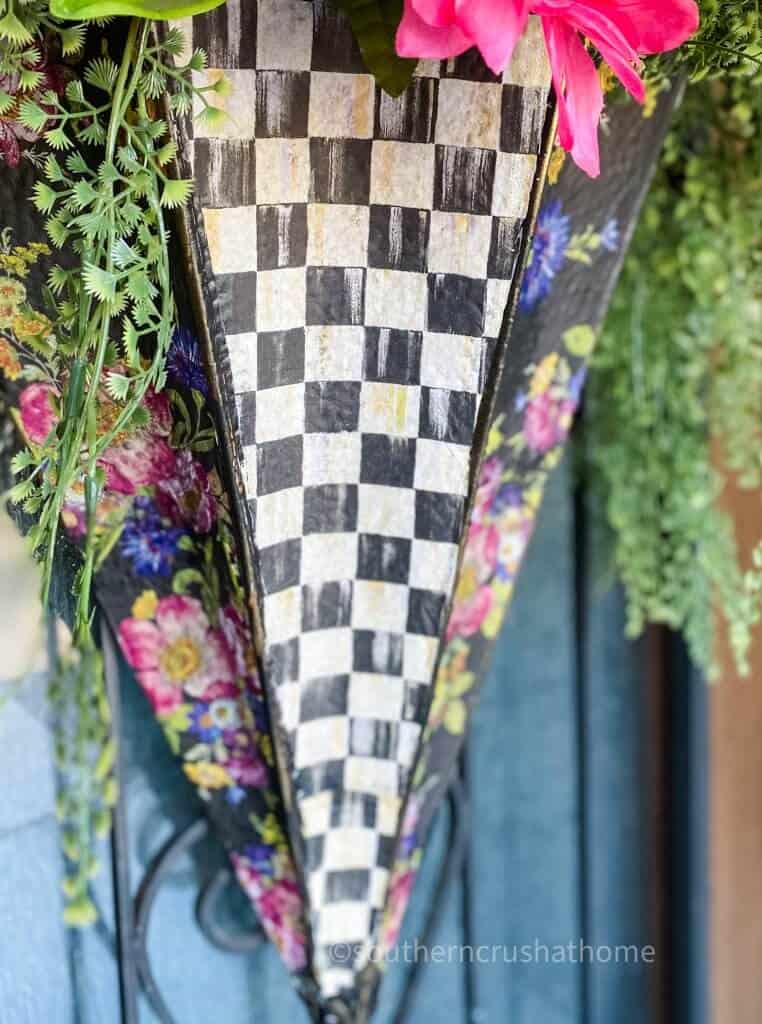
Step 5 Mod Podge the Napkins onto Container
Place the cut napkin onto the mod podge area of the umbrella.
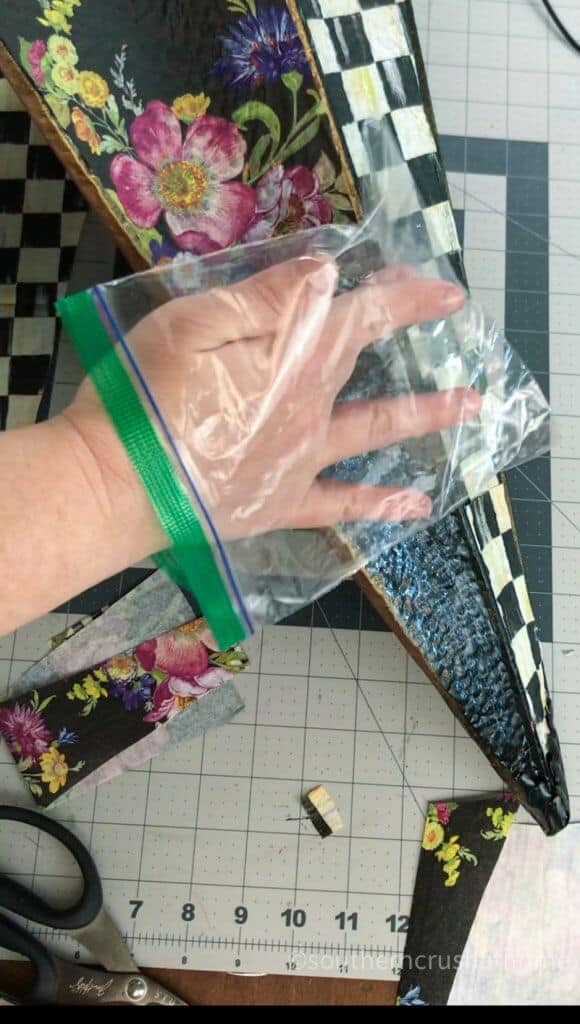
QUICK TIP: Use a plastic baggie over your hand to easily smooth out any wrinkles. This will also help avoid any tearing of the napkin.
Step 6 Trimming Napkins
Continue to add each section of mod podge and decorative napkins and trim off any excess with your rotary cutter.
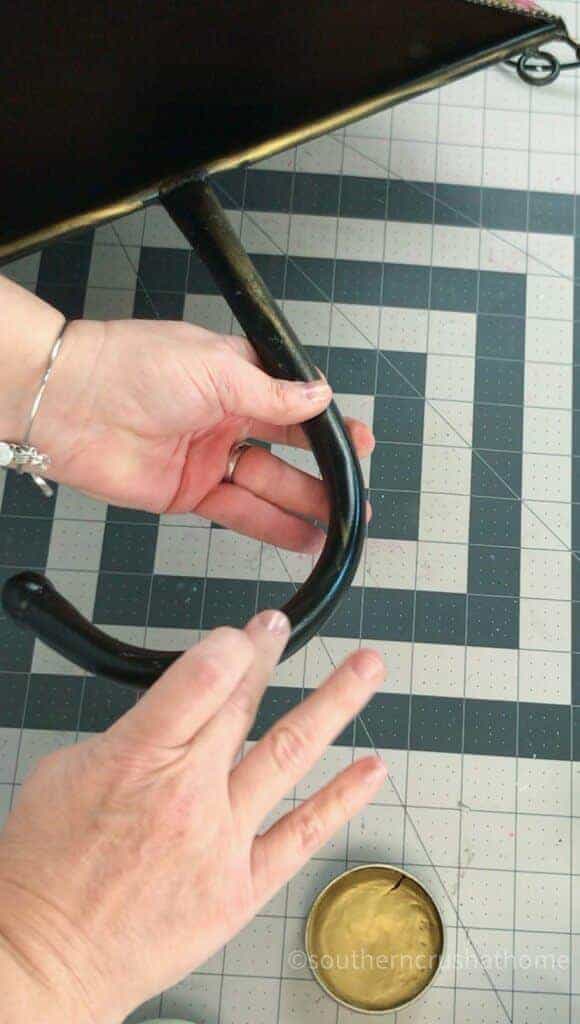
Step 7 Adding Accent Gold
Add a bit of gold wax to the metal of the umbrella, including the handle. This gives it a nice bit of dimension and texture.
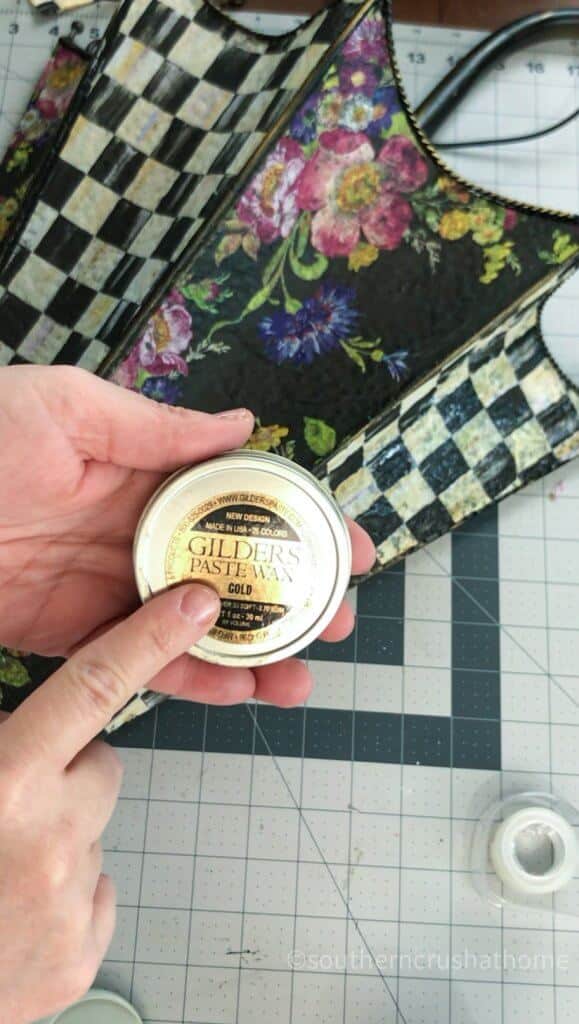
Just use your fingertip to spread the gold paste onto the umbrella. You can immediately see a difference. It really makes the area you use it on pop!
To give even more dimension to the napkins, I added some gold wax and a few white paint accents to areas of the wreath as well. This makes it look more aged.
Step 8 Protect the Container
To protect your front door wreath from the elements, be sure to give it a couple of light coats of clear spray adhesive.
Step 9 Adding Flowers and Displaying Wreath
Add a bunch of complimentary spring flowers into the umbrella and prepare to be wowed!
This spring wreath is ready for hanging. Look how pretty it looks on my front door:
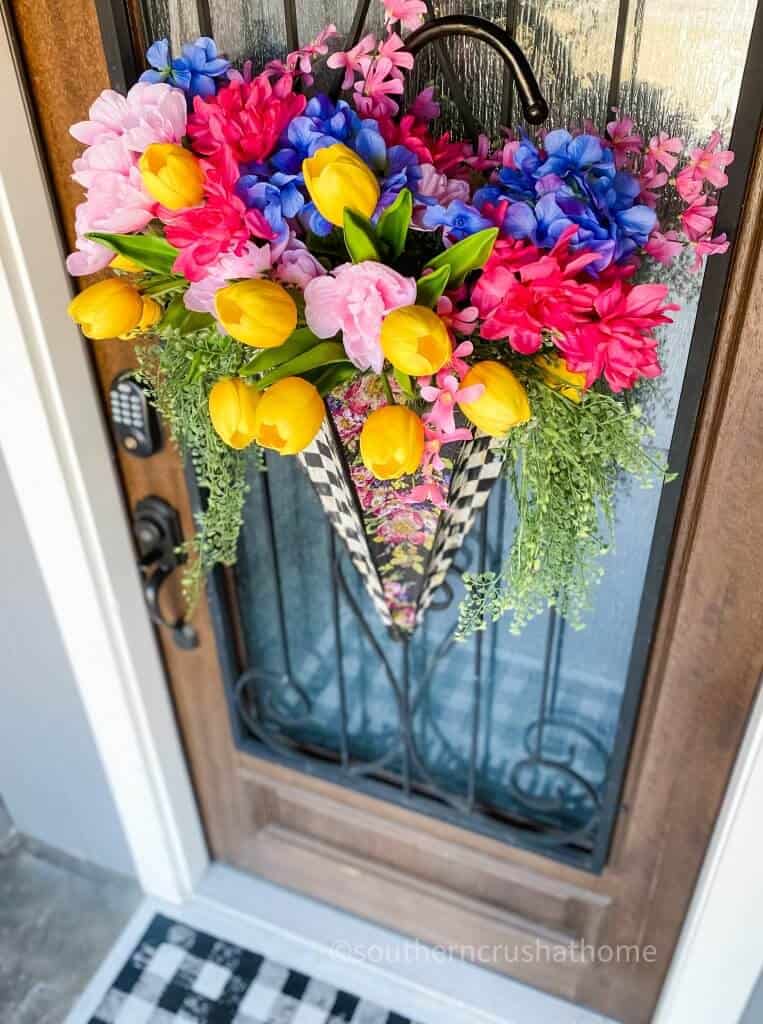
This is definitely a showstopper. Keep an eye out the next time you are thrifting. You never know what you will find!
I hope this post has inspired you to get creative with your front door decor this season!
Be Sure to Check Out These Other Spring DIY Ideas
PIN this for later!
#upcyclesquad collaboration
This post was part of an exciting collaboration with some of my favorite upcycling blogger friends. If you like this little DIY, then be sure to check out all of the other #upcyclesquad members' creative, amazing projects below. On the 4th Thursday each month, our squad will be sharing some awesome projects with you!
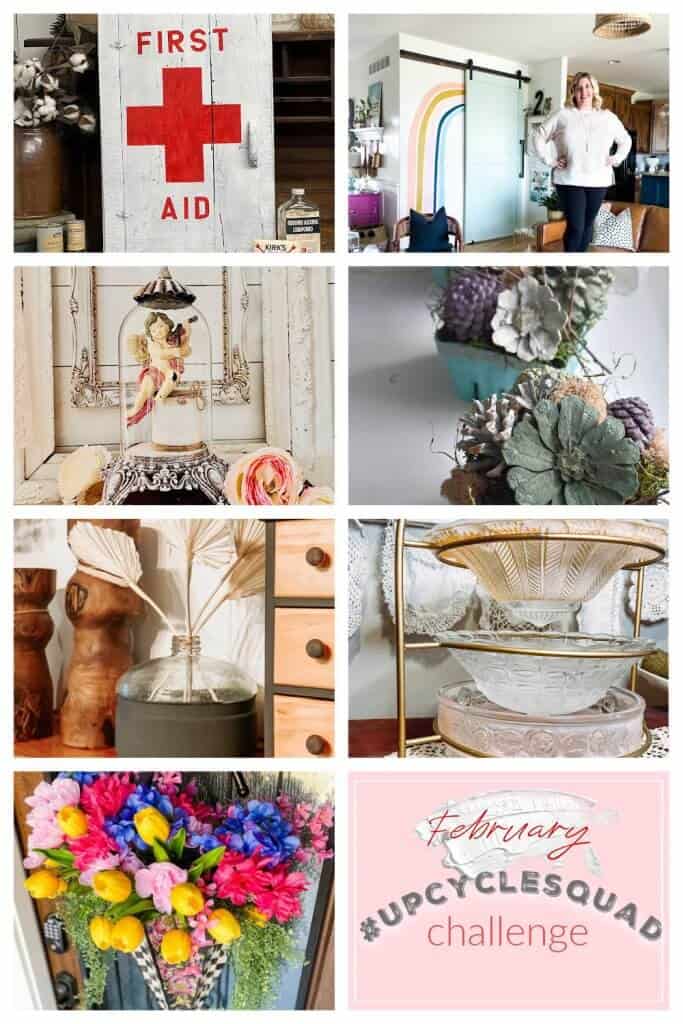
Brooke Johnson with The Junk Parlor
Sometimes you find a plain cabinet that could use a little something. And adding a First Aid Cross to a cabinet is about the easiest thing to do! Check it out!
Hilary Prall with Hilary Prall and co.
Looking for a way to add texture and warmth to your home, without spending a lot of money? Baskets are the number one décor item I recommend for this. They’re versatile, come in lots of shapes, sizes, and styles, and you can almost always find them at the thrift store—bonus!
Renee Cormier with Faux Your Eyes Only
Do you enjoy taking vintage items and turning them into something beautiful?? Then this DIY Shabby Chic Style Glass Cloche is the perfect DIY for you!!
Lora Bloomquist with Create and Ponder
How to easily make DIY pine cone succulents that look real.
Chasida Williams with Custom Southern Co.
Ever wonder how to repurpose ornate antique light globes or domes? I will show you one simple option here!
Tenneil Register with R7 Reclaimed
Skip the work of scrubbing on those old stained and dirty glass bottles. With a few strokes of paint turn those antique glass jugs into modern and sleek jugs for holding preserved or faux stems in your decor. Check out this fresh mantle decor update with just a few strokes of the brush.

Spring Front Door Wreath
Equipment
- Rotary Cutter
Materials
- Mod Podge
- Spring Flowers
- Cardboard
- Assorted Napkins
- Paint Brush
- Metal Umbrella
- Rustoleum Spray Paint
- Clear Adhesive
Instructions
- Paint the umbrella on a piece of cardboard
- Create a template of the umbrella sections using tissue paper.
- Place it onto your napkins or decoupage paper and use a rotary cutter to cut the shapes.
- Add mod podge to each section of the umbrella.
- Place the cut napkin onto the mod podge area of the umbrella and use a plastic bag to smooth out any wrinkles
- Add a bit of gold wax to the metal of the umbrella, including the handle.
- Add some gold wax and a few white paint accents to areas of the wreath as well.
- Fill your wreath with assorted spring flowers and hang!
Such a fun project! I love the colors and graphic design of the paper! Would look great on any door for Spring!
It was fun to upcycle! Thank you!
Definitely a show stopper!
Awe! Thank you sweet friend!
I love the colors you picked to go on the umbrella!
You’re so sweet! Thank you!
This is so bright & cheerful! I can’t wait to check out your other wreath tutorials too!
Yay! I’m glad you like it! Thank you so much!
This is such an amazing transformation! Thank you for the inspiration ????????????
You’re so welcome! I’m so glad you like it!
This turned out so bright and cute, Melanie! Happy Spring creative wreath idea, indeed!
Thank you so much! I appreciate your kind words!