Easy Spring Wreath with Dollar Tree Carrot
Spring is upon us, and what better way to welcome this season than with a cute DIY project that transforms your front door with a pop of color and joy? Today, I’m excited to share a delightful, budget-friendly craft that’s as fun to make as it is to display: an Easy Spring Wreath featuring an adorable Dollar Tree carrot with fabric ruffles.

PIN this for later!
This project is perfect for crafters of all levels and lends a whimsical touch to any door or wall, welcoming springtime with open arms.
This blog post contains affiliate links. The opinions are wholly my own from my own experience. I may earn a small commission from clicks through to the websites that end in a purchase.
Supplies You’ll Need to Make a Spring Wreath
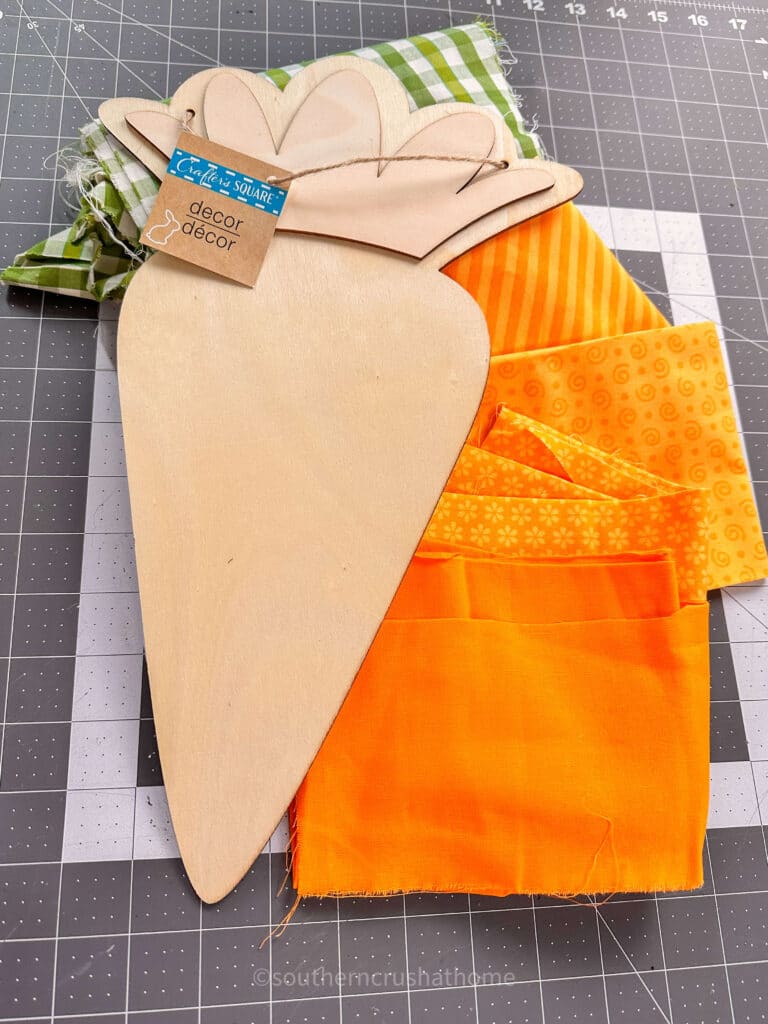
First things first, let’s talk supplies. The beauty of this project lies in its simplicity and affordability. You’ll need:
- A trip to your local Dollar Tree (or any dollar store) for a wooden carrot blank.
- Assorted scrap fabrics. These are readily available at craft stores and fabric stores. Choose a variety of mix and match patterns in a singular color theme.
- Fabric scissors
- Hot Glue
- Optional embellishments: ribbon for a bow, bling, a basket and some tulips.
Step-by-Step Creation of Dollar Tree Carrot with Ruffles
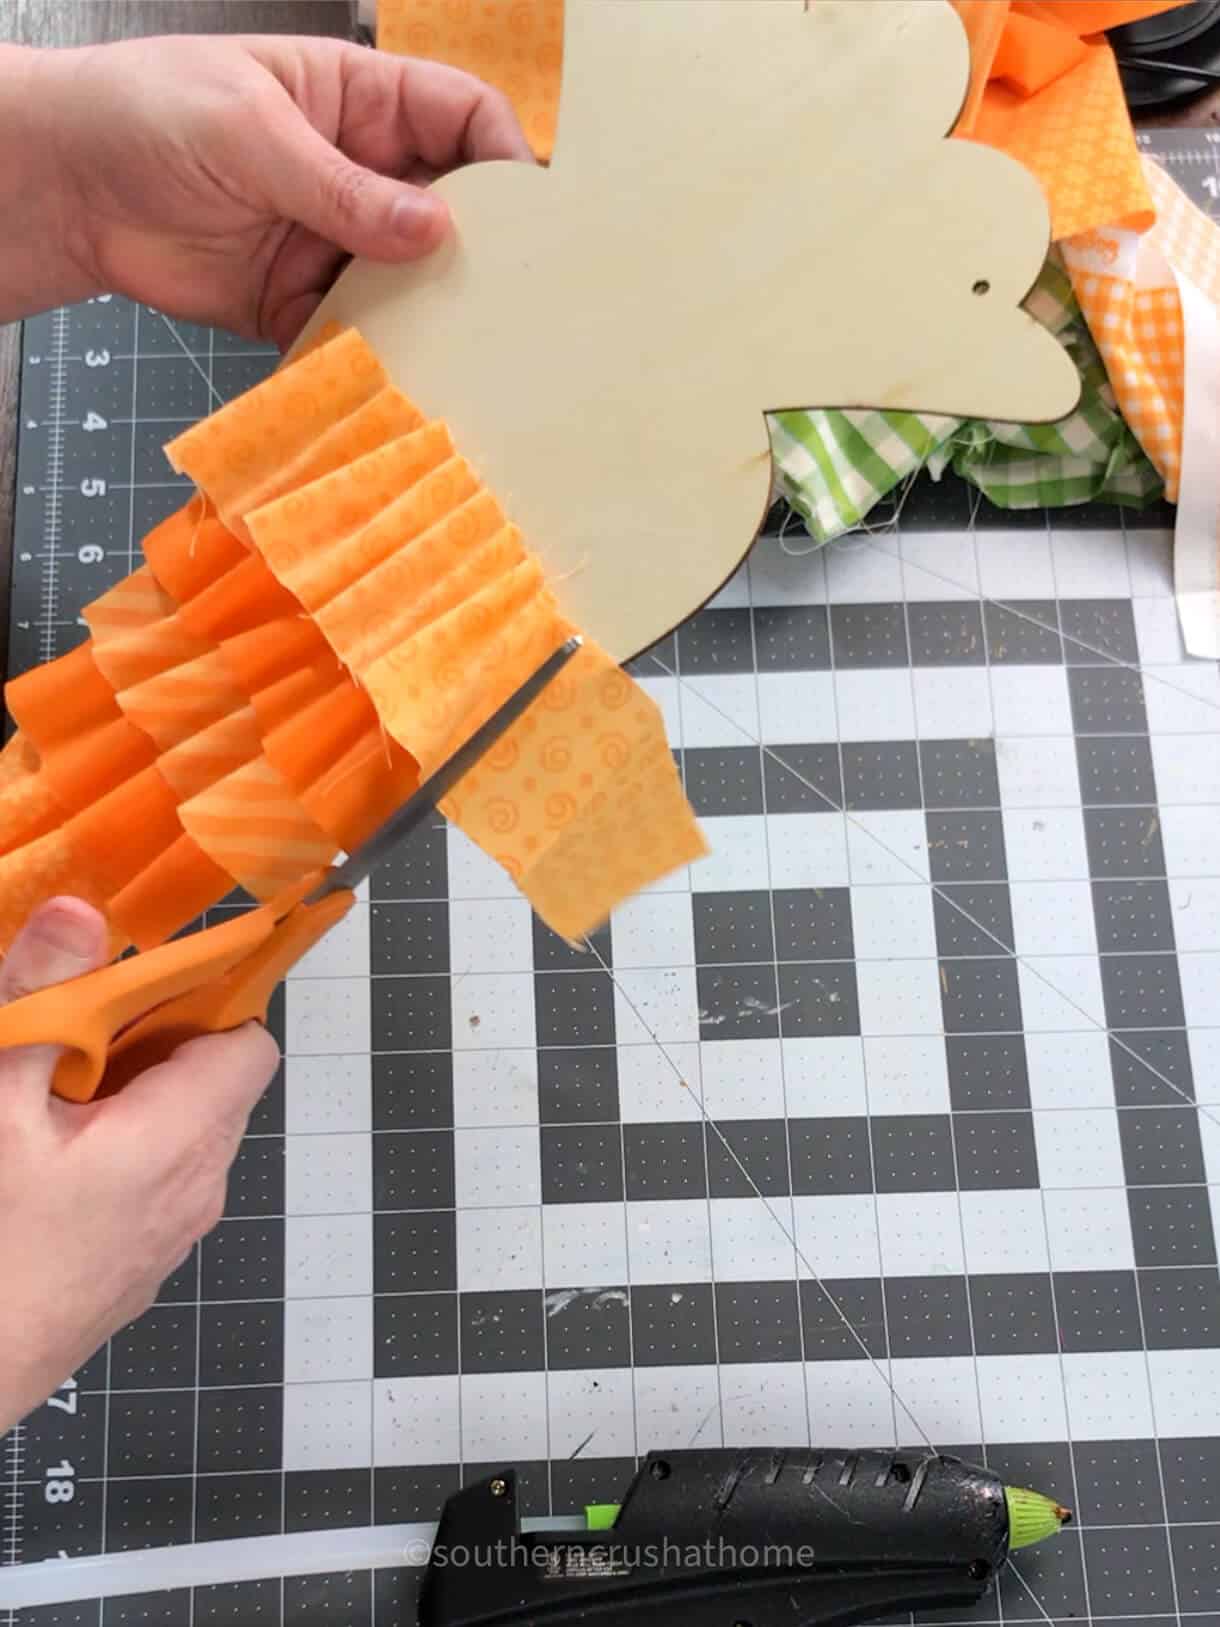
Step 1: Cut Your Fabric into 2″ wide Strips
Lay down your carrot and decide on the arrangement of your fabric patterns before cutting strips.
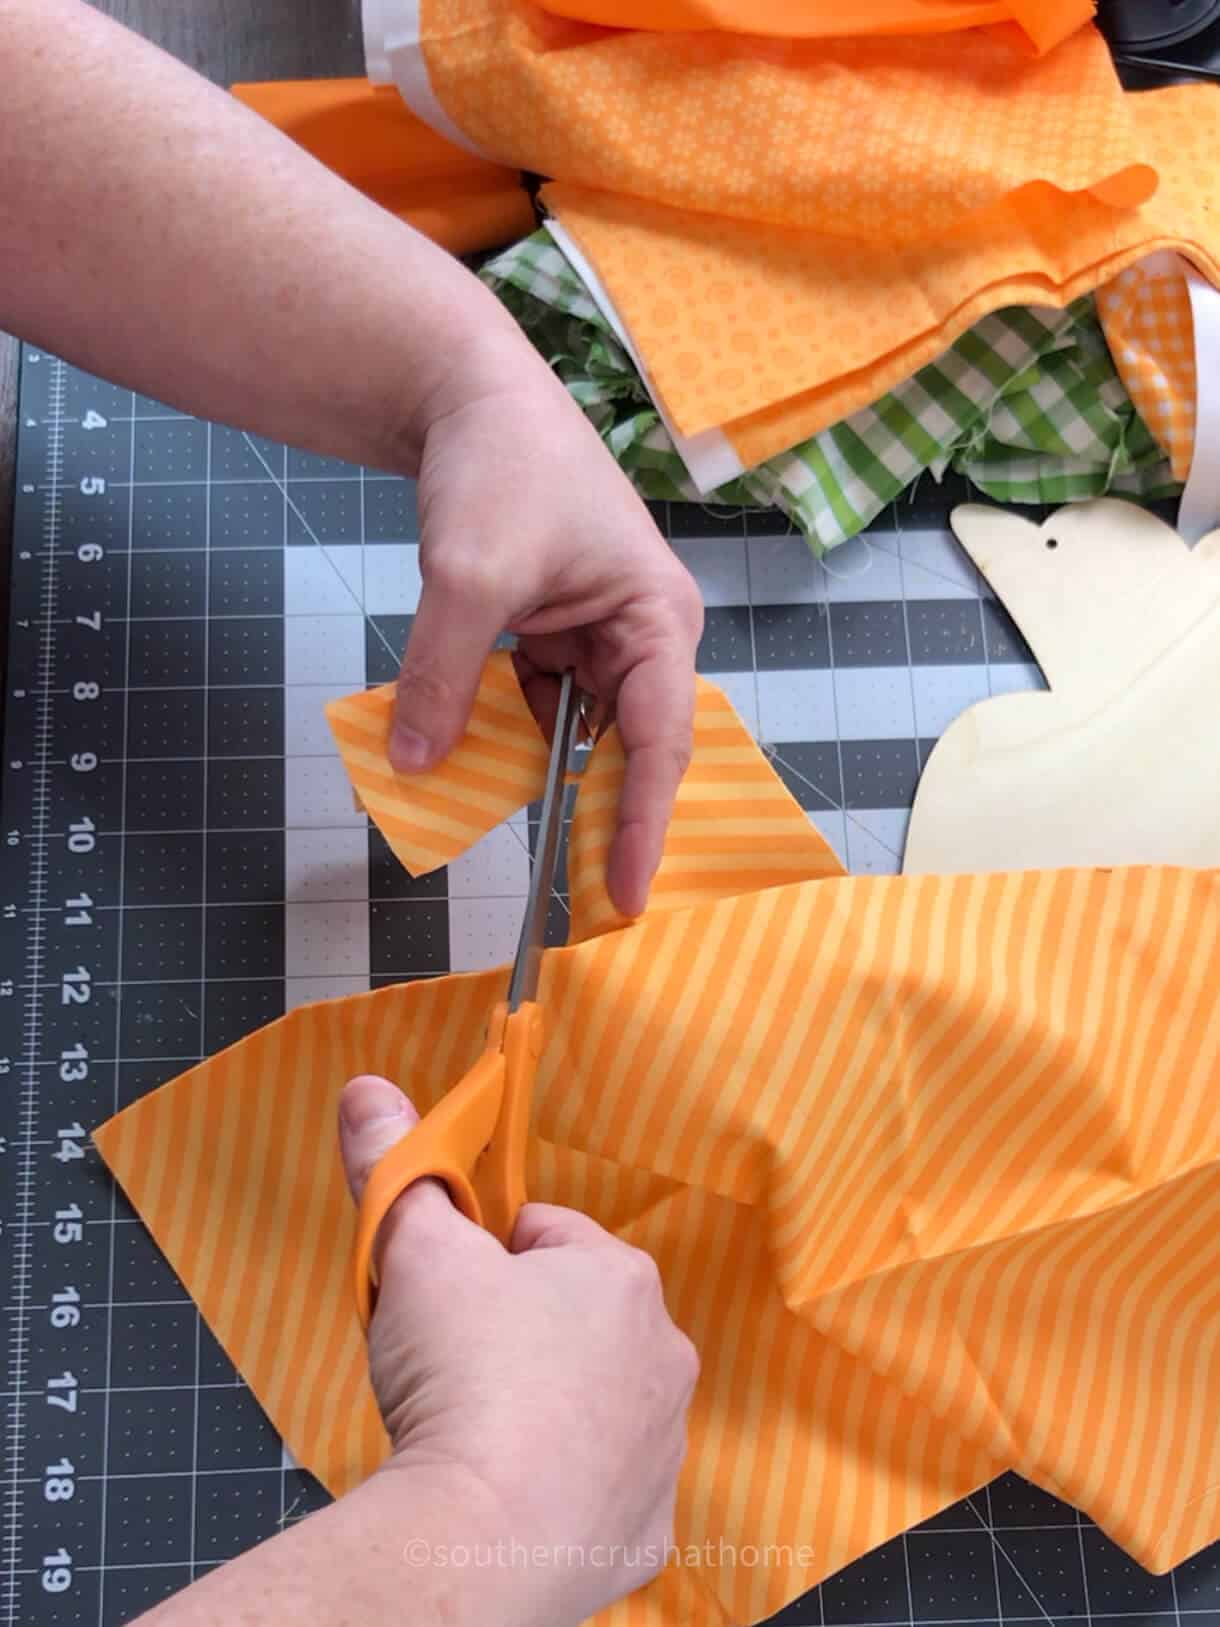
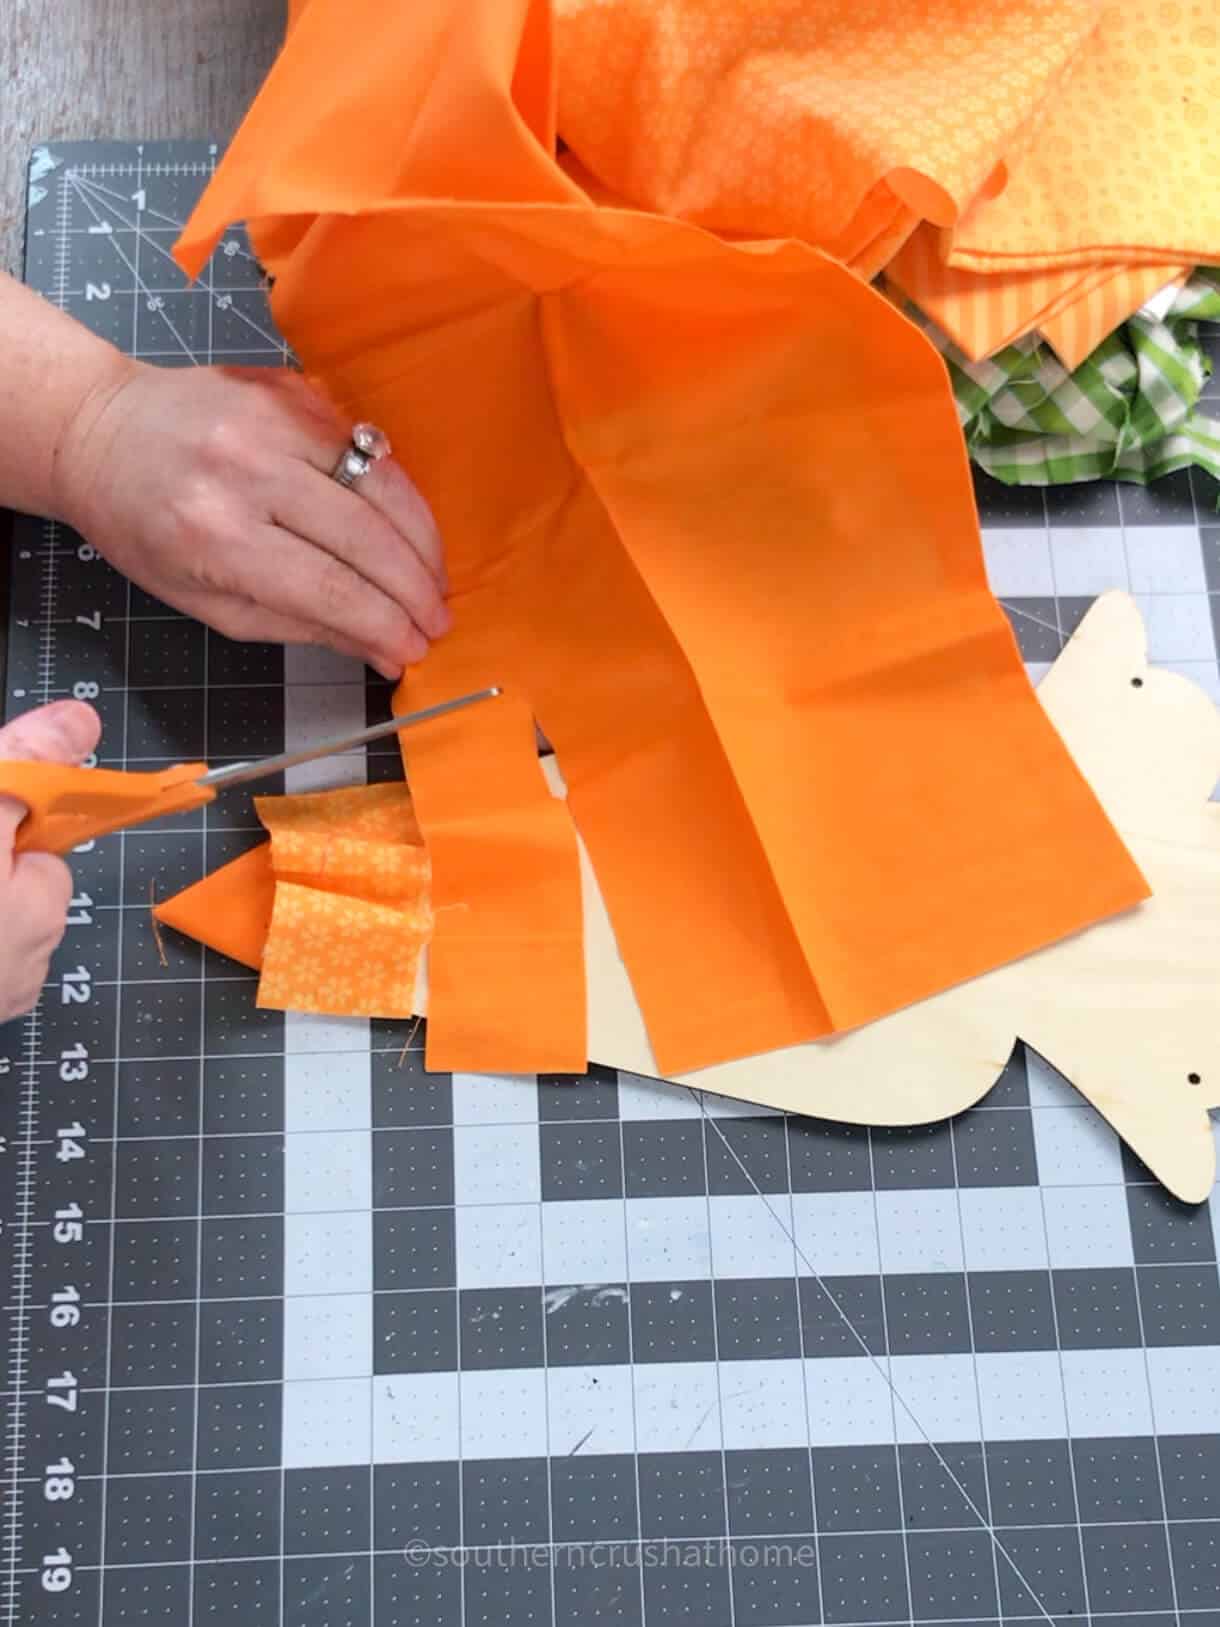
You might want colors that are evenly spaced or perhaps in a more whimsical, clustered pattern. This is where your creativity shines!
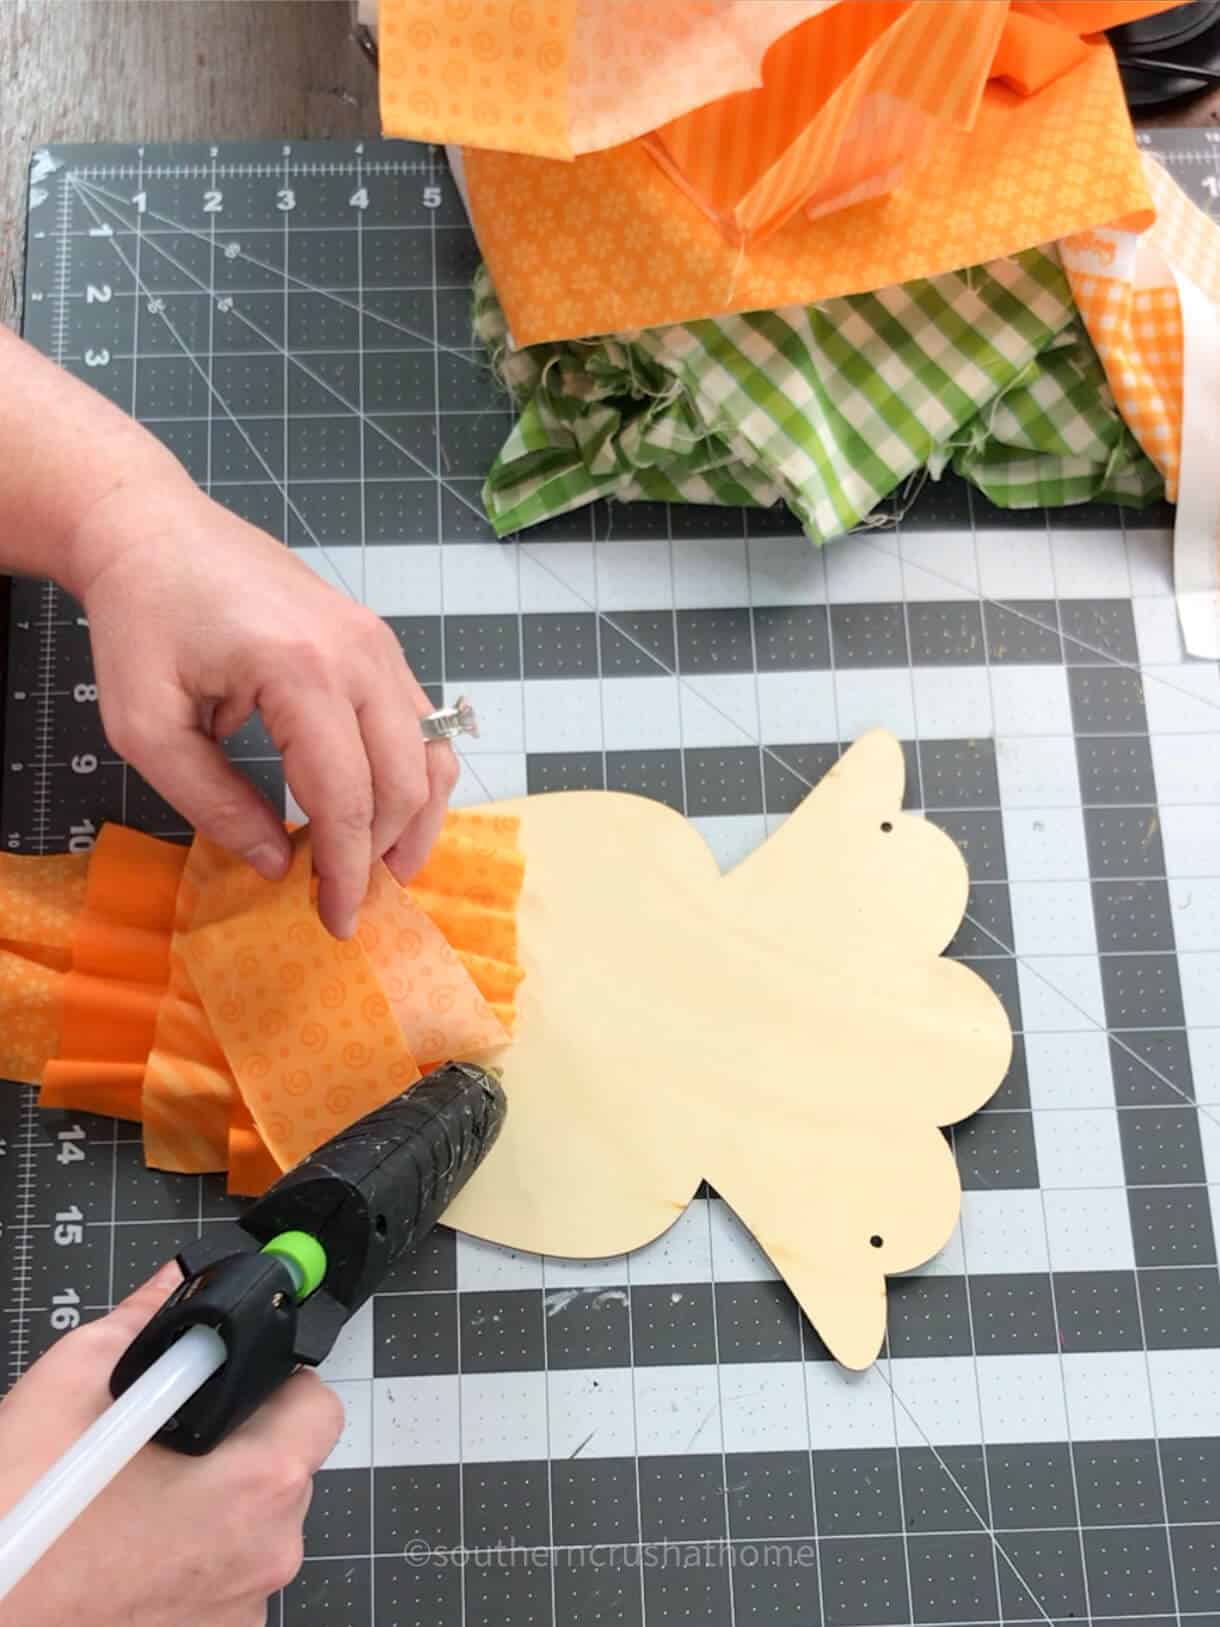
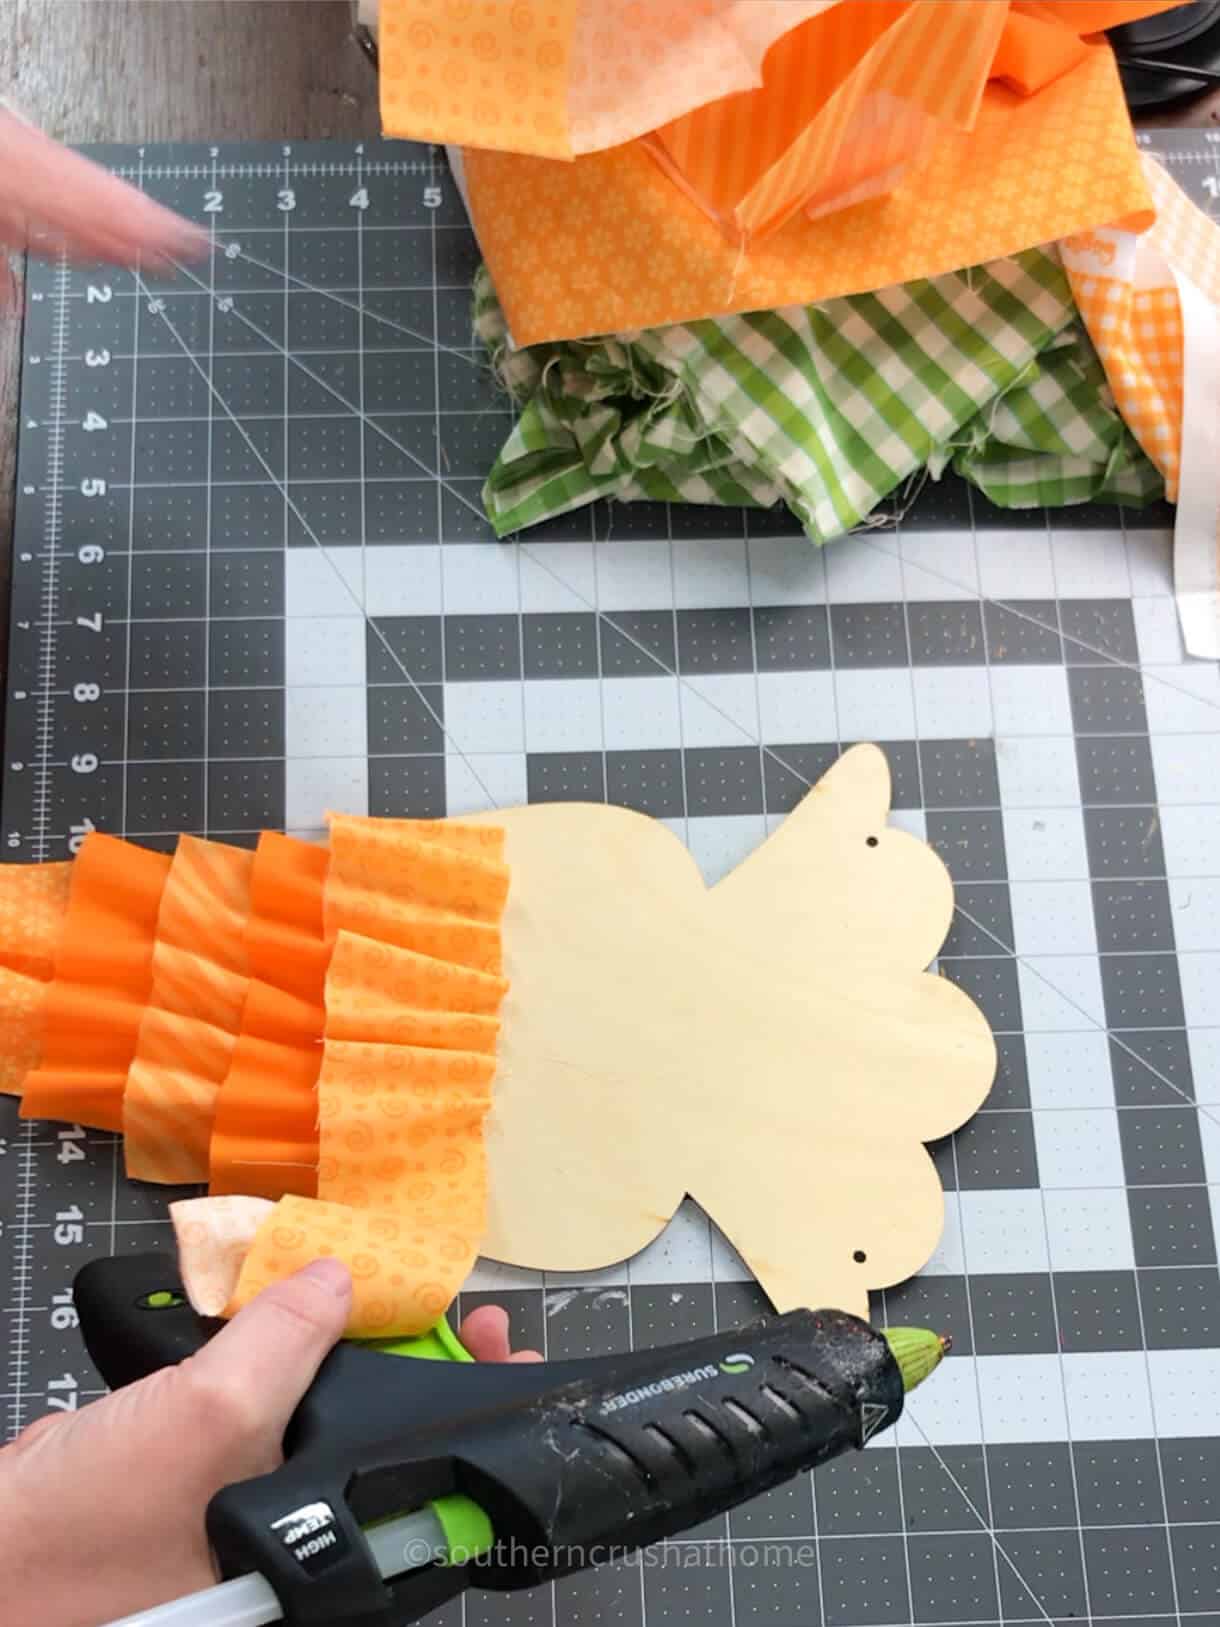
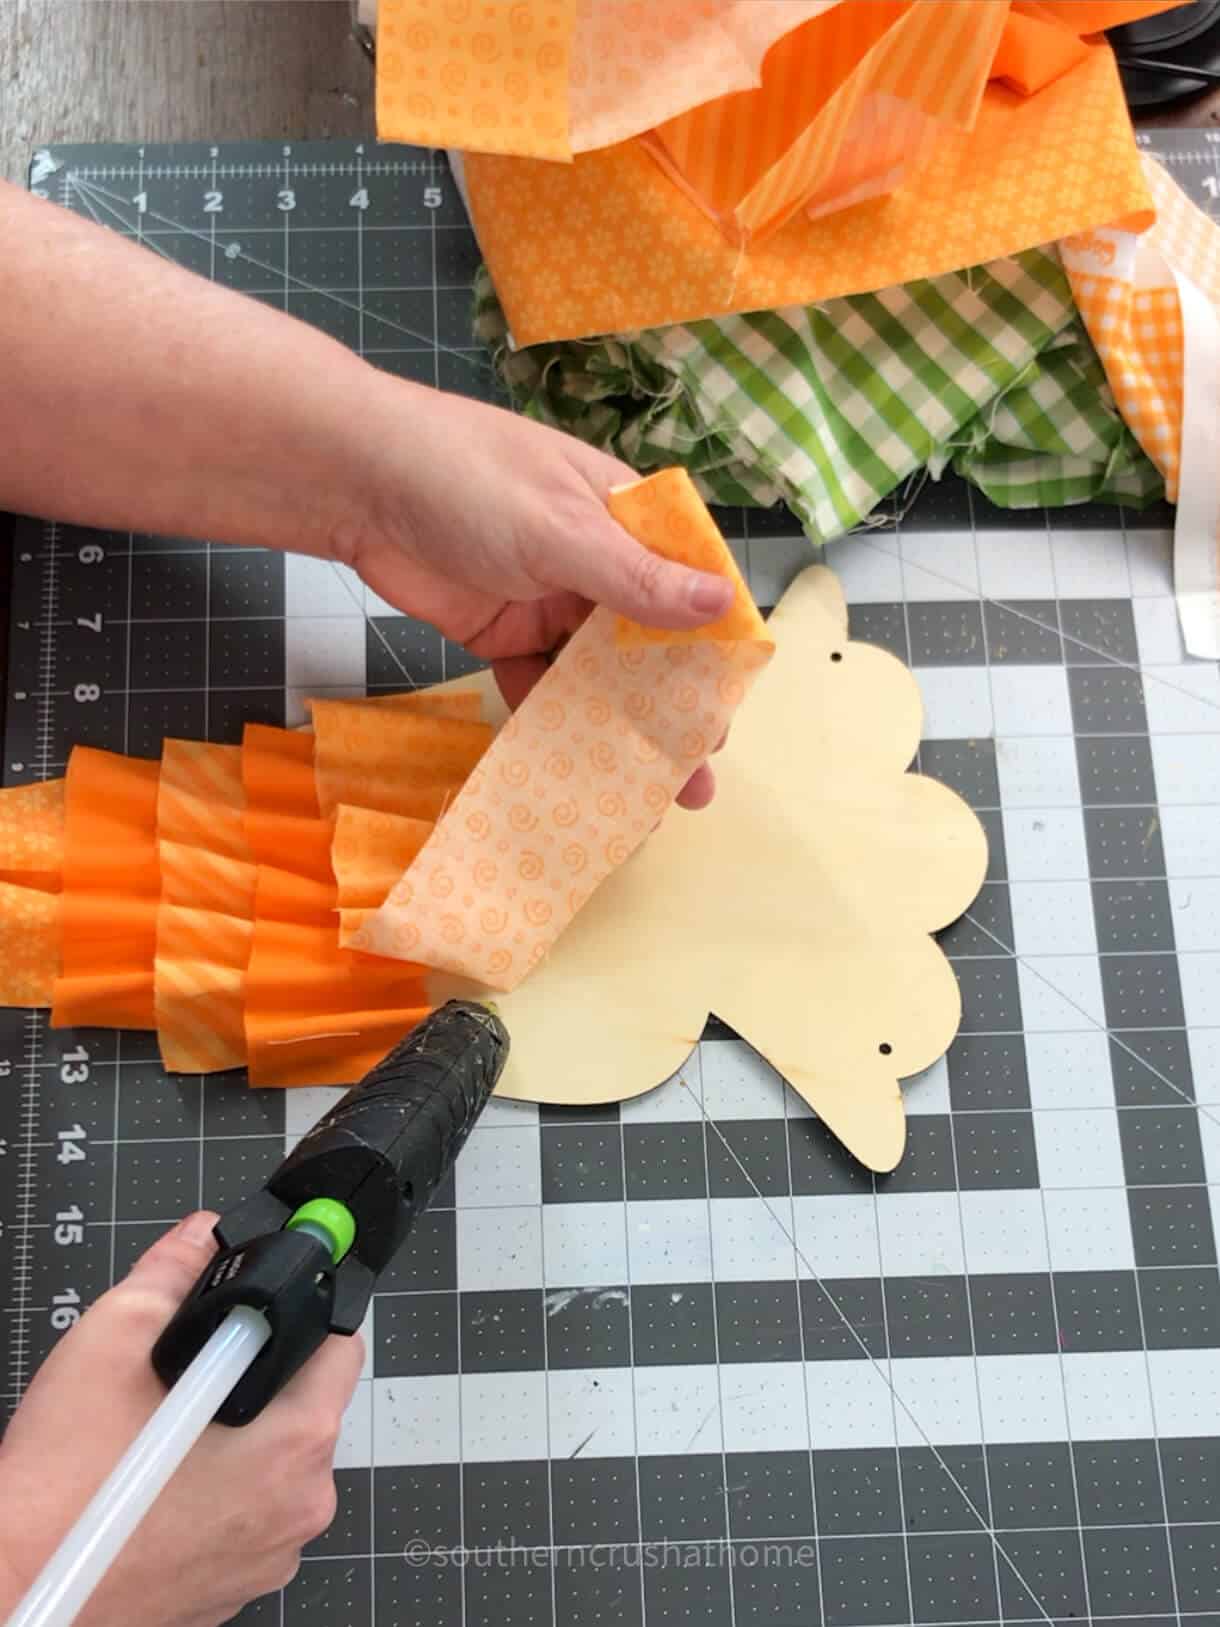
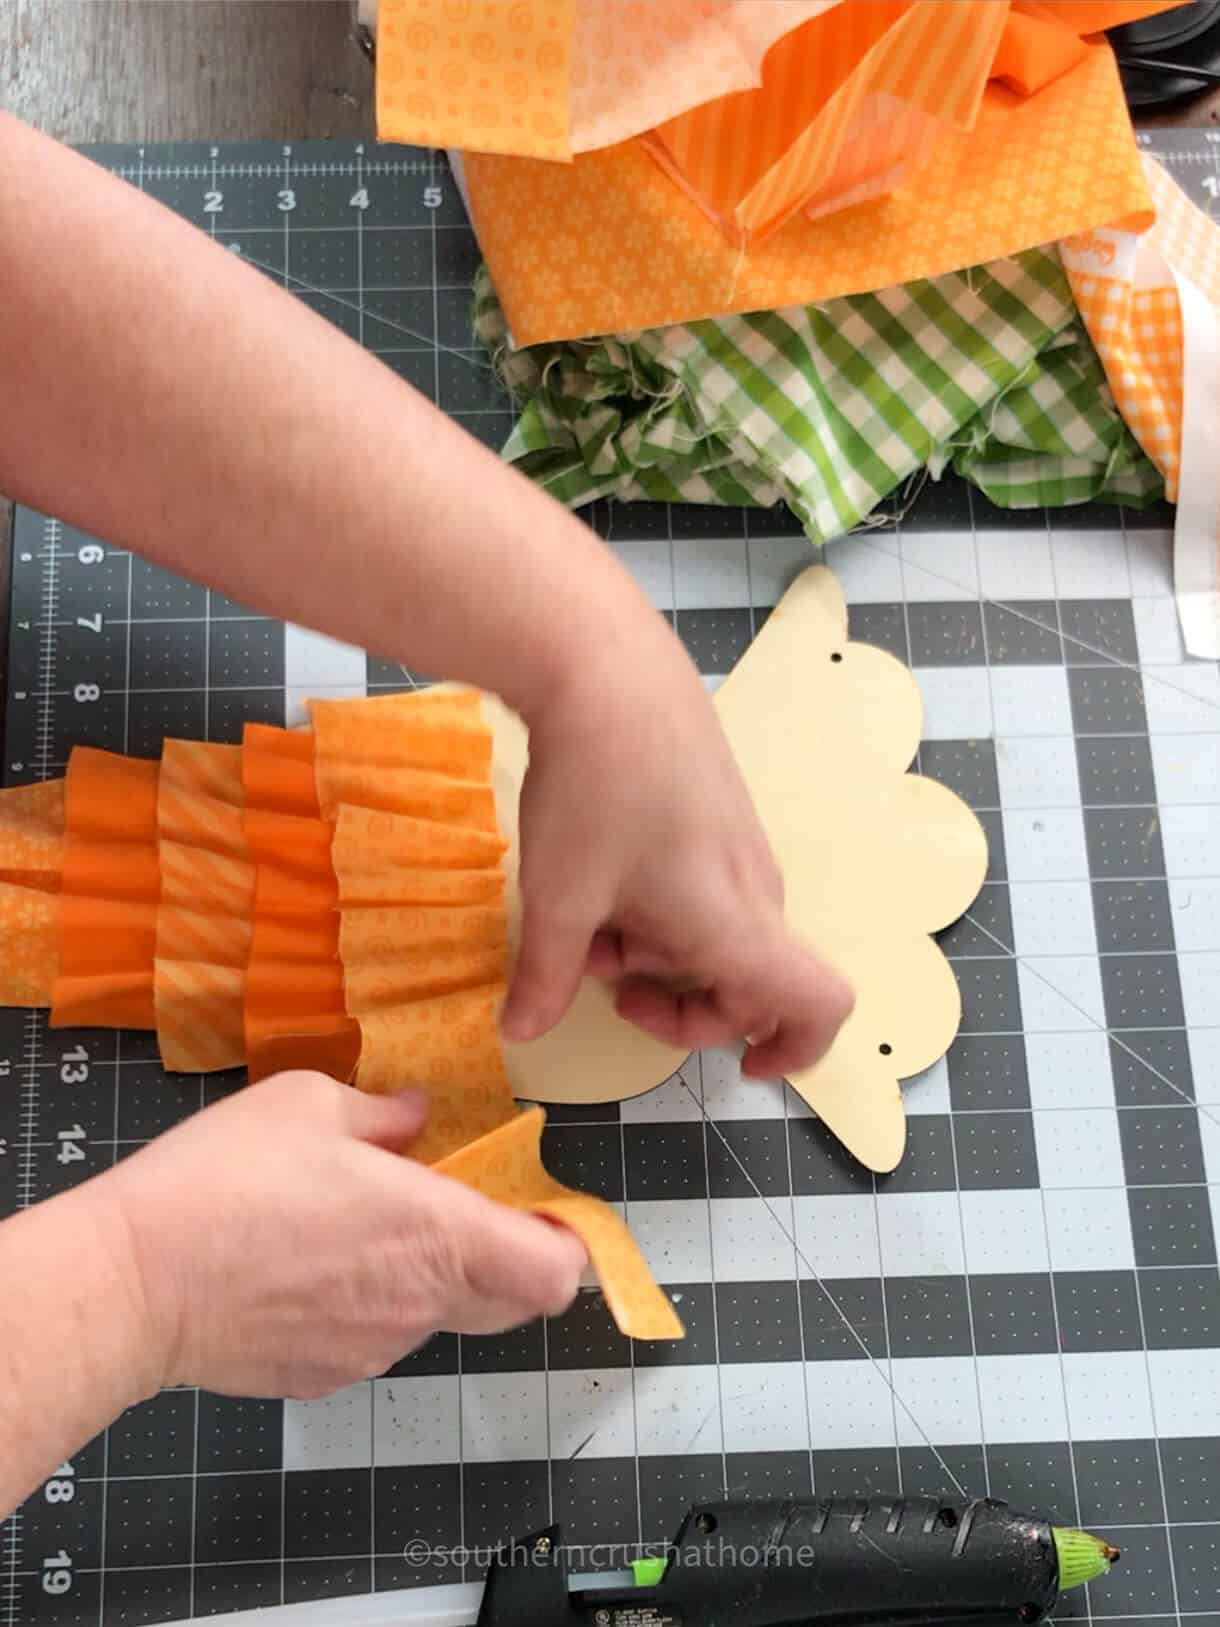
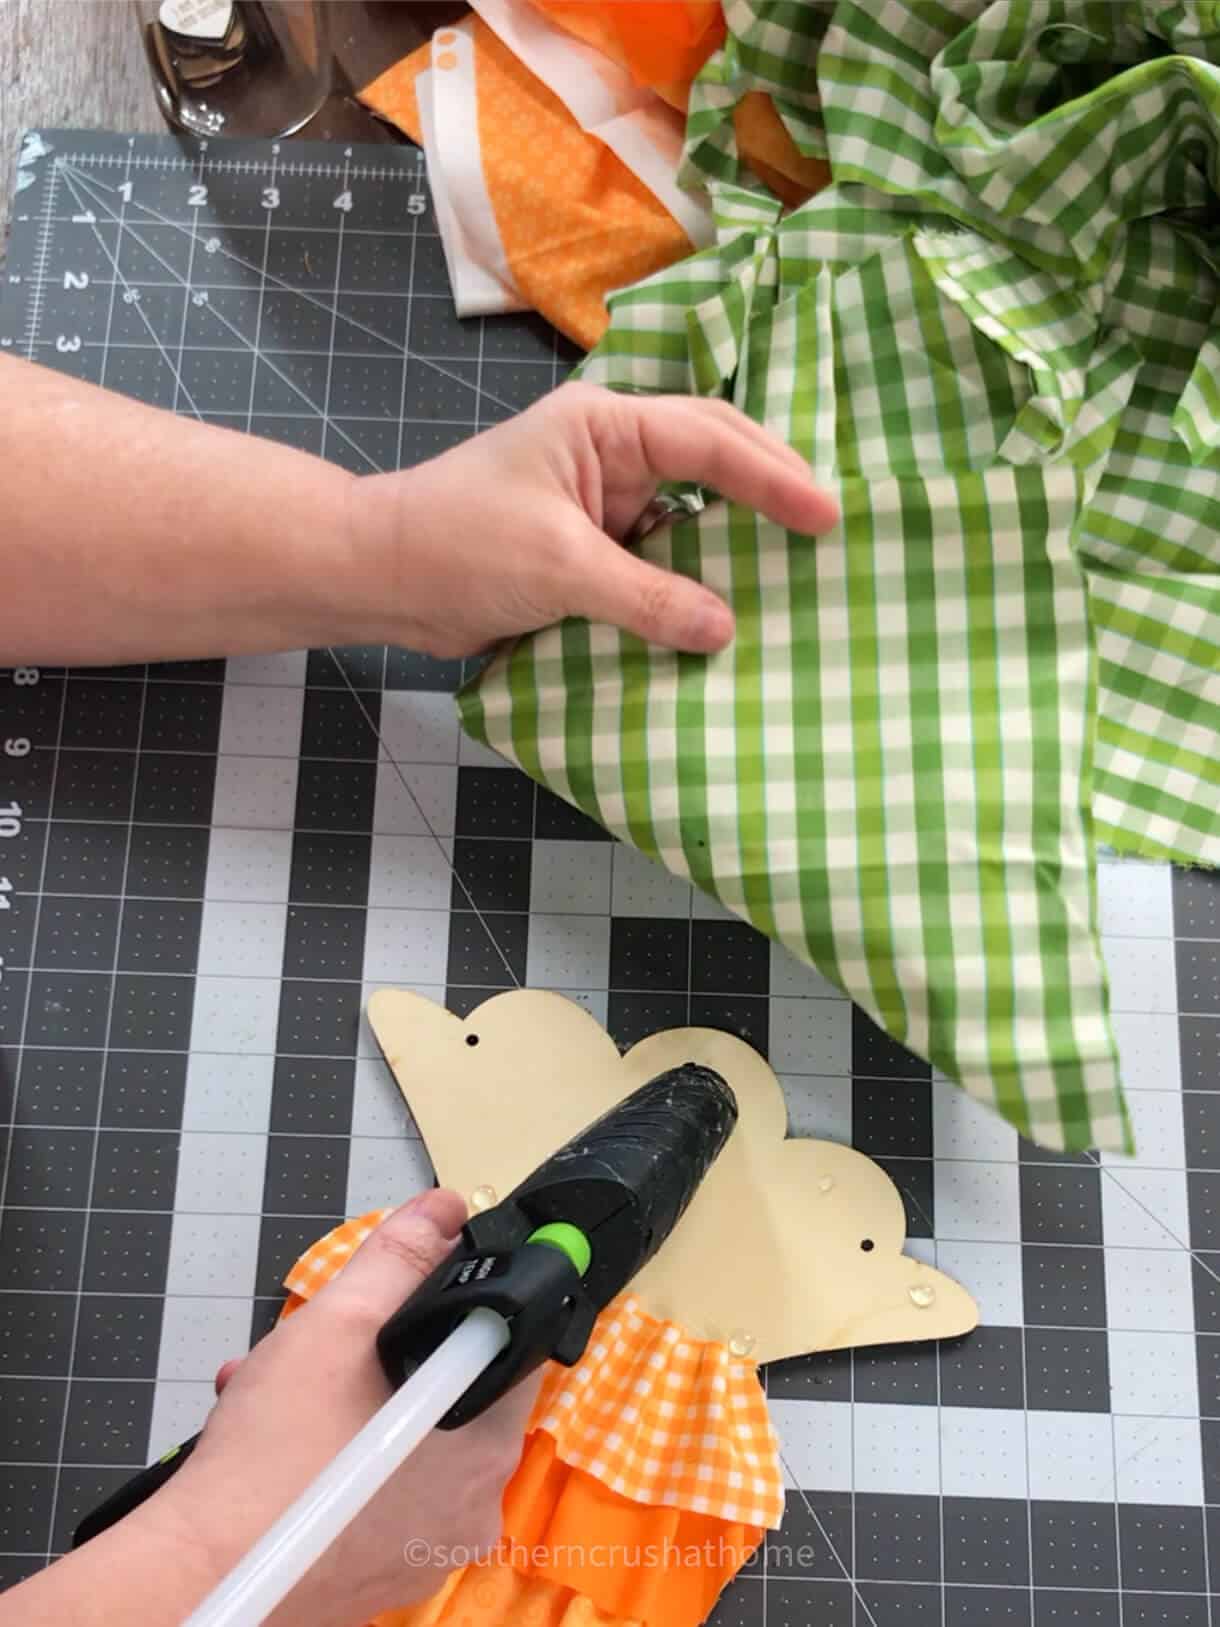
Step 2: Making the Ruffles
Take your fabric strips and glue them down starting at the edge of your carrot. Skip a space before gluing the next section down to create a ruffle effect. Repeat this process until all your ruffles are happily in place.
Step 3: Adding Fabric Topper
Now add a bit of green fabric to the top of the carrot for a faux stem look. You can use actual greenery or fabric, your choice. You can also mod podge the fabric in place or simpy use hot glue like I did with mine.
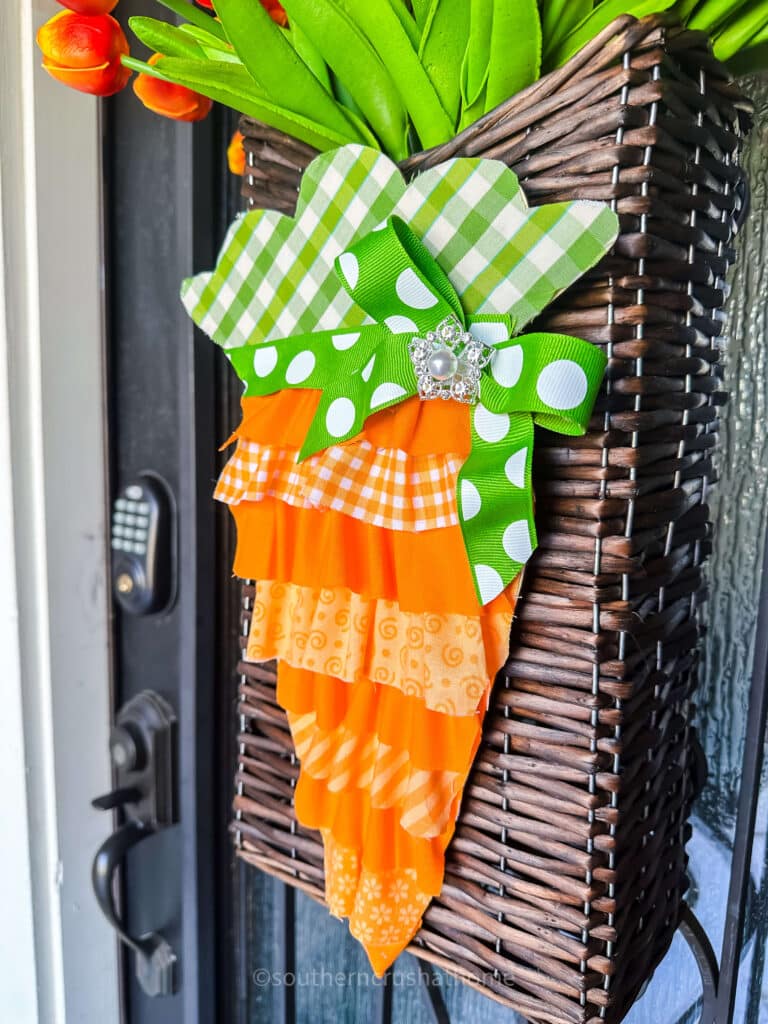
Step 4: The Finishing Touches
Now, the fun part—embellishments! This is entirely optional, but adding a coordinating pretty ribbon bow with some bling in the center can elevate your carrot to the next level. Attach with hot glue.

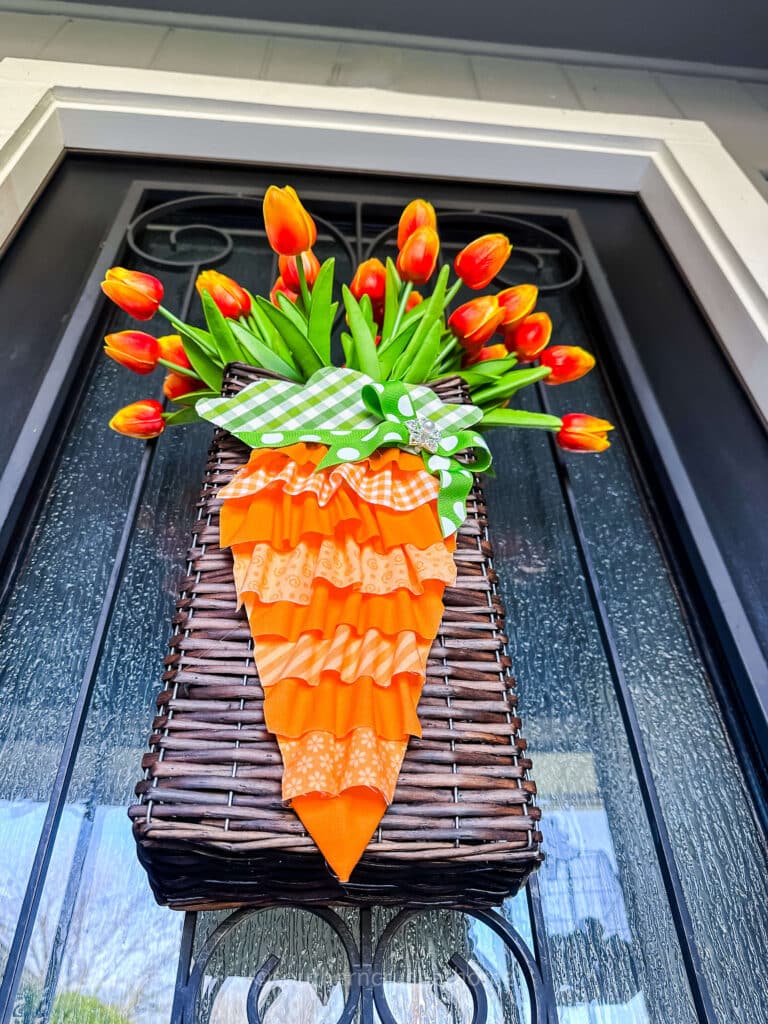
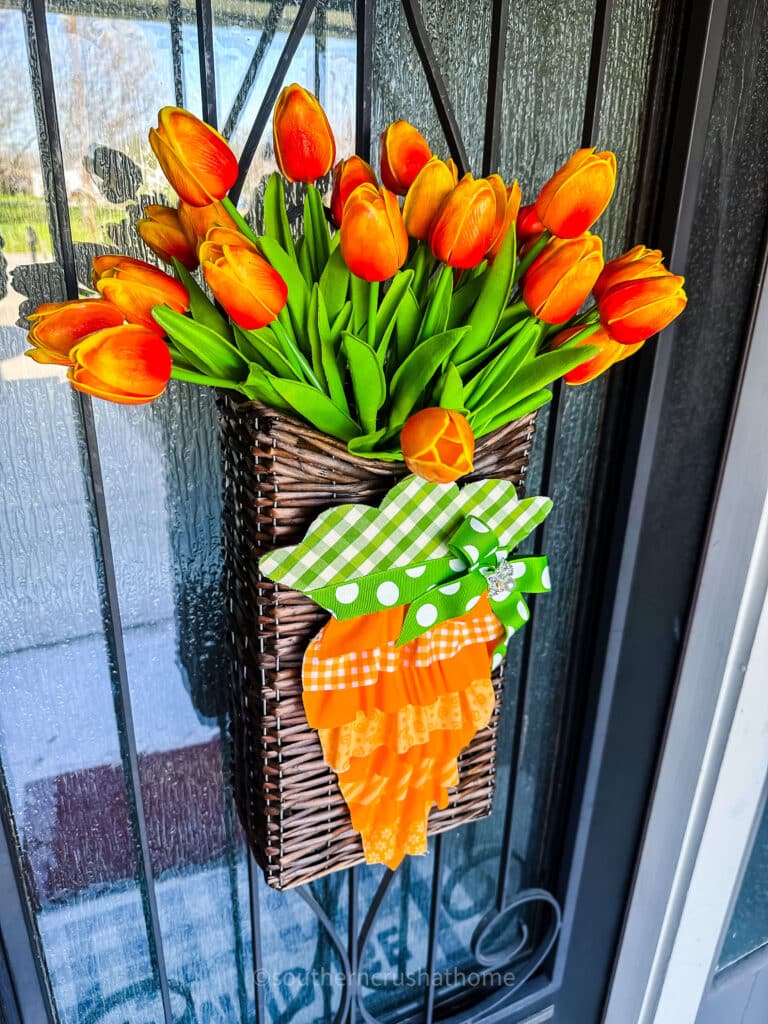
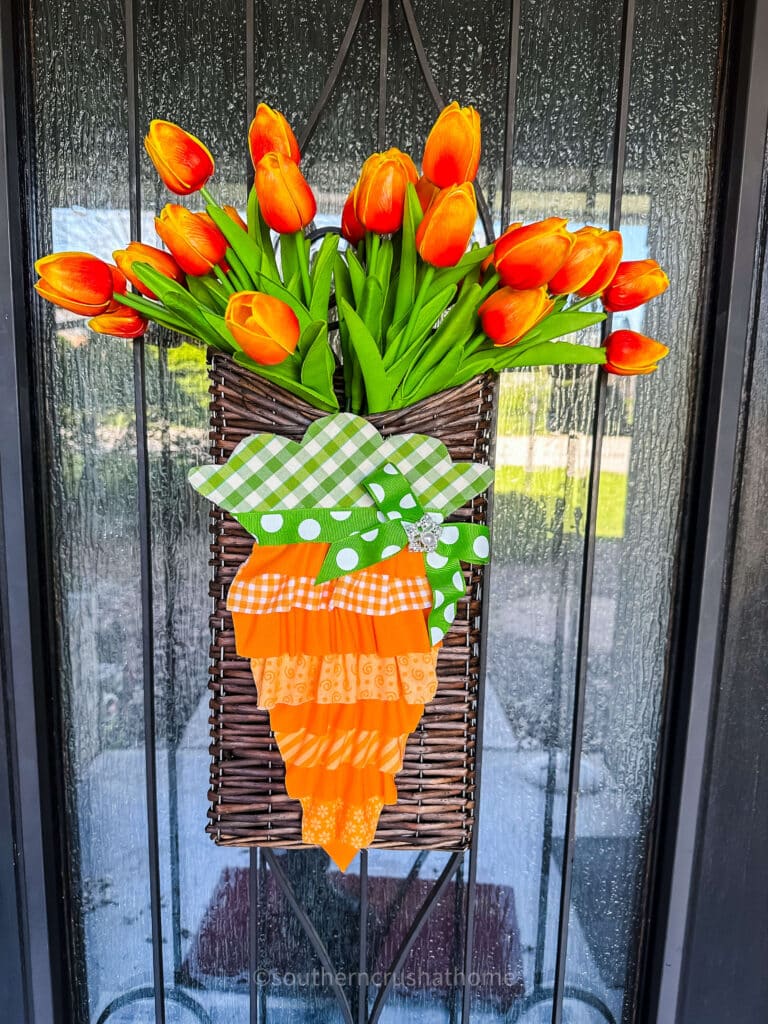
The carrot is complete and now we can attach it to a thrifted basket using a zip tie and add some tulips! Remember, there’s no right or wrong way to do this; it’s all about making something that brings you joy.
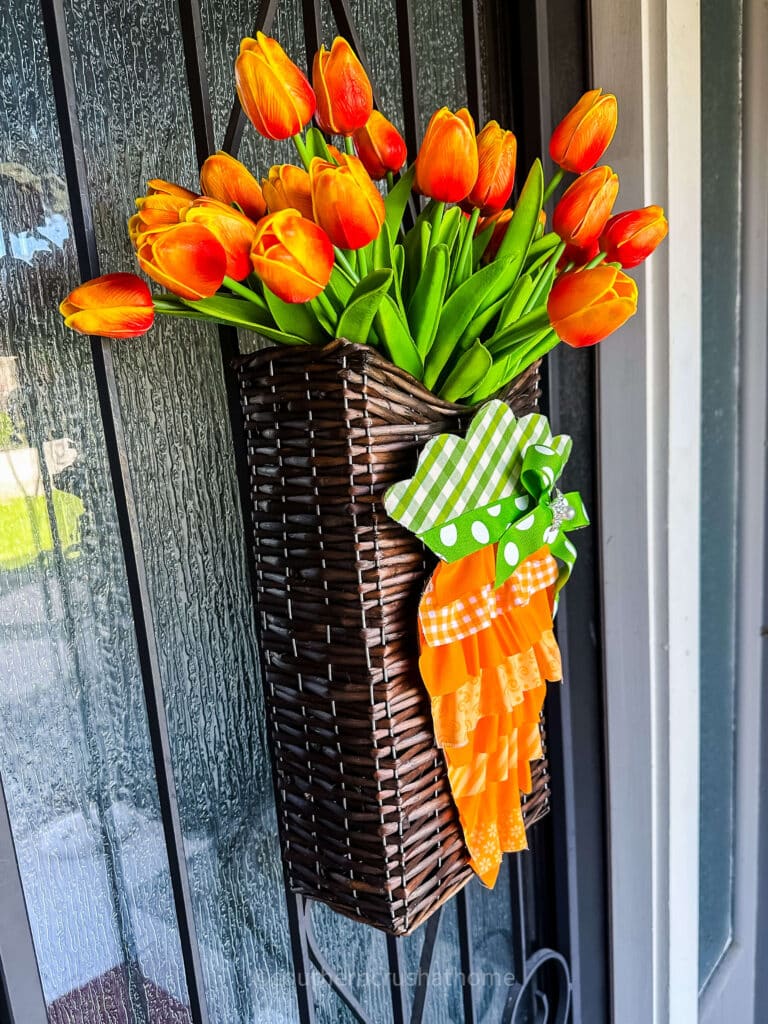
Take a step back and admire your work. Once you’re satisfied, find the perfect spot to hang your wreath. Whether it’s gracing your front door or adding a pop of spring to your living room, it’s sure to bring a smile to everyone who sees it.
- Variety is the Spice of Life: Don’t hesitate to mix and match different fabrics and colors of fabrics for a more dynamic look.
- Weatherproofing: If your wreath will be exposed to the elements, consider spraying it with a clear protective spray to keep it looking fresh throughout the season.
- Group Crafting: This project is perfect for a crafting party. Invite friends or family over for a wreath-making session. It’s a great way to spend quality time together and everyone leaves with a beautiful creation.
This Easy Spring Wreath with Dollar Tree Carrots is more than just a craft; it’s a celebration of creativity, the joy of DIY, and the welcoming of a new season.
Whether you’re an experienced crafter or just looking for a fun weekend project, this wreath offers the perfect blend of simplicity, affordability, and charm.
So, gather your supplies, embrace your creativity, and let’s welcome spring with open arms and a beautiful wreath on our doors. Happy crafting!
More Spring Wreath Ideas
Check out all of these spring wreath ideas, too!

Melanie, I’ve had that wood carrot in my craft drawer for a couple of years and haven’t done anything with it. Now I’m inspired! First on my spring to-do list for next year.
yay!!! I’m so glad! Thanks for stopping by!