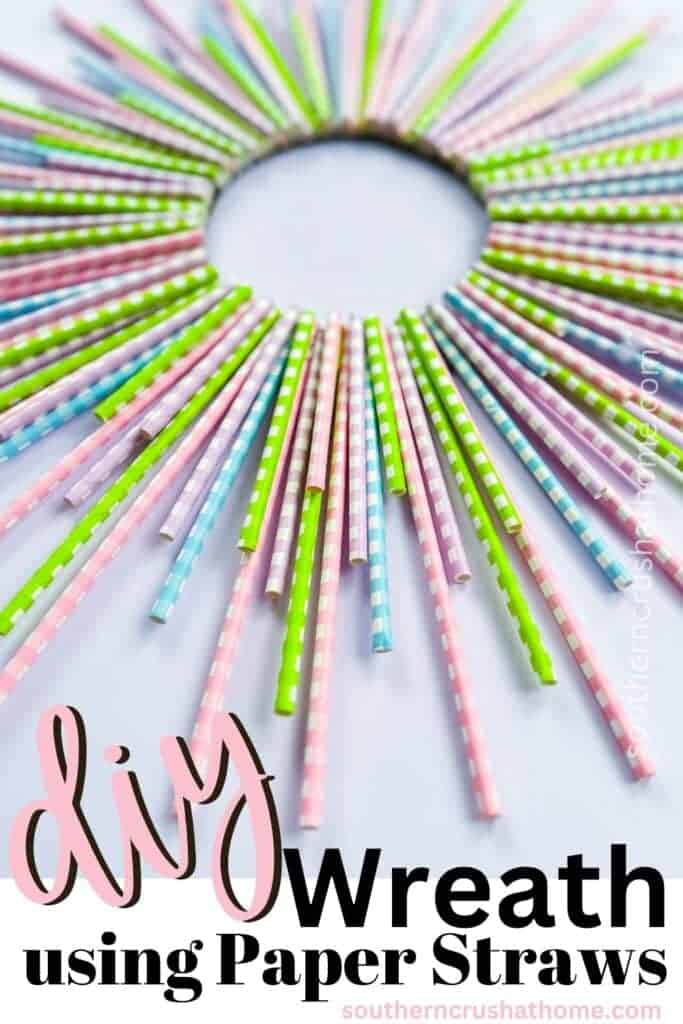
How to Make A Fun Spring Wreath Using Paper Straws
When the weather is finally warm and bright, you know, just after Easter, it's time to decorate your home with some welcoming spring decor! If you're looking for a fun and budget-friendly way to do this, why not make a paper straw wreath? This craft is easy to put together and requires only minimal materials. Here’s how to make one:
Be sure to PIN this one for later!
This blog post contains affiliate links. The opinions are wholly my own from my own experience. I may earn a small commission from clicks through to the websites that end in a purchase.
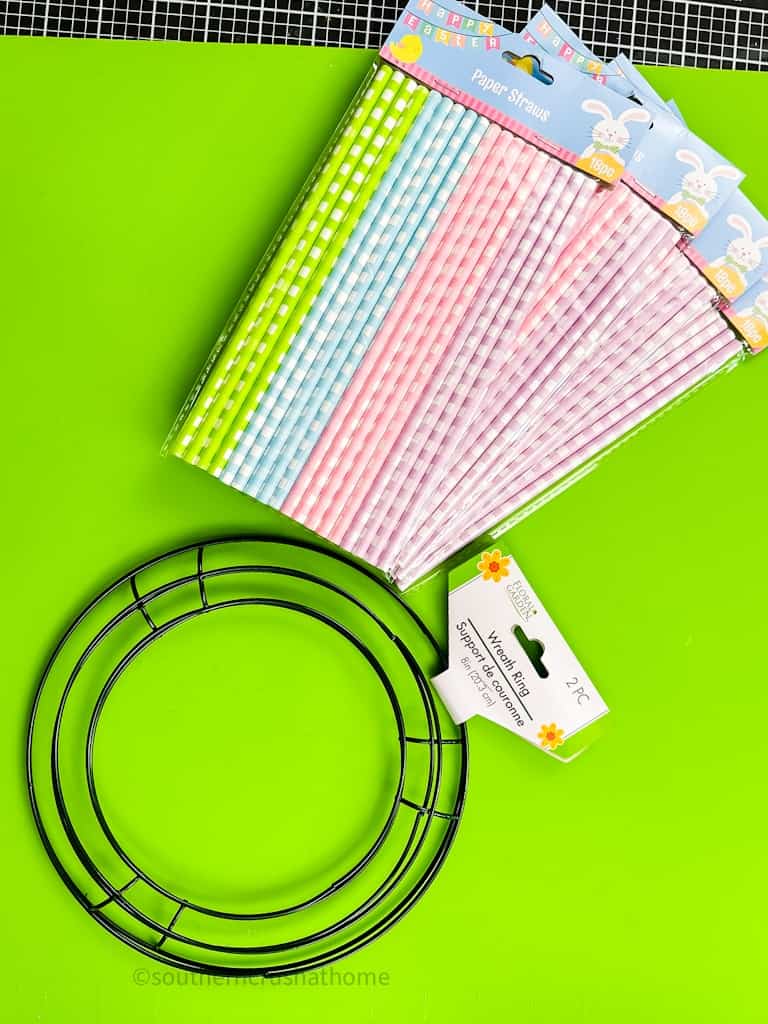
Supplies Needed to Make This Spring Wreath
- 7 Packs of colorful paper straws (I got mine at Dollar Tree)
- Scrap Cardboard
- 6″ Dollar Tree wreath frame or something to trace a circle
- Surebonder Mini Hot Glue Gun
- Surebonder Glue Rope
- Optional Ribbon for a bow
Step by Step Instructions for Making a Paper Straw Spring Wreath
First, pick up some colorful paper straws at your local craft store. You can also find them online if you prefer HERE. Choose whichever colors inspire you – the more variety the better! You knew I would pick buffalo check!
YouTube Video Tutorial
If you prefer to watch a step-by-step video tutorial on this craft, watch it below.
Step One
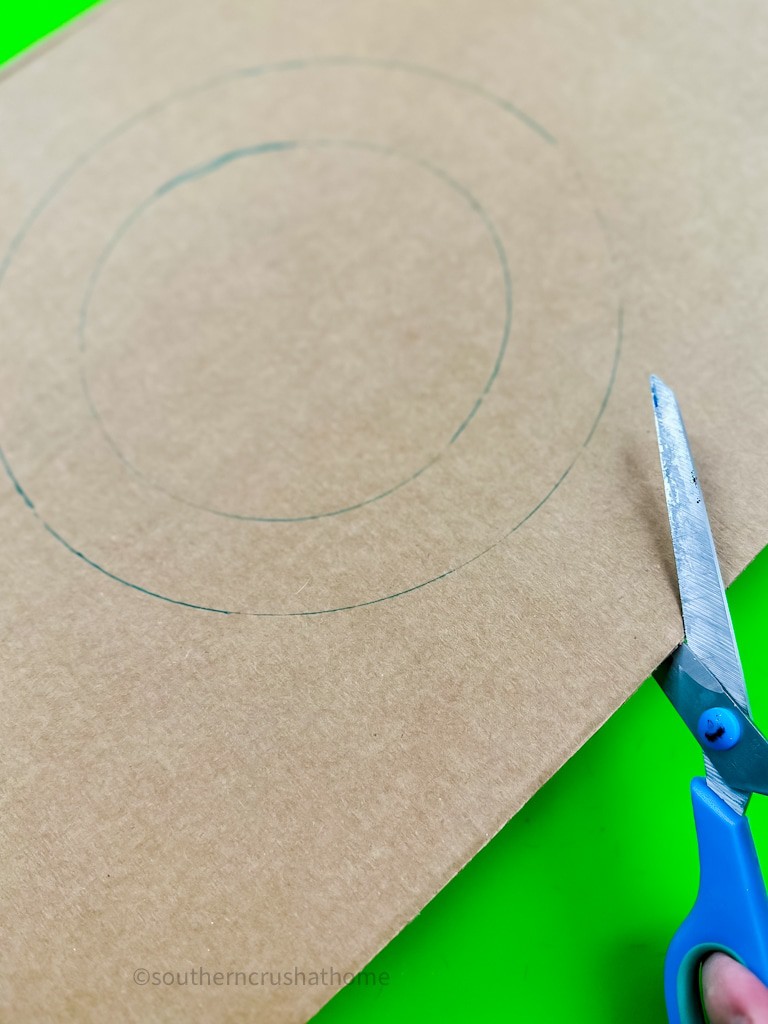
Using the Dollar Tree wreath frame as a guide trace out a circle for your wreath base.
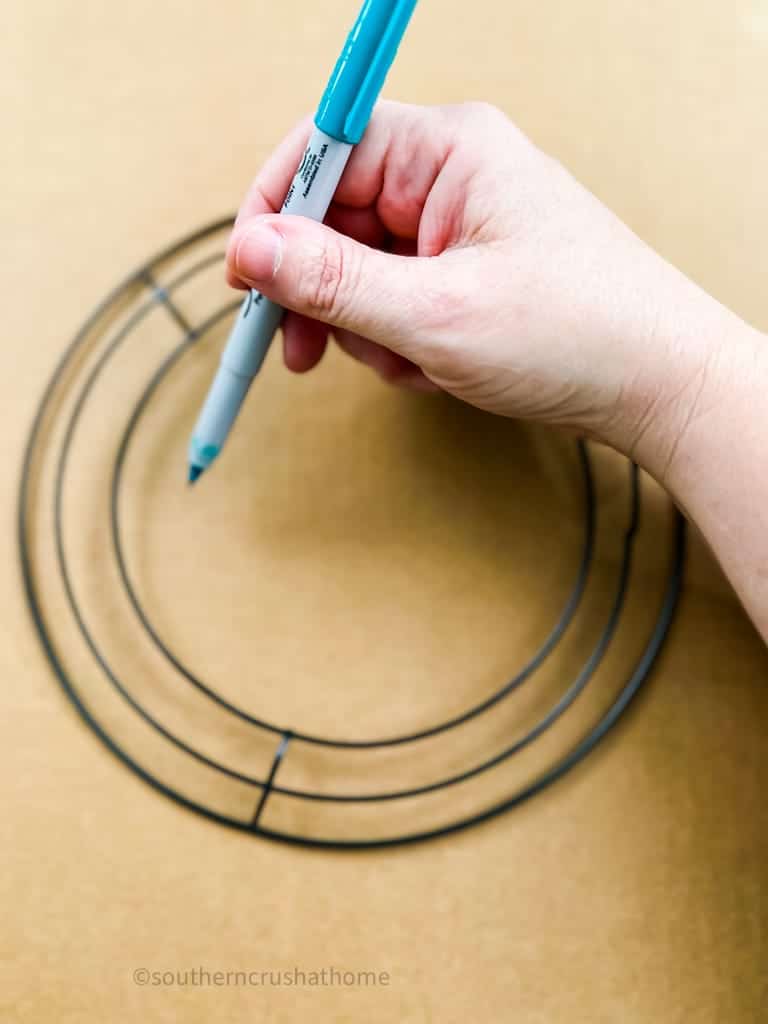
Or you can simply measure out 6″ with about a 2″ width and cut it out. You can make this wreath any size you would like, but the cardboard base will be your starting point.
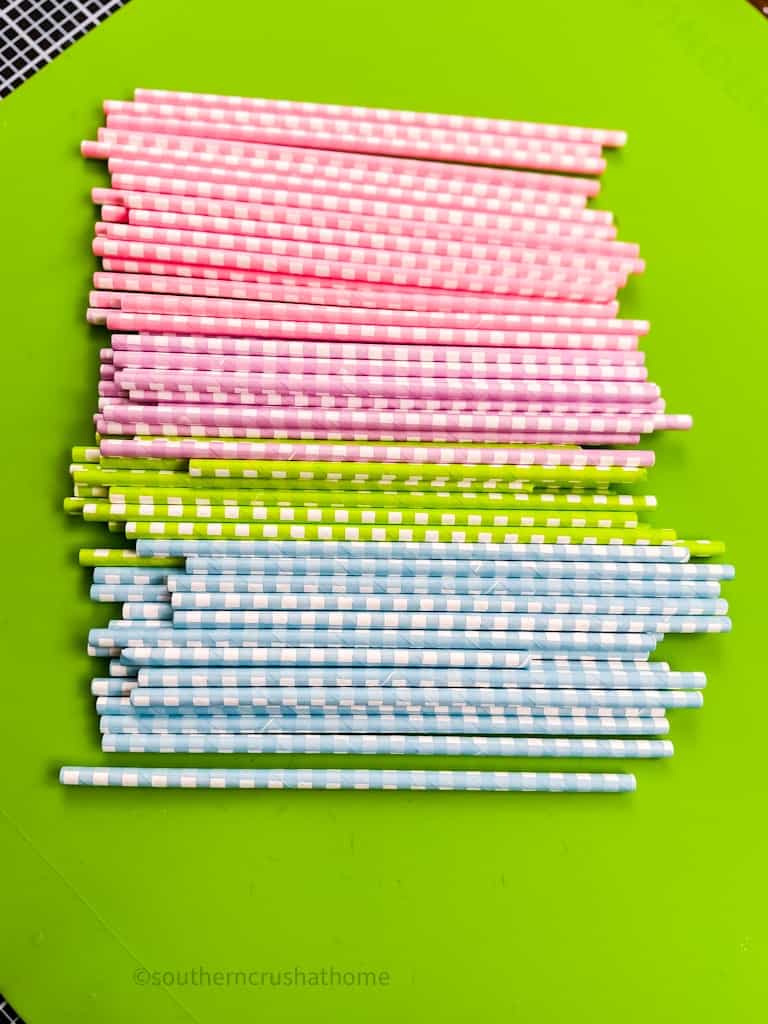
Step Two
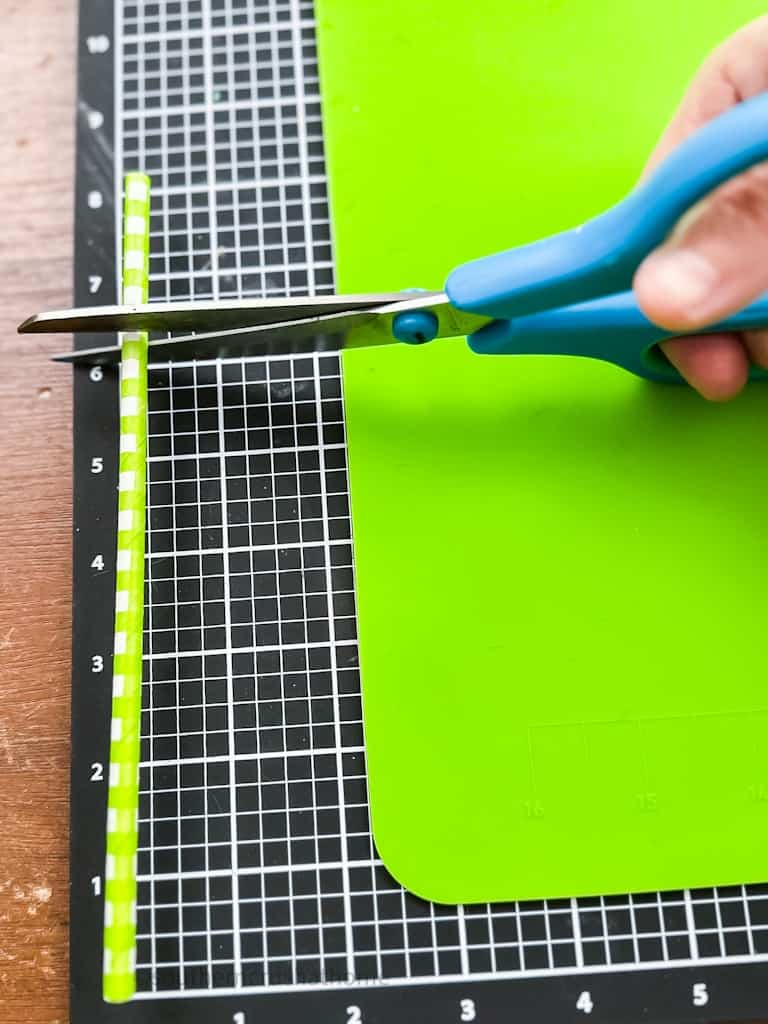
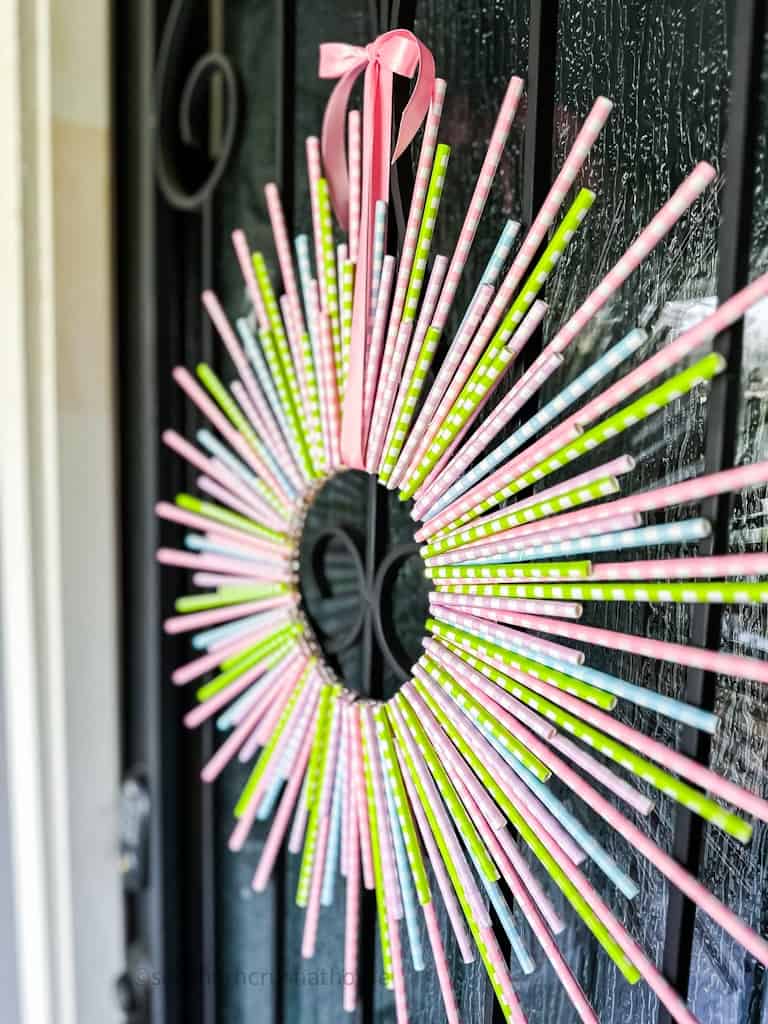
Cut your straws at different lengths, keeping some at full length. I had four colors and chose to keep the pink 8″, the green 6.5″, the blue 5.5″, and the purple 4.5″.
Step Three
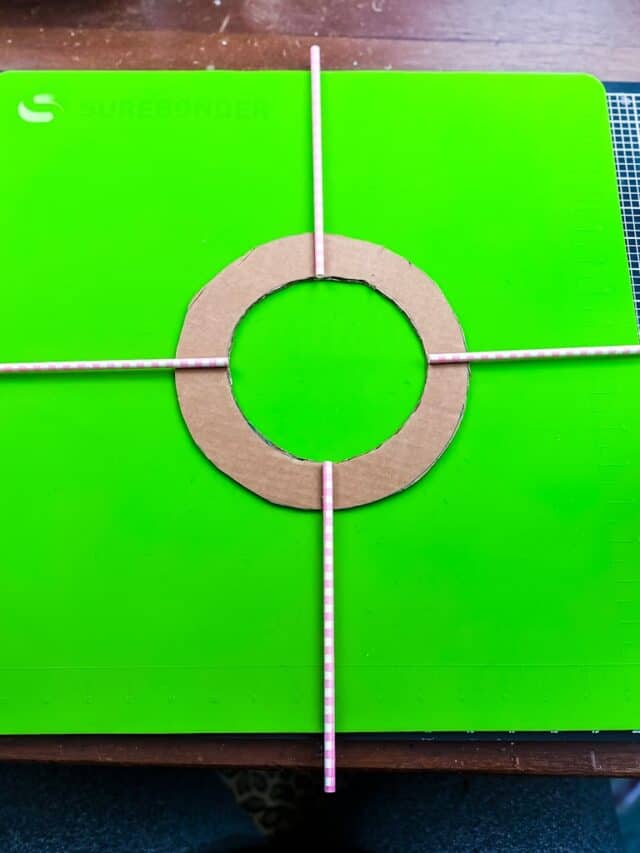
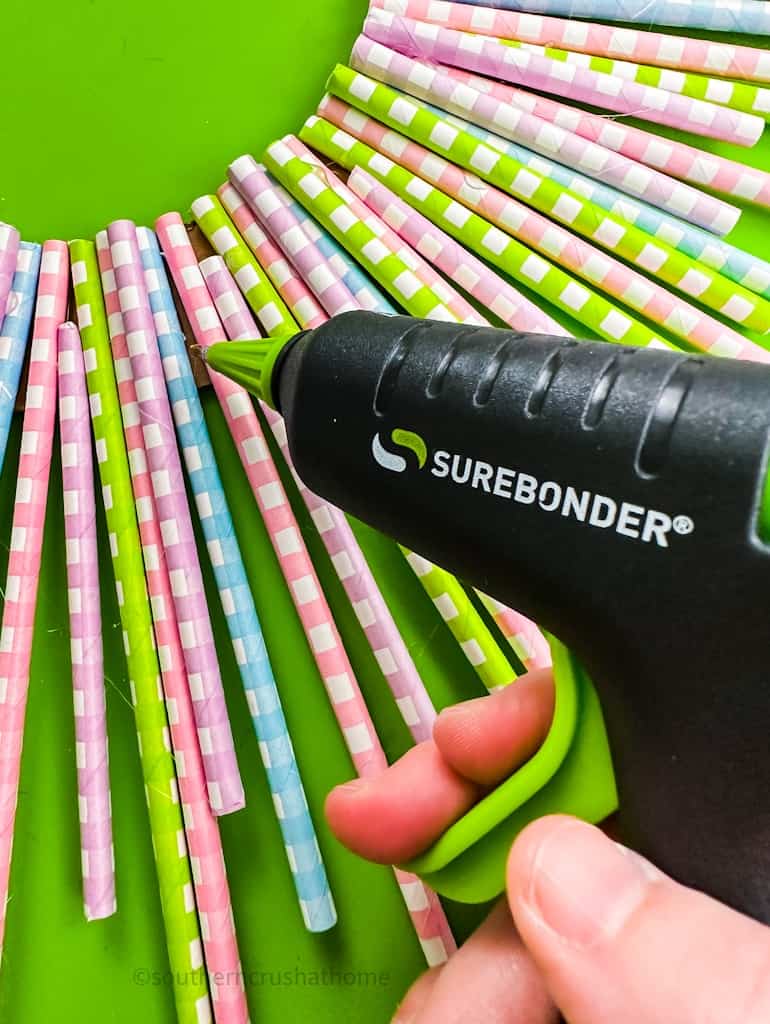
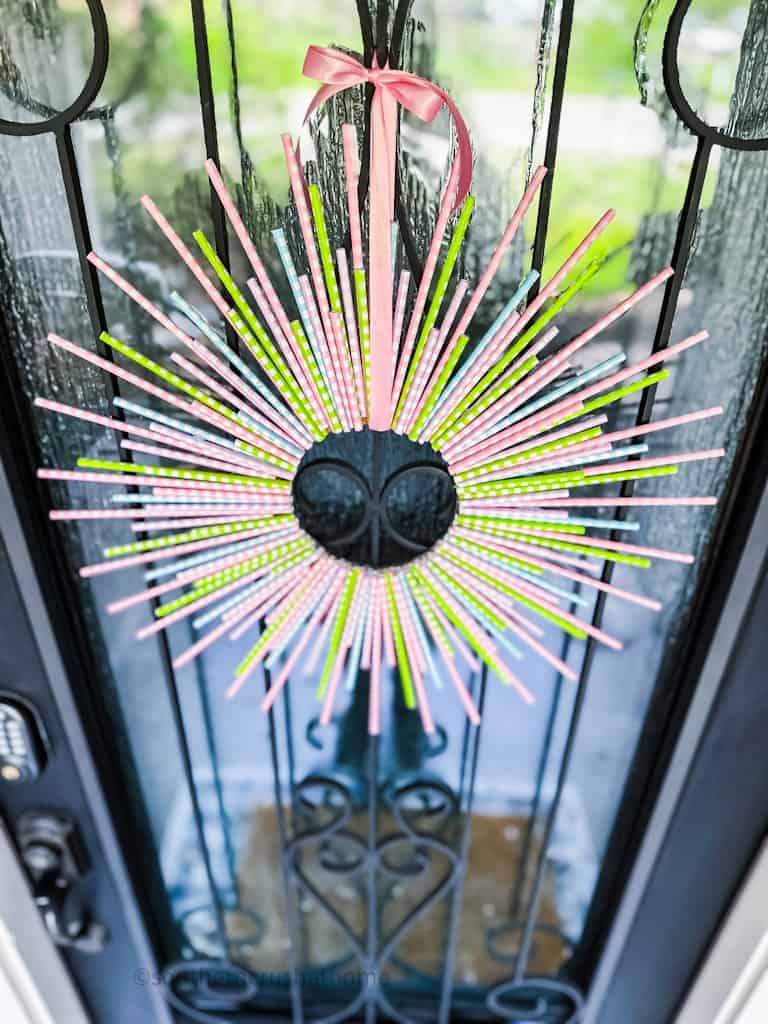
Hot Glue the first four full-length straws directly across from each other in the shape of a clock at 6,10,12, and 3 o'clock. I love using my mini hot glue gun for gluing these paper straws. It makes it easy to get the details.
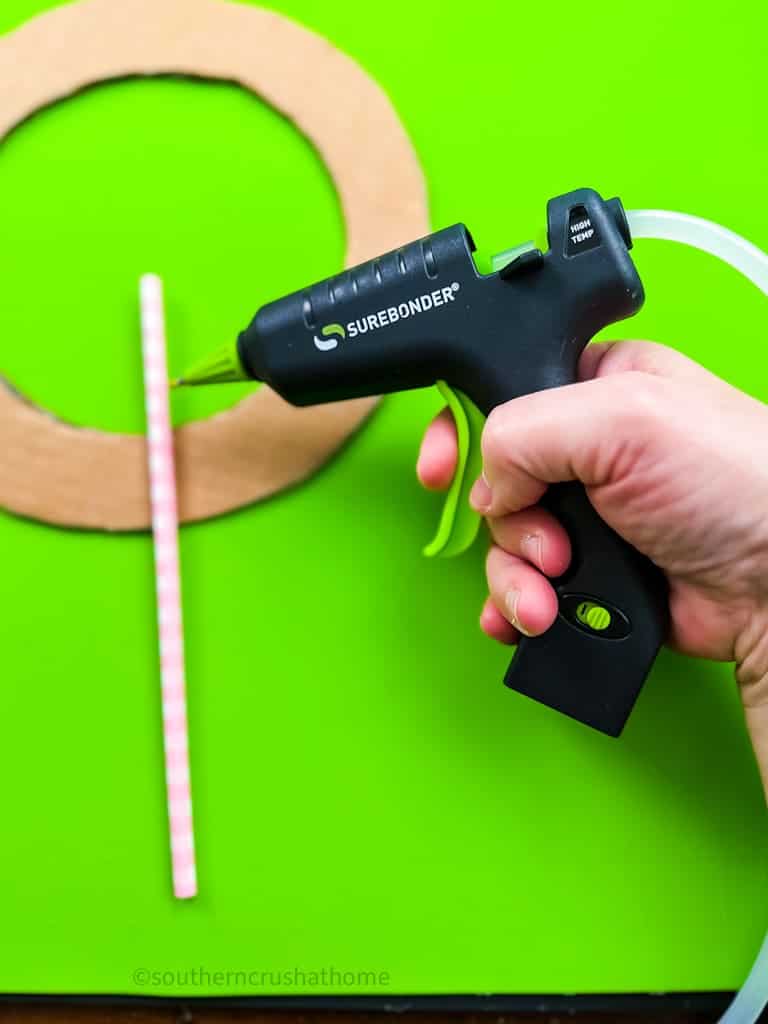
Make sure to adhere just to the edge of the center of the ring keeping them flush.
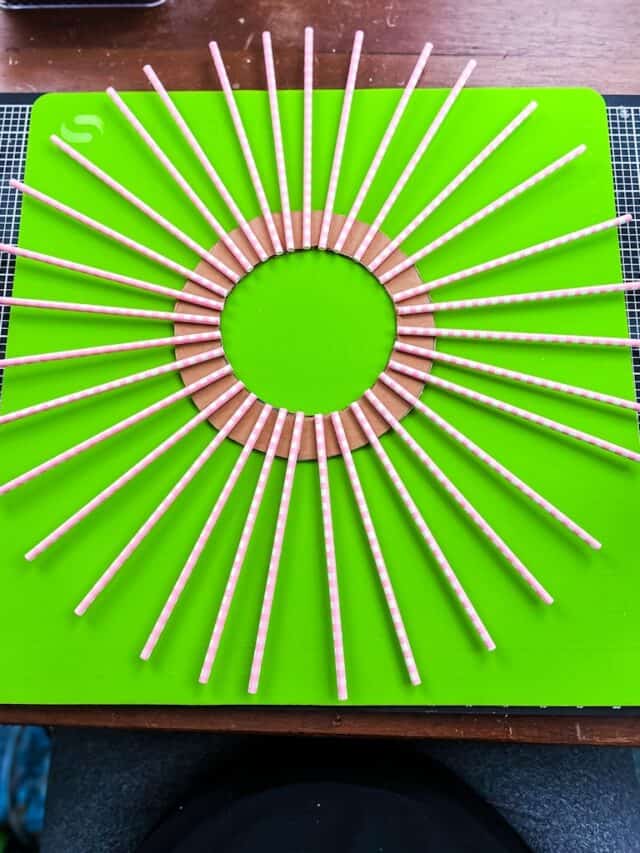
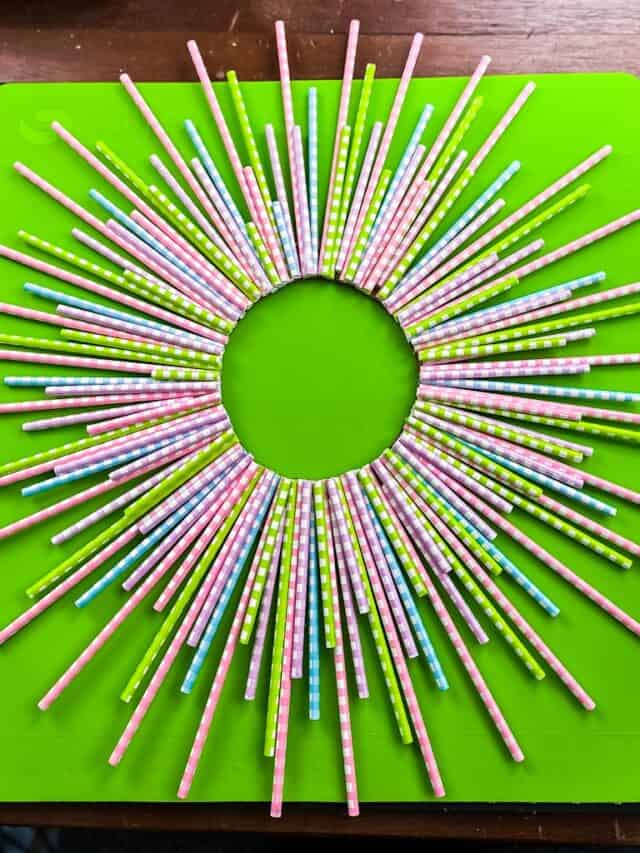
Step Four
Now add the same color paper straws to fill in between evenly. See images above.
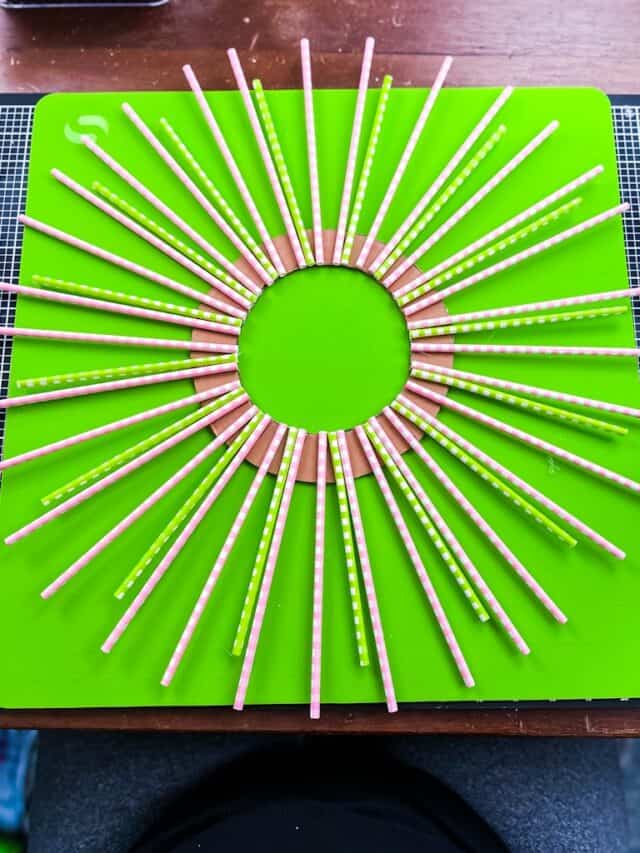
Step Five
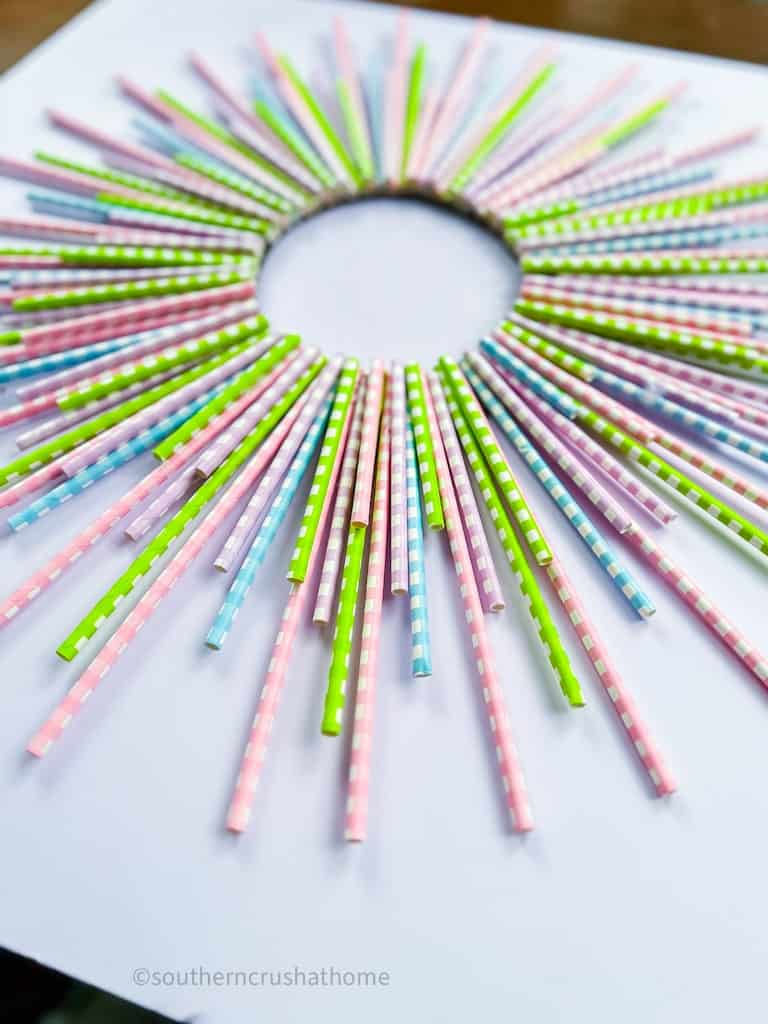
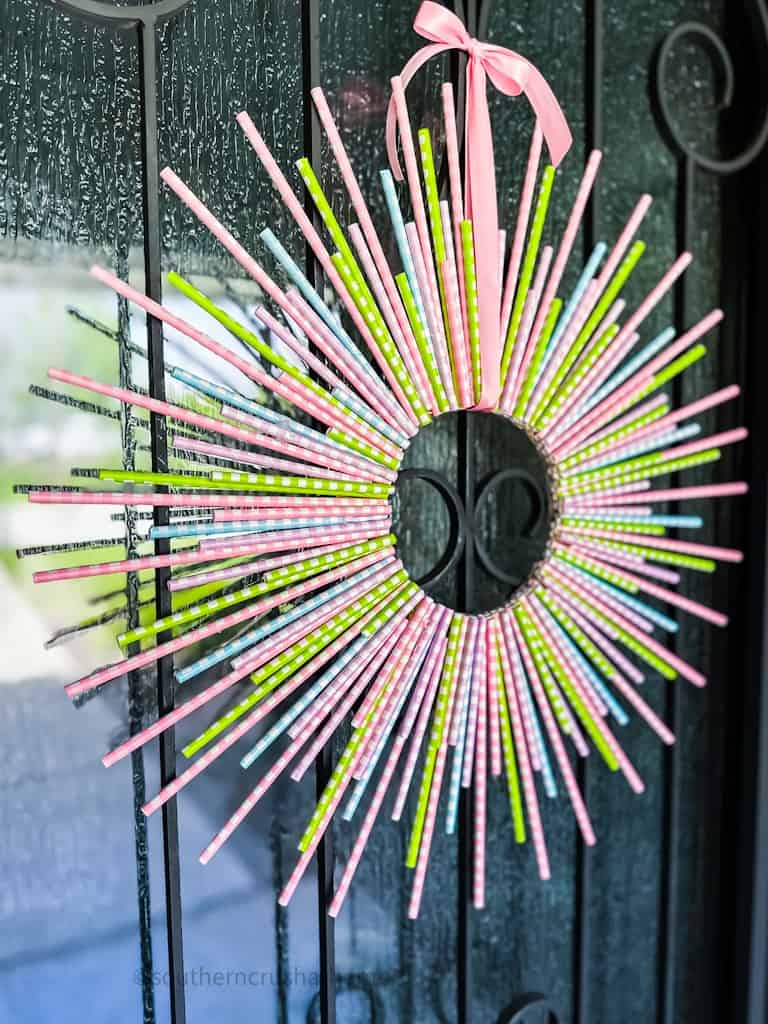
Next, I filled in with the smaller straws all the way around the form.
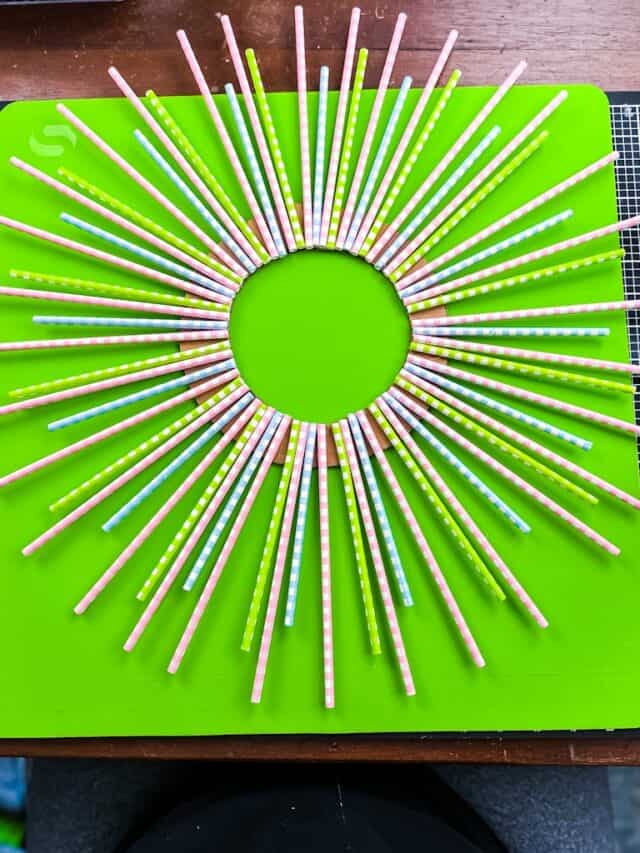
Step Six
Repeat this process until the entire cardboard base is covered with straws.

Step Seven
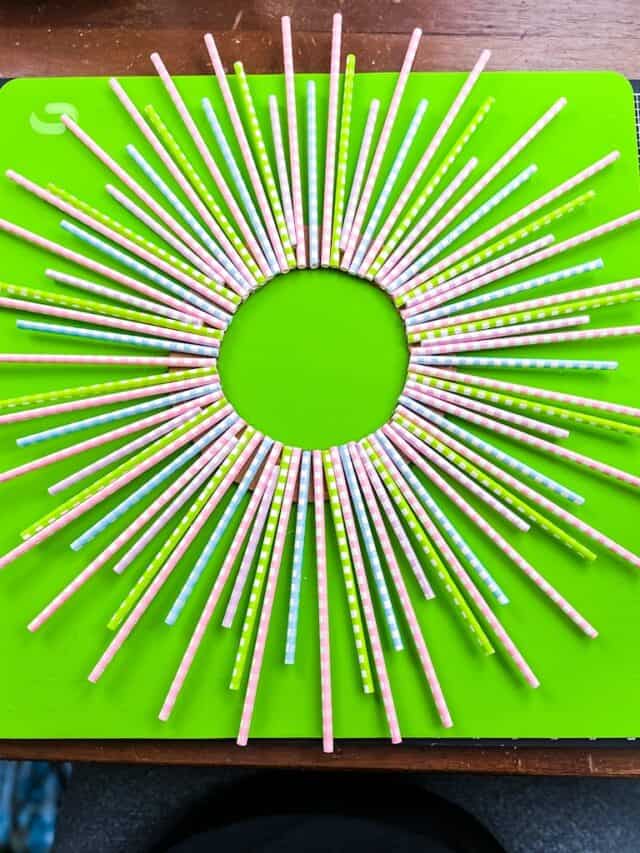
Begin layering the smallest straws on top of the other straws to cover any additional spaces that are bare until it is completely full and looks just as you like it! This step is optional.
Isn't is pretty? Imagine this DIY Wreath idea for each holiday in other colors!
Step Eight
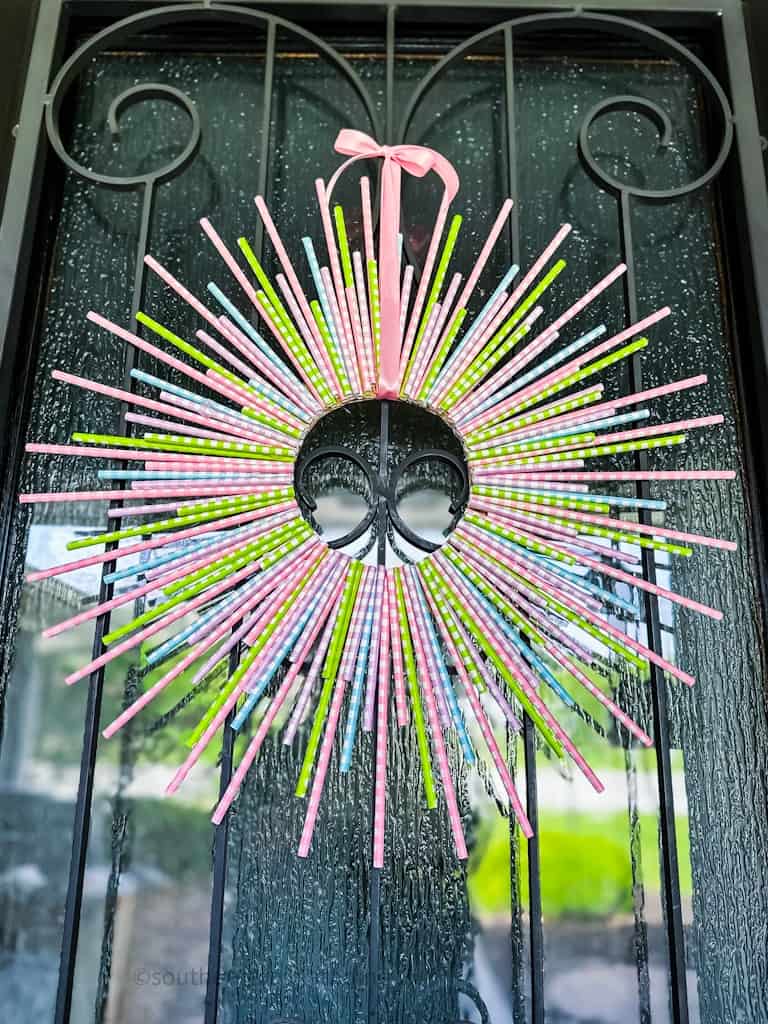
Add a bow if you would like or some flowers or simply leave it the way it is!
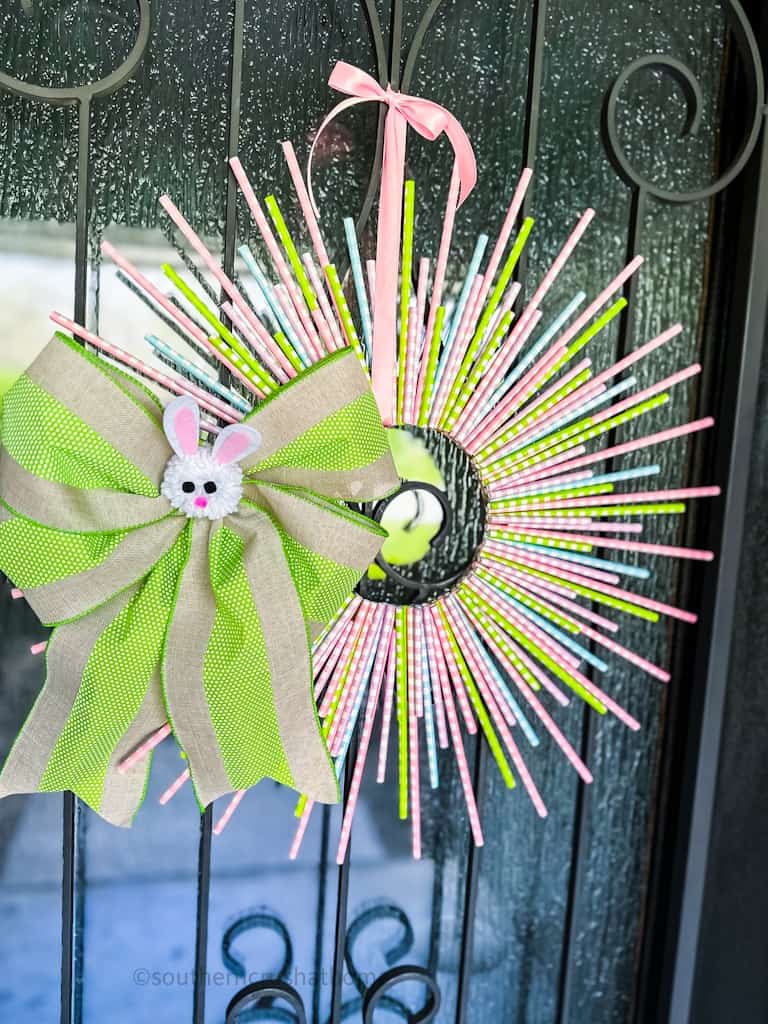
Your beautiful new spring wreath is now ready to hang on any door or wall – enjoy!
This is such an easy and fun DIY wreath for spring or Easter!
Let me know in the comments below if you will make one of these!
Quick Tips
When using your Surebonder cordless hot glue gun for crafting projects these tips should help you not only create beautiful things but stay safe and keep from getting burned.
- To avoid clogging or misfires on your glue gun, ensure that the glue gun nozzle is kept clean at all times.
- Make sure to wear protective finger coverings, when using hot glue.
- Heat the glue gun to the correct temperature for the type of material you are using as indicated.
- Use a smooth, even motion when applying hot glue so that it adheres properly.
- Avoid allowing the glue to sit for too long and cool on your project as it won't adhere properly.
- Return the glue gun to the cradle in between gluing to allow it to reheat properly. The Surebonder cordless hot glue gun works off of its base for up to two minutes, it is meant to rest on the base while not in use so that it heats back up. There is also a handy lighted on/off indicator switch so you know when it's locked in place and heating up.
- Use the built-in drip pad that comes with the Surebonder glue gun to protect your work surface, glue peels off the silicon pad they offer (all glue guns will drip – the longer they are on the more likely they are to drip)
- All Surebonder glue guns come with safety fuses.
- Wait for your project to cool before touching it to avoid burns.
- Use a heat tool to gently blow off any glue strings left behind on your project.

How to Make A Fun Spring Wreath Using Paper Straws
Equipment
- scissors
Materials
- 7 Packs of colorful paper straws I got mine at Dollar Tree
- Scrap Cardboard
- 1 6" Dollar Tree wreath frame or something to trace a circle
- Surebonder Mini Hot Glue Gun
- Surebonder Glue Rope
- Optional Ribbon for a bow
Instructions
- Trace and cut out a cardboard base for your spring wreath using the Dollar Tree wreath frame as a guide or you can simply measure and cut it out.
- Cut your straws at different lengths, keeping some at full length. I had four colors and chose to keep the pink 8″, the green 6.5″, the blue 5.5″, and the purple 4.5″.
- Hot Glue the first four full-length straws directly across from each other in the shape of a clock at 6,10,12, and 3 o'clock. Make sure to adhere just to the edge of the center of the ring keeping them flush.
- Now add the same color paper straws to fill in between evenly. See images above.
- Next, I filled in with the smaller straws all the way around the form.
- Repeat this process until the entire cardboard base is covered with straws.
- Begin layering the smallest straws on top of the other straws to cover any additional spaces that are bare until it is completely full and looks just as you like it! This step is optional.
- Add a bow if you would like or some flowers or simply