How to Stain a Fence the Easy Way Using an Airless Paint Sprayer
Staining a fence can be a tedious and time-consuming task, but it's essential for keeping your fence looking beautiful and protecting it from the elements. It had been 10+ years since we last stained our fence. It's just not something you typically look forward to doing. In this blog post, I'm going to show you how to stain a fence the easy way using an airless paint sprayer.

Be sure to PIN this one for later!
Hallelujah, there is an easy way to get the job done that won't take up all of your precious time. In fact, we stained our entire fence in a few hours. By using an airless paint sprayer, you can quickly and efficiently apply stain to your fence with minimal effort. There are a few tips and tricks to help you along the way that I will share with you below.
We ended up staining both our pool equipment privacy fence as well as our ranch-style fence that goes around the entire yard. See below for even more outdoor project inspiration!

This blog post contains affiliate links. The opinions are wholly my own from my own experience. I may earn a small commission from clicks through to the websites that end in a purchase.

How to Stain a Fence Using an Airless Paint Sprayer
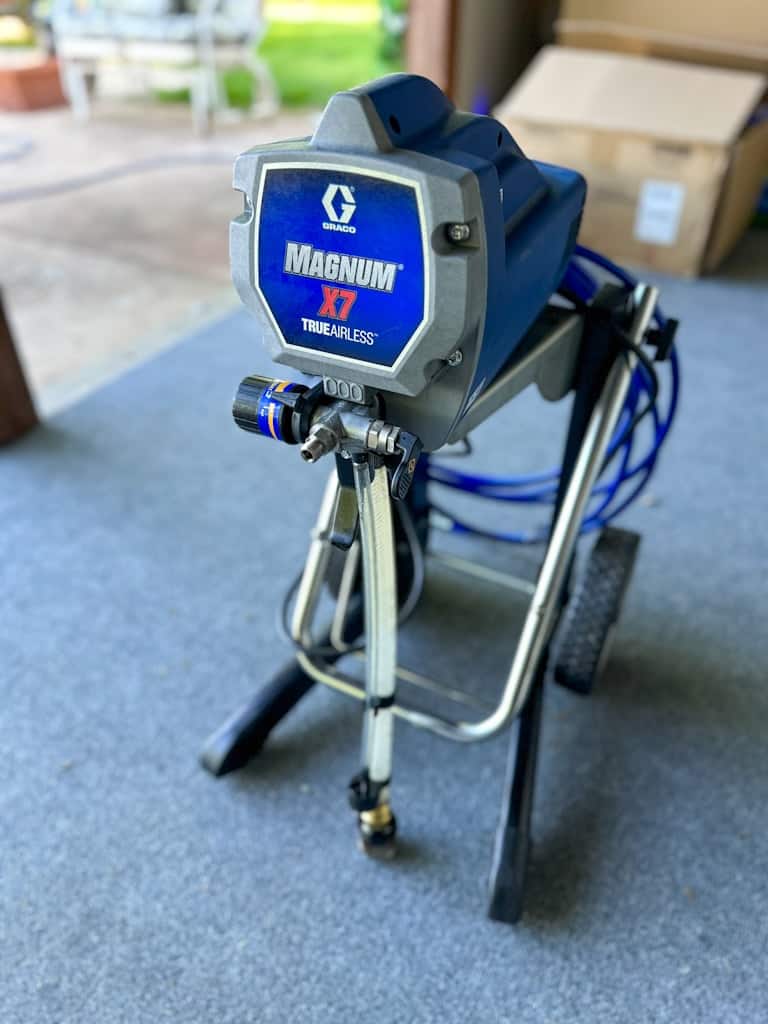
Making an investment in the right equipment like a Graco Airless Paint Sprayer will make this fence-staining project a breeze! It's perfect for other projects, too. And hey, you could let your teenager use it to start a new side hustle~the possibilities are endless.
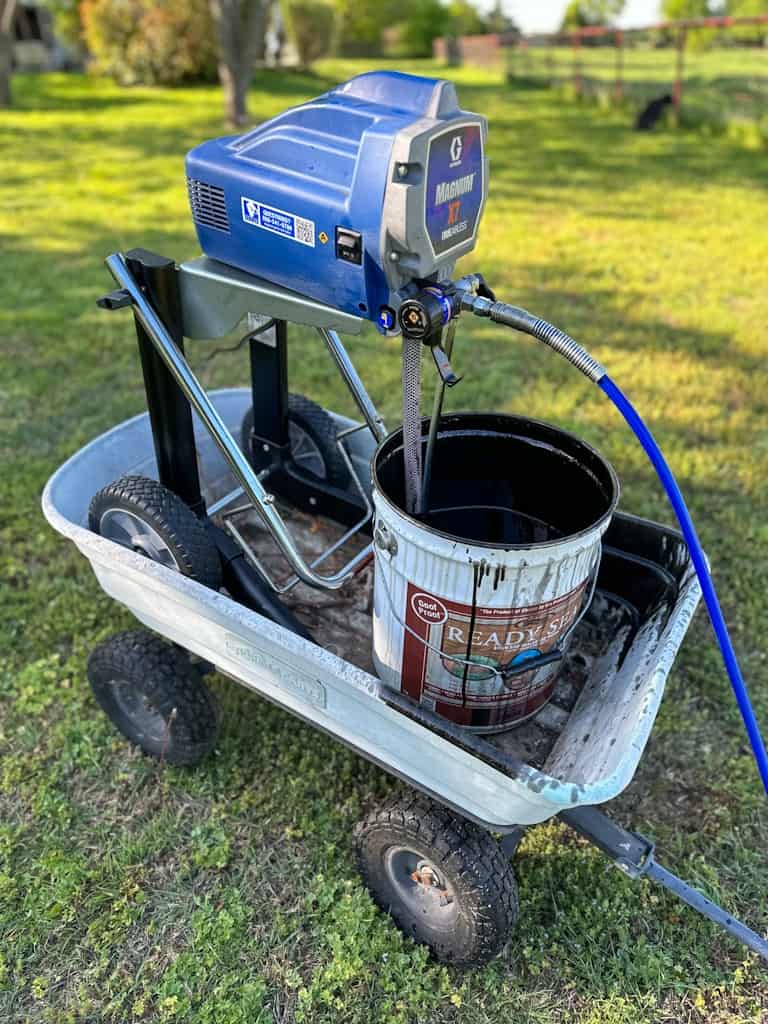
We chose this Graco Airless Paint Sprayer below. It's turned out to be a great investment and makes painting and staining large areas so much easier!
Step-by-Step Instructions
Prepare Your Fence
The first step to preparing your fence is to make sure it is clean. You may think this is a step you can skip, but trust me, you'll want to start with a clean surface.
You can use a pressure washer or a scrub brush with soapy water to remove any dirt, mildew, or debris (bird poop) that may have accumulated. Allow the fence to dry completely before proceeding.
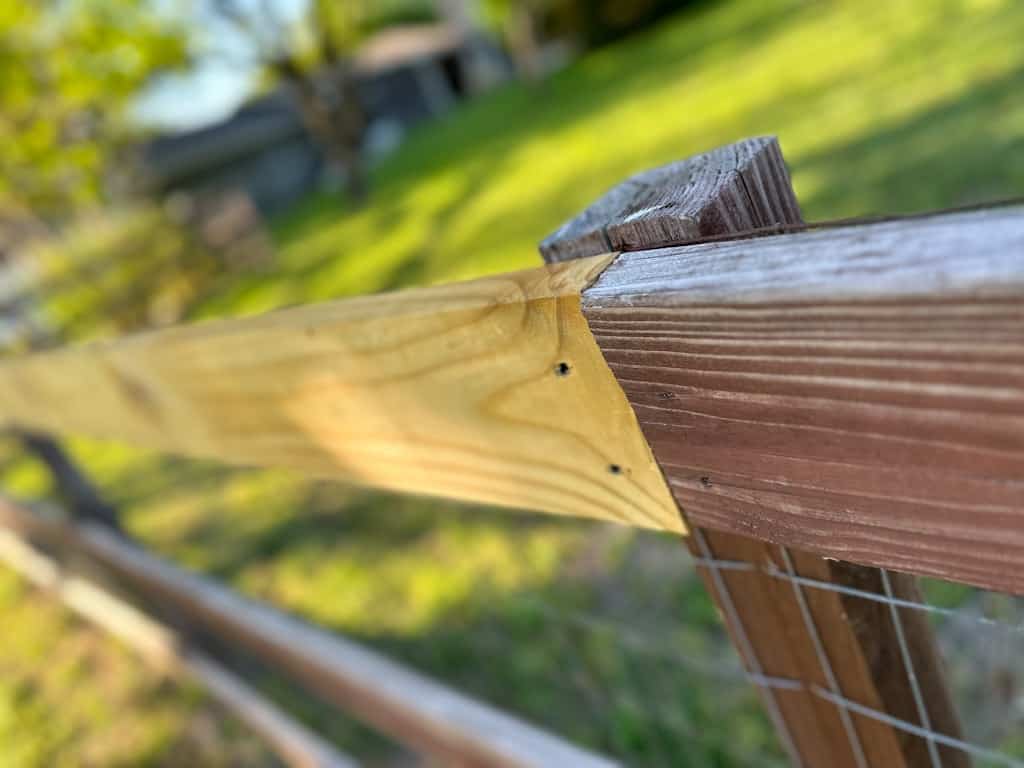
Now is the time to replace any missing boards on your fence and do any deferred maintenance repairs. Try to match the wood you already have on your fence.
Pro Tip: You can go to any home improvement store and pick up scrap wood pieces to use for your repairs over in their “wood cutting” area for FREE!
Choose the Right Stain
Choosing a fence stain color can be intimidating. When selecting a stain for your fence, you have two options: a water-based stain or an oil-based stain. Water-based stains are easy to clean up, dry quickly, and come in a wide range of colors. However, they don't penetrate wood as deeply as oil-based stains and may need to be reapplied more frequently.
Oil-based stains, on the other hand, provide better penetration and protection, but take longer to dry and are more difficult to clean up. Ultimately, the best stain for your fence depends on your personal preferences and the climate where you live.
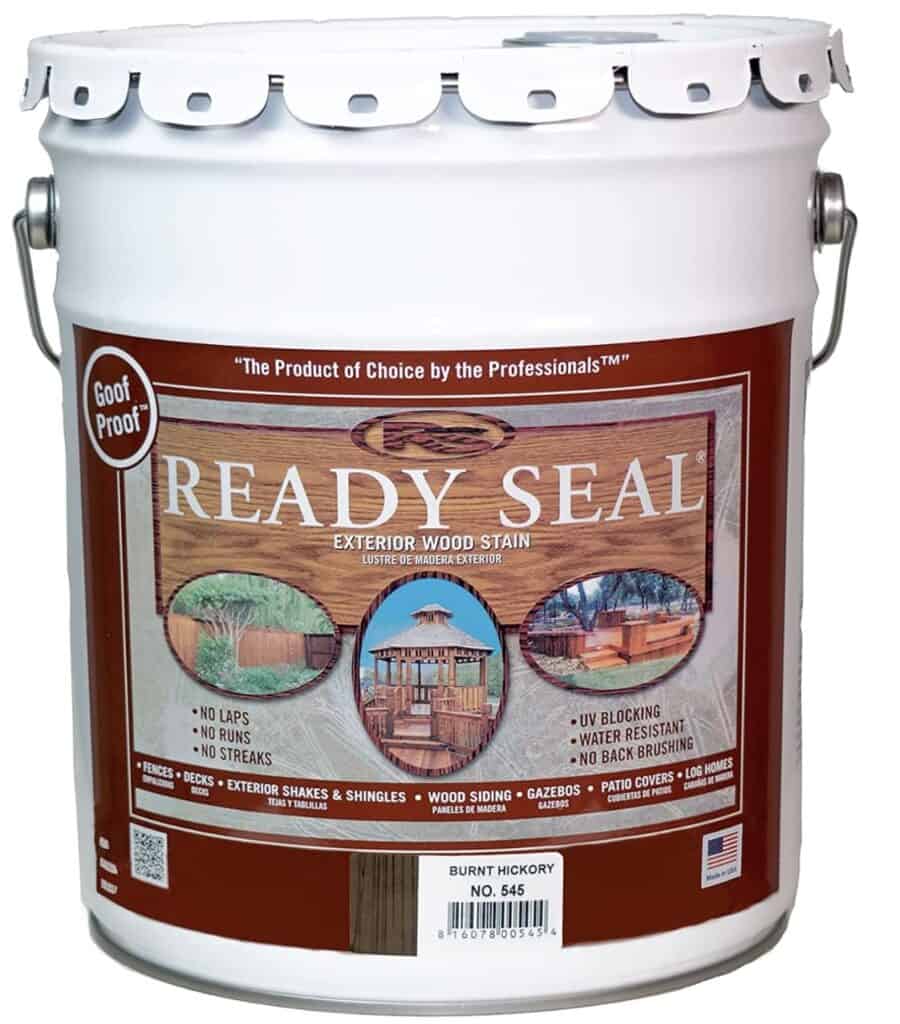
We wanted a darker look than the brown we had previously used on our fence, so we opted for the Ready Seal Exterior Wood Stain in Burnt Hickory. It's almost black. You can find it below.
Set Up Your Airless Paint Sprayer
Before you start spraying, it's essential to set up your airless paint sprayer correctly. First, read the instructions and adjust the pressure to the recommended level. Then, test-spray a small area to ensure that the flow rate and pressure are correct. Adjust the spray pattern as necessary to achieve the desired coverage. Finally, make sure to wear old clothes and protective gloves to avoid getting the stain on your skin.
We decided to place the airless paint sprayer along with the stain bucket into a wagon to make our project even easier! I highly recommend this idea!
Stain Your Fence
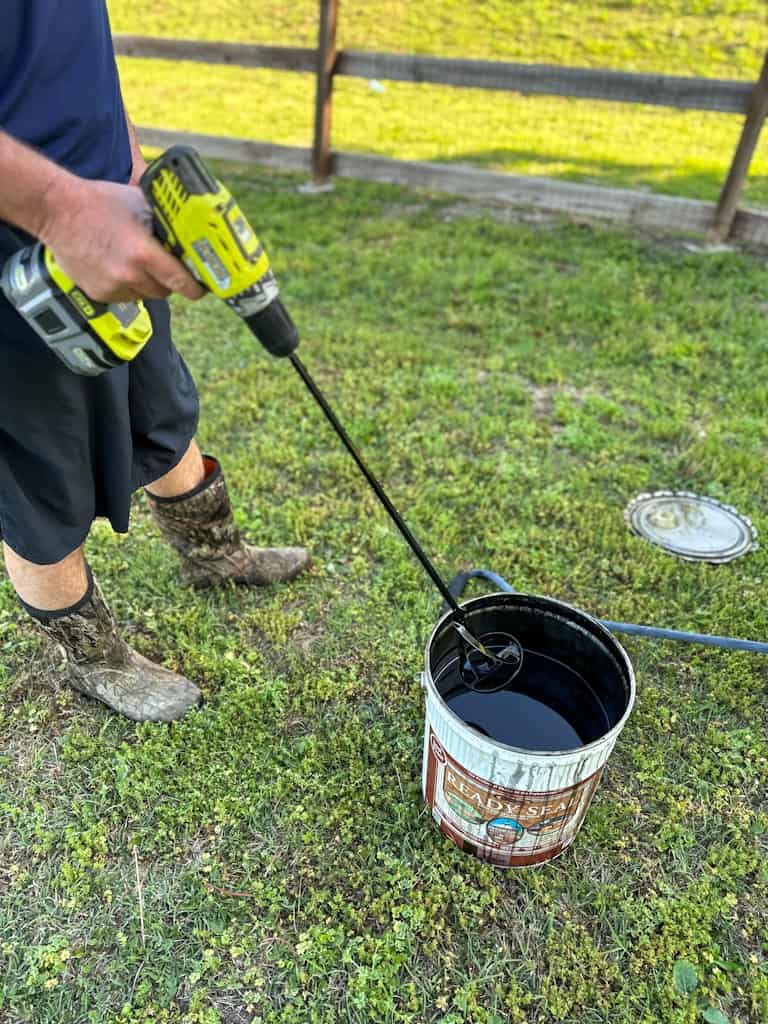
Be sure to stir your fence stain prior to application. To make this process super easy, we used our handy drill attachment for easy stirring shown below.
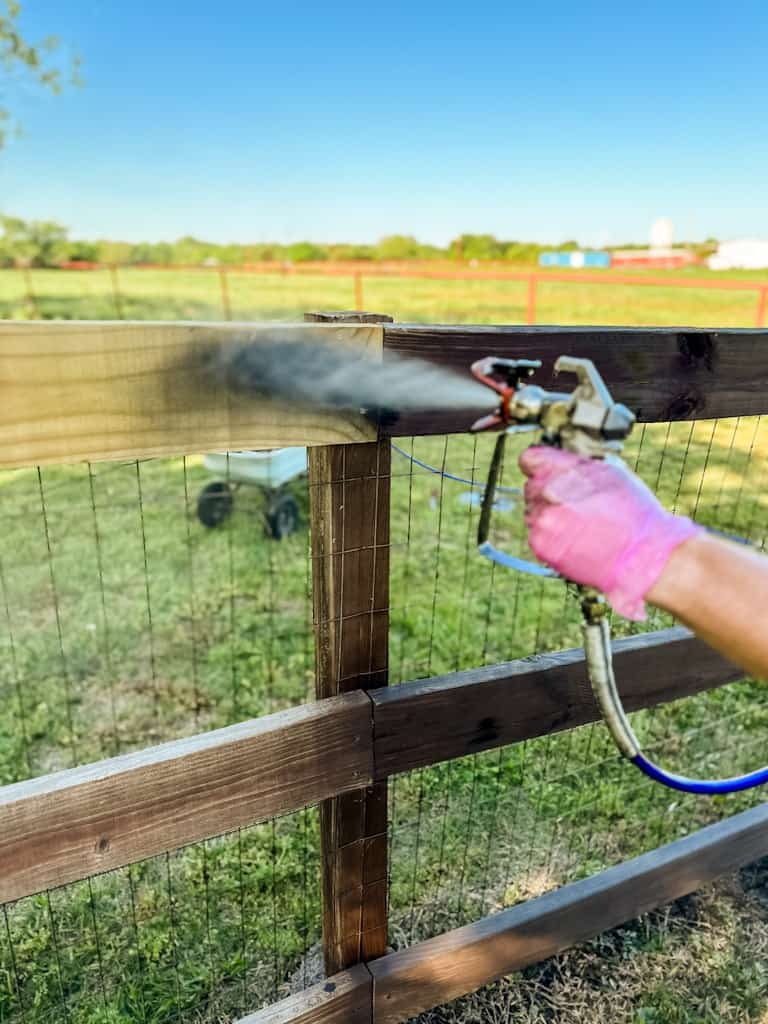
To begin staining your fence, start at the top and work your way down, ensuring even coverage as you move along. Use smooth and controlled strokes and overlap each pass slightly to avoid streaking.
As you work, check for any missed spots or drips and correct them immediately. Allow the first coat to dry completely before applying a second coat if desired.
Once you've finished staining your fence, clean your airless paint sprayer thoroughly and store it according to the manufacturer's instructions.
Enjoy Your Beautiful Fence
After completing your fence staining project, take a step back and admire your hard work. Your fence should now look beautiful and be well-protected against the elements.
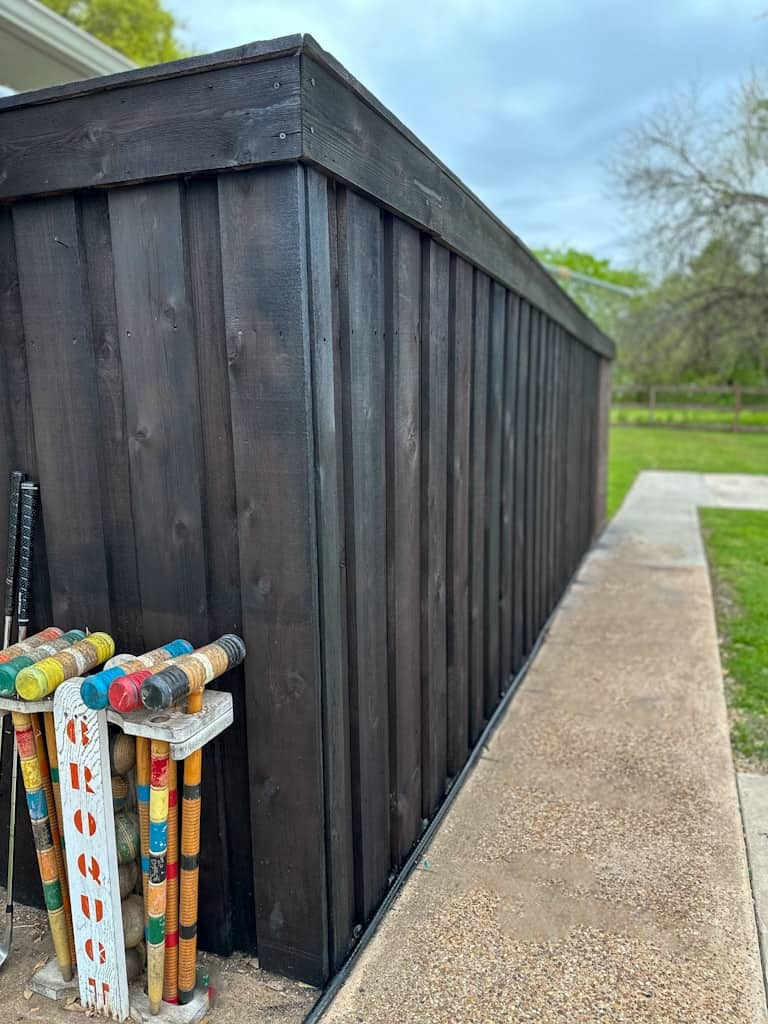
Regular maintenance, like cleaning and re-staining every few years, will keep your fence looking great for many years to come. And you will already have the right equipment on hand to make the job even easier!
Tips and Tricks for Fence Staining
These are some best tips and tricks for staining a fence the easy way, using an airless paint sprayer.
- Keep the Sprayer Clean: Make sure to watch for clogs in the nozzle. Clean by attaching nozzle to a water hose and flushing any clogs out. This will make it easier to apply the stain evenly and quickly.
- Cover the Surrounding Areas: Since the sprayer is powerful, it's crucial to cover any surrounding areas that you don't want to be stained, such as your house, patio, or plants. Use plastic sheets or tarps to cover these areas. We didn't cover our grass, but we did cover the pathway by the pool fence.
- Work in Small Sections: To avoid the stain from drying before you can spread it out evenly, work in small sections. Let each section dry before moving to the next one. Don't forget to overlap each pass slightly to ensure full coverage.
- Use a Wagon for Large Spaces: If you have a lot of square feet to cover, add all of your supplies to a wagon to make moving the sprayer and fence stain super easy!
- Protect Yourself: Staining a fence can be messy, so make sure to wear protective gear such as gloves, goggles, and a mask to avoid any harm to your skin and lungs.
With these tips and tricks, you should be able to stain your fence with ease and get a professional-looking finish. Don't forget to clean up your sprayer thoroughly after each use, and your equipment will last longer.
By using an airless paint sprayer, you can save time and effort while achieving professional-looking results when staining your fence. Remember to prepare your fence properly, choose the right stain, set up your airless paint sprayer correctly, and use smooth and controlled strokes to ensure even coverage. With a little bit of patience and hard work, you'll have a beautiful and long-lasting fence that you can be proud of.