How To Make Faux Whipped Cream Mug Toppers
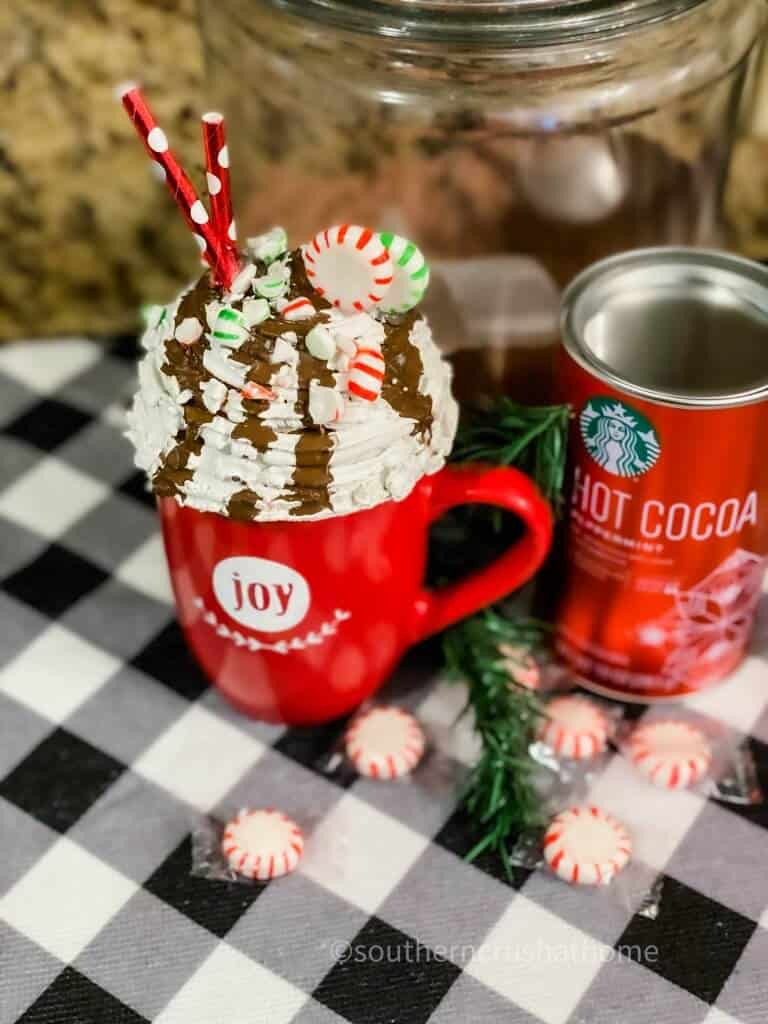
Have you ever heard of Faux Whipped Cream Mug Toppers? They are the cutest craft to add to your favorite coffee mugs and they look like the real deal! Decorate your tiered tray with them, or place them at a hot cocoa station for a sweet little decoration.
I’m so excited to share this super sweet craft with you today! Have you ever heard of “fake bakes”? They have totally taken off, especially in photo displays. I couldn’t wait to try this faux whipped cream mug topper. I love to set up a coffee bar in my home, especially for hot cocoa season.
Did you see this fun coffee bar sign? These little decorative mugs will look great on my coffee bar. A collection of coffee mugs is hung next to the coffee station on a DIY wall mounted mug rack.
Let me show you this budget-friendly DIY so you can make your own!
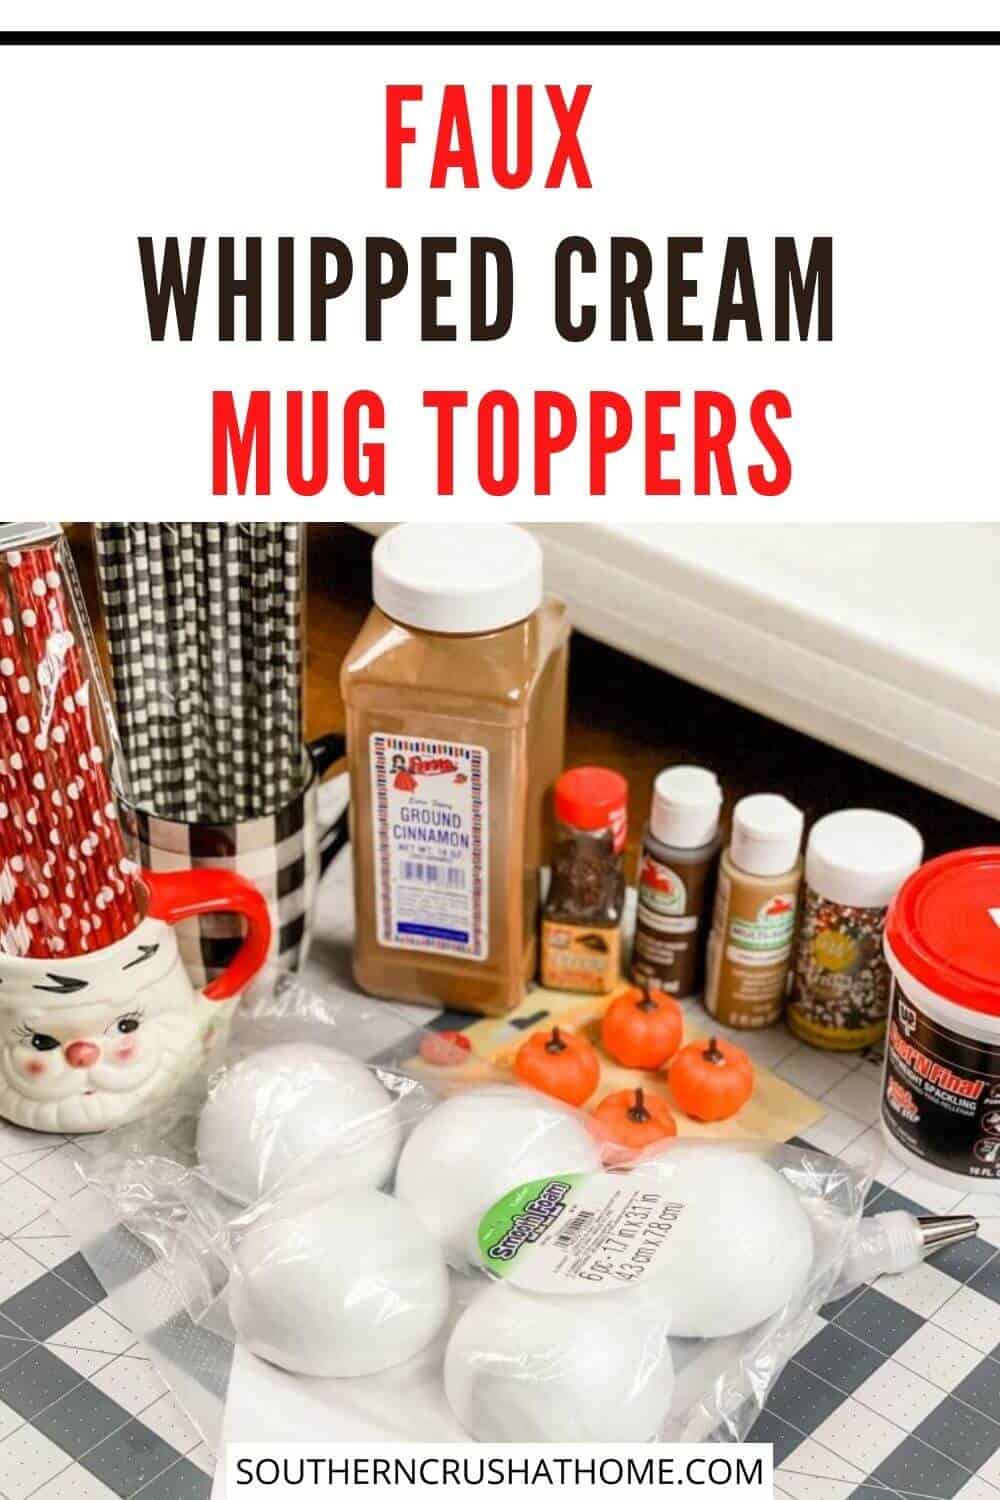
SUPPLIES TO MAKE Faux Whipped Cream Mug Toppers
All the supplies needed can be found by clicking HERE on my Amazon Shop!
- Mugs
- Half Styrofoam Balls
- Fast n Final Lightweight Spackling
- Decorative Straws
- Poster Board
- Cake Bag & 1″ Star Cake Tip
- Ground Cinnamon
- Sprinkles
- Paint
- Hot Glue Gun
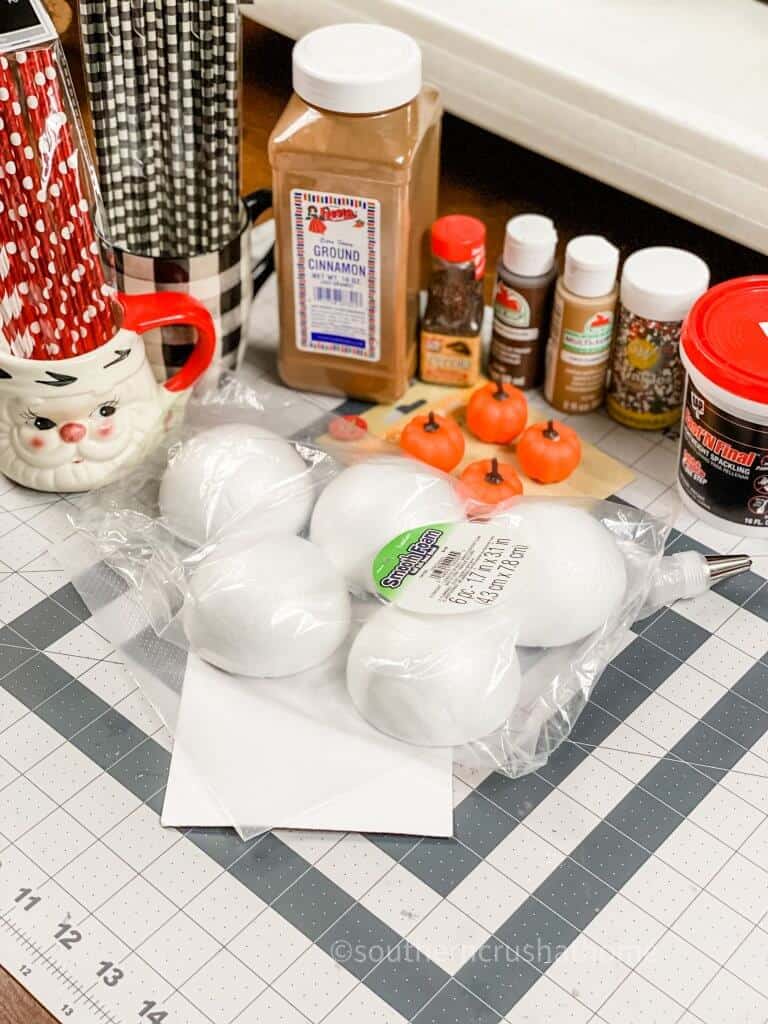
HOW TO MAKE Faux Whipped Cream Mug Toppers
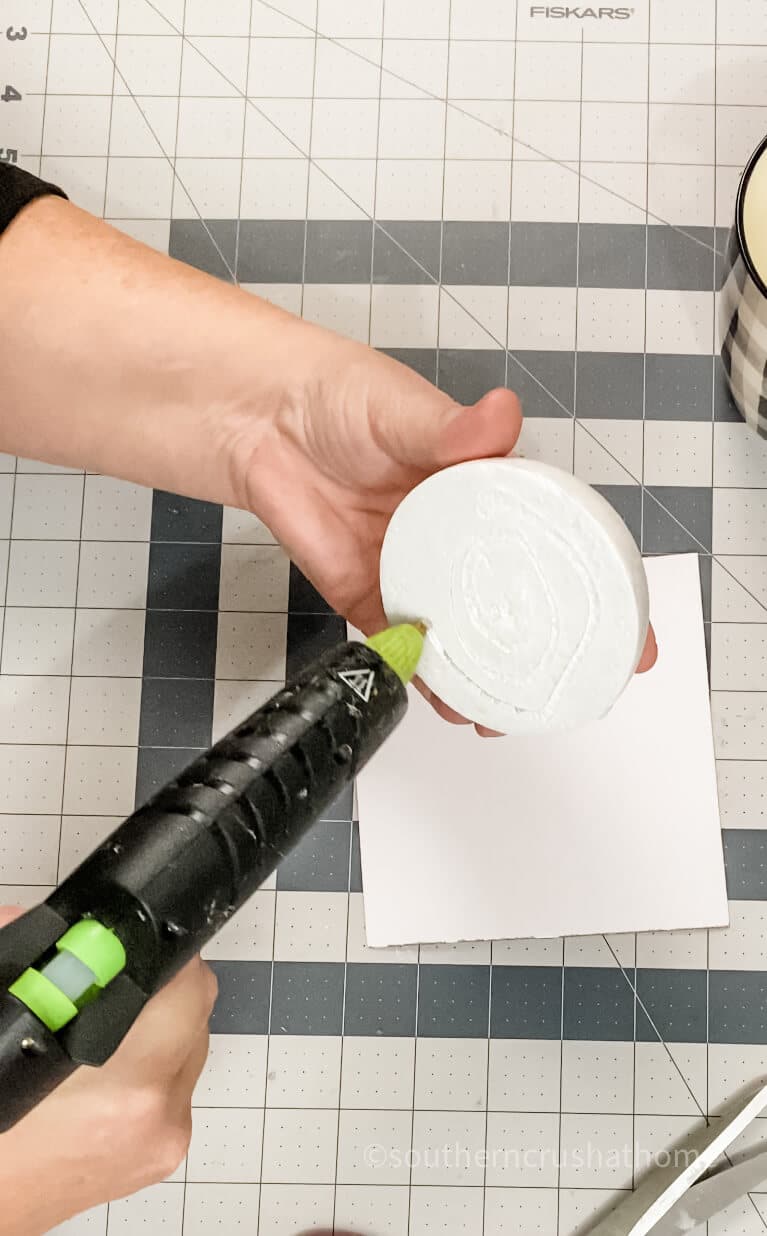
Start by cutting a small piece of posterboard or cardboard for a base. Then use your hot glue gun to attach the foam ball half to the center of the piece of poster board.
NEXT…
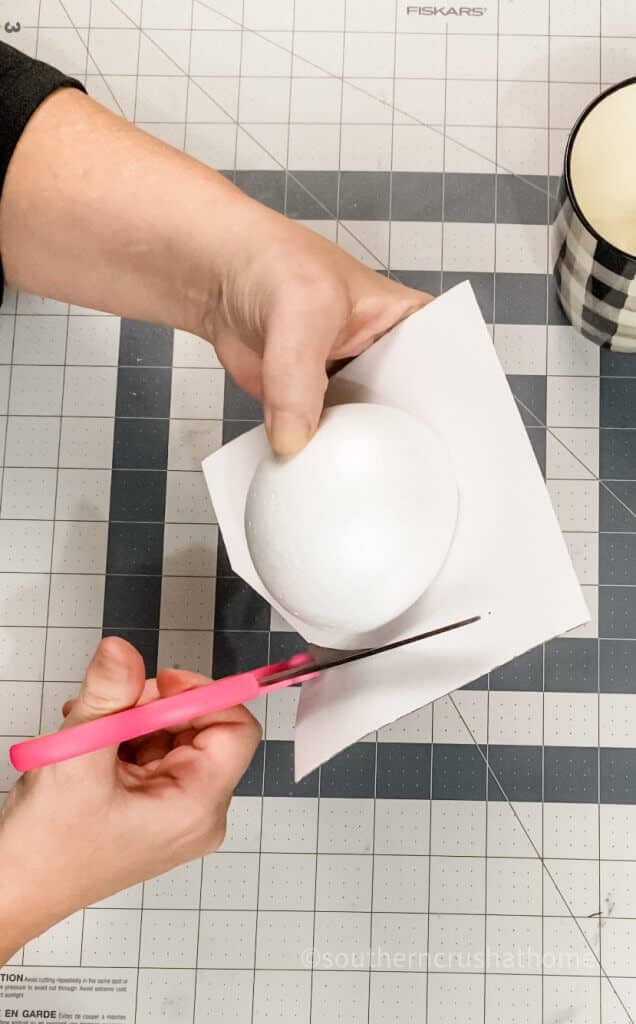
Cut around the styrofoam ball half leaving about a 1/4″ to 1/2″ or so, just a little bit larger than the circle base. You want to create a “lip” for the faux whipped cream to finish at the bottom.
Next up…
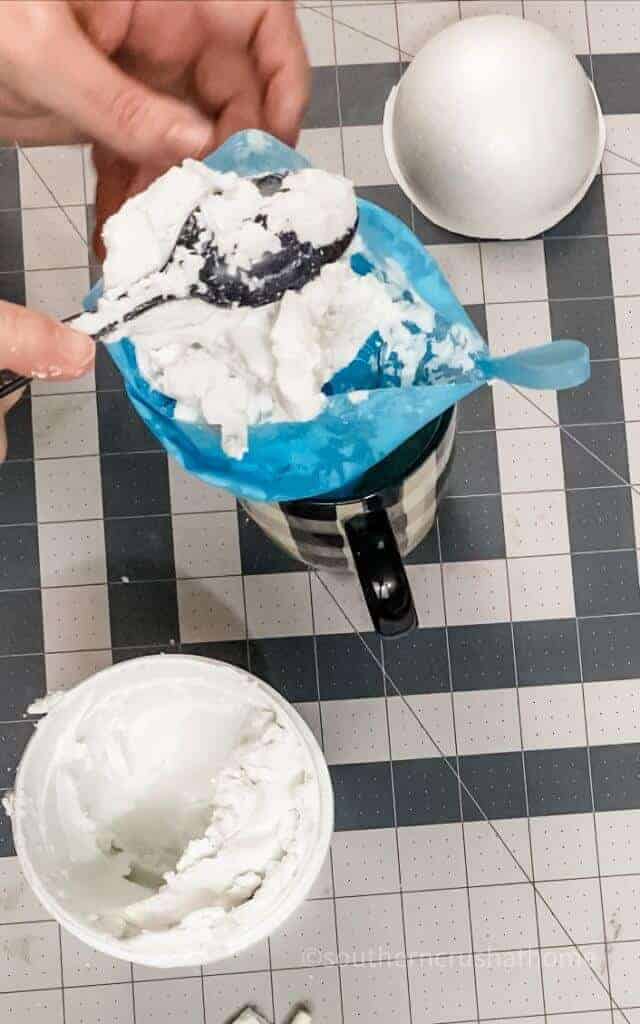
Stir the spackle slightly to mix up the dry parts with the more wet parts. Be careful not to overmix as this will make the spackle too runny.
Using the mug as a holder, spoon the spackling into the cake decorating bag with the star cake tip attached.
Be sure to purchase decent cake decorating bags because the cheapie ones bust. Ask me how I know?!
Quick tip: Be sure to use this size cake tip so it’s easier to work with. Ask me how I know!?
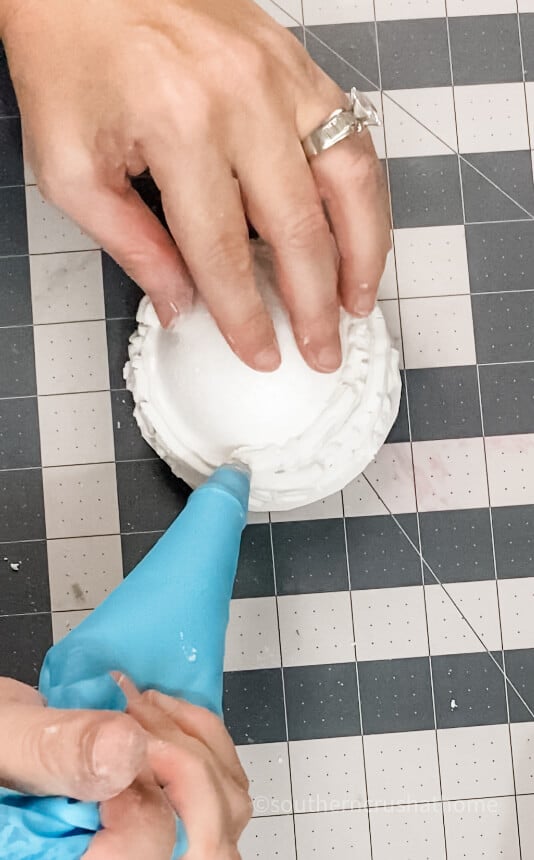
Now it’s time to add the faux whipped cream. If you have not worked with cake decorating tips before, you might want to practice on a paper plate. Just start at the outside of the poster board and slowly work your way around. Take your time and have fun with it.
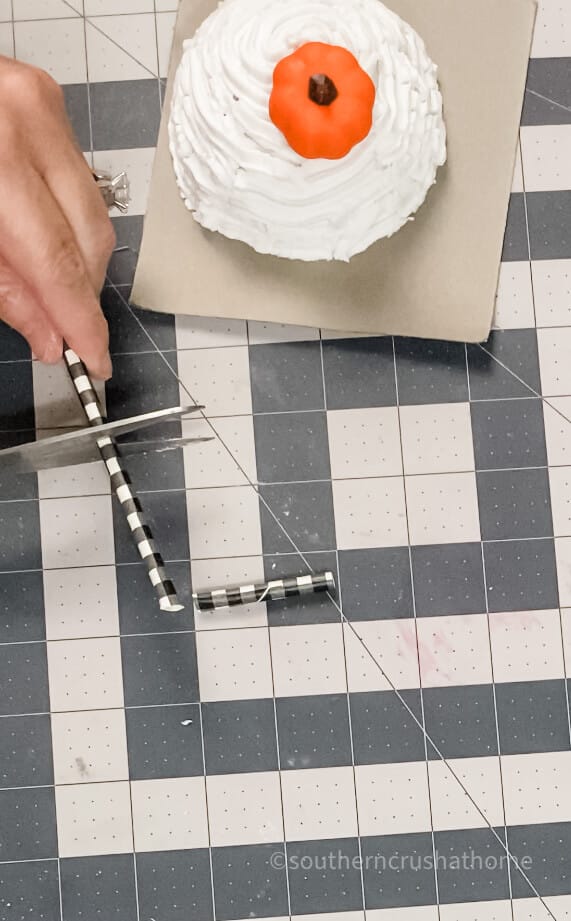
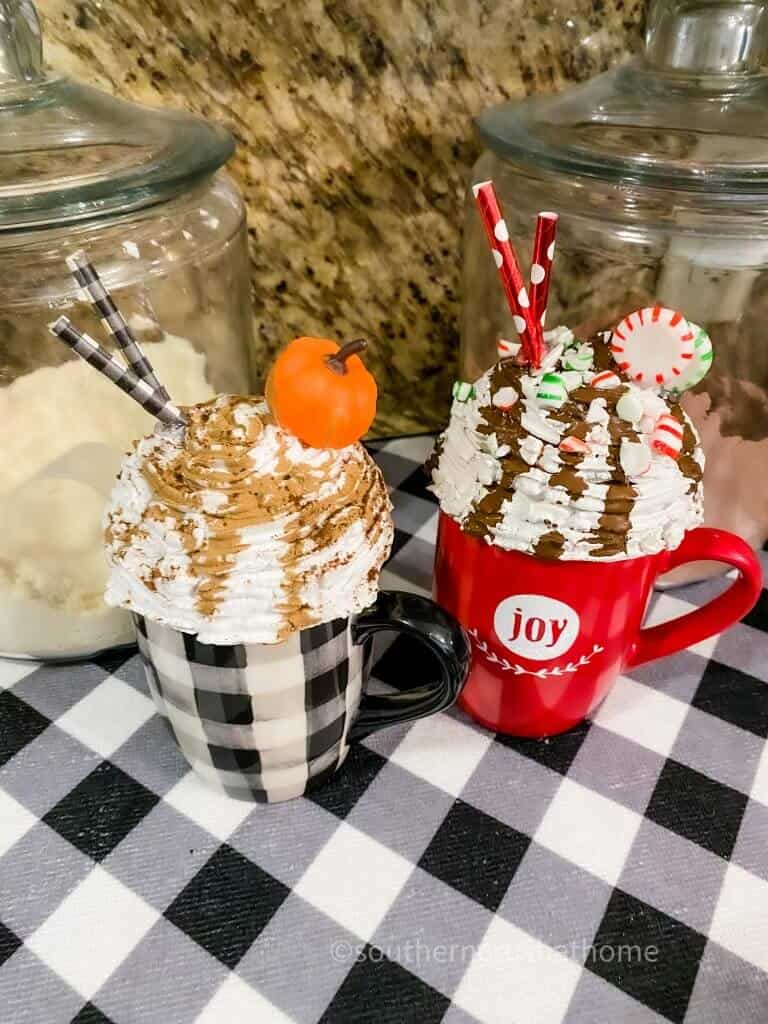
Choose a few fun embellishments to add to the topper. I went with a fun buffalo check straw to go with this mug’s buffalo check pattern. Cut the straw into two different lengths and glue them together at the base. Add them to your topper with hot glue to hold. I also added a cute little pumpkin for the fall mug topper.
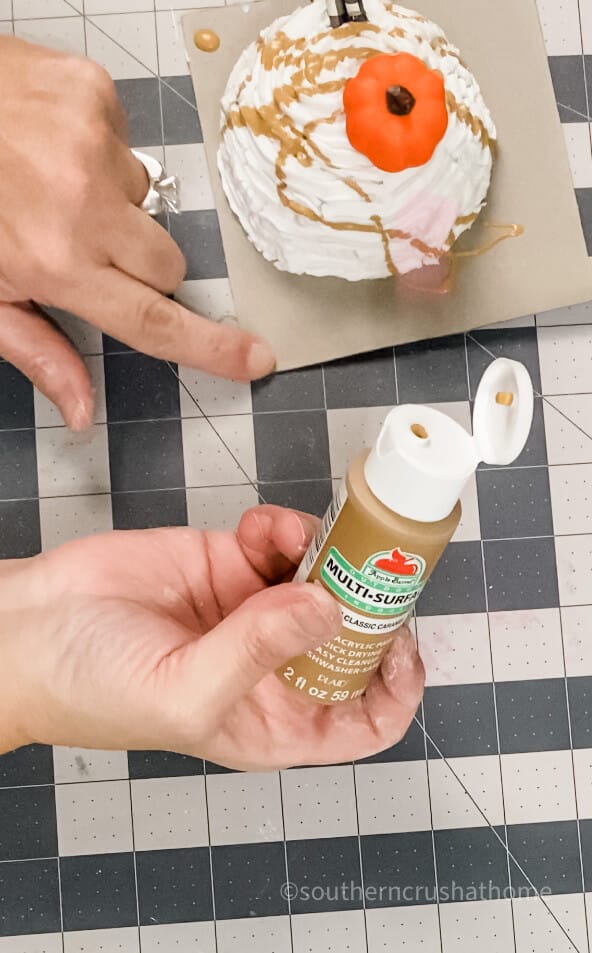
Next up is the fun part – icing the mug topper with a drizzle-like effect! There are so many different creations you can make. It all depends on the color paint that you use. A tan color makes the perfect caramel topping for fall. If you want to make chocolate, use a darker brown paint. Squeeze the paint across the top of the whipped cream until you are happy with the placement.
Quick tip: Puffy fabric type paint is a better alternative than using regular craft paint like I did and looks more realistic, but I already had this paint in the right color so it is what I used. I also recomment you use the paint prior to adding the embellishments.
finally…
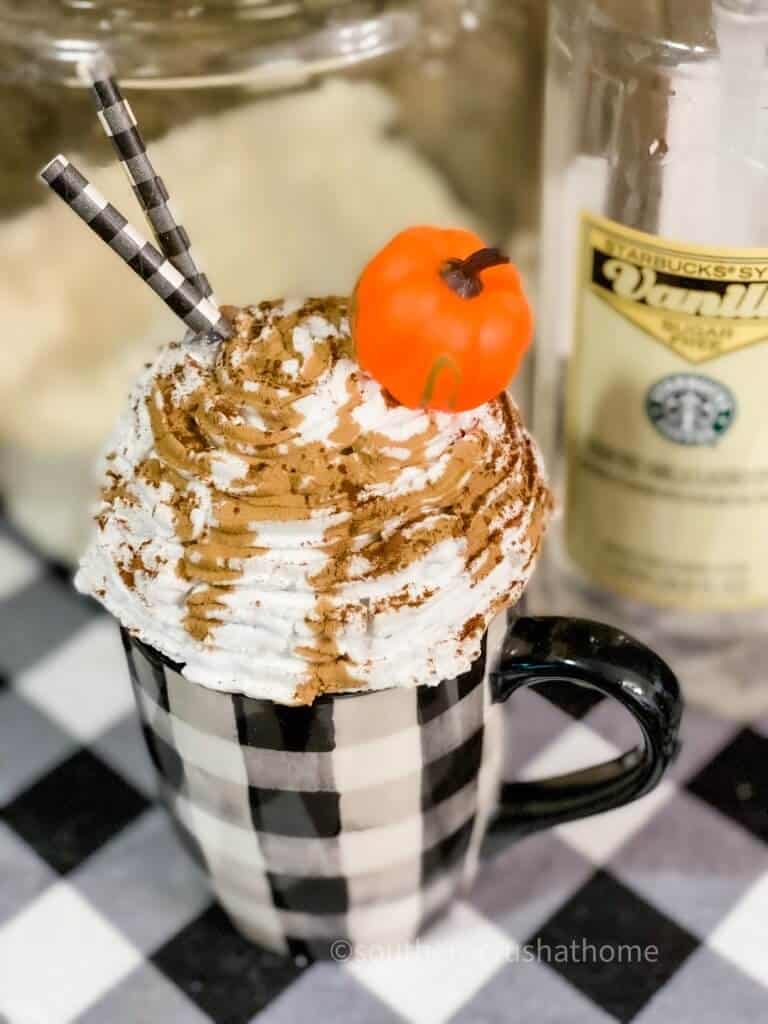
Have a little fun adding sprinkles and/or cinnamon to the top of the whipped cream. Now comes the hard part–let it dry overnight! It’s also best to add a top coat of clear polycrylic spray to make your mug topper last longer. Allow to dry completely.
Try it out by placing it on top of your favorite mug and REPEAT! Make these for all occasions!
Don’t you love the buffalo check mugs with the matching straws? Think about giving this as a hostess gift for Thanksgiving!
Here is a mug topper I did that is all decked out for Christmas. You can also make your own mugs to keep costs down. Here is a simple tutorial I shared for DIY ceramic mugs with sharpies.
Look at how cute this pair of mugs look on my counter. I’m so happy with how they turned out!
Keep an eye out at the dollar store for pretty mugs and decorative straws. You could make up a bunch of these for holiday gift-giving. Think about teacher gifts, neighbors, and co-workers. Even secret Santa gifts. Handmade gifts are always appreciated.
STEP BY STEP VIDEO TUTORIAL
If you are more of a visual learner you may want to see the exact step-by-step process, be sure to check out this video tutorial below over on my YouTube Channel!
Be sure to PIN this for later!
BE SURE TO CHECK OUT THESE OTHER DIY HOLIDAYideas!
- Wooden Spatula Gift Tags
- Scrap Fabric Tree Ornaments
- Paint Brush Gnome Ornaments
- Mason Jar Lid Ornamentsintage Toolbox Succulent Display
Faux Whipped Cream Mug Topper
Equipment
- scissors
Materials
- Mugs Ground
- Styrofoam Balls
- Spackling
- Decorative Straws
- Poster Board
- Cake Bag & Star Cake Tip
- Cinnamon
- Sprinkles
- Paint
Instructions
- Place the styrofoam ball half on a square of poster board and cut around it so it is just a little bit larger than the circle base.
- Use your hot glue gun to attach the foam half to the poster board.
- Place the spackle into the cake decorating bag with the star cake tip attached.
- Start at the outside of the poster board and slowly work your way around.
- Cut your straw to size and set it aside.
- Decoratethe mug topper with your choice of paint color, sprinkles, etc.
- Add the straw.
- Place the topper on top of the mug.



Those are so darling! Perfect to decorate a cocoa bar!
can you use real edible sprinkles?
Yes! That is what I used!
I love making these! I am using real sprinkles as well. They are running and the color is streaking on the faux whip cream. Do you have any suggestions to prevent that?
You could try sealing the sprinkles first? or use faux sprinkles instead of real ones.
No please do not use real sprinkles!! The colored ones will run onto your topper and ruin them!!
I made a topper and “whipped” cream on my cupcake and the cupcake cracked. And idea why?
The spackle cannot be dried out, needs to be nice and fresh when using.
Very cute!! How do they stay on the mugs? Won’t they slide right off if bumped?
Yes. They are for looks only and meant to sit still on display.