How to Make a Scrap Fabric Tree Ornament
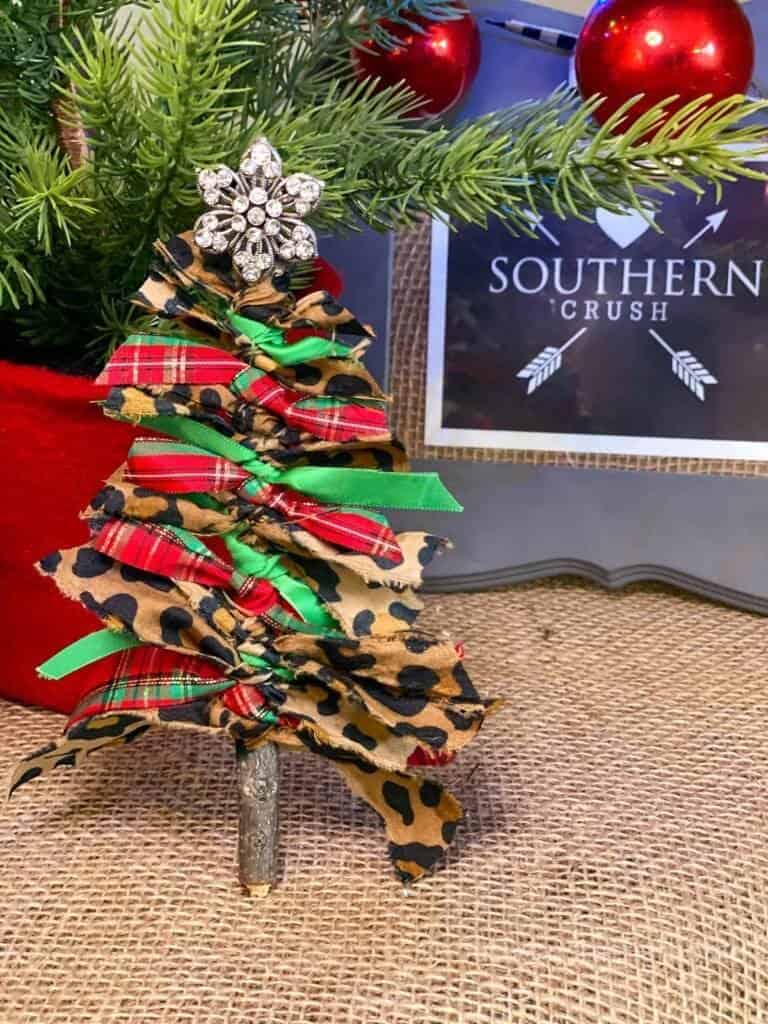
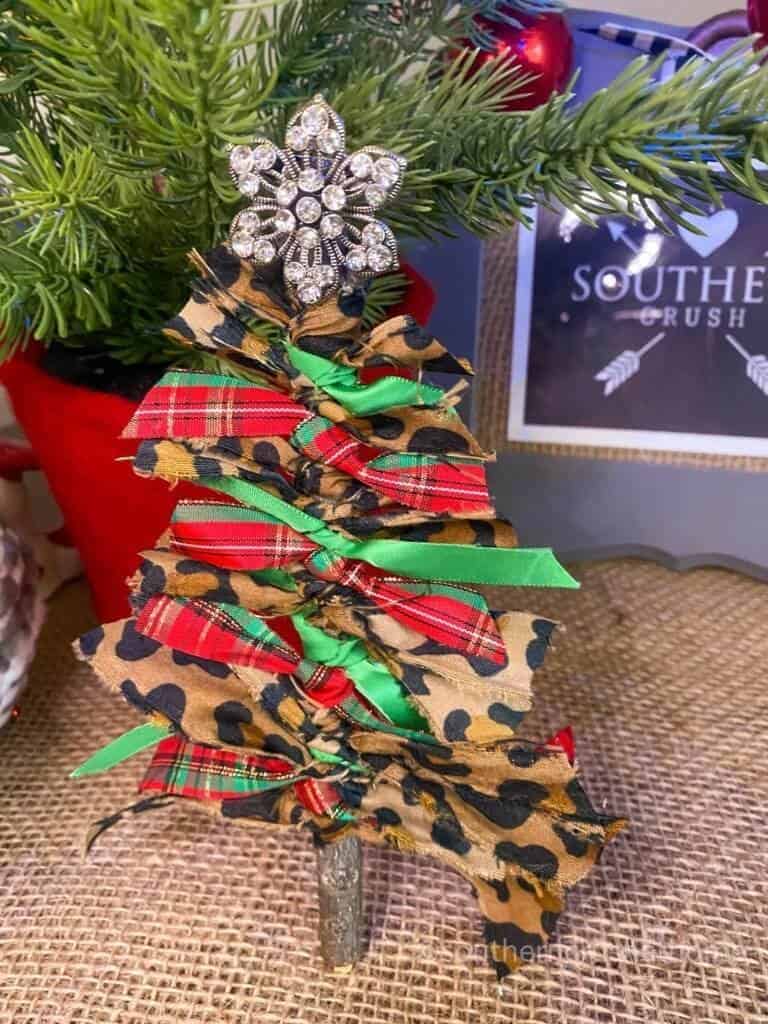
This rustic scrap fabric tree ornament is easy enough for any age crafter to make to give or to keep this holiday season. This super cute DIY uses scrap fabrics and ribbons to create the branches of a Christmas tree. These are fun, last minute ornaments to make with the kids. Learn how easy it truly is…
Be sure to PIN this one for later!
Supplies needed for tree ornament
- scrap fabrics (I used a section from an old pillowcase with leopard print)
- 2-3 different scrap ribbons (any leftover pieces you have from making bows or wrapping gifts)
- small 4-6″ stick from the yard or a cinnamon stick
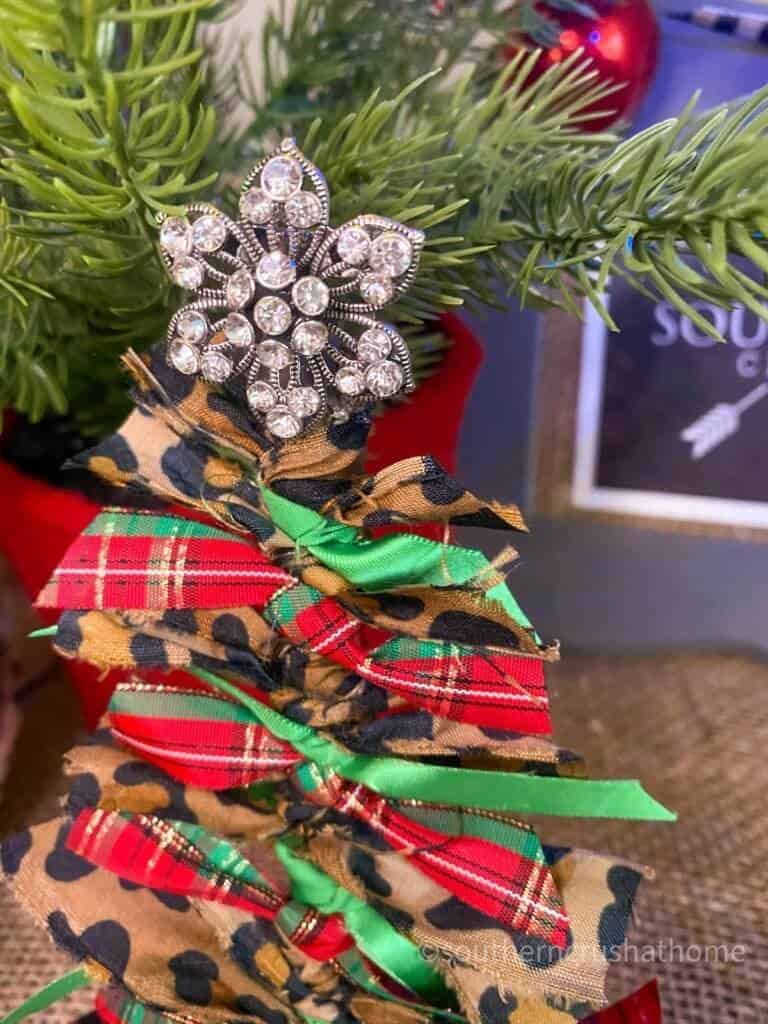
- embellishment for the star (I used some bling, but you can also use buttons, or old jewelry pieces–get creative and have fun with it)
- hot glue gun and glue
- scissors
steps for making rustic tree ornament
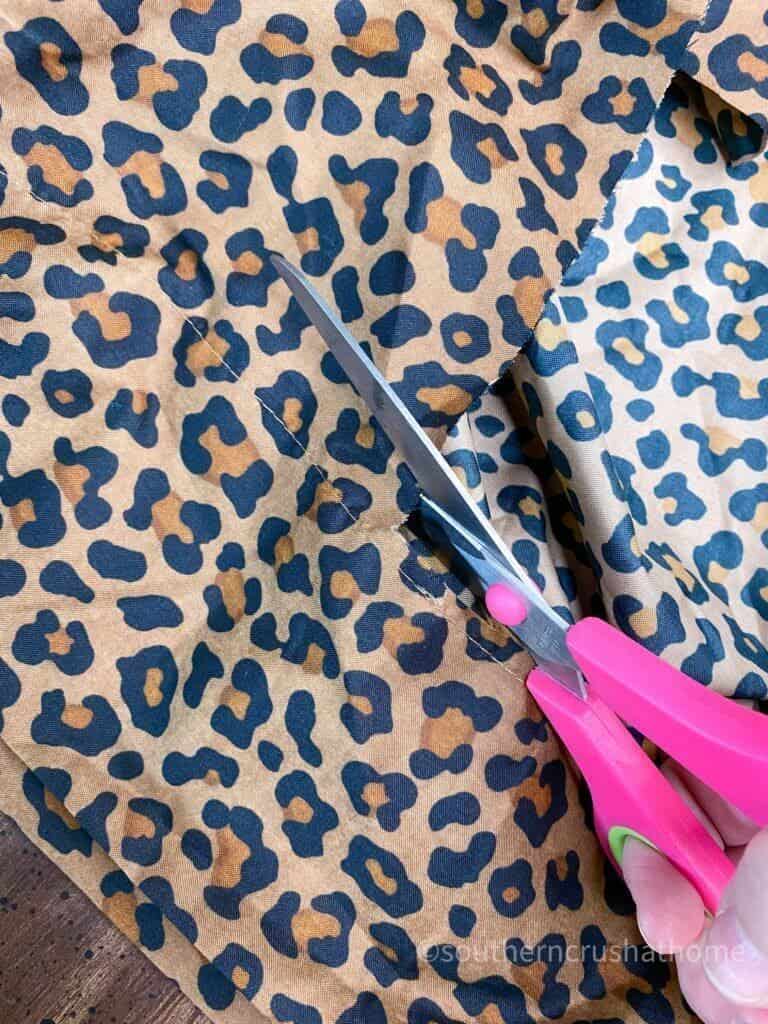
- Cut out a small square section of the fabric.
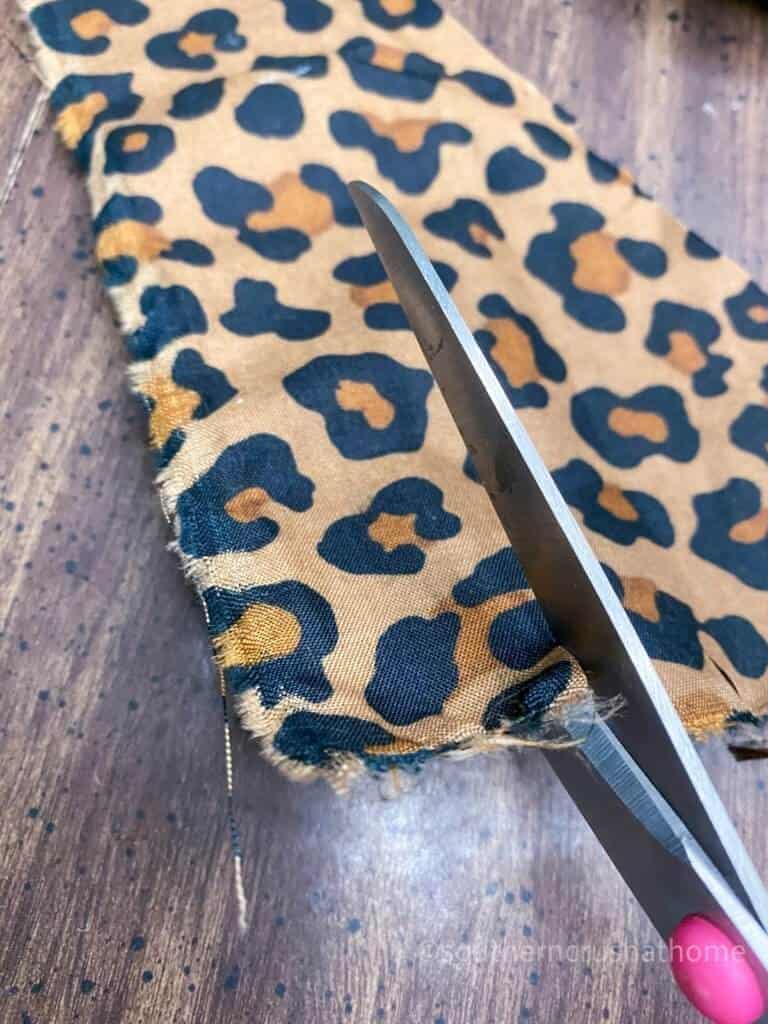
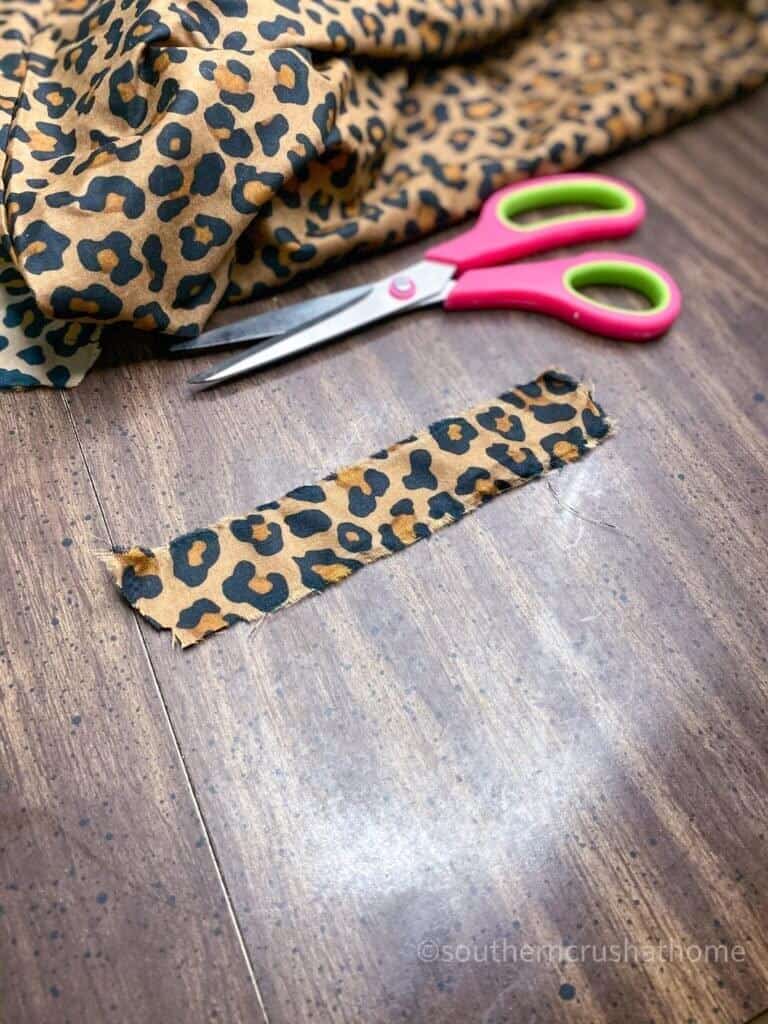
- Snip small 1/2-1″ sections and rip into approximately ten 5-6″ strips.
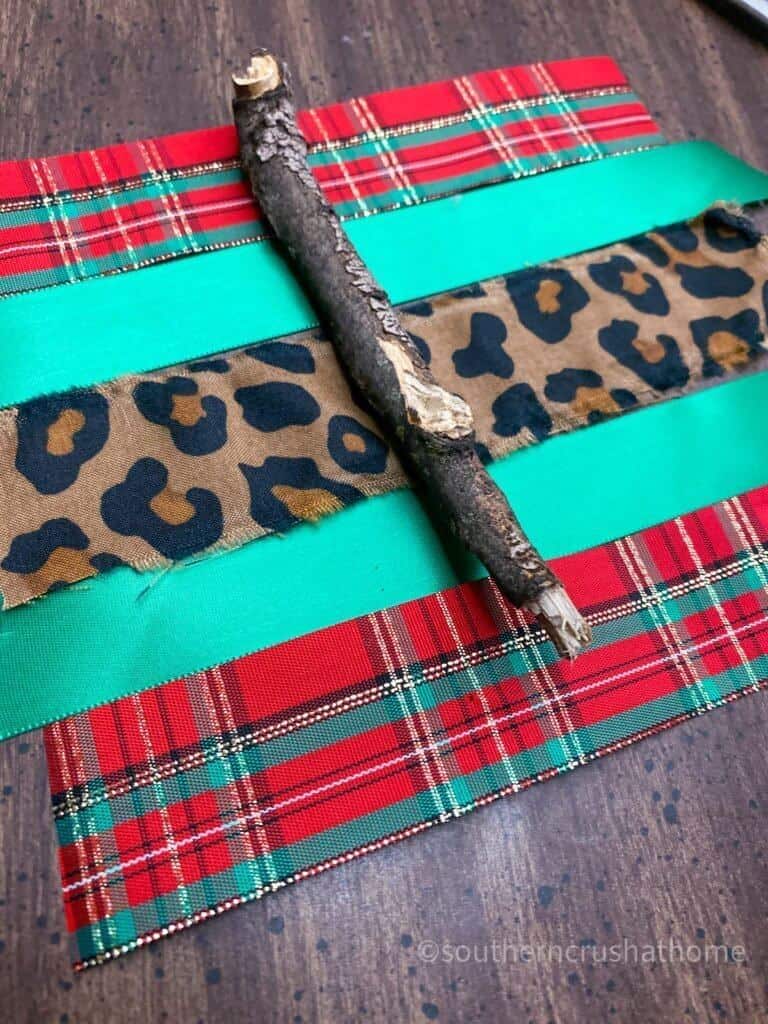
- Cut approximately six equal pieces of each of the scrap ribbons.
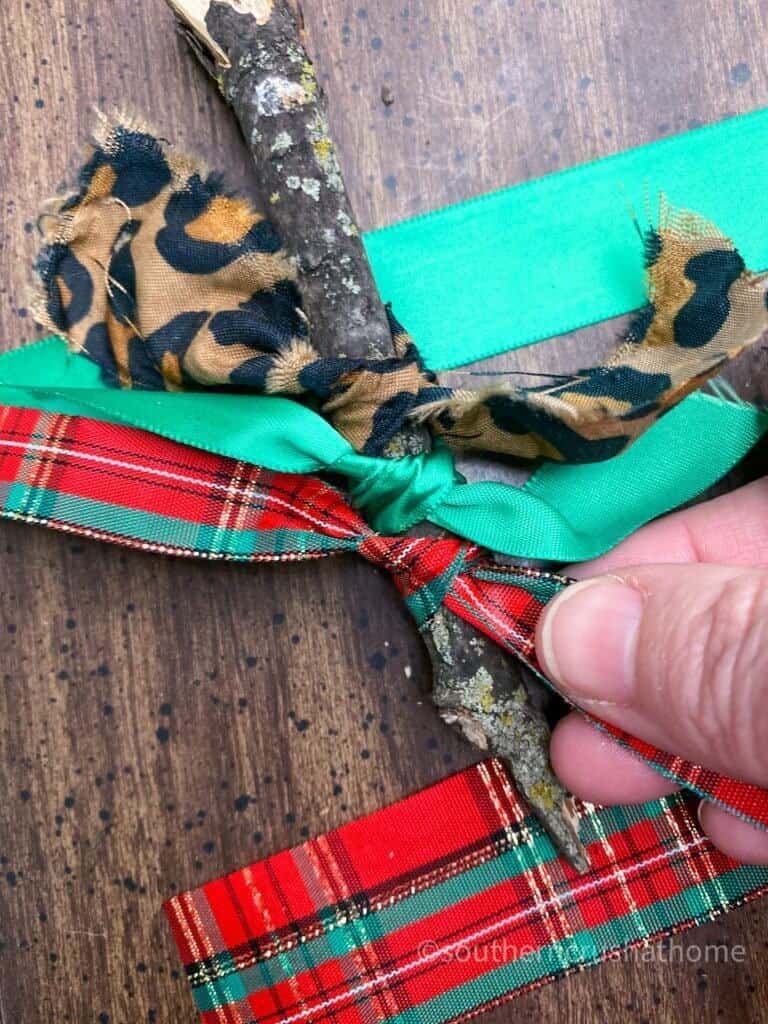
- Tie the fabric strips and the ribbons in a single knot around the stick or trunk of the “tree” alternating colors between each one.
- Lay the tree down and flatten out the fabrics and ribbon until they’re fairly flat.
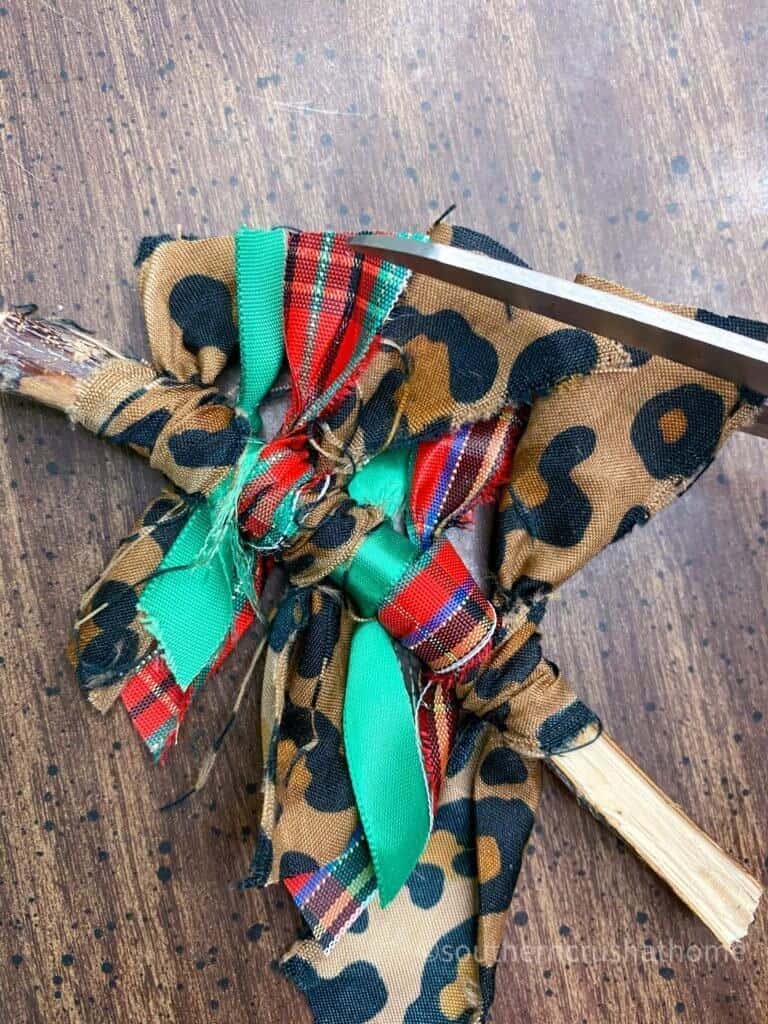
- Using scissors trim the scrap fabrics and ribbons at an angle up each side of the stick until it resembles the shape of a tree.
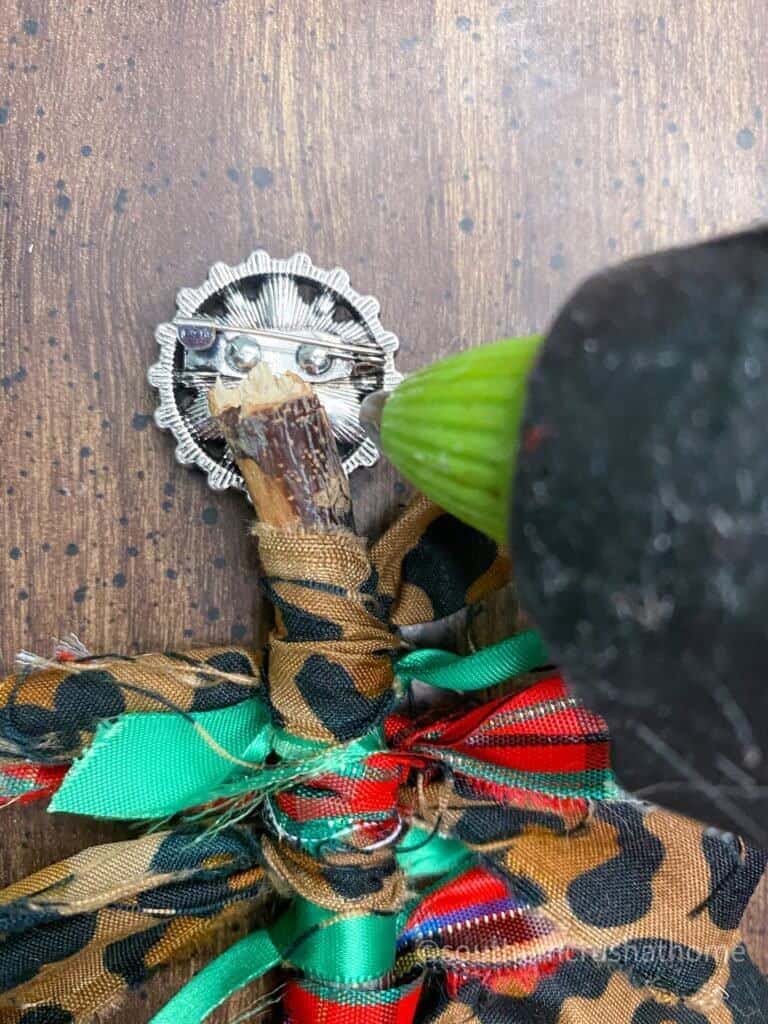
- Add the embellishment to the top with a little hot glue.
- String an additional ribbon or twine through the embellishment for hanging.
scrap fabric Christmas tree ornament
scrap fabric ideas
- Use an old pillow case or sheet that has a cute pattern or a fun color
- Search for remnant fabrics at a thrift shop or garage sale
- Repurpose an old plaid flannel shirt or handkerchief from a loved one
- Vintage tablecloths and cloth napkins make great scrap fabric
The key is to use what you have. This DIY project should be inexpensive and easy to throw together at the last minute.
scrap fabric christmas tree variations
- Make a monochromatic colored tree in all white or red or green.
- Create an ombre look by using scraps of the same color in varying shades from dark to light going up the tree.
- Alternate between polka dots and stripes for a fun look.
- Add a fabric or ribbon that has a shimmery tone for extra glam.
- Use nautical rope or thick jute for a more rustic look or beach theme with a seashell on top as the star.
The possiblities are endless with this easy, fun craft. Get creative and make it a tradition to add a new scrap fabric tree ornament each year!
other diy ornaments you may like
- Easy Christmas Ornament DIY (Using a Mop Head)
- Easy Mason Jar Lid Ornaments For Christmas
- DIY Buffalo Plaid Ornaments
SIGN UP FOR MY EMAILS
If you love these kinds of DIY ideas, you need to be getting my emails, friend! Each week I send out a couple of emails that include updates, crafts, shopping experiences, and decor inspiration. Be sure to get yourself signed up below.
I can’t wait to meet you! Leave your thoughts below in the comments, please… BTW— Life is short—Enjoy the mess!
How to Make a Scrap Fabric Tree Ornament
Equipment
- hot glue gun and glue
- scissors
Materials
- 3-4 scrap fabrics I used a section from an old pillowcase with leopard print
- 2-3 different scrap ribbons any leftover pieces you have from making bows or wrapping gifts
- 1 small 4-6" stick from the yard or a cinnamon stick
- 1 embellishment for the star I used some bling, but you can also use buttons, or old jewelry pieces--get creative and have fun with it
Instructions
- Cut out a small square section of the fabric.
- Snip small 1/2-1" sections and rip into approximately ten 5-6" strips.
- Cut approximately six equal pieces of each of the scrap ribbons.
- Tie the fabric strips and the ribbons in a single knot around the stick or trunk of the "tree" alternating colors between each one.
- Lay the tree down and flatten out the fabrics and ribbon until they're fairly flat.
- Using scissors trim the scrap fabrics and ribbons at an angle up each side of the stick until it resembles the shape of a tree.
- Add the embellishment to the top with a little hot glue.
- String an additional ribbon or twine through the embellishment for hanging.


One Comment