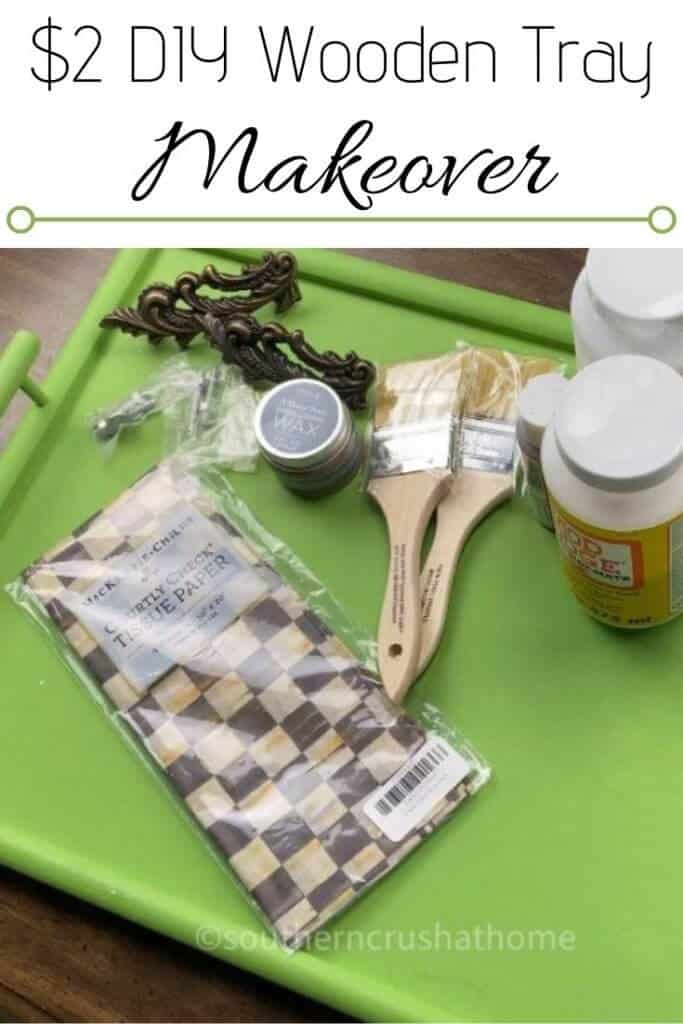
Gorgeous $2 Thrift Store Tray Makeover (Video Tutorial)
Today I'm sharing a beautiful $2 DIY thrift store tray makeover that I know you are going to love. You can never have too many trays, either for entertaining or decorating.
Keep an eye out the next time you are thrifting for a wooden tray. You will definitely want to make one of these for your home decor!
Be sure to PIN this for later!
The minute I spotted this wooden tray at the thrift store for $2 I scooped it up. Wooden trays can be used in so many different ways, either for serving purposes, or just to decorate with. Plus, you can update them seasonally to use in pretty vignettes.
Let's get to this easy DIY tutorial, so you can make your own.
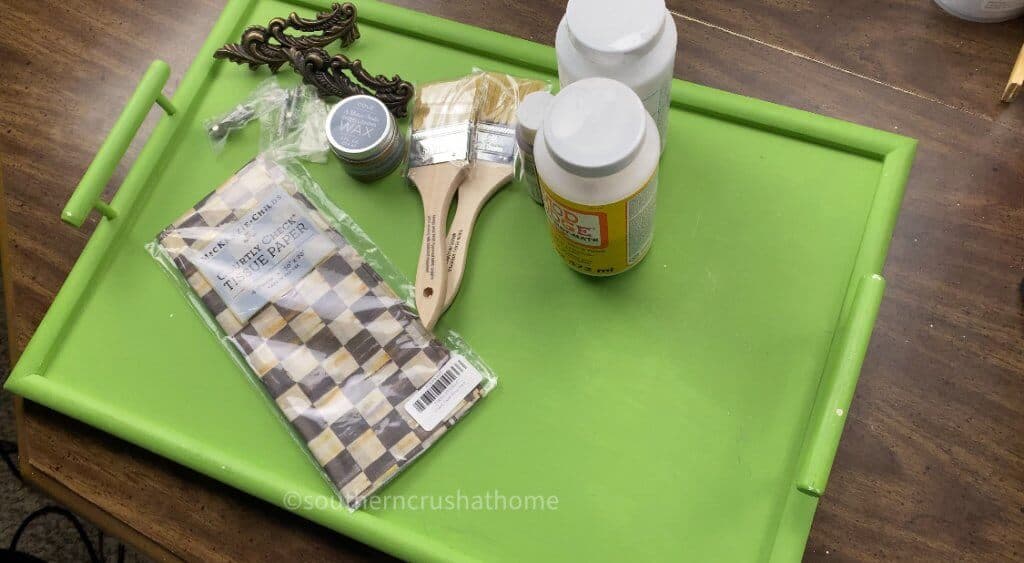
supplies needed for DIY Thrift Store Tray Makeover
(This post most definitely has affiliate links. See disclosure here)
All the supplies needed can be found HERE in my Amazon Shop!
- Wooden Tray
- Black and Tan Check Tissue Paper
- Mod Podge
- Cricut Permanent Vinyl
- Cricut Vinyl Transfer Tape
- Adhesive Scraper
- Weeding Tool
- Spray Bottle
- Black Ink Pad
- Gold Gilding Wax
- Chip Brush
- Heat Gun
- Chalk Paint
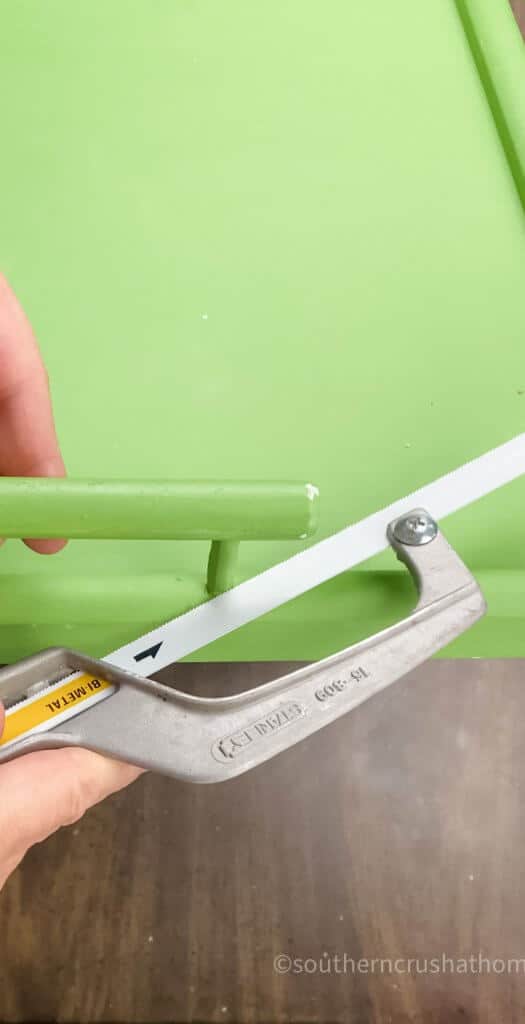
Start by removing the old handles. We are going to replace them with really pretty ornate handles.
Next, fill in the old holes with spackle. Then go over it with a little 120 grit sandpaper to smooth them out.
how to makeover a thrifted wooden tray
Now it's time to paint. Use your chip brush to paint the wooden tray with chalk paint. If you need a recipe for chalk paint, grab mine here.
Chip brushes are great for craft projects because they are inexpensive and versatile. 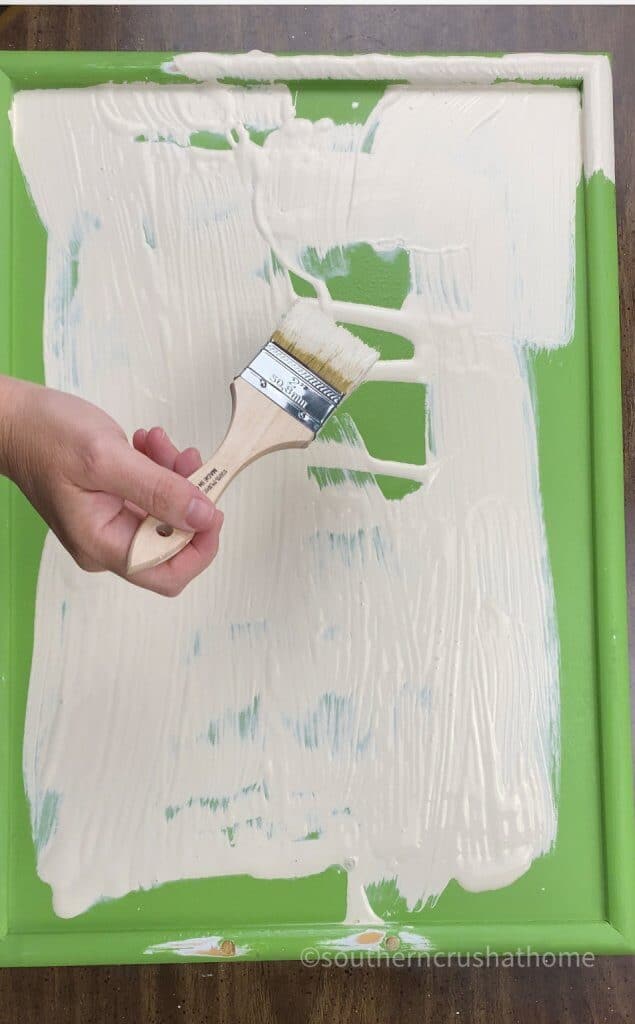
I had to give the tray 2-3 coats of paint, letting it dry in between coats in order to cover the green color. To speed up the drying time, I used a heat gun to dry the surface between layers of paint.
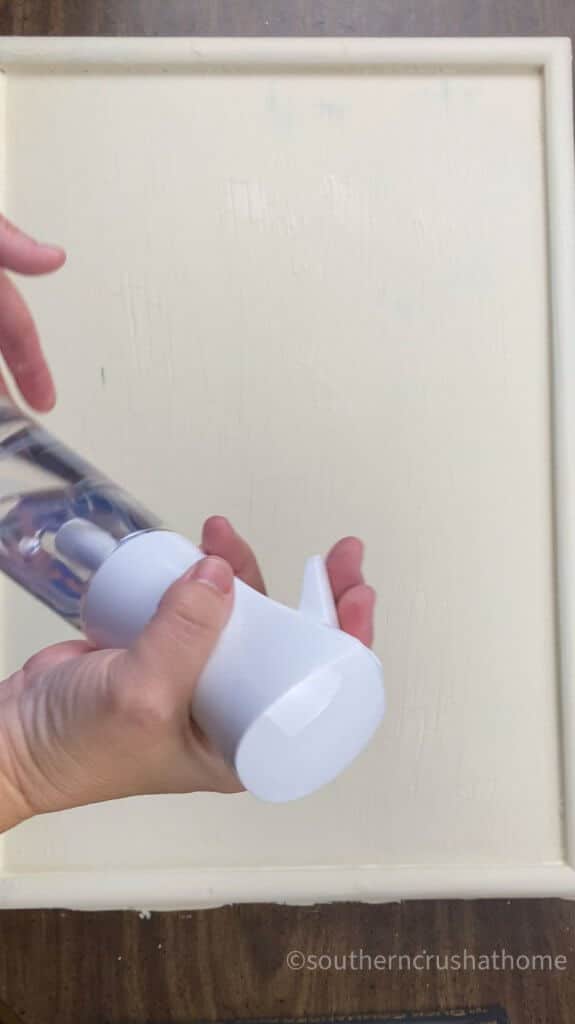
Quick Tip: Once your paint layers are dry, mist the top with water, then lightly brush over the top layer of paint to create an ultra-smooth “brush stroke-free” finish! I shared this convenient mister on my Five Favorite Finds if you need one!
NEXT…
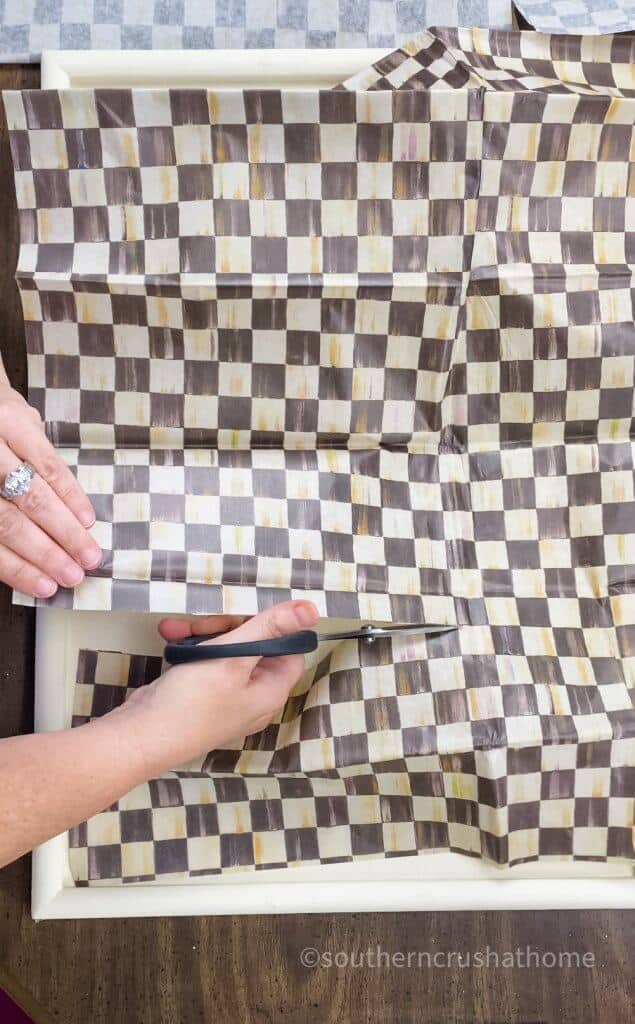
Cut the tissue paper to fit the wooden tray using a straight edge and some scissors.
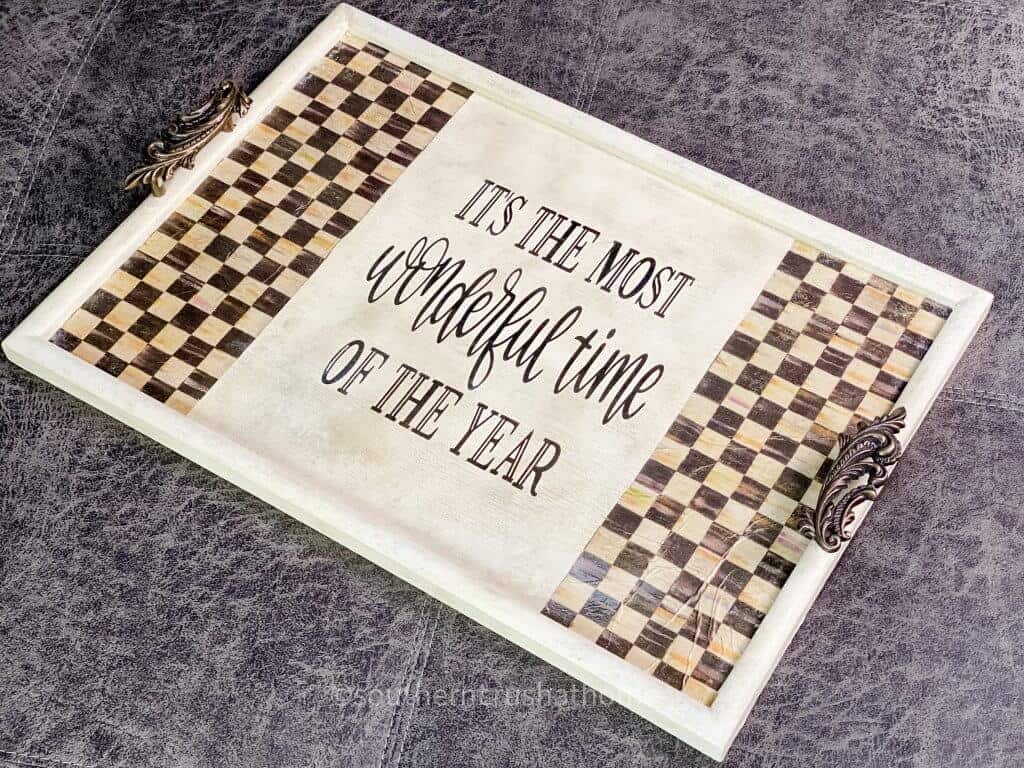
Use mod podge to decoupage the tissue paper to the tray. I chose to add the tissue equally to each side of the tray, so the vinyl transfer would show up better in the center. Don't you just love this black and white check paper?
Quick Tip…
It's best to add the mod podge directly to the tray, then place the tissue paper on top. Lightly pat it down using a ziploc baggie to cover your hand.
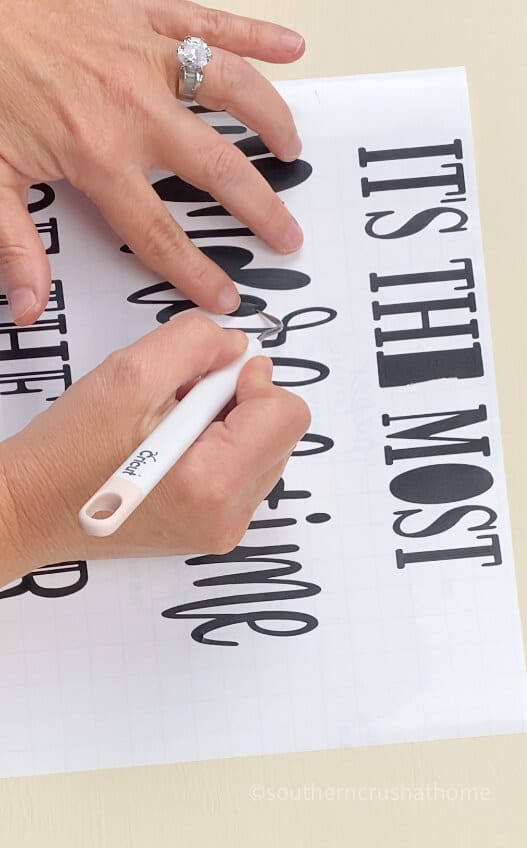
Cut out the vinyl transfer with your cutting machine. Be sure to use transfer tape to help with the weeding process. The weeding tool is also a big help with this process. It's so relaxing and fun to do!
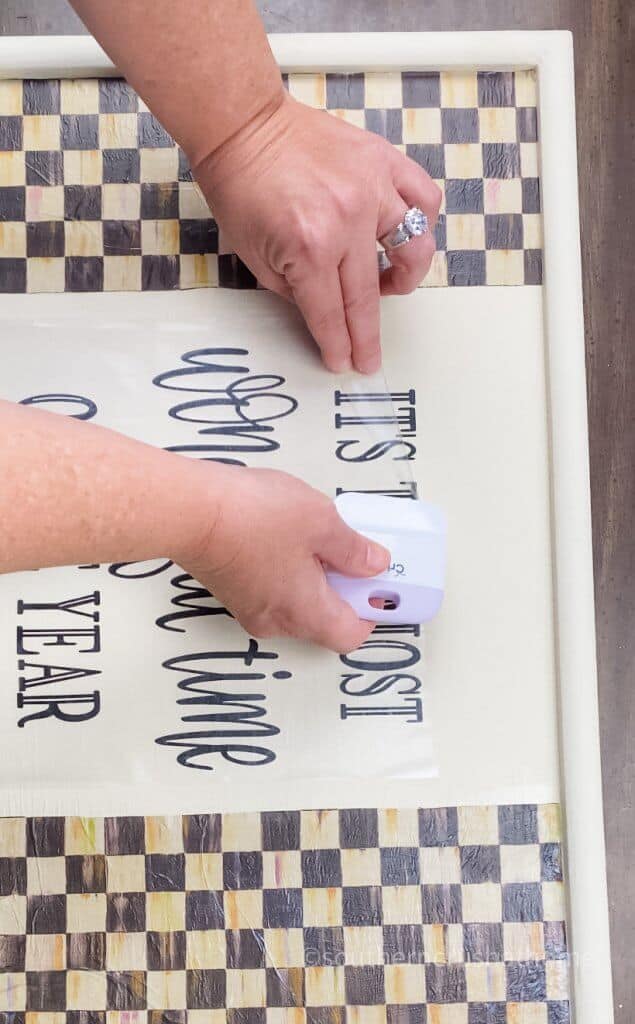
Use your scraper to burnish the vinyl to the center of the cutting board for the fun reveal of the lettering design.
Now you want to age the tissue paper and entire wooden tray by using black ink from a stamp pad and a soft brush. Lightly brush on a few strokes here and there. This really gives it an antique look.
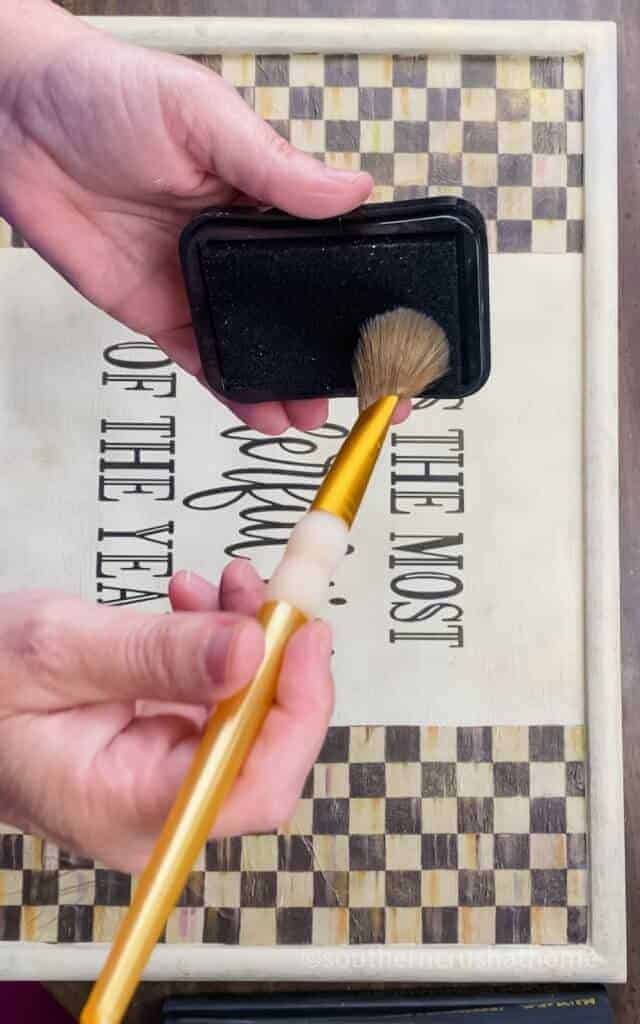
Additionally, you can add the gold wax using a brush to seal the tray and add a pop of shimmer all over!
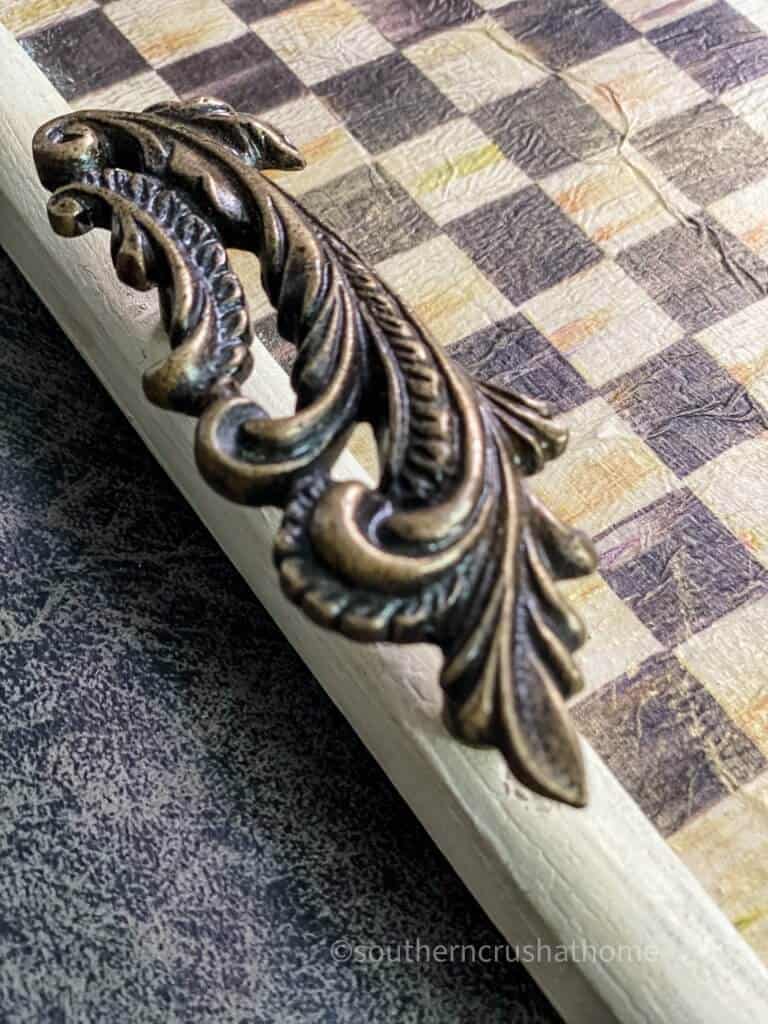
Finish it off with your beautiful ornate handles. What really adds to the vintage look of these handles and the tray is the addition of gold gilding wax. You can just use your fingertip to add this to each handle, and randomly across the tray. I really love this look!
that's it!
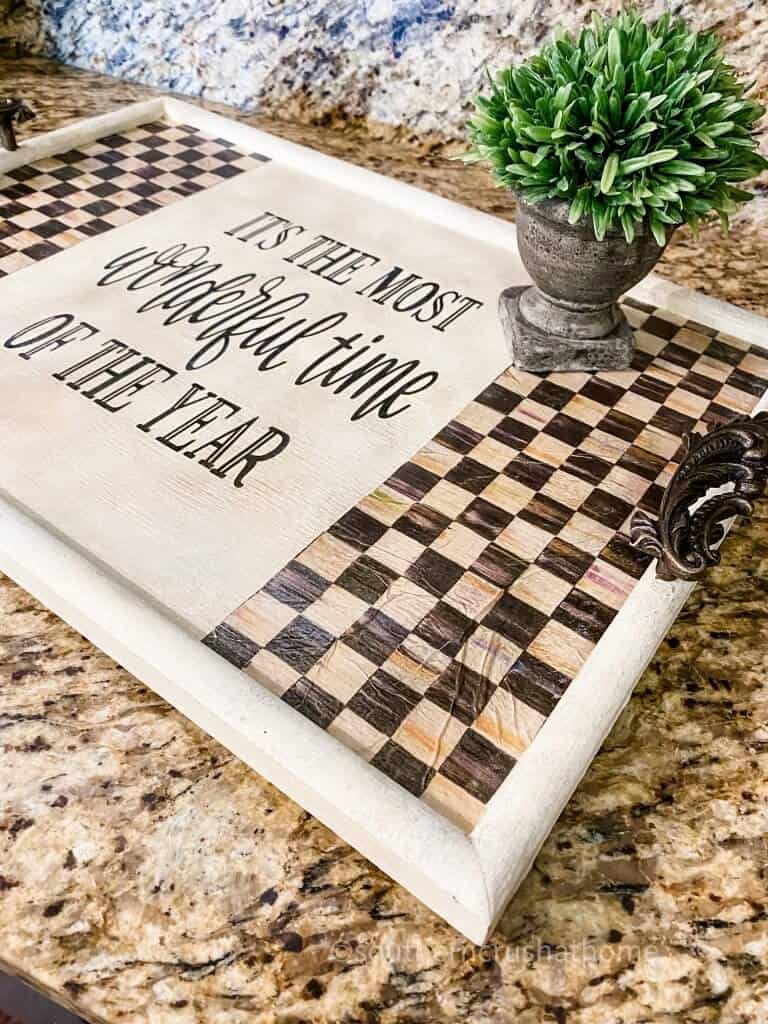
Look at how gorgeous this thrift store tray makeover is! What do you think? Is this something you could see yourself making? There are all kinds of graphics you could add to the tray, not only for the holidays but for everyday use. I could totally see making one with a farmhouse-style graphic.
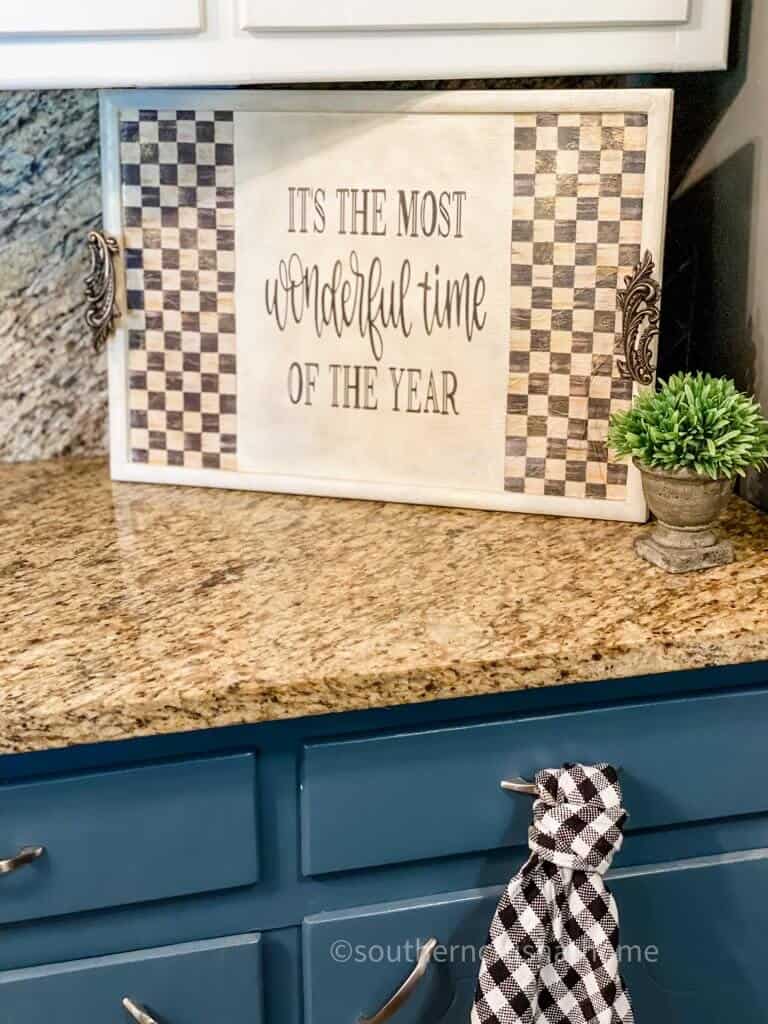
The fun part is decorating with your new tray. I love to use them in vignettes. One of my favorite items to add to trays are a farmhouse-style wood bead garland. They add extra texture and dimension and really look so pretty.
Think about all the ways you can use a thrift store tray. What about standing it up on a buffet table, or mantel and placing a few items in front of it? I hope you enjoyed this simple DIY. Please let me know if you make your own!
step by step video tutorial
If you want to see the exact step-by-step process, be sure to check out this step-by-step video tutorial below over on my YouTube Channel!
BE SURE TO CHECK OUT THESE OTHER THRIFTY DIY IDEAS!
- Thrift Store Pillow Makeover (using a Vintage Tablecloth)
- Thrift Store Wreath Makeover
- Easy Thrift Store Pitcher Makeover
- DIY Thrift Store Silver Tray Chalkboard
- Easy Farmhouse Thrift Store Photo Frame
- 21 Best DIY Thrift Store Projects

DIY Wooden Tray Makeover
Equipment
- heat gun
Materials
- All Supplies can be found HERE in my Amazon Shop
- Wooden Tray
- Black and Tan Check Tissue Paper
- Mod Podge
- Cricut Permanent Vinyl
- Cricut Vinyl Transfer Tape
- Adhesive Scraper
- Weeding Tool
- Spray Bottle
- Black Ink Pad
- Gold Gilding Wax
- Chip Brush
- Chalk Paint
Instructions
- Start by removing the old handles.
- Fill in the old holes with spackle. Go over it with a little sandpaper to smooth it out.
- Use your chip brush to paint the wooden tray with chalk paint.
- Give the tray 2-3 coats of paint, letting it dry in between coats.
- To speed up the drying time, use a heat gun.
- Lightly mist the wooden tray.
- Cut the tissue paper to fit the wooden tray.
- Use your mod podge to decoupage the tissue paper to the tray.
- Cut out the vinyl transfer with your cutting machine.
- Use the weeding tool to weed the vinyl.
- Burnish the vinyl to the center of the cutting board.
- Age the wooden tray by using black ink and a brush.
- Add your beautiful ornate handles.
- Decorate with your new wooden tray makeover!
That tray is so adorable. Thank you so much for sharing!
Yay! Thank you! I ‘m so glad you like it!
The tray turned out beautifully. Love it so much. Great job!
It’s beautiful!
What product did you use to seal the tray? I ask because I’ve been looking for a sealer that is resistant to marks left by items I’ve sat on trays I’ve made over. Your project turned out beautifully!
Oh thank you so much! I usually use mod podge or a clear rustoleum spray. Both should work to keep it sealed!
A much neater way of doing decoupage is to use polycrylic. Put a coat on, let it dry, place tissue on it. Use a dry iron, with parchment paper over it – comes out flawless. No wrinkles. Then put on polycrylic as a top coat and iron once more. Perfect – also neatness counts, so cut your paper straight.
Thank you for sharing your expertise! You are appreciated!