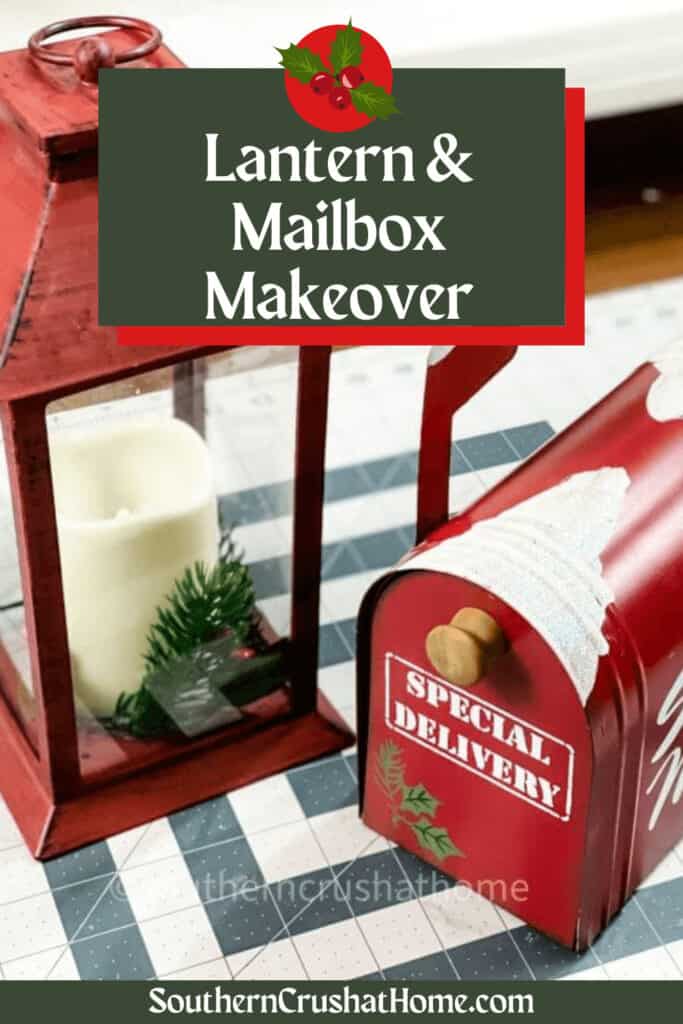
Christmas Lantern & Santa Mailbox Thrift Flips
Come see my new favorite thrift flips– a thrift store Christmas lantern & Santa mailbox. They went from basic to beautiful with paint and stencils! I'm sharing the step-by-step tutorial to inspire you to make your own!
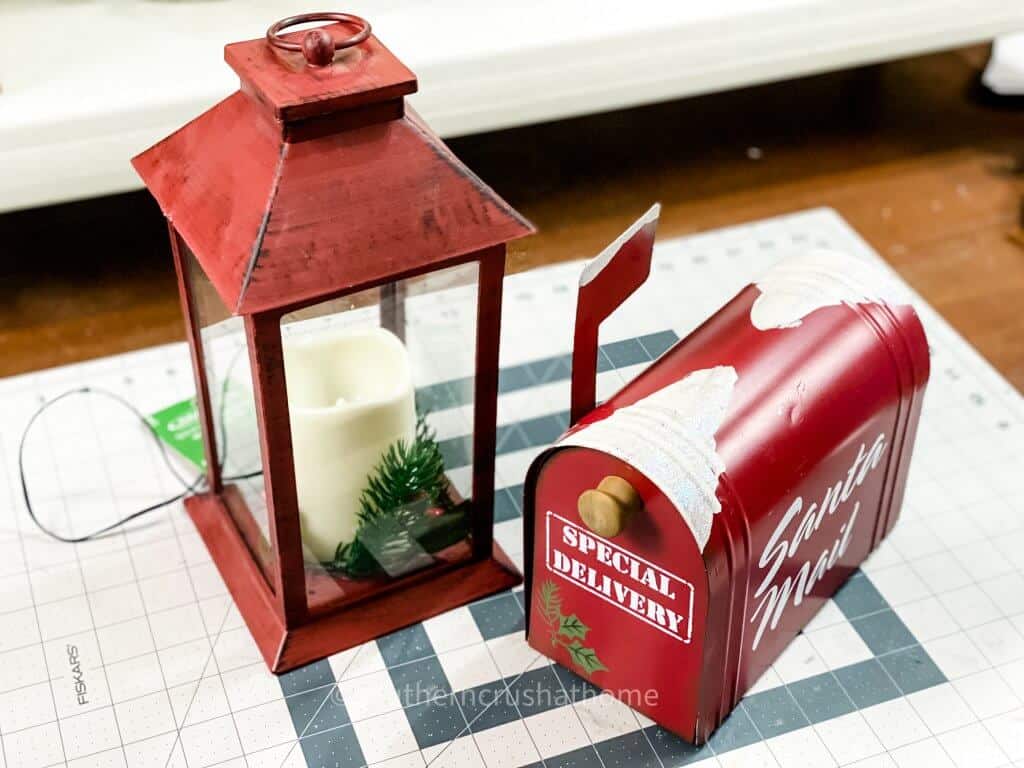
You may have seen a similar Christmas lantern and Santa's mailbox at the thrift store. There is nothing wrong with them, but I wanted to give them a little makeover to go with my holiday decor. That means paint and buffalo check to the rescue!
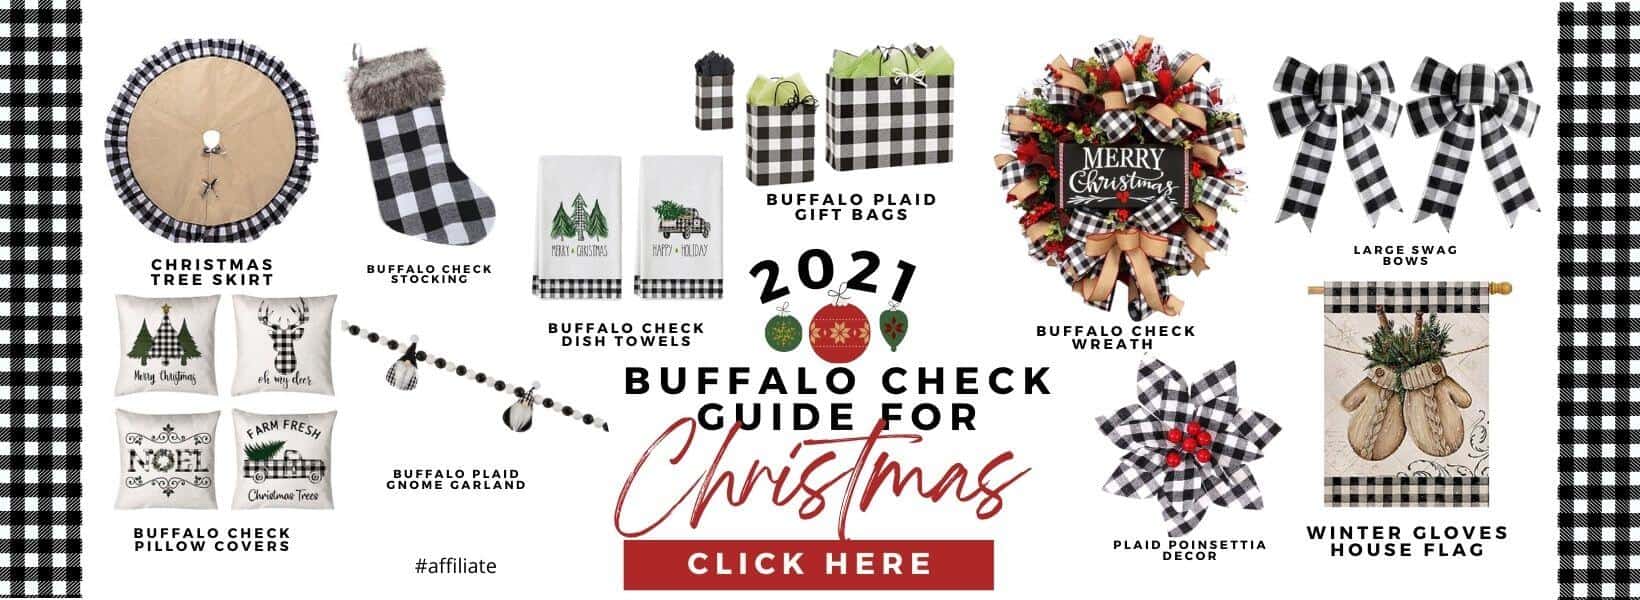
Don't forget to get all of your buffalo check Christmas shopping done here below…
SUPPLIES NEEDed TO update lantern and mailbox CAN BE FOUND HERE IN MY AMAZON SHOP
- Buffalo Plaid & Snowflake Stencils
- White Chalk Paste
- Paint Squeegee
- Stencil Brush
- Painter’s Tape
- Rust-Oleum Imagine chalkboard paint in black
- Lantern
- Santa's Mailbox
- Small Figurines
- Buffalo Check Ribbon
- Christmas Ornament Balls
- Christmas Stems
- Hot Glue Gun
INSTRUCTIONS FOR Christmas lantern and SANTA'S MAILBOX DIY
step 1. lantern and mailbox
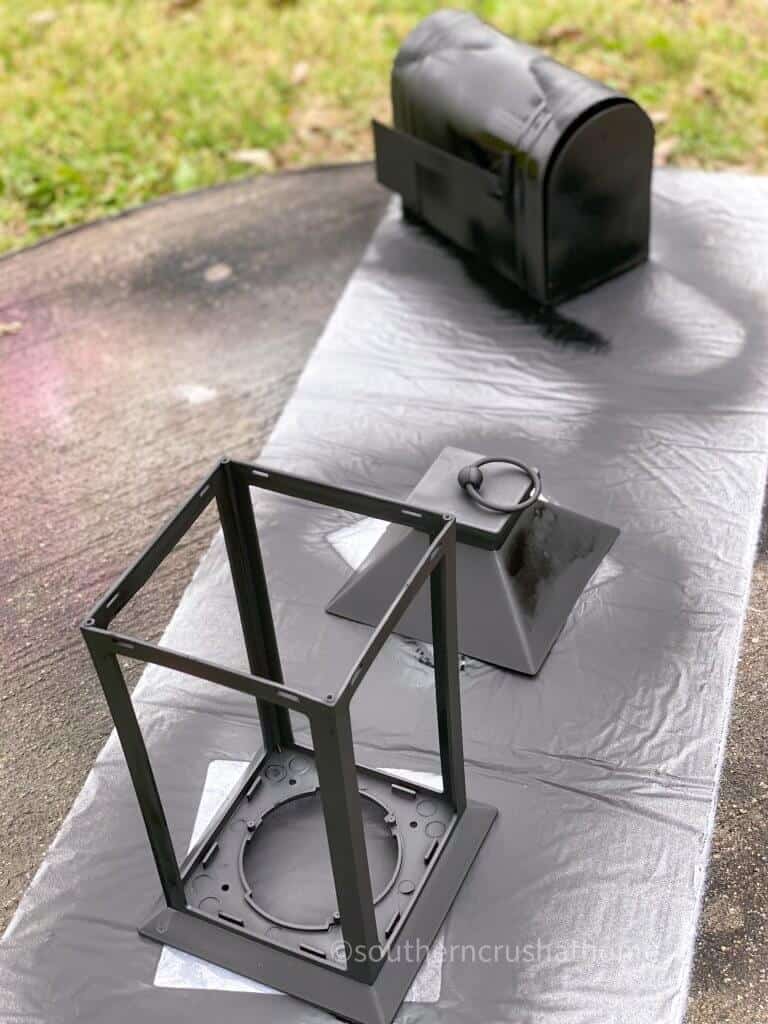
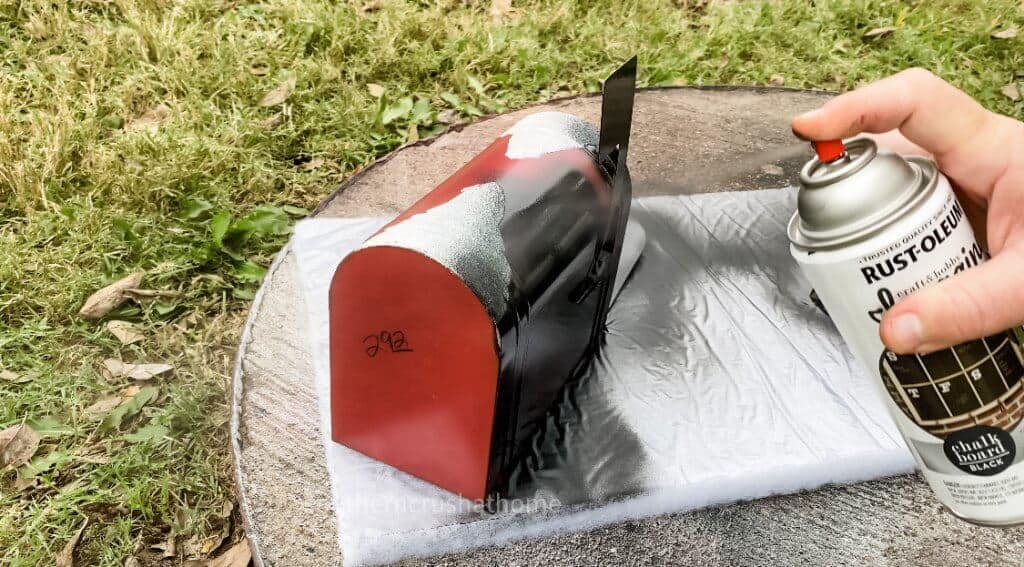
Gut the lantern by removing the top, the glass panels and the candle from the center of the base. Spray Rust-Oleum's Imagine Chalkboard Spray paint in smooth even strokes across the lantern and mailbox. Apply a thin layer and allow them to dry.
step 2. mailbox
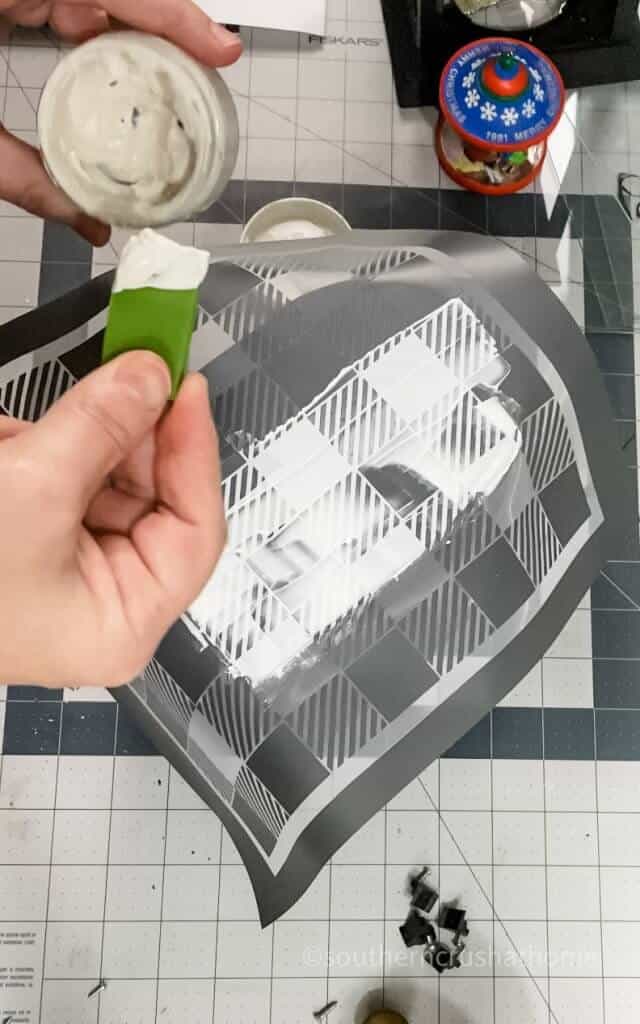
Attach the buffalo check stencil to the mailbox. Use the squeegee and chalk paste to paint it on the mailbox. Remove the stencil and let dry. I applied this technique to the back of the mailbox as well as to the inside of the door so that it shows when opened.
step 3. mailbox
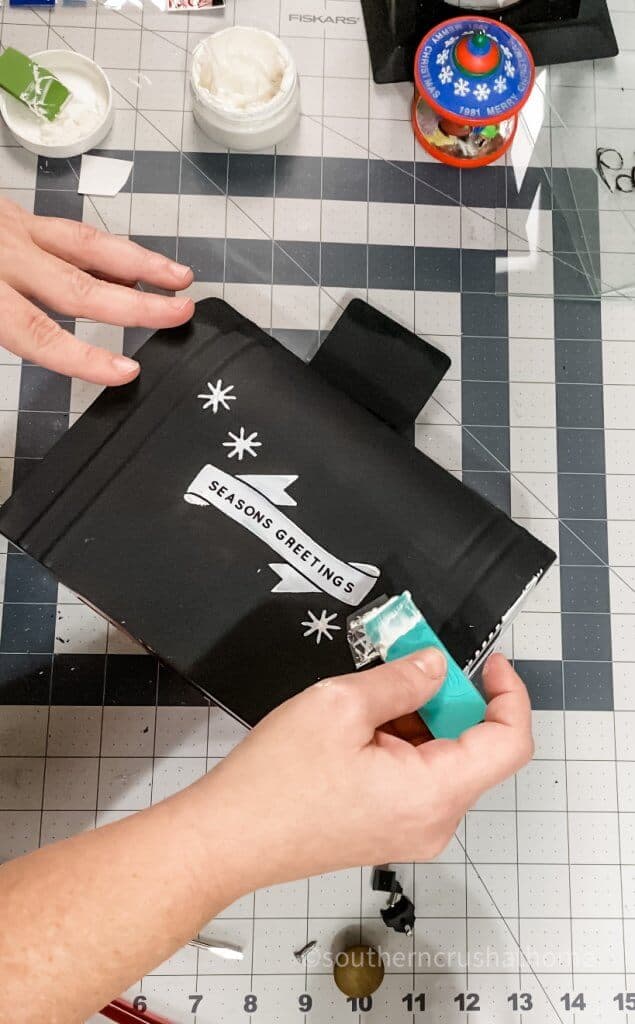
Add the season's greeting and snowflake stencils to the mailbox. Use the squeegee and chalk paste to paint it. Remove the stencil and let dry.
last step – mailbox
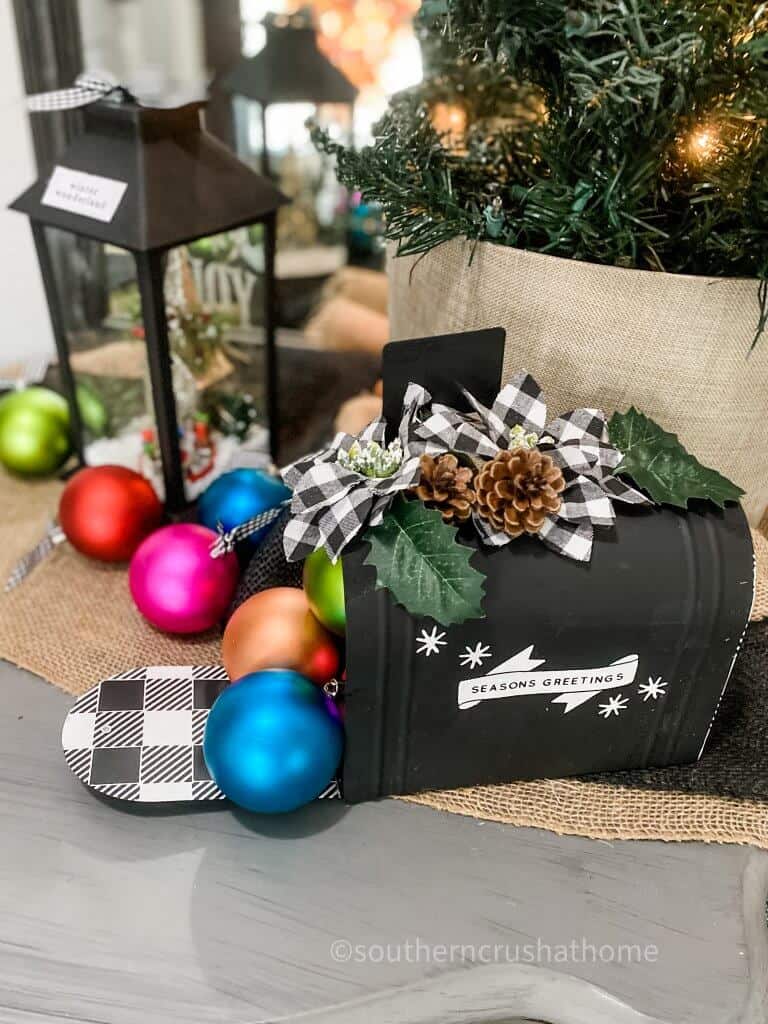
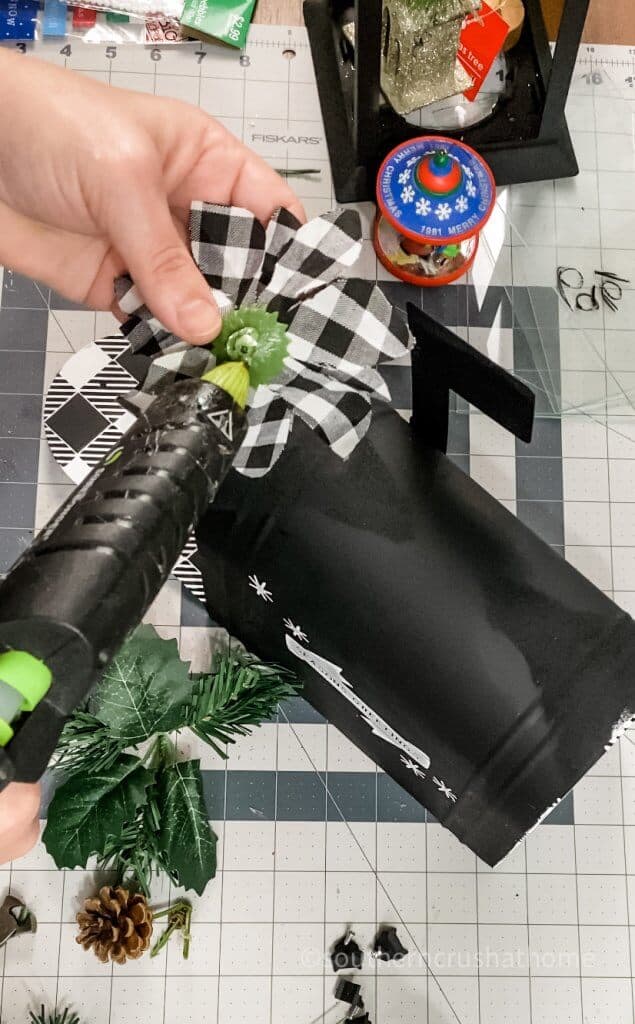
Disassemble the christmas picks and then using hot glue adhere the buffalo check flowers, baby pinecones and greenery across the top of the mailbox. I was careful to be sure and cover up where the textured parts were originally.
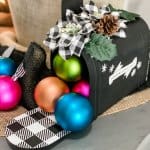
Fill the mailbox with pretty Christmas ornament balls and then place the new and improved Santa mailbox on a table to display.
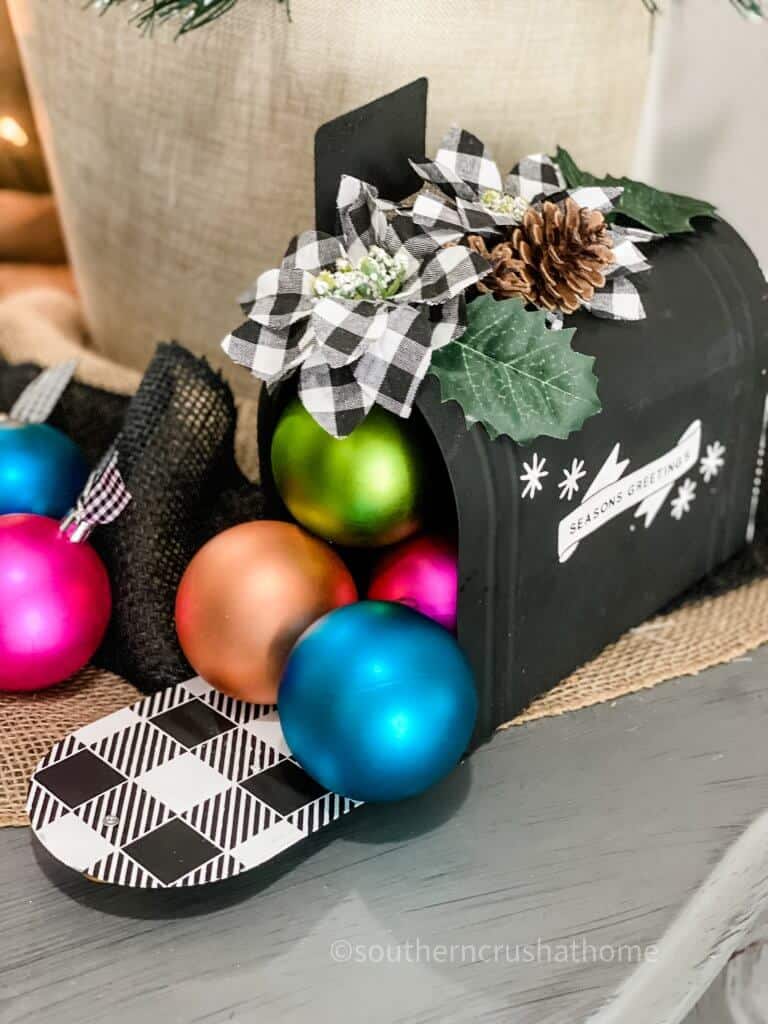
This is a better view showing off the buffalo check backside of this new and improved Santa Mailbox! What do you think? Will you be looking for one of these next time you go out thrifting?

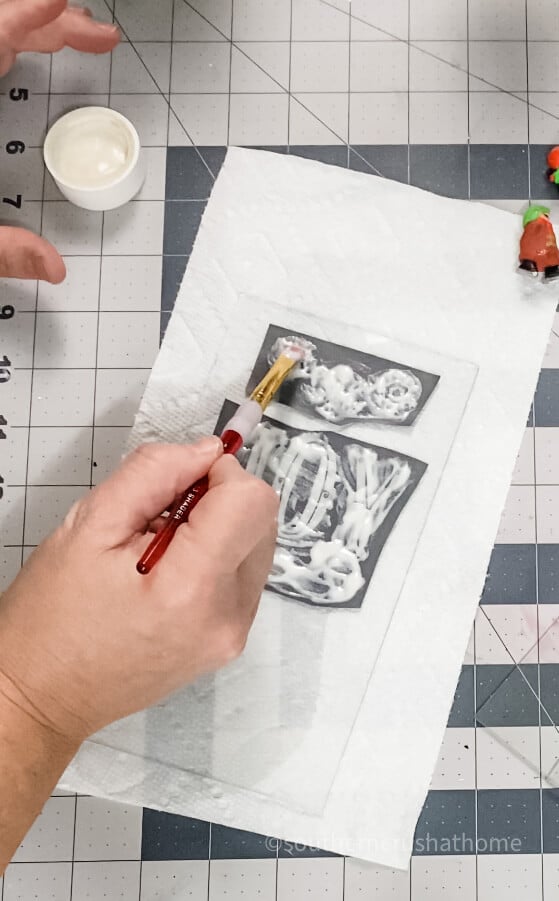
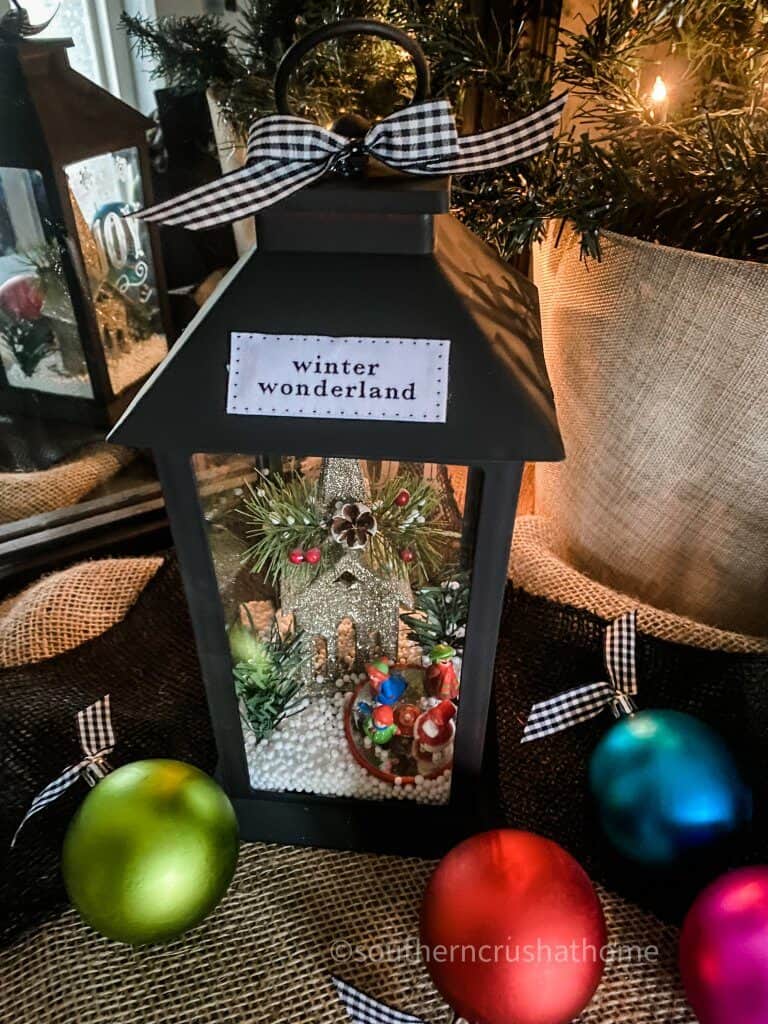
Use Armour Etch on the lantern glass panel with the Joy & snowflake stencil to create a fun unexpected touch.

step 3. lantern
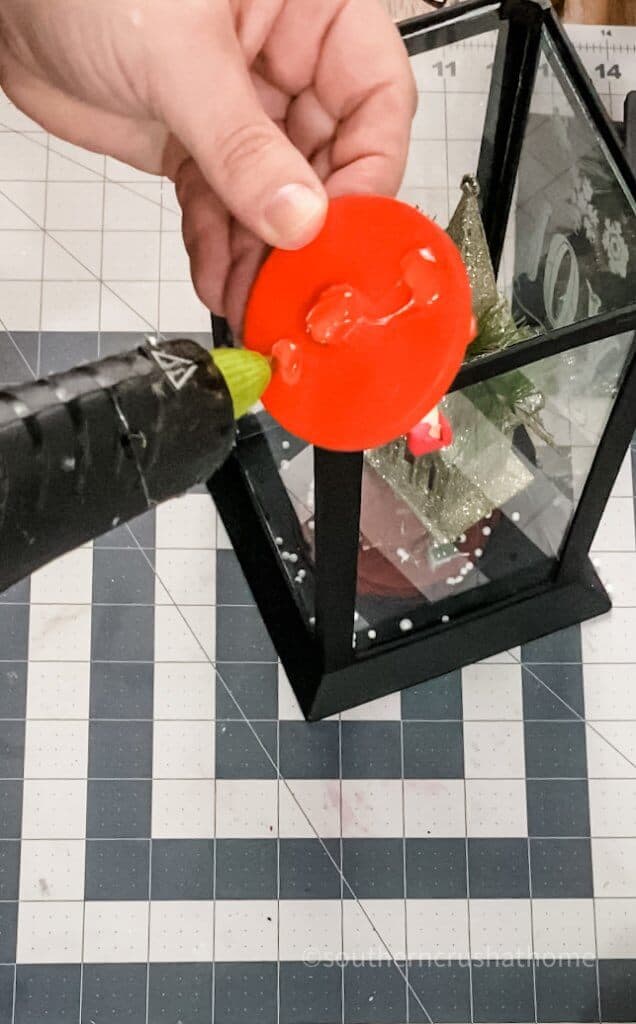
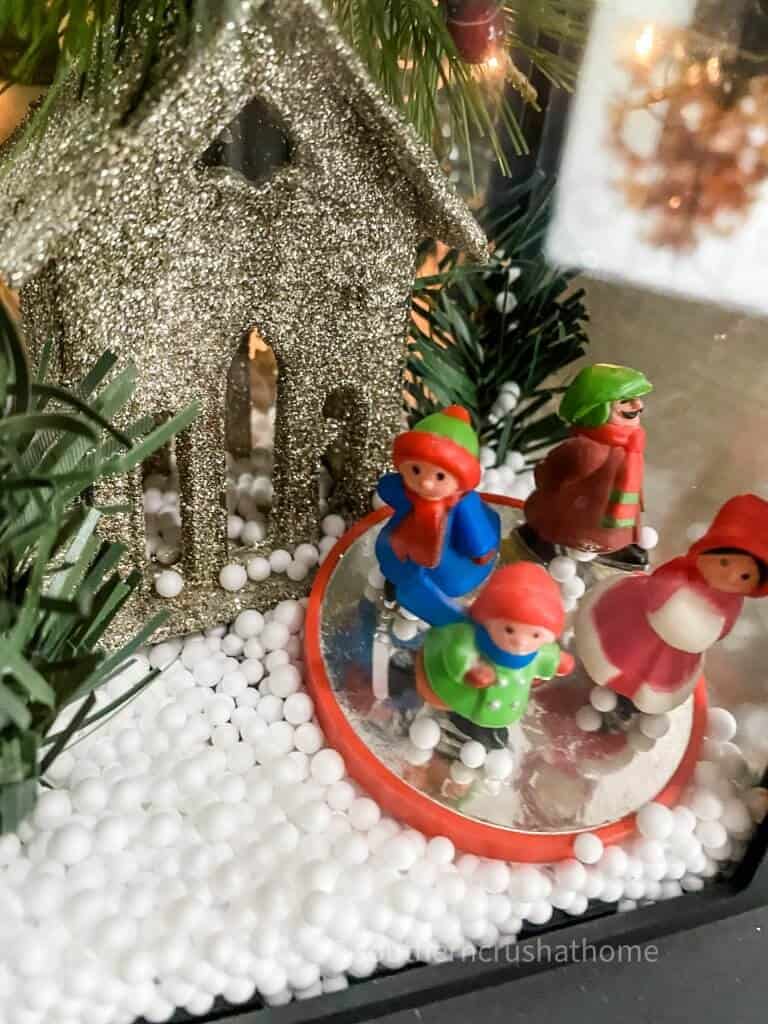
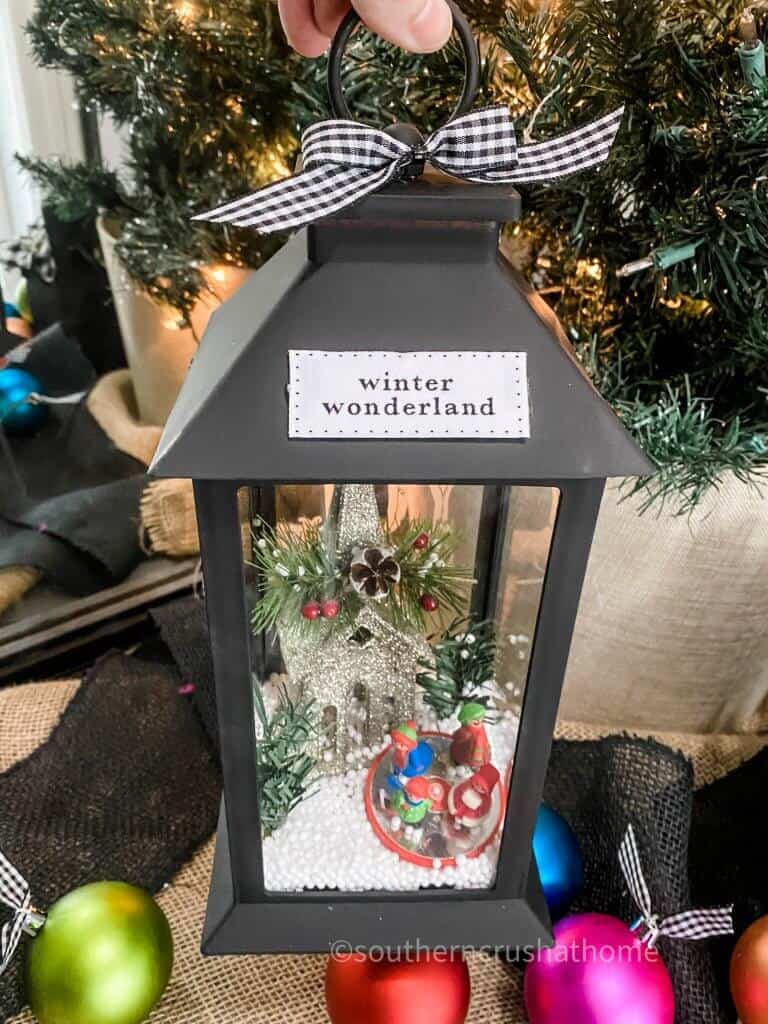
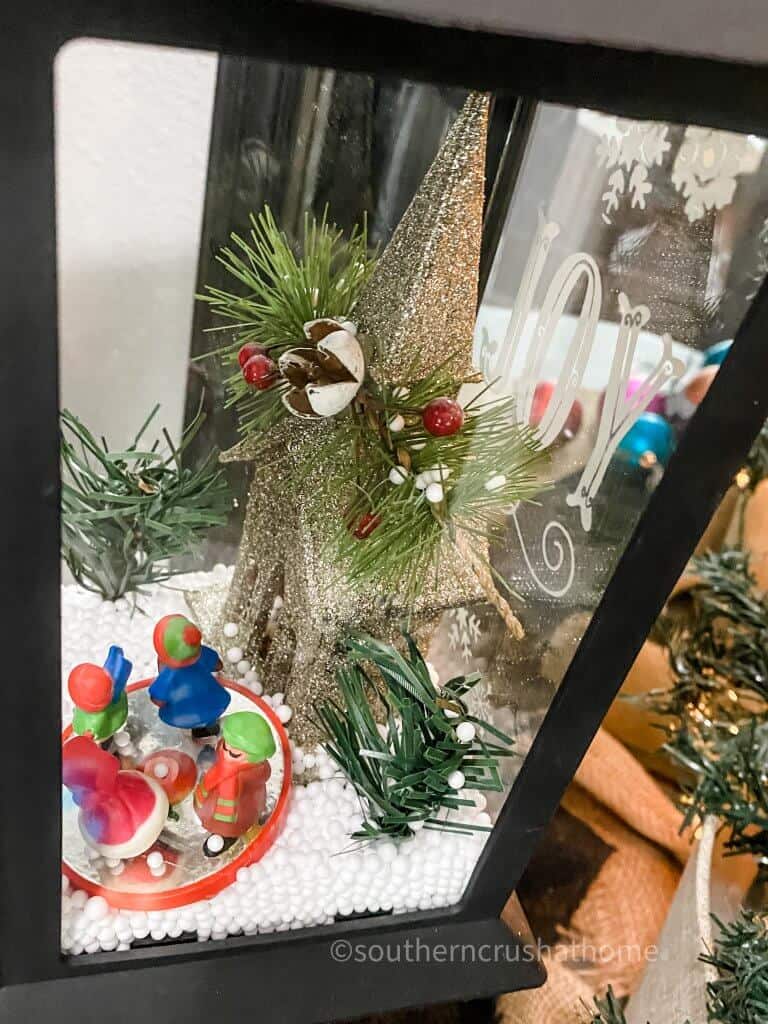
Return the glass panels to the base. Glue the miniatures into the base, then add styrofoam beads to cover the bottom of the Christmas lantern scene. I used an old ornament with fun ice skating figurines and a church with glitter from the Dollar Tree.
Aren't these little figurines adorable? I love how they look in the lantern.
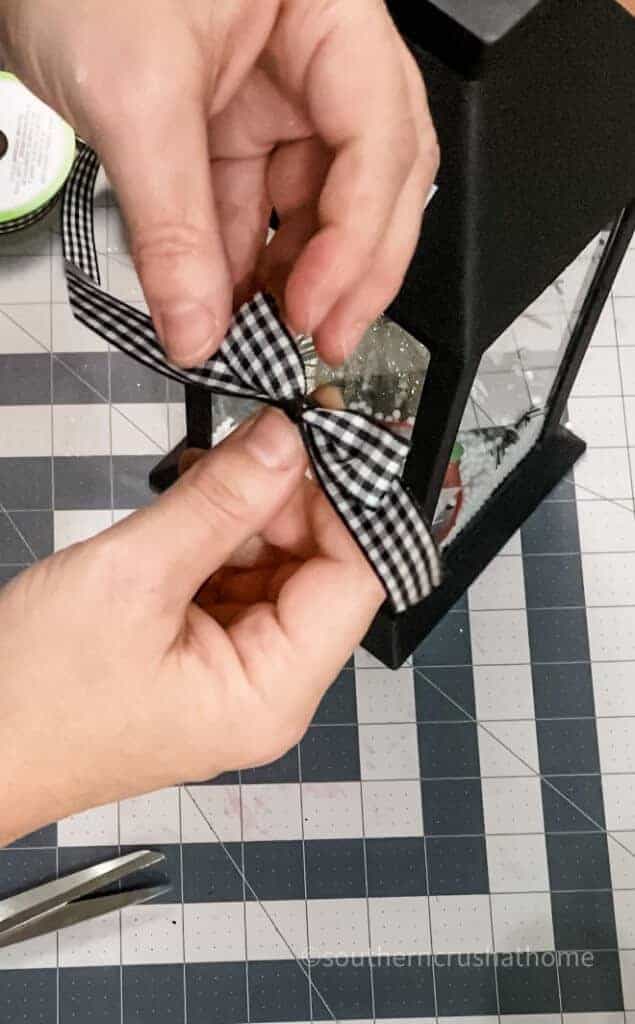
last step – lantern
STEP BY STEP VIDEO TUTORIAL
If you are more of a visual learner you may want to see the exact step-by-step process, be sure to check out this video tutorial below over on my YouTube Channel!

Be sure to PIN this one for later!
Don’t miss my buffalo check gift guide for Christmas.
Want even more buffalo check…here you go!
- Buffalo Check Bead Garland
- Buffalo Check Decor Trends
- Dollar Tree Buffalo Check Splatter Screen
- Halloween Table with Buffalo Check Accents
- Buffalo Check Cross
- Buffalo Check Painted Doormat
- Repurposed Garden Bench with Buffalo Check
- Buffalo Check Ornaments
- How to Paint Buffalo Check
Christmas Lantern and Mailbox Makeover
Equipment
Materials
- Buffalo Plaid Stencil
- Paint Squeegee
- Stencil Brush
- Painter’s Tape
- Rust-Oleum Imagine chalkboard paint
- Lantern
- Santa's Mailbox
- Small Figurines
- Buffalo Check Ribbon
- Christmas Ornament Balls
- Christmas Stems
Instructions
- Paint both the mailbox and lantern with 2-3 coats of spray paint.
- Let dry in between coats.
- Use the stencil and paste to apply images to the mailbox.
- Attach buffalo check flowers to the mailbox.
- Fill with Christmas ornament balls.
- Use etching cream to add a graphic to the lantern. Let sit for five minutes before removing.
- Hot glue figurines to the lantern base. Fill with white beads.
- Hot glue a buffalo check ribbon to the top of the lantern.
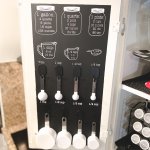
Basic Cooking Measurements & Kitchen Conversions Chart DIY (featuring Rustoleum)
Equipment
- drill or screwdriver
Materials
- Painter's tape
- Rustoleum chalkboard paint
- Measurement & Conversion stencils
- Chalkpaste
- Optional chalk paint pens
- Adhesive hooks
- Goof off
Instructions
- Remove the kitchen cabinet from it's hinges using a screwdriver or a power drill.
- Using painter's tape, tape the parameter of the cabinet door and make sure to cover outside edges as well to prevent any overspray.
- Spray Rustoleum's Chalkboard Spray paint in smooth even strokes across the cabinet door. Apply a thin layer and allow it to dry an hour. Then add a second thin layer and allow it to dry completely.
- carefully remove the painters tape from the edges.
- Grab your favorite measurements & conversions chart or use this one for FREE!
- Create a stencil using a cutting machine or a LED stencil maker.
- Line up the stencils onto the top of the chalkboard section of the cabinet door making sure to space them out to include hooks and measuring cups.
- Line up each row using a strip of painter's tape as a guide. Apply chalk paste to stencils one at a time.
- Add adhesive hooks under each cooking measurement and hang meauring spoons and measuring cups!