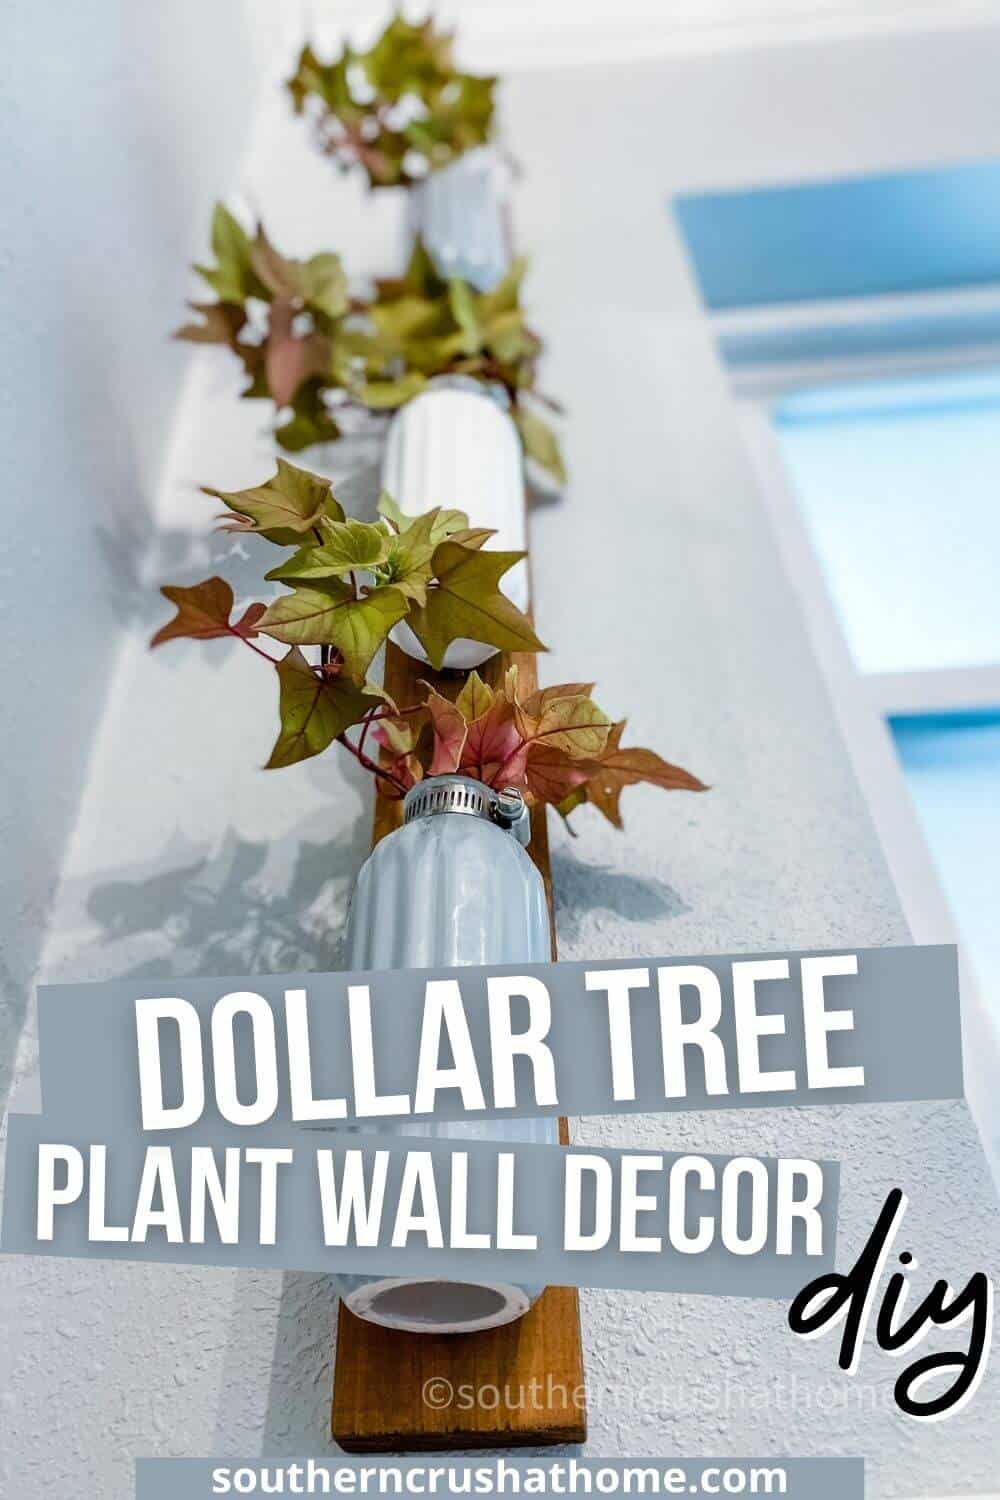
Plant Wall Decor (using Dollar Tree Vases)
Have you ever heard of plant wall decor? It's a really fun way to dress up your small space with plants. You can use anything from flowers, ivy, or even faux plants to create awesome looking wall art decor!
Using a few Dollar Tree supplies and an old sign, or scrap wood makes this DIY super affordable. Beautiful home decor doesn't have to be expensive!
When I was young, my grandmother always had tons of rootings or cuttings on display. She watered them everyday as they sat on glass shelves in the windows across her back porch. I loved helping her and enjoyed the variety of plants she had chosen. I wanted to create something similar for my home and this plant wall decor piece is what I came up with for my bathroom.
I love to decorate my home with handmade decor. It's not only fun to DIY, but it's also a great way to turn your house into a home. Adding unique wall decor, like this plant wall decor, is a simple way to add personal touches to a space. Greenery brings so much life inside, no matter if it's real or faux!
Let me show you this budget-friendly DIY so you can make your own!
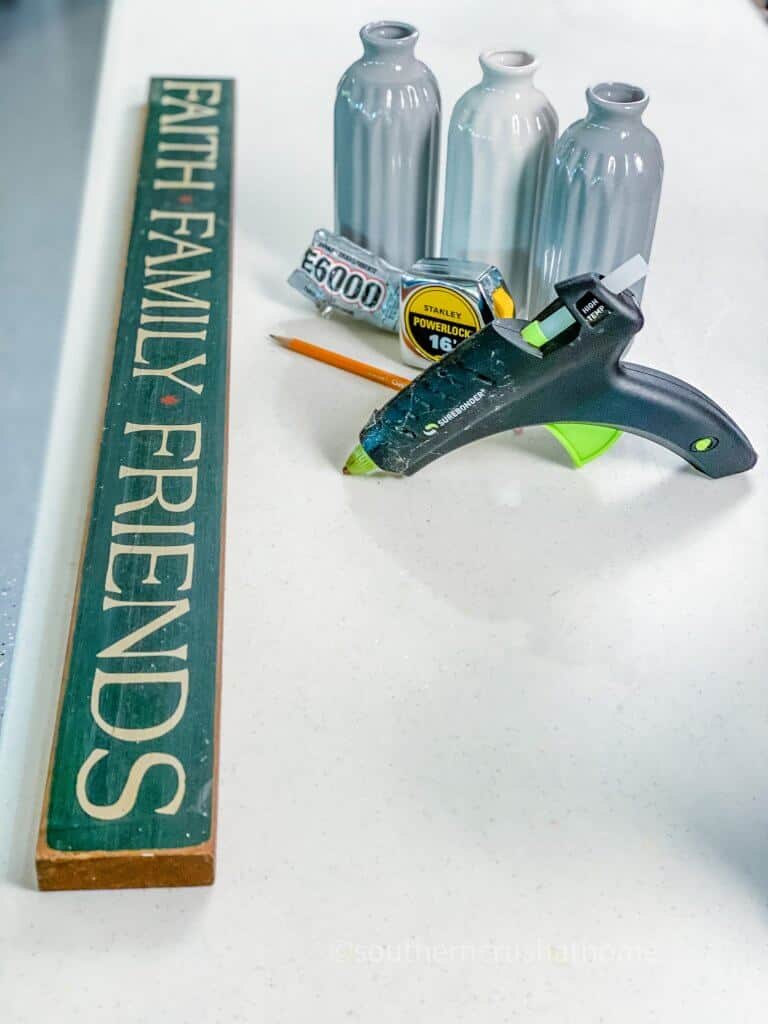
SUPPLIES TO MAKE Plant Wall Decor
All the supplies needed can be found HERE in my Amazon Shop!
- Dollar Tree Vases
- Old Sign or piece of wood
- E-6000
- Galvanized Clamps
- Faux Plants or Live Plants
- Hot Glue Gun
- Pencil
HOW TO MAKE Plant Wall Decor
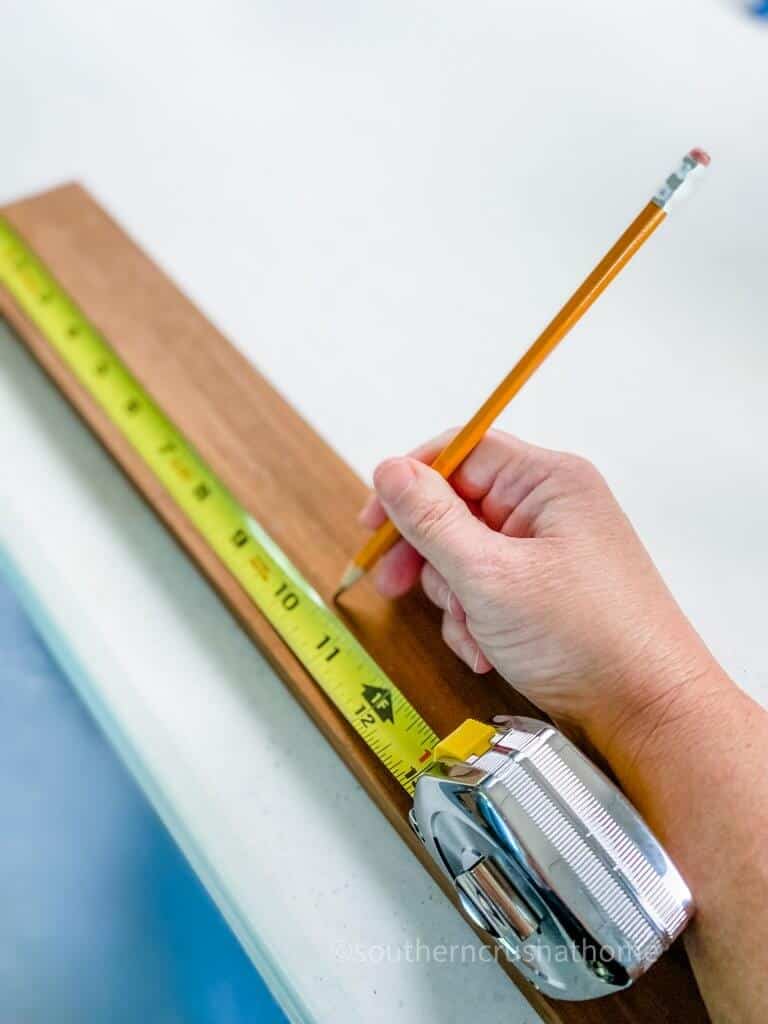
Start by flipping over the old sign. Use your measuring tape to measure the total length of the wood sign. Mine happened to be almost an even 31″ inches.
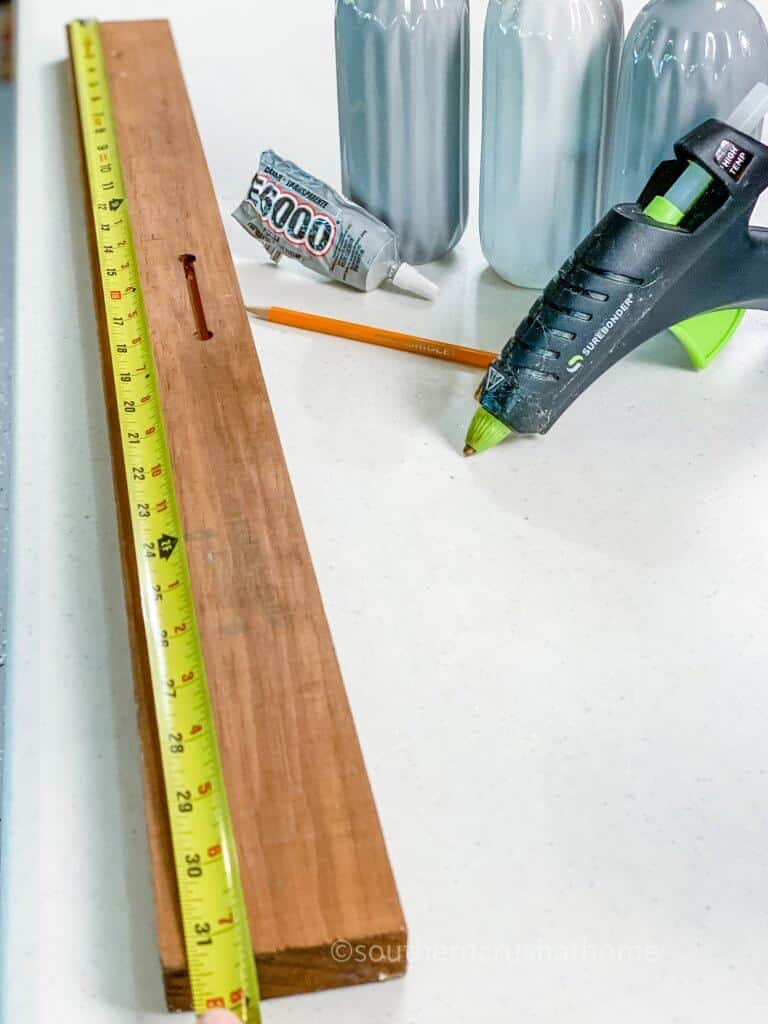
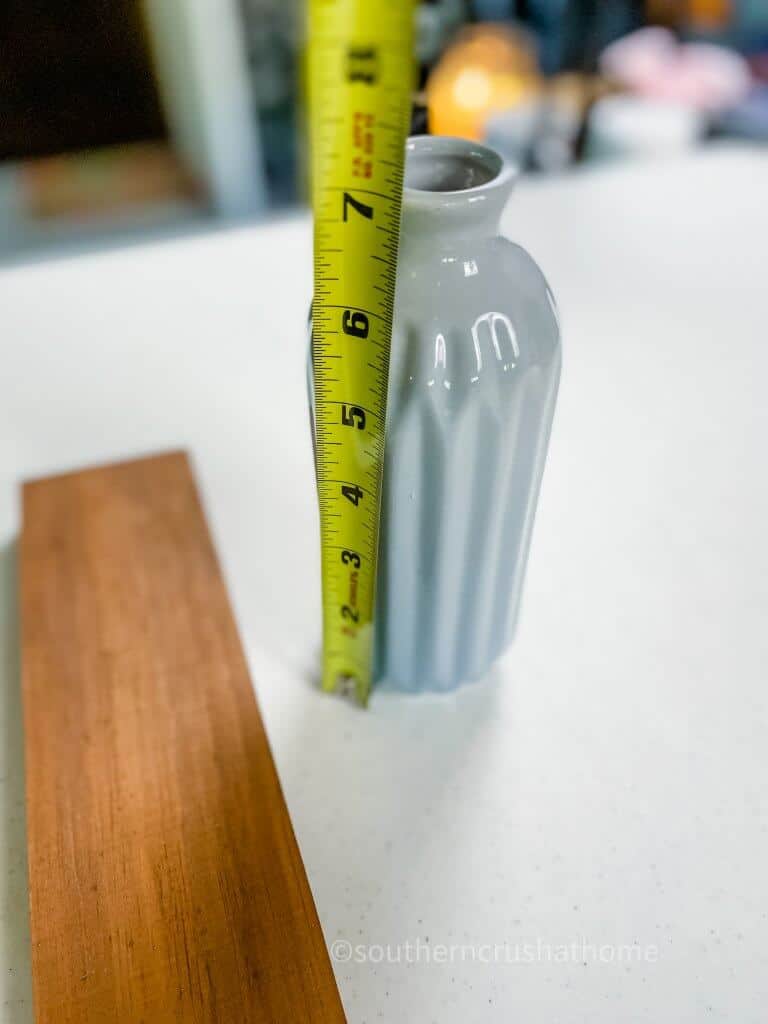
Now you want to measure the length of your vase and divide it by three if using three vases.
Mark lightly where each vase should go centered on the sign with a pencil.
NEXT…
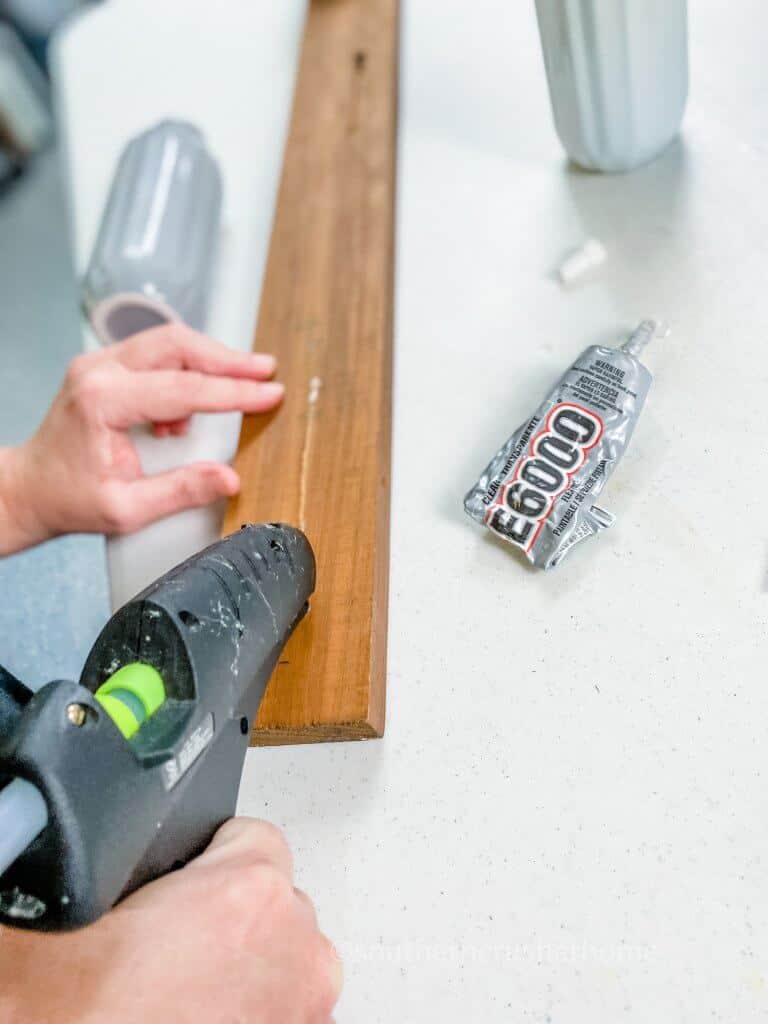
Use a combination of hot glue for the initial hold, and E6000 for the long lasting hold, to adhere the vases to the sign at the marked spaces. The hot glue serves to keep it in place while the E6000 dries for a more permanent hold on the vases.
Plant Wall Decor USING dollar tree VASES
Allow the glue to dry completely. You can let it dry for a few hours or even overnight before hanging, just to be sure it is secure.
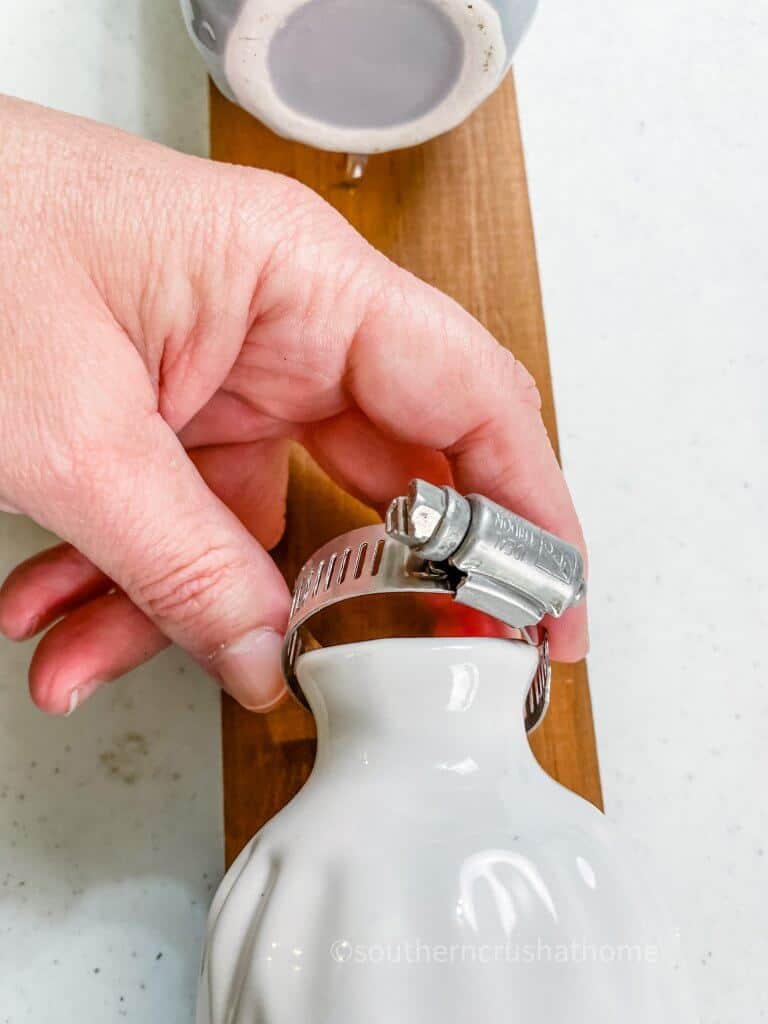
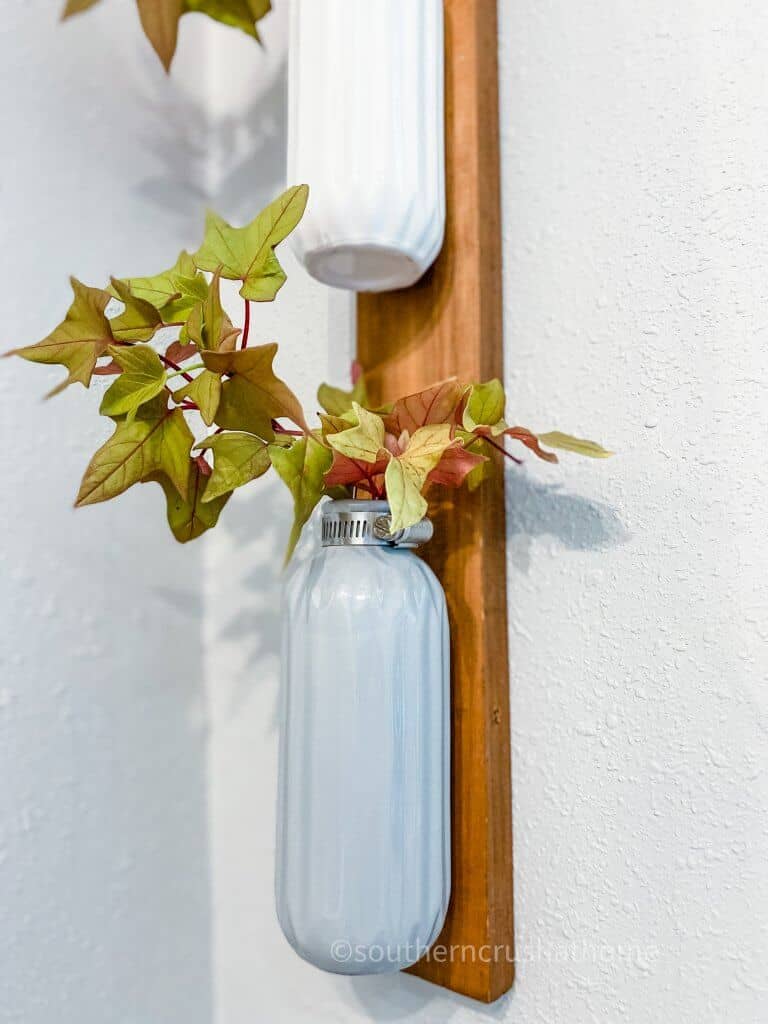
Once dry, you can optionally choose to add a small adjustable galvanized clamp around the neck of each vase. This gives it a more modern industrial look. I love it! You can find these at most hardware stores or in my Amazon shop above.
finally…
Fill each vase with water and add your favorite type of plant cuttings in order to grow roots for planting or simply fill it with your choice of faux plants.
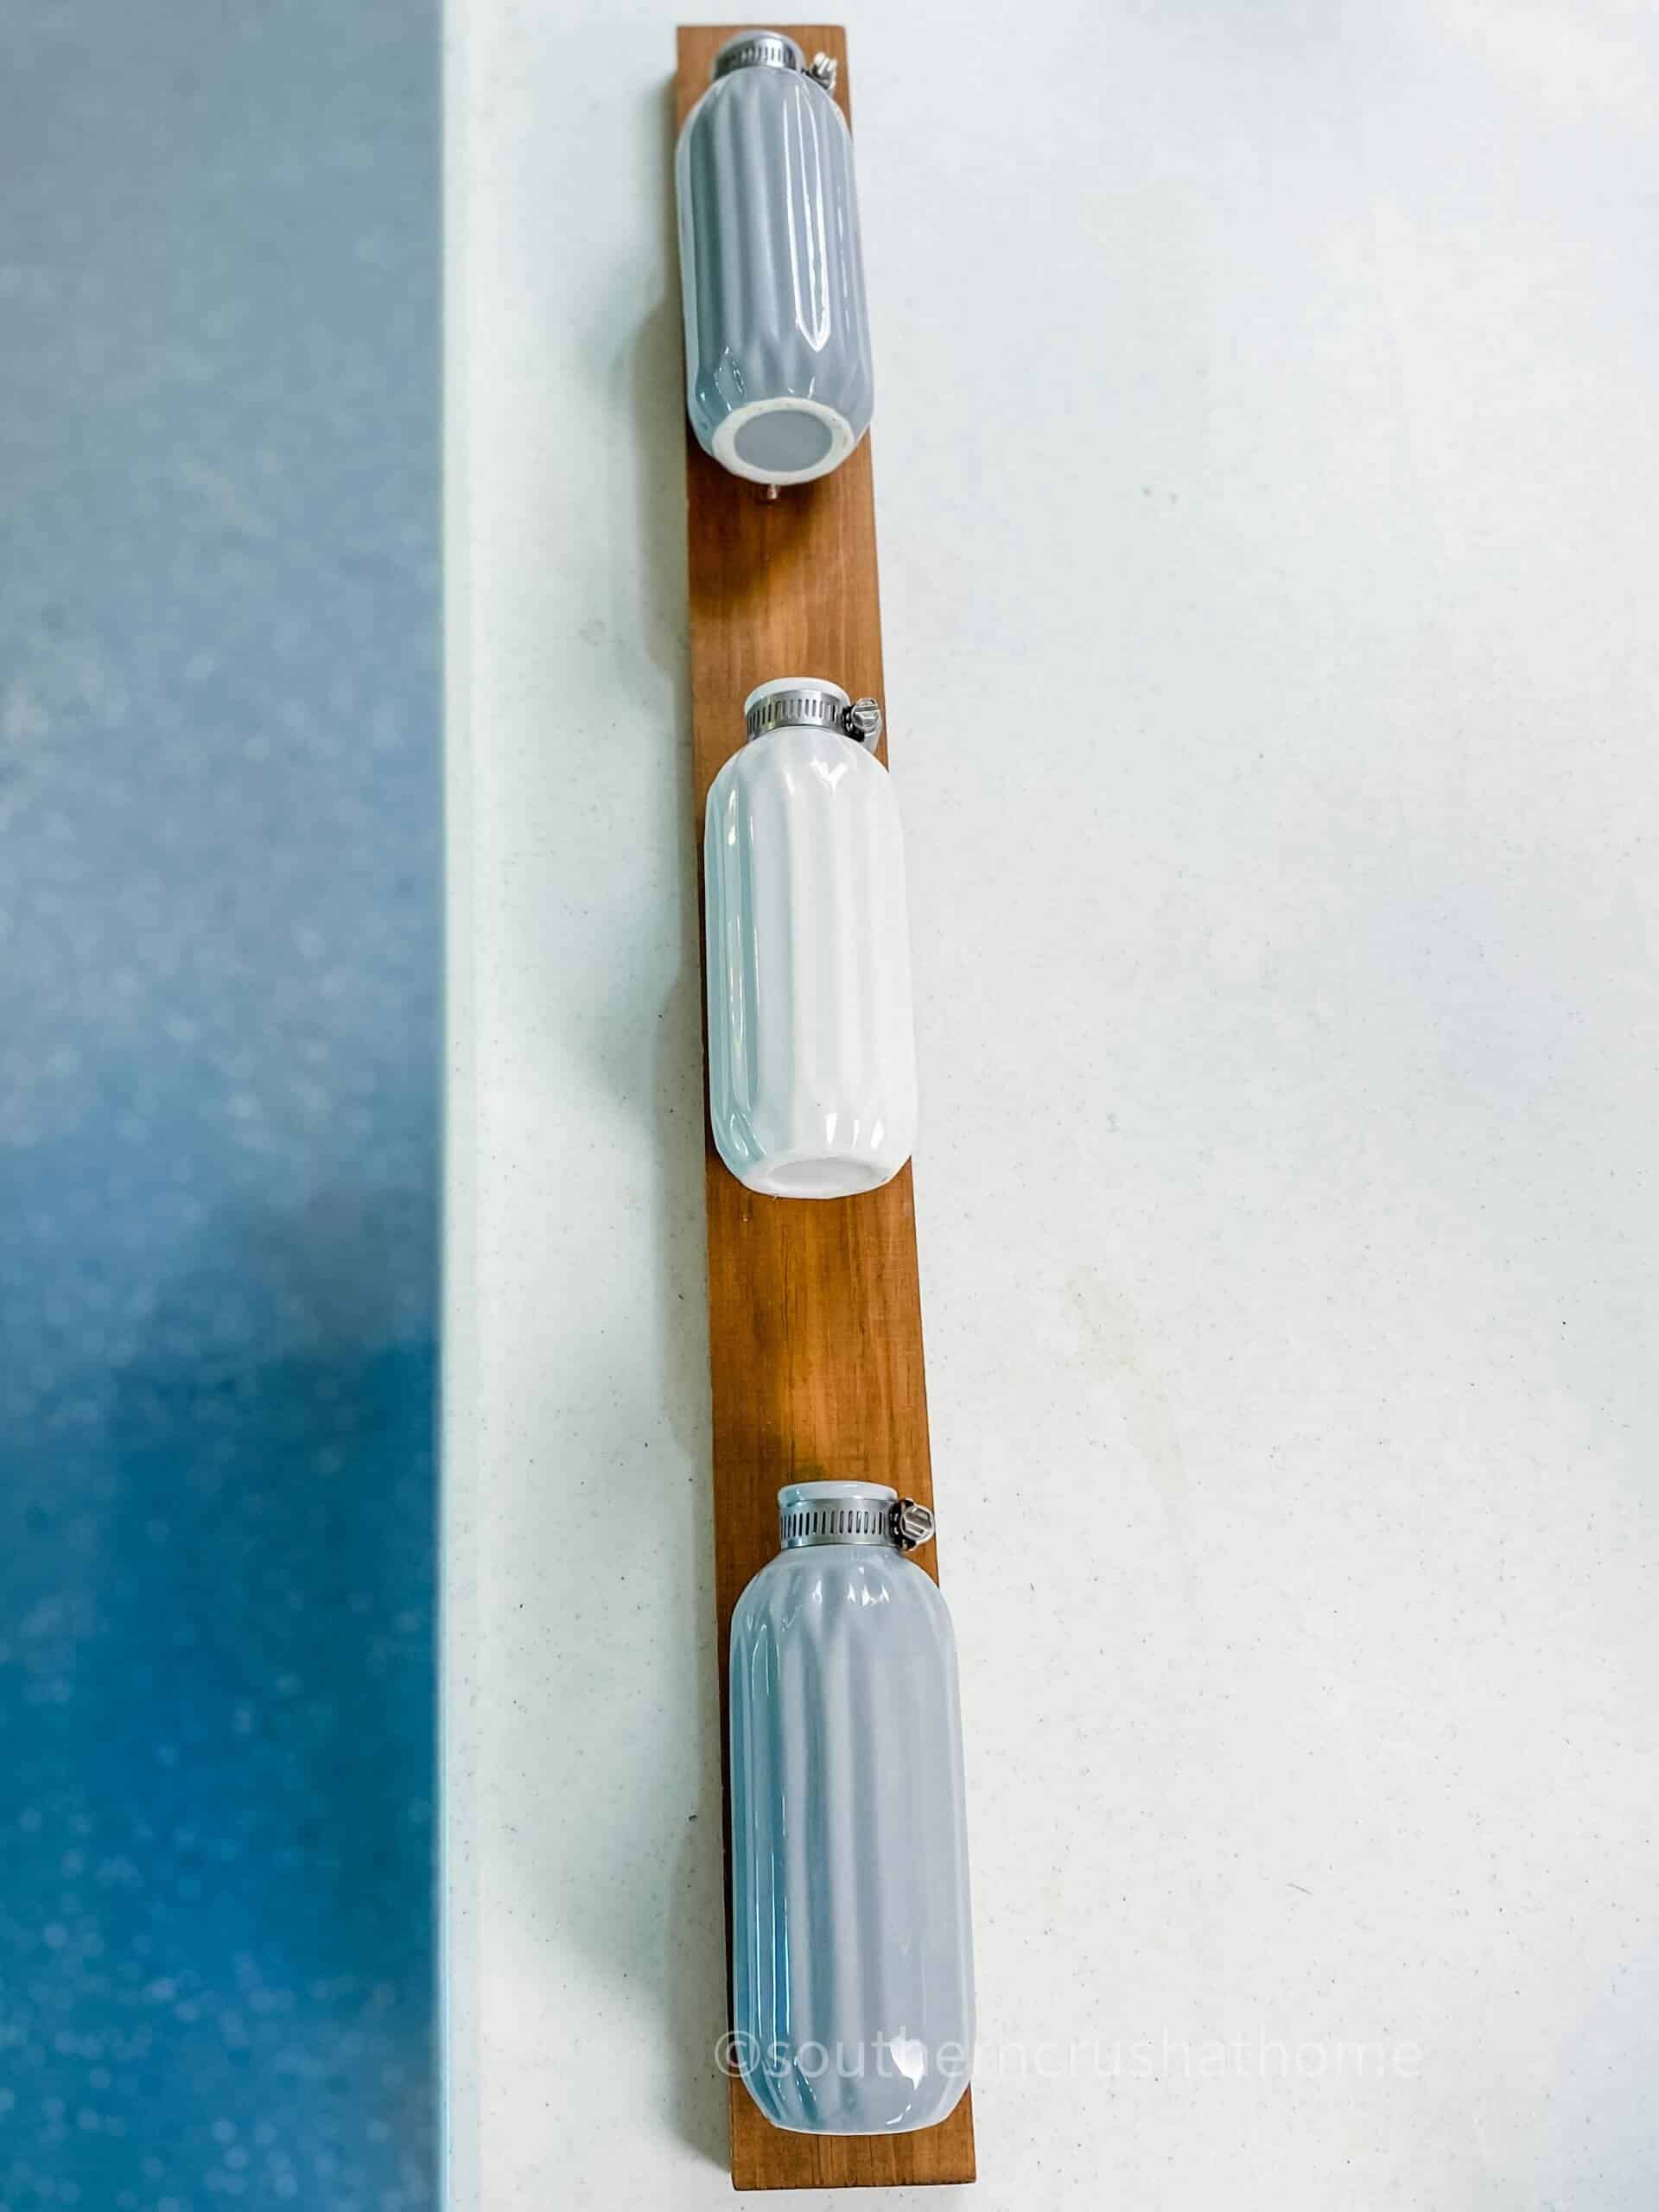
Now all that's left is to hang your beautiful plant wall decor and enjoy your creativity! Be sure to secure it to the wall well as it will become heavier once you add water to the three vases which is also why we used E6000 glue in addition to our hot glue.
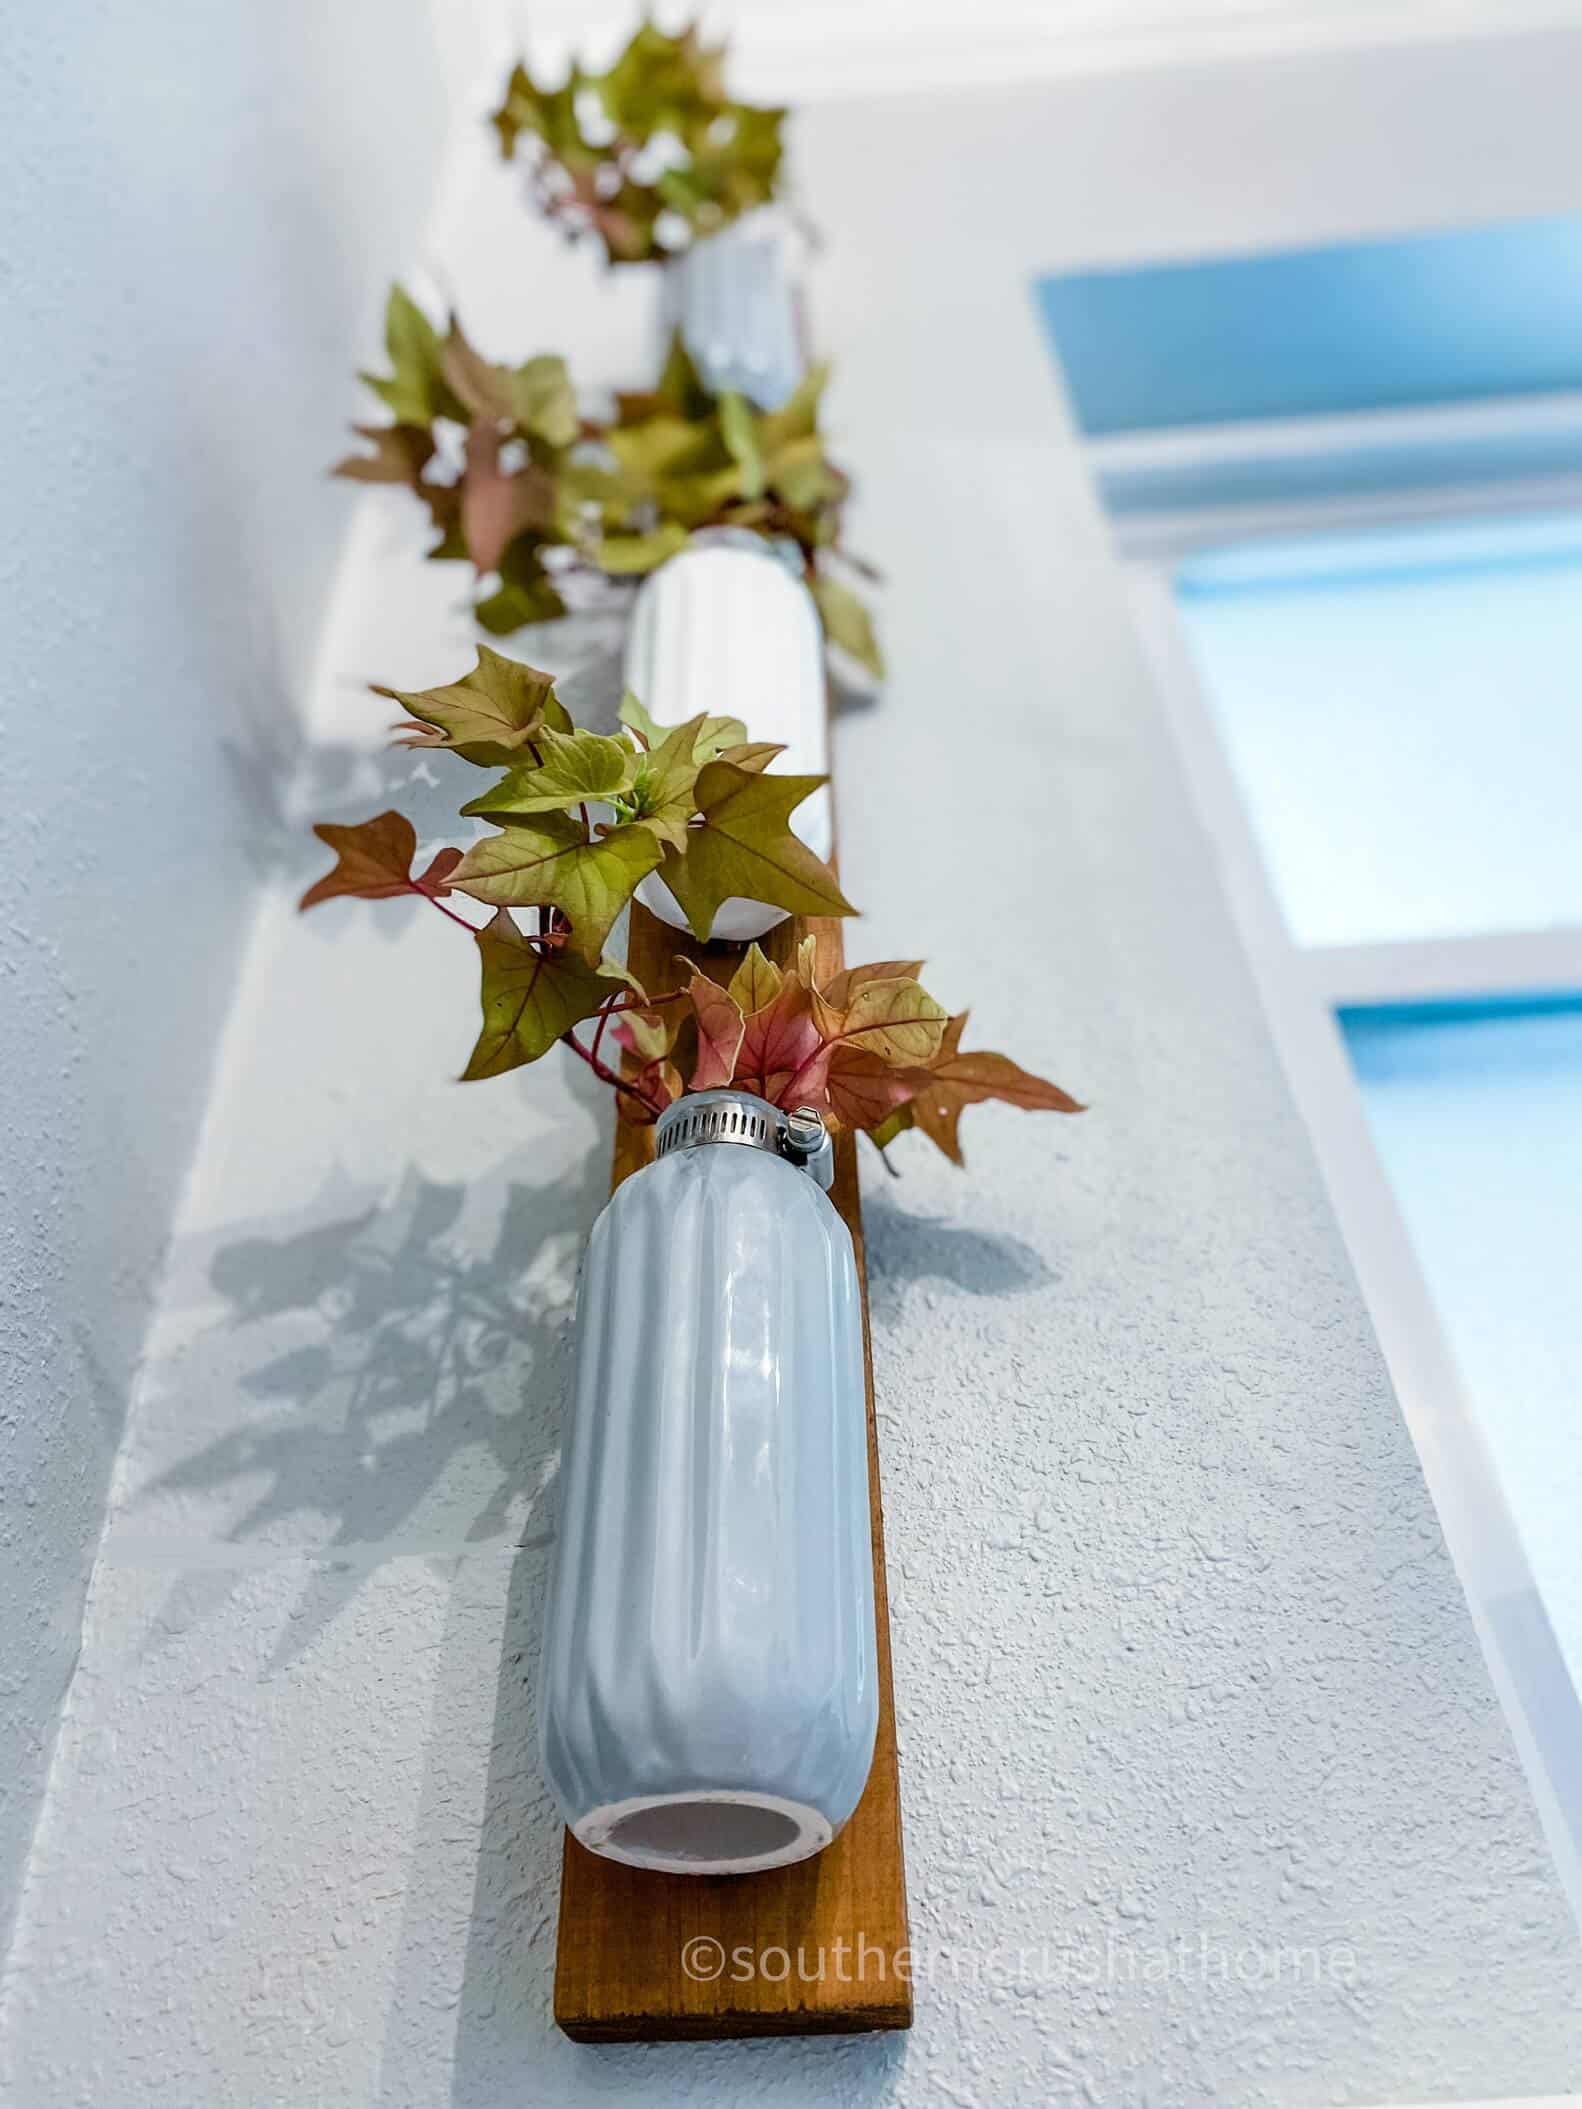
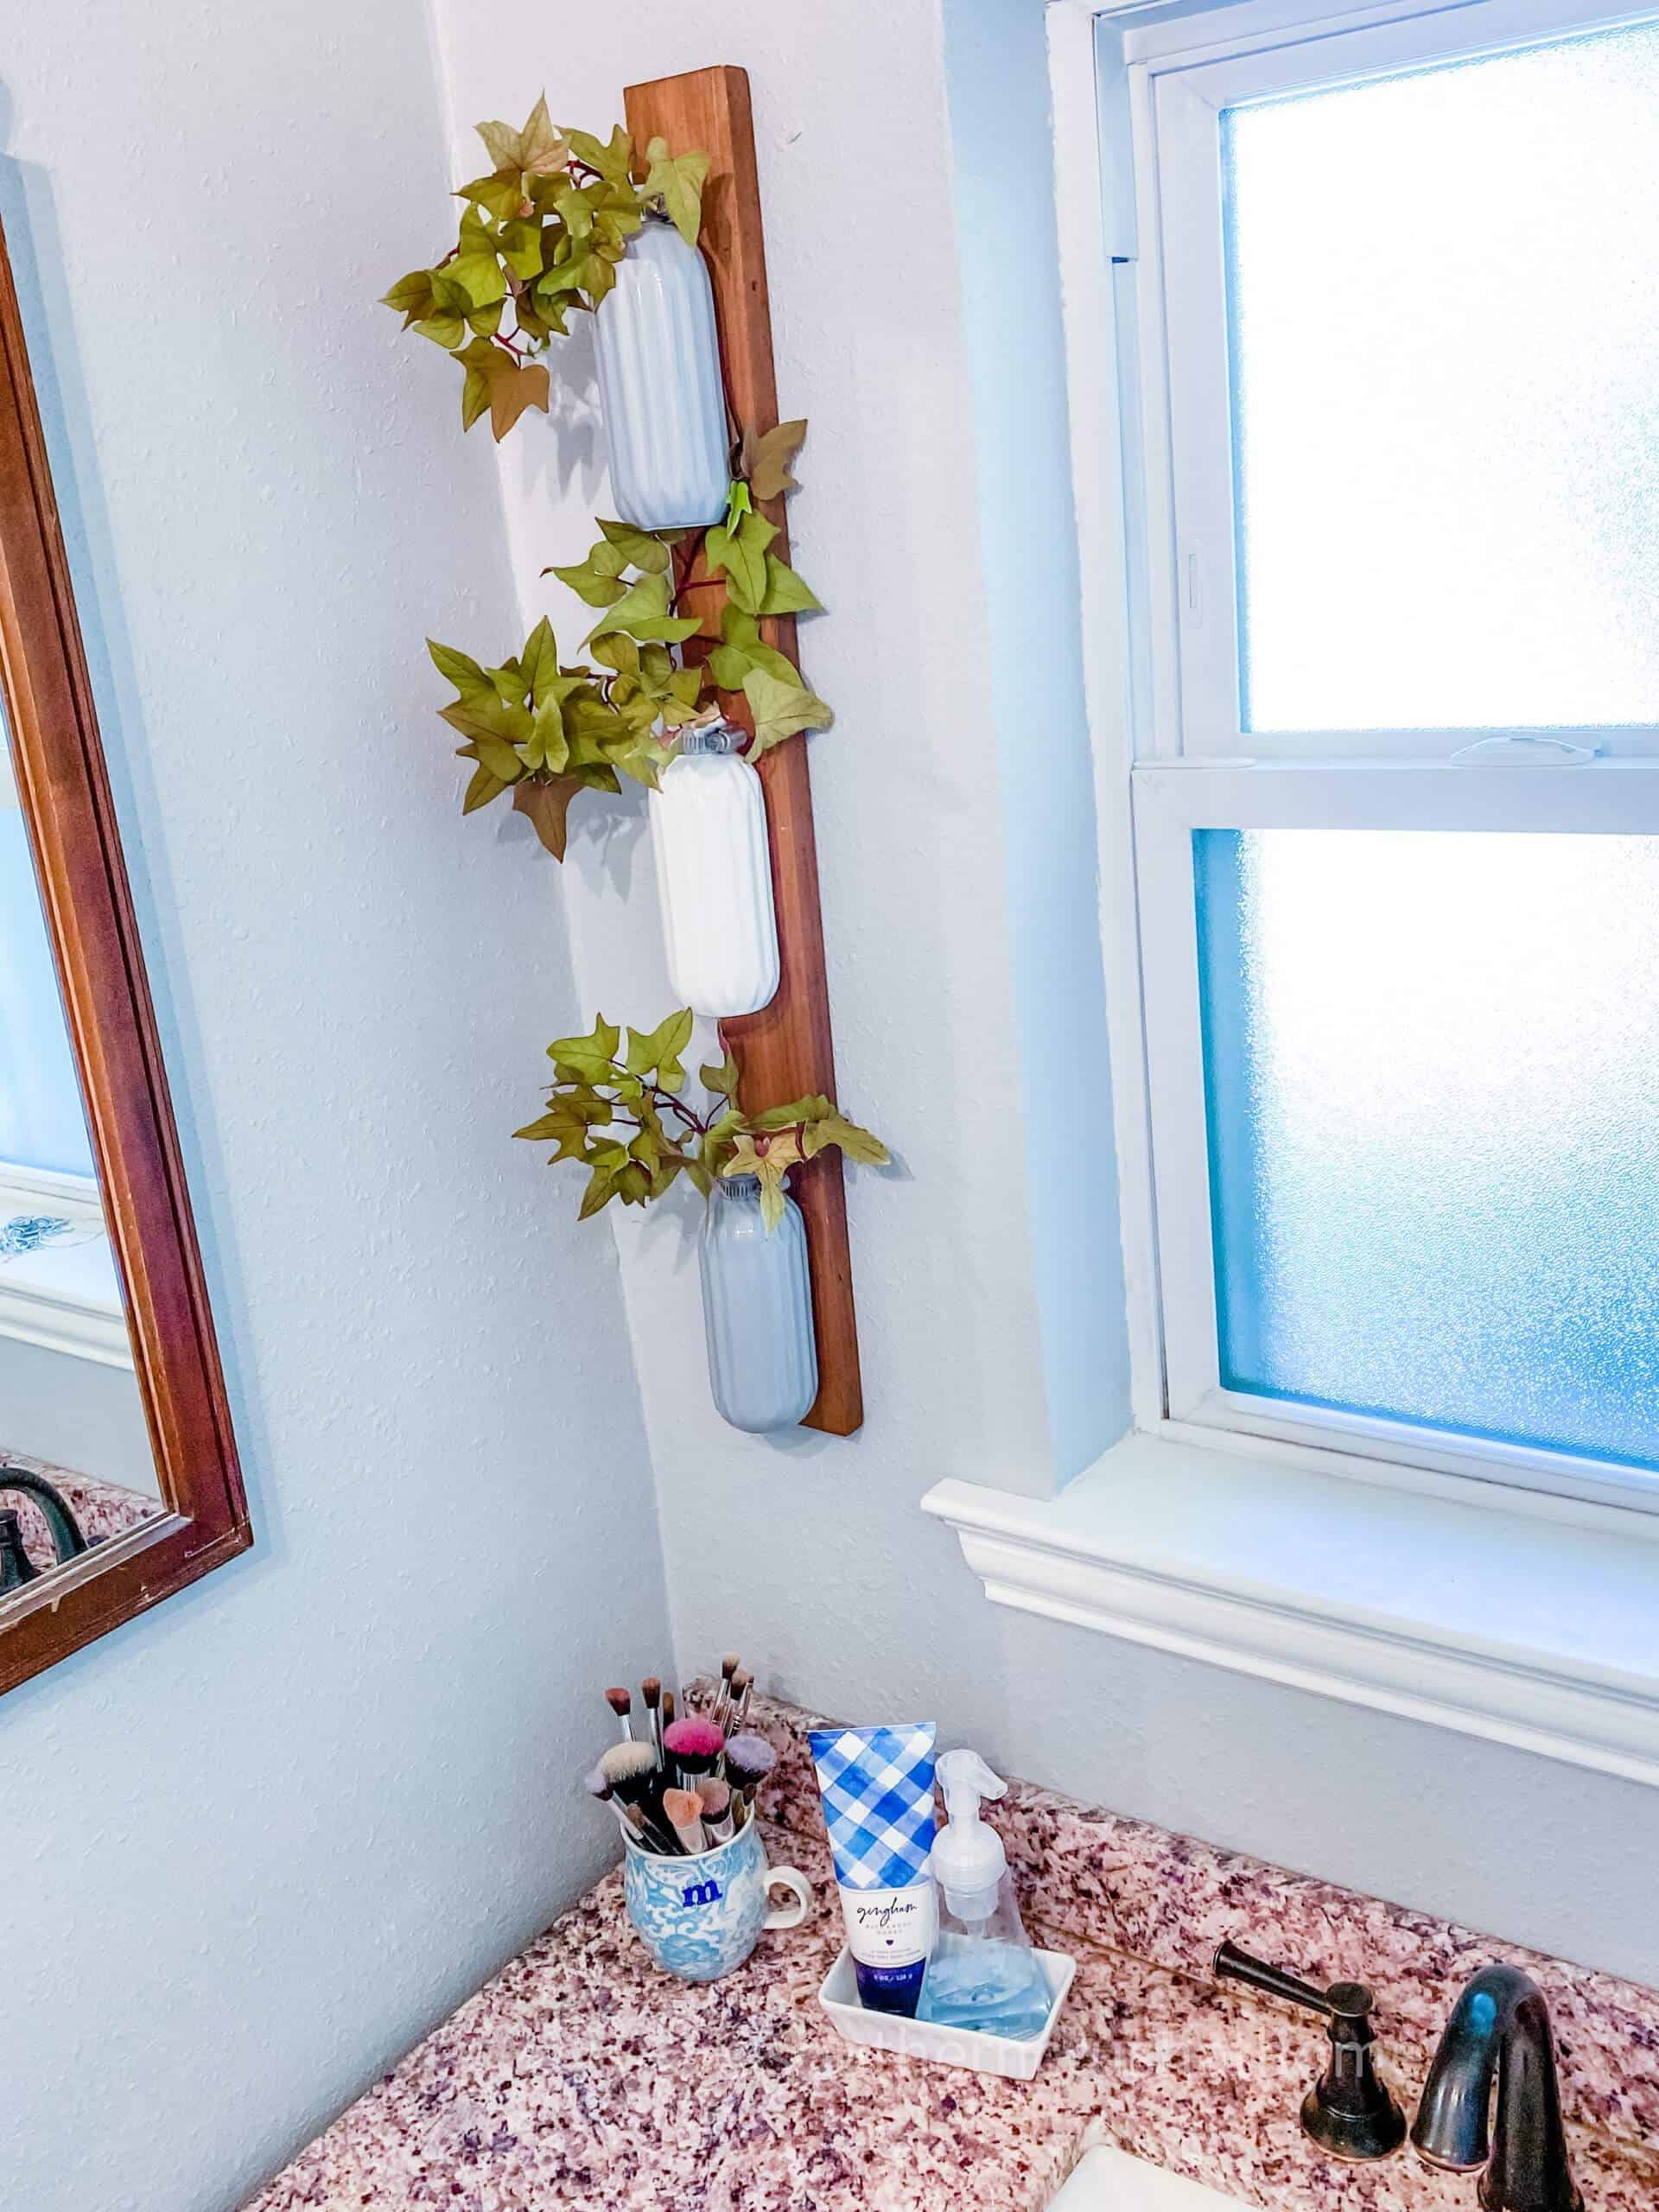
My husband used a couple of screws to hang this one on our bathroom wall flanking a window for some indirect sunlight. I added some of my summer sweet potato vine cuttings with water! What do you think?
Are you ready to make your own upcycled sign wall decor? Think about how pretty this planter would look with seasonal faux flowers or single roses. You can use this in any space and for any season all year long. Do you have a space in mind?
Here is a close-up with my sweet potato vine cuttings. I just love the way the galvanized clamp looks on the neck of the vase. How about you? What would you place in your little vases?
HOW TO ROOT PLANT CUTTINGS IN WATER
- Decide how long of a cutting you want from the main plant.
- Carefully cut just below one of the nodes or ‘knots' with scissors.
- Place the cutting in a clean glass or ceramic container.
- Add water daily as needed, but do not cover the leaves.
- Change out the water every 3-5 days with fresh water.
- Wait and enjoy as your roots grow!
What plants can be rooted in water?
Here are several common plants that can grow in water:
- Pothos
- Swedish ivy
- Fiddle leaf fig
- Baby's tears
- Impatiens
- Coleus
- Grape ivy
- African violet
- Any Vines (I used sweet potato vines)
How long does it take to root a plant in water?
- Most cuttings will take 3-4 weeks to root in water. Some plants will take longer.
- You can place several cuttings in one container depending on the size of the container.
- Add fresh water until the cuttings are fully rooted.
- When the roots are 1-2 inches long the cutting is ready to be potted up.
How do you plant after rooting in water?
After there are several roots showing at the base of your cutting, it's time to plant! Remove the rooted cutting from the water and give it a good rinse with fresh water. Add approximately one to two inches of soil in the bottom of the container. Place the cutting in the container and cover the roots with soil making sure to only go up about an inch from the leaves. Viola! You did it! You created a live plant from a cutting.
Get creative with your plants. They add so much texture and character to a home. I like to take cuttings from my favorite summer plants, nurture them indoors through the cold temps and then replant them in the spring! It's a great way to save money on plants for the pots around my pool.
More money-saving ideas for your outside areas
Be sure to PIN this for later!
BE SURE TO CHECK OUT THESE OTHER PLANT INSPIRED DECOR DIY ideas!
- Upcycled Vintage Hanging Colander Planter
- Faux Succulent Planter Drawer DIY
- How to Make a Faux Succulent Candle Ring
- Vintage Toolbox Succulent Display
- DIY Herb Hanging Planter + Tips on Growing Herbs in Containers
Plant Wall Decor
Equipment
Materials
- Dollar Tree Vases
- Old Sign
- E-6000
- Galvanized Clamps
- Faux Plants
- Pencil
Instructions
- Start by flipping over the old sign. Use your measuring tape to measure the total length of the wood sign.
- Measure the length of your vase and divide it by three.
- Mark off where each vase should go on the sign with a pencil.
- Use your hot glue and E6000 to adhere the vases to the sign at the marked spaces.
- Allow the glue to dry completely.
- Add a small adjustable galvanized clamp at the neck of each vase.
- Fill each vase with water and add cuttings to grow roots or fill it with faux plants
Since you’ve glued the vases on the board, wouldn’t you have to take the whole thing down when emptying the water out or changing the water?
We typically just add water and it lasts for weeks. When we need to change it out, yes, my husband will take it down. It’s one screw so it should be easy peasy.
But not if you use faux florals or greenery!