How to Make Faux Birch Logs (using Dollar Tree Candles)
Today I'm sharing the most beautiful Faux Birch Logs that were made with Dollar Tree Candles. These look like something you would find at a high-end boutique or gift shop. Wrap up a few with a pretty ribbon for a hostess gift. But you will definitely want to make a set for yourself too!
Do you ever have a craft or home decor project in mind and you hope it comes out as pretty as you envision? Well, folks, these faux birch log candles came out even BETTER than I envisioned! You will want to grab several Dollar Tree candles to make these before they sell out.
Let me show you how I made them.
SUPPLIES needed for Faux Birch Logs
All the supplies needed can also be found HERE in my Amazon Shop!
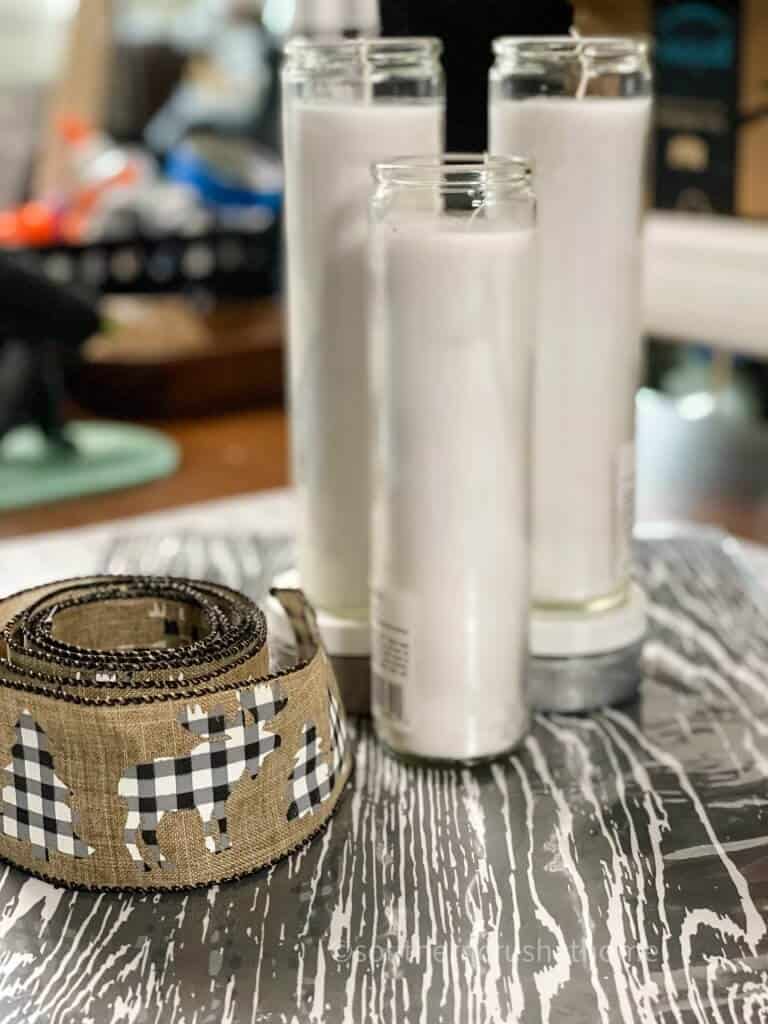
- Dollar Tree Glass Candles
- Woodgrain Mesh Stencil
- Chalk Paste
- Heat Gun
- Craft Scissors
How to make Faux Birch Logs
remove the label
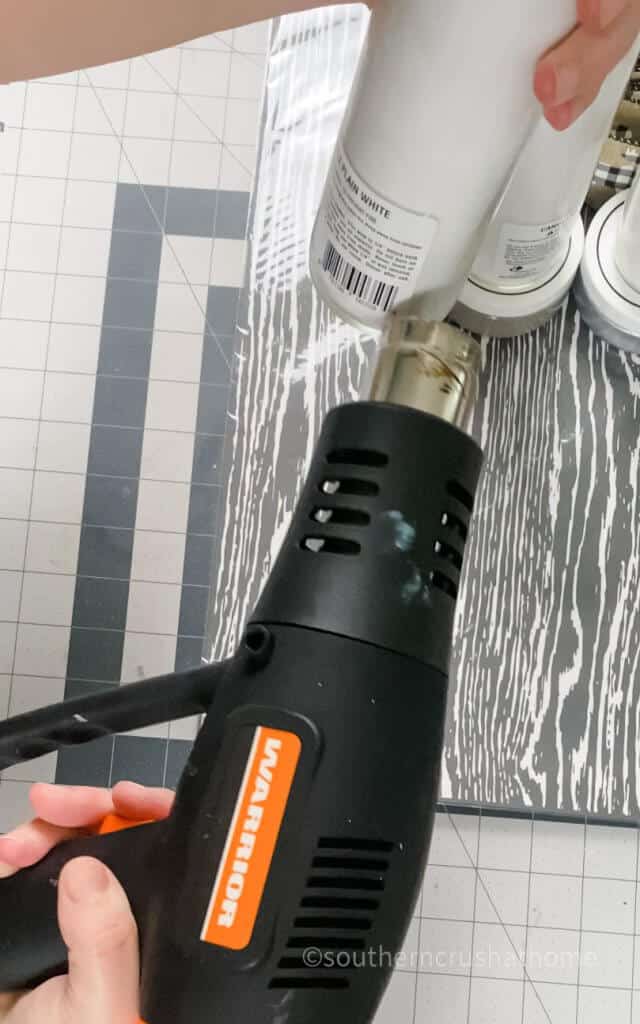
Step 1.
I learned a simple trick for removing labels. Sometimes they can be such a pain! Use a heat gun to melt the sticky residue backing. It only takes a minute or two and you can easily peel the label away.
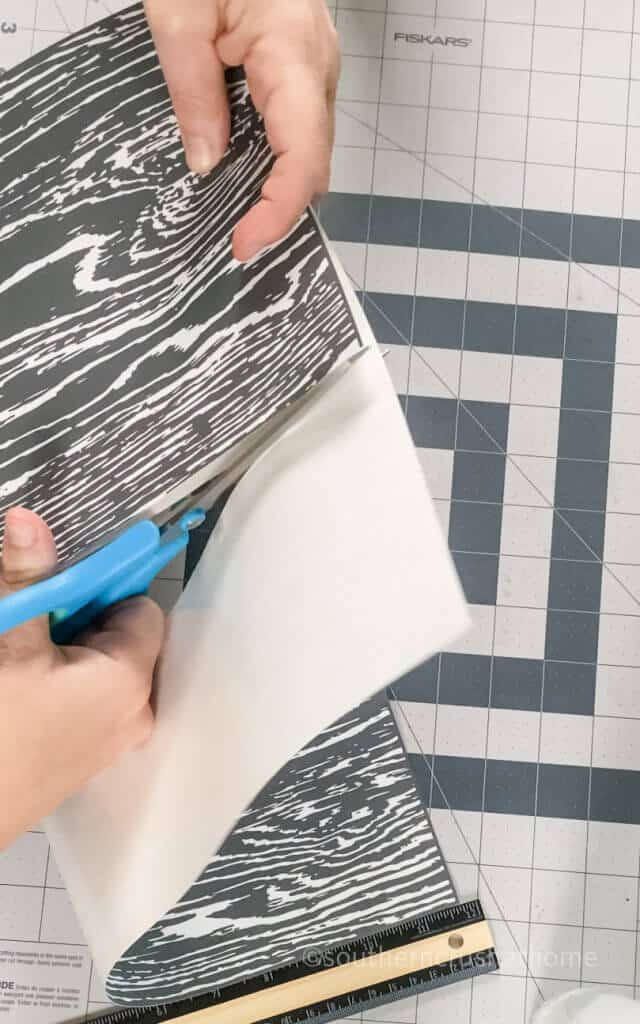
cut the mesh stencil to size
STEP 2.
Start by cutting the mesh wood grain stencil to size to fit around the candle. I used two different sections to create a different look for the candles as opposed to one wood grain pattern for all candles.
WRAP THE CANDLE
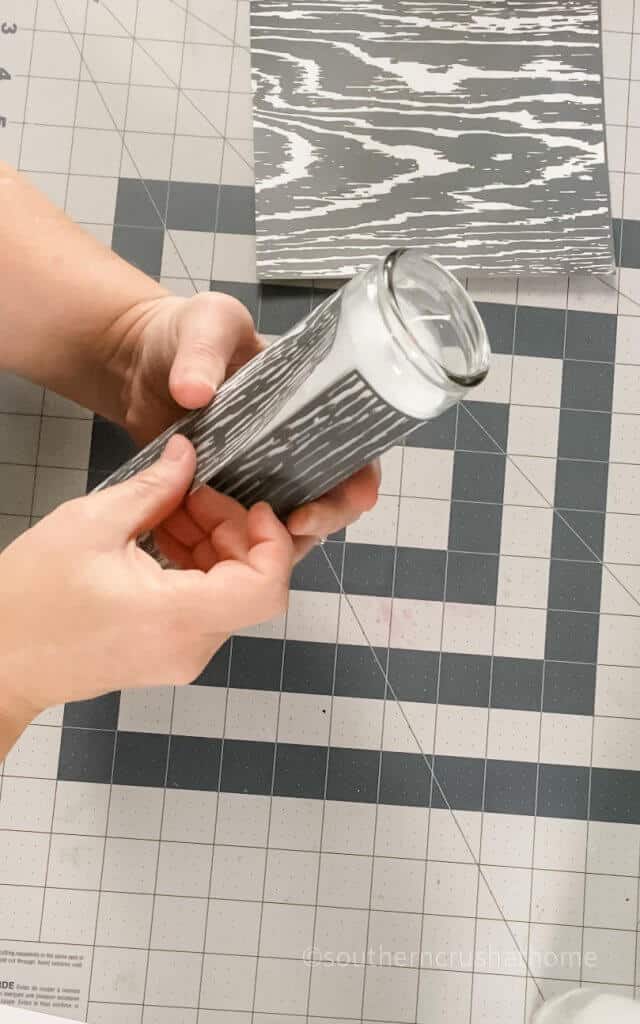
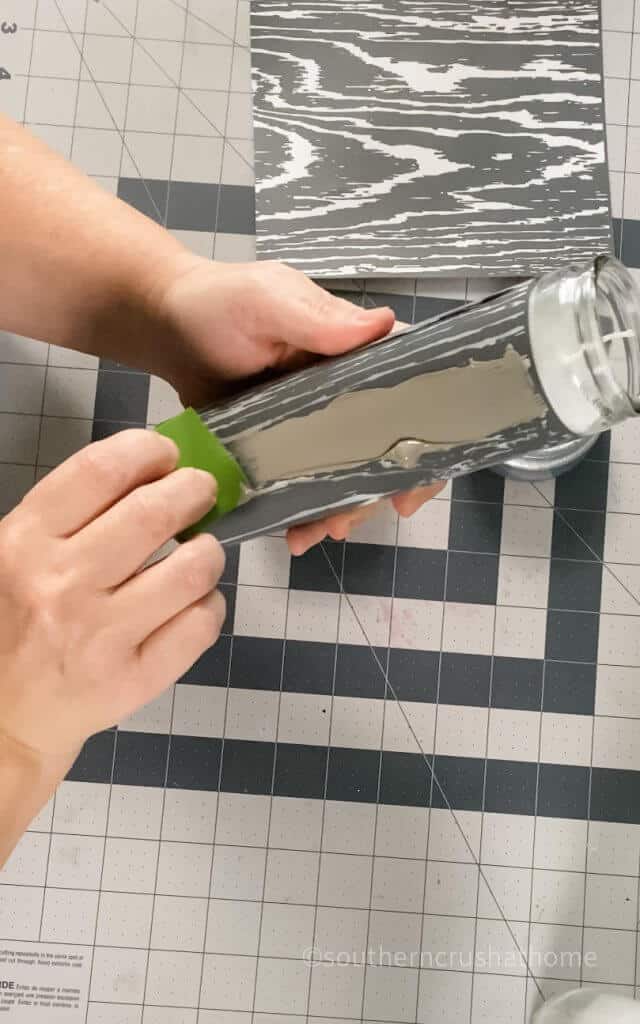
add the chalk paste
STEP 4.
Use the chalk paste and squeegee to spread the paste along the mesh stencil. I spread on the first color sparingly and then filled in the remaining open spaces with the metallic silver chalk paste. I mixed these two chalk pastes together to get this ombre coloring. It turned out perfect for this faux birch look, didn't it?
add the chalk paste
STEP 5.
Once the entire candle is covered with the paste, use the squeegee to remove the excess.
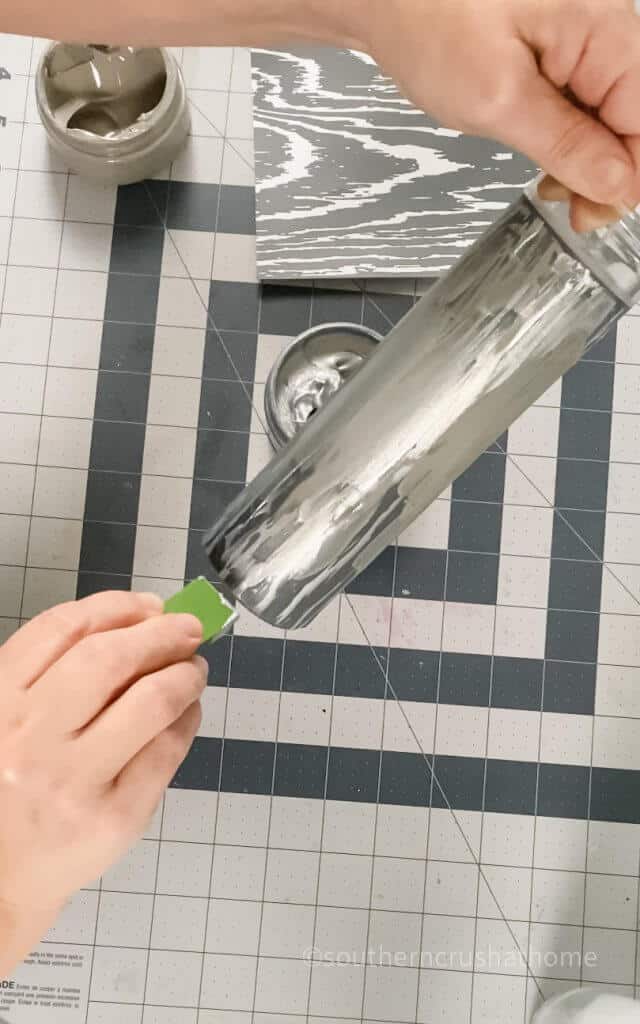
That's all there is to it! Can you believe how easy that was? The great thing about mesh stencils is you can rinse them off and reuse them again and again.
Just think about all the projects you could make with this stencil.
decorate with your faux birch LOGS
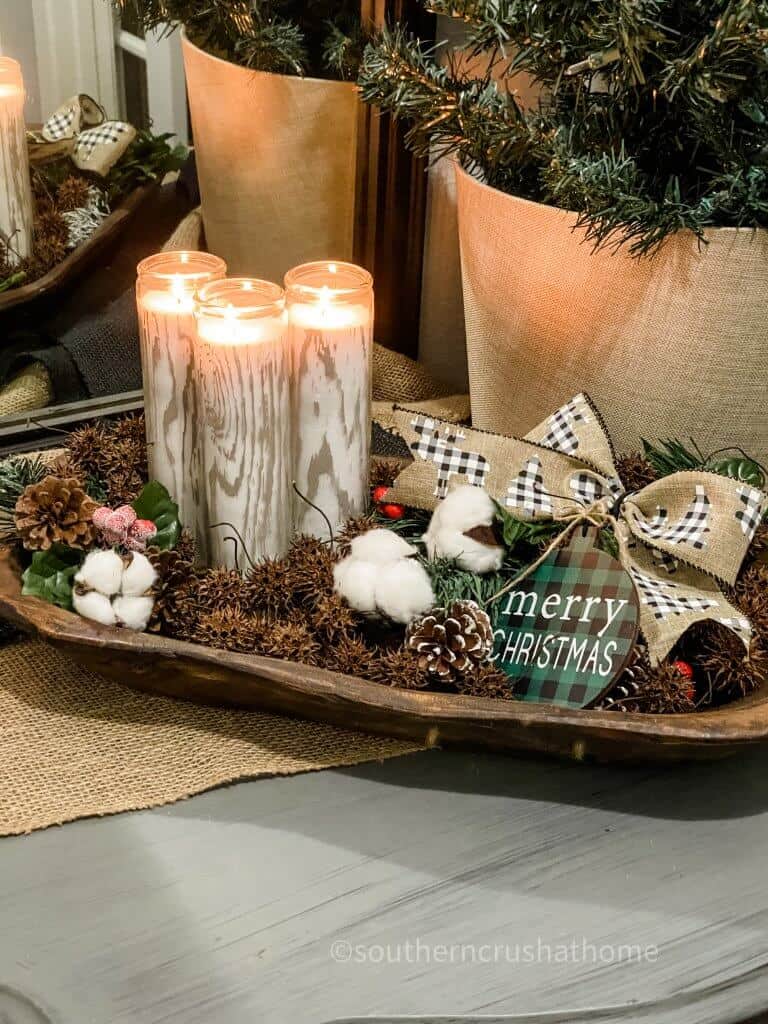
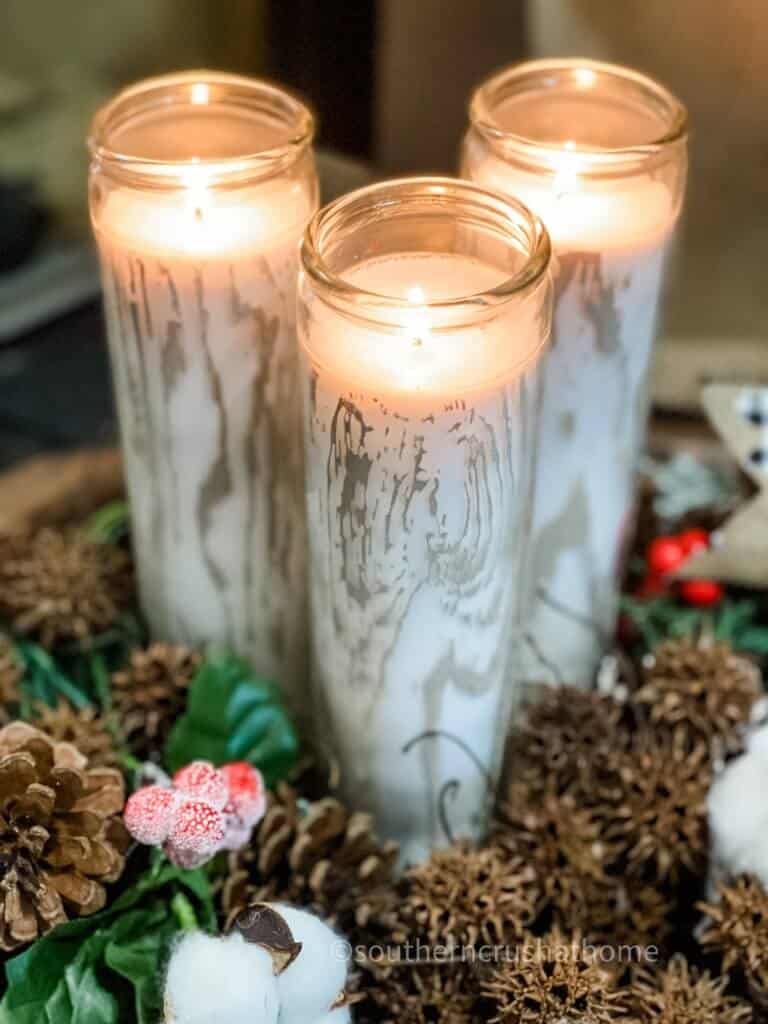
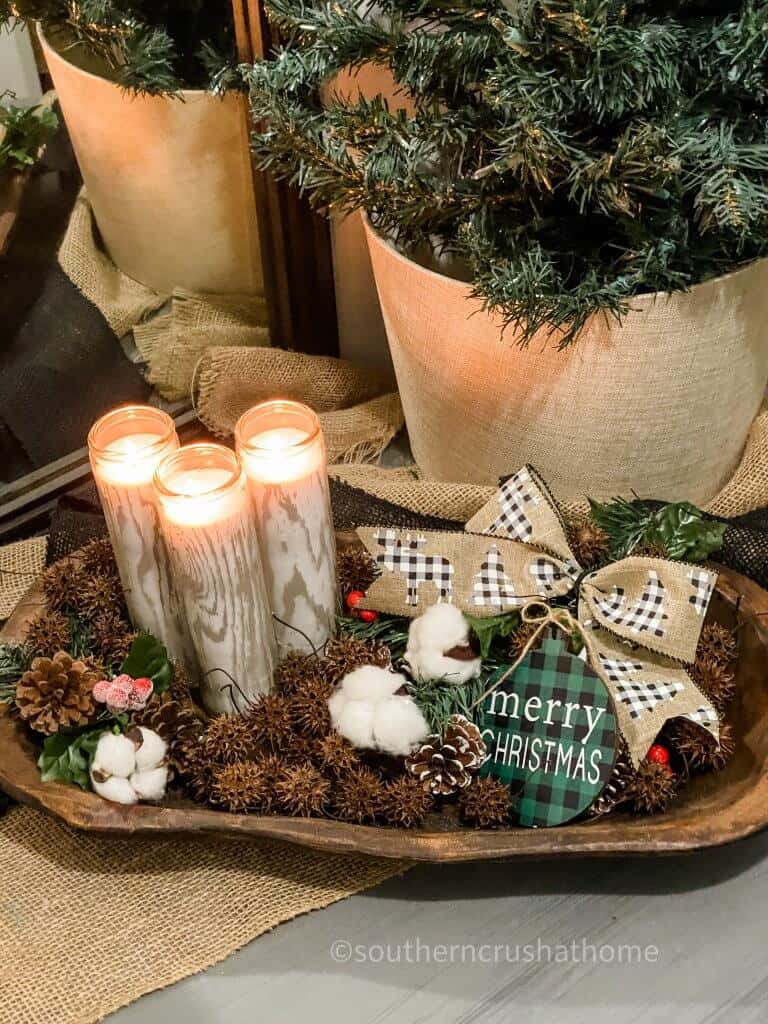
I added a set of three candle logs to a pretty dough bowl for a gorgeous holiday or winter display. If you don't have a dough bowl, you can use a basket or a tray. Gather some pine cones for a touch of nature.
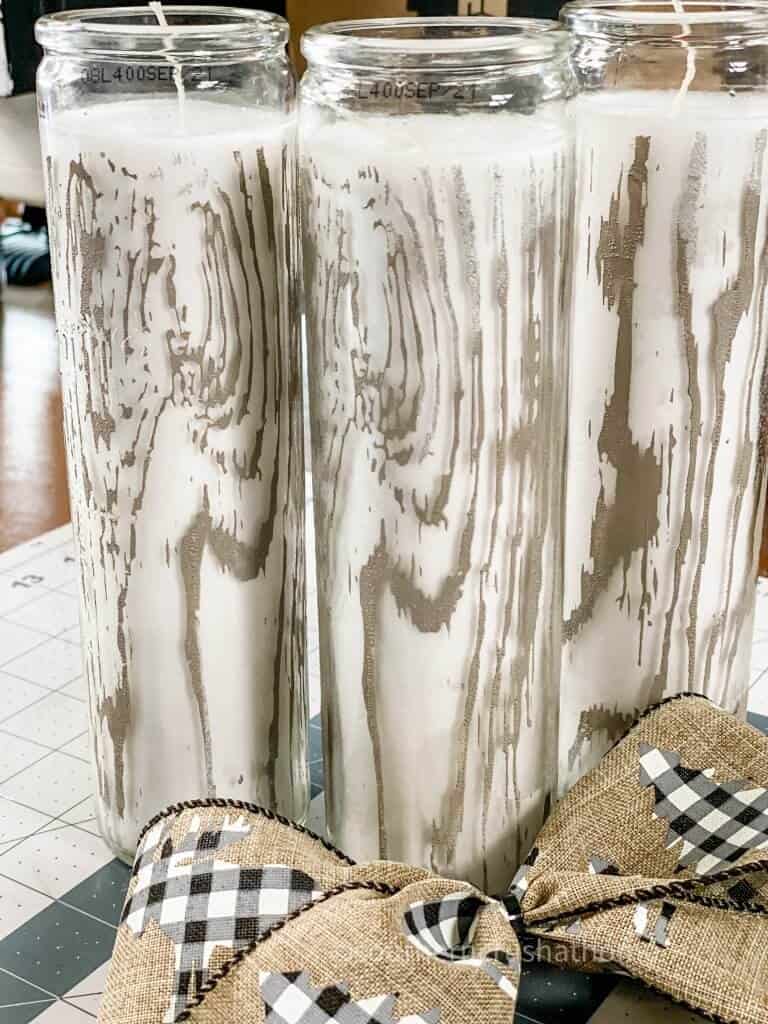
Another view of the faux birch Dollar Tree candle logs…
Faux Birch Logs
Here are a few other ways to decorate with your faux birch logs.
- Make several to display on a mantel with pine cones and garland.
- Use a tray to create a winter or Christmas vignette.
- Wrap a set of three up with a ribbon for easy gift giving.
step by step video tutorial
If you want to see the exact step-by-step process, be sure to check out this video tutorial below over on my YouTube Channel!
BE SURE TO CHECK OUT THESE OTHER DIY CHRISTMAS IDEAS!
- Christmas Lantern and Santa Mailbox
- Easy $2 Dollar Tree Snowman Candle DIY
- 21 Ways to Repurpose Old Ornaments
- DIY Angel Ornament
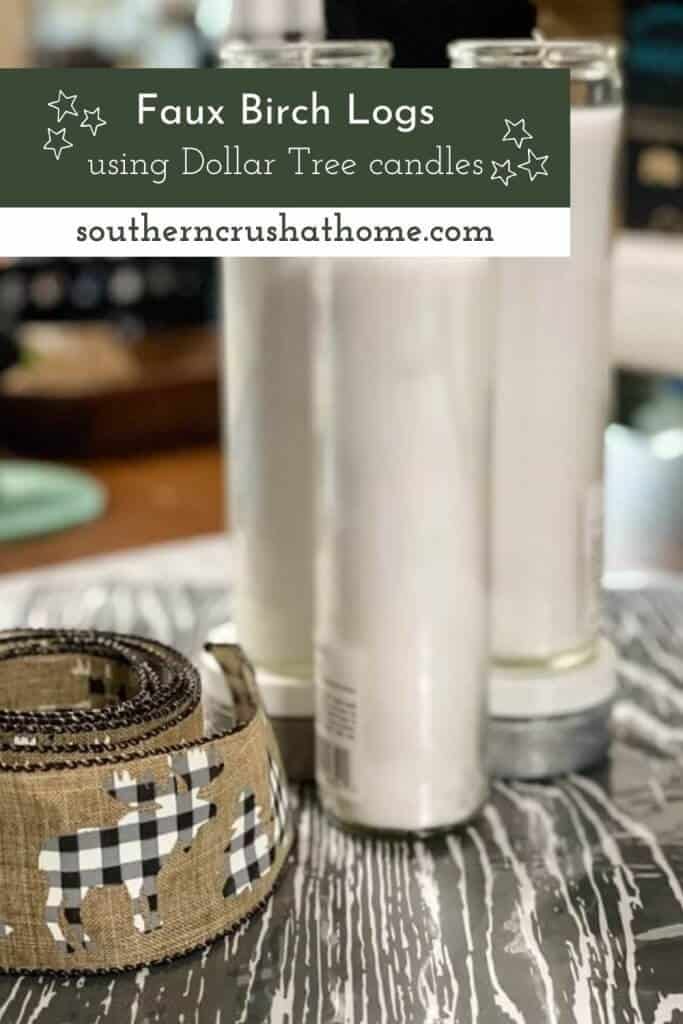
Be sure to PIN this for later!

Faux Birch Logs From Dollar Tree Candles
Equipment
- heat gun
Materials
- Dollar Tree Glass Candles
- Wood Grain Mesh Stencil
- Chalk Paste
- Squeegee
Instructions
- Remove the labels from the candles with a heat gun.
- Cut the mesh wood grain stencil to size.
- Wrap the mesh stencil around the candle.
- Use the chalk paste and squeegee to spread the paste across the stencil.
- Use the squeegee to remove the excess paste.