How to Make a Resin Tealight Candle Holder
Candleholders come in all shapes and sizes, but if you're looking for something unique, why not try a tealight candle holder? I'm excited to show you a step-by-step tutorial on how to pour your very own gorgeous resin tealight candle holder with a silicone mold.
These DIY candle holders are easy to make and since they're made with any color of your choice, they can be customized to match any decor. Plus, they add a touch of elegance to any table setting. Keep reading for instructions on how to make your own resin tealight candle holder.
If you haven't worked with resin before, there are a few tips that you need to follow but once you learn, you will want to make “all the things”! Tealight candle holders are a great beginner resin project and they really add a personal touch to any room.
Do you like to have candles burning in your home? They make a room feel cozy and inviting. I love to make my own candles and share how to make candles HERE.
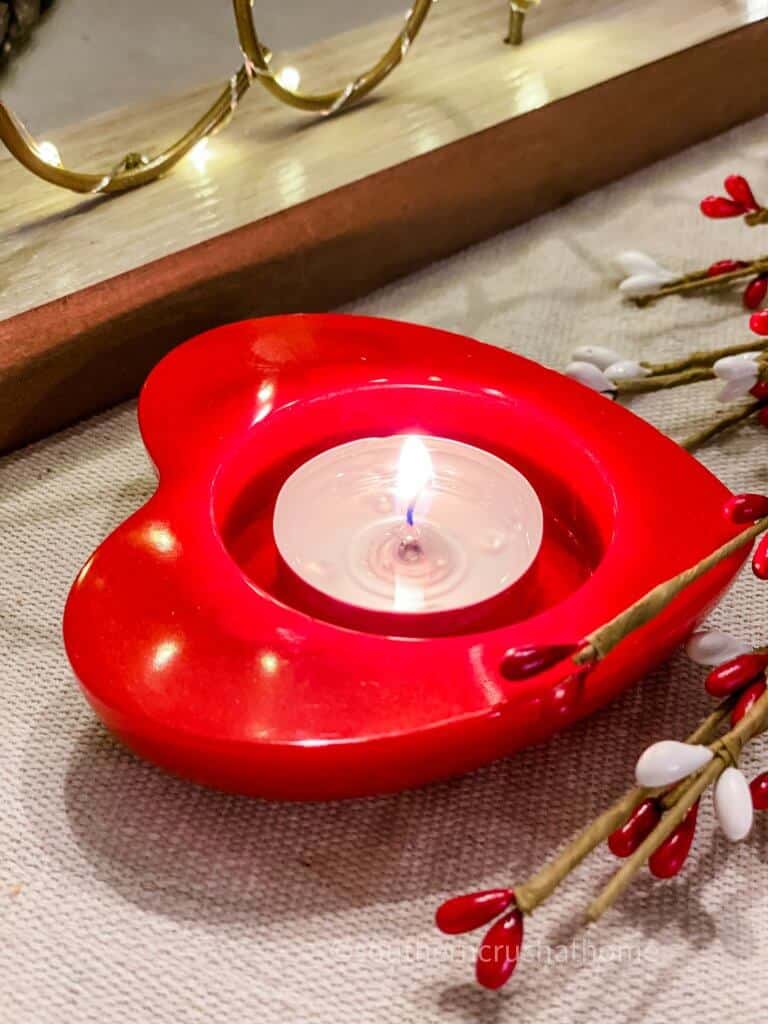
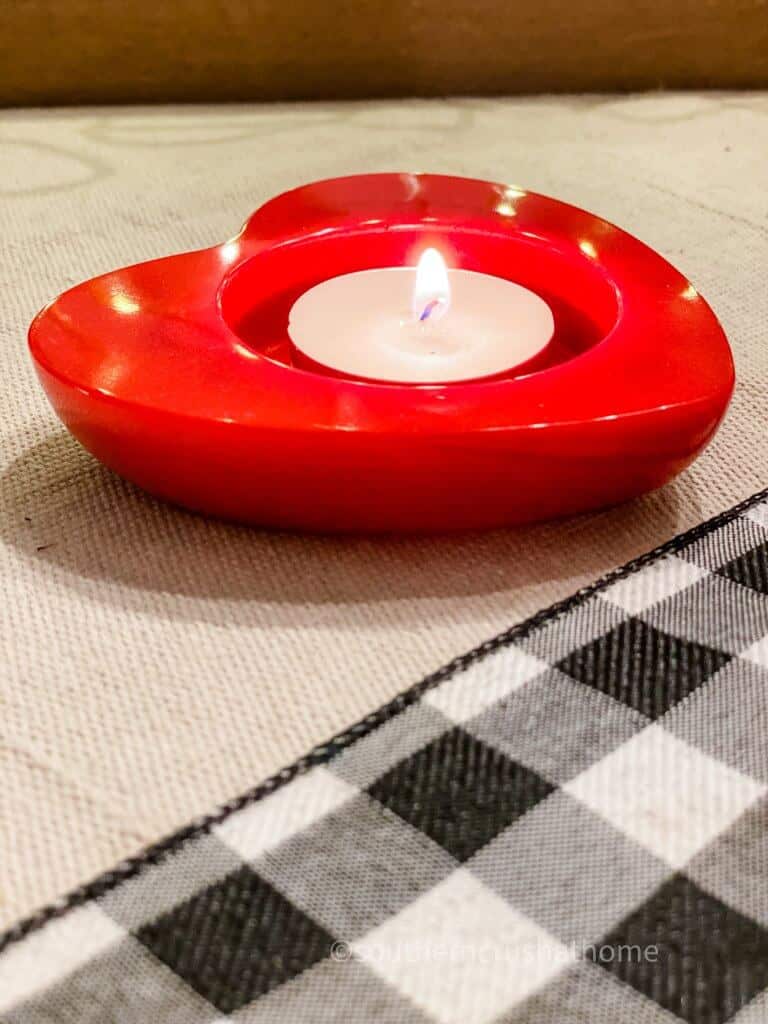
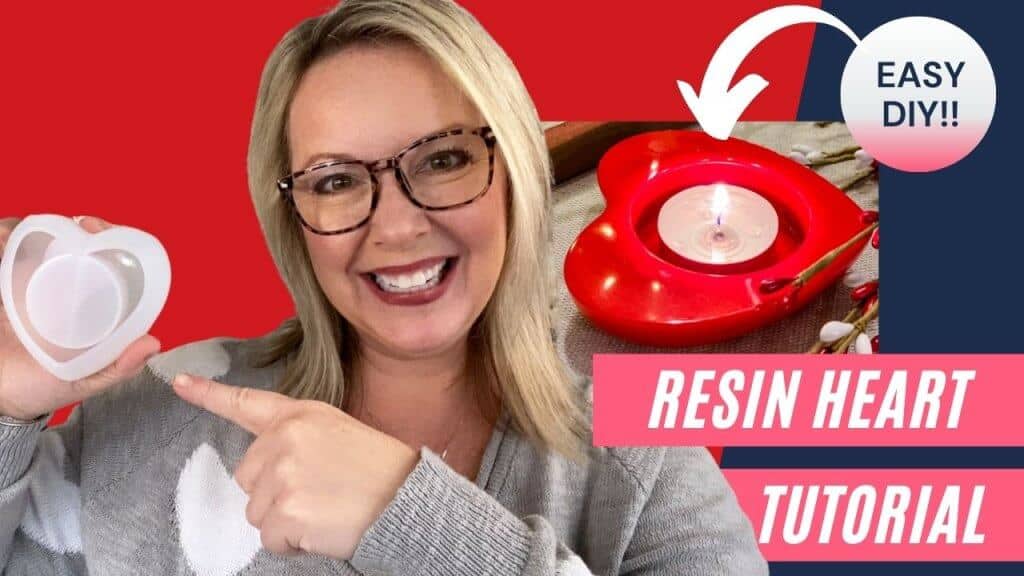
I find I have a lot of candles, but not many candle holders. So I decided to make my own resin tealight candle holders. This little red heart holder is perfect for Valentine's Day, but can also be enjoyed all year long.
I see many more resin crafts in my future. So, without further ado, let’s get started!
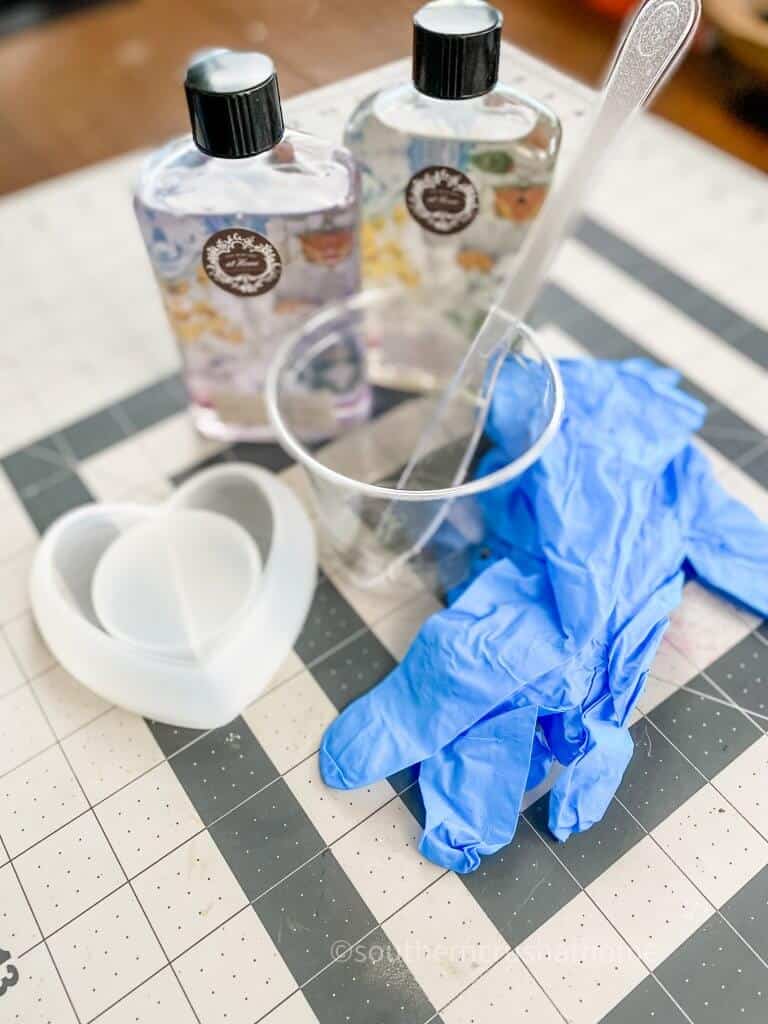
Supplies Needed for Resin Tealight Holder
All the supplies needed can be found HERE in my Amazon Shop!
-
- Candle Mold
- Resin
- Tea Lights
- Plastic cups
- Craft stick or plastic knife
- Heat Gun
- Gloves
How to Make a Resin Tealight Candle Holder
It's very important to wear gloves and also work in a well-ventilated area. If you can work outside, that is best. If you have to work inside, you can wear a mask.
Step 1.
It's also important to mix the resin and hardener properly. Read the instructions and blend accordingly. If you don't mix the correct 1:1 ratio, the resin won't set properly.
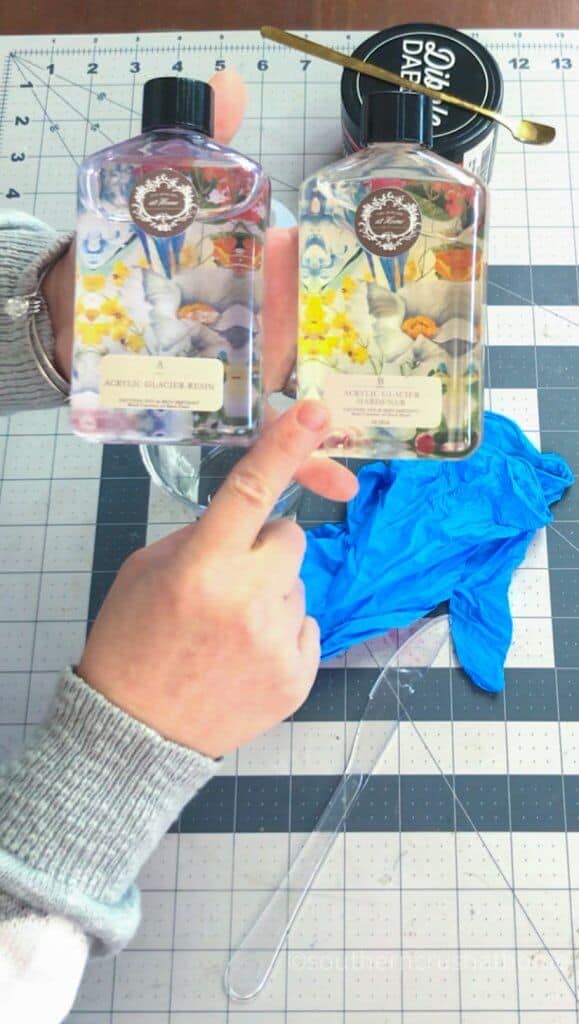
Step 2.
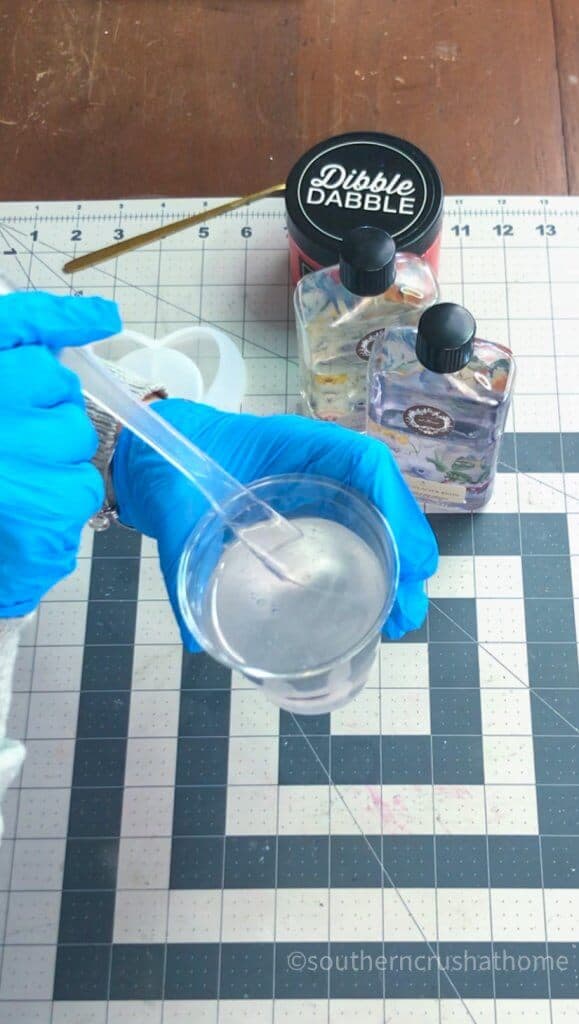
For this resin, you mix a 1:1 ratio of resin and hardener in plastic disposable mixing cups.
Quick Tip: Pour the resin into the cup and mark with a sharpie. This way you can gauge how much you need to add of part B.
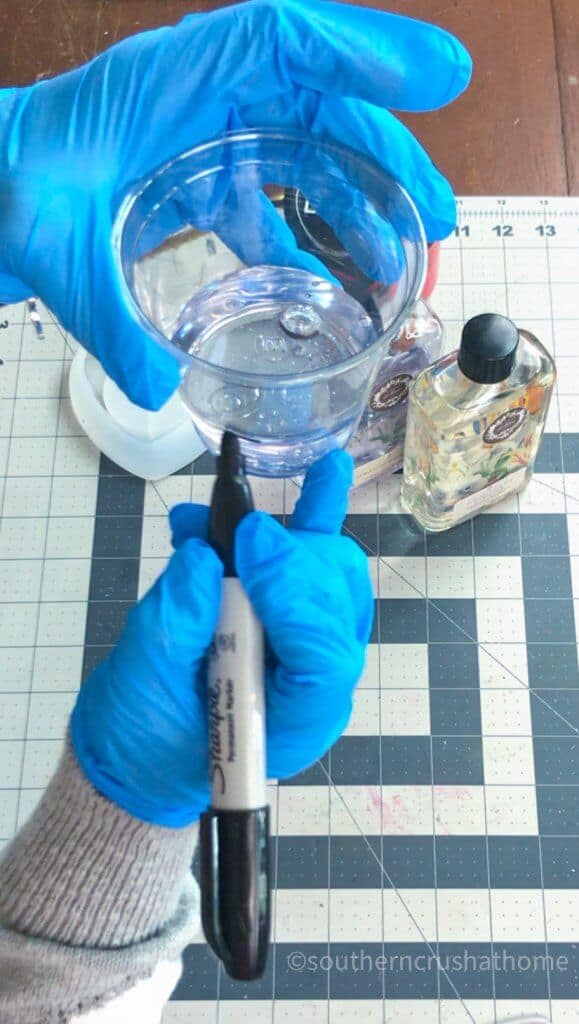
Then pour the same amount of the hardener into the cup and mix well. I used a plastic knife. You can also use craft sticks.
Step 3.
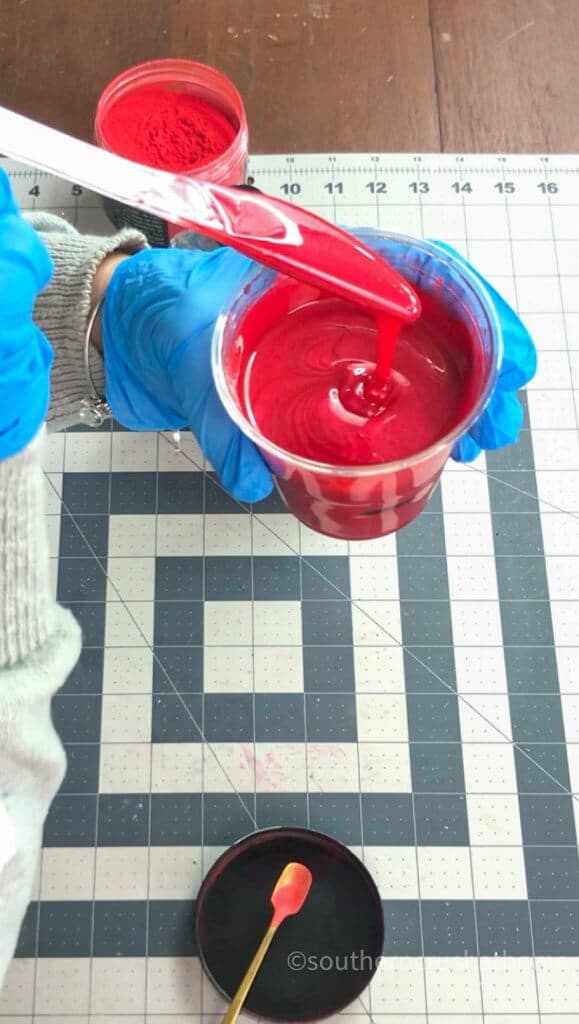
Add your choice of colorant to the mixed resin and blend well. I used a bright and colorful red for Valentine's Day.
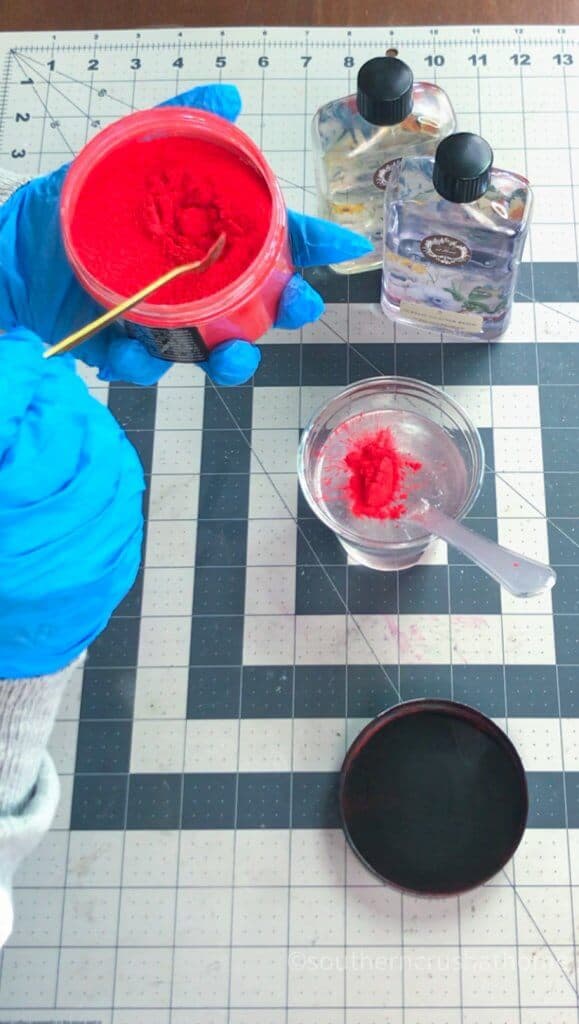
Try to mix the resin slowly to reduce the number of air bubbles. You can use a heat gun or a small torch tool to remove any air bubbles.
Step 4.
Once you have the resin blended well you are ready to pour into your silicone mold of choice.
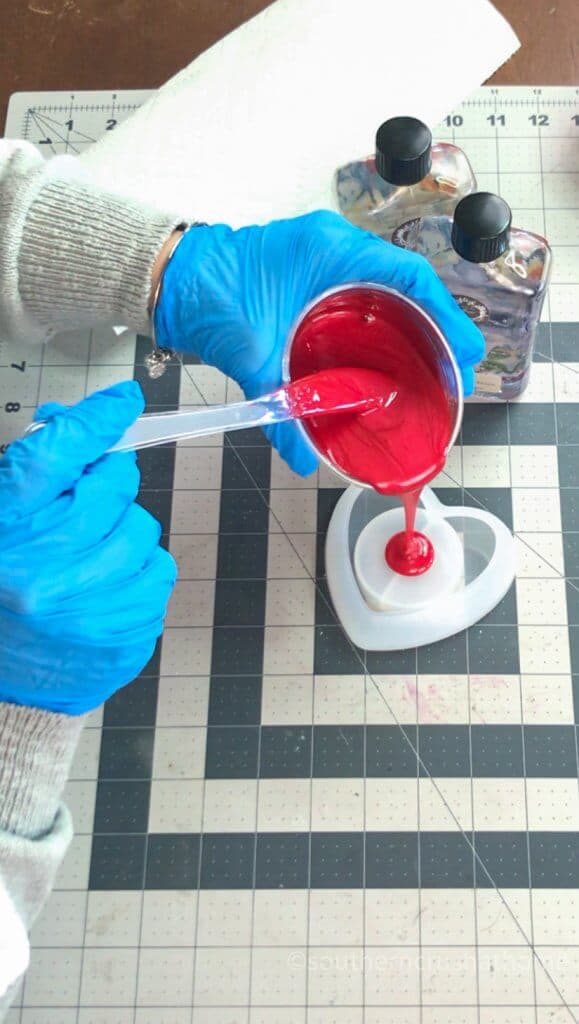
You want to pour slowly so you don't get too many air bubbles in the mold.
Step 5.
Let the resin set overnight for at least 10-24 hours.
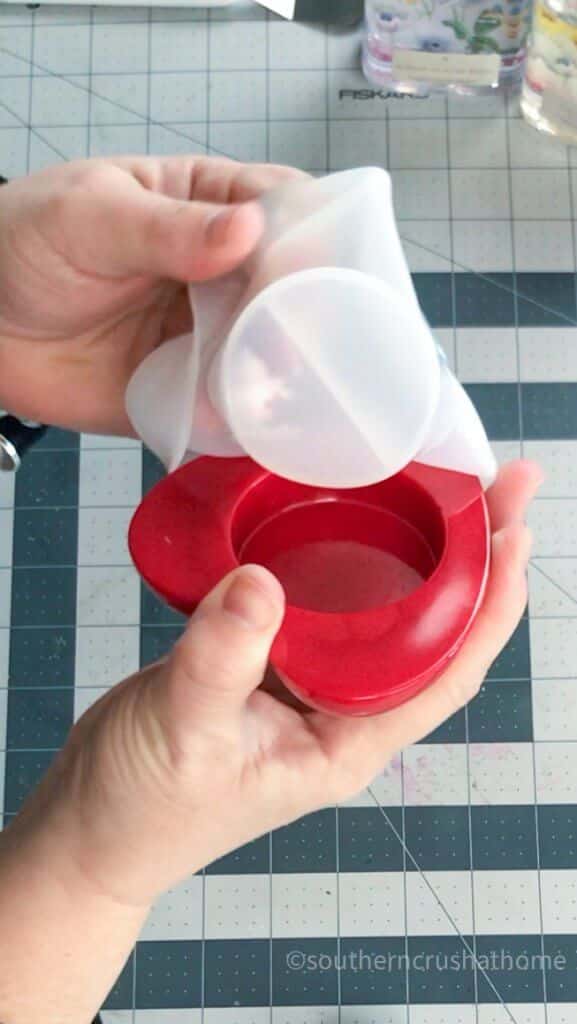
Step 6.
Remove the tea light candle holder from the mold and prepare to be amazed at how beautiful it is!

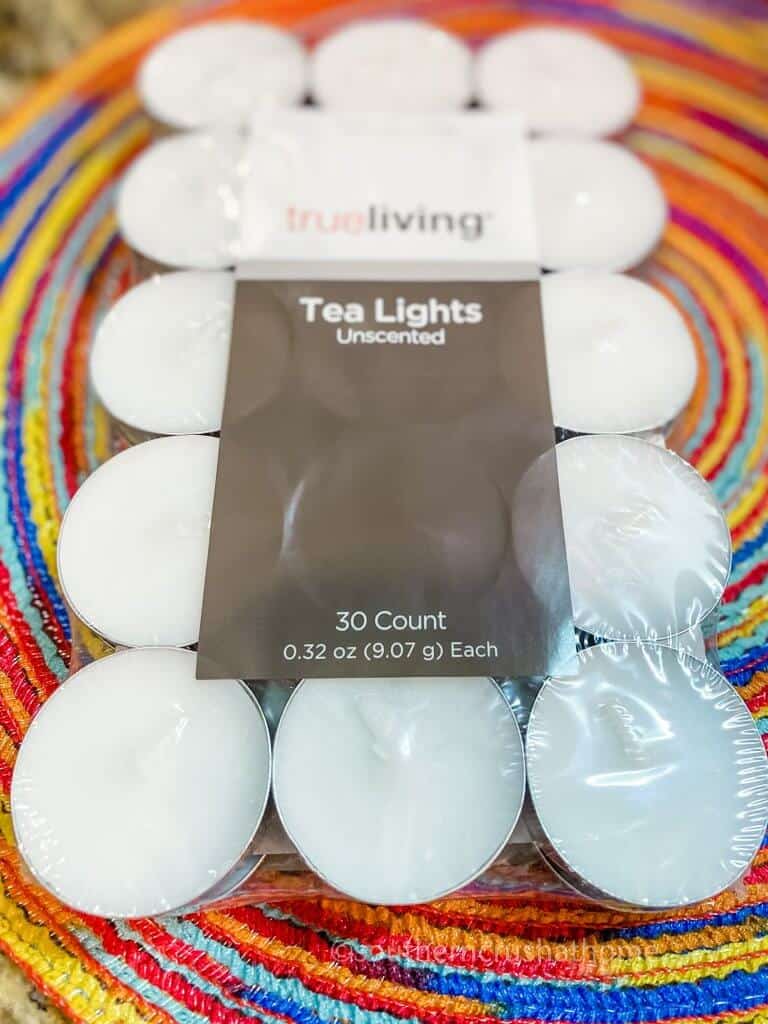
You can pick up unscented tealights at Dollar Tree, Walmart, or craft stores. I grabbed these from Dollar General. They are also handy to have around in case of a power outage.
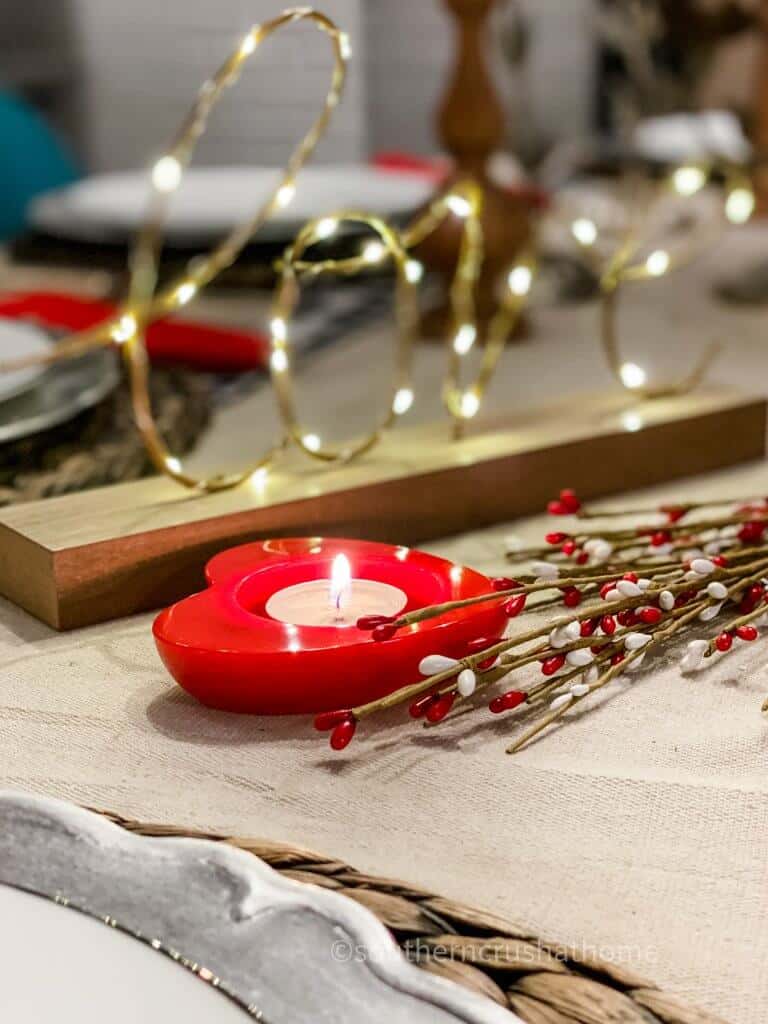
Look how beautiful this resin tealight candle holder looks on my table with pretty lights:
This little heart is perfect for a romantic Valentine's Day dinner. Make several to line the center of your table.
You could also package a tealight candle holder with a pack of tea lights as the perfect gift for a friend or your child's teacher. Just tie it with a pretty ribbon and you are all set!
step by step video tutorial
If you want to see the exact step-by-step process, be sure to watch this video tutorial below over on my YouTube Channel!
I hope you enjoyed this pretty heart-shaped resin tealight candle holder. If you make your own please share in the comments below. I'd love to see it!

Be sure to PIN this for later!
CHECK OUT THESE VALENTINE’S DAY IDEAS!
- Black and White Valentine’s DIY Decor
- DIY Valentine’s Pillow
- Easy Oreo Truffles
- Paper Heart Valentine's Heart Wreath
Resin Tips for Beginners
- Always wear gloves
- Work in a well-ventilated area
- Cover your workstation. Wax paper works well as resin won't stick to it.
- Mix slowly and scrape the sides and bottom of your cup often.
- Use a heat gun to remove any air bubbles.
- Let your resin cure for at least 24 hours.
Tealight Holder FAQ's
What is a tealight holder?
A tealight candle is placed in a holder for decorative purposes. They can be made from many different materials including glass, metal, ceramic, and other materials.
Do tealight candles need a holder?
If the tealight candle is in a metal cup it can be placed on a tray without a holder. But it is best to place them in a holder so the wax doesn't get on your table or tray.
Are tealight holders safe?
Tealight candle holders will keep tealights from moving around while burning and, as a result, will provide a safe burning environment. Keep the wick trimmed. The wick should never be more than a half-inch long. Keep the tea light candles away from flammable objects.

Resin Tealight Candle Holder
Equipment
- Plastic knife
- heat gun
Materials
- Candle Mold
- Resin
- Tea Lights
- Plastic cups
- Gloves
Instructions
- Mix a 1:1 ratio of resin and hardner in mixing cups.
- Pour the resin in the cup and mark with a sharpie.
- Pour the same amount of hardner into the cup and mix well.
- Add your choice of colorant to the mixed resin and blend well.
- Let the resin set overnight for at least 24 hours.
- Remove the tea light holder from the mold.