Dollar Tree Pillar Candles DIY with FREE Christmas Printables
Pillar candles from the Dollar Tree are a super affordable way to decorate for the holidays. Not only are they budget-friendly, but they can make the cutest crafts. If you’re a crafty person and love to get creative, then I have a DIY project perfect for you!

PIN this for later!
In this blog post, I will be sharing a simple DIY pillar candle idea complete with FREE Christmas printable wraps to use. So, let’s get started!
This winter-inspired printable is part of The Four Seasons Printable Collection of FREE printables I’m sharing today in collaboration with several of my amazing blogger friends! Be sure to collect them all at the bottom of this post!
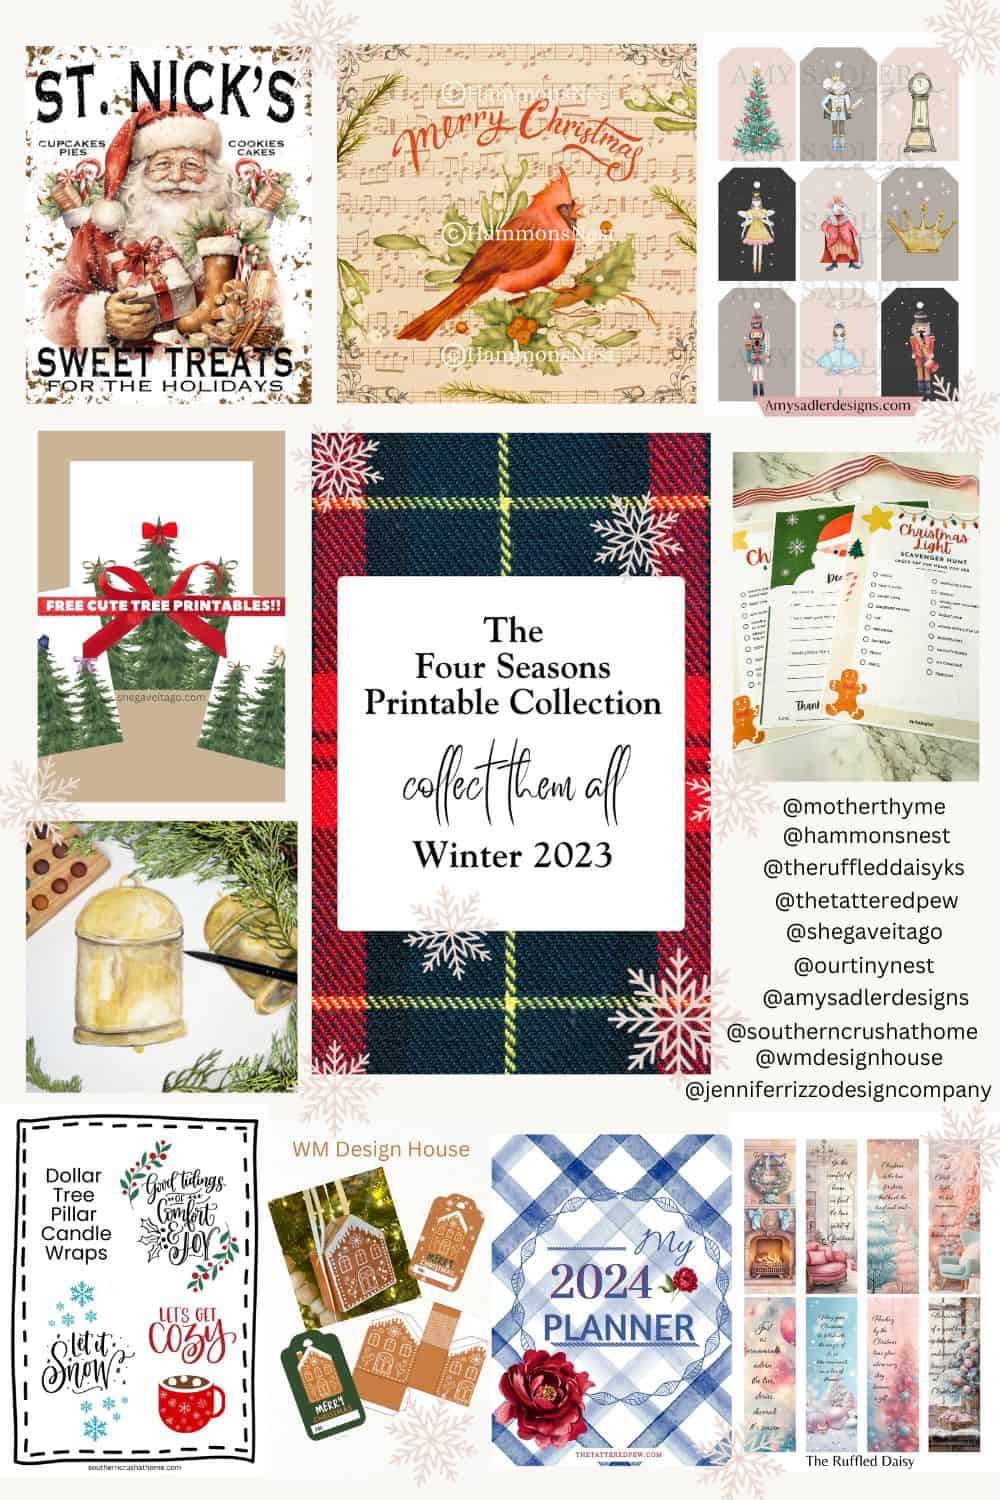
PIN this for later!
This blog post contains affiliate links. The opinions are wholly my own from my own experience. I may earn a small commission from clicks through to the websites that end in a purchase.
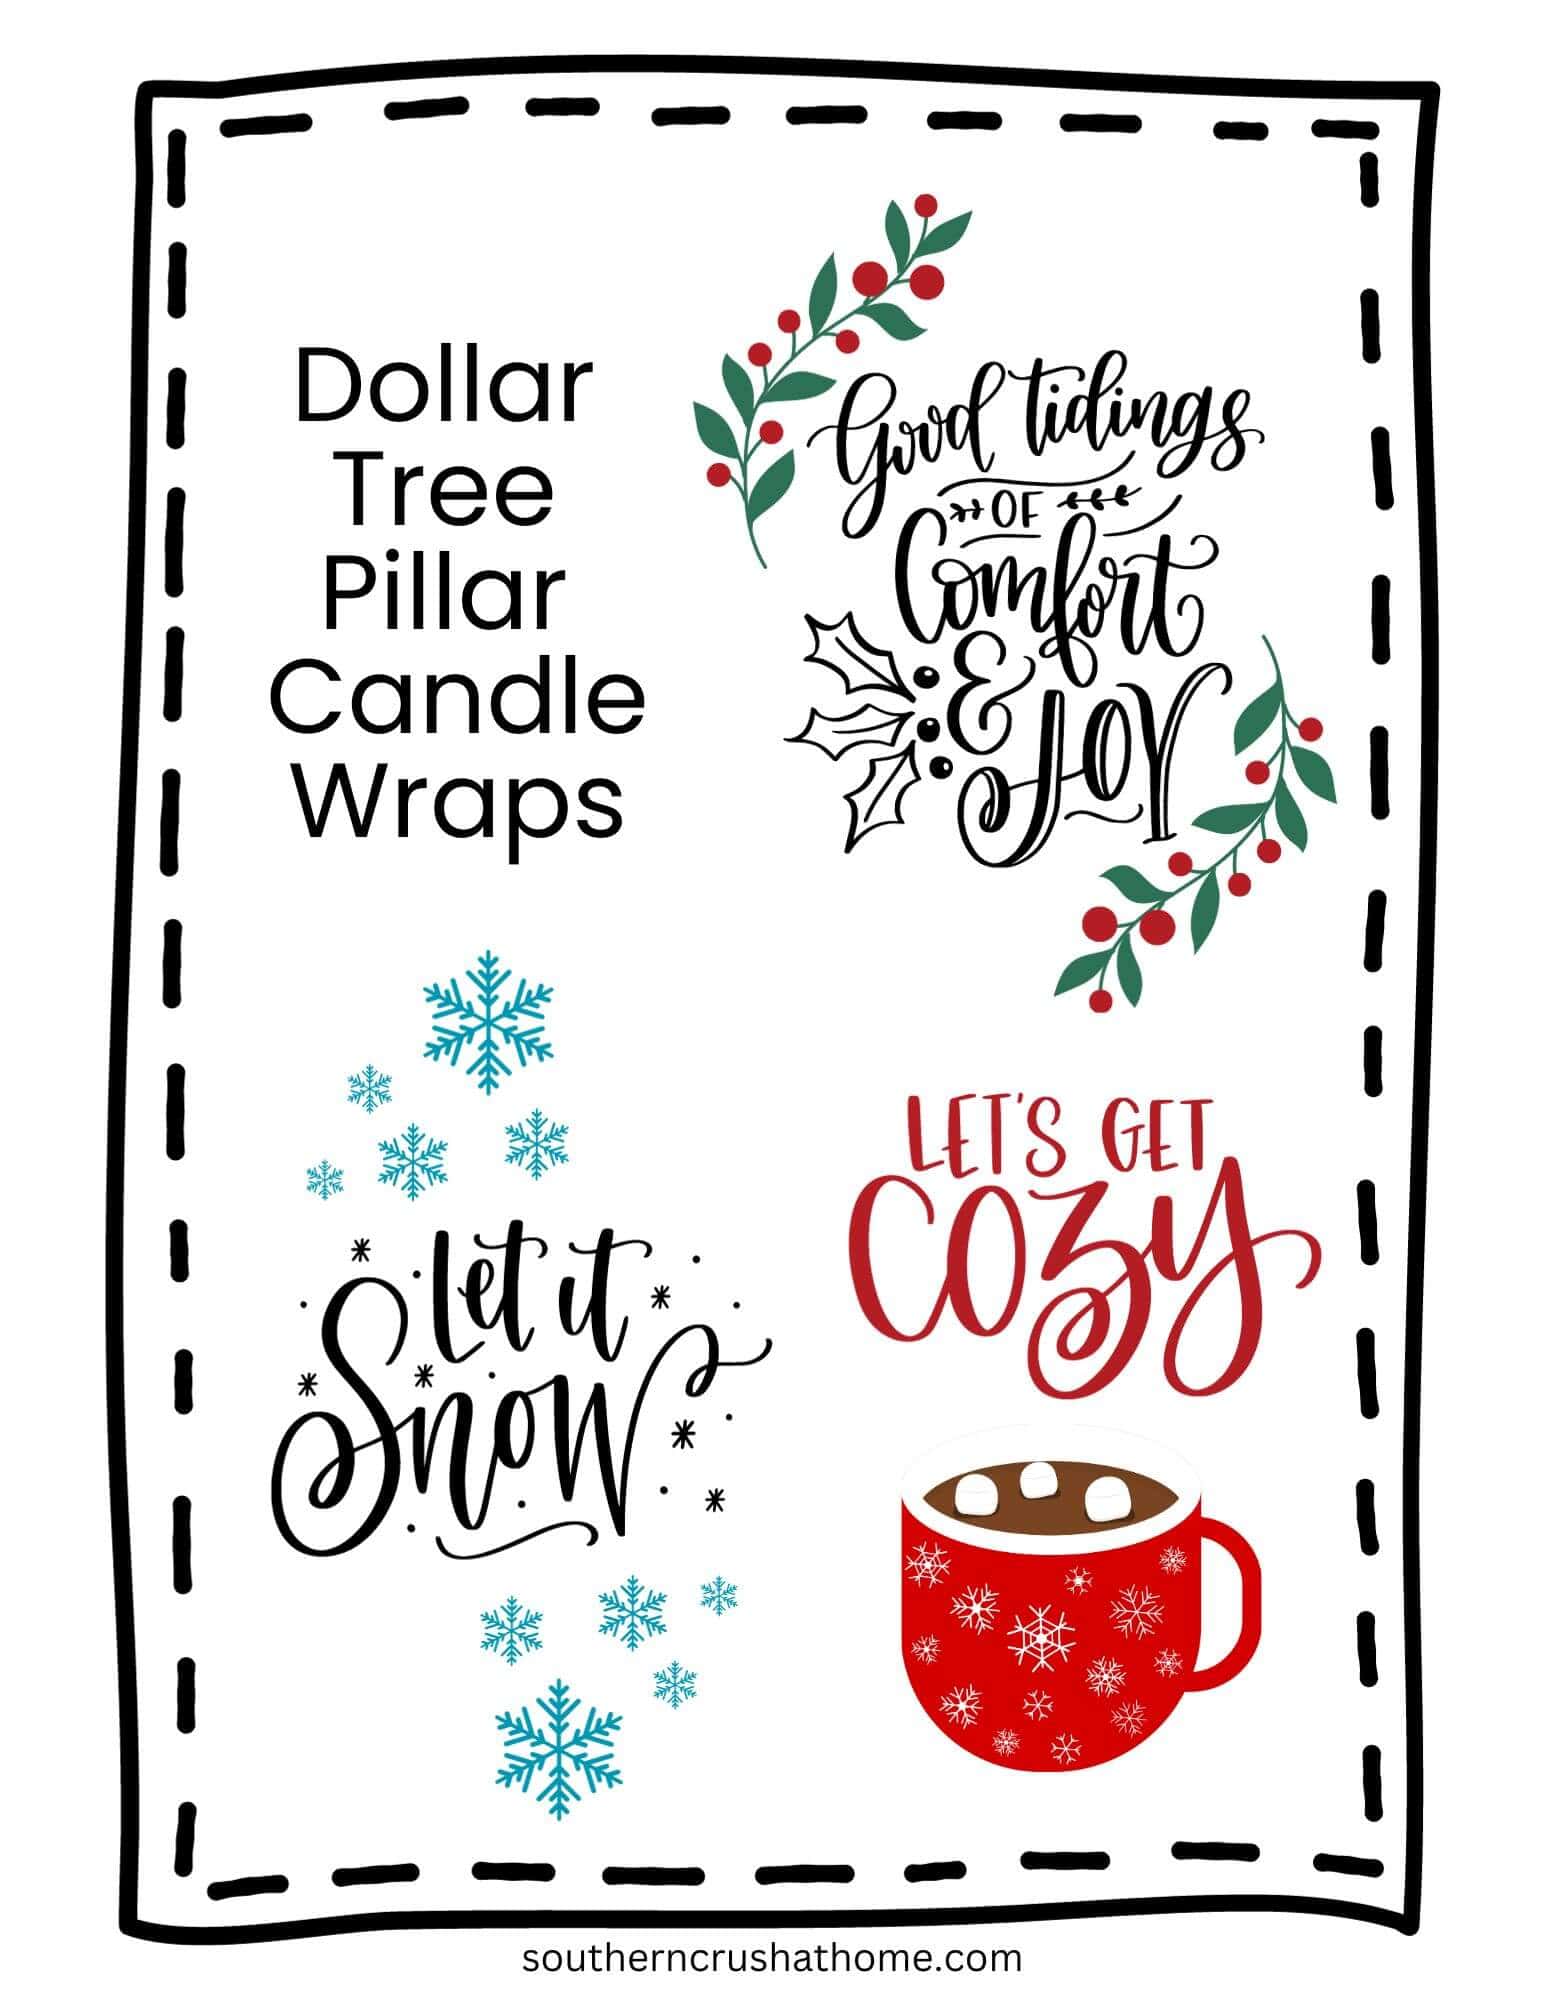
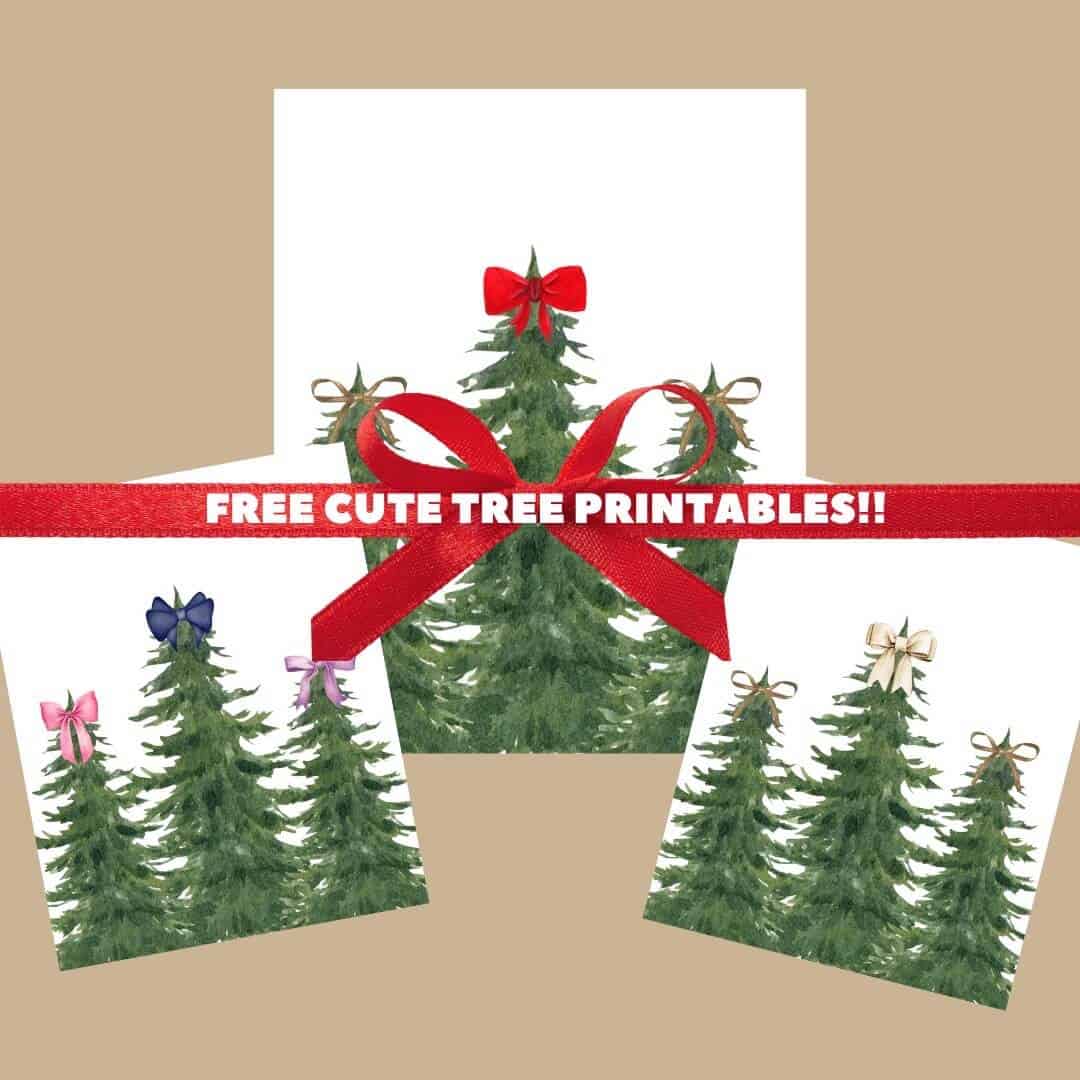
If you’re in a hurry, below is a direct link to MY WINTER PRINTABLES. Each of my printables features hand-lettering by my friend Danielle Stringer with Imperfect Dust. See more of her artwork HERE.
Supplies Needed
- Pillar Candles (I got mine from Dollar Tree)
- Brown Kraft Paper (optional)
- Scissors
- FREE Printables
- Double Sided Tape
- Embellishments (optional)
- Hot Glue
How to Make Pillar Candles with Christmas Printables
Step One: Print Out Your FREE Printables
In case you are unfamiliar with printing printables; I have an entire blog post full of instructions for you HERE Below.
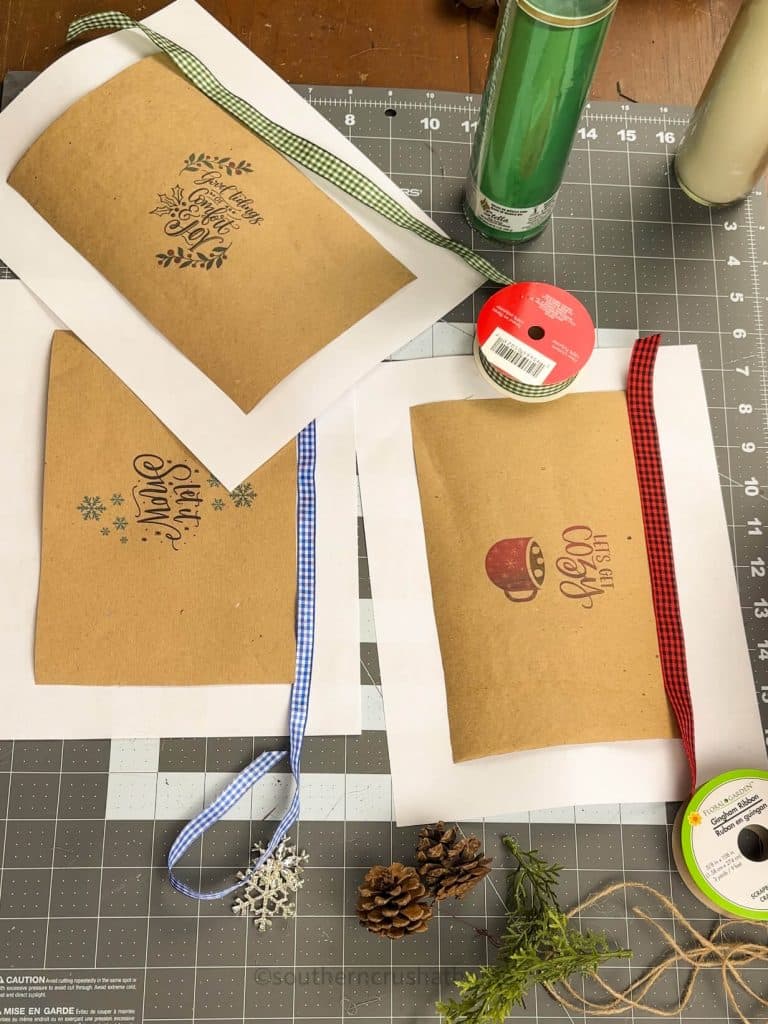
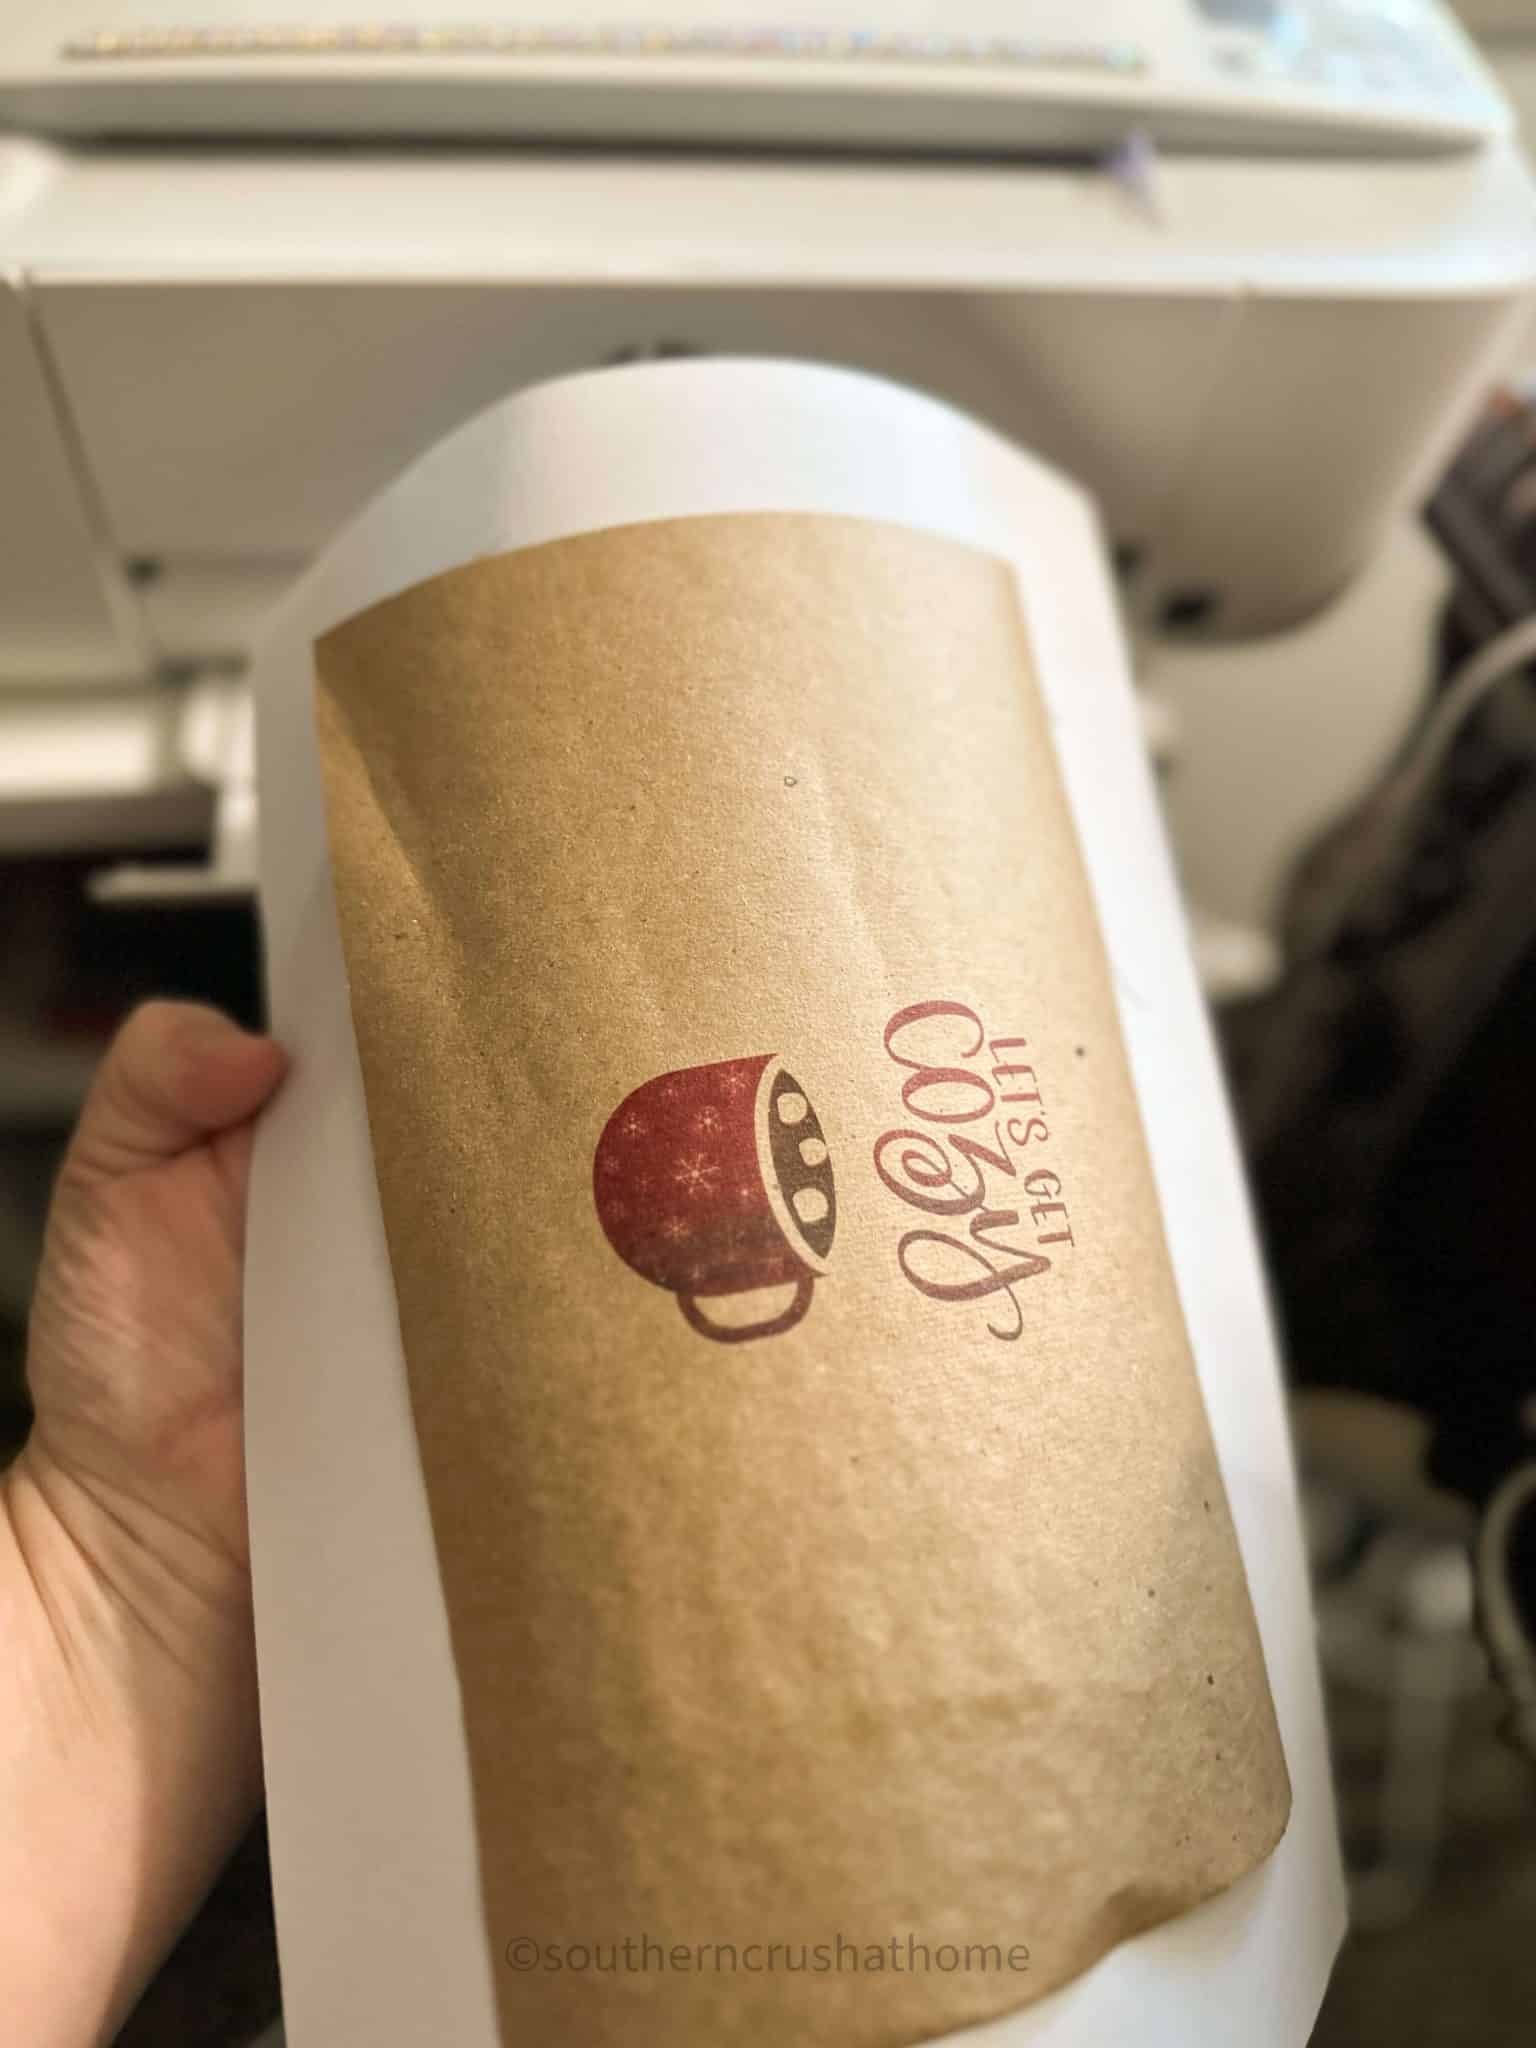
For this particular project I decided to print out my images onto brown kraft paper to create a “wrap” for my Dollar Tree pillar candles. You can feed the brown kraft paper directly through your printer or follow my steps below instead.
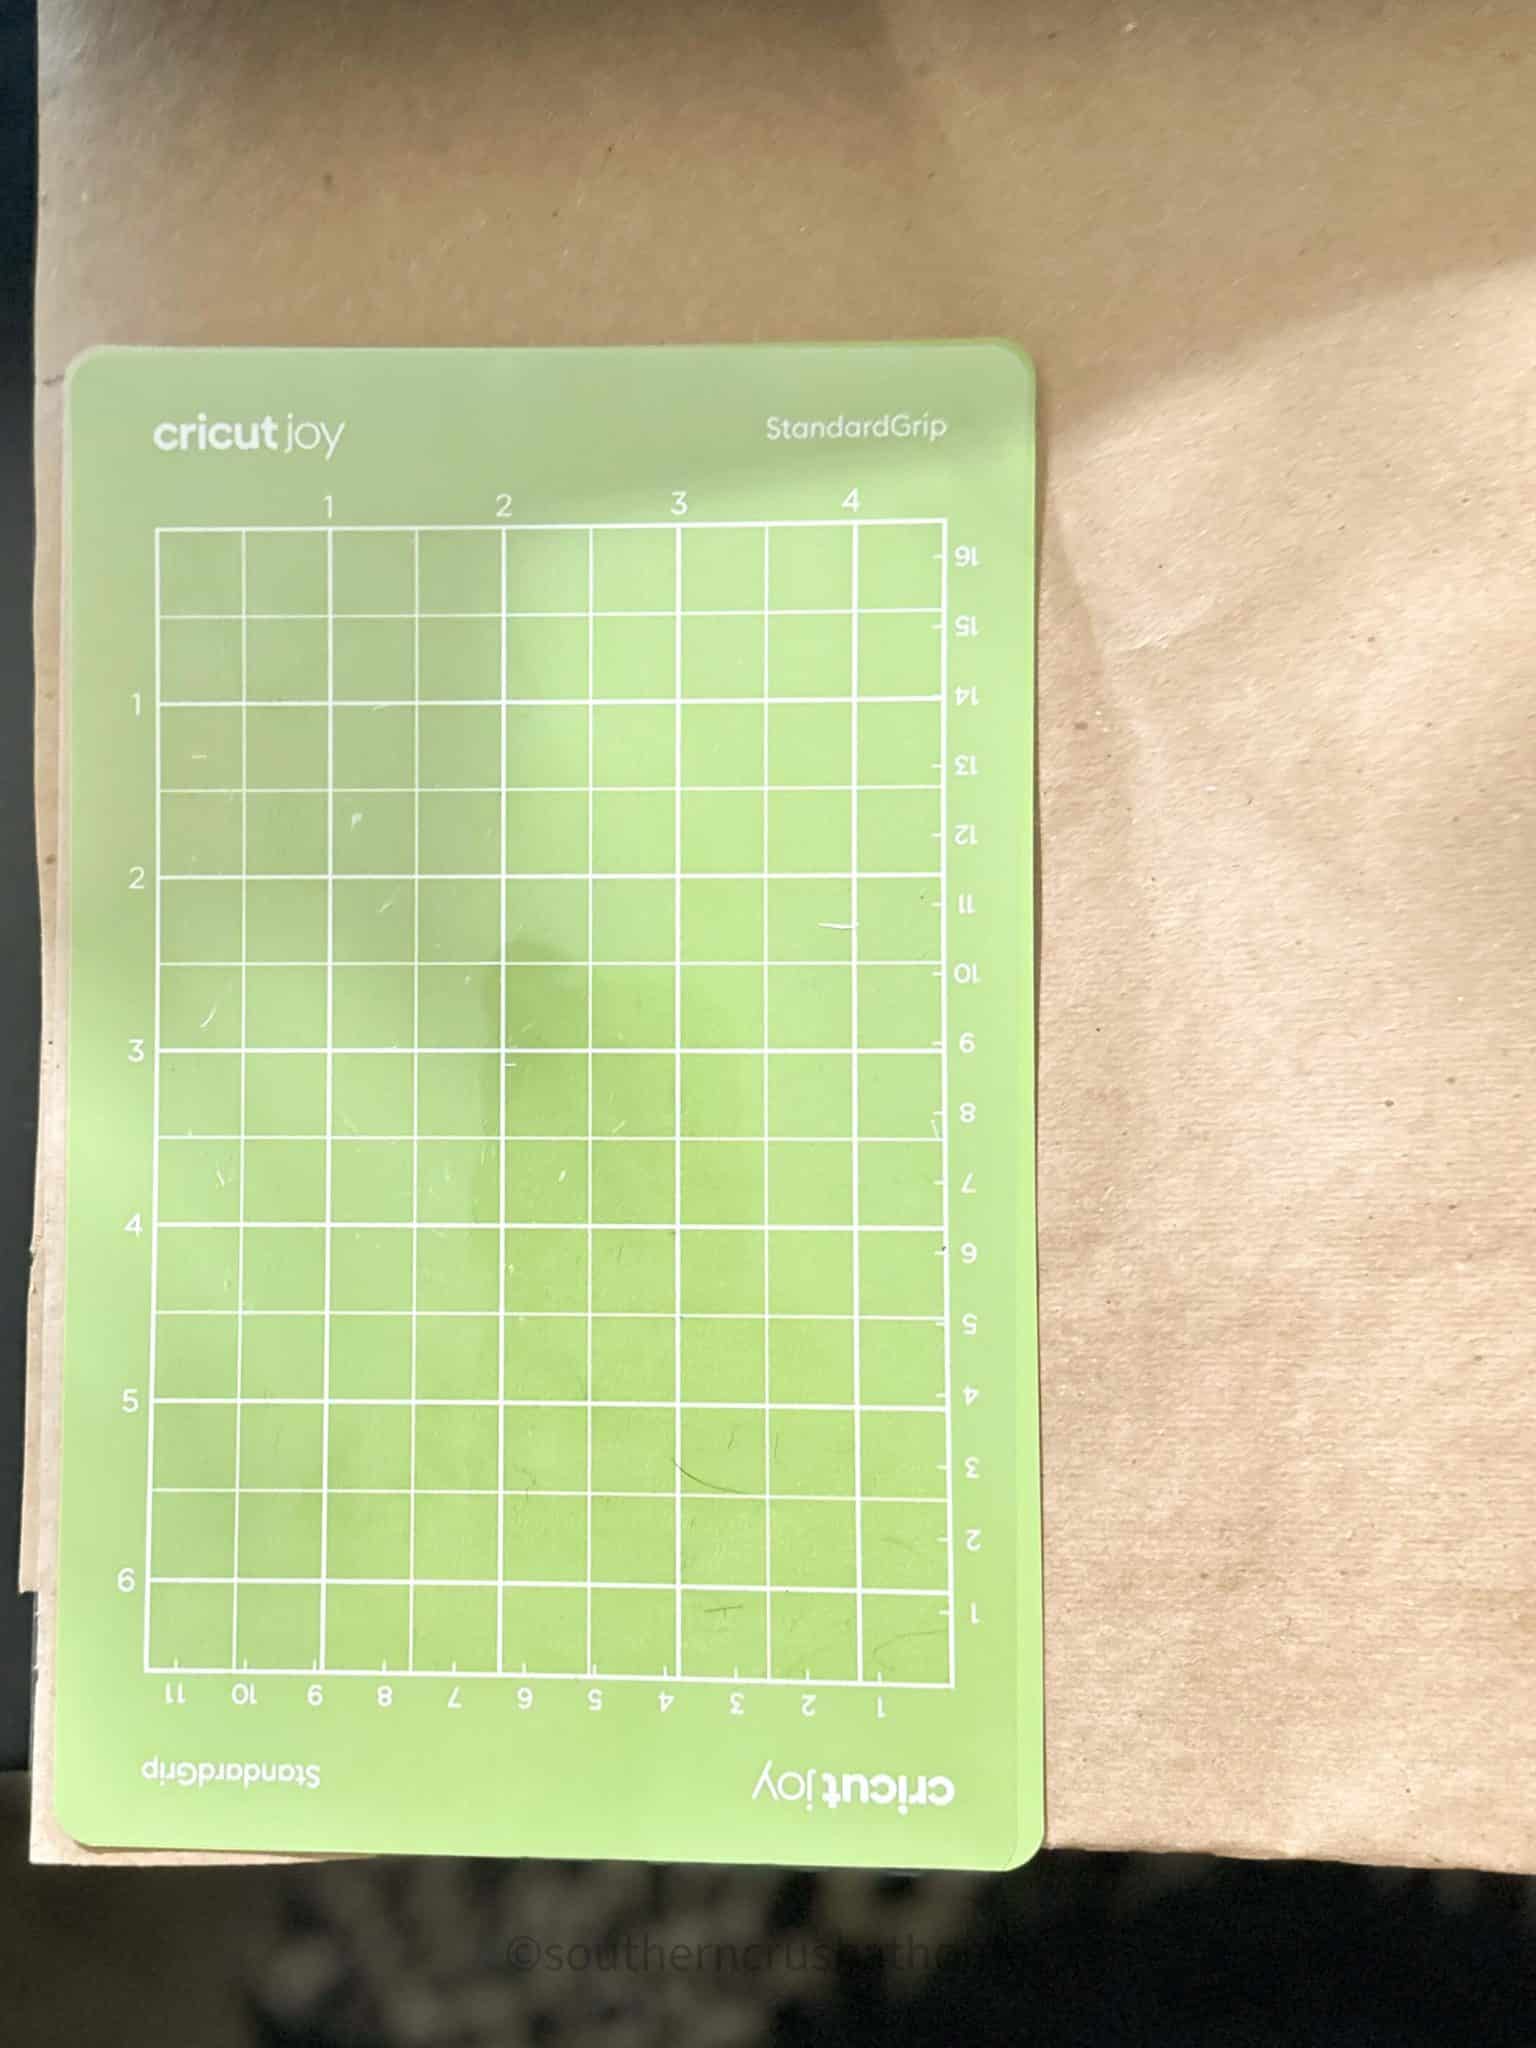
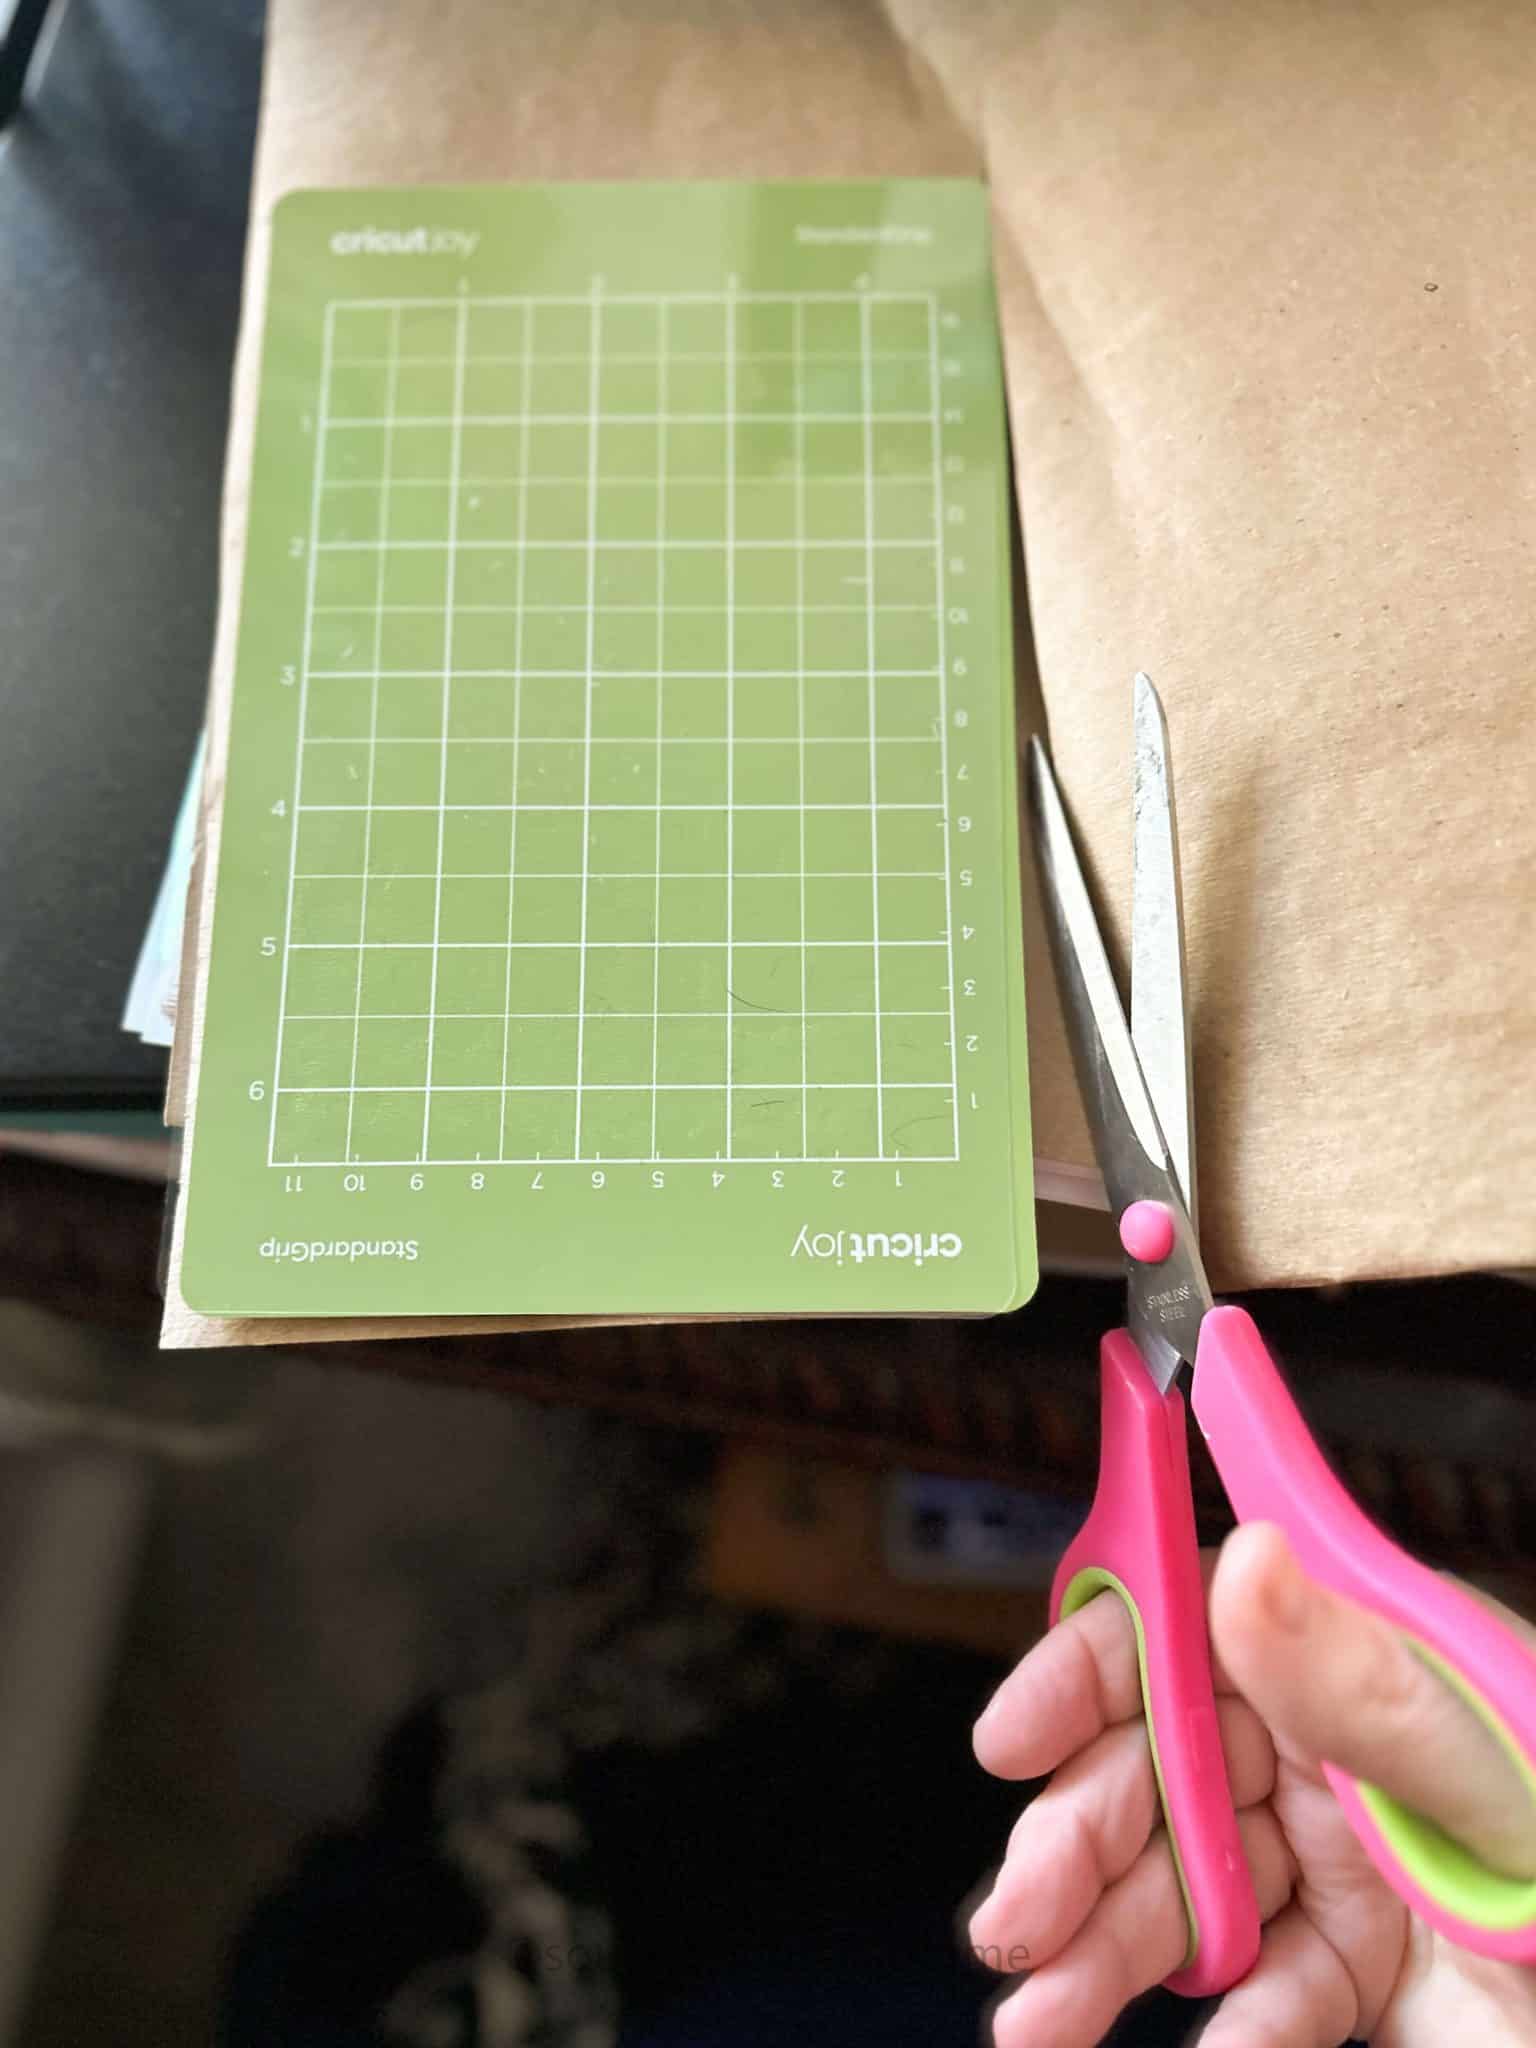
Cut out the kraft paper to your desired print size. Mine happened to be the same size as my Cricut Joy mat so I used it as a guide! Approximately 7″x5″.
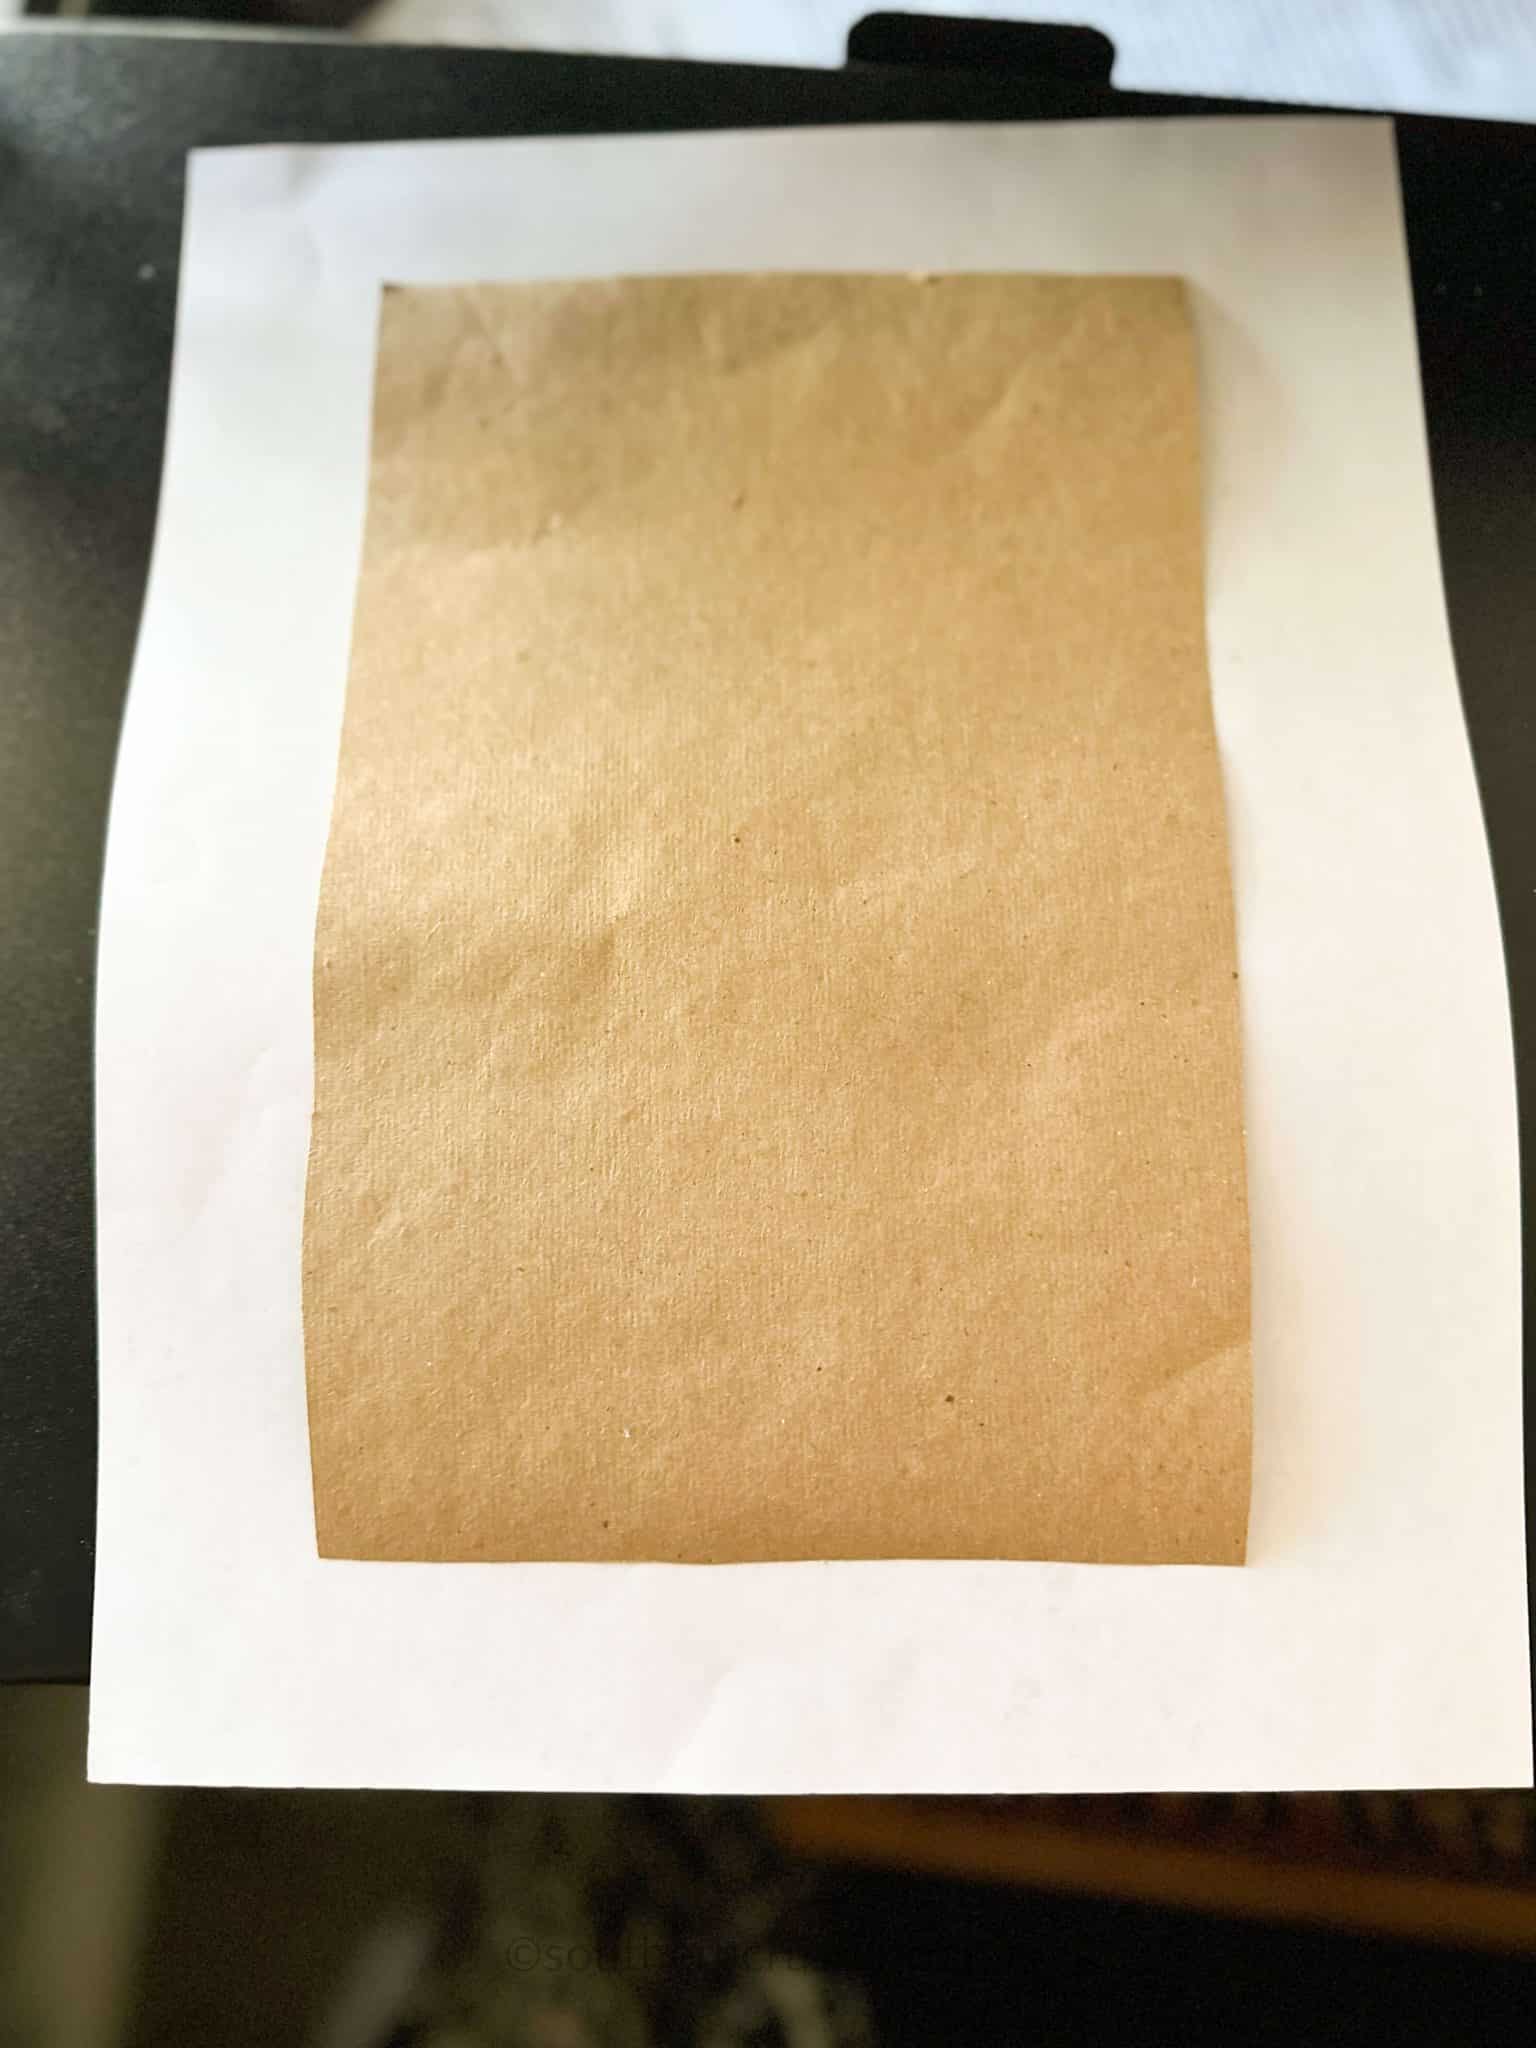
Then tape it to the middle of a plain 8.5″ x 11″ piece of printer paper to feed it through the printer and remove it from the plain white paper when complete. See below.
Step Two: Wrap Your Pillar Candles
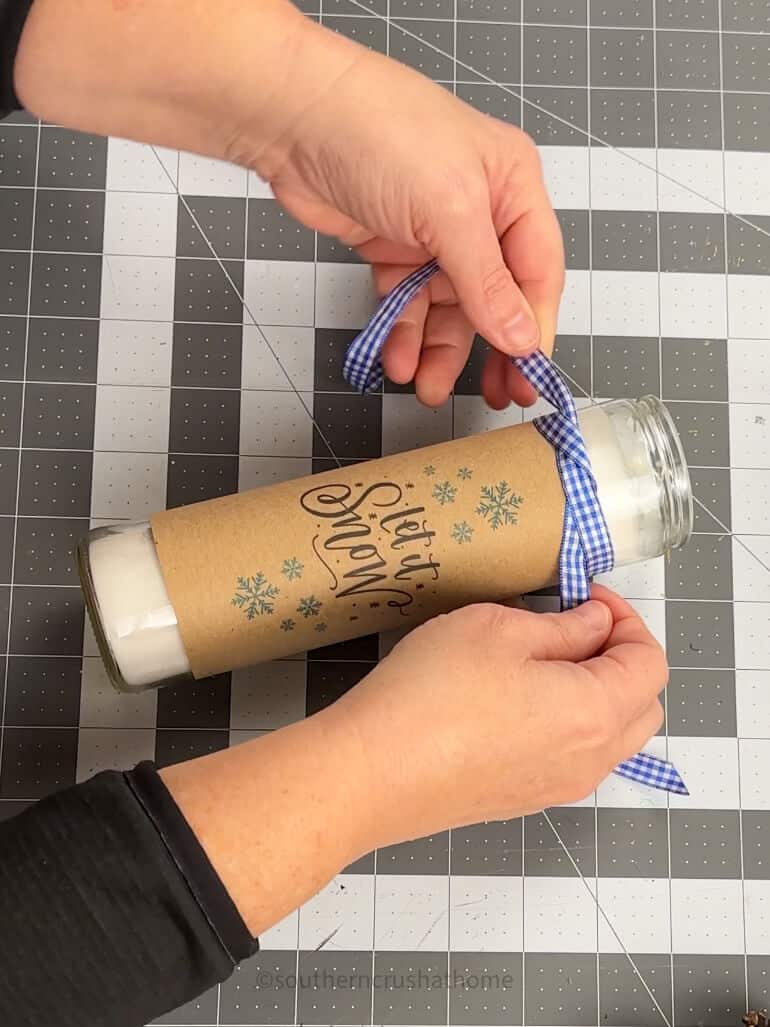
Take your fresh printable printouts and wrap them around your pillar candles. I chose to use various colors of Dollar Tree pillar candles.
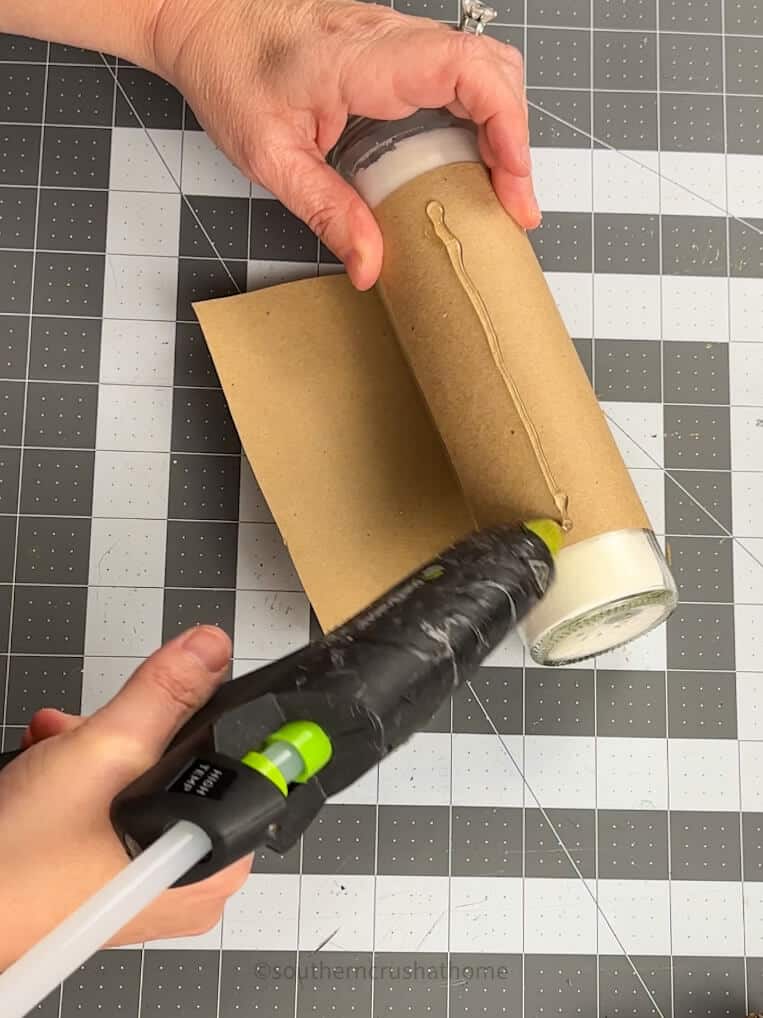
White pillar candles are the most popular and typically are available all year round. It’s Christmas time so I was able to find a Green pillar candle and a Red pillar candle, too!
Step Three: Add Embellishments
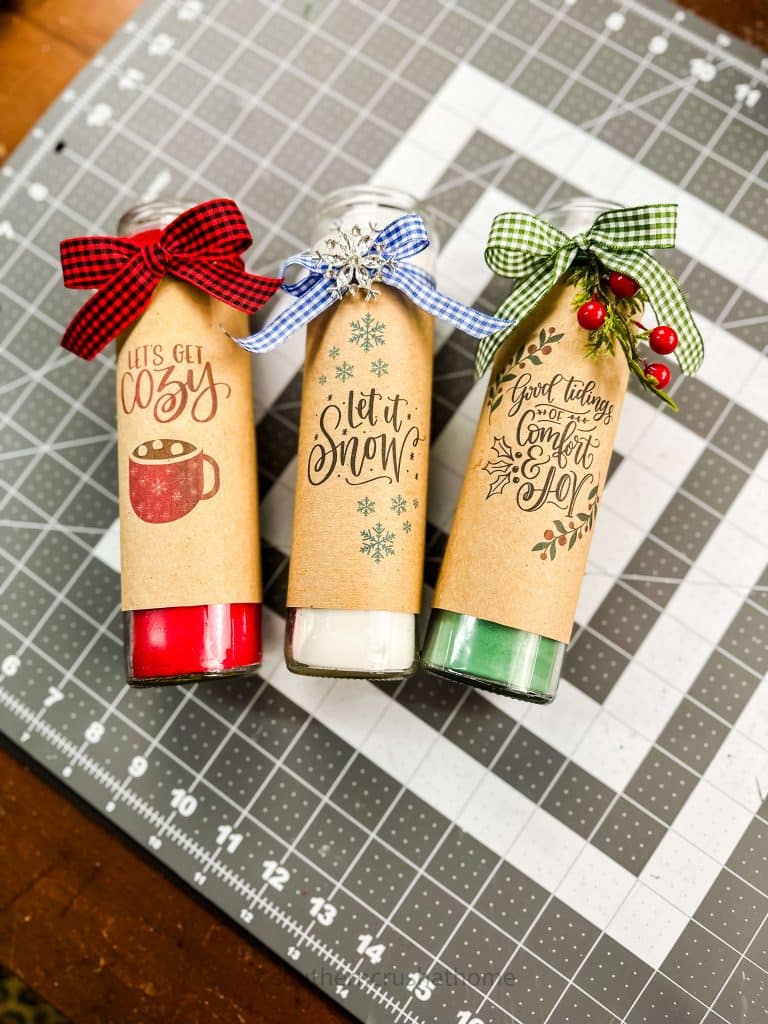
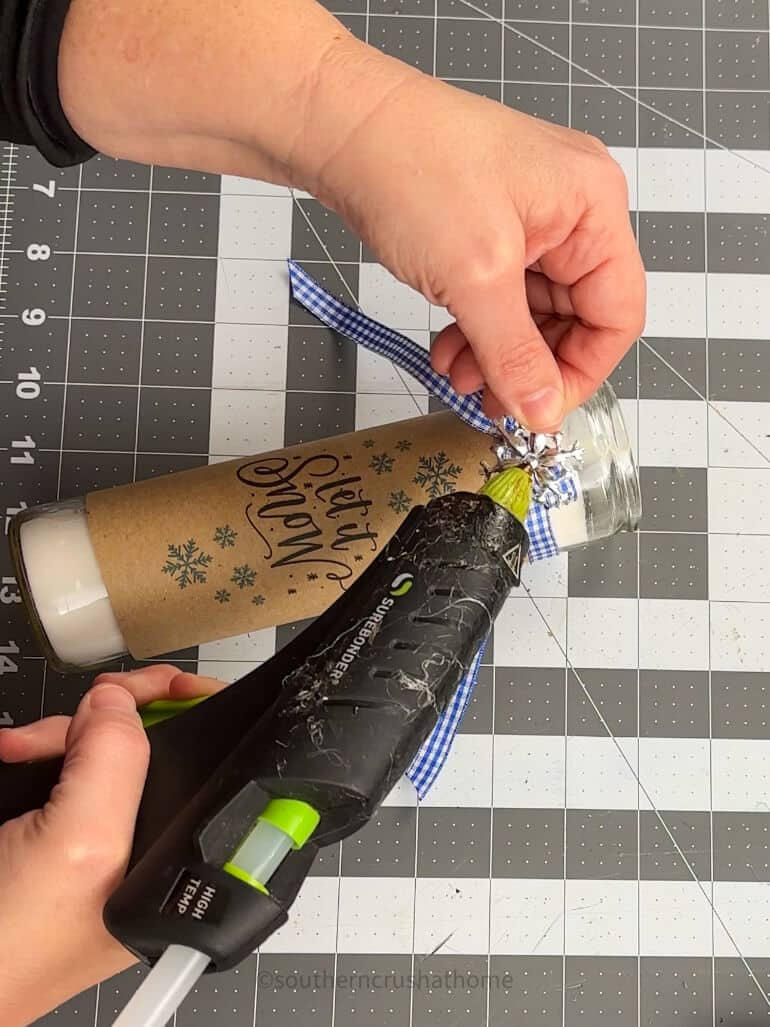
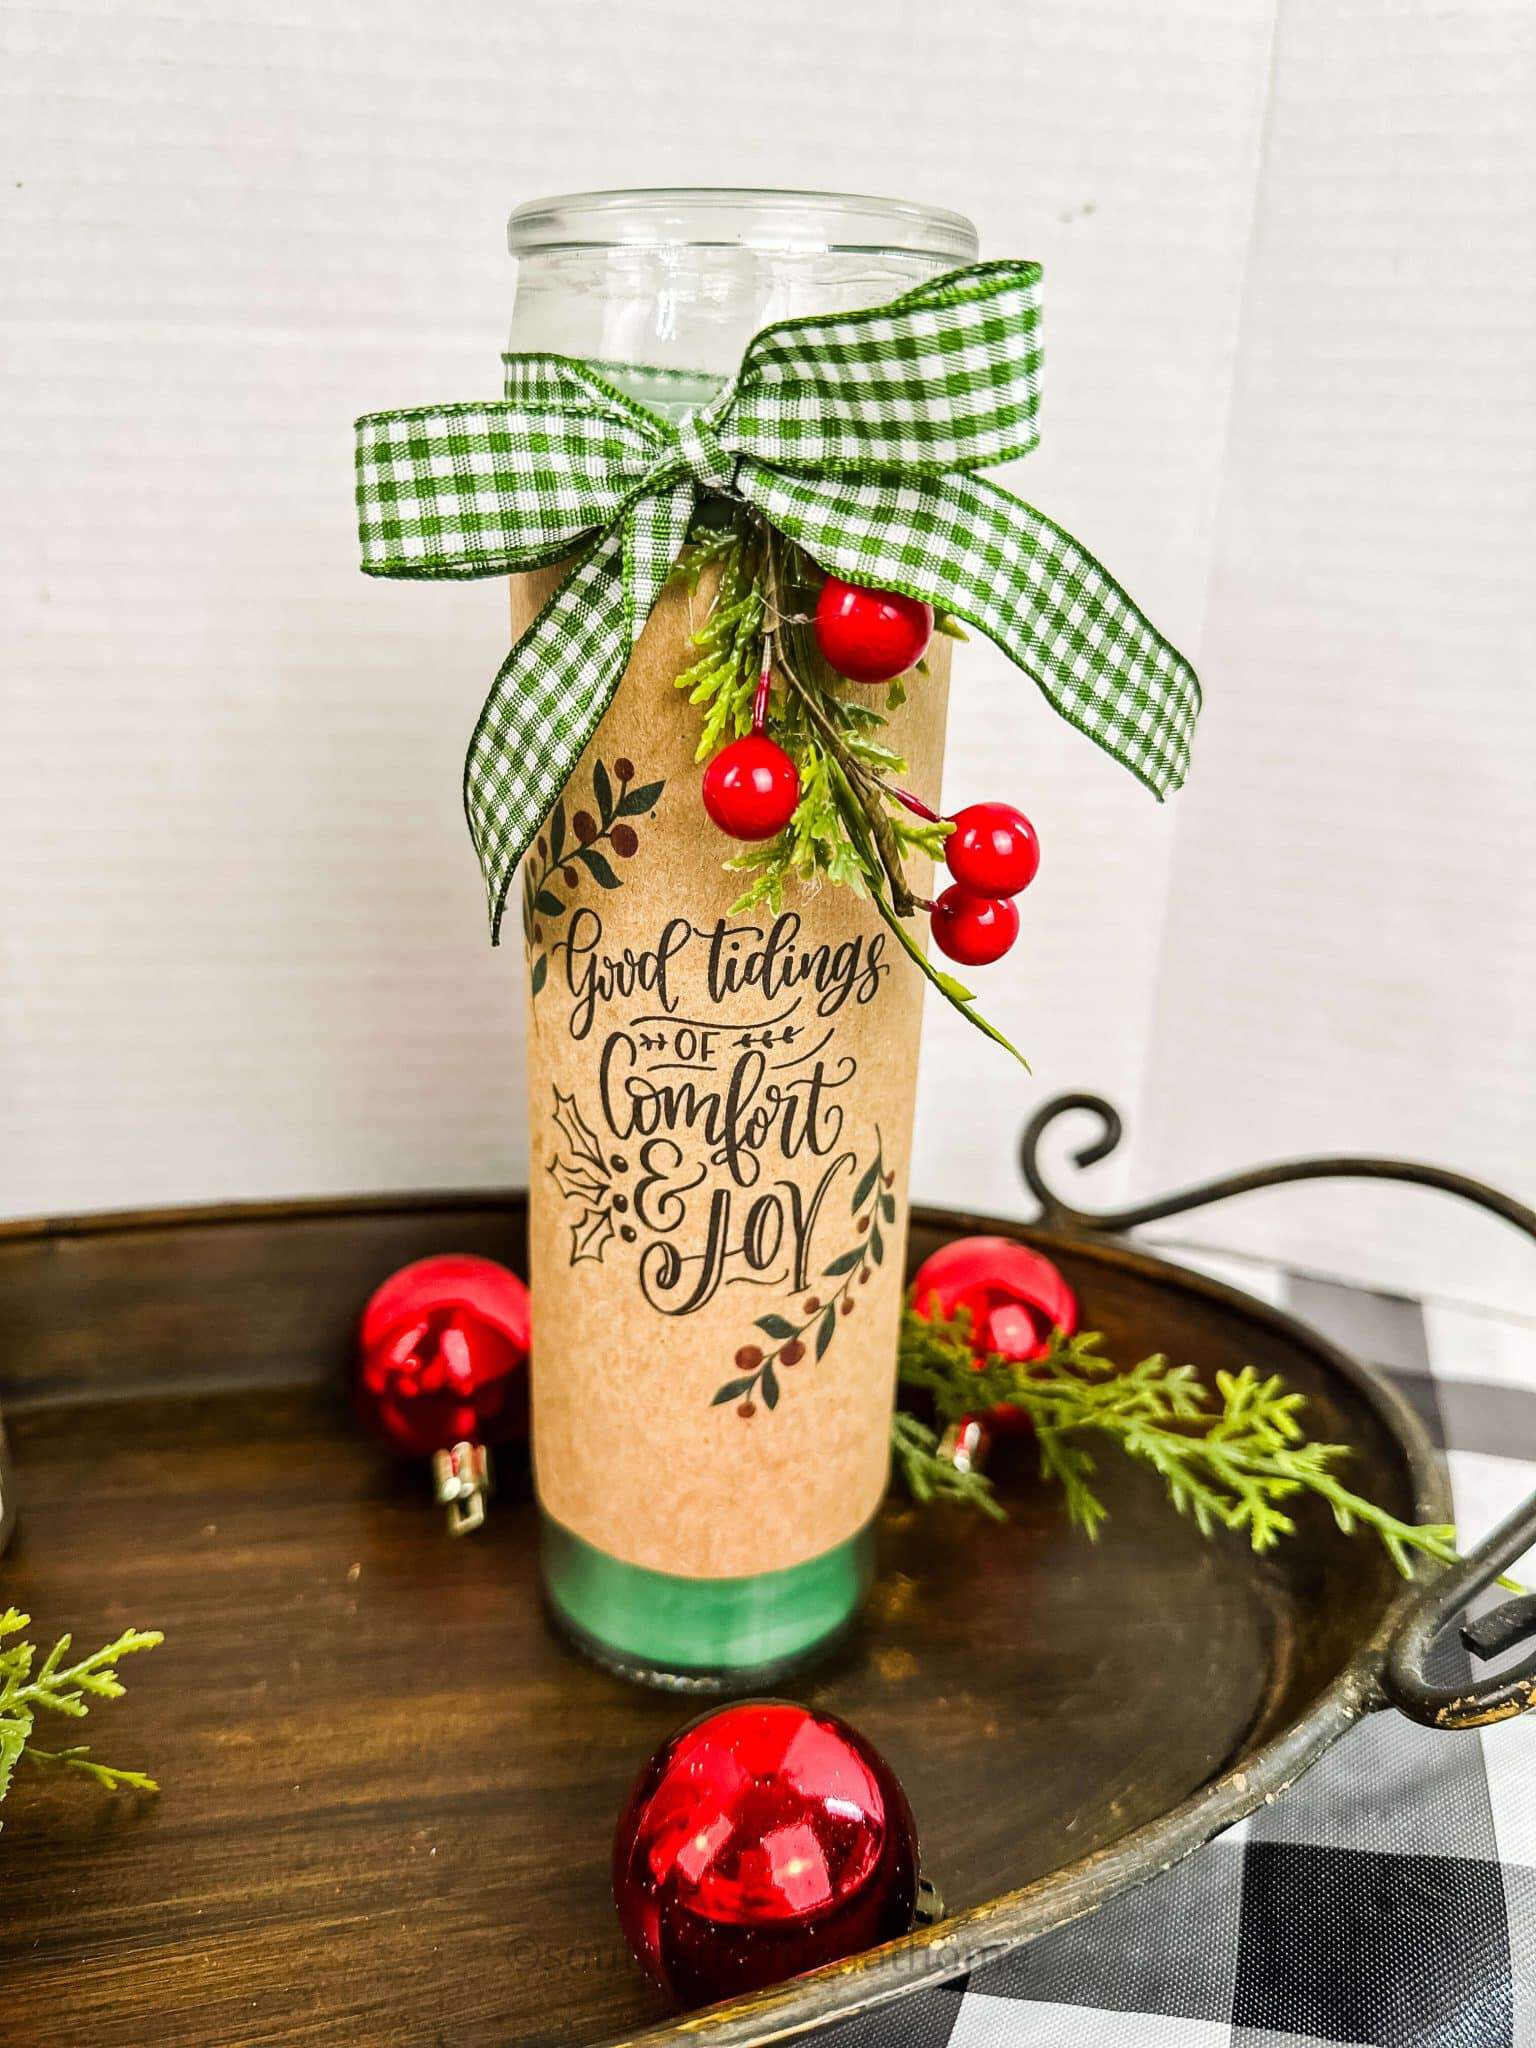
Once your candles are wrapped, the fun begins. Get creative and add your favorite embellishments to these candles. Here are some ideas to get you started:
- ribbon
- faux greenery
- bling
- twine
- scrap fabric
- jingle bells
- baby pinecones
You get the idea! The list is endless! Be sure to share below in the comments what you add to your candles!
Step Four: Display Your Candles
Your DIY pillar candles are now ready to be displayed or gifted to a friend or family member.
Here are some places to show off your new candles:
- mantle
- tv console
- side table
- buffet
- table centerpiece
- ottoman tray
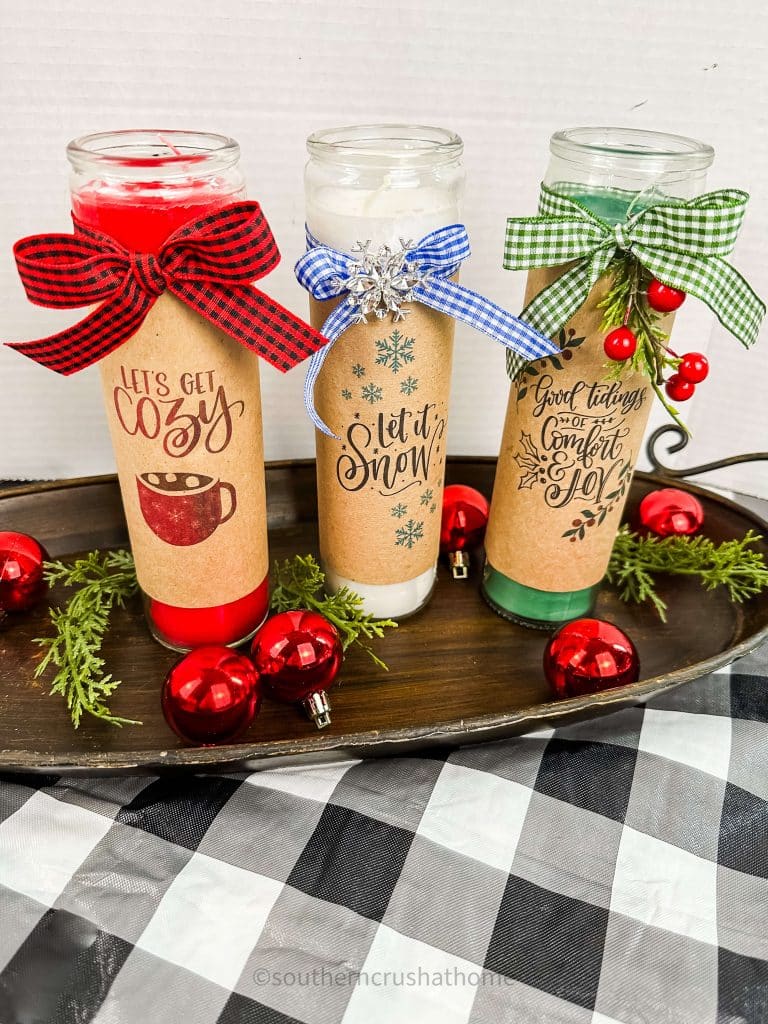
These make great gifts for others, too. Your recipient will appreciate the thoughtfulness and doesn’t need to know how easy it was to make!
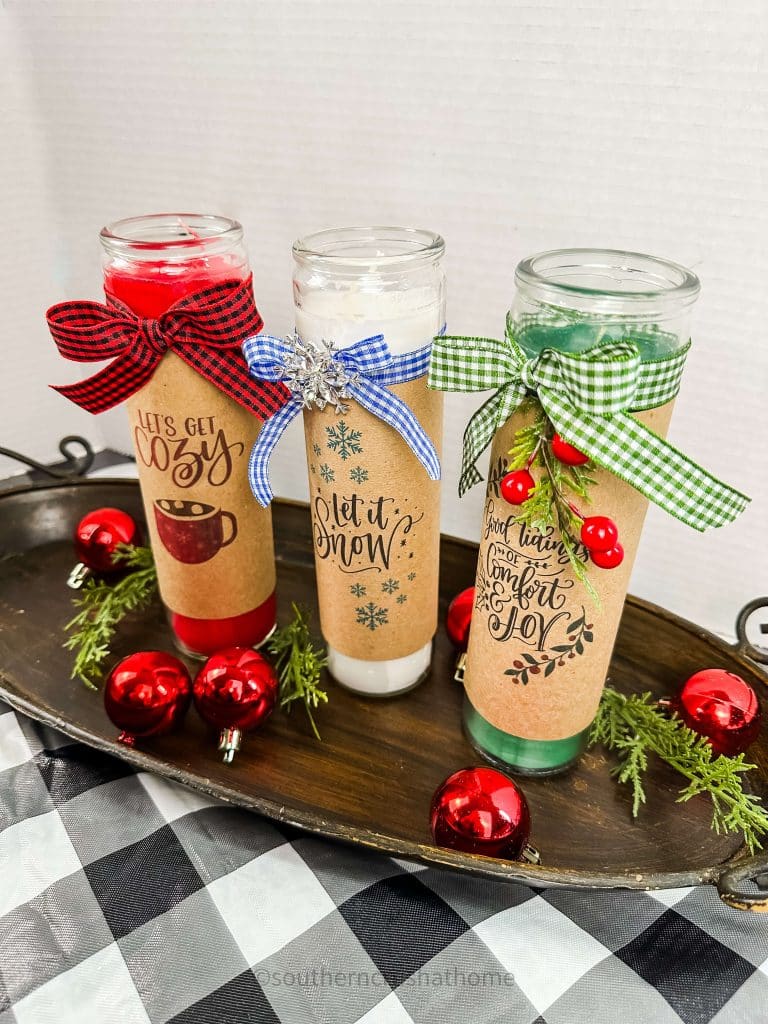
So go ahead and give it a try, and don’t forget to share your results with me here below! Happy crafting!

Four Seasons Winter Printable Collection
Enjoy this new quarterly collectible series of seasonal prints for you to display, craft with, or style as home decor. Be sure to visit each blogger’s site below to grab your FREE download!
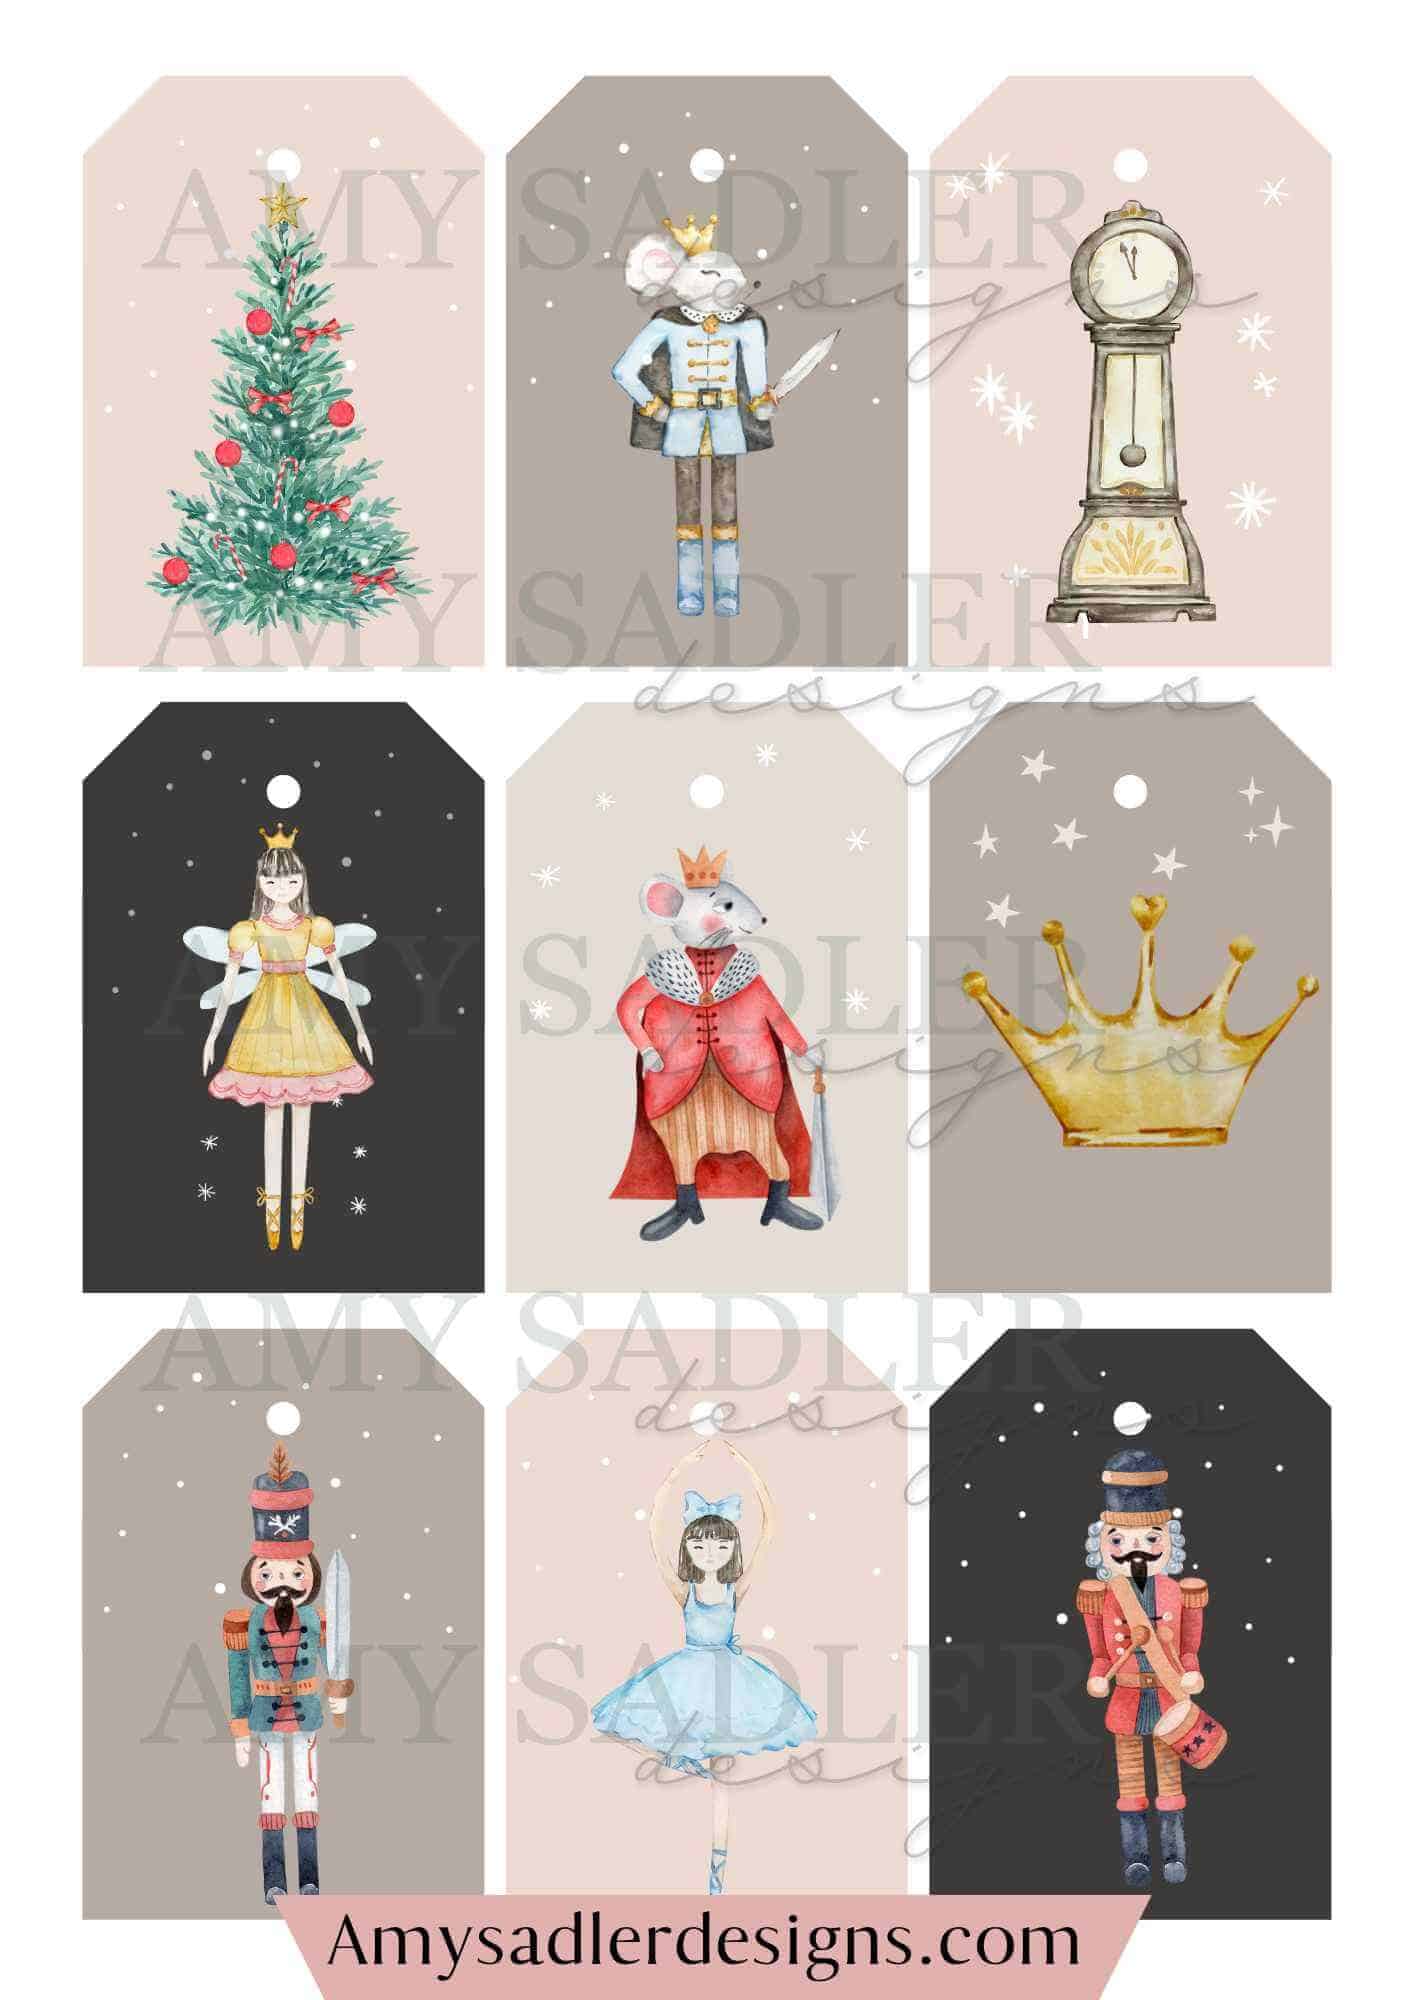
Southern Crush at Home / Amy Sadler Designs / The Tattered Pew / Jennifer Rizzo / Mother Thyme
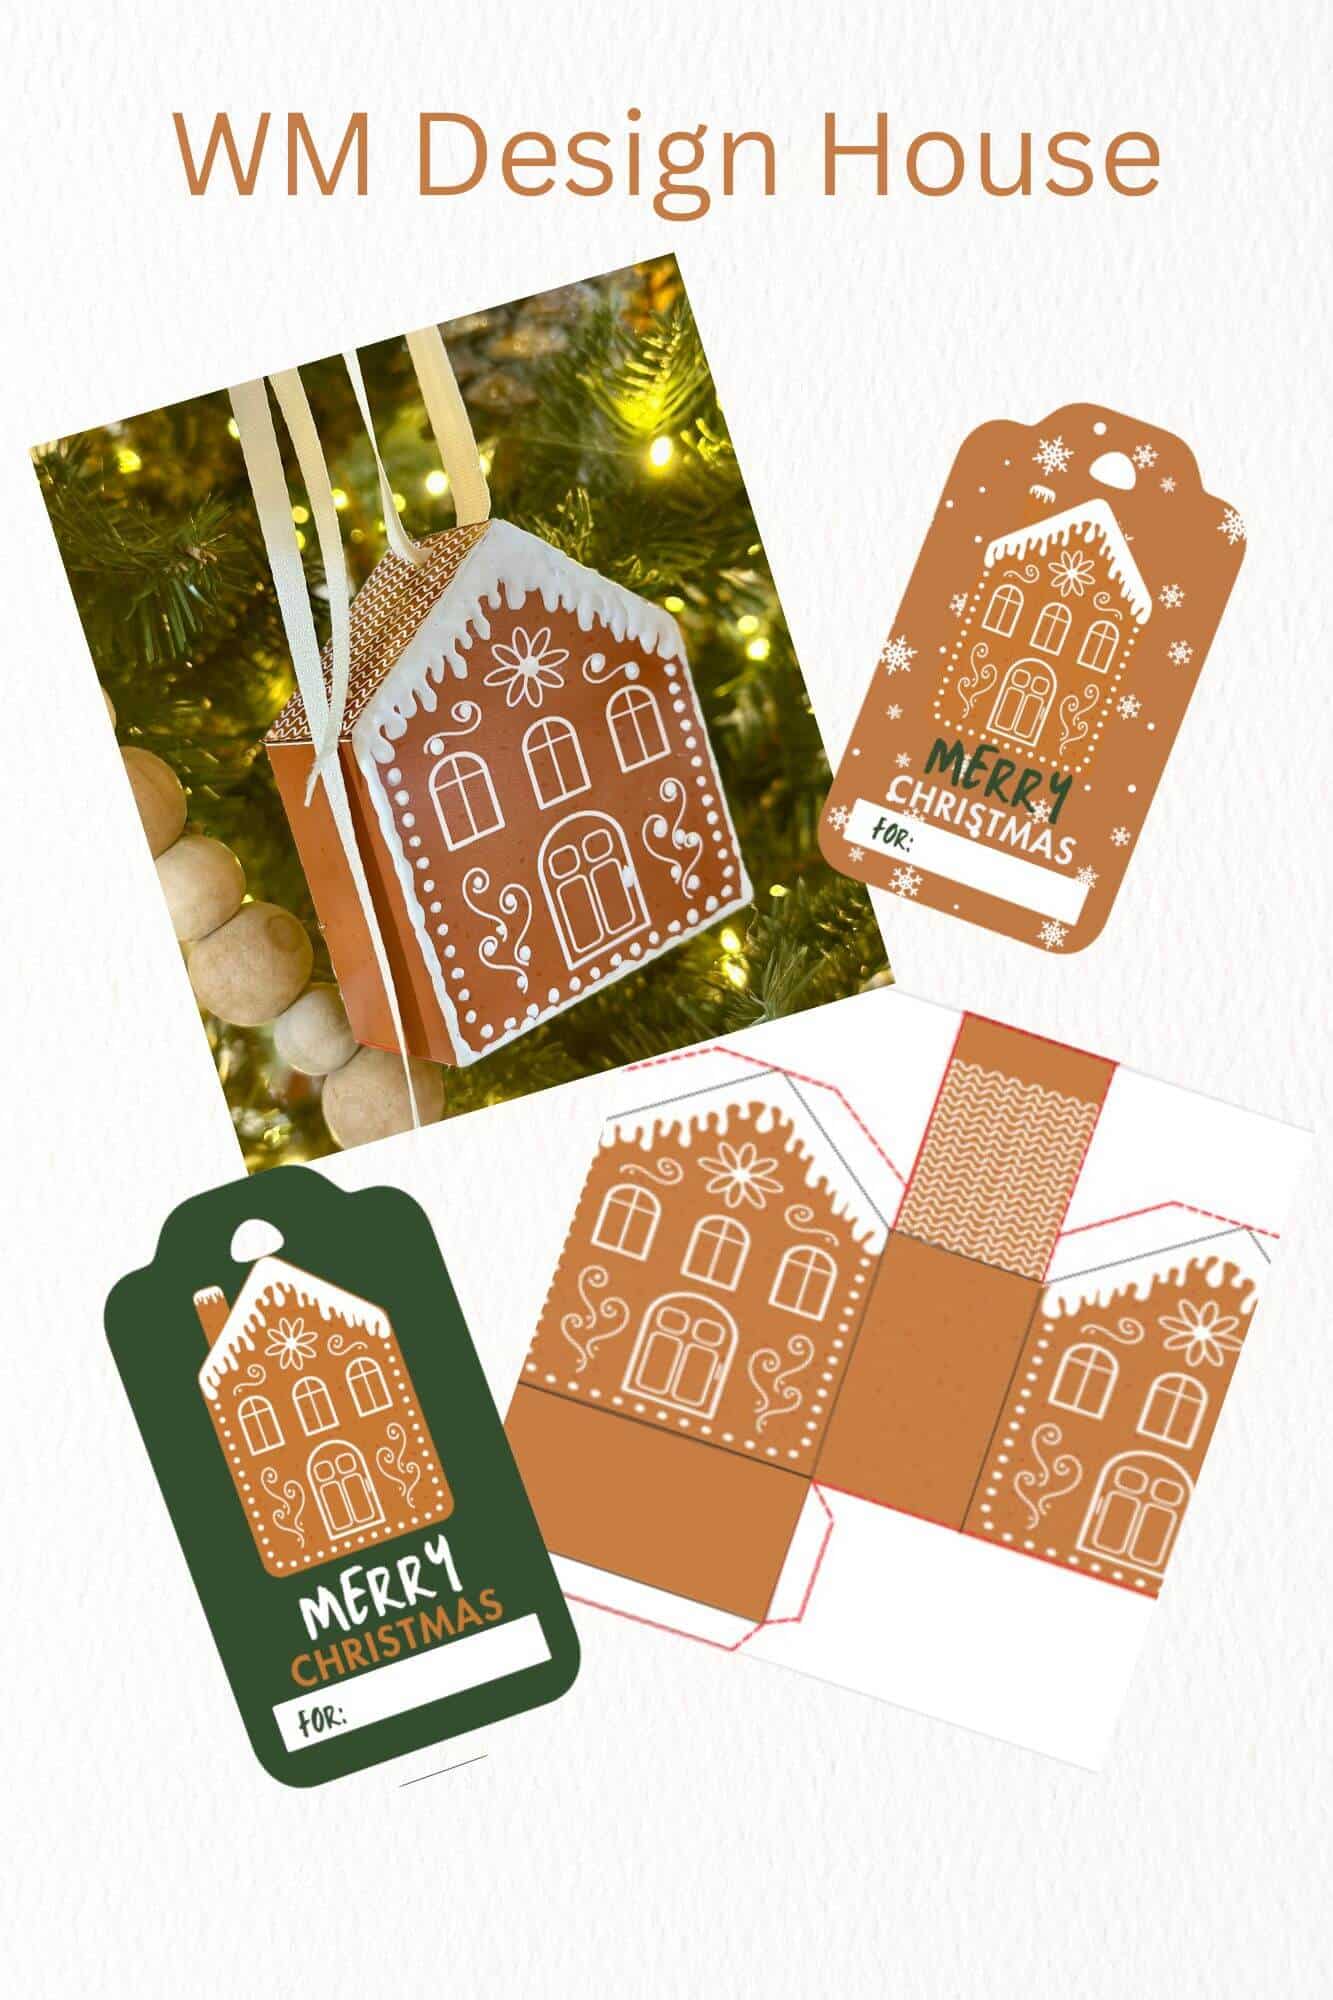
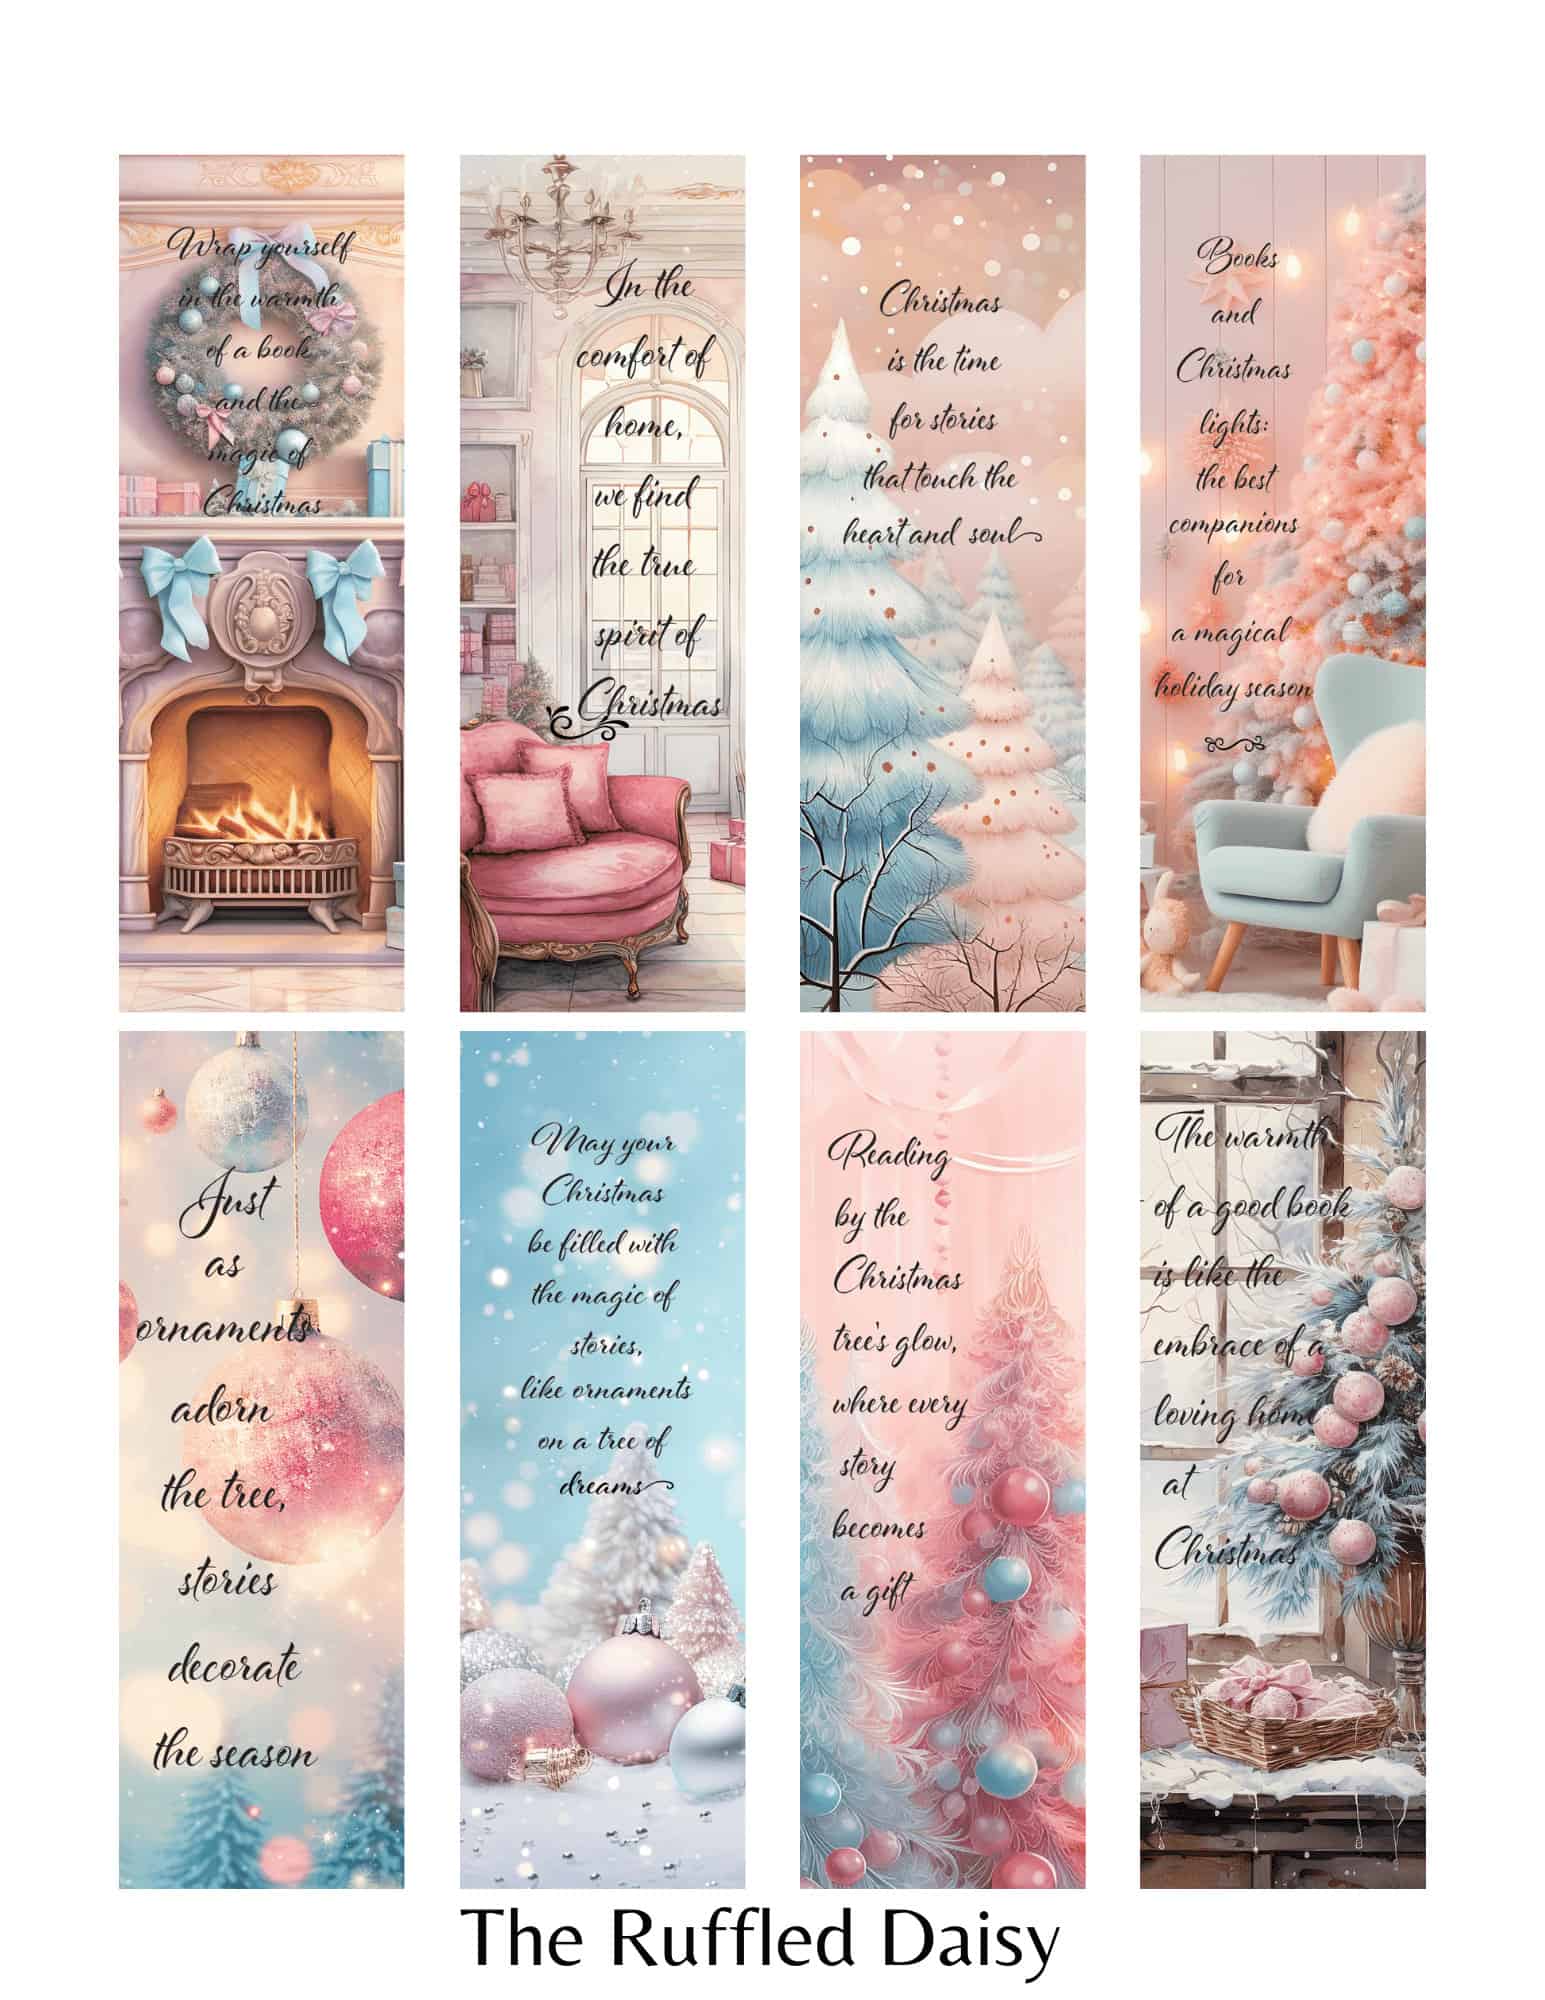
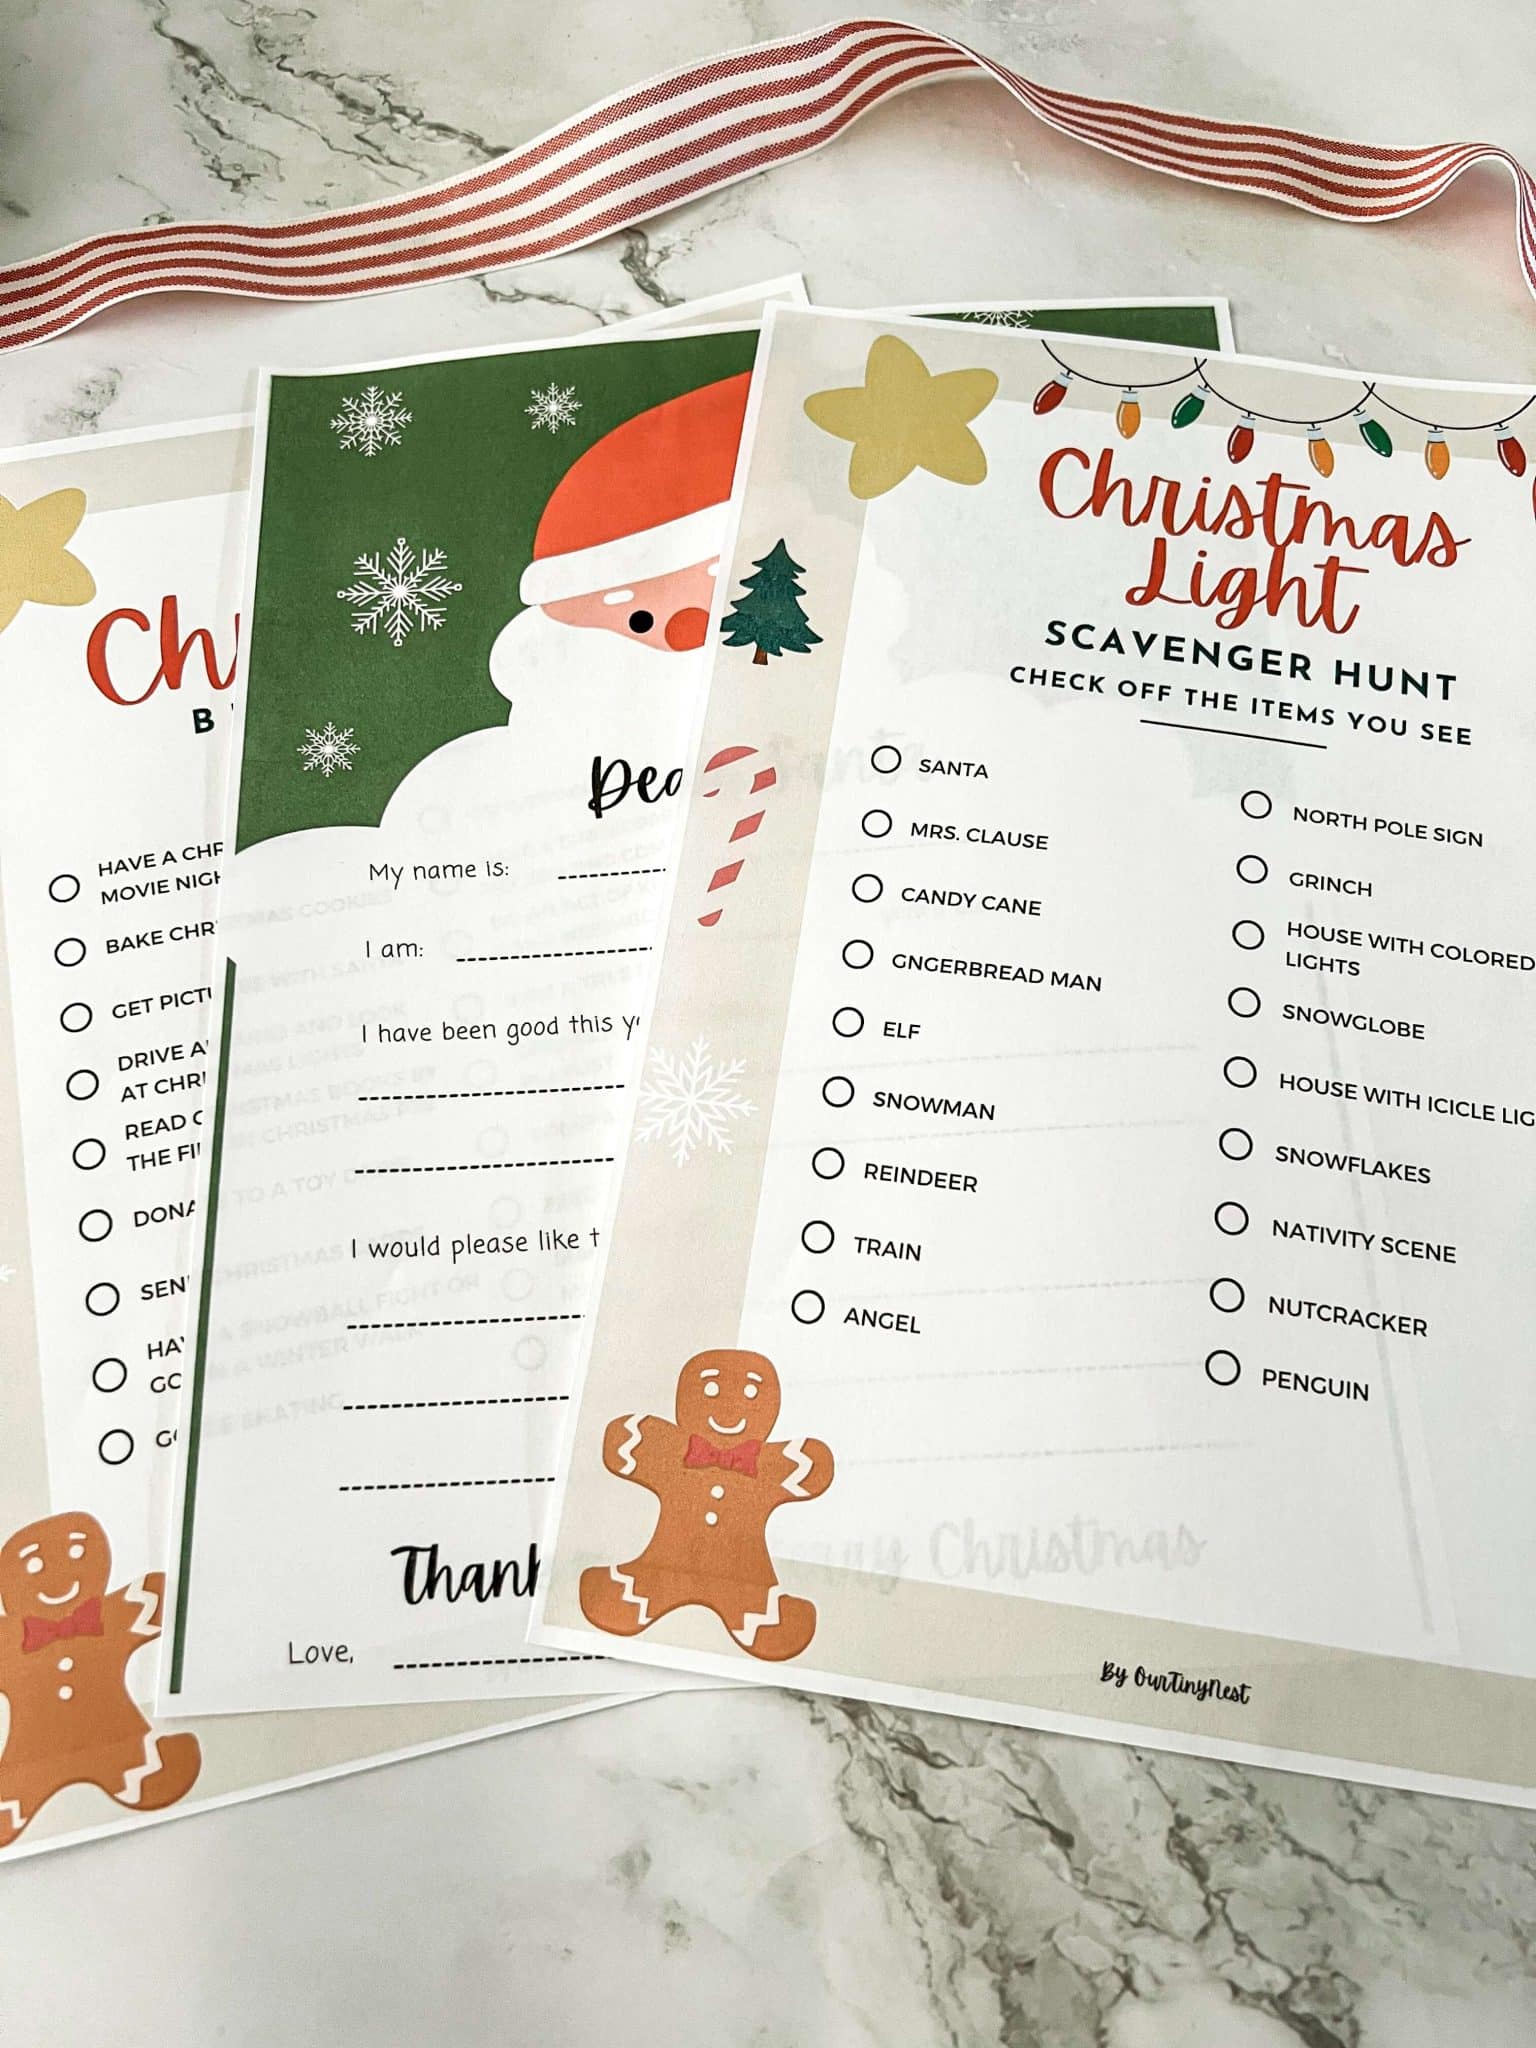
WM Design House / The Ruffled Daisy / Our Tiny Nest / She Gave It A Go /Hammons Nest
More Candle Inspiration
Dollar Tree Pillar Candles DIY with FREE Christmas Printables
Materials
- Pillar Candles I got mine from Dollar Tree
- Brown Kraft Paper optional
- Scissors
- FREE Printables
- Double Sided Tape
- Embellishments optional
- hot glue
Instructions
Step One: Print Out Your FREE Printables
- Cut out the kraft paper to your desired print size. Mine happened to be the same size as my Cricut Joy mat so I used it as a guide! Approximately 7″x5″.
- Then tape it to the middle of a plain 8.5″ x 11″ piece of printer paper to feed it through the printer and remove it from the plain white paper when complete. See below.
Step Two: Wrap Your Pillar Candles
- Take your fresh printable printouts and wrap them around your pillar candles. I chose to use various colors of Dollar Tree pillar candles.
Step Three: Add Embellishments
- Once your candles are wrapped, the fun begins. Get creative and add your favorite embellishments to these candles.
Step Four: Display Your Candles
- Your DIY pillar candles are now ready to be displayed or gifted to a friend or family member.










These are the CUTEST! Perfect little gifts & I love that you featured Danielle’s lettering!
Thank you so much! Danielle is so talented and I love her lettering! https://imperfectdust.com
Oh my goodness, I’m obsessed! These are so good! Thank you for the incredible inspiration and for organizing this amazing printable tour!
Brendt
You’re an absolute doll! Thank you for participating with us and always inspiring us!
Oh, definitely gonna print these on tissue paper and adhere to the candles with mod podge! LOVE!!
Great idea my friend! Thanks for stopping by!
Melanie these are great and such a cute gift idea for the holidays! Pinning this!
Yay! Thank you so much! You’re a doll!
These are the cutest! I love all these designs! These are perfect for lovely gifts too!
Thank you, my friend! They do make great gifts! Thanks for stopping by.
These are so cute Melanie and what a great gift they will make. Thanks for sharing.
You’re so welcome! Making gifts are the best!
Melanie I love these so much! I also love the color combo you came up with! Plus I love a good freebie!
Awe! Thank you so much my friend. I appreciate you for stopping by and grabbing the freebie!