How to Restore a Vintage Step Stool
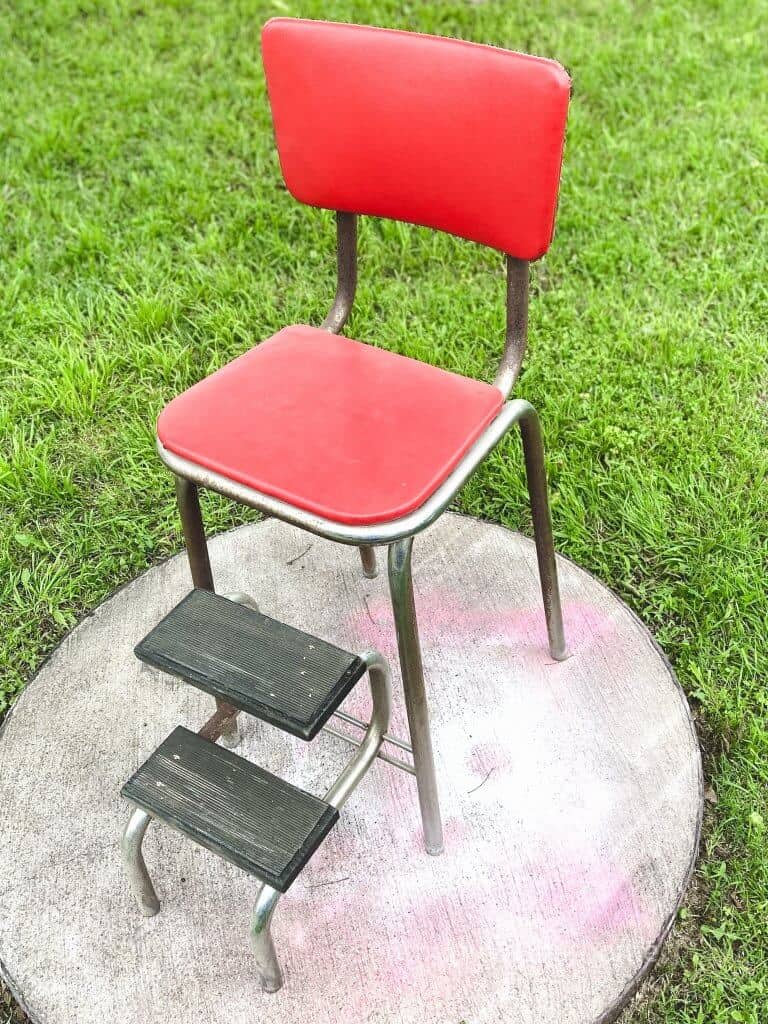
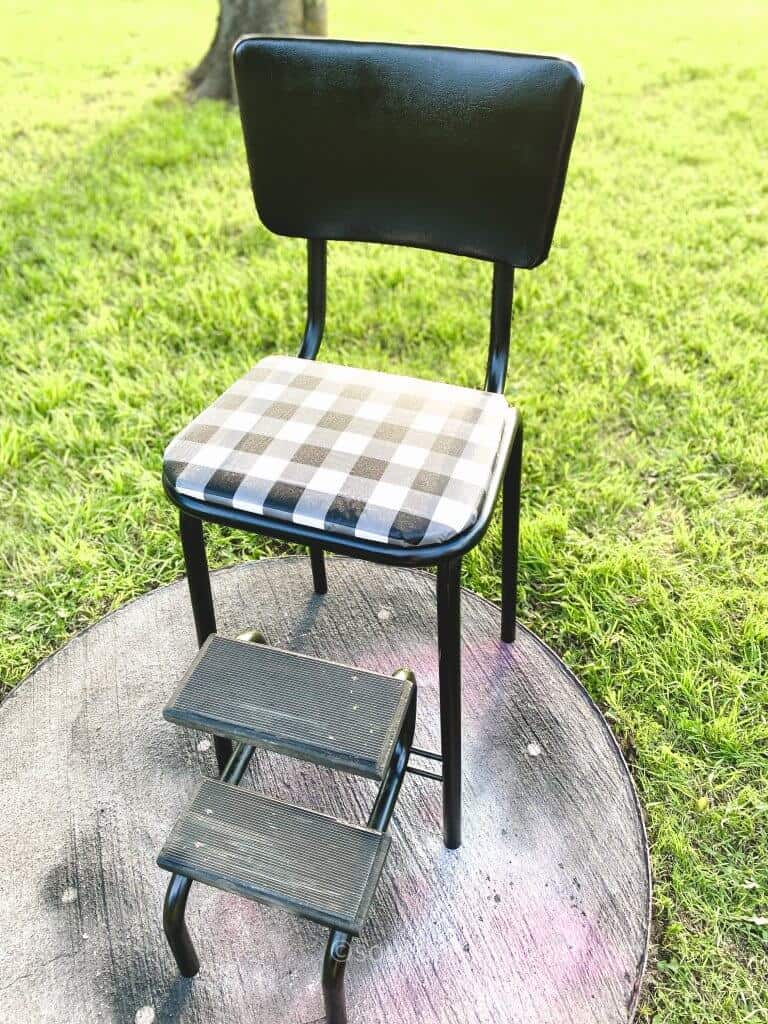
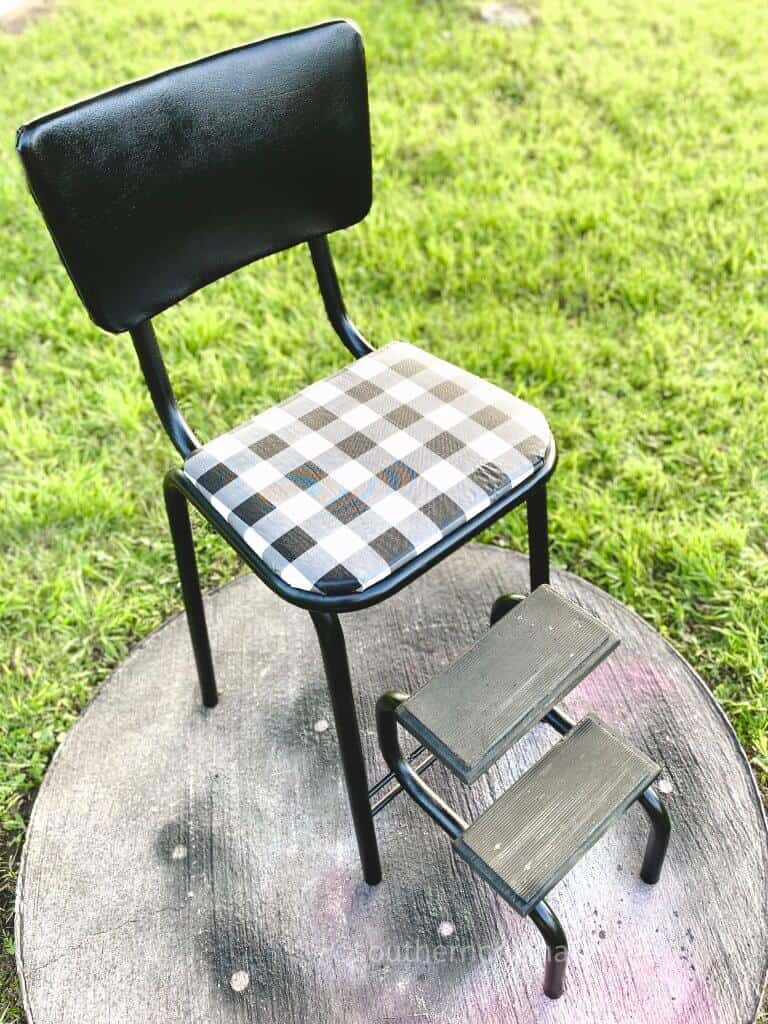
Let me show you this beautiful Vintage Step Stool Makeover with buffalo check. I’m so happy with how it turned out. All it needed was a little love (and paint) and now it will bring a pretty vintage touch to my porch.
Be Sure to PIN this for Later!
You all know how much I love buffalo check. Did you see the gorgeous buffalo check headboard makeover I just shared? How about my post all about buffalo check decor trends? As soon as I spotted this vintage beauty I knew it would be perfect in black and white.
While the red seat was in good condition, it just didn’t go with any of my decor. I’m a big believer in taking something old and giving it new life! Let’s get to this tutorial.
WHAT YOU’LL NEED TO MAKE a Vintage Step Stool Makeover
- Vintage Stool
- Cricut Design Space – for free svg Cricut cut file
- Buffalo Plaid Vinyl Tablecloth
- Rustoleum Satin Paint & Primer
- Liquid TSP Cleaner
- Gloves
- Small Paint Brush
- Staple Gun
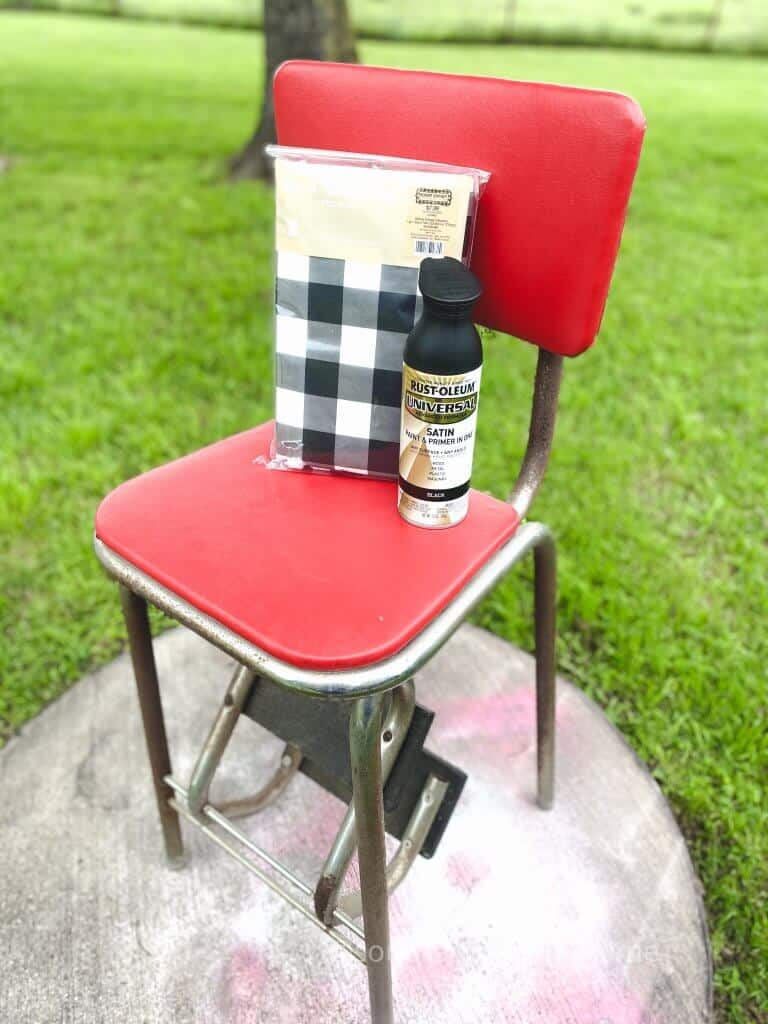
HOW TO MAKE A Vintage Step Stool Makeover
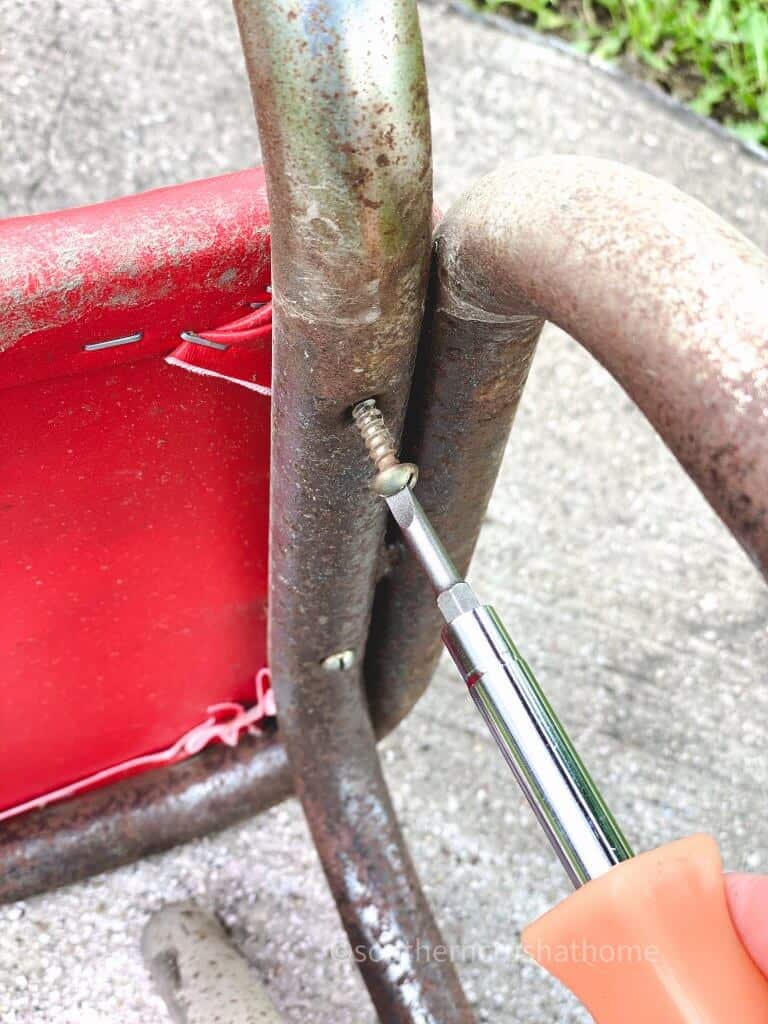
Remove the screws from the seat. Remove the seat and set aside. You can give the chair a good cleaning first. I love to use Liquid TSP Cleaner.
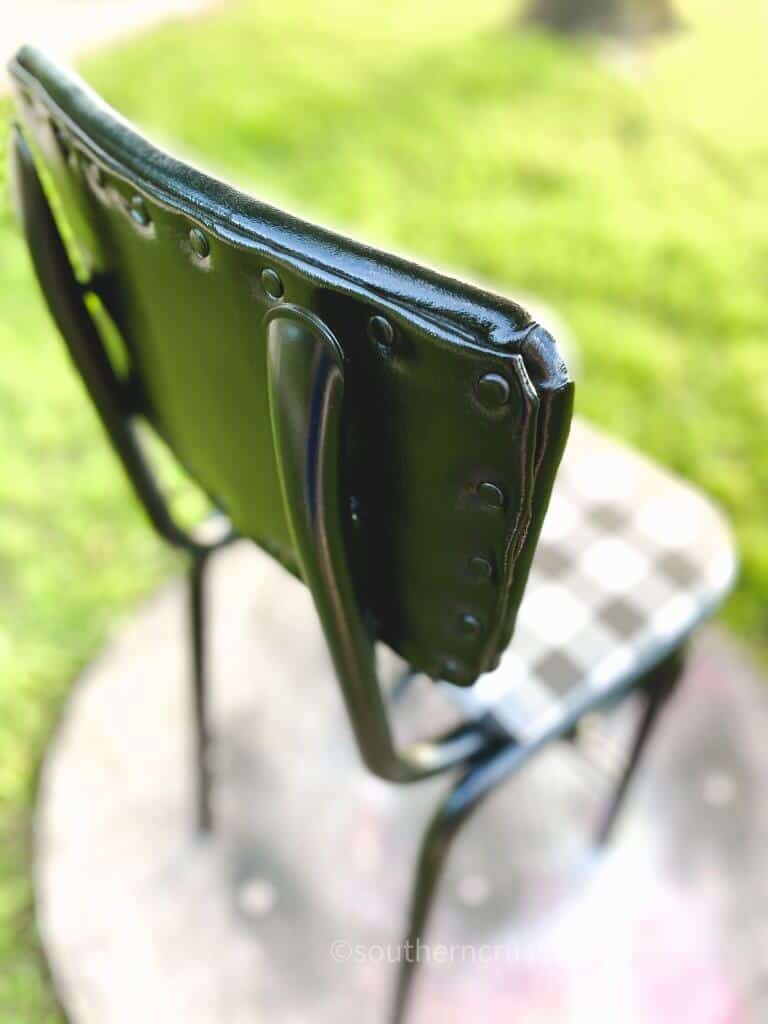
Rather than remove the top of the chair seat, I decided to paint the entire seat and chair frame black. It’s important to use gloves, because sometimes the spray paint will clog and get on your hands, as you will see in the live video below.
Be sure to use light, even strokes in a well-ventilated area. Continue to paint the stool until it is totally covered and even. Let dry.
NEXT…
Once the chair is dry, it’s time to recover the stool. I picked up this pretty vinyl buffalo plaid tablecloth at Hobby Lobby last year. It’s perfect for outdoors because it’s vinyl and already has a felt backing. I plan to use this step stool on my porch and can’t wait to get it set up. Be sure to check out my post with 7 easy ways to save at Hobby Lobby.
Vintage Step Stool Makeover
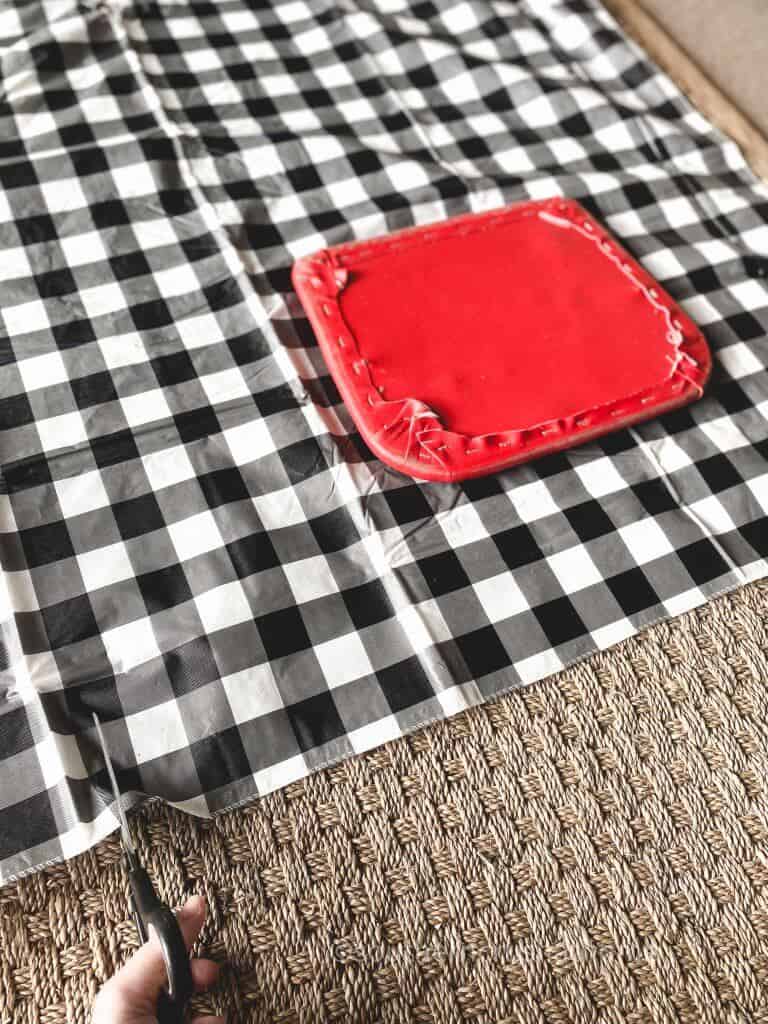
Place the chair on top of the buffalo check table cloth. Cut around it using fabric scissors. Be sure to cut enough so that you can pull it tightly and have enough room to secure it to the seat.
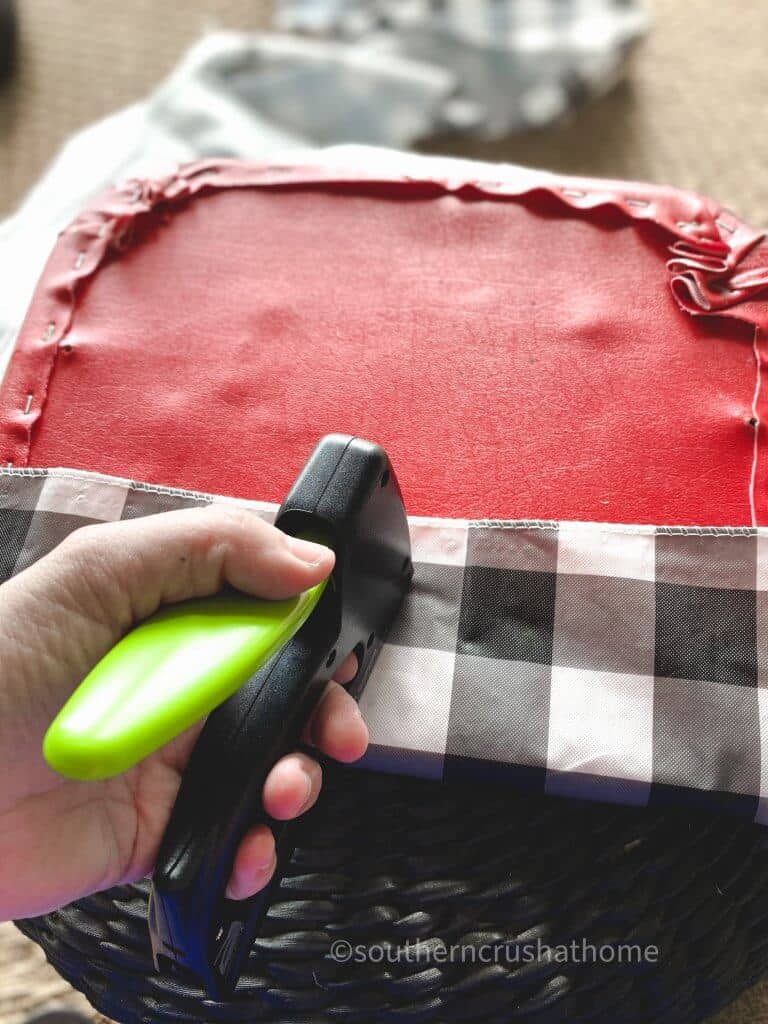
Use your staple gun to secure the fabric. Be sure to pull it nice and tight so it has a nice even cover.
There is plenty of buffalo check left to use on another project. Don’t you love when that happens?
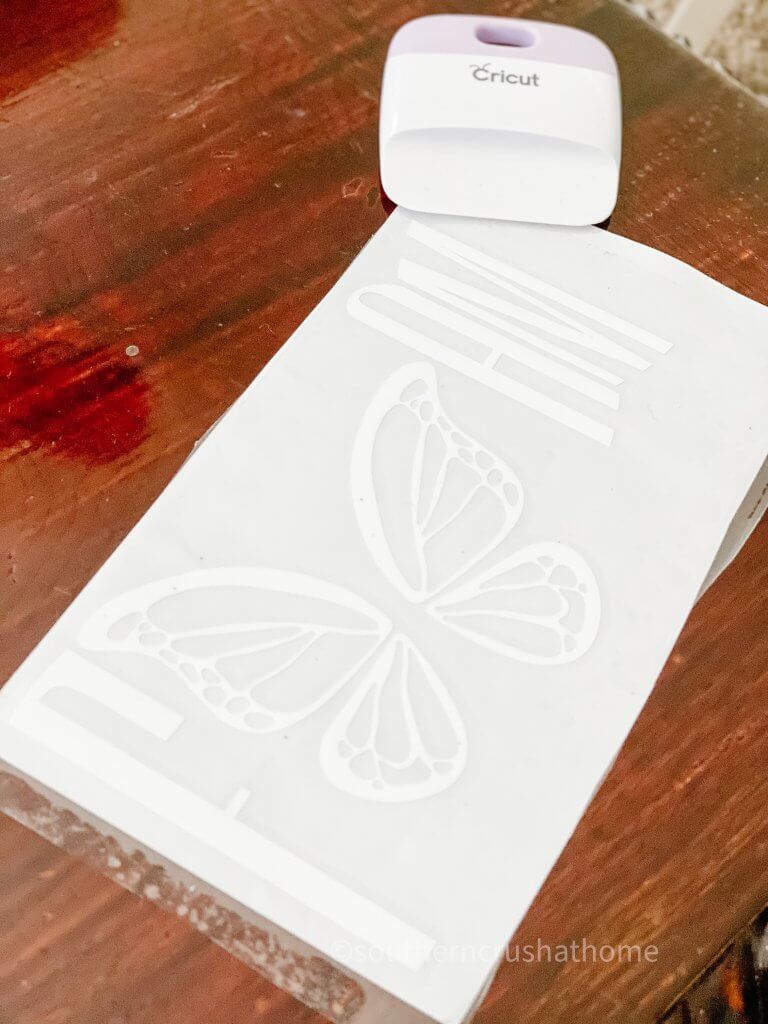
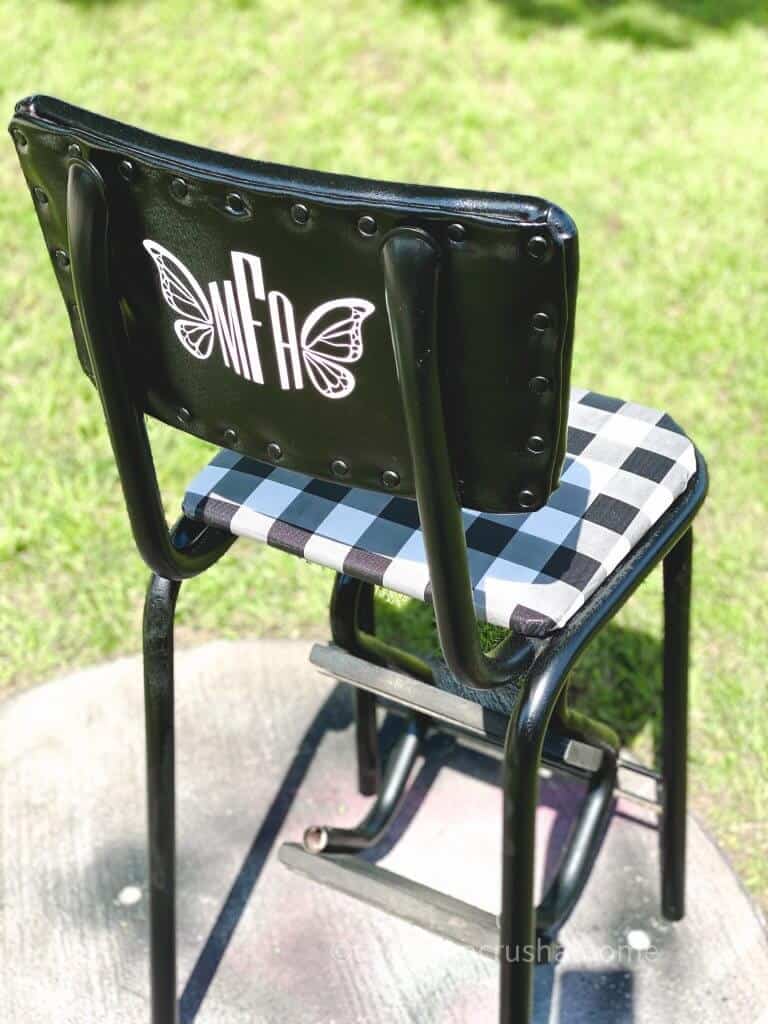
I decided to put a pretty butterfly monogram on the back of the seat too. It just takes this already beautiful piece to the next level. Simply cut out your vinyl and attach it to the seat using a scraper. It works like a charm!
The white also pops against the black and really blends so well with the buffalo check seat. And how cute is that little transfer?
Now you just reattach the seat back onto the stool and enjoy your beautiful new vintage step stool!
that’s it!
Aside from the spray paint clogging, this was a super simple project. I’m very happy with how the painted vinyl came out. And, I love the contrast of the solid black against the black and white check.
Are you on the hunt for a vintage stool to make over now? Think of all the places you could use this, especially if you need a little help when getting things off the top shelf or watering your hanging plants. There are just so many uses. Not to mention, it’s just plain pretty. We have to mention that! Let me know how you would use this stool in your home.
IF YOU PREFER TO WATCH THE LIVE STEP BY STEP INSTRUCTIONAL VIDEO, YOU CAN WATCH IT HERE.
BE SURE TO CHECK OUT THESE OTHER FARMHOUSE DIY ideas!
Vintage Step Stool Makeover
Equipment
- scissors
- Staple Gun
Materials
- Vintage Stool
- Cricut Design Space - for free svg Cricut cut file
- Buffalo Plaid Vinyl Tablecloth
- Rustoleum Satin Paint & Prime
- Liquid TSP Cleaner
- Gloves
- Small Paint Brush
Instructions
- Clean the chair with TSP.
- Remove the chair seat and set aside with the screws.
- Wear gloves and spray paint the entire chair base and top back. Let dry.
- Cut the buffalo check tablecloth to size for the seat and attach with your staple gun.
- Reattach the seat with the same screws and screwdriver.
- Cut out the vinyl monogram and attach to the back of the top seat with a scraper.

Absolutely love this
yay!! Thank you so much!
I would love to have a stool like this! I’ll have my eye out for one of these! I would never have thought of painting the metal black…LOVE this!!💕💕
I love this makeover . I do happen to have a vintage stool . I just need to decide on colors . I use it to get to high cabinets to changing light bulbs . I may just go Buffalo check also . Love all your DIYs !
Awe! Thank you so much! I can’t wait to see what you do!
Every member in our family has memories of the yellow step stool chair we had in the kitchen! Wish I still had it.
Isn’t it amazing how many memories a simple stool can create and hold! I think it’s fascinating! Get a new one for your family now and start new memories!
I have searched the Internet, but nobody will show how they do the curved seatback. I noticed you didn’t mention it either. Looking for advice.
I stated in the post “Rather than remove the top of the chair seat, I decided to paint the entire seat and chair frame black.”