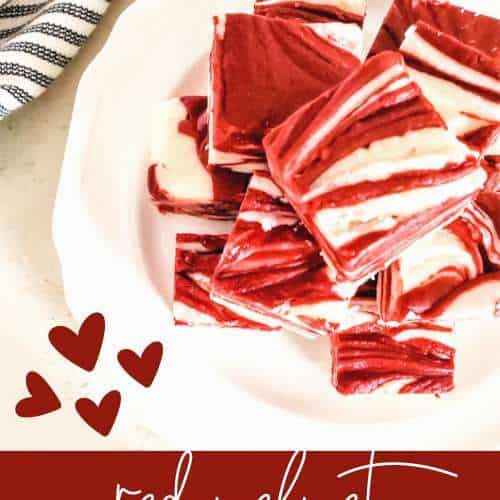
Easy No-Bake Red Velvet Fudge Recipe for Beginners
This easy recipe for Red Velvet Fudge makes up a batch of rich, decadent, and brightly colored fudge you can really sink your teeth into. Perfect for holidays, birthday parties, Valentine's Day, or whenever you need a sweet treat this fudge is the ideal no-bake dessert.

Be sure to PIN this one for later!
I absolutely love no-bake desserts as you can tell from my website. There really is no need to turn the oven on when you are craving something sweet.
White chocolate chips, marshmallow fluff, and semi-sweet chocolate chips come together for a truly rich and creamy texture. With just a few minutes of prep and some time to set in the fridge you'll find the fudge comes together easily. This red velvet fudge is ideal to make ahead as it does need some time to set so make sure to plan accordingly
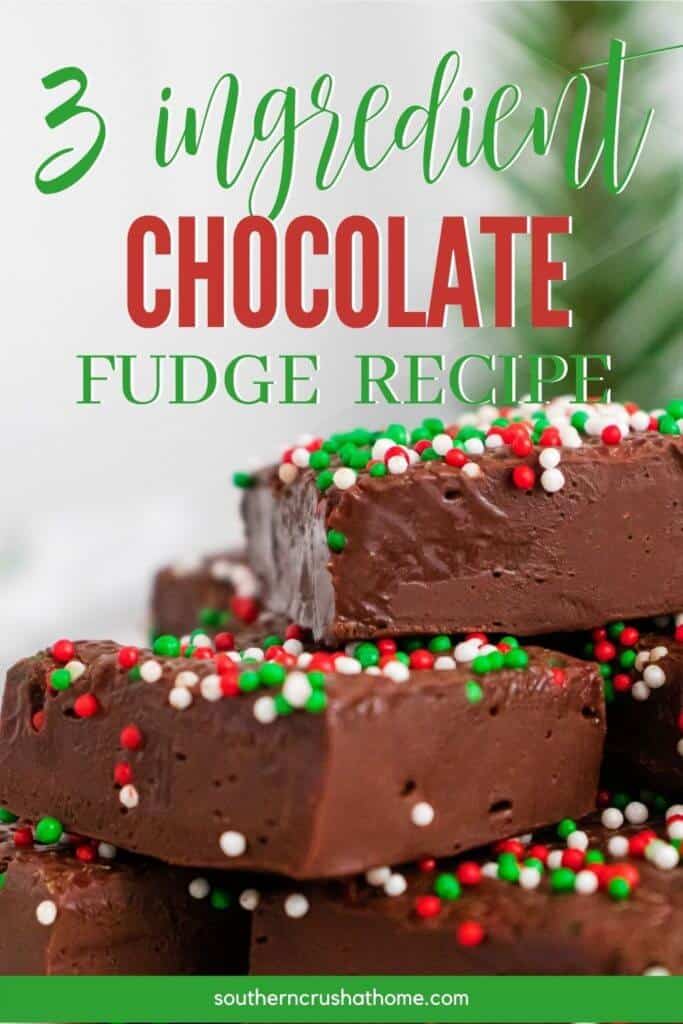
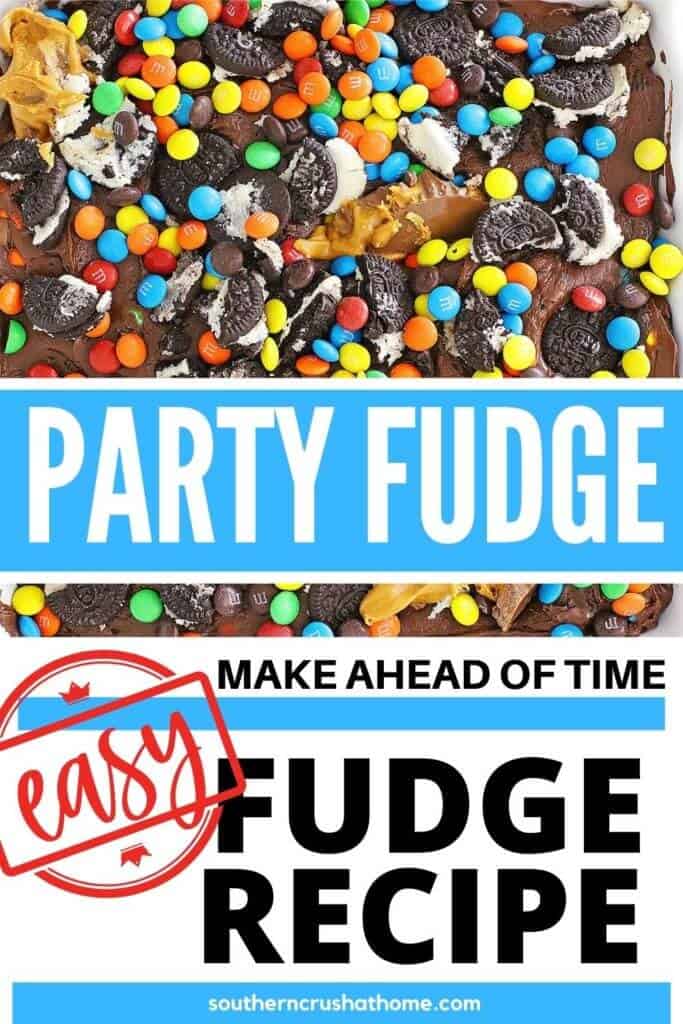
If you love fudge as much as I do you need to make these recipes: Chocolate Chip Cookie Dough Fudge, Peanut Butter Cup Oreo M&M Fudge Recipe or this 3 Ingredient Chocolate Fudge.
This blog post contains affiliate links. The opinions are wholly my own from my own experience. I may earn a small commission from clicks through to the websites that end in a purchase.
Why You'll Love This Fudge
- Fun, festive fudge recipe that you can modify to suit your tastes.
- No baking thermometer is required.
- Great make ahead-of-time dessert.
Equipment Needed
- 9×9 baking dish
- Parchment paper
- medium heat-safe bowl
- large microwave-safe bowl (preferably glass as it gets quite hot!)
- Potholders
- spoon
- spatula
- Measuring cups and spoons
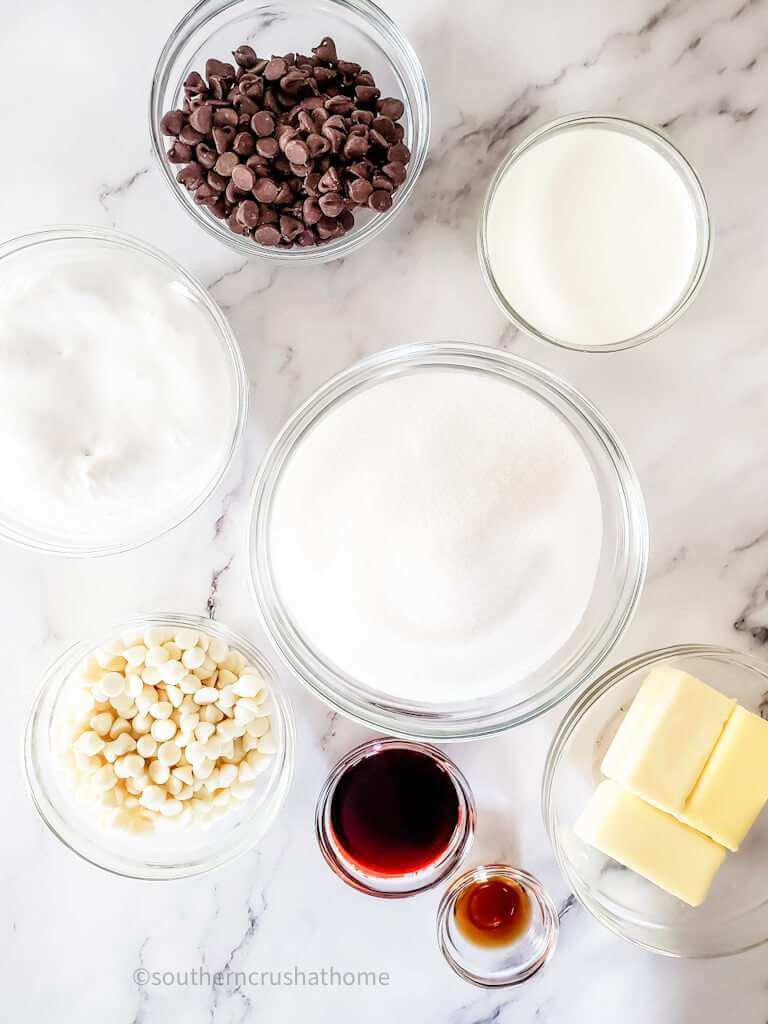
Ingredients To Make Red Velvet Fudge
- 1 cup (165g) semi-sweet chocolate chips
- 3 tablespoons (45 ml) red food coloring, liquid
- 3 cups (575g) granulated sugar
- 3/4 cup (166g) butter
- 2/3 cup (158 ml) half and half
- 7 ounces (198 g) marshmallow fluff
- 1 cup (187g) white chocolate chips
- 1 teaspoon (15ml) vanilla
How To Make Red Velvet Fudge
**BE SURE TO PREP ALL INGREDIENTS AHEAD OF TIME AND WORK QUICKLY!!!
- Line a 9×9 baking dish with parchment paper and spray with cooking spray. Make sure the edges of the parchment paper extend beyond the pan so you can easily remove the fudge after it sets.
- In a medium heat-safe bowl, combine the semi-sweet chocolate chips and food coloring. Set aside.
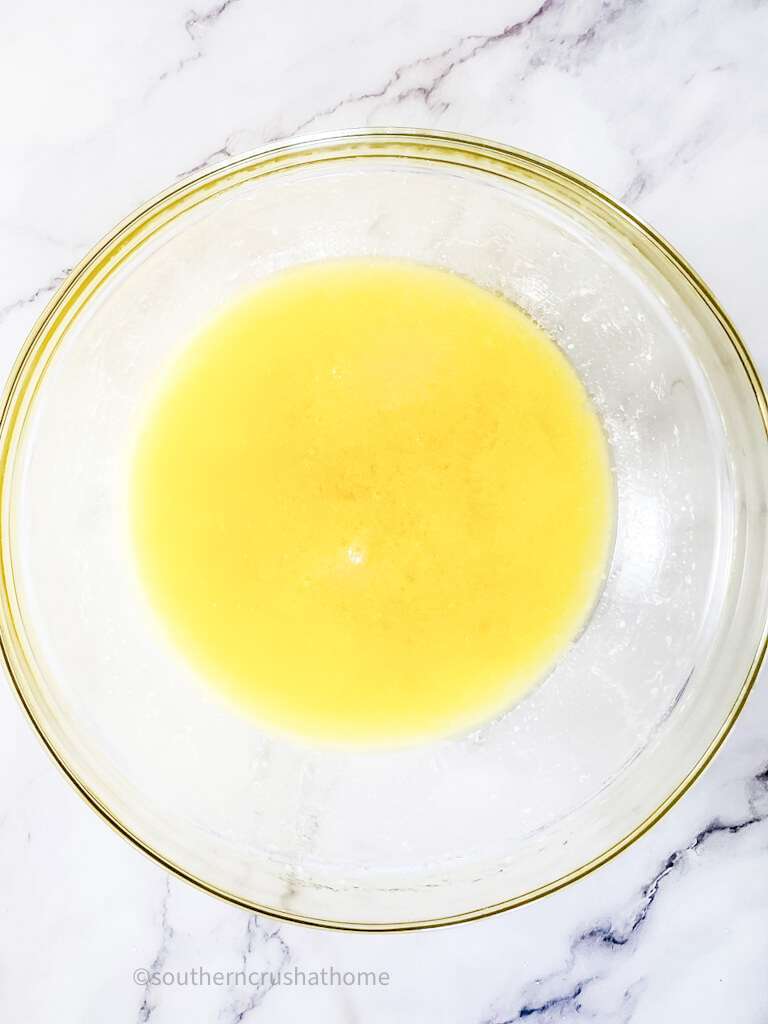
- In a large microwave-safe bowl (preferably glass as it gets quite hot!), melt the butter with a paper towel or paper plate placed over the bowl to prevent splatters – about 1 ½ minutes, or until the butter has melted.
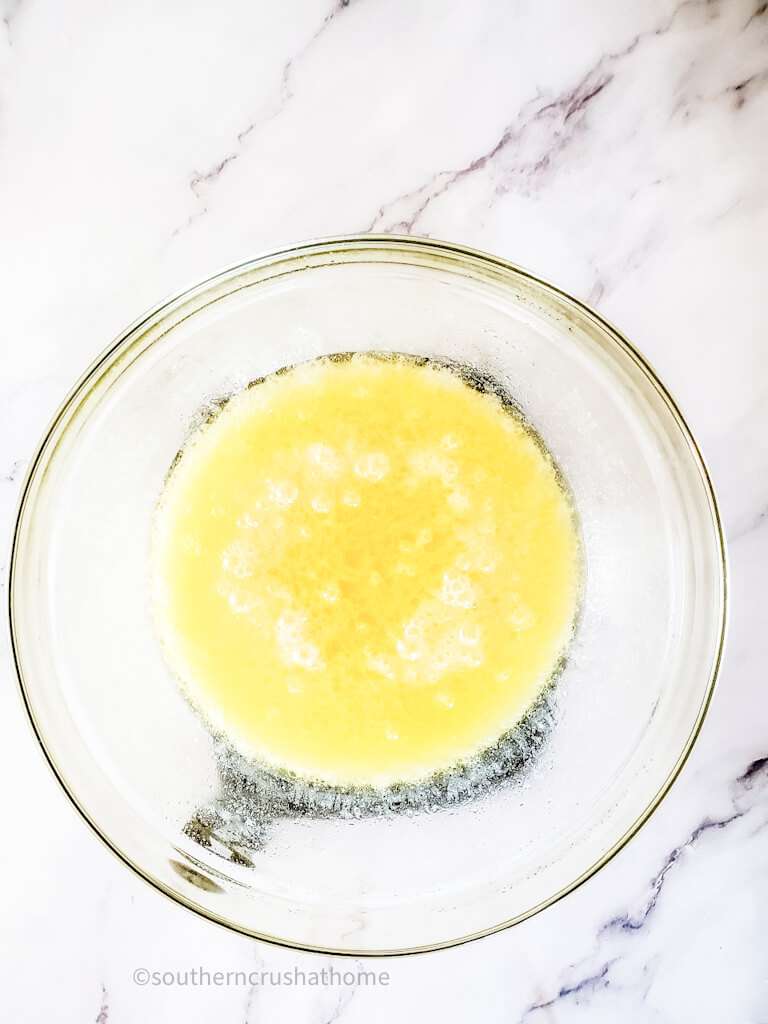
- Add the sugar and half and half to the melted butter. Mix well and microwave for 3 minutes. Stir again, and microwave for an additional 2 minutes. Stir and microwave for 3 more minutes, and then a final stir and 2 ½ minutes. If at any point the butter separates, just continue stirring, it will reconstitute itself. Also, scrape down the sides of the bowl as needed throughout this whole process. After the final stir, the mixture should bubble furiously after being mixed.
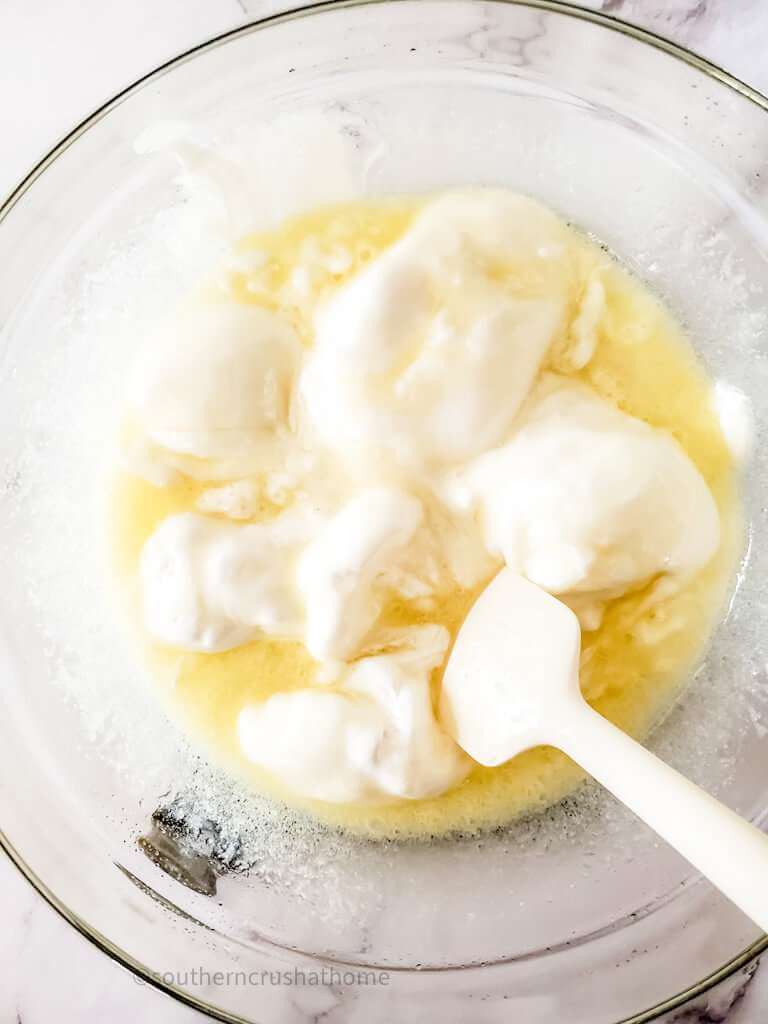
- Add marshmallow fluff and stir until well combined. This takes a bit of stirring but continue to stir until the fluff is fully absorbed.
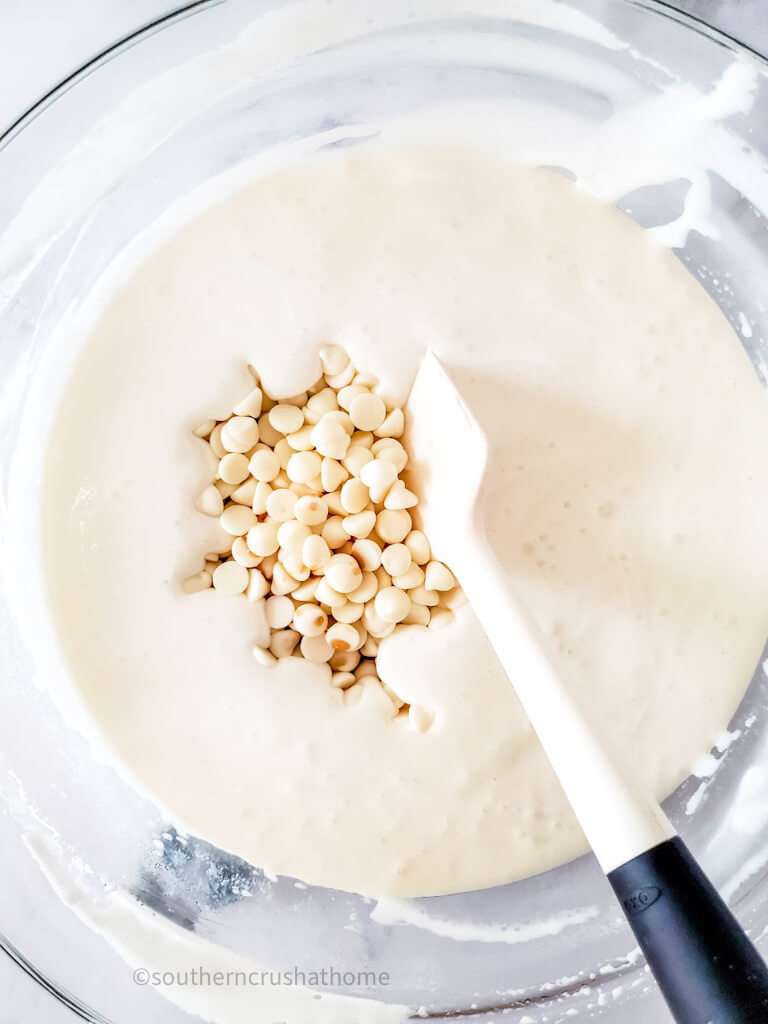
- Add white chocolate chips and vanilla. Continue to stir until the chocolate chips are fully melted and smooth.
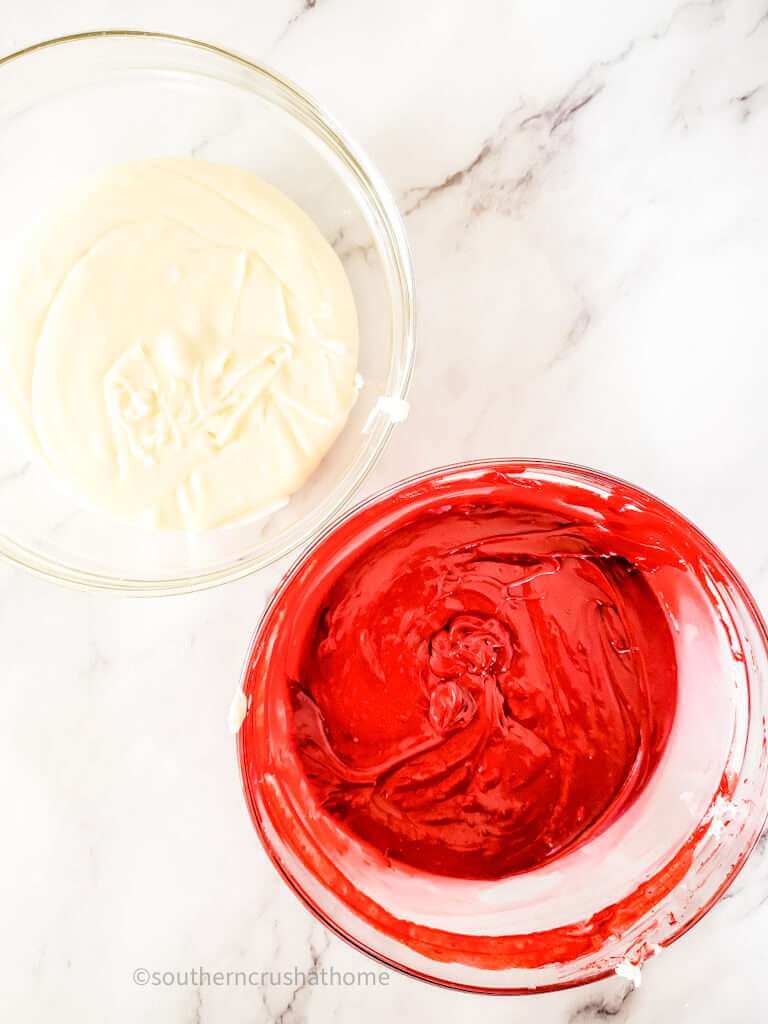
- Split the mixture in half and combine half with the semi-sweet chocolate chips and food coloring from step 2 and mix until the chocolate chips are melted and smooth.
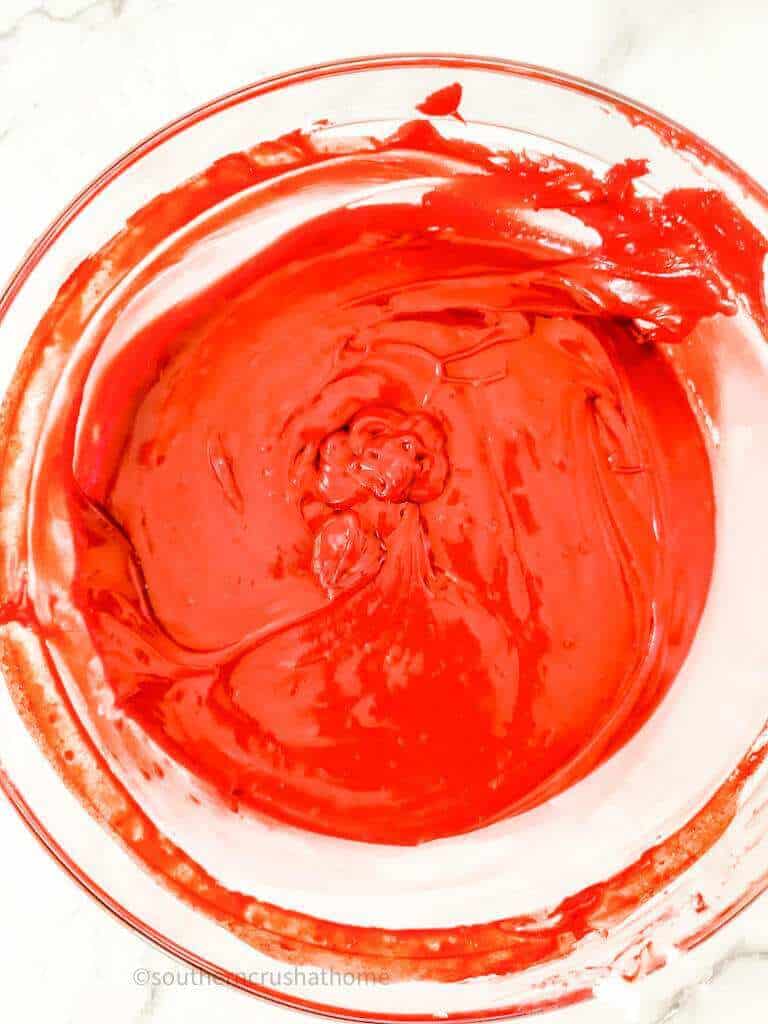
- Keep the mixtures in separate bowls until you're ready to pour them into the pan.
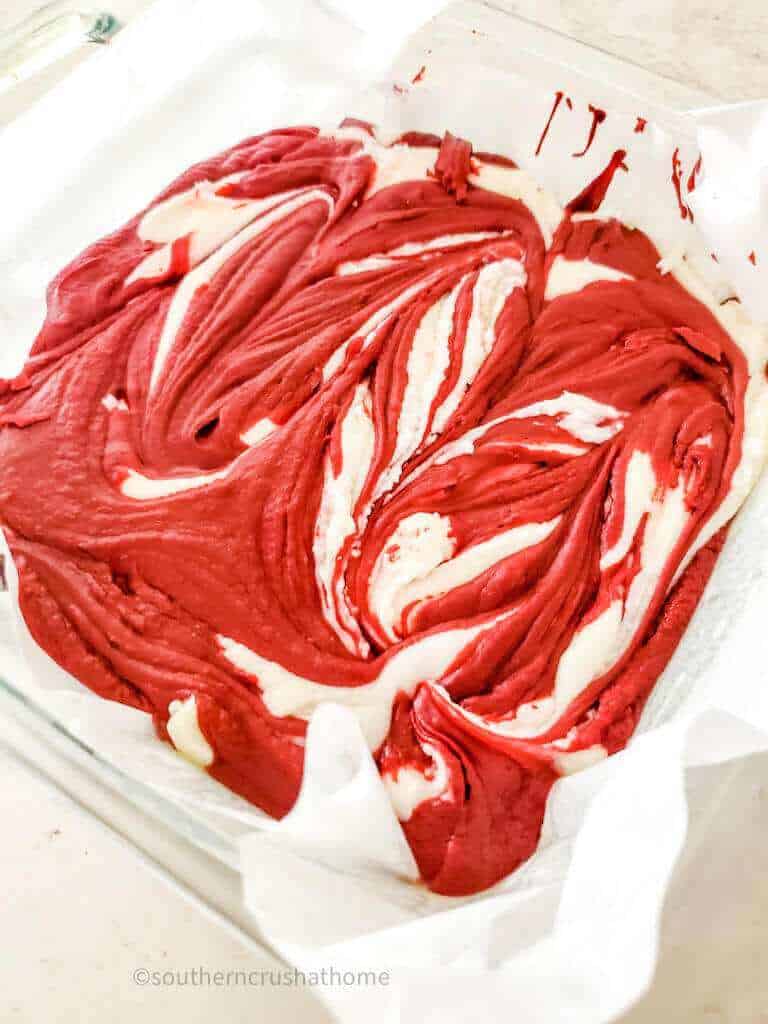
- Scoop the two mixtures by the spoonful into a random pattern into the bottom of the pan.
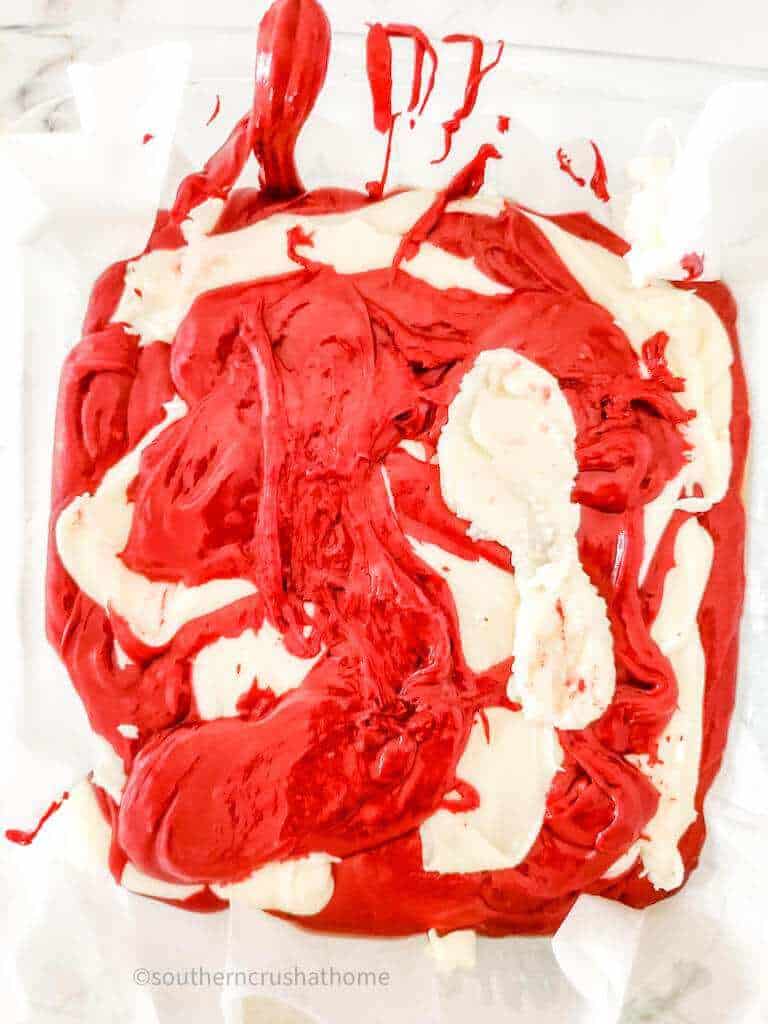
- Remove any large air pockets by pressing down on the top of the fudge with a large spoon or by tapping the pan lightly on the kitchen counter.
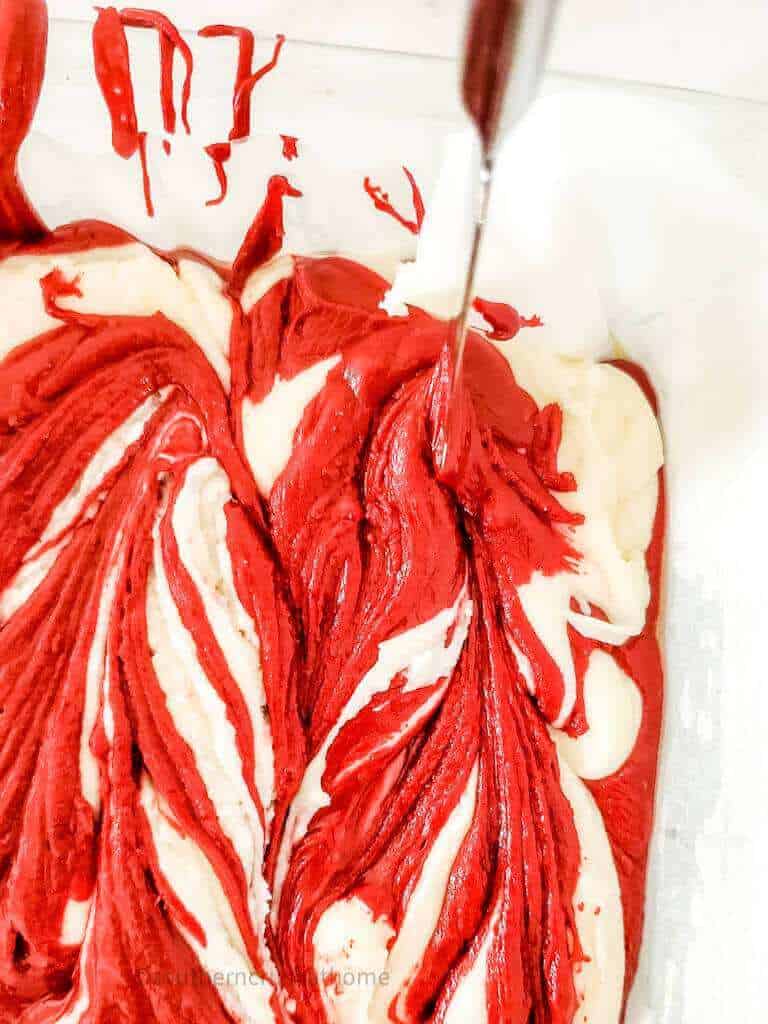
- Then take the sharp side of a butter knife, spray with a bit of cooking spray, and run it around randomly in the pan to create a swirled effect in the fudge. Don’t move it around too much or it will muddle the colors together.
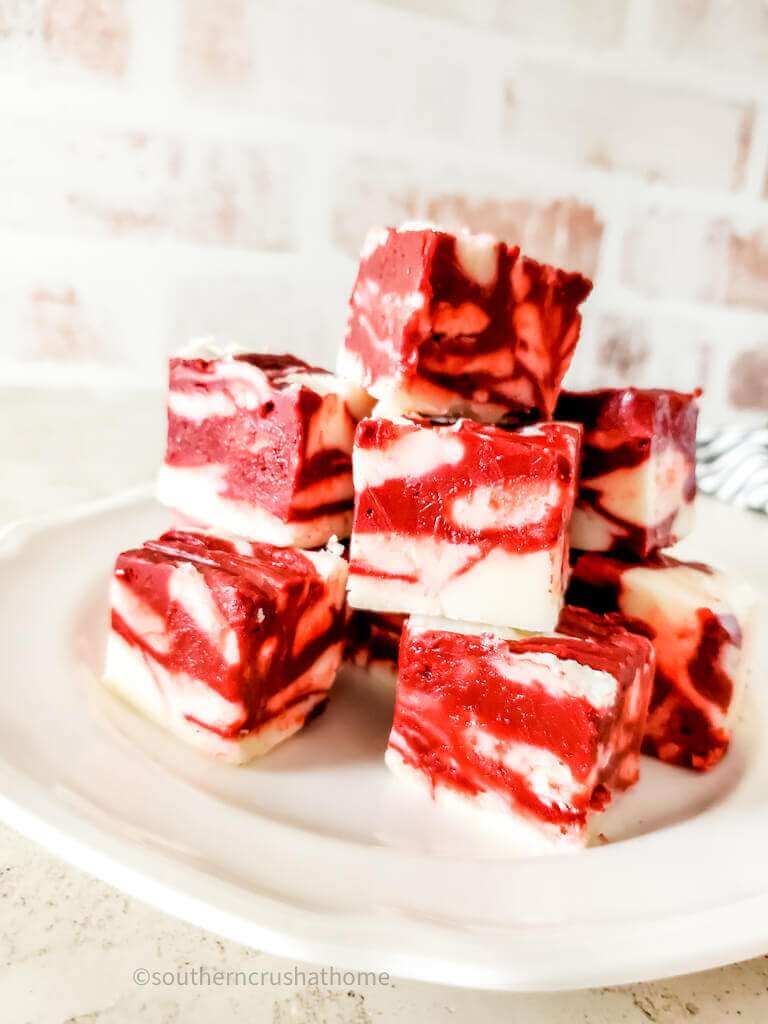
- Allow the fudge to cool completely (at least 2 hours) before lifting the parchment paper out of the pan.
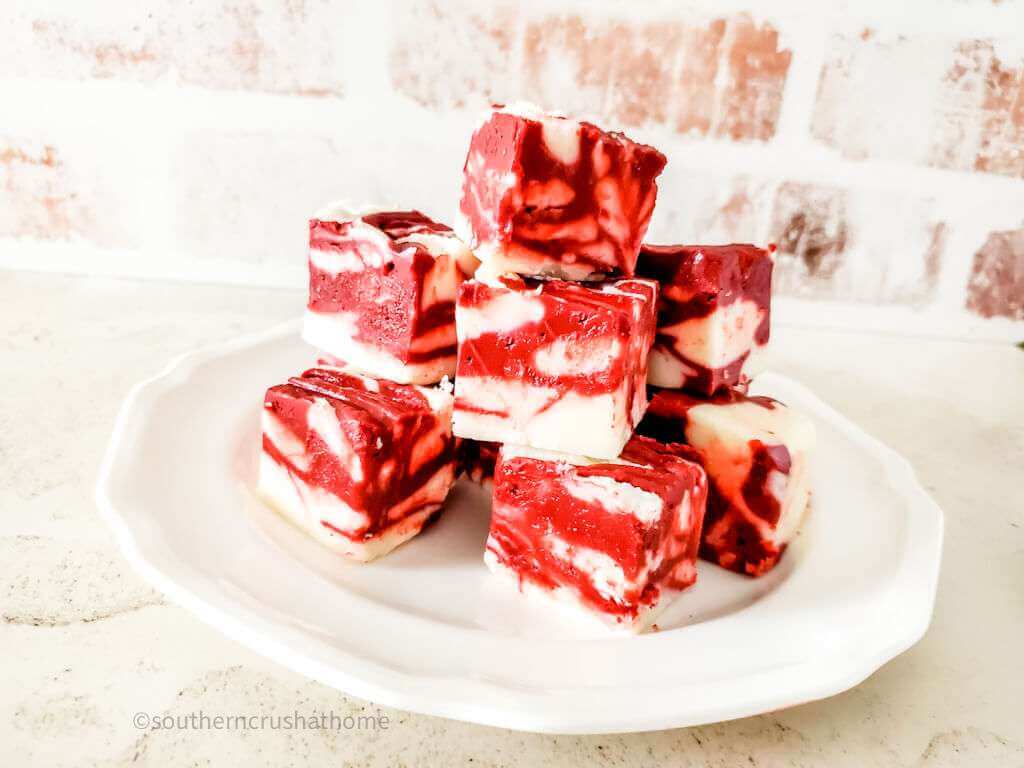
- Once cool, cut into slices.

Variations
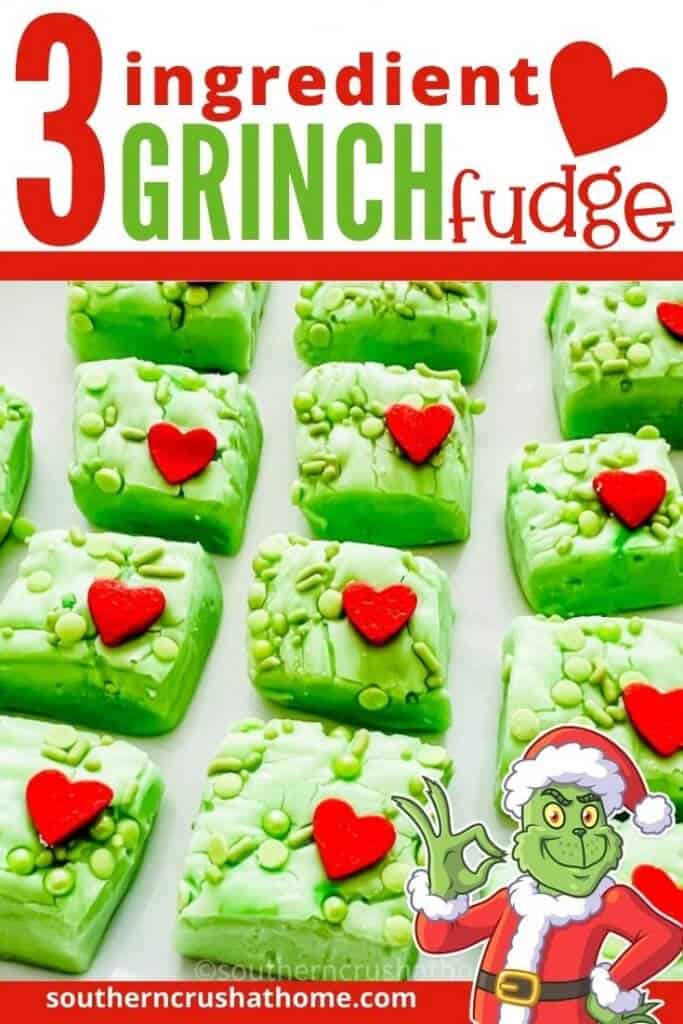
- Choose a different color of food coloring based on the season. Try green for St. Patrick's day.
- Top the fudge with sprinkles or your favorite cake toppings.
- Add chopped nuts to the fudge.
Tips and Tricks
- Quality chips may melt better. I used Hershey’s chocolate chips, but they were really slow to melt.
- Make sure you use a large bowl as this recipe does expand quite a bit as it cooks in the microwave.
- Be very careful as the bowl gets very hot!
FAQs
How do you store fudge?
You can store fudge in an airtight container in the fridge for up to 2 weeks or you can freeze it for up to 3 months. If you decide to freeze it I suggest you cut the fudge into individual portions and freeze with wax or parchment paper in between the portions so you can easily grab one portion at a time.
What is a good substitute for marshmallow fluff?
You can make your own fluff using 16 large marshmallows and cooking over a double boiler with 2 teaspoons of corn syrup. Stir well until the mixture is smooth. Note, I have not made my own marshmallow fluff so if you do make your own please let me know how it turns out.
How many pieces of fudge will I get?
How many pieces of fudge will depend on how big you cut your pieces.
Red Velvet Fudge
Ingredients
- 1 cup semi-sweet chocolate chips
- 3 tbsp red food coloring
- 3 cups granulated sugar
- ¾ cup butter
- ⅔ cup half and half
- 7 oz marshmallow fluff
- 1 cup white chocolate chips
- 1 tsp vanilla
Instructions
- Line a 9×9 baking dish with parchment paper and spray with cooking spray. Make sure the edges of the parchment paper extend beyond the pan so you can easily remove the fudge after it sets.
- In a medium heat-safe bowl, combine the semi-sweet chocolate chips and food coloring. Set aside.
- In a large microwave-safe bowl (preferably glass as it gets quite hot!), melt the butter with a paper towel or paper plate placed over the bowl to prevent splatters – about 1 ½ minutes, or until the butter has melted.
- Add the sugar and half and half to the melted butter. Mix well and microwave for 3 minutes. Stir again, and microwave for an additional 2 minutes. Stir and microwave for 3 more minutes, and then a final stir and 2 ½ minutes. If at any point the butter separates, just continue stirring, it will reconstitute itself. Also, scrape down the sides of the bowl as needed throughout this whole process. After the final stir, the mixture should bubble furiously after being mixed.
- Add marshmallow fluff and stir until well combined. This takes a bit of stirring but continue to stir until the fluff is fully absorbed.
- Add white chocolate chips and vanilla. Continue to stir until the chocolate chips are fully melted and smooth.
- Split the mixture in half and combine half with the semi-sweet chocolate chips and food coloring from step 2 and mix until the chocolate chips are melted and smooth.
- Scoop the two mixtures by the spoonful into a random pattern into the bottom of the pan. Remove any large air pockets by pressing the top of the fudge with a large spoon or by tapping the pan lightly on the kitchen counter.
- Then take the sharp side of a butter knife, spray with a bit of cooking spray, and run it around randomly in the pan to create a swirled effect in the fudge. Don’t move it around too much or it will muddle the colors together.
- Allow the fudge to cool completely (at least 2 hours) before lifting the parchment paper out of the pan. Once cool, cut into slices.