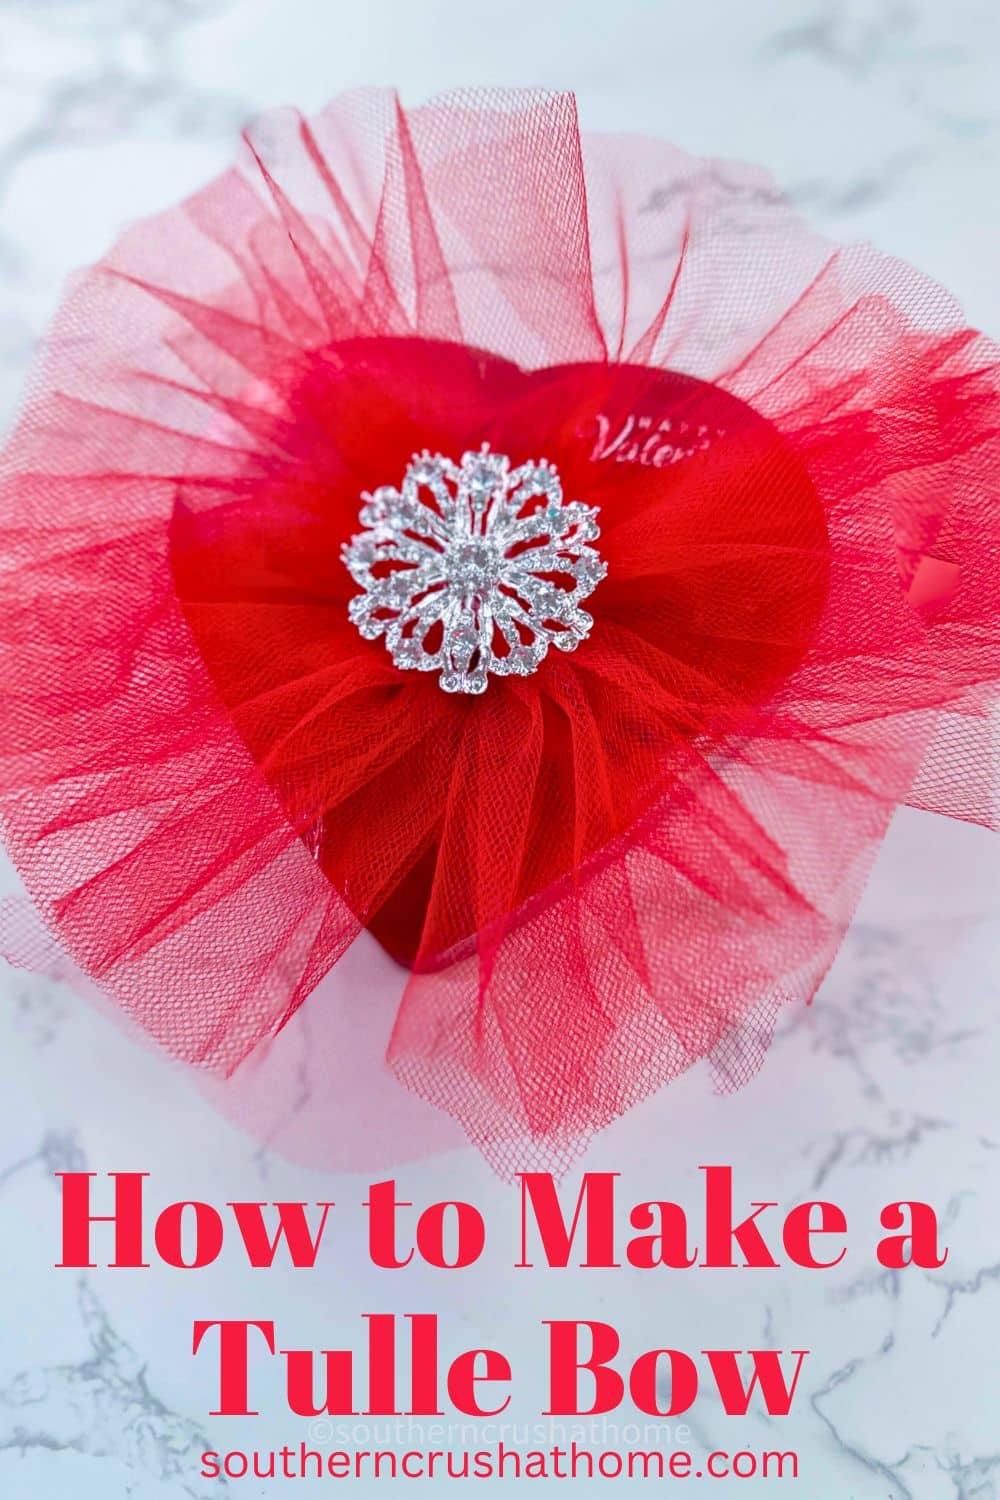
How to Make an Easy Tulle Bow for a Box of Chocolates
Valentine’s Day is a celebration of love, affection, and the joy of giving. Nothing says “I care” quite like a beautifully wrapped gift, especially when it involves a box of chocolates.
PIN this for later!
This year, elevate your basic Dollar Store box of chocolates with a handmade touch that’s both elegant and surprisingly simple to create: an Easy Tulle Bow for a Box of Chocolates.
Whether you’re crafting a gift for a significant other, a friend, or anyone special in your life, this DIY tulle bow will add a luxurious and personalized touch to your Valentine’s Day chocolates, making the moment even more memorable.
This blog post contains affiliate links. The opinions are wholly my own from my own experience. I may earn a small commission from clicks through to the websites that end in a purchase.
Why Opt for a Tulle Bow?
Tulle bows bring a soft, feminine quality to gift wrapping that traditional ribbons can’t quite match.
Their sheer, lightweight texture creates volume and elegance without overwhelming the gift itself.
Plus, working with tulle is forgiving and versatile, making it an ideal choice for DIY enthusiasts of all skill levels.
Supplies You’ll Need to Make a Tulle Bow
- Soft tulle fabric (in a color that complements your chocolate box, such as pink, red, or white)
- Scissors
- Hot Glue Gun and Glue
- Chocolate box (your choice of size and style) mine is from Dollar Tree
- Bling Embellishment (optional, for the center of the bow)
How to Make a Tulle Bow
Perfect for Valentine’s Day, a tulle bow adds a romantic flair that complements the sweetness of a box of chocolates beautifully.
Step One: Cutting the Tulle
Measure and cut a length of tulle approximately 3 to 6 feet long, depending on the size of your bow and the chocolate box.
For a fuller bow, consider using a longer piece of tulle. The width of the fabric typically ranges from 6 to 12 inches, suitable for most bow sizes.
Step Two: Forming the Bow
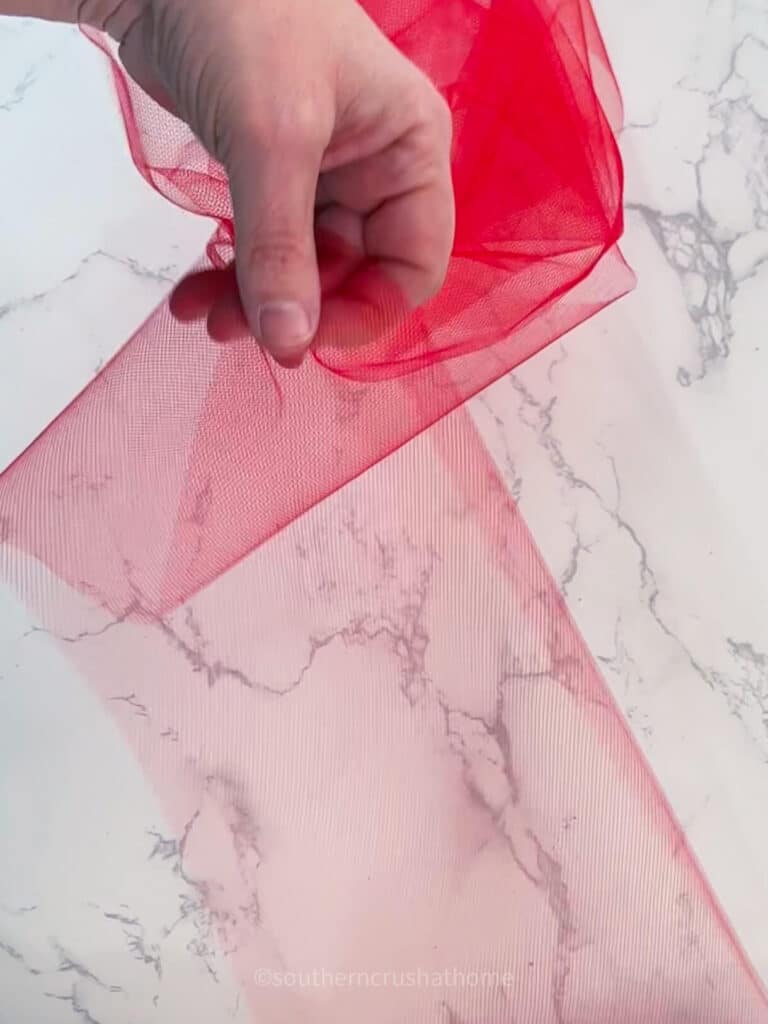
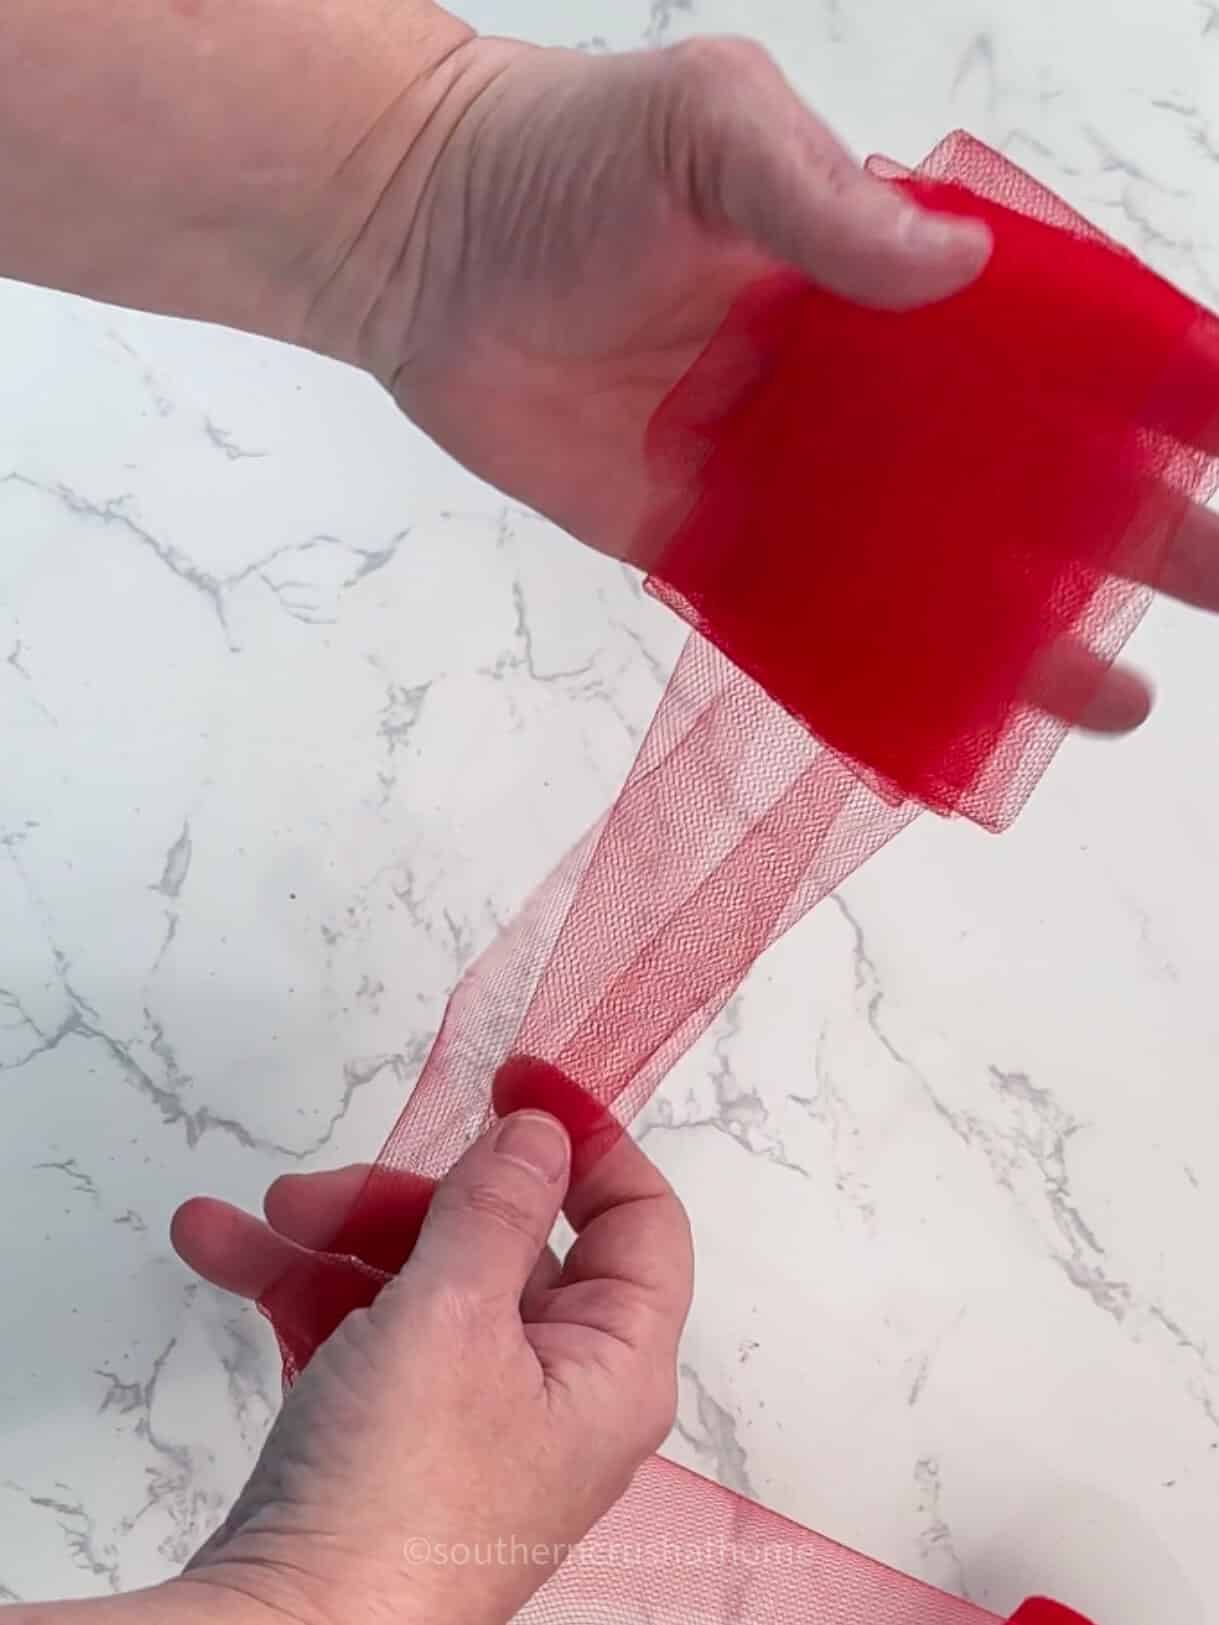
- With your four fingers facing up, lay the tulle flat holding it down with your thumb as shown.
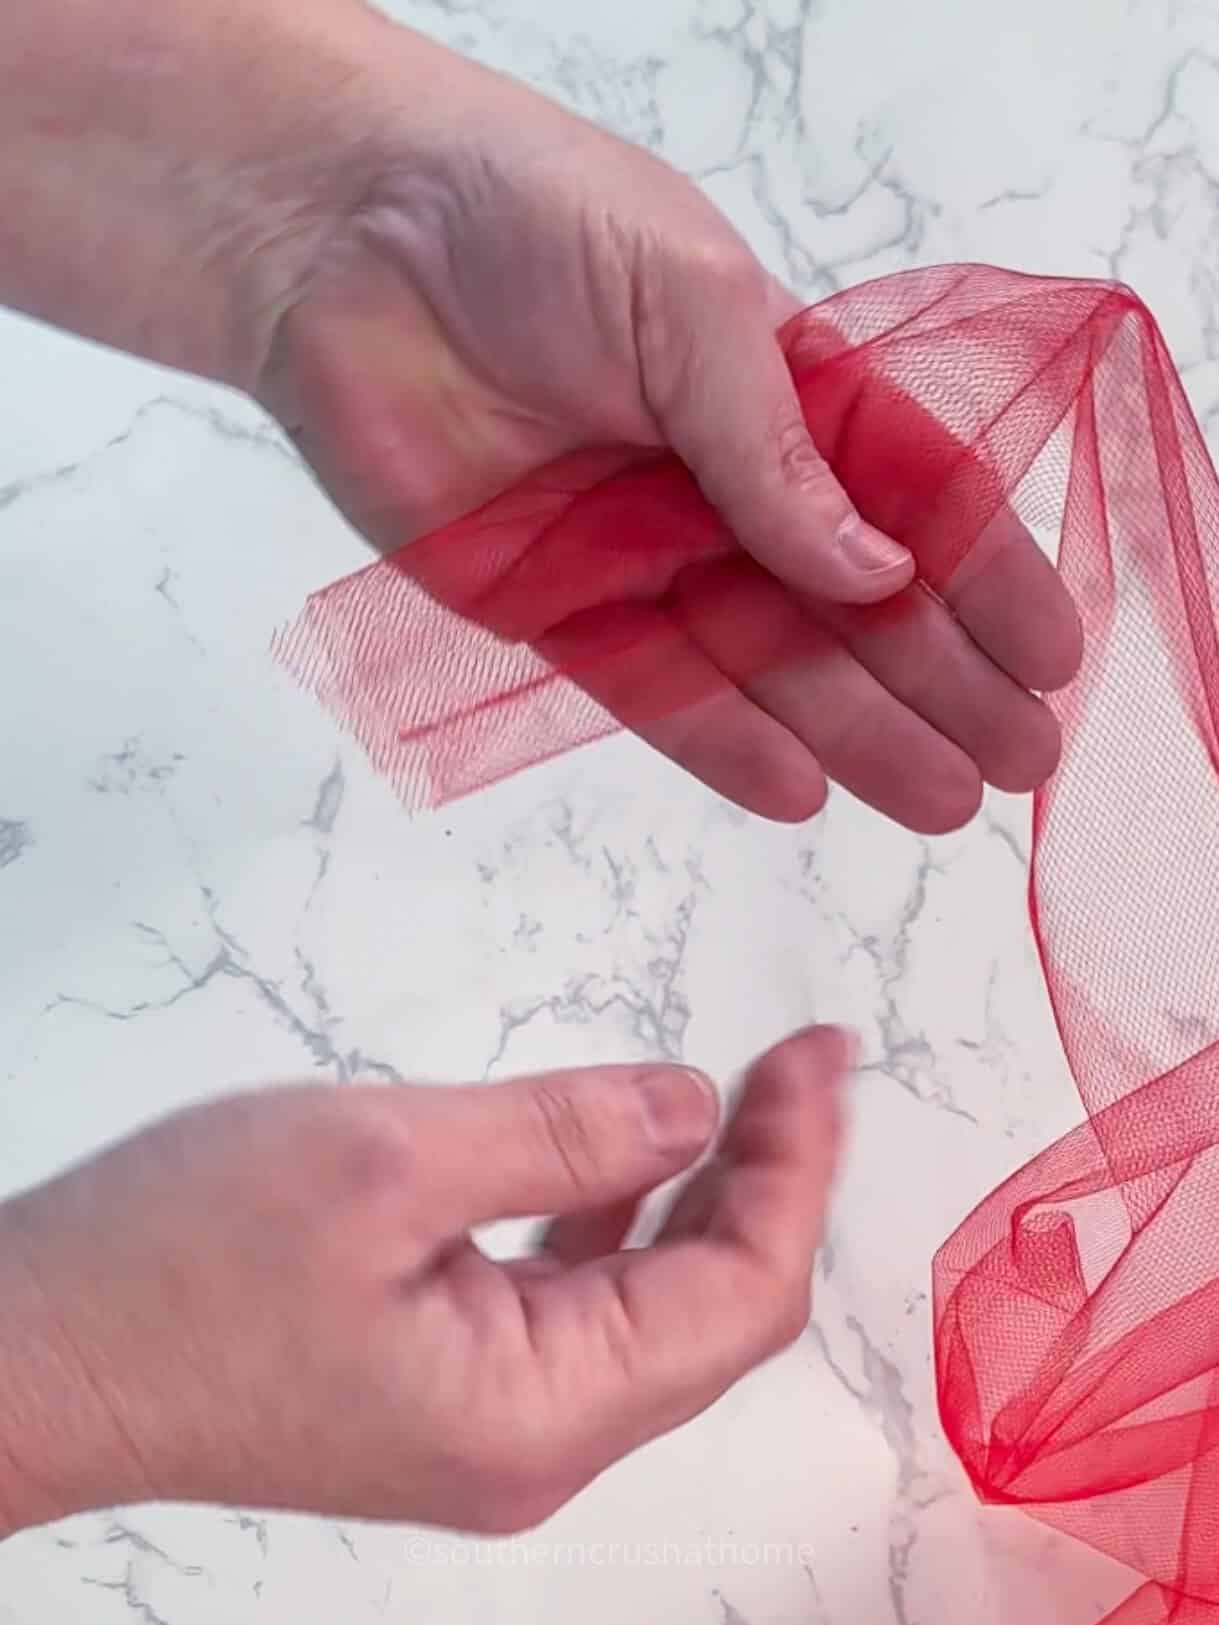
- Continue looping the tulle loosely around your fingers, creating as many loops as desired for fullness.
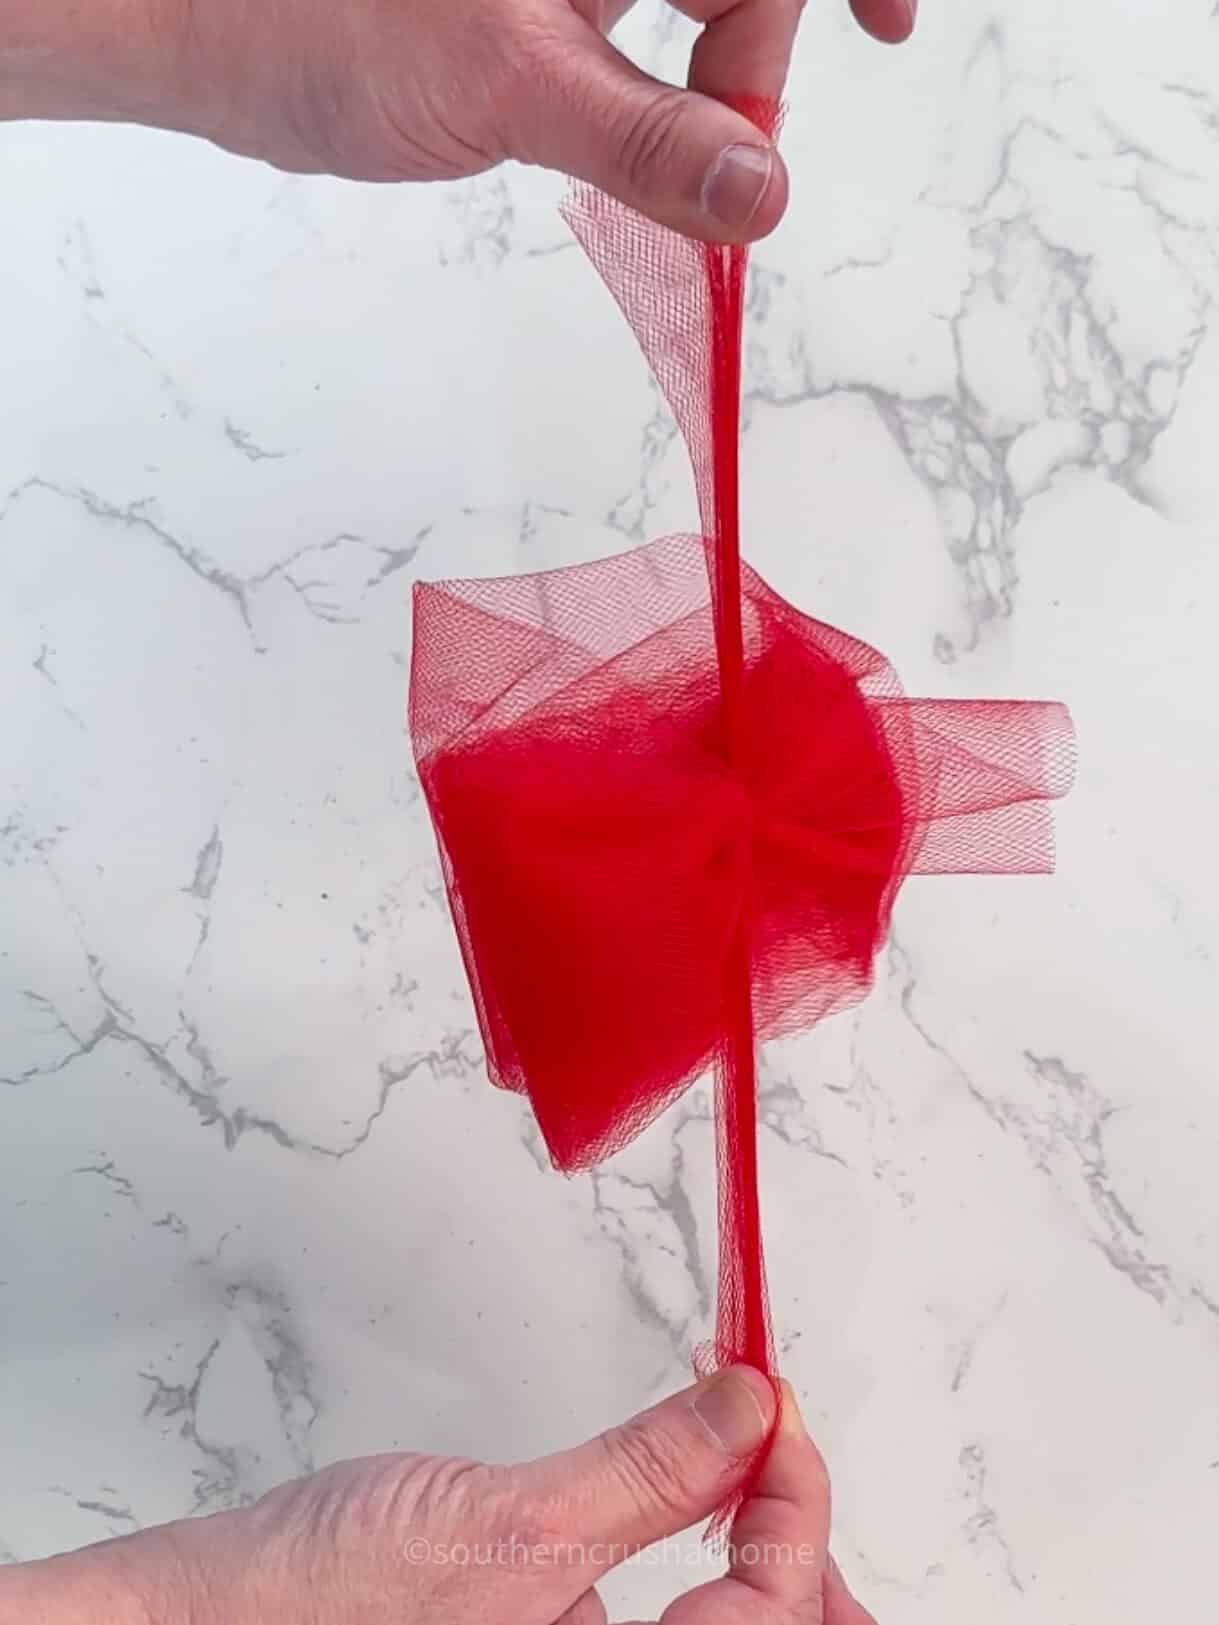
- Once you’ve wrapped all of the tulle around your fingers, secure the center with a separate piece of the tulle tied tightly in a knot. This extra piece of tulle can also create a base to attach the bow to the chocolate box.
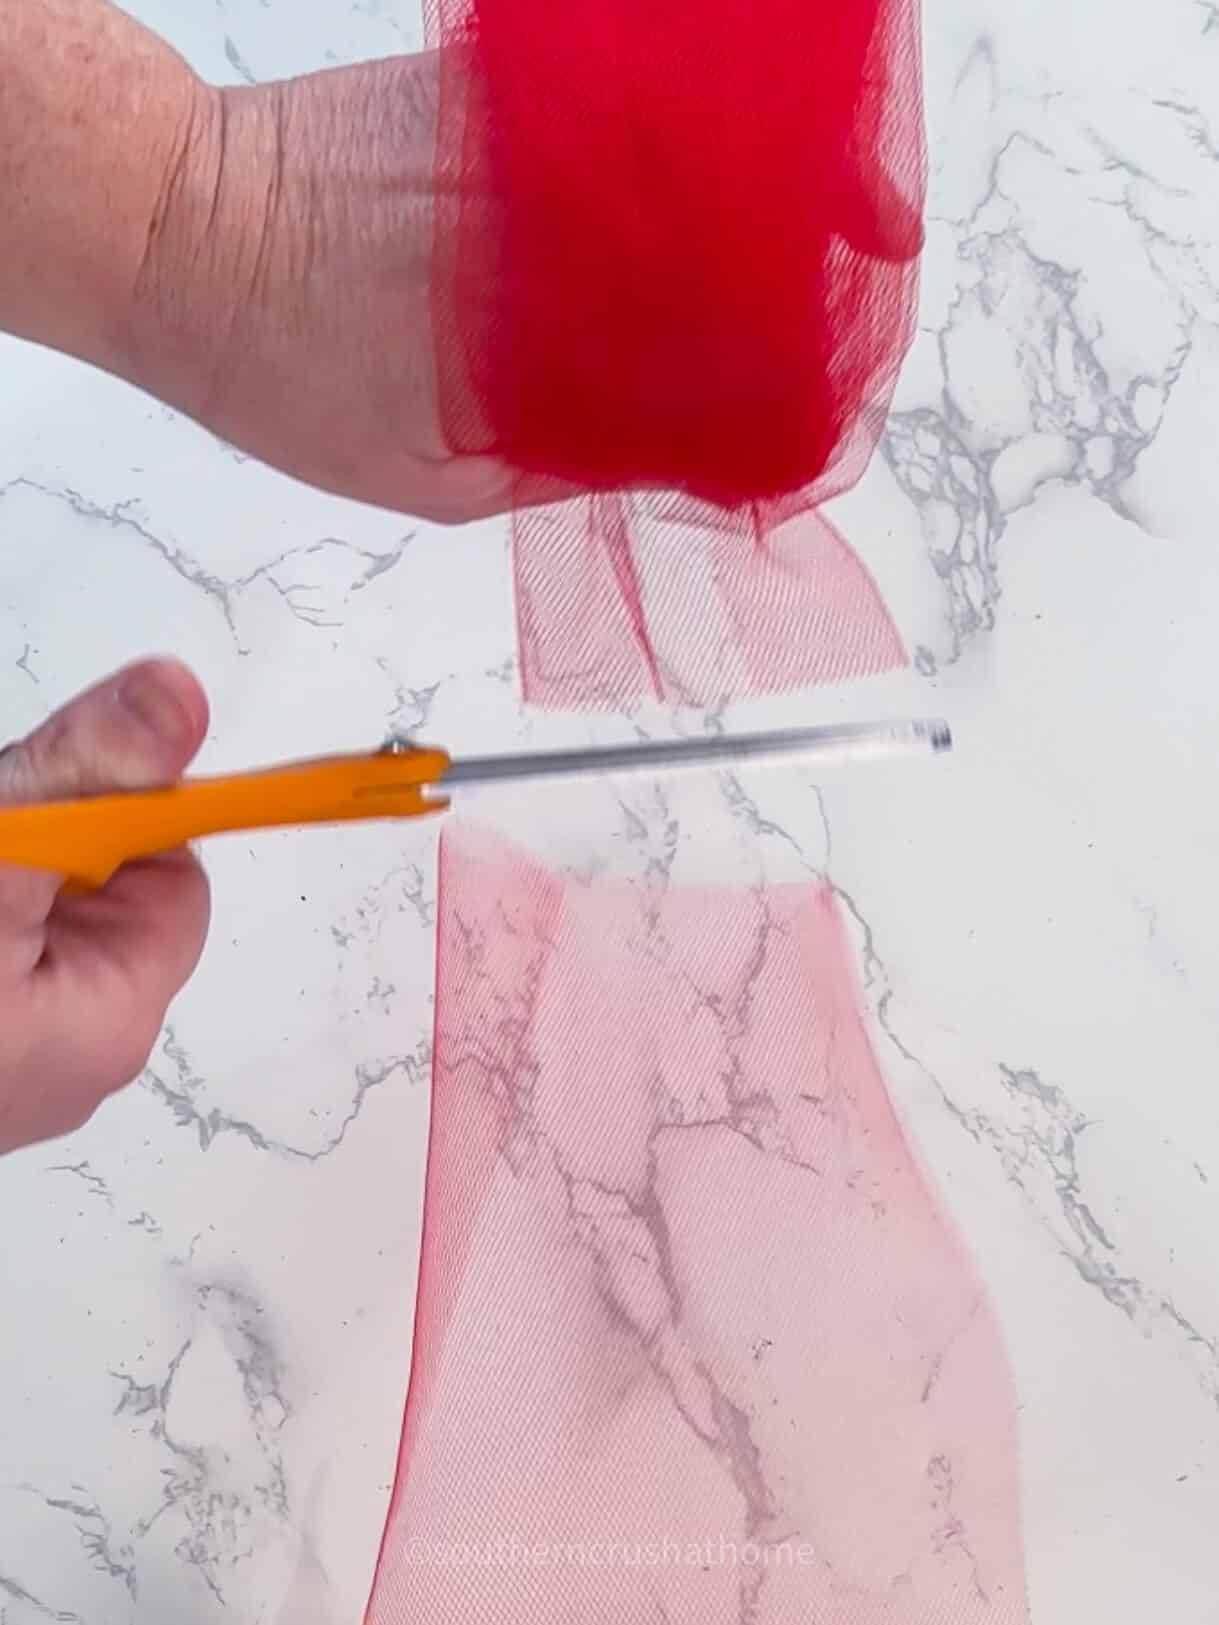
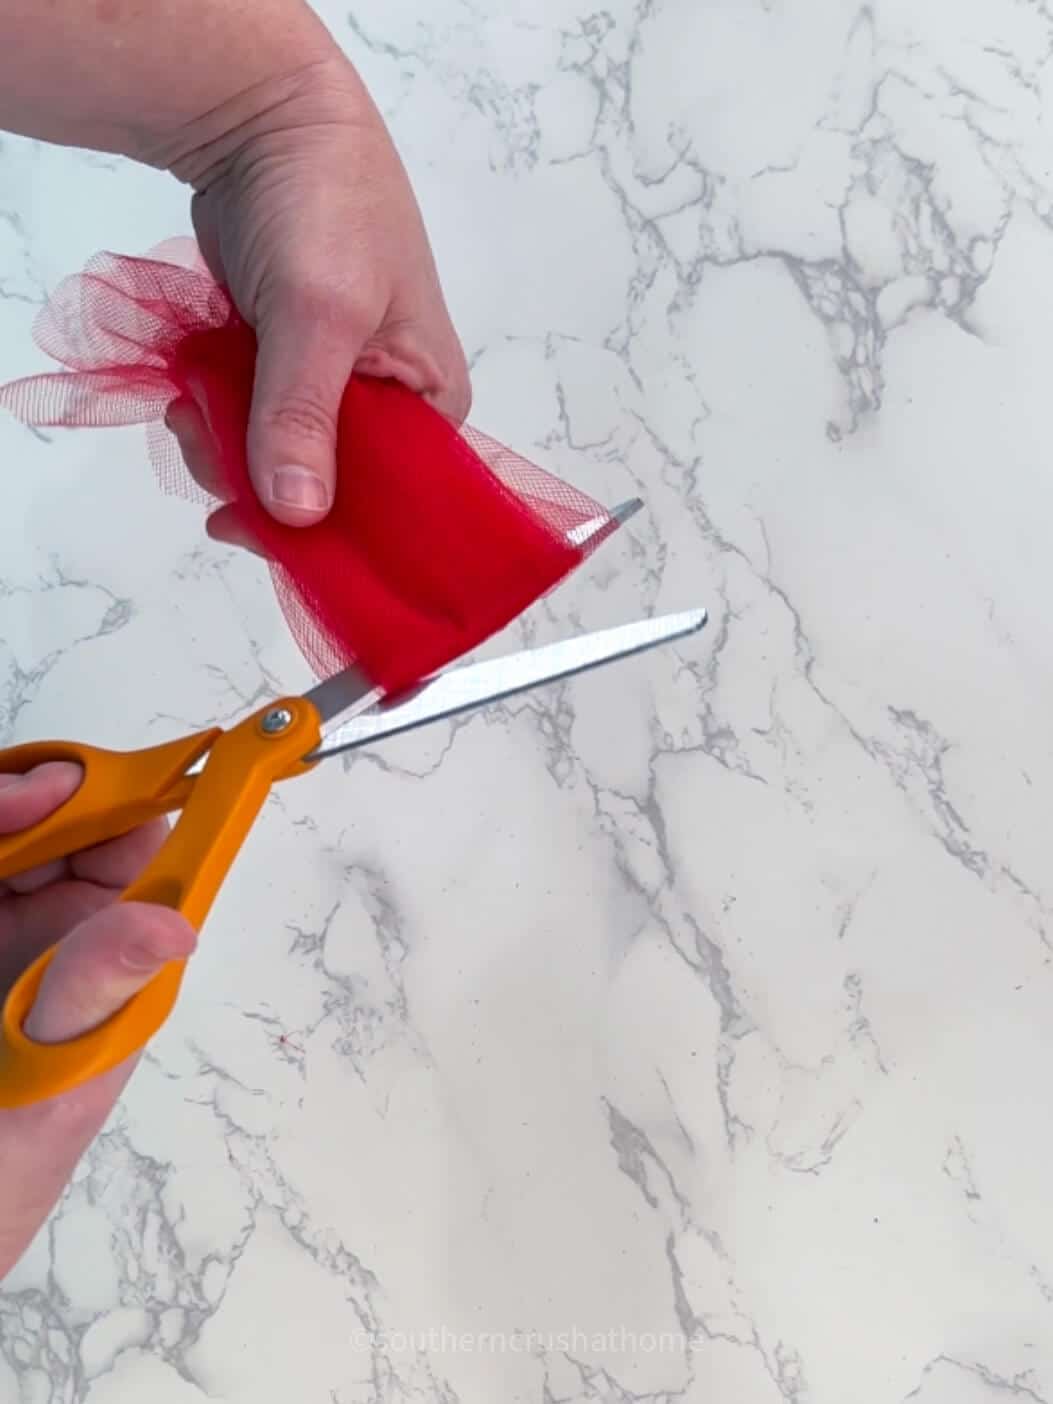
- Using scissors cut the tulle loops in the center opposite of where it is tied in a knot. See below.
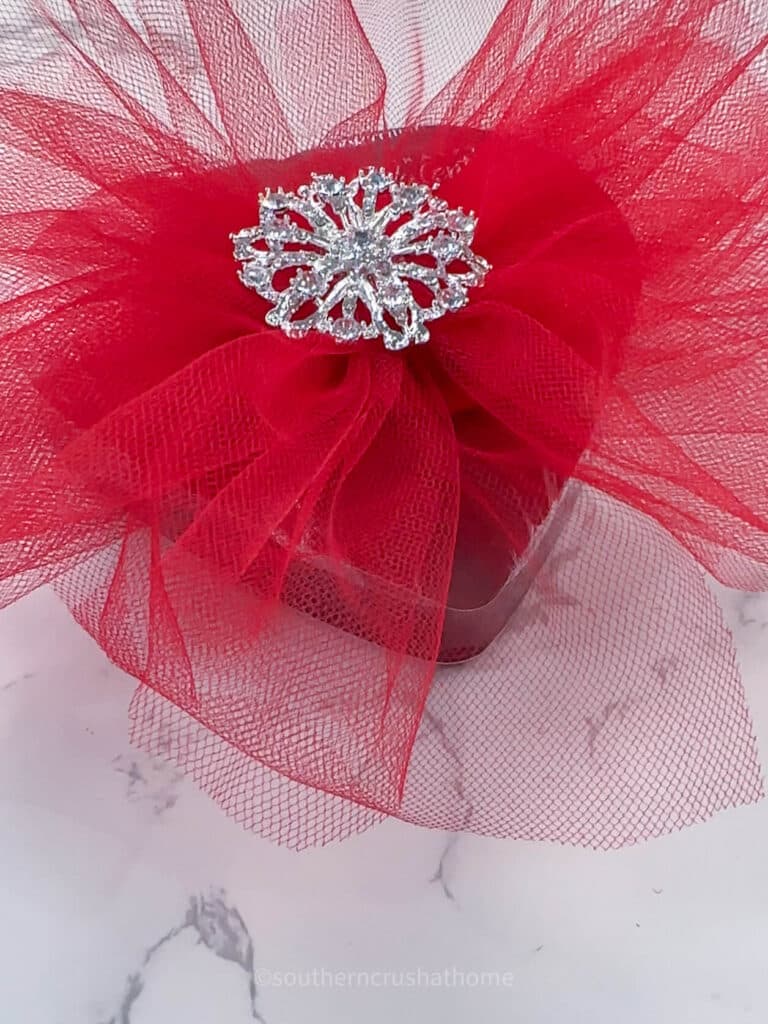
- Now you can fluff the tulle bow to even it out. Trim it down by gathering it in your hand and using the scissors if you prefer a smaller bow.

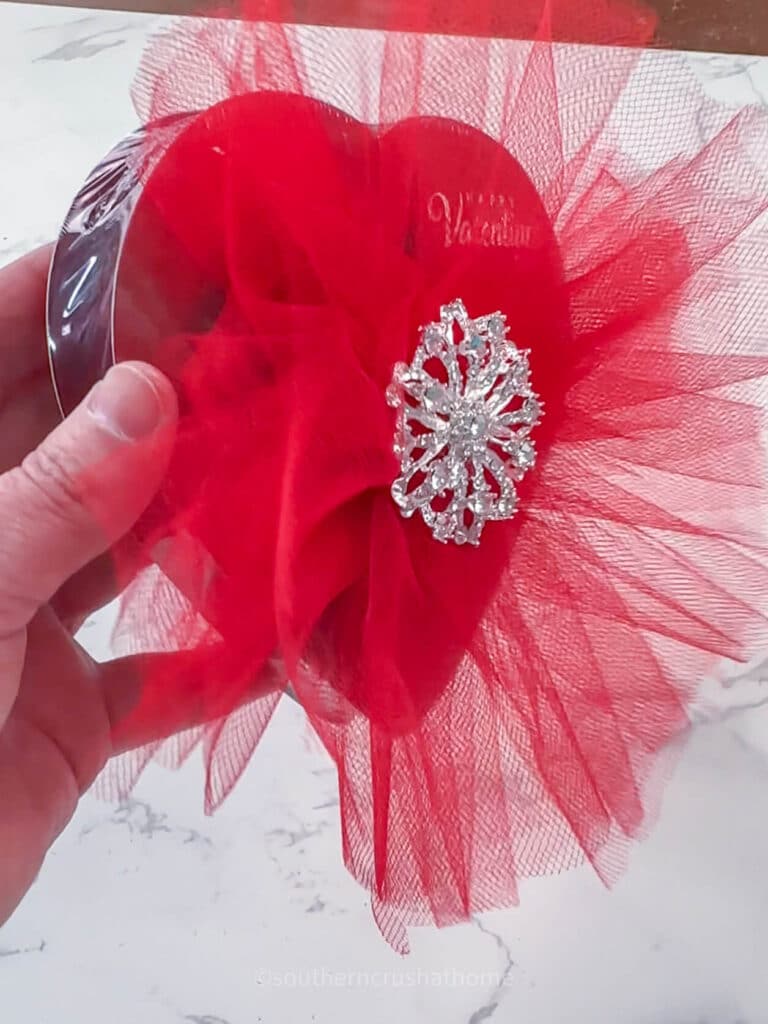
Step Three: Attaching the Bow to Your Chocolate Box
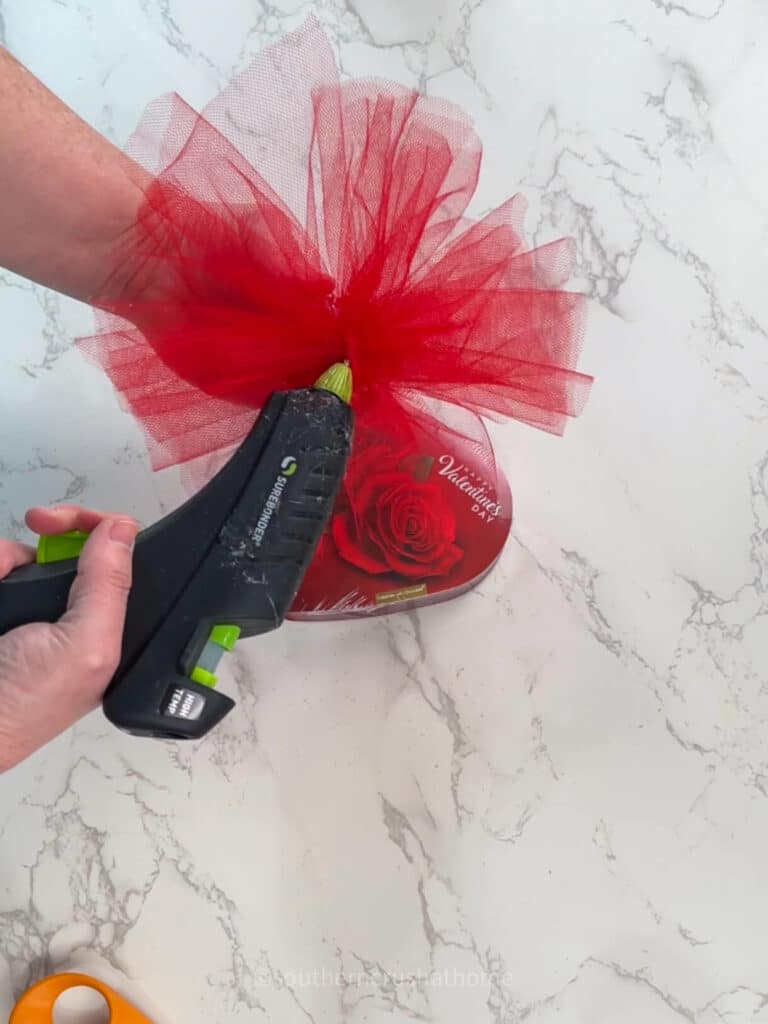
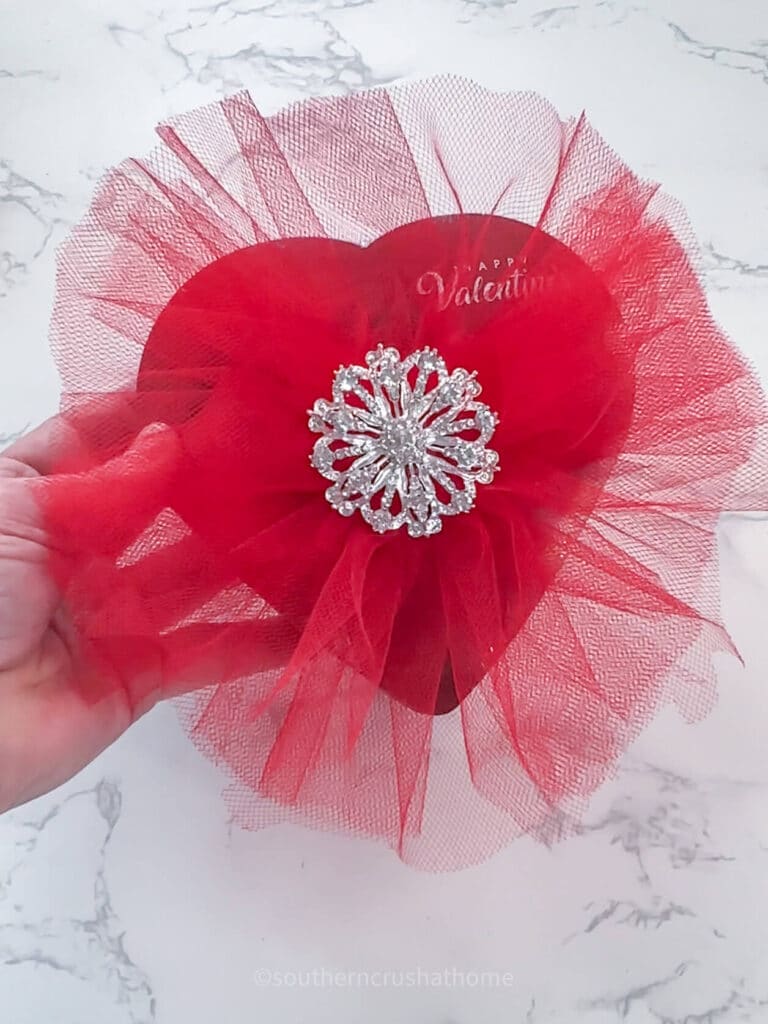
Place the completed tulle bow atop your Valentine’s Day box of chocolates. You can tie the bow around it or use a hot glue gun for a more permanent attachment, being careful not to damage the box or its contents.
Step Four: Final Touches
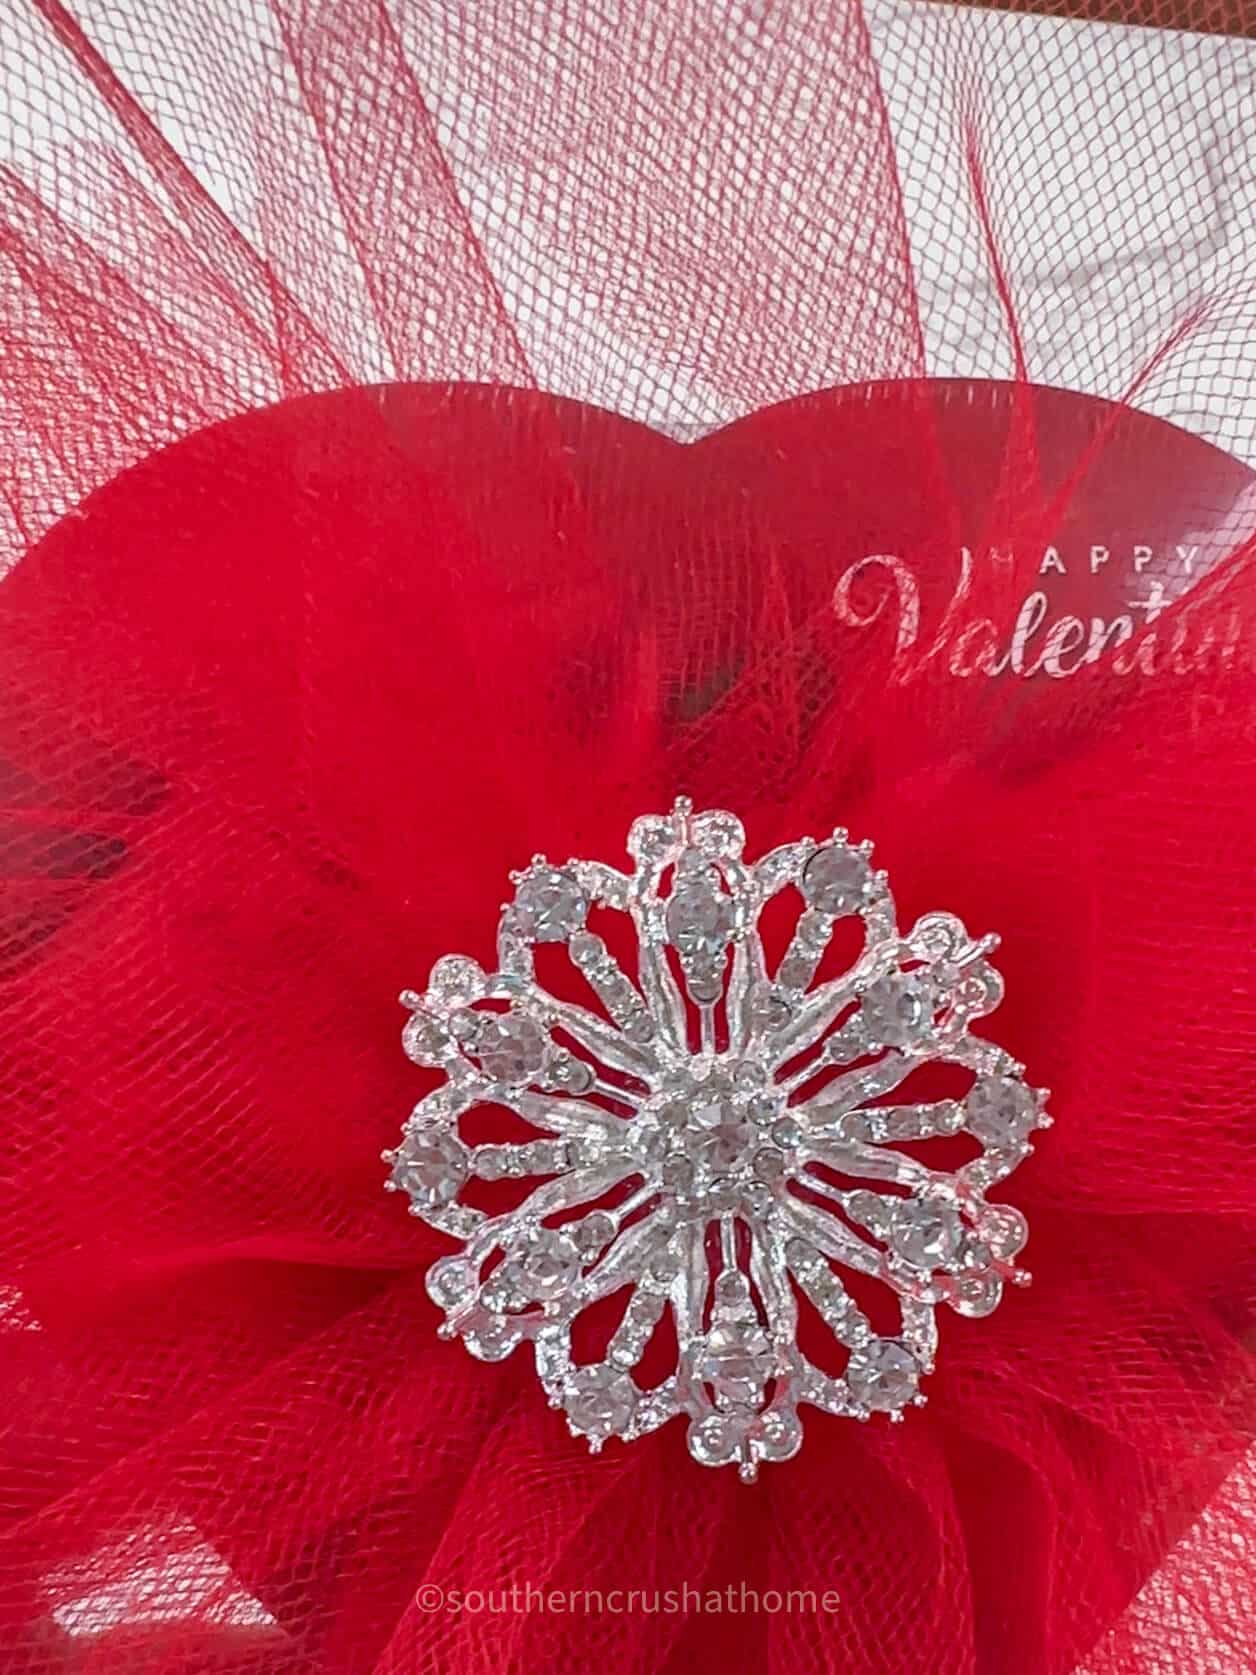
Adjust the loops and tails of your tulle bow to create an even, voluminous look. You can use hot glue to attach an embellishment like this rhinestone centerpiece bling for extra sparkle.

Adding a handmade tulle bow to a Valentine’s Day box of chocolates is a thoughtful and creative way to show your affection.
This easy and affordable DIY project not only enhances the presentation of your gift but also adds a personal touch that the box of chocolates alone cannot compete with.
Using a few simple materials and steps, you can transform a lovely gift into an extraordinary one.
Remember, it’s the thought and care you put into your gift that truly makes Valentine’s Day special.
Happy crafting, and may your Valentine’s Day be filled with love, joy, and sweetness!
More Valentine’s Day Ideas


How to Make an Easy Tulle Bow for a Valentine’s Day Box of Chocolates
Materials
- Scissors
- Hot Glue Gun and Glue
- Chocolate box your choice of size and style
- Bling Embellishment optional, for the center of the bow
Instructions
Step One: Cutting the Tulle
- Measure and cut a length of tulle approximately 3 to 6 feet long, depending on the size of your bow and the chocolate box.
- For a fuller bow, consider using a longer piece of tulle. The width of the fabric typically ranges from 6 to 12 inches, suitable for most bow sizes.
Step Two: Forming the Bow
- With your four fingers facing up, lay the tulle flat holding it down with your thumb as shown.
- Continue looping the tulle loosely around your fingers, creating as many loops as desired for fullness.
- Once you’ve wrapped all of the tulle around your fingers, secure the center with a separate piece of the tulle tied tightly in a knot. This extra piece of tulle can also create a base to attach the bow to the chocolate box.
- Using scissors cut the tulle loops in the center opposite of where it is tied in a knot. See below.
- Now you can fluff the tulle bow to even it out. Trim it down by gathering it in your hand and using the scissors if you prefer a smaller bow.
Step Three: Attaching the Bow to Your Chocolate Box
- Place the completed tulle bow atop your Valentine’s Day box of chocolates. You can tie the bow around it or use a hot glue gun for a more permanent attachment, being careful not to damage the box or its contents.
Step Four: Final Touches
- Adjust the loops and tails of your tulle bow to create an even, voluminous look. You can use hot glue to attach an embellishment like this rhinestone centerpiece bling for extra sparkle.