How to Make Monogram Initials For Your Home Decor using Cricut Joy
Personalize Your Home Décor with Monogram Initials Made using Cricut Joy
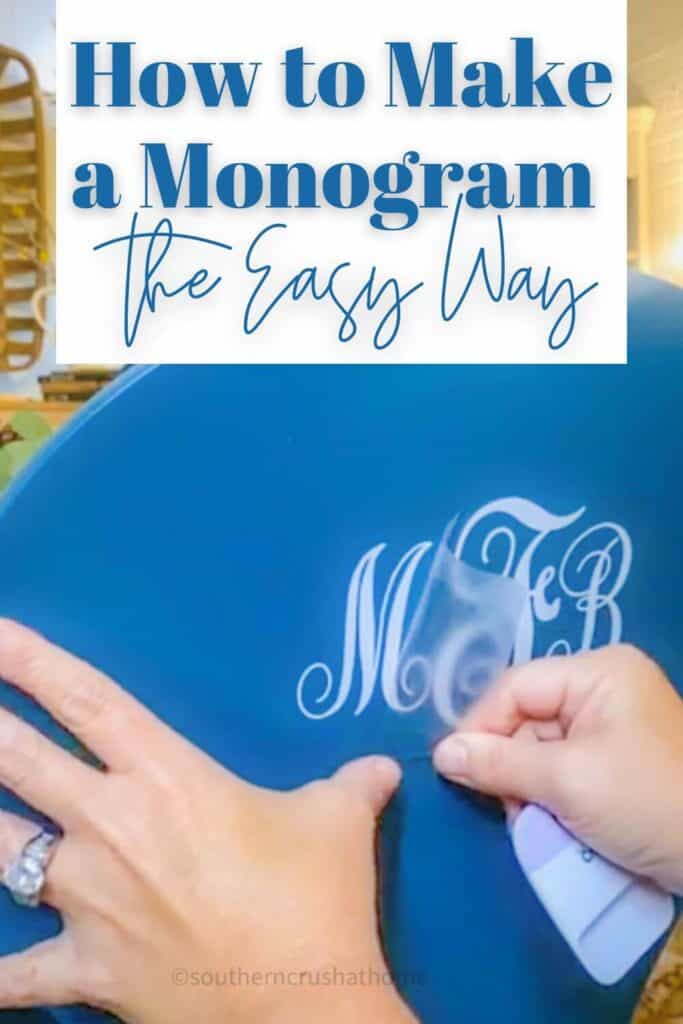
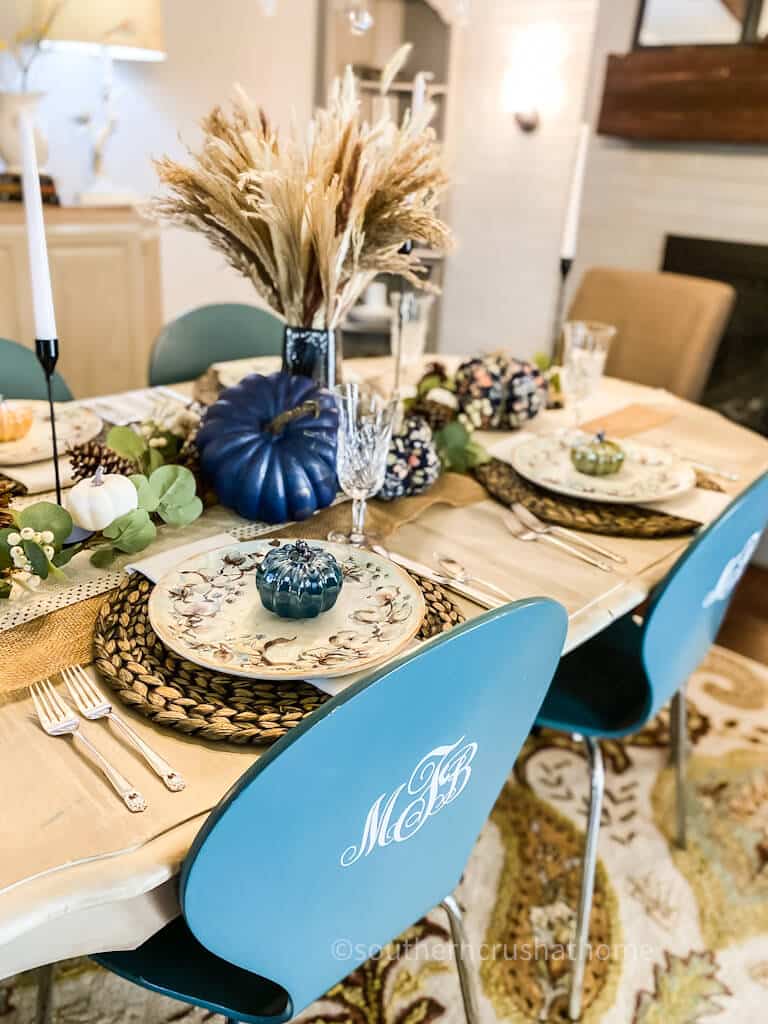
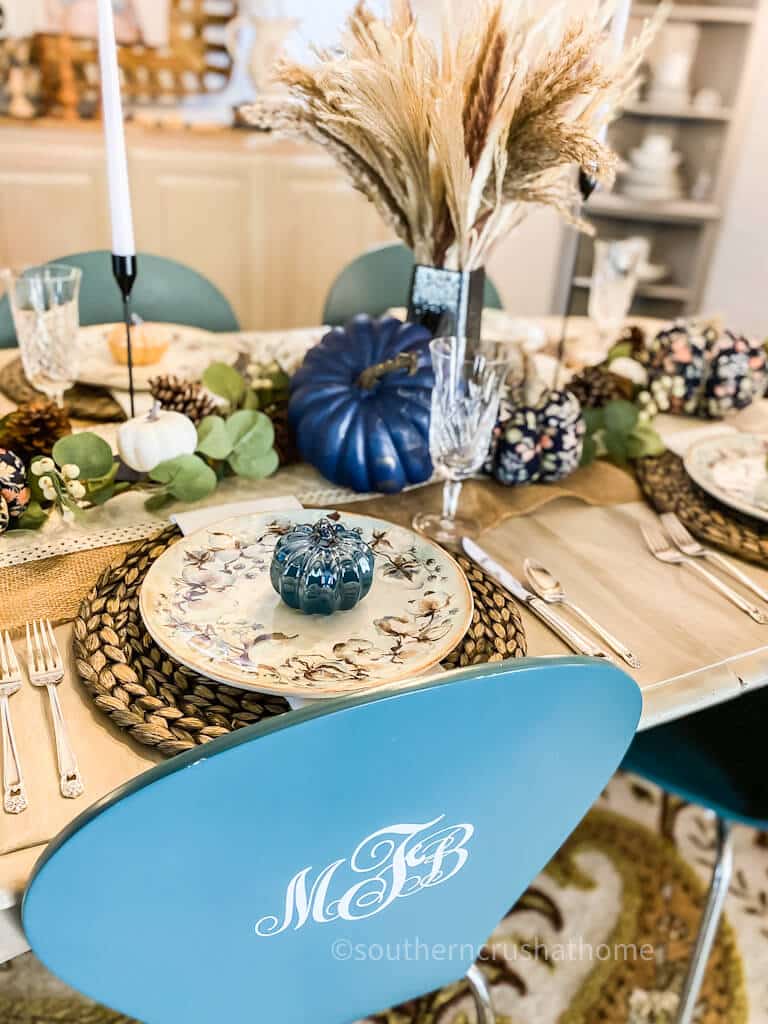
Don't settle for plain and boring when you can stand out with personalization! I’m here to guide you on one of the simplest ways to personalize your home décor with monogram initials using Cricut Joy. I added my initials to my modern dining room chairs and it immediately gave them a more classic look.
PIN this for later!
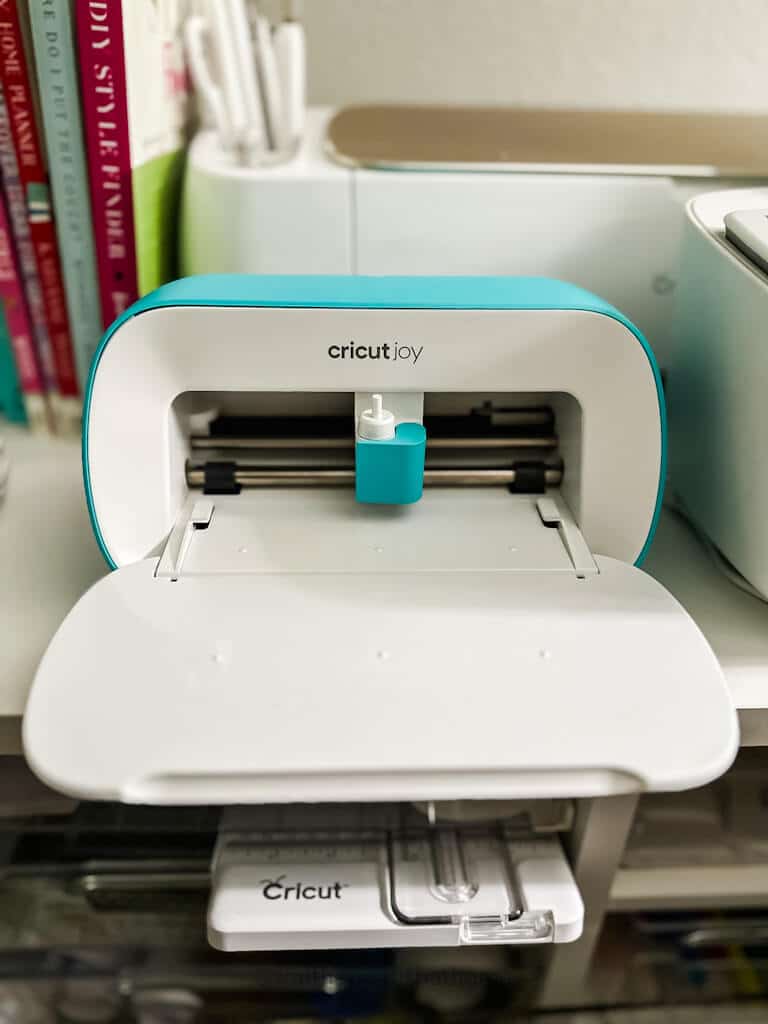
Cricut Joy is a smart cutting and writing machine that makes crafting easy and fun, especially for DIY enthusiasts. The best part is that making monogram initials is one of the easiest ways to take your home décor up a notch. So, without further ado, let’s dive into the process of making monogram initials with Cricut Joy.
This blog post contains affiliate links. The opinions are wholly my own from my own experience. I may earn a small commission from clicks through to the websites that end in a purchase.

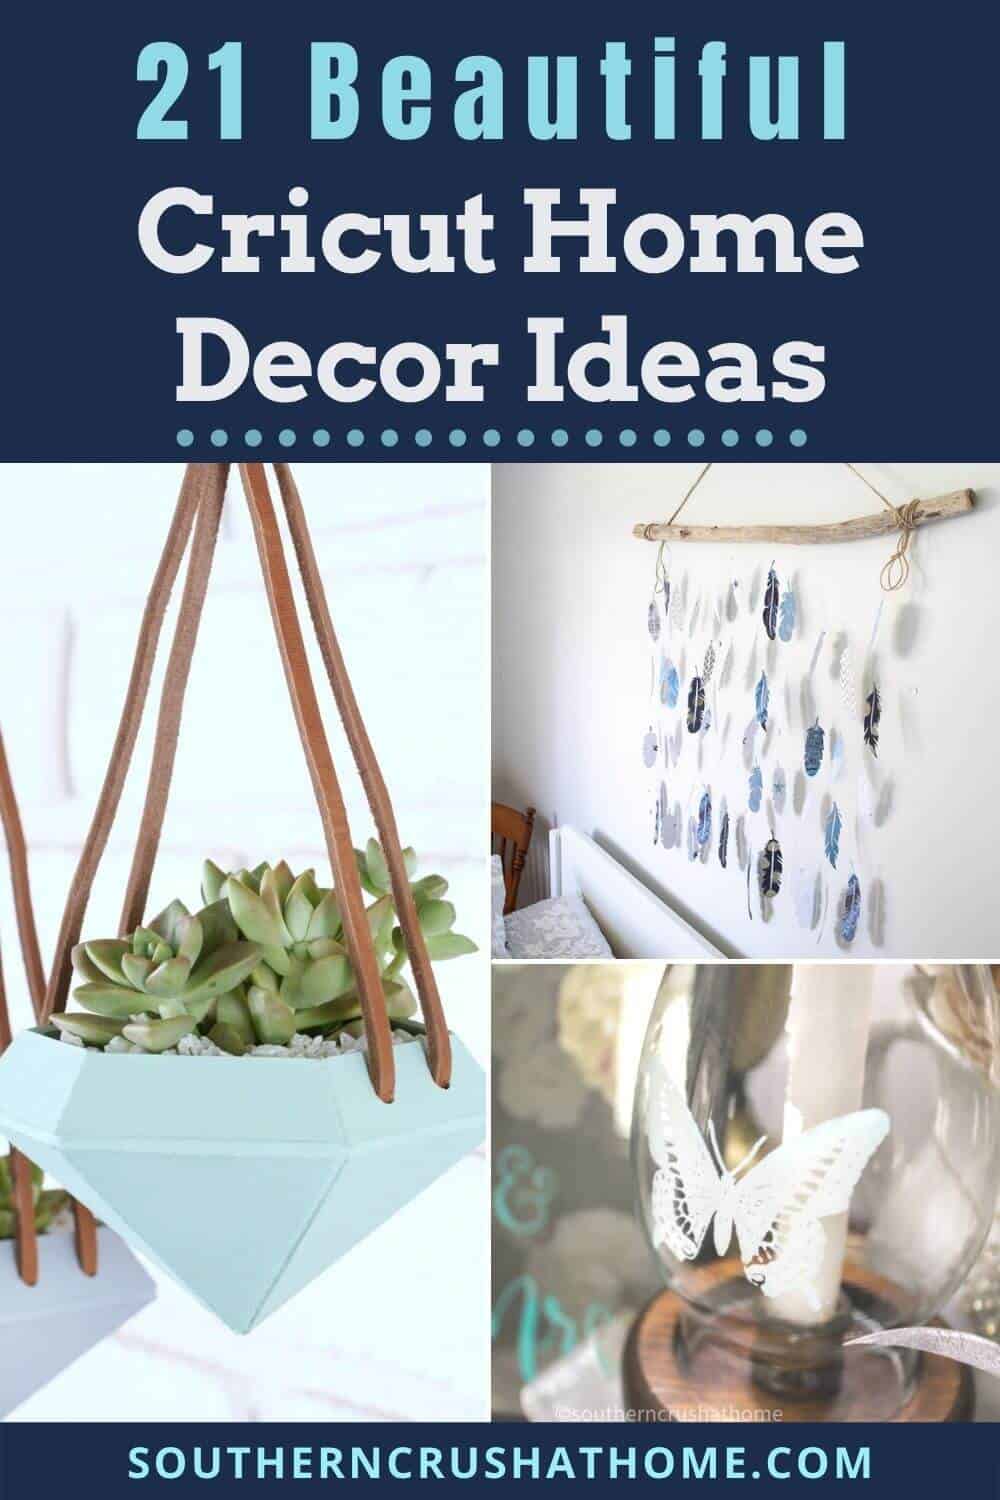
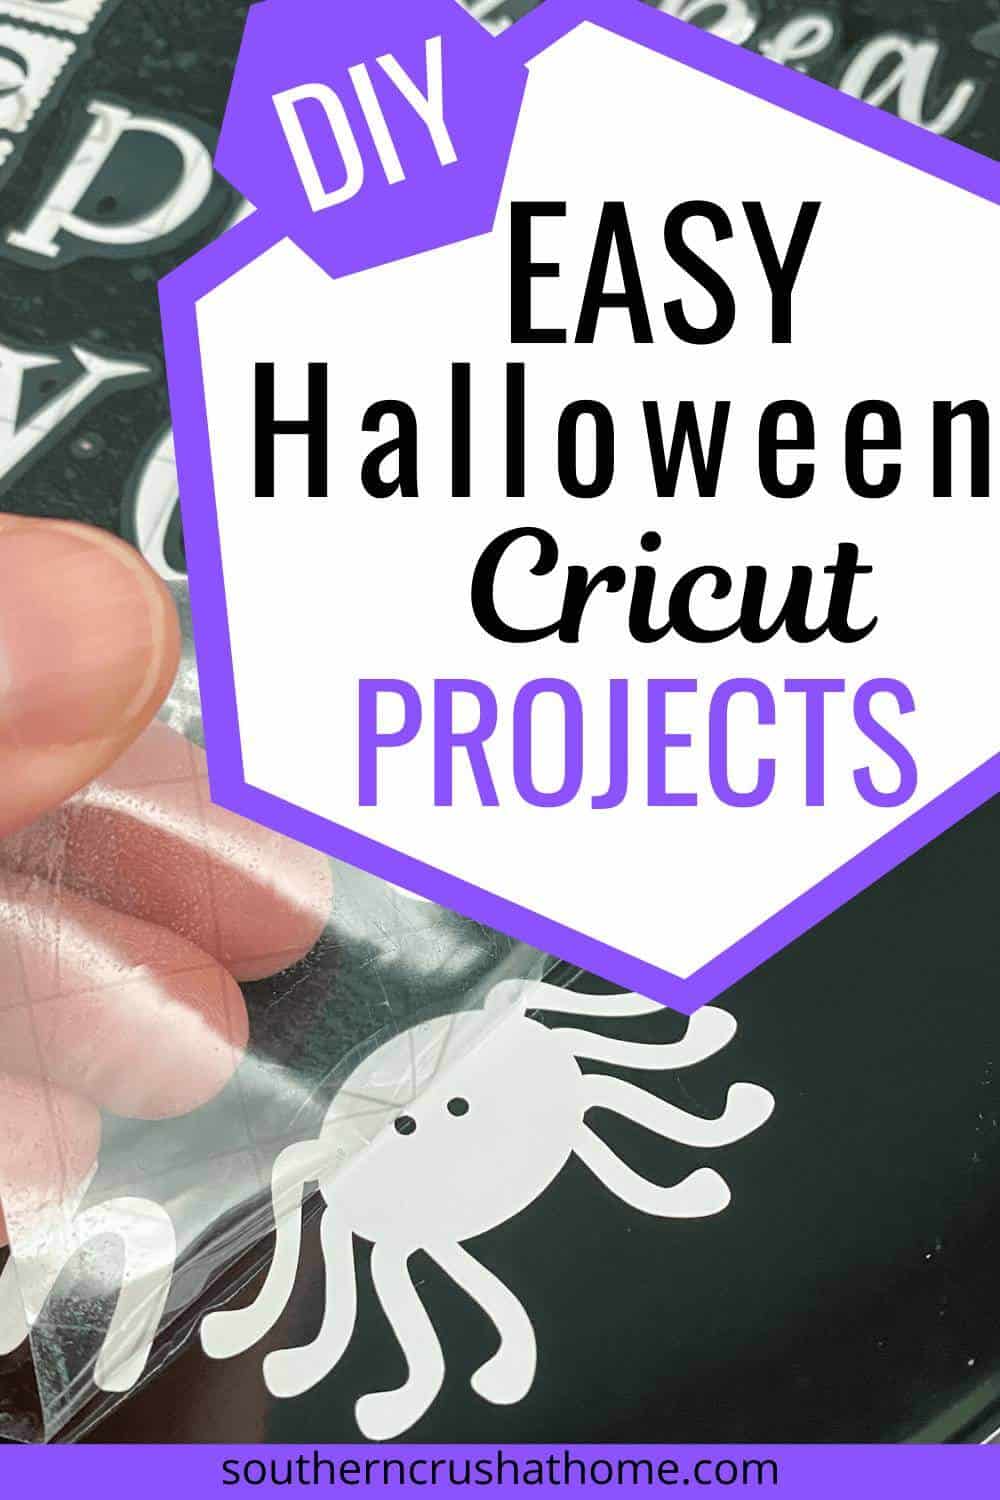
More Cricut Decorating Ideas!
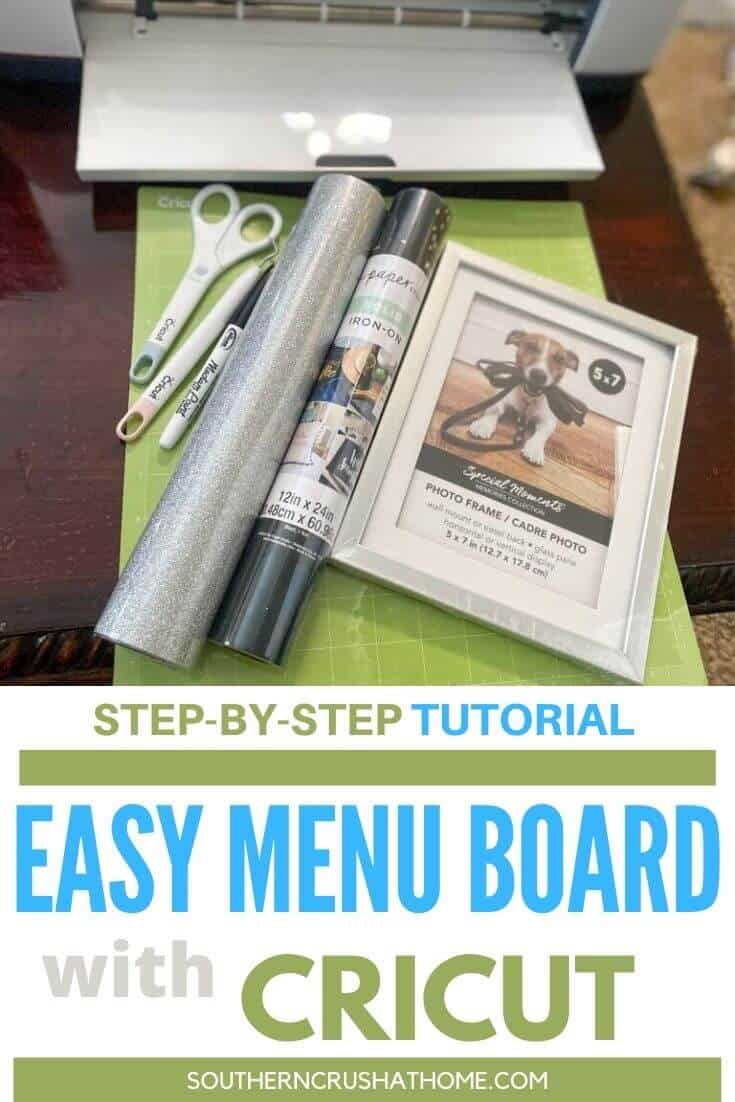
Supplies Needed for this DIY Project
- Cricut Joy machine
- Cricut Smart Vinyl
- Cricut transparent tape
- Cricut Tools
- Cricut Design Space Monogram design
How to Add a Monogram to Your Home Decor
Adding a simple or fancy monogram to any decor piece in your home will instantly dress it up! It's so simple and easy to do that anyone can do it with the help of my favorite Cricut machine, the Cricut Joy!
This is an Instagram reel that I made to show you a quick version of the process! Check it out and leave me a comment over there with what you think!
Step 1: Choose your Font Style
The first step you need to take is to choose the font style of your monogram through the Design Space. Once you have connected your Cricut Joy device to your laptop or computer, you can choose a font from the countless options available.
You can choose cursive, bold, italic, Greek, single initial, double initial, triple initials, circle monogram styles, or other types based on your personal preferences. Make sure the font style you select complements your home décor so that when it’s placed on a wall or artwork, it doesn’t look out of place.
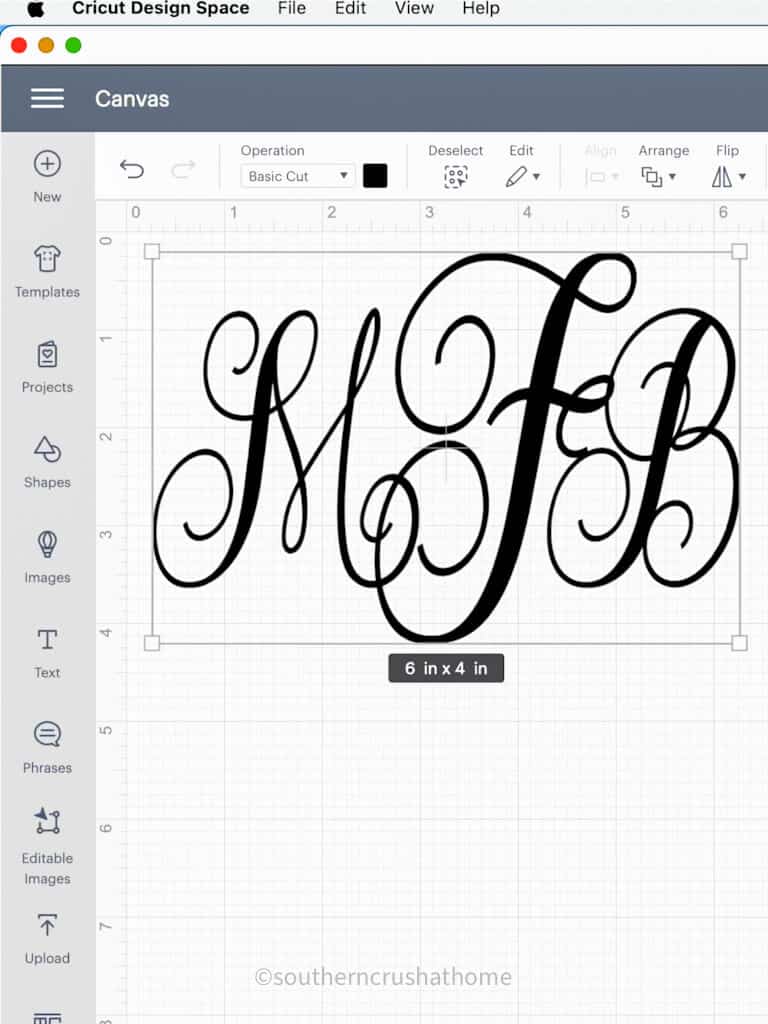
Pro Tip: On triple initial monograms, the middle initial is your last name and is typically .5x larger than the other two initials!
Step 2: Choose the Appropriate Material
Cricut Joy has an extensive range of materials with different colors and finishes that you can use for your projects, such as vinyl, paper, cardstock, and even Cricut iron-on. The choice of material depends on the purpose of the monogram – whether it's going to be used indoors or outdoors.
If it's a wall décor or synthetic material like my dining chairs, then Cricut smart vinyl will be an excellent choice as it sticks really well.
Step 3: Start Cutting with Cricut Joy
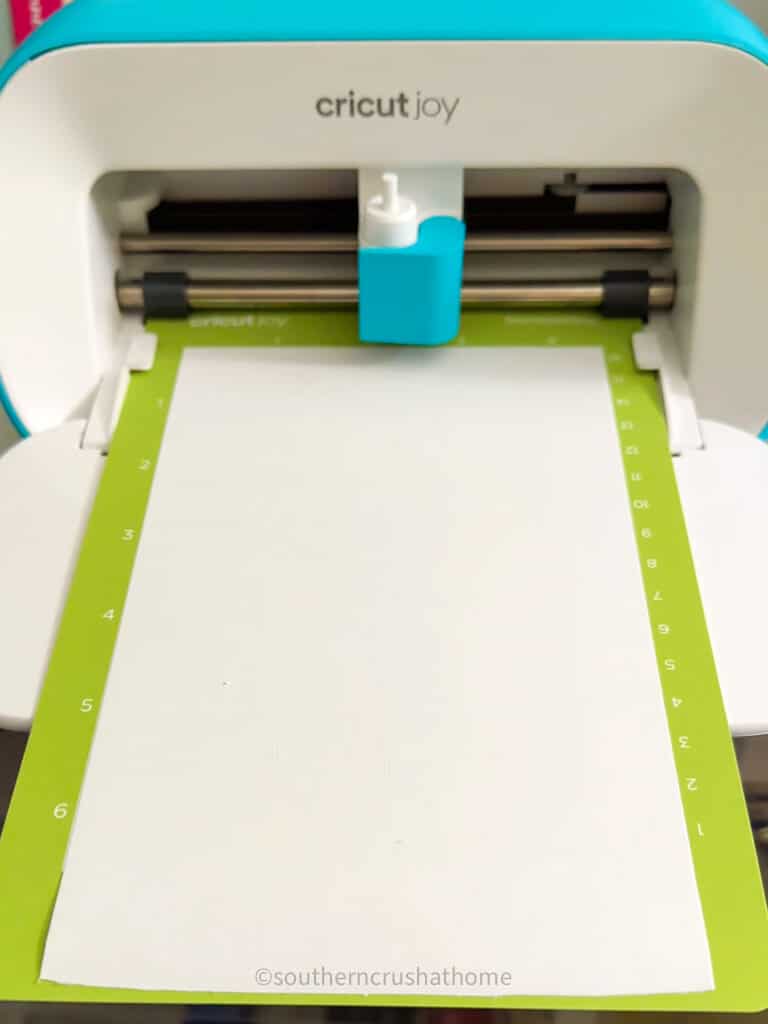
Once you have selected your preferred font style and material, it's time to start cutting using the Cricut Joy. Set the size of your monogram initials based on your surface size and start cutting using your personalized settings for blade depth and pressure.
Cricut Joy makes it extremely easy to cut materials because it takes care of most of the settings for you. Use your Cricut Joy mat (it's so small 4″x 6″ and oh so cute)! Make sure to double-check the size of your design and the material before you start cutting to avoid any wasted material.
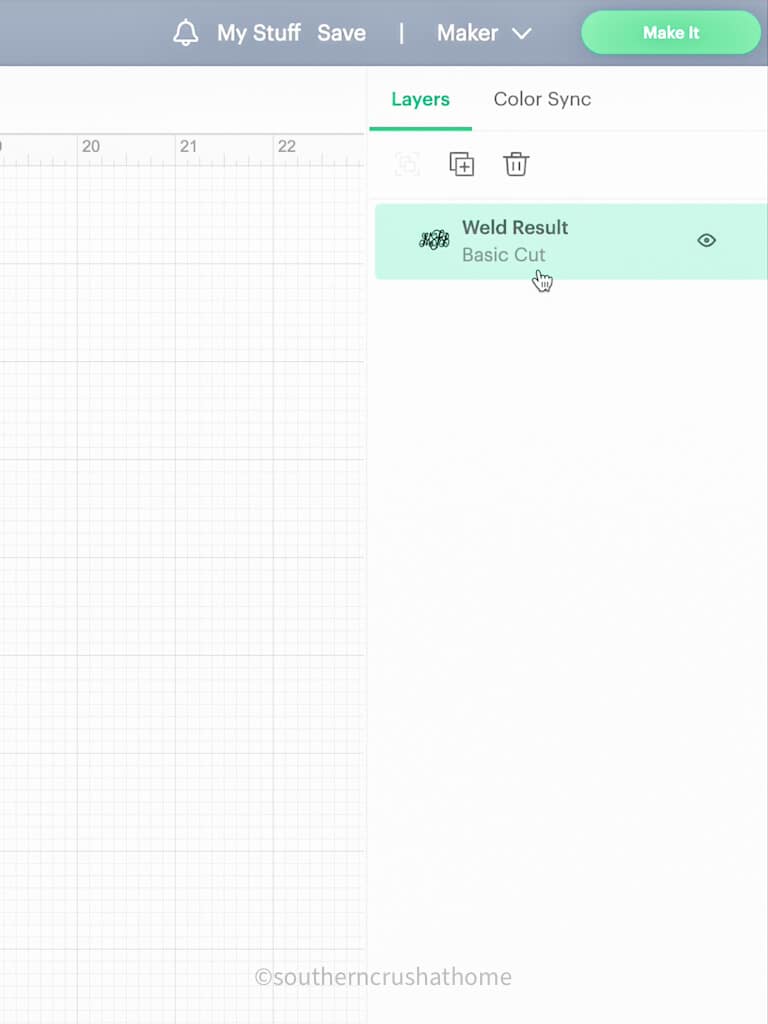
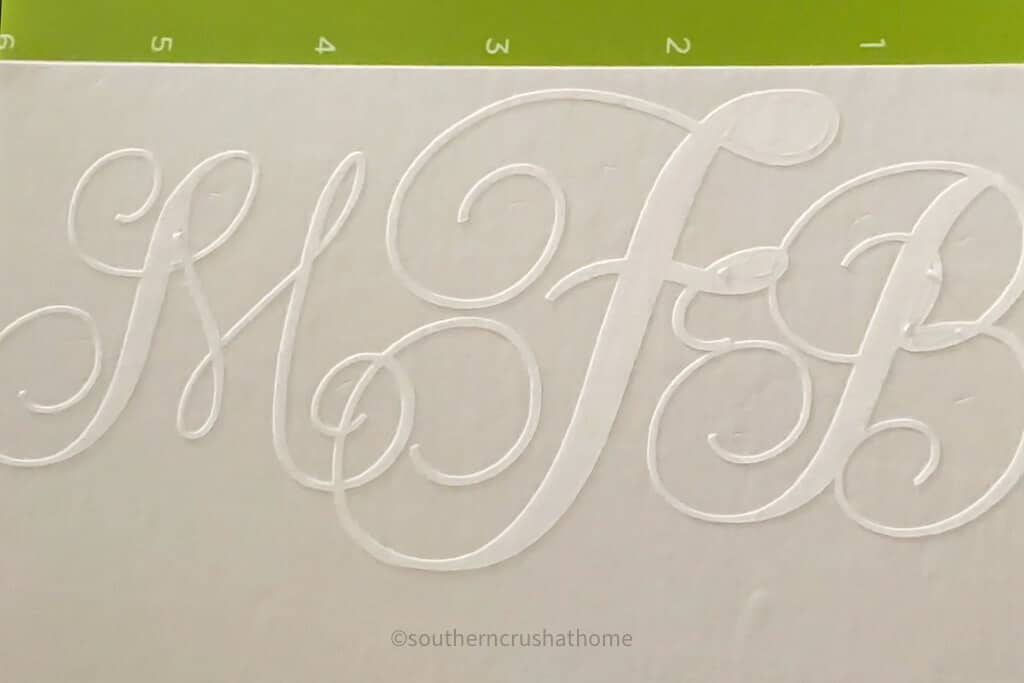
Once you have your monogram initials laid out in the Cricut design space, be sure to hit the “weld” button so that they are cut all together.
Step 4: Apply and Display
Now that you're finished with the cutting, it's time to remove the excess material from the design by weeding the vinyl in and between the monogram initials using the Cricut weeding tool. Next, add your Cricut transfer tape to the weeded design.
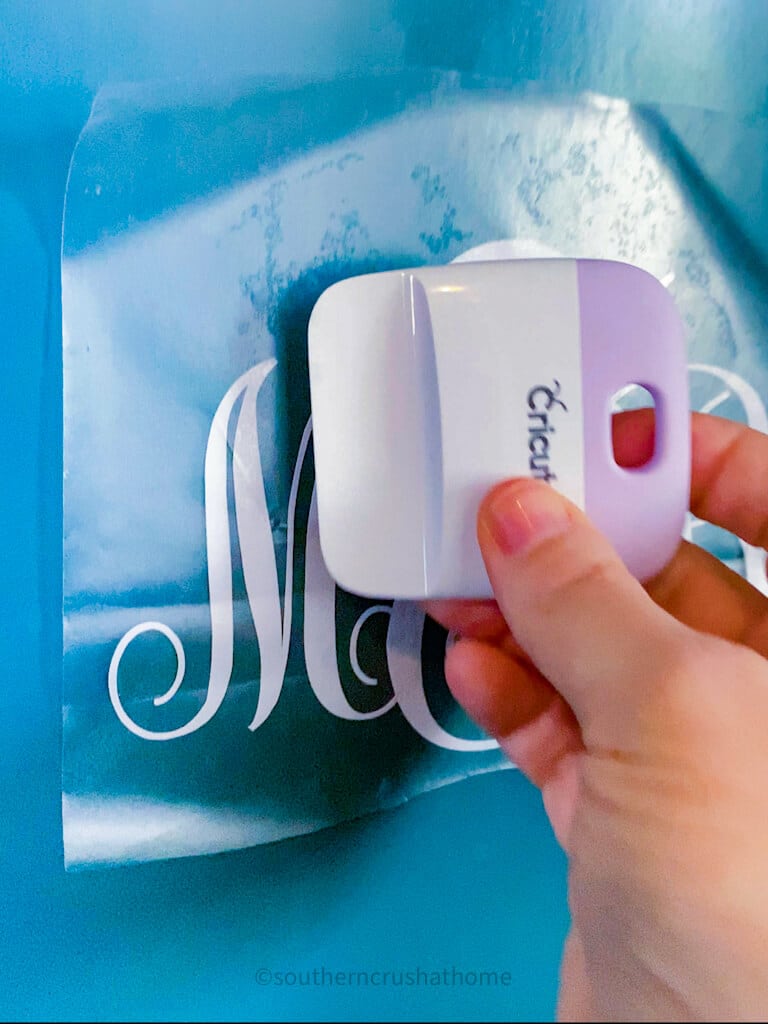
Start applying your new monogram initials to your desired surface area by using the Cricut burnishing tool shown.
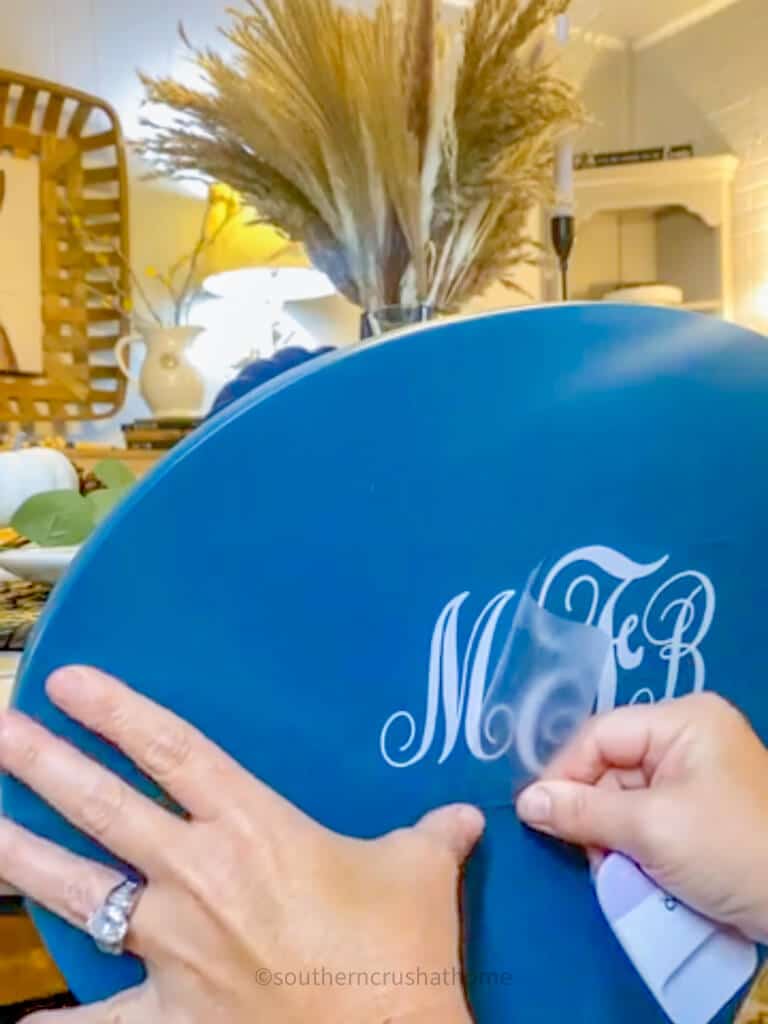
Carefully remove the transfer tape from the design using your fingers to press down the design as you go if needed.
Voila! You have your personalized monogram initials on your otherwise boring home decor!
Step 5: Personalize it further
If you really want to go the extra mile, you can add some final touches to the final design for a more personalized look. Some additional ideas include adding some colors, glitter, or even images to complement the monogram initials. Transform the monogram into something that’s uniquely yours and that complements your home décor.
Adding monogram initials to your home décor is a great way to personalize your space. With Cricut Joy’s user-friendly interface, the task becomes easy and more enjoyable. Whether you want to place your monogram on something in your outdoor area, living room décor or bedroom, the choice is entirely yours.
All you need is an idea, a font that complements the decor, an appropriate material, and Cricut Joy to perfect your monogram initial designs.
So what are you waiting for? Start personalizing your space today!

How to Make Monogram Initials For Your Home Decor using Cricut Joy
Equipment
Materials
- Cricut Smart Vinyl
- Cricut transparent tape
- Cricut Tools
- Cricut Design Space Monogram design
Instructions
- Step 1: Choose your Font Style
- The first step you need to take is to choose the font style of your monogram through the Design Space.
- Step 2: Choose the Appropriate Material
- Cricut Joy has an extensive range of materials with different colors and finishes that you can use for your projects, such as vinyl, paper, cardstock, and even Cricut iron-on.
- Step 3: Start Cutting with Cricut Joy
- Once you have selected your preferred font style and material, it's time to start cutting using the Cricut Joy.
- Step 4: Apply and Display
- Now that you're finished with the cutting, it's time to remove the excess material from the design by weeding the vinyl in and between the monogram initials using the Cricut weeding tool. Next, add your Cricut transfer tape to the weeded design.
- Start applying your new monogram initials to your desired surface area by using the Cricut burnishing tool shown.
- Carefully remove the transfer tape from the design using your fingers to press down the design as you go if needed.