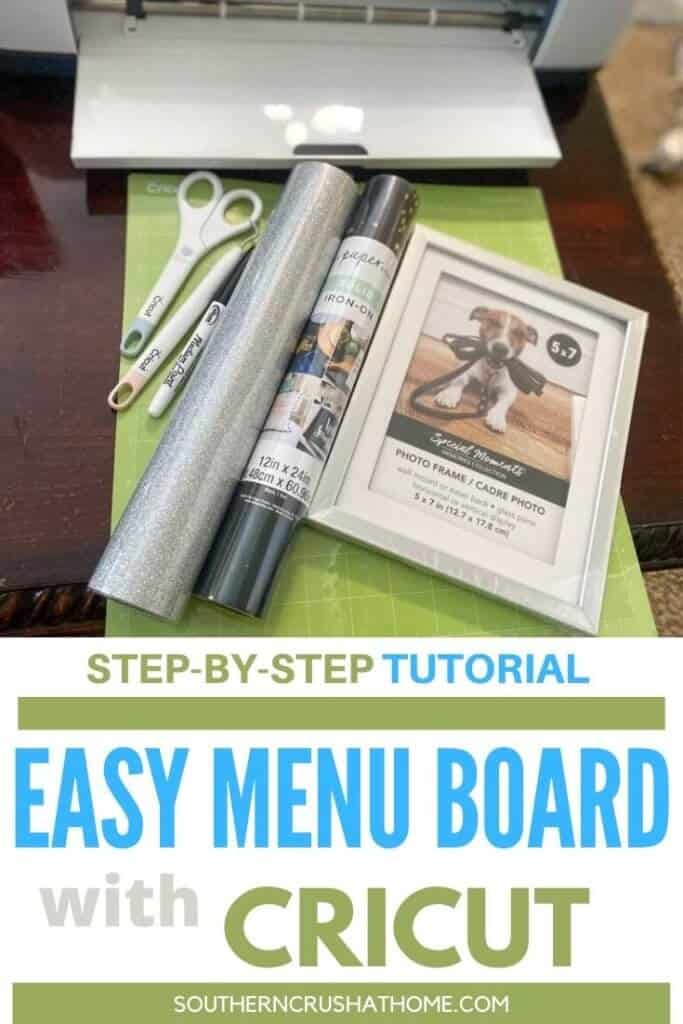
How to Create an Easy Menu Board (using a Cricut Machine)
Looking for a quick and easy way to create a menu board? Look no further than your Cricut machine! With just a few simple steps, you can easily create a custom menu board that will fit your needs perfectly. Plus, with all the different fonts and designs available on Cricut design space, the possibilities are endless! So get creative and give it a try today!

Whether you're a mom trying to keep track of your family's schedule, or a homeowner looking for an easy way to organize your grocery list, having a menu board is a perfect solution. And luckily, creating one is easier than you might think – especially if you have a Cricut machine!
In this tutorial, I'll show you how to make an easy menu board using materials that are easily available online or at your local Dollar Tree store. So whether you're new to crafting or a seasoned pro, follow along and create your own cute farmhouse style menu board today!
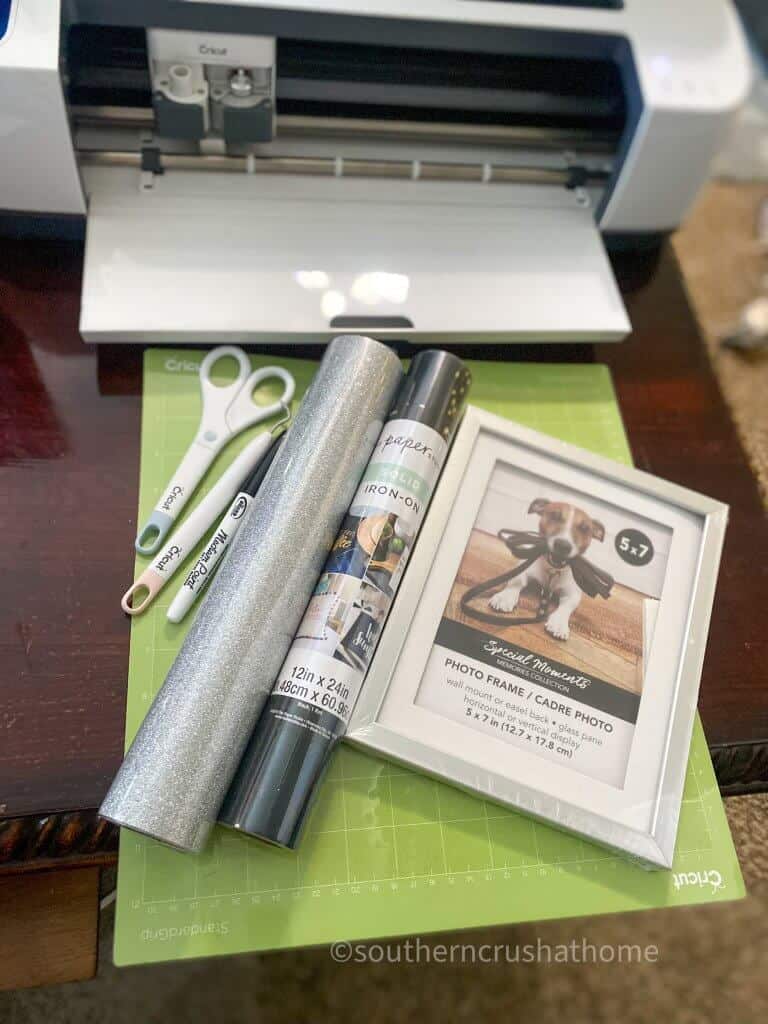
supplies needed for Menu Board COMMAND CENTER
All the supplies needed can also be found HERE in my Amazon Shop!
- Cricut Machine
- Cutting Mat
- 3 Dollar Tree Photo Frames
- Chalkboard Stickers – Dollar Tree
- Dollar Tree Foam Board
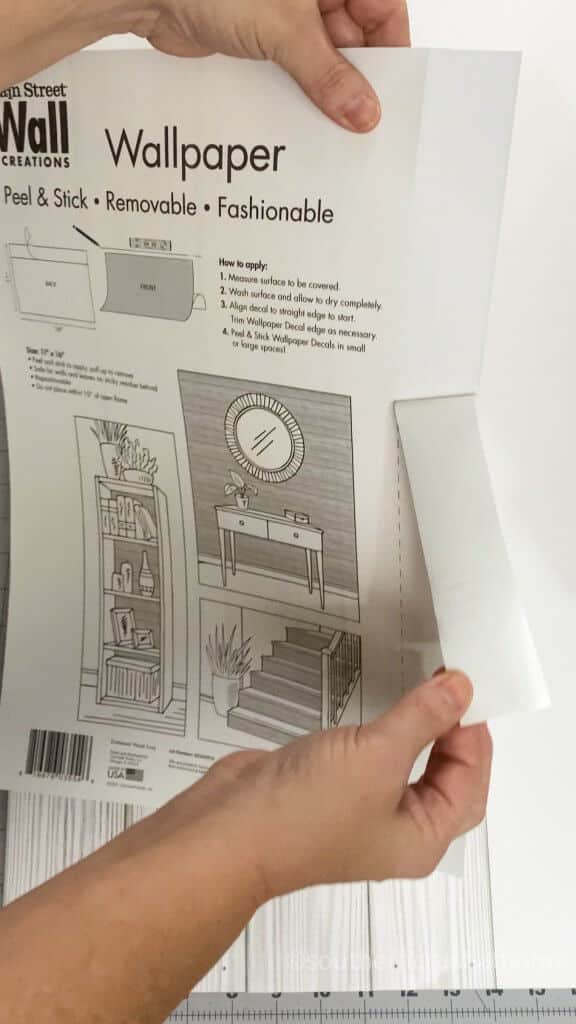
- Shiplap Peel & Stick Wallpaper (Dollar Tree)
- Black Iron-On Vinyl
- Removable Vinyl (White and Black)
- Cork Sheet Sticker from Dollar Tree
- 8×11 white piece of paper
- Scissors
- Weeding Tool
- Burnishing Tool
How to make an Easy Menu Board (using a Cricut Machine)
step 1.
Use your Cricut machine to create a the project's cut files. You can download the designs I used on Cricut Design Space HERE.
The great thing about this project is you can choose any three words you desire. Here are a few ideas.
- list
- menu
- stuff
- to to
- reminders
- receipts
- today
- tomorrow
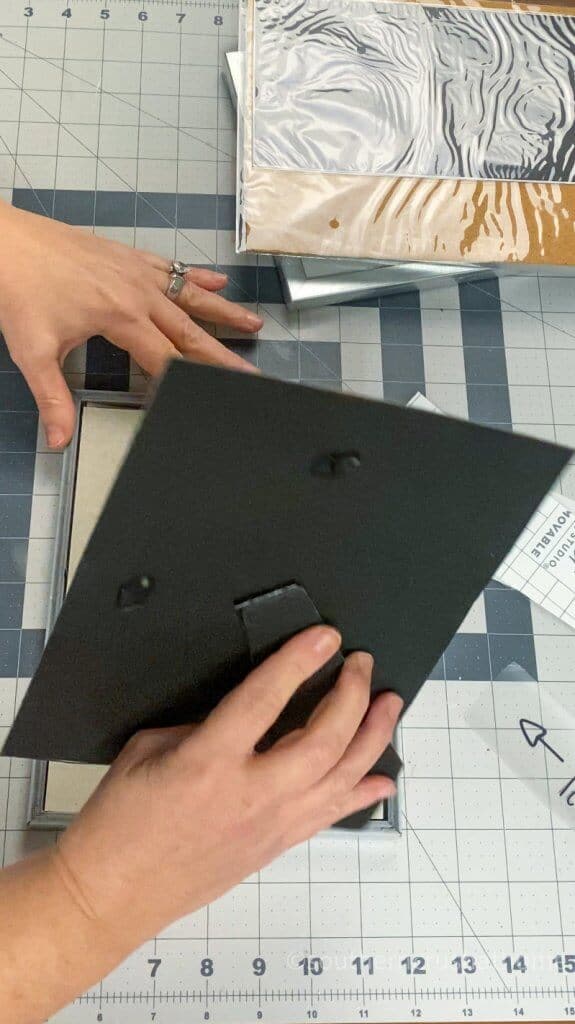
step 2.
Start by removing what I like to call the “guts” of the frames. Discard the mat, but reserve the insert, glass and backing.
For the first frame, we are using the chalkboard stickers from Dollar Tree. Check to see if your local DT has a Crafter's Square section. If so, get ready to be amazed!
They have so many craft items that will save you so much money. You definitely want to stock up when they have the items you need as they sell out quickly.
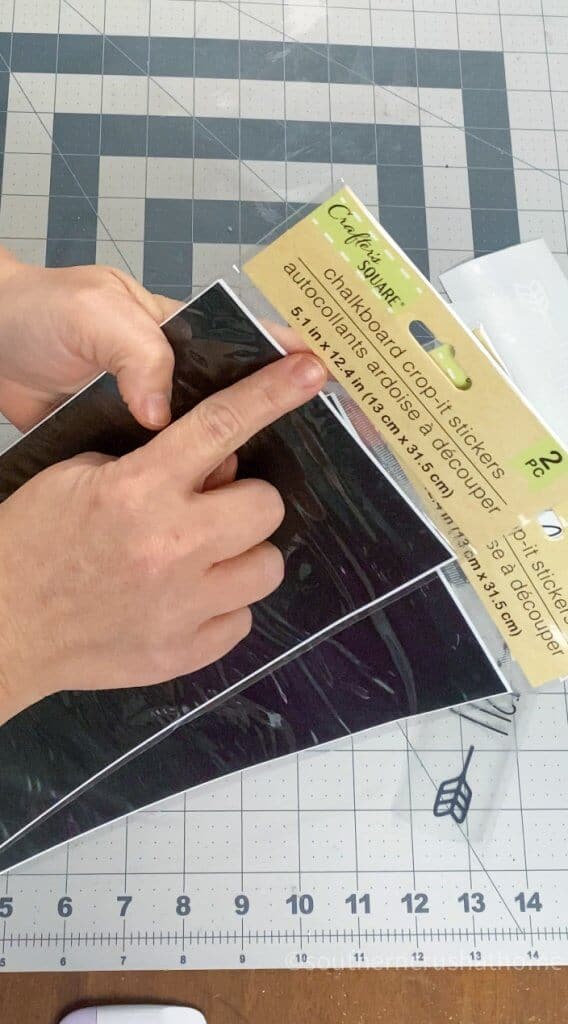
They come in a package of two, you just peel off the backing as you would with regular stickers. I cut them to fit over the original insert. Quick & easy! 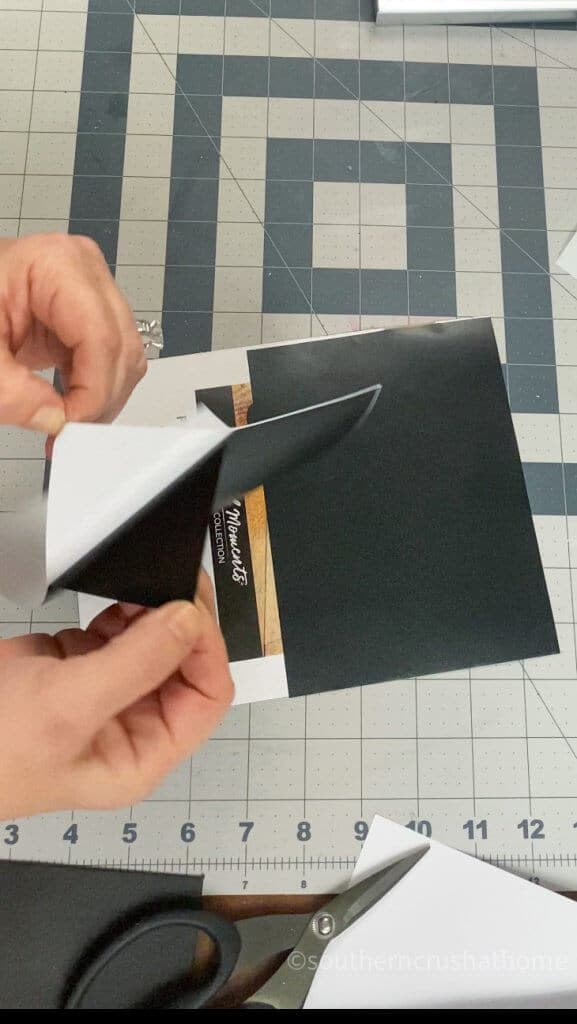
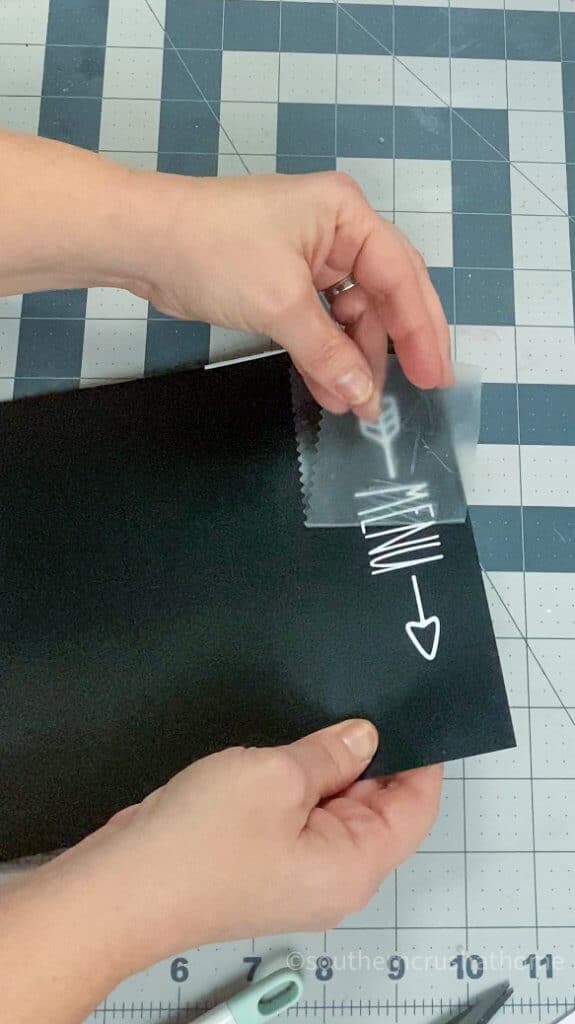
step 3.
Add the cut vinyl to the chalkboard paper. You can use a credit card or squeegee tool to smooth out any wrinkles and burnish the vinyl. Then peel back to reveal the design.
step 4.
Replace the backing into the frame. Hot glue a pretty buffalo check ribbon bow to the corner of the menu board.
step 5.
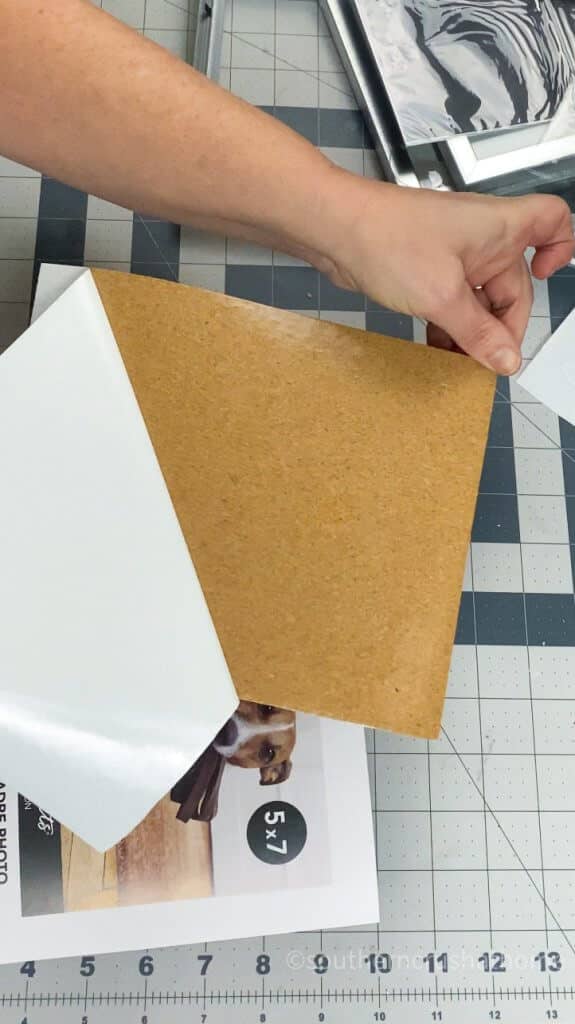
Now that you have the menu board complete, you want to follow the same process with the cork sheet.
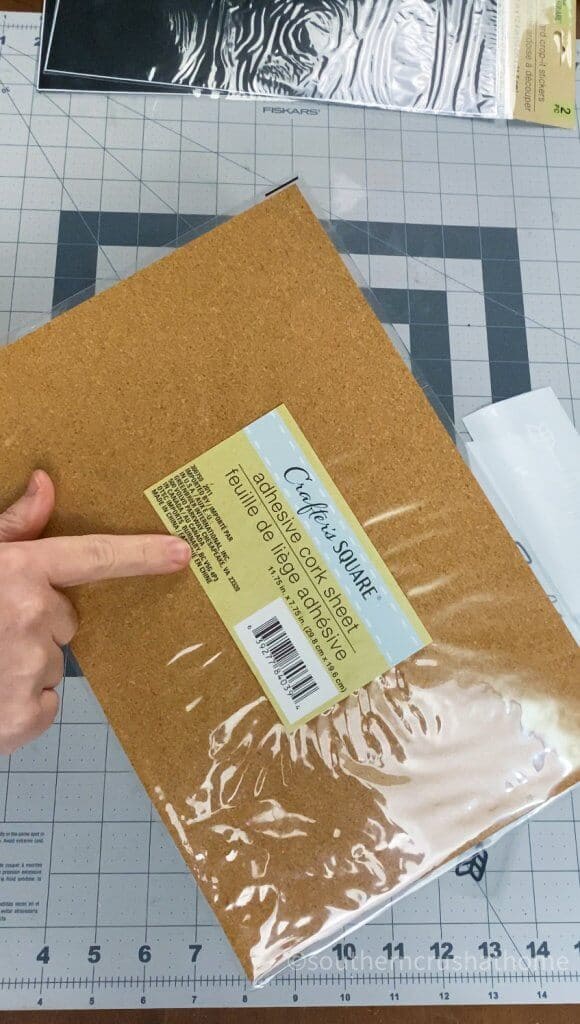
These adhesive cork sheets are also from Dollar Tree. Cut to size and secure it to the frame insert. Easy peasy!
step 6.
Place the “list” design on the cork sheet. You can already see how great this is going to be!
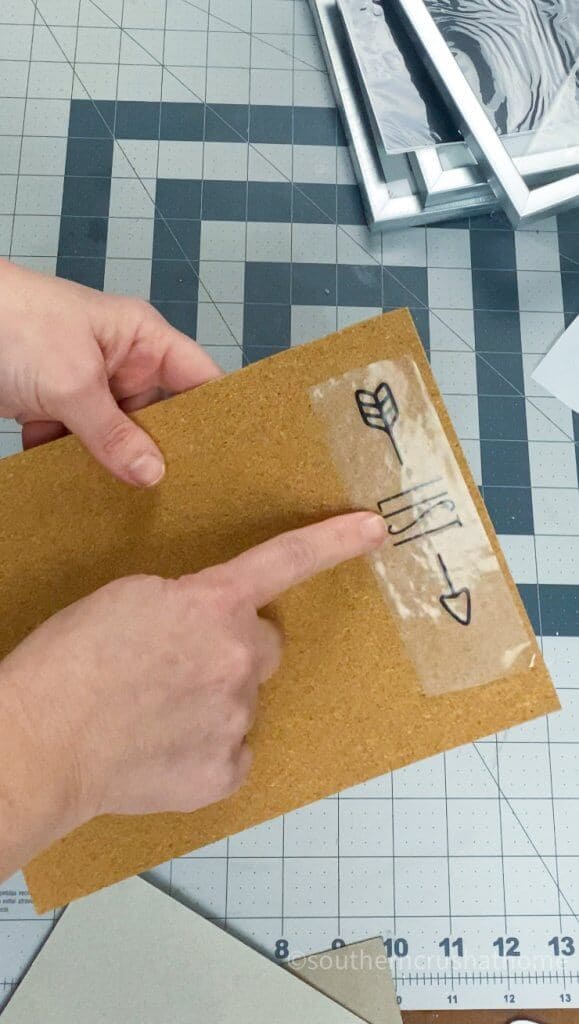
Now using the Cricut Easy Press (or a regular iron on low setting) press down on the design using a thing piece of fabric in between.
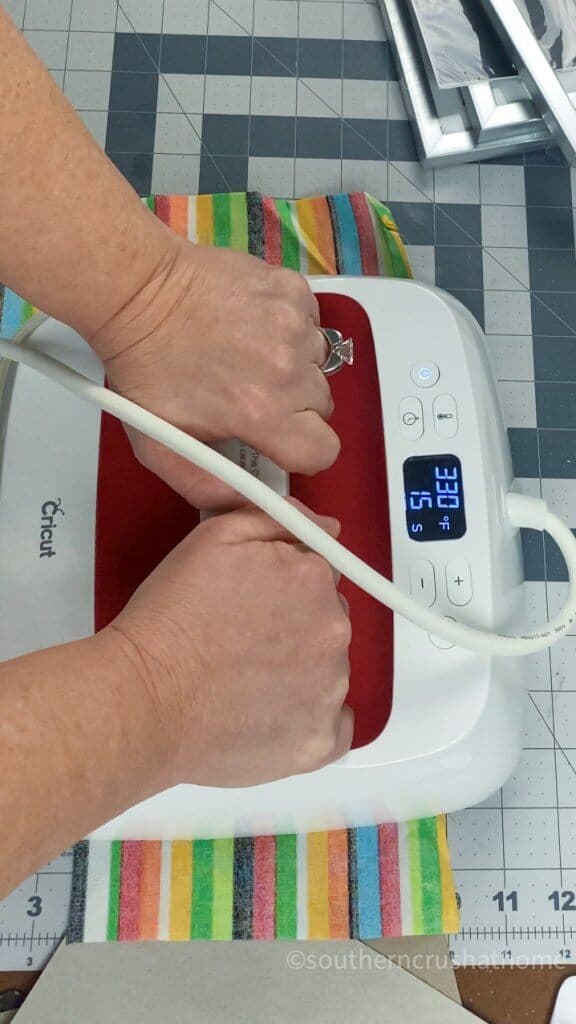
After about 30 seconds of low heat, burnish the design using the Cricut tool to ensure the iron on vinyl adhered to the cork sheet. 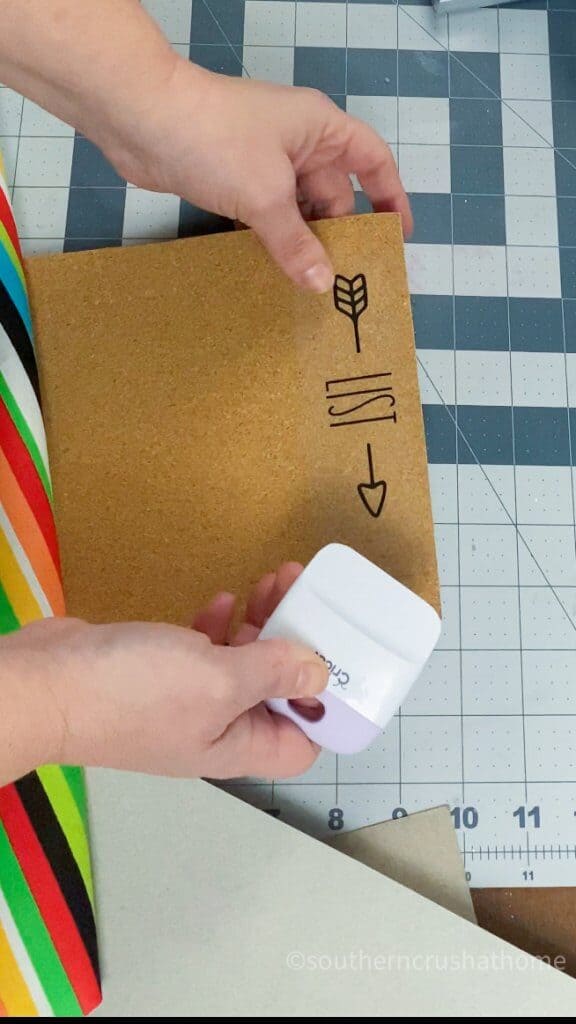
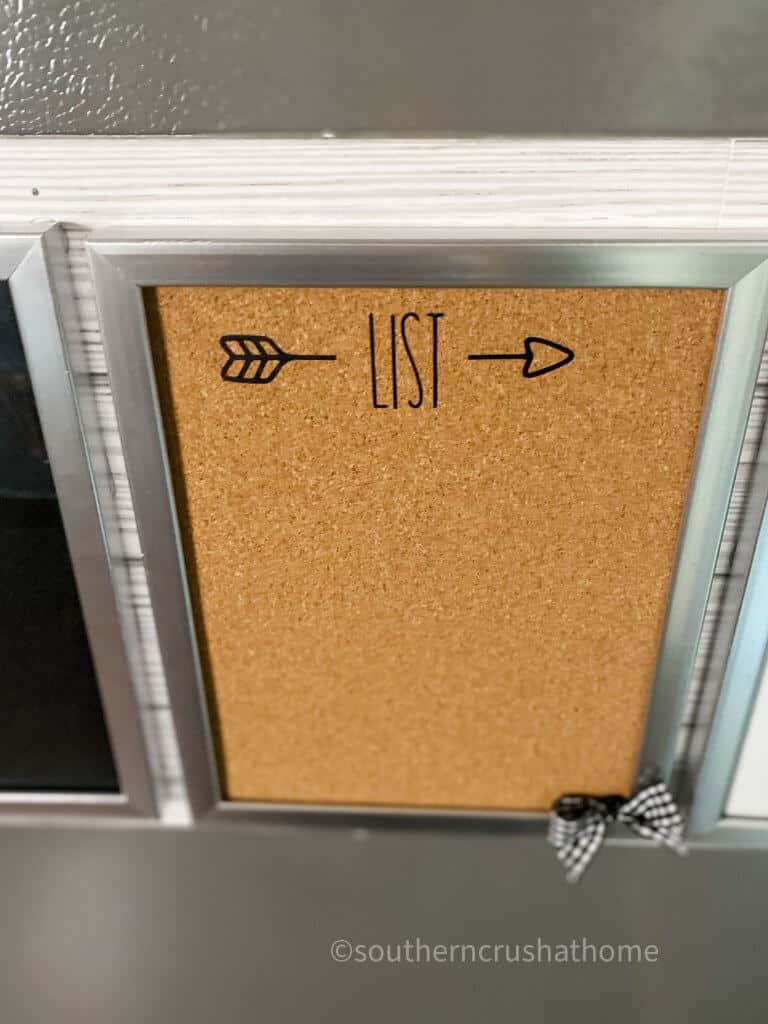
Add a buffalo check bow to the bottom corner of the frame with hot glue. It's now time to add some cute push pins to this cork board!
step 7.
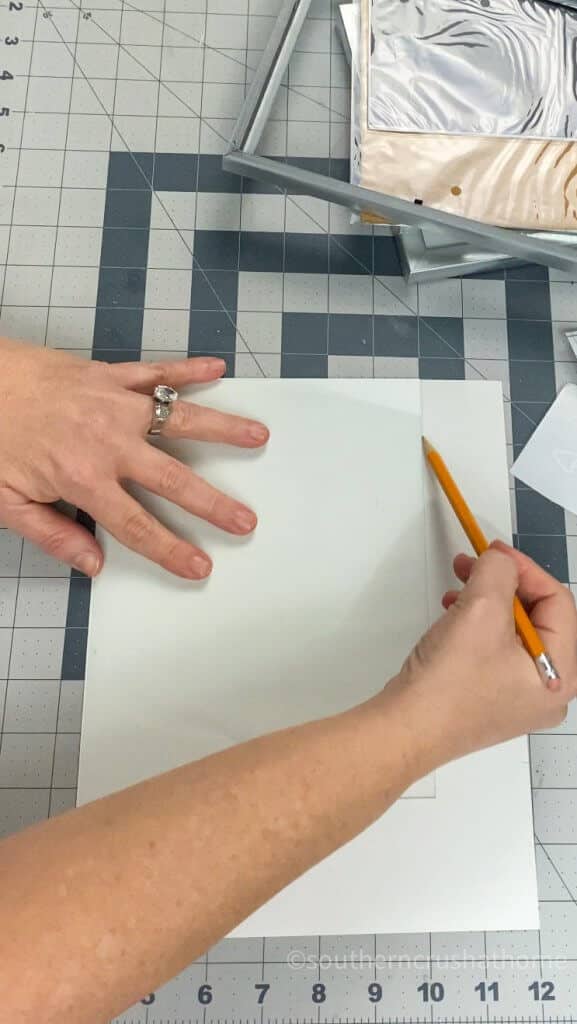
For the final frame, you are going to follow the same steps of cutting the white paper to fit into the frame.
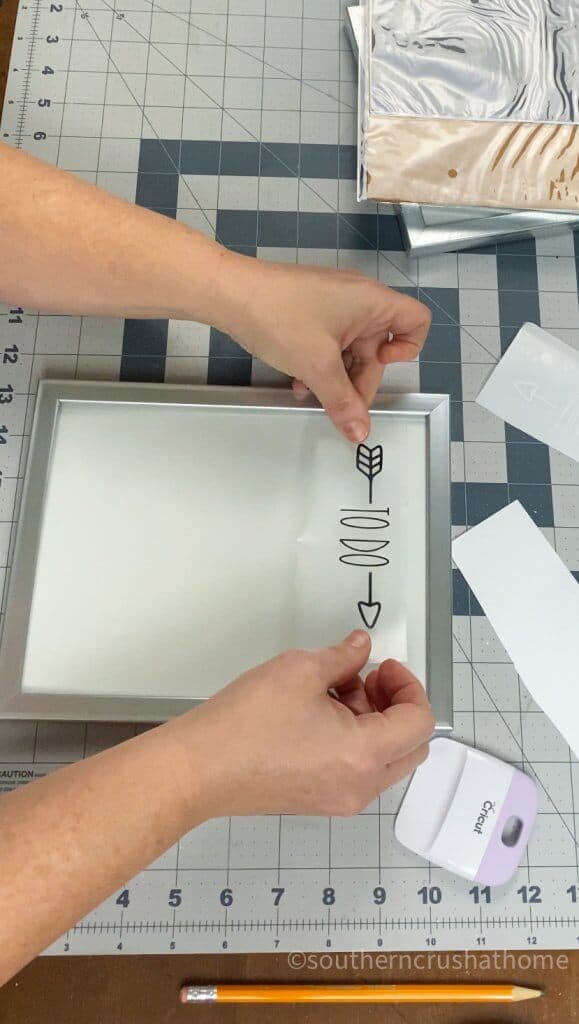
step 8.
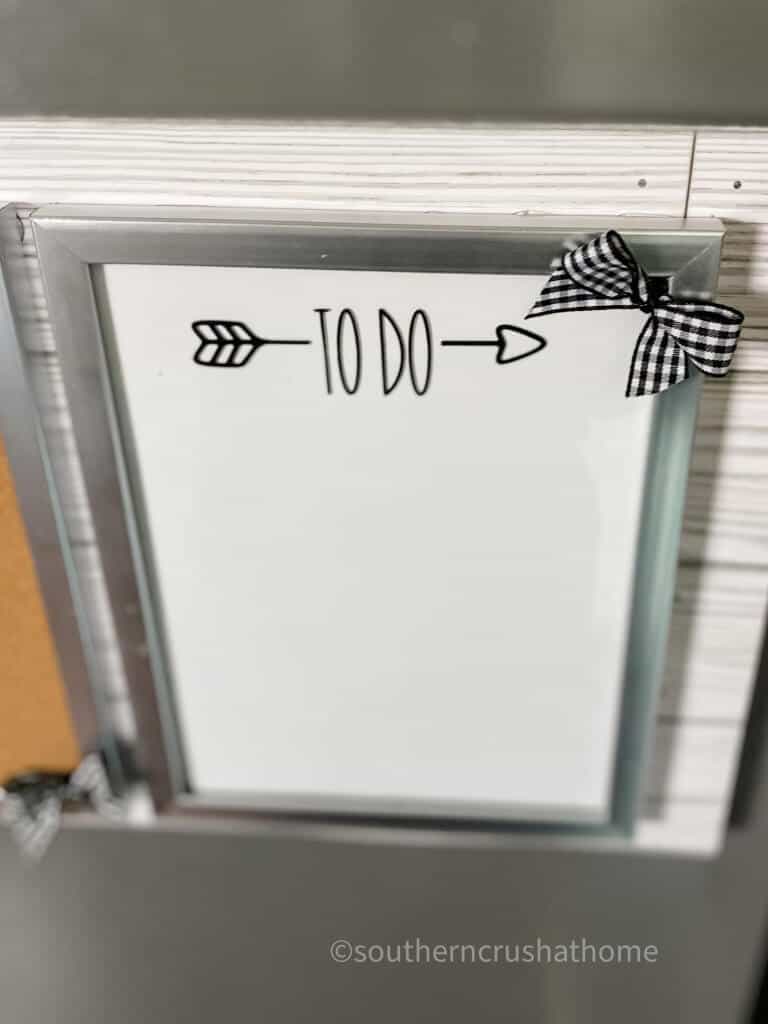
Replace the sized paper and glass as well as the backing for the frame. Taking the “to do” design and place it on the glass. Burnish it and then reveal the design.
Hot glue another buffalo check bow to the corner. It looks good when you add it to the opposite corner of the menu board.
step 9.
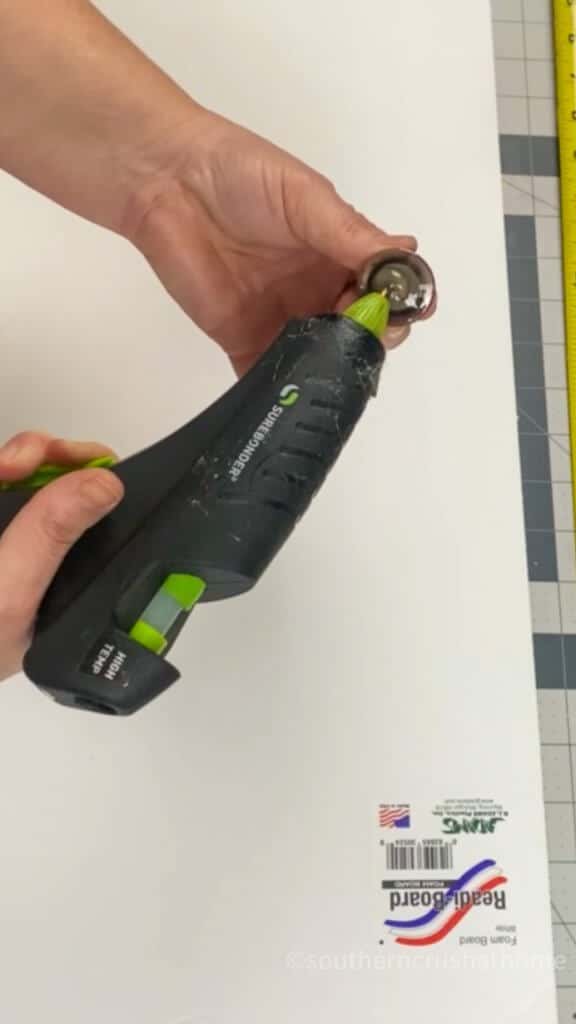
Now that you have 3 boards complete, you want to place them on the foam board. Add the peel and stick Dollar Tree wallpaper to the piece of foam board.
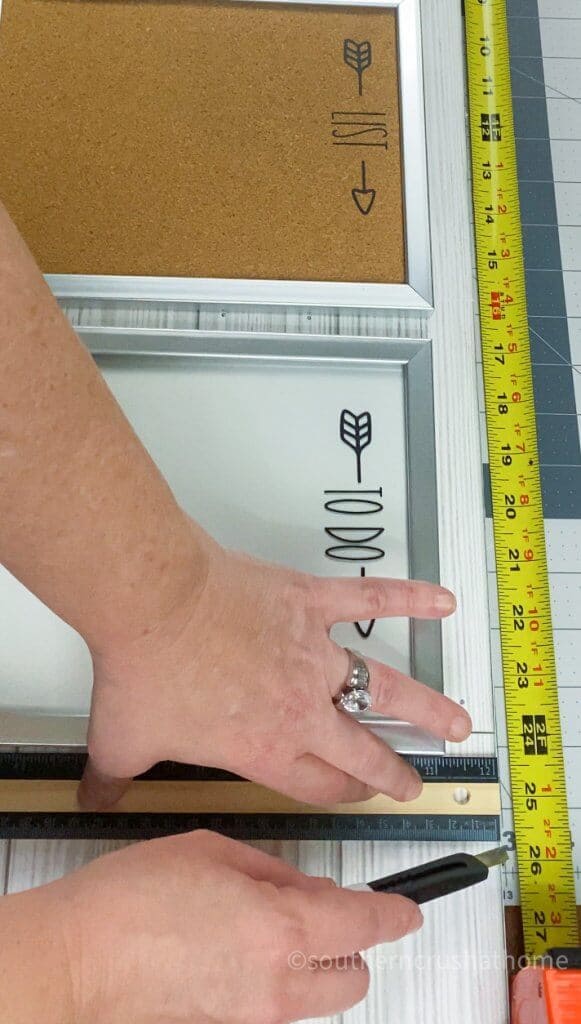
Space the frames apart to where you want them to go. Be sure to use a measuring tape so they are nice and even. Cut the foam board to fit with a straight edge craft knife.
Easy Menu Board with a Cricut Machine
The final step is to hot glue each frame to the foam board backing. You want to add the glue nice and heavy so it is secure.
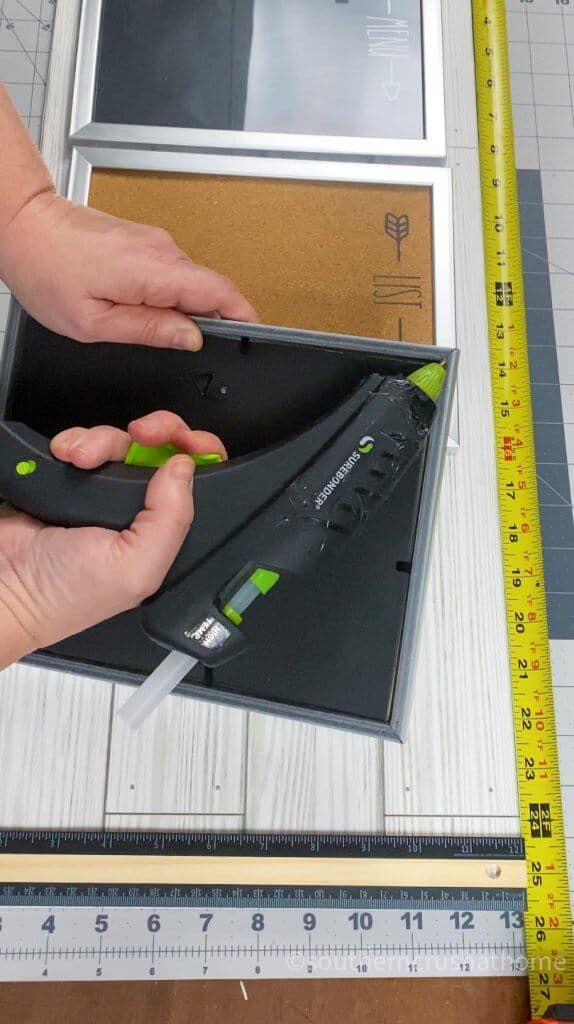
Then hot glue magnets to the back of the foam board in all four corners so that it will hang on the refrigerator.
STEP BY STEP VIDEO TUTORIAL
If you want to see the exact step-by-step process, be sure to check out this video below over on my YouTube Channel!

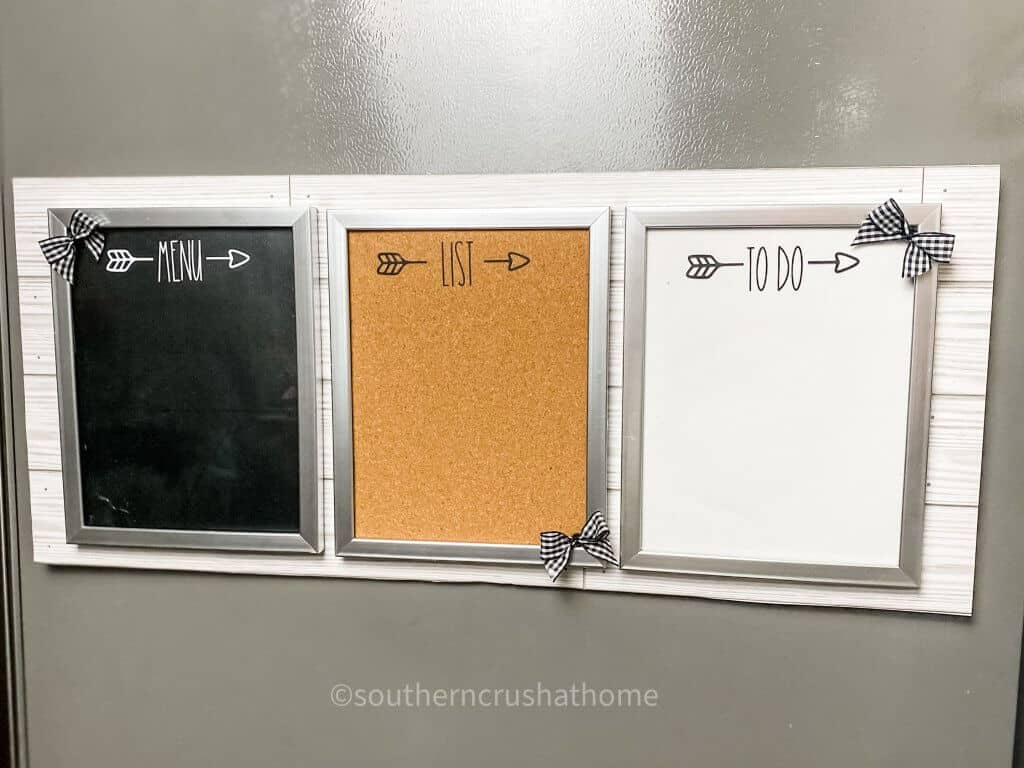
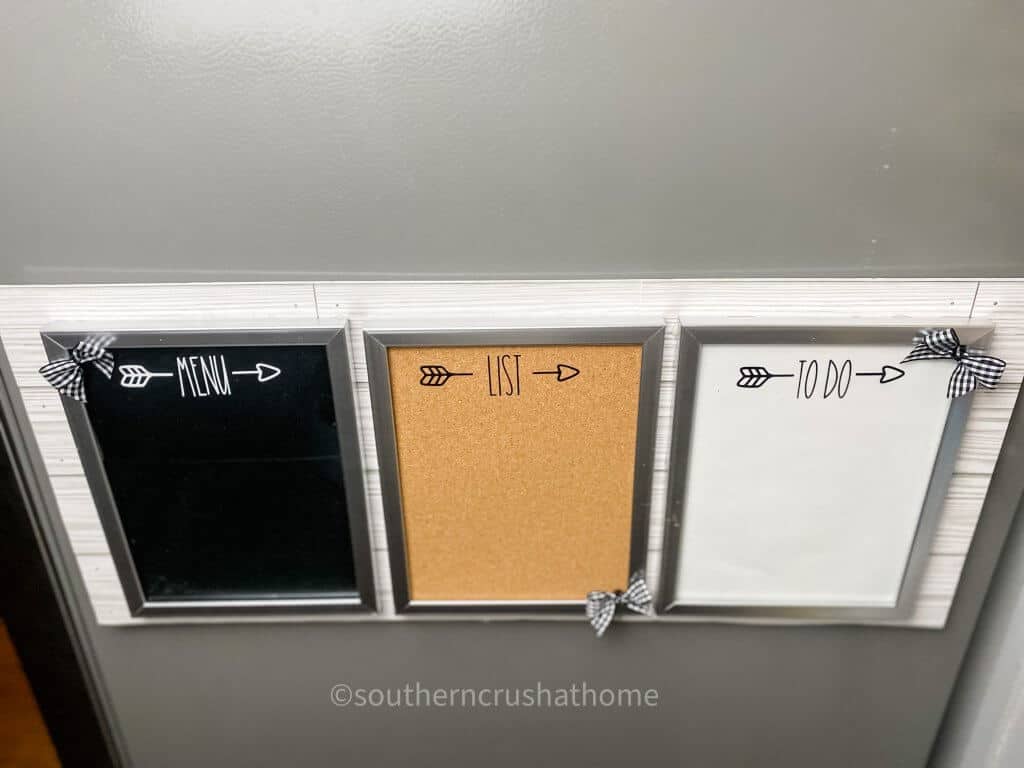
The faux shiplap look is so farmhouse. Since the menu board is magnetic it is perfect for a refrigerator command center.
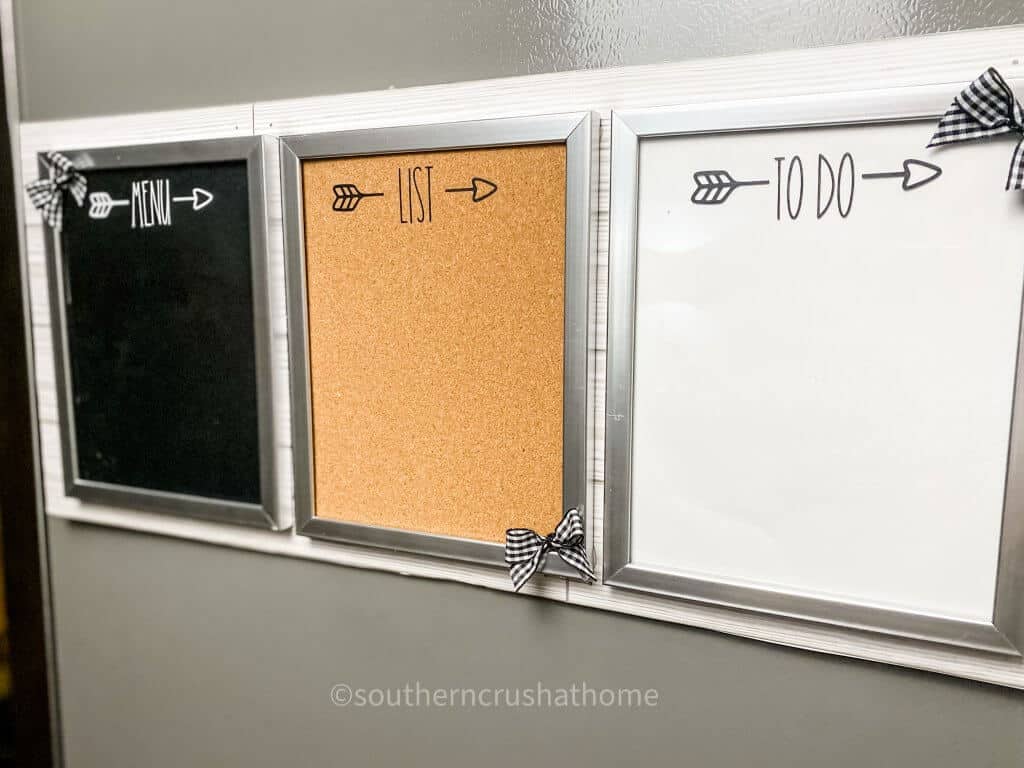
Doesn't this look amazing?! I'm just giddy with how it turned out and you can't beat the price with most of the supplies coming from the Dollar Tree.
Not only is this a fun project to make, but it's also a great way to stay organized and plan your meals ahead of time.
So what are you waiting for? Make one of these for your kitchen today!
Be sure to PIN this for later!
BE SURE TO CHECK OUT THESE OTHER cricut IDEAS!
Cricut Menu Board
Equipment
- Cricut Cutting Machine
- Craft Knife
- Burnishing Tool
Materials
- Cutting Mat
- 3 Photo Frame
- Chalkboard Stickers
- Black Iron-On Vinyl
- White and Black Vinyl
- Cork Sheet
- Foam Board
- Peel and Stick Wallpaper
Instructions
- Cut the black chalkboard sticker to size to fit inside the photo frame.
- Use your Cricut machine to create a menu cut file.
- Hot glue a pretty buffalo check ribbon to the corner of the menu board.
- Cut the adhesive cork sheets to size and secure it to the frame backing.
- Create "list" on Cricut Design Space and burnish it to the cork sheet. place it back in the frame with a little hot glue.
- Cut the white board to fit into the frame.
- Use your Cricut to cut out "to do" and burnish it to the white board.
- Hot glue the buffalo check bow to the corner.
- Place the 3 finished frames on the faux wood board and space them out. Mark where you want to cut it.
- Cut the foam board with a craft knife.
- Hot glue each frame to the foam board. Hang on your refrigerator!
2 Comments