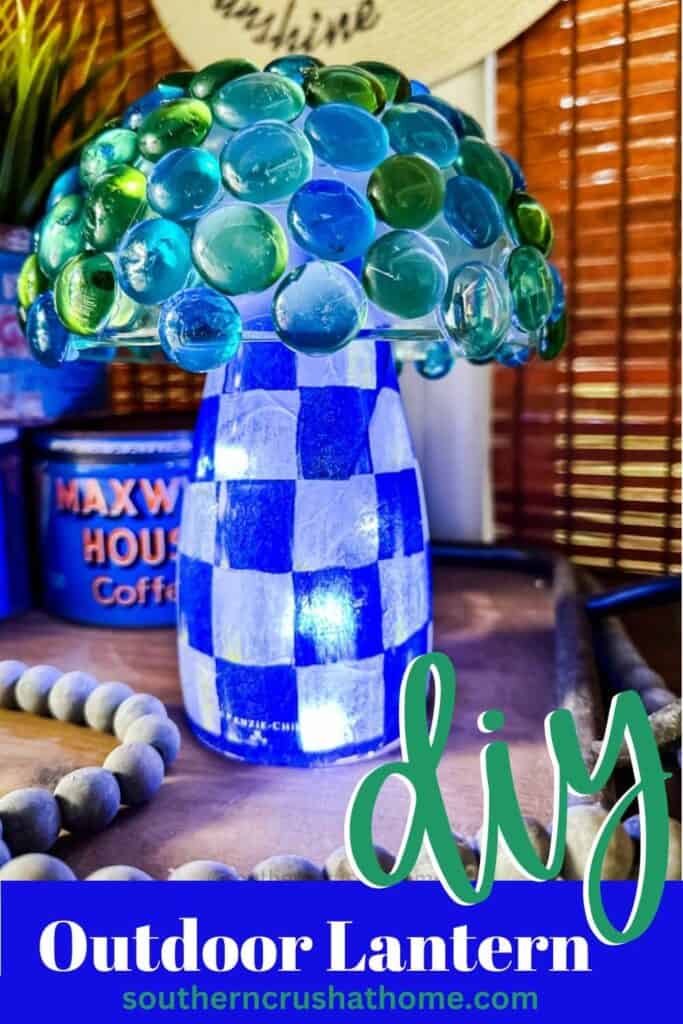
How to Make DIY Outdoor Lanterns with Fairy Lights
Transform your outdoor space into a whimsical wonderland with DIY Outdoor Lanterns adorned with glass gems and Fairy Lights. This easy DIY project is super fun to create on a budget, requiring only a few Dollar Tree supplies. You can craft your own little mushroom lanterns to display in any outdoor area.
PIN this for later!
Keep reading to discover how to make your own DIY Outdoor Lanterns with Fairy Lights and enjoy the pretty ambiance all year round!
This blog post contains affiliate links. The opinions are wholly my own from my own experience. I may earn a small commission from clicks through to the websites that end in a purchase.
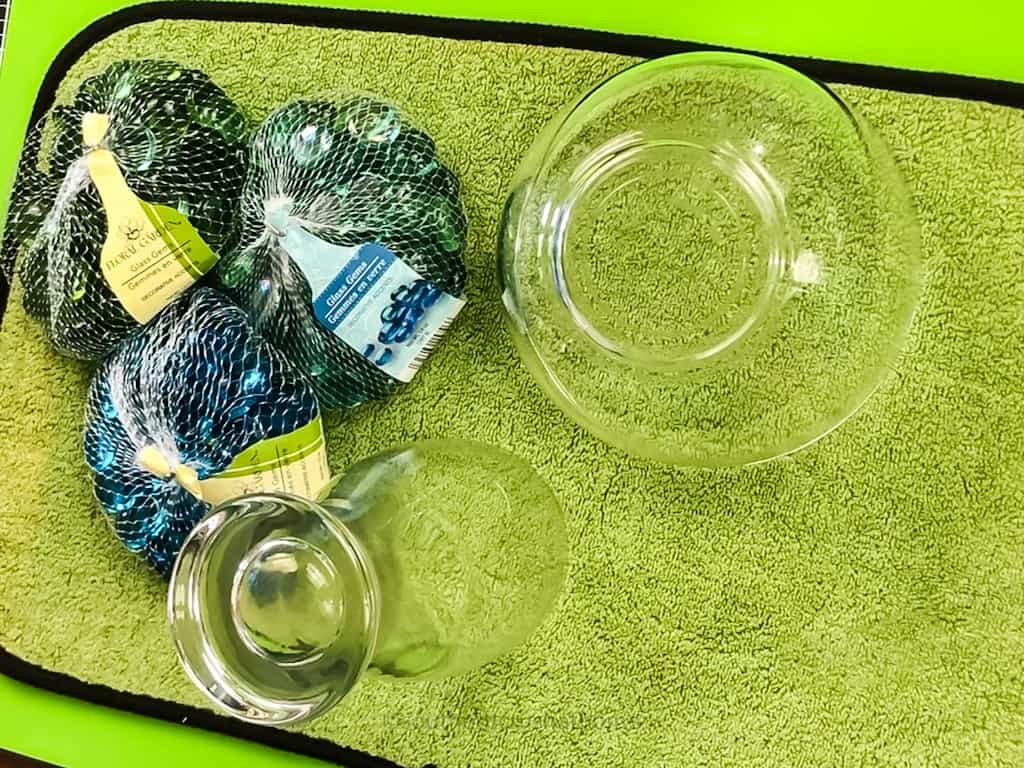
Supplies Needed to Make an Outdoor Lantern
- Clear glass bowl (Dollar Tree)
- Clear glass pilsner-type glass (Dollar Tree)
- Your Choice of Colored Glass Gems (Dollar Tree)
- MacKenzie Childs Napkins
- Mod Podge
- Hot Glue
- E-6000 Glue
- 2 medium artists brushes
- Set of fairy lights (Dollar Tree)
How to Make a DIY Outdoor Lantern with Fairy Lights
If you would also like to view a step-by-step video tutorial, I'm sharing my YouTube Video Tutorial below.
Step-by-Step Video Tutorial
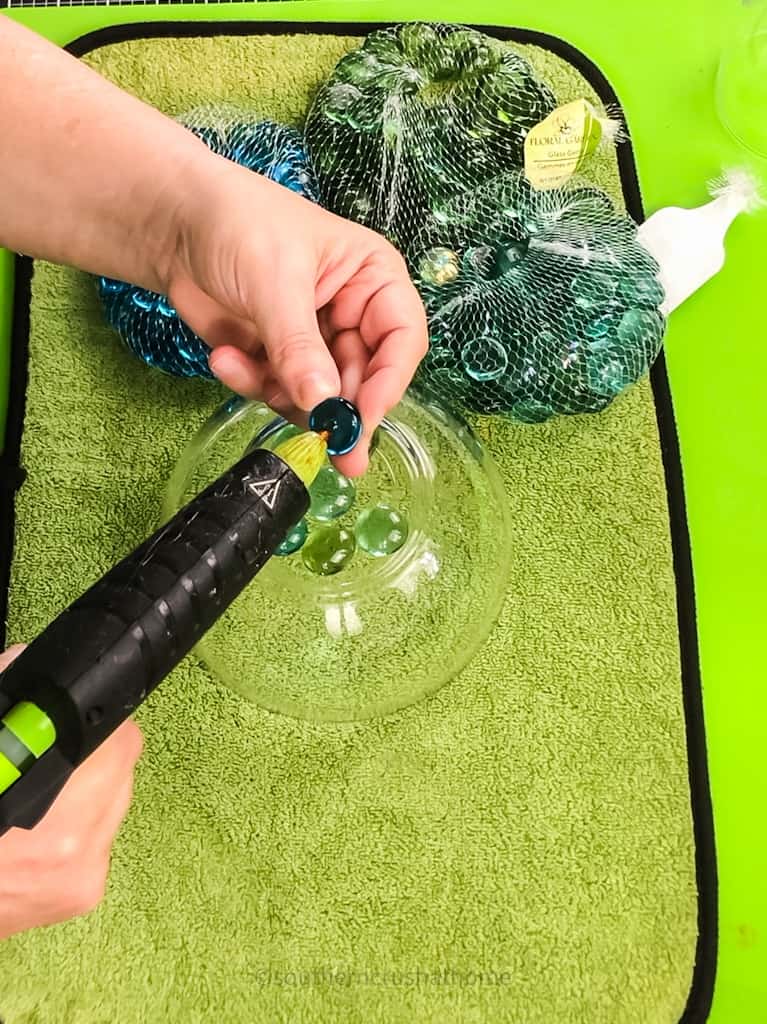
Step One
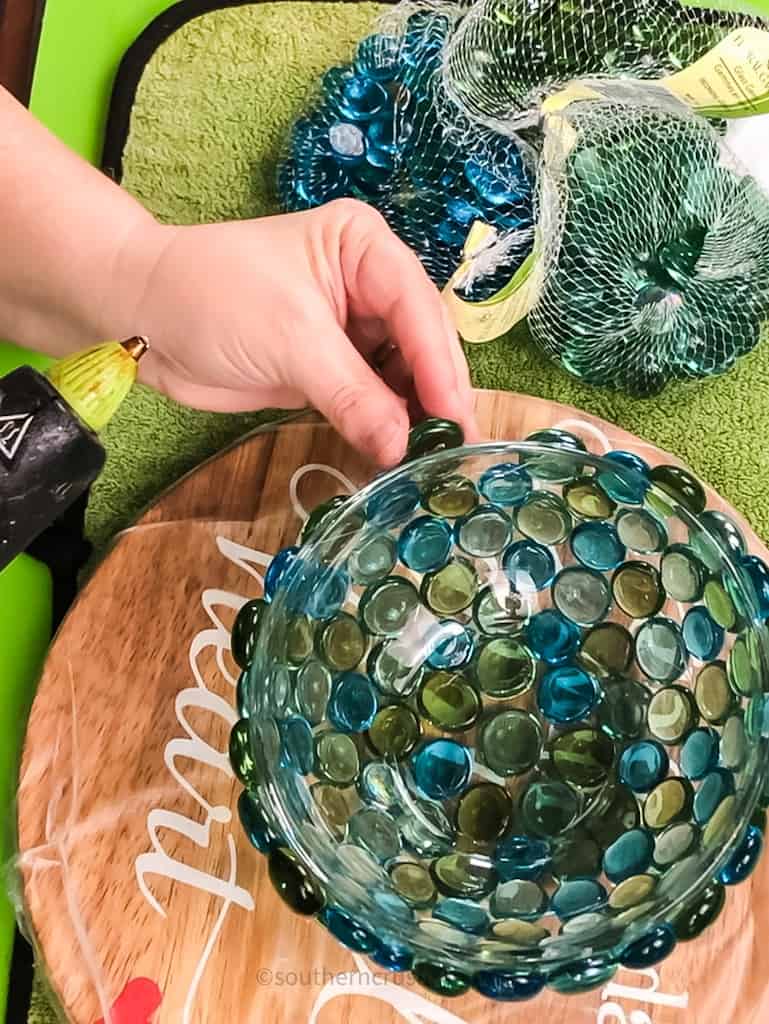
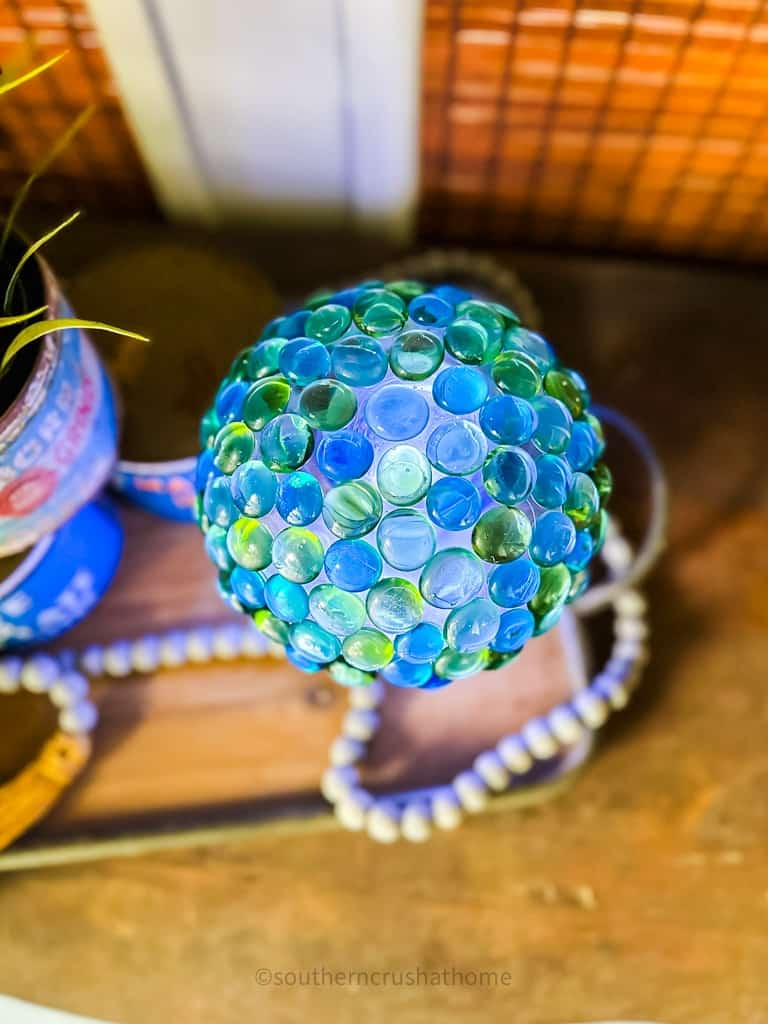
Start by adhering the glass gems to the clear glass bowl in your choice of color pattern using hot glue. You may wish to add a dot of E-6000 glue to ensure the gems stay in place over time.
Flip the bowl over and continue adding the gems to the rim of the bowl just overlapping slightly to give the appearance of hanging off the edge.
Step Two
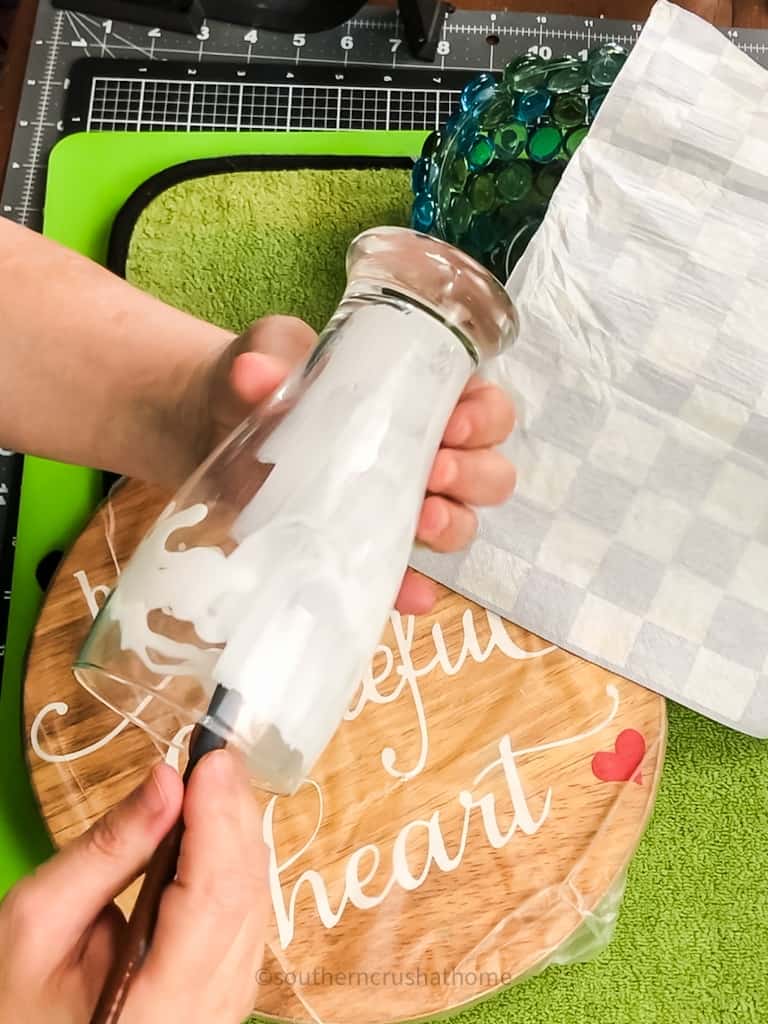
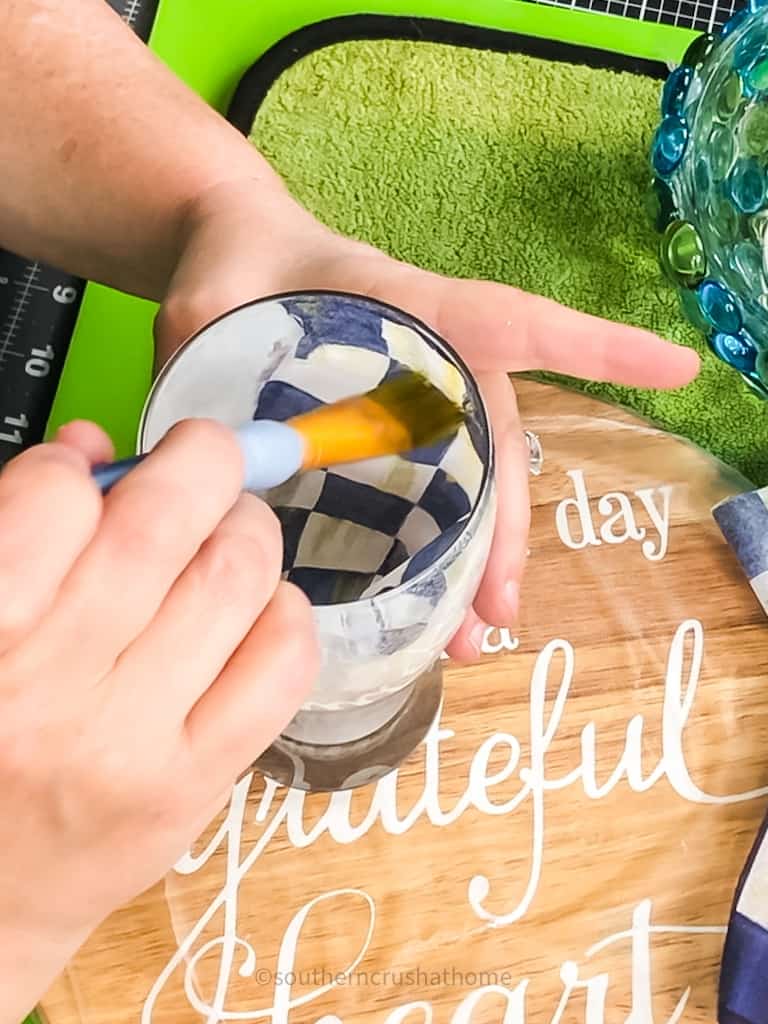
Add Mod Podge to the inside of the glass pilsner glass using an artist's brush until the sides are covered in a thin layer.
Step Three
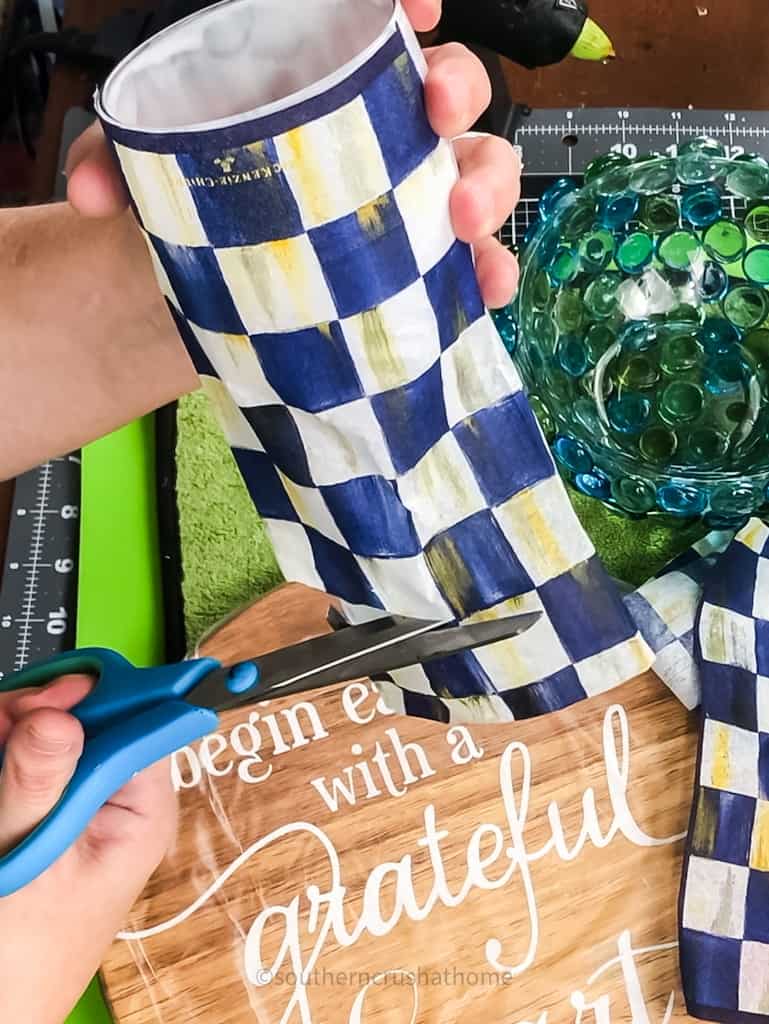
Trim the MacKenzie Childs Napkins to fit the pilsner glass.
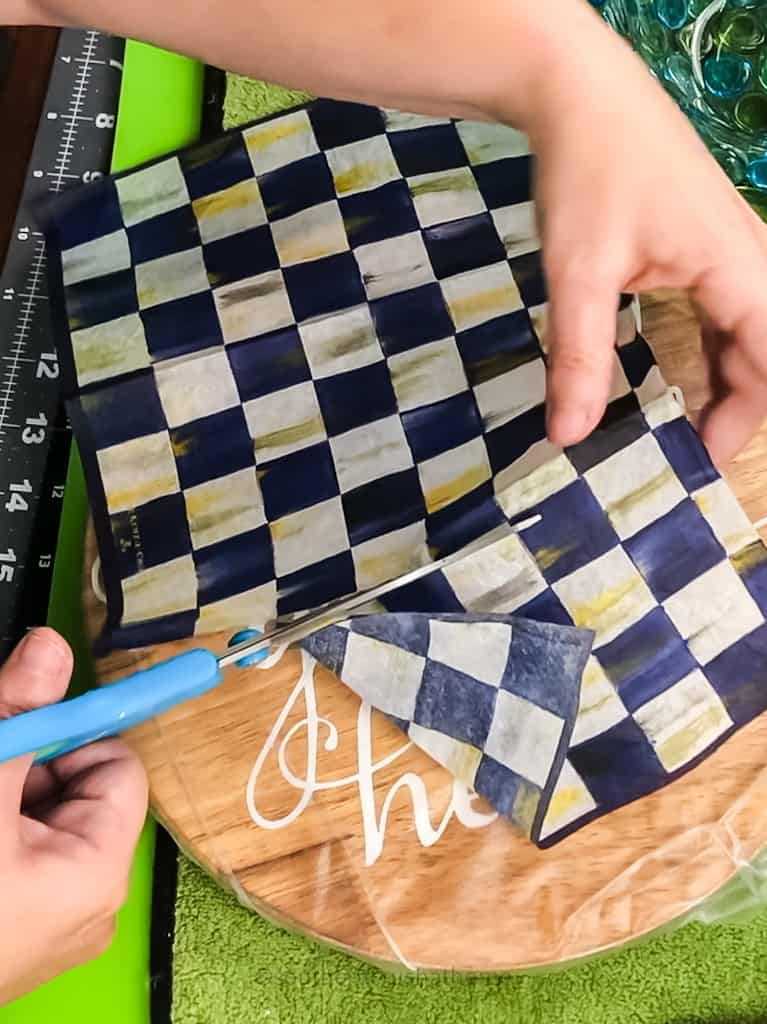
I wanted the MacKenzie Child's logo to show on my glass, so I trimmed the napkin accordingly using the glass as my guide.
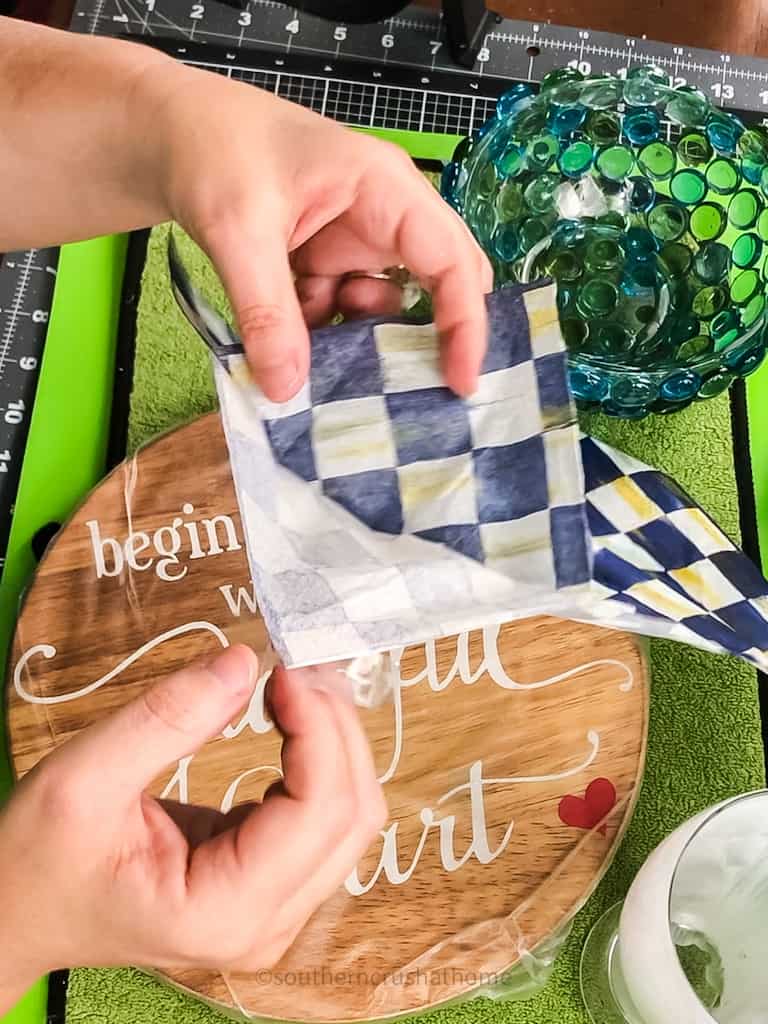
Separate the napkin layers to reveal the single ply with the pattern on it.
Step Four
Gently tap the napkin to the sides of the inside of the pilsner glass using a dry artist brush.
Step Five
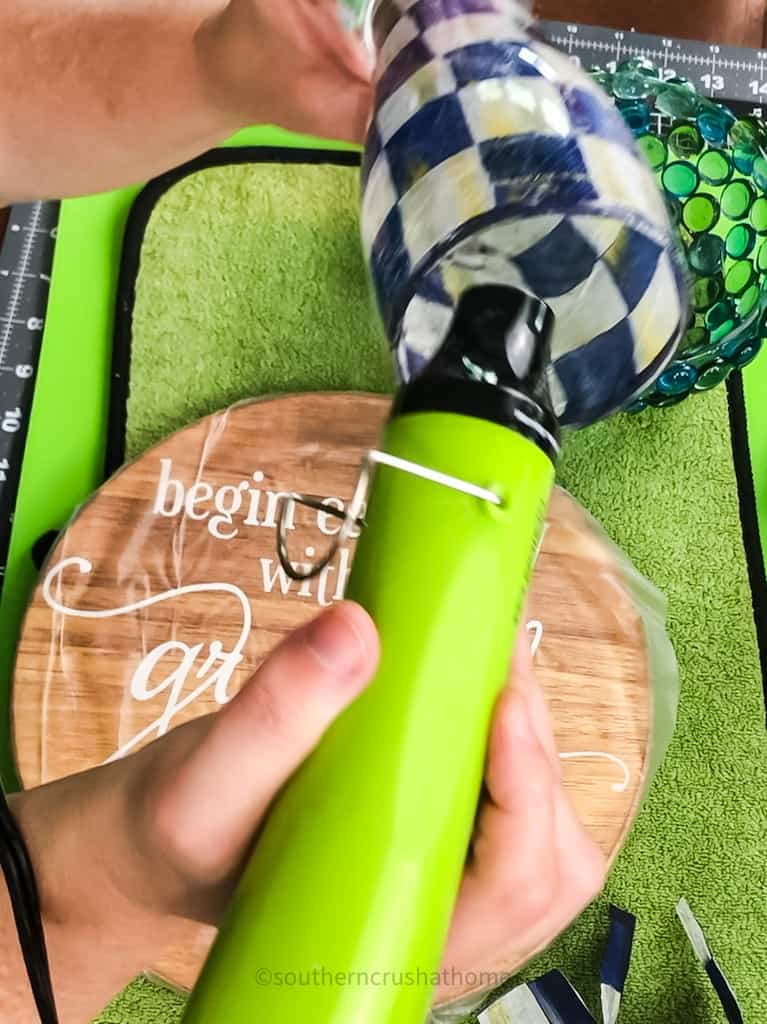
Use a heat tool to thoroughly dry the mod podge on the inside of the pilsner glass.
Step Six
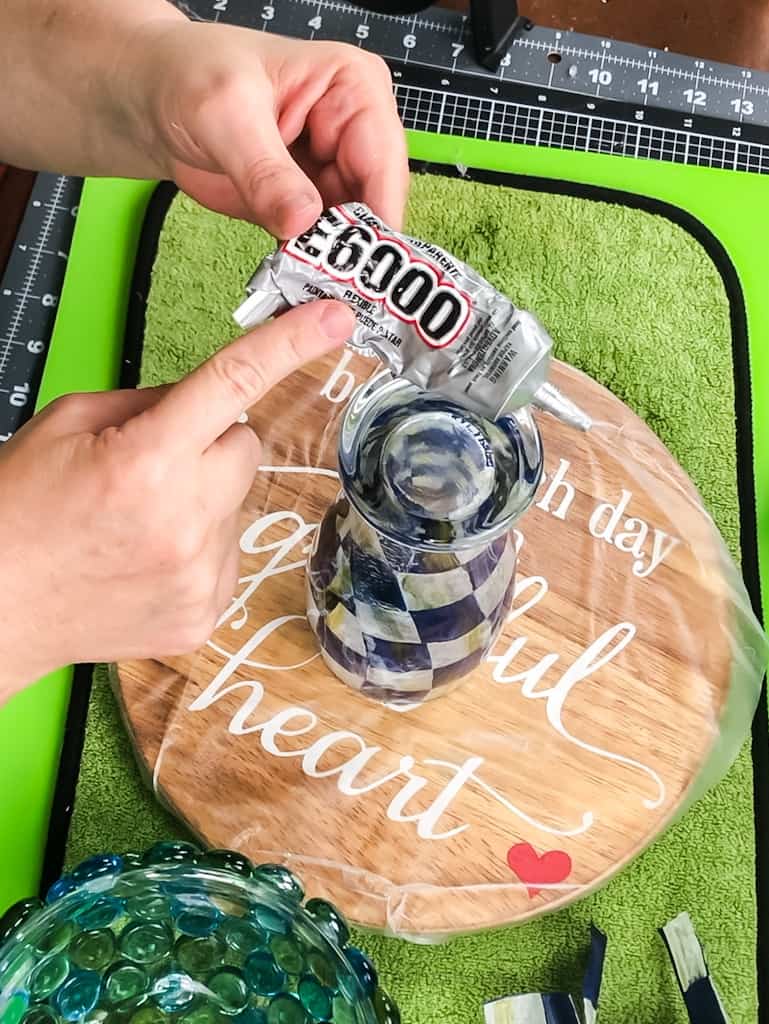
Adhere the gem-covered glass bowl to the bottom of the pilsner glass using a combination of the E-6000 glue and the hot glue. Allow to dry thoroughly.
Step Seven
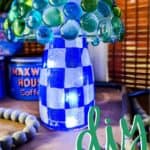
Tuck a set of fairy lights up underneath the pilsner glass to create a beautiful lantern for your outdoor space.
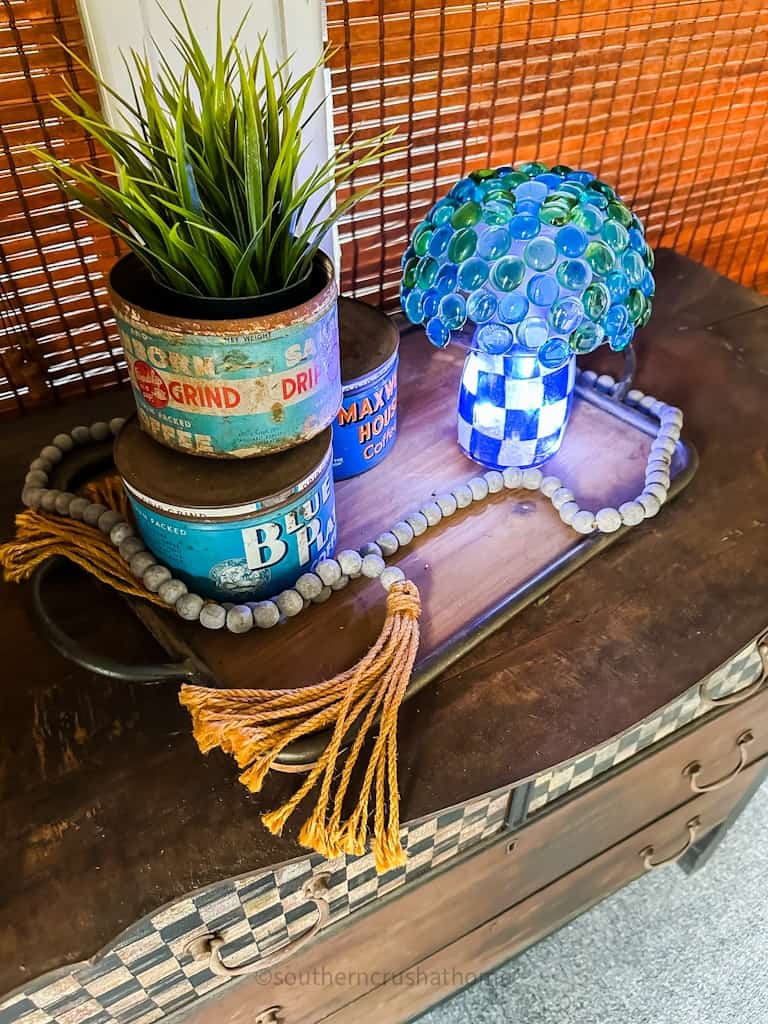
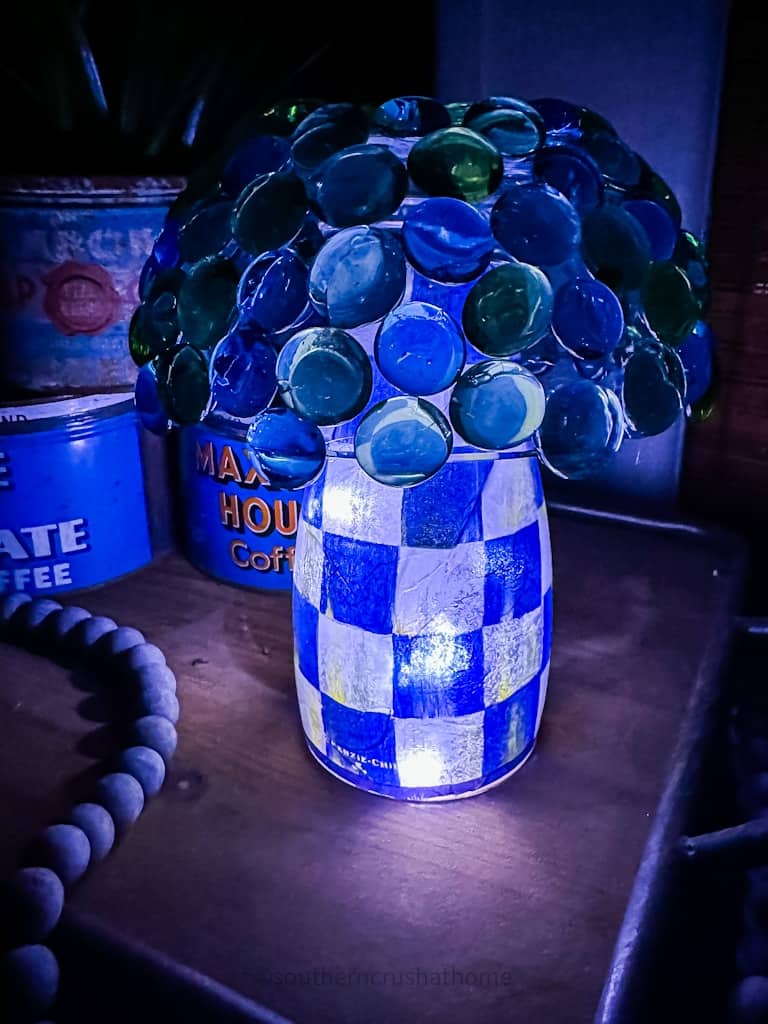
Isn't it beautiful? I love how the light shines through the gems on top!
Make several of these lanterns to set around your patio and light the space up at night!

This is how my mushroom outdoor lantern with fairy lights looks in the dark~
Ways to Display Outdoor Lanterns
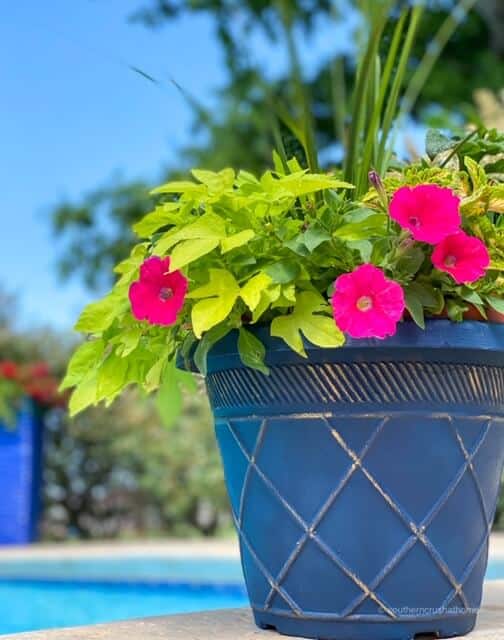
- Add one of these to your garden area for a touch of whimsy!
- Place a few of them on your walkway for lighting.
- Set them on a side table for guests to enjoy when visiting.
- Perch one on a shelf with a stack of good books for summer reading.
There is really no limit as to the ways you can enjoy an outdoor lantern with fairy lights like this one! Switch up the colors you use on the glass gems for a twist! Use different napkins for decoupaging to create a fun-themed look. Don't forget to make a few to give to your friends, too!
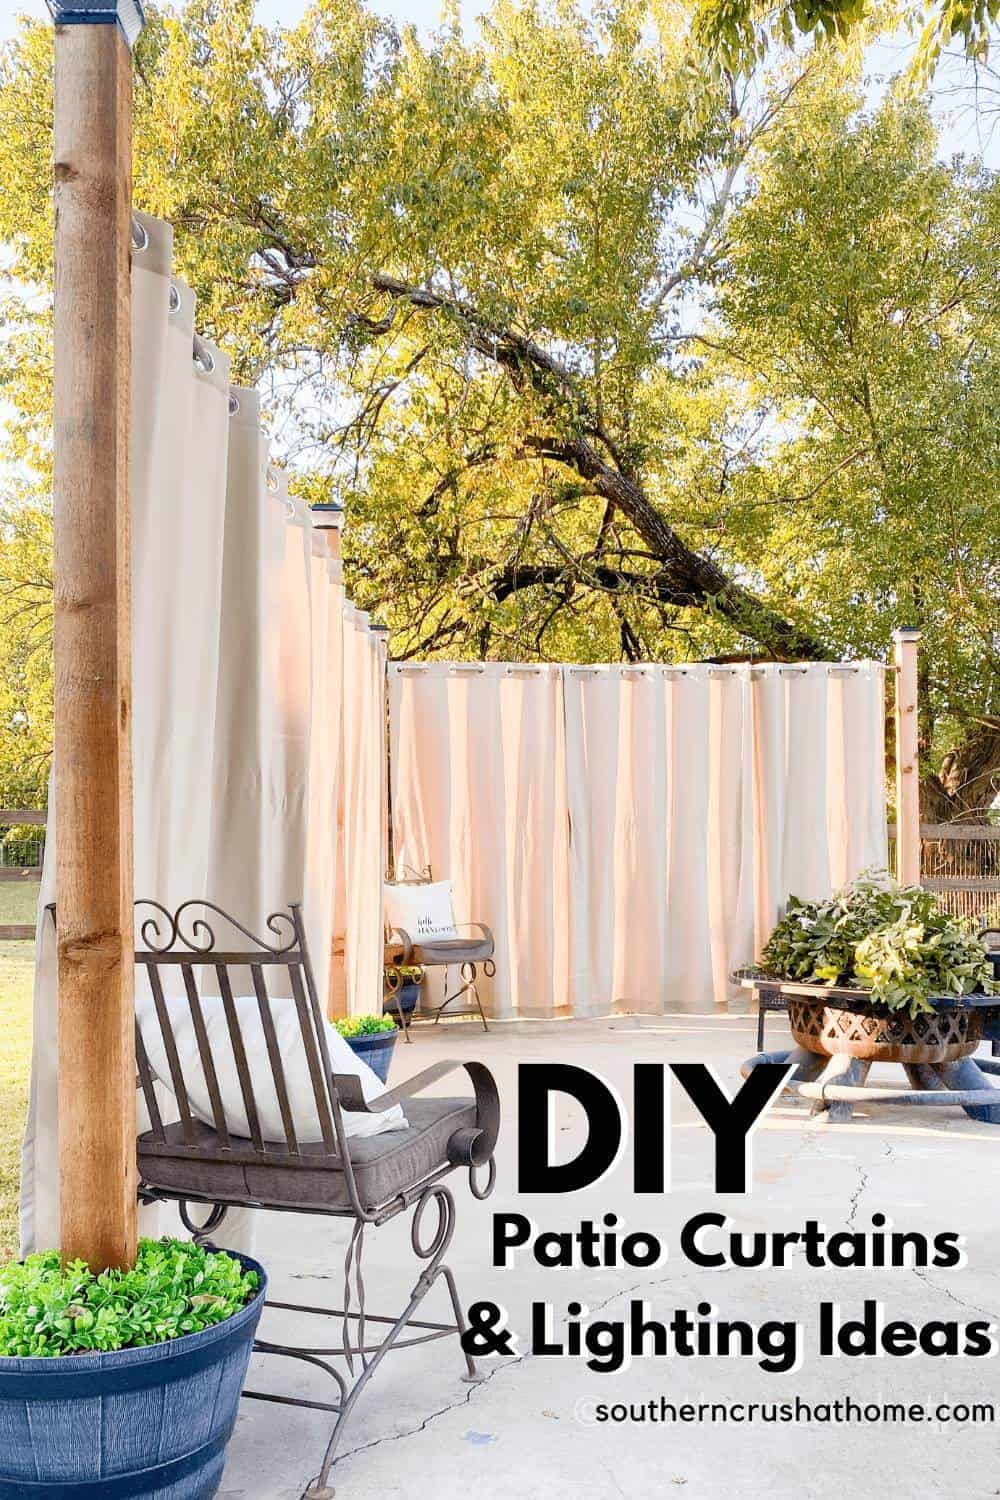
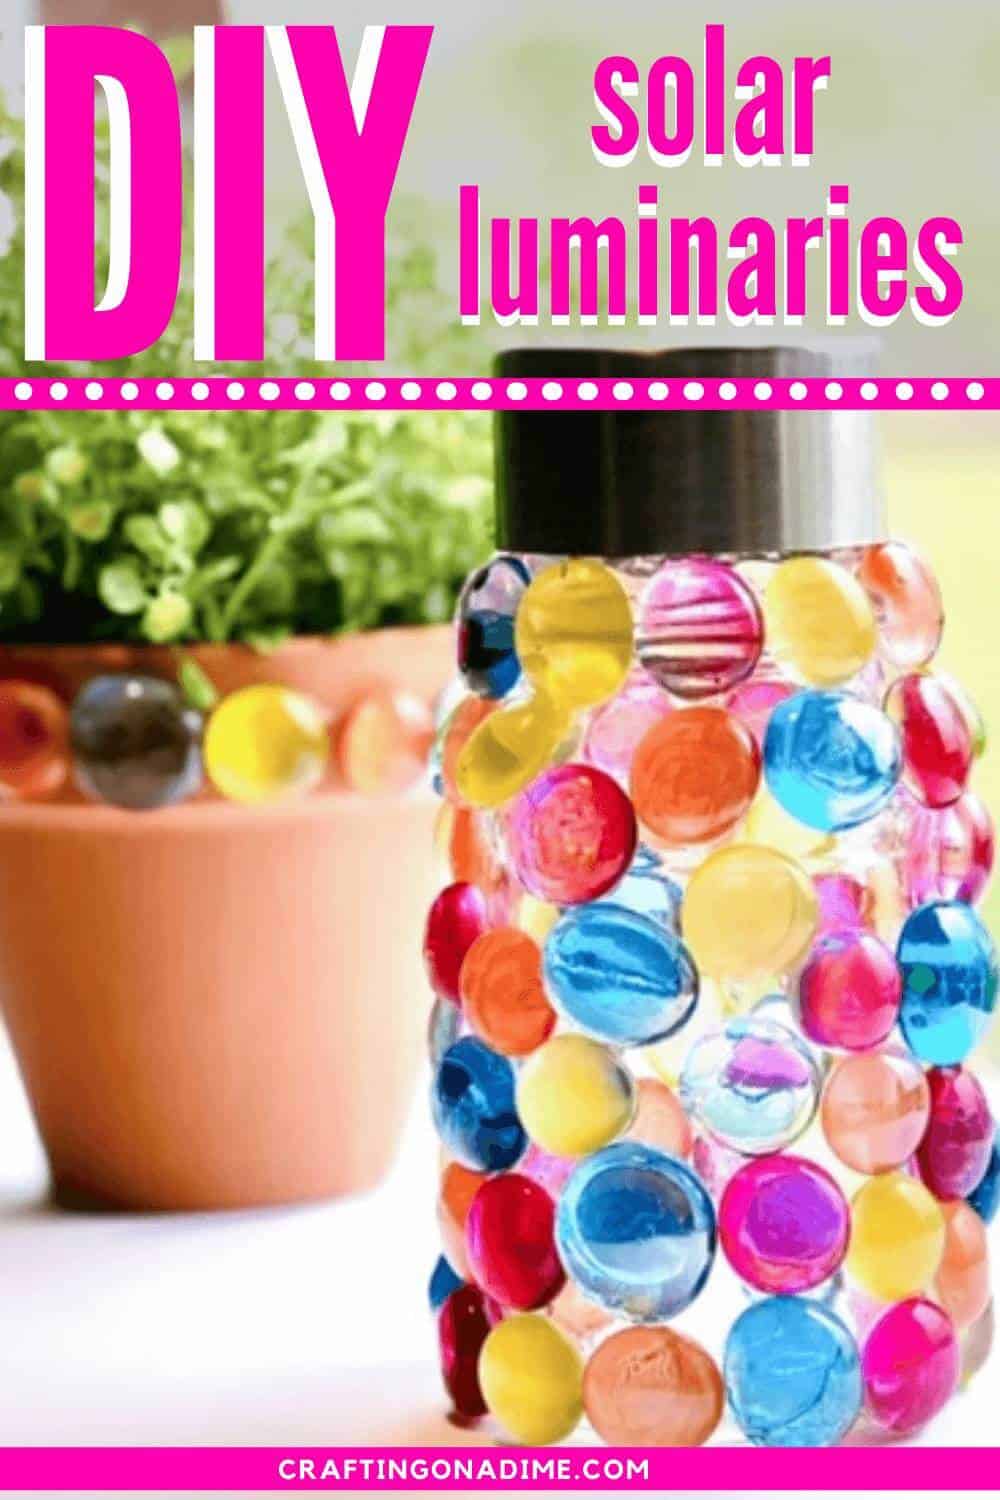
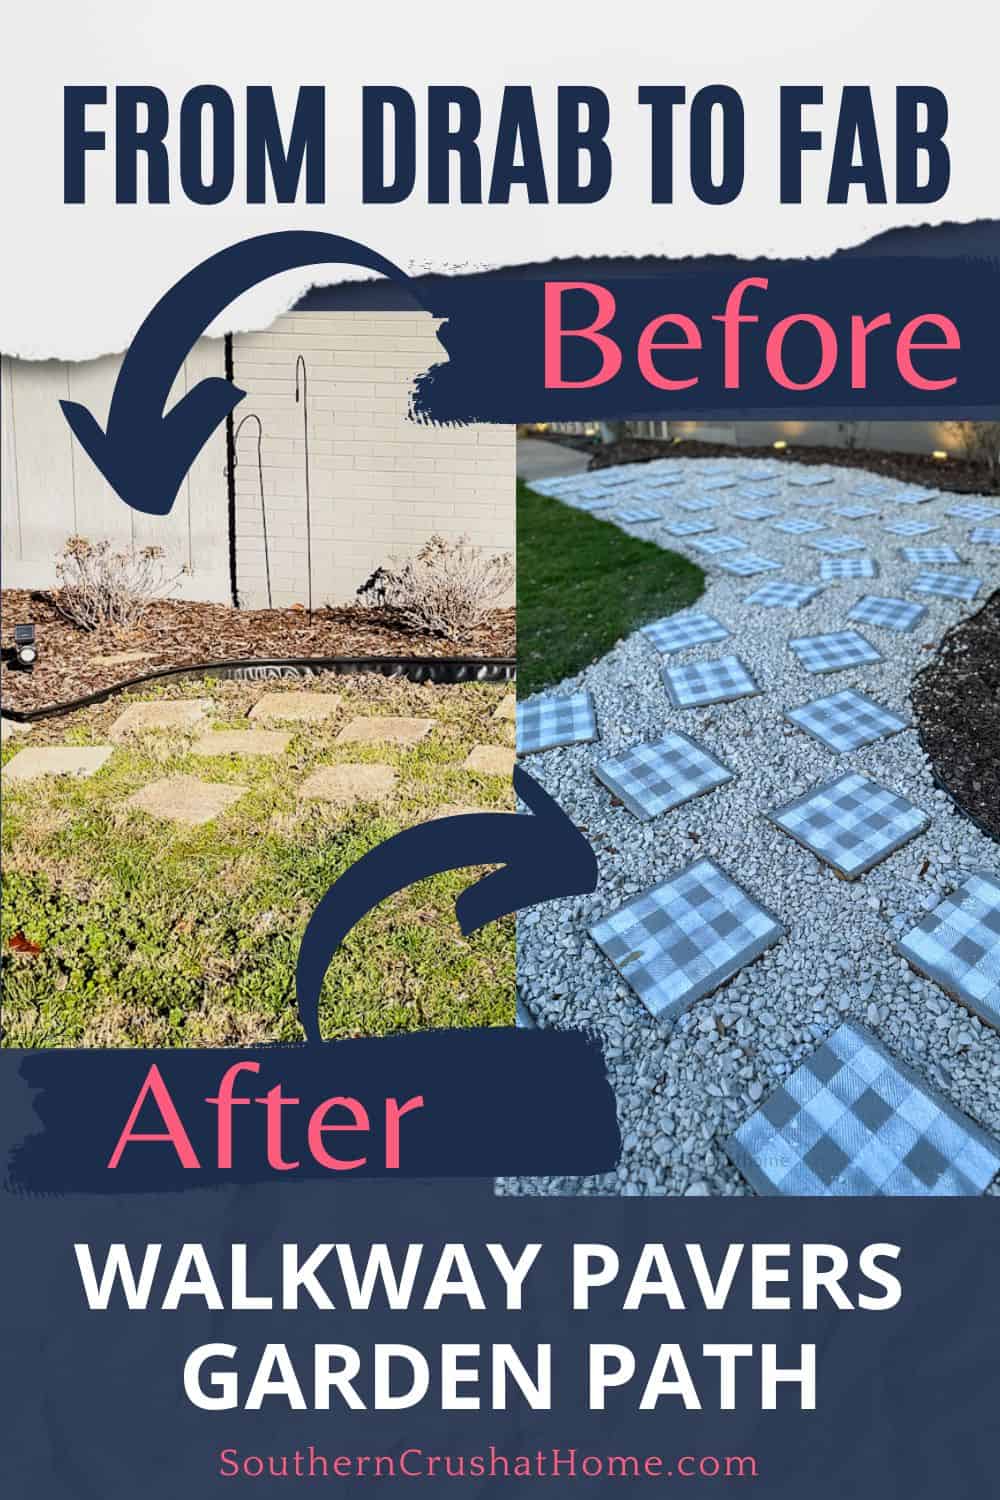
More DIY Patio Ideas

How to Make a DIY Outdoor Lanterns with Fairy Lights
Equipment
Materials
- Clear glass bowl Dollar Tree
- Clear glass pilsner-type glass Dollar Tree
- Your Choice of Colored Glass Gems Dollar Tree
- MacKenzie Childs Napkins
- Mod Podge
- Hot Glue
- E-6000 Glue
- 2 medium artists brushes
- Set of fairy lights Dollar Tree
Instructions
- Start by adhering the glass gems to the clear glass bowl in your choice of color pattern using hot glue. You may wish to add a dot of E-6000 glue to ensure the gems stay in place over time.
- Flip the bowl over and continue adding the gems to the rim of the bowl just overlapping slightly to give the appearance of hanging off the edge.
- Add Mod Podge to the inside of the glass pilsner glass using an artist's brush until the sides are covered in a thin layer.
- Trim the MacKenzie Childs Napkins to fit the pilsner glass.
- Gently tap the napkin to the sides of the inside of the pilsner glass using a dry artist brush.
- Use a heat tool to thoroughly dry the mod podge on the inside of the pilsner glass.
- Adhere the gem-covered glass bowl to the bottom of the pilsner glass using a combination of the E-6000 glue and the hot glue. Allow to dry thoroughly.
- Tuck a set of fairy lights up underneath the pilsner glass to create a beautiful lantern for your outdoor space.