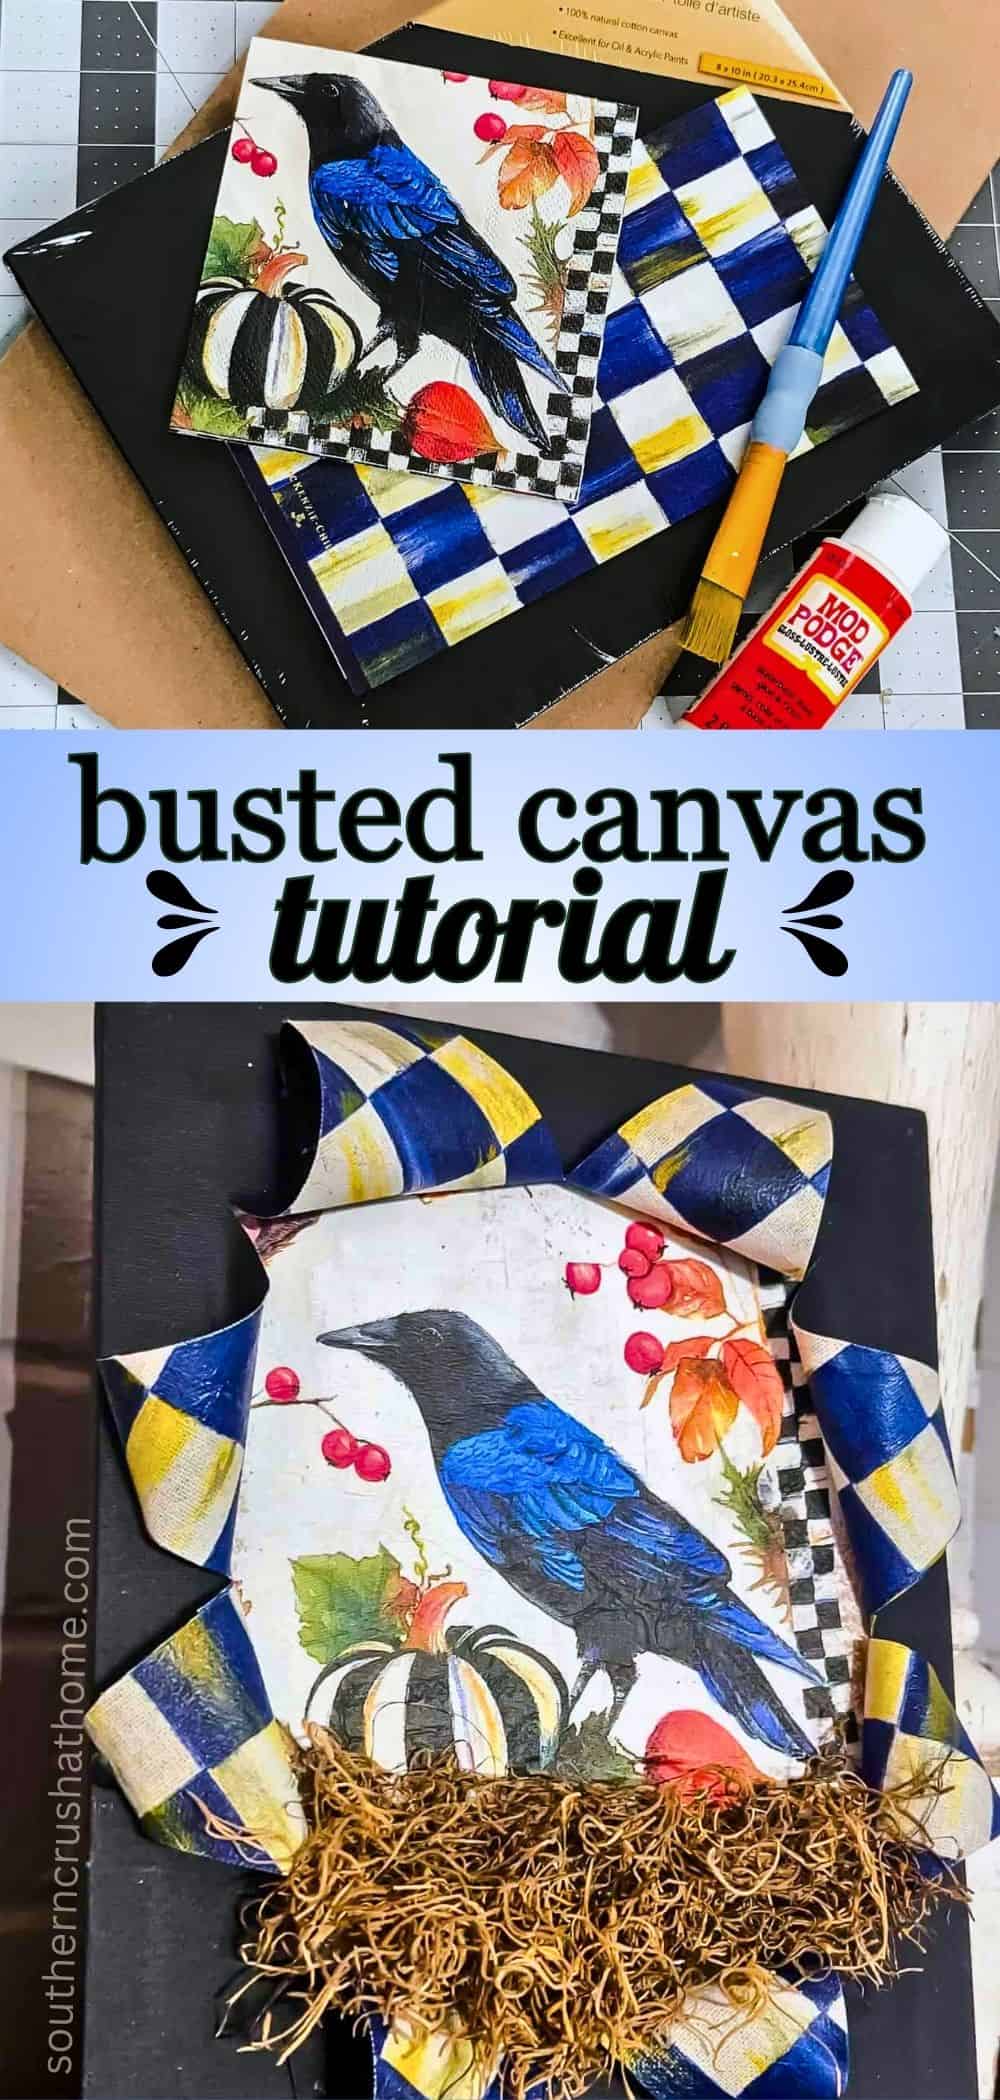
How to Make a Busted Canvas + 37 Busted Canvas Ideas
Have you seen the viral Dollar Tree busted canvas craft? The “Busted Canvas” or “Exploding Canvas” trend is incredibly fun and addictive.
PIN this for later!
It’s easy to make one and you can customize for any holiday or occasion. I’m excited to share how you can make a busted canvas plus 37 awesome pop out canvas ideas.


This blog post contains affiliate links. The opinions are wholly my own from my own experience. I may earn a small commission from clicks through to the websites that end in a purchase.
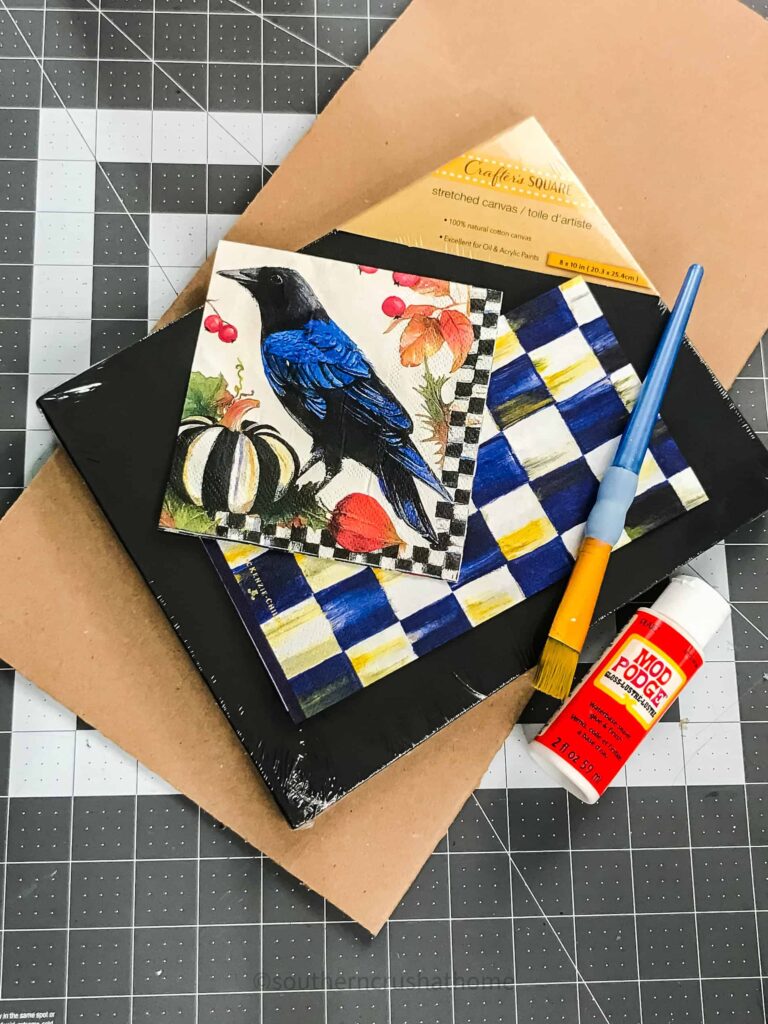
Materials You’ll Need to Make a Busted Canvas
- Two canvases (one flat canvas from Dollar Tree and one regular stretched canvas)I used a regular canvas and a piece of scrap cardboard in place of the flat canvas… either one works fine.
- Acrylic paints, decoupage medium, or Mod Podge
- Tissue paper, scrapbook paper, or decorative napkins
- Zipsnip if using cardboard instead of second canvas
- Scissors or a rotary cutter
- Hot glue gun and glue sticks
- Optional add-ons: Spanish moss, bows, faux flowers, small 3D rhinestone embellishments
- Paintbrushes or foam brushes
YouTube Video Tutorial
If you prefer to watch a video, see my YouTube video below.
Step-by-Step Busted Canvas Tutorial
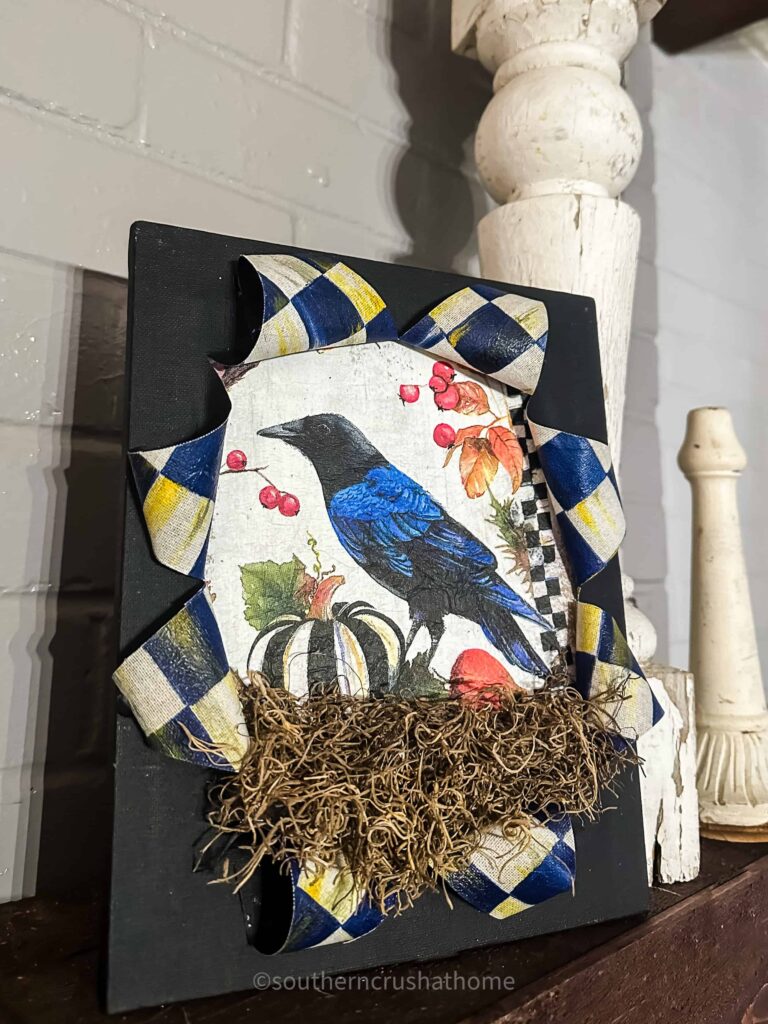
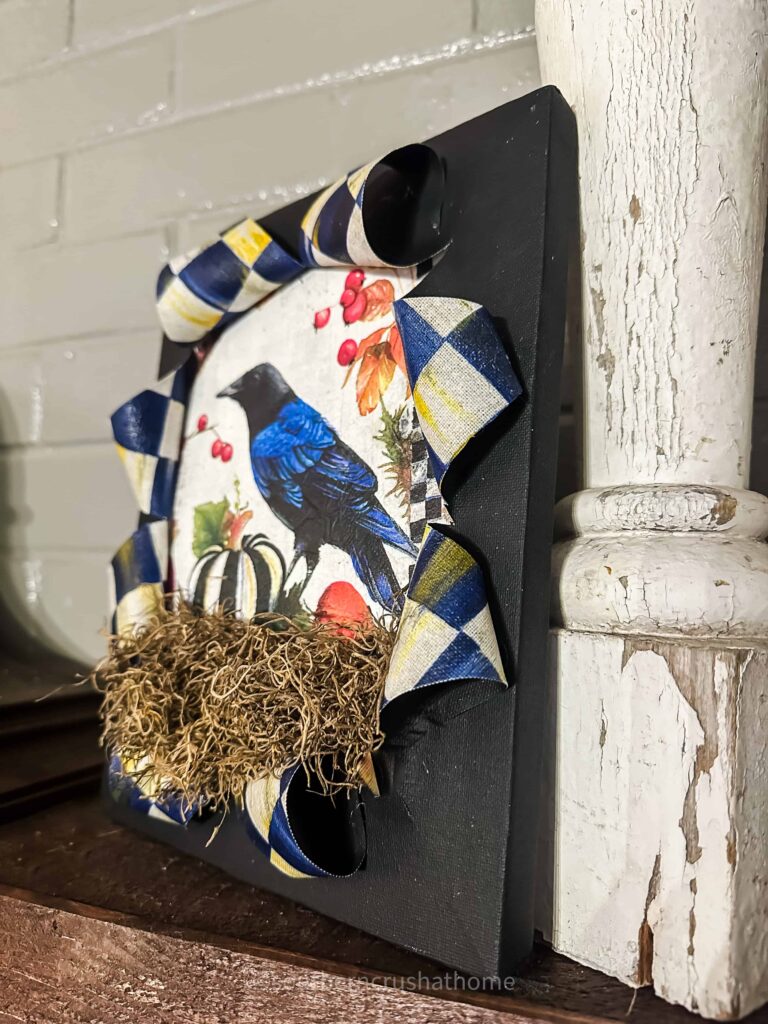
This unique art project involves creating a 3D effect by cutting and popping out sections of a flat canvas to reveal another canvas beneath.
Step 1: Prepare Your Canvases
Start by choosing the size of your canvases. The flat canvas will serve as the background, while the regular stretched canvas will be the one you cut and pop out.
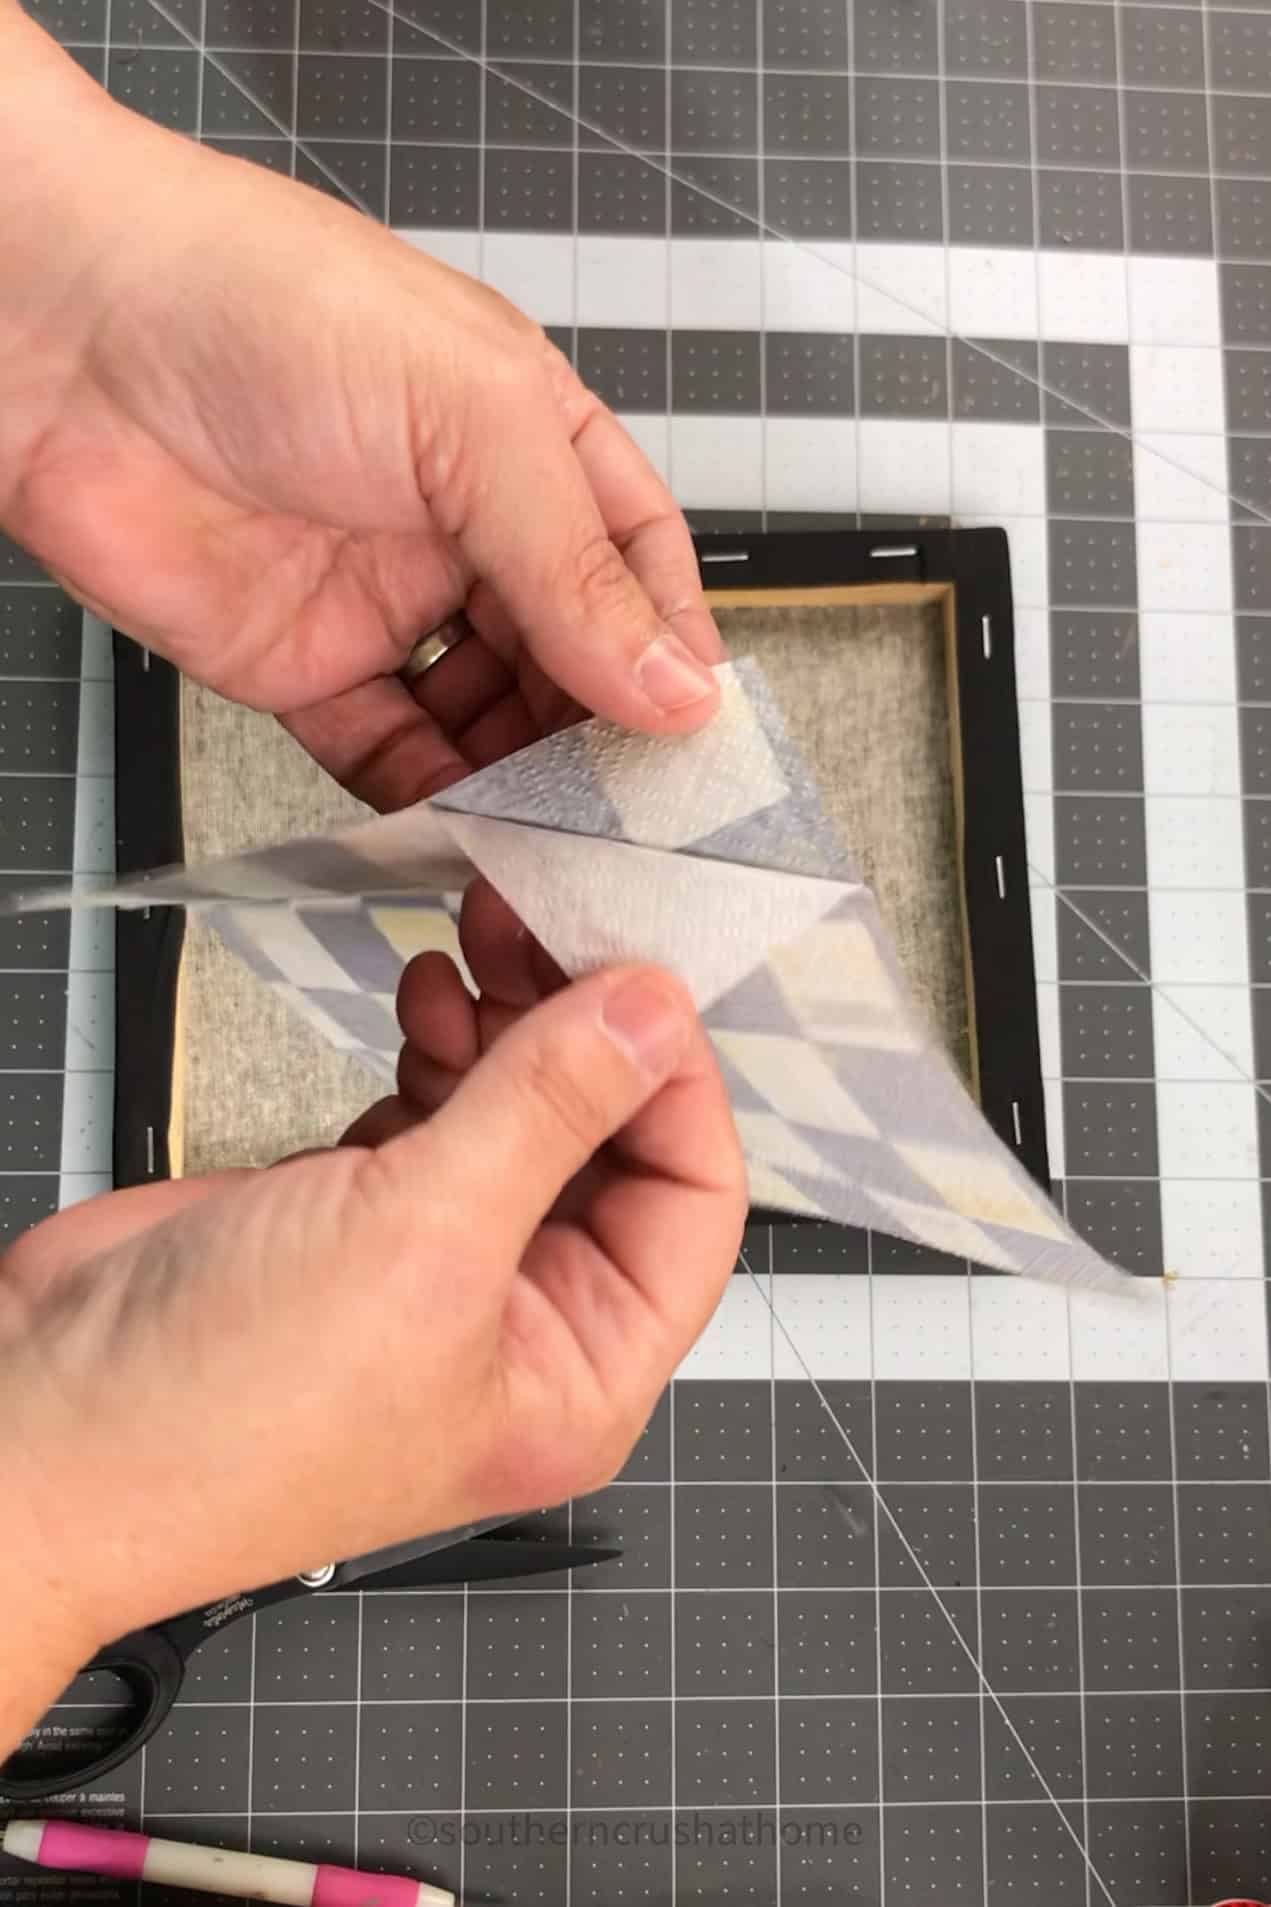
If you’re planning to decoupage the background canvas, now is the time to select your tissue paper, scrapbook paper, or napkin design.

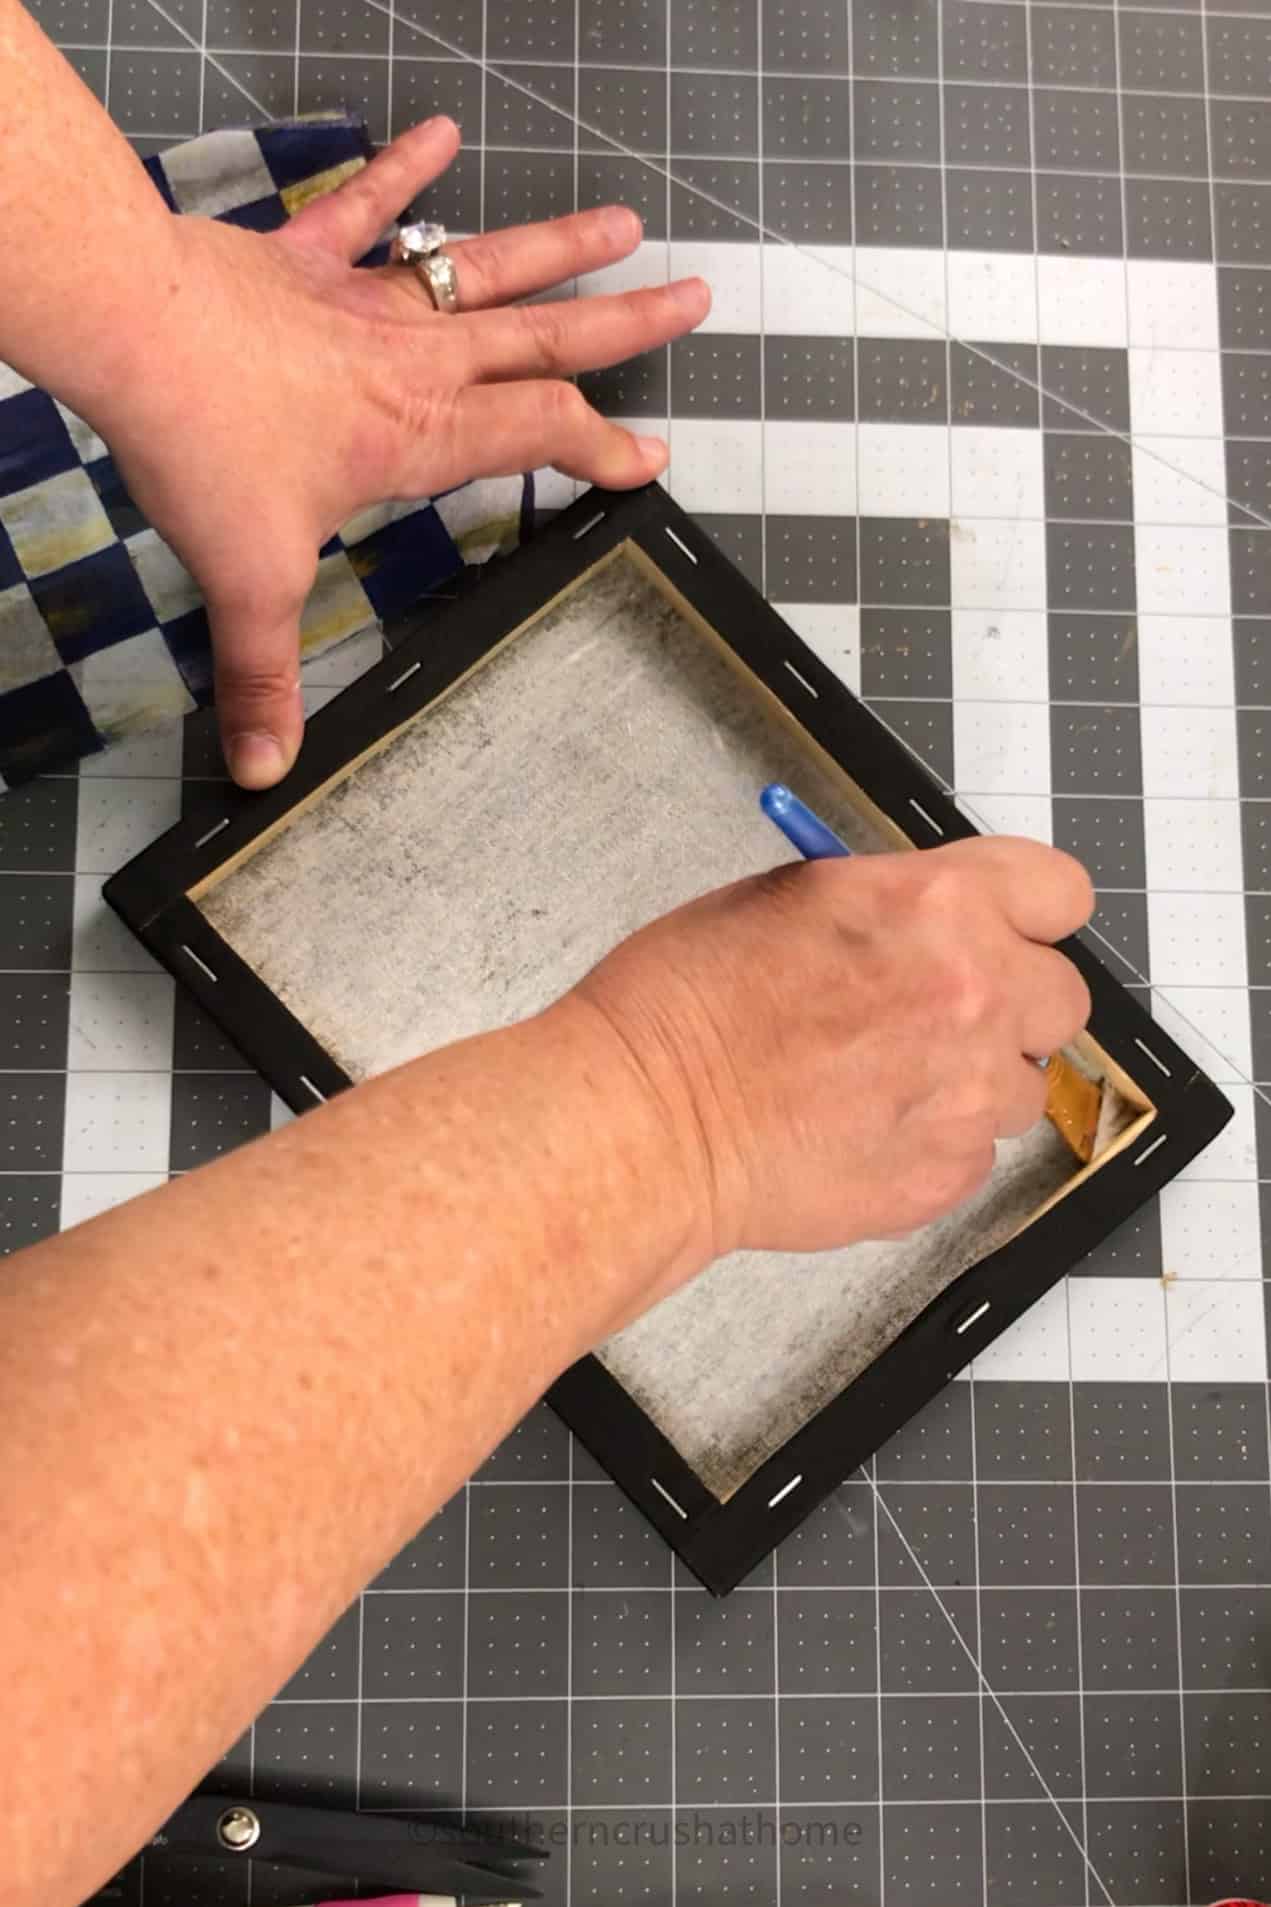
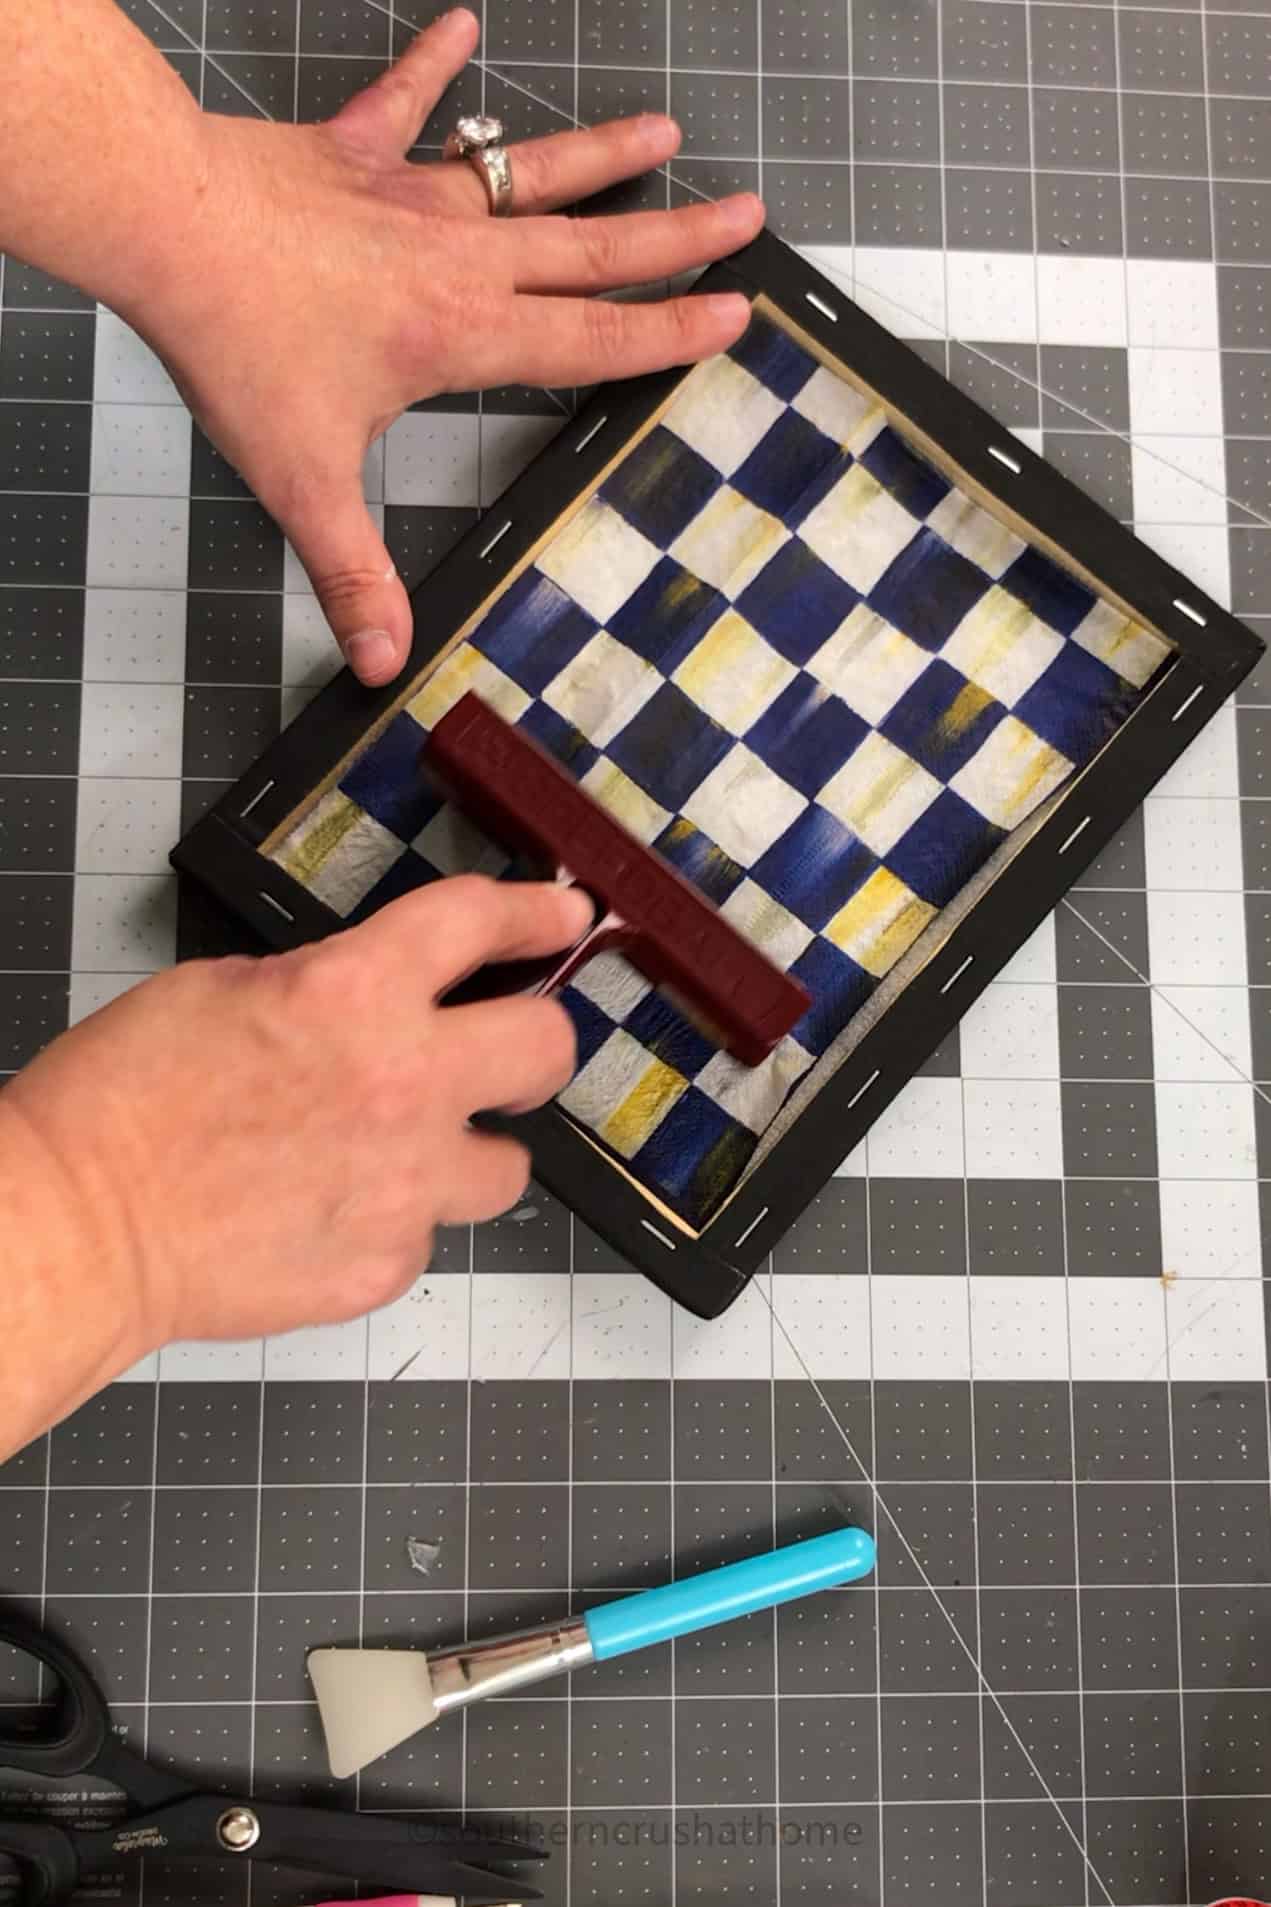
Decoupage the Flat Canvas: If you’re going for a decoupaged background, apply a layer of Mod Podge to the flat canvas and carefully place your chosen paper on top. Smooth out any wrinkles and bubbles with your fingers or a brayer. Let it dry completely before proceeding to the next step.
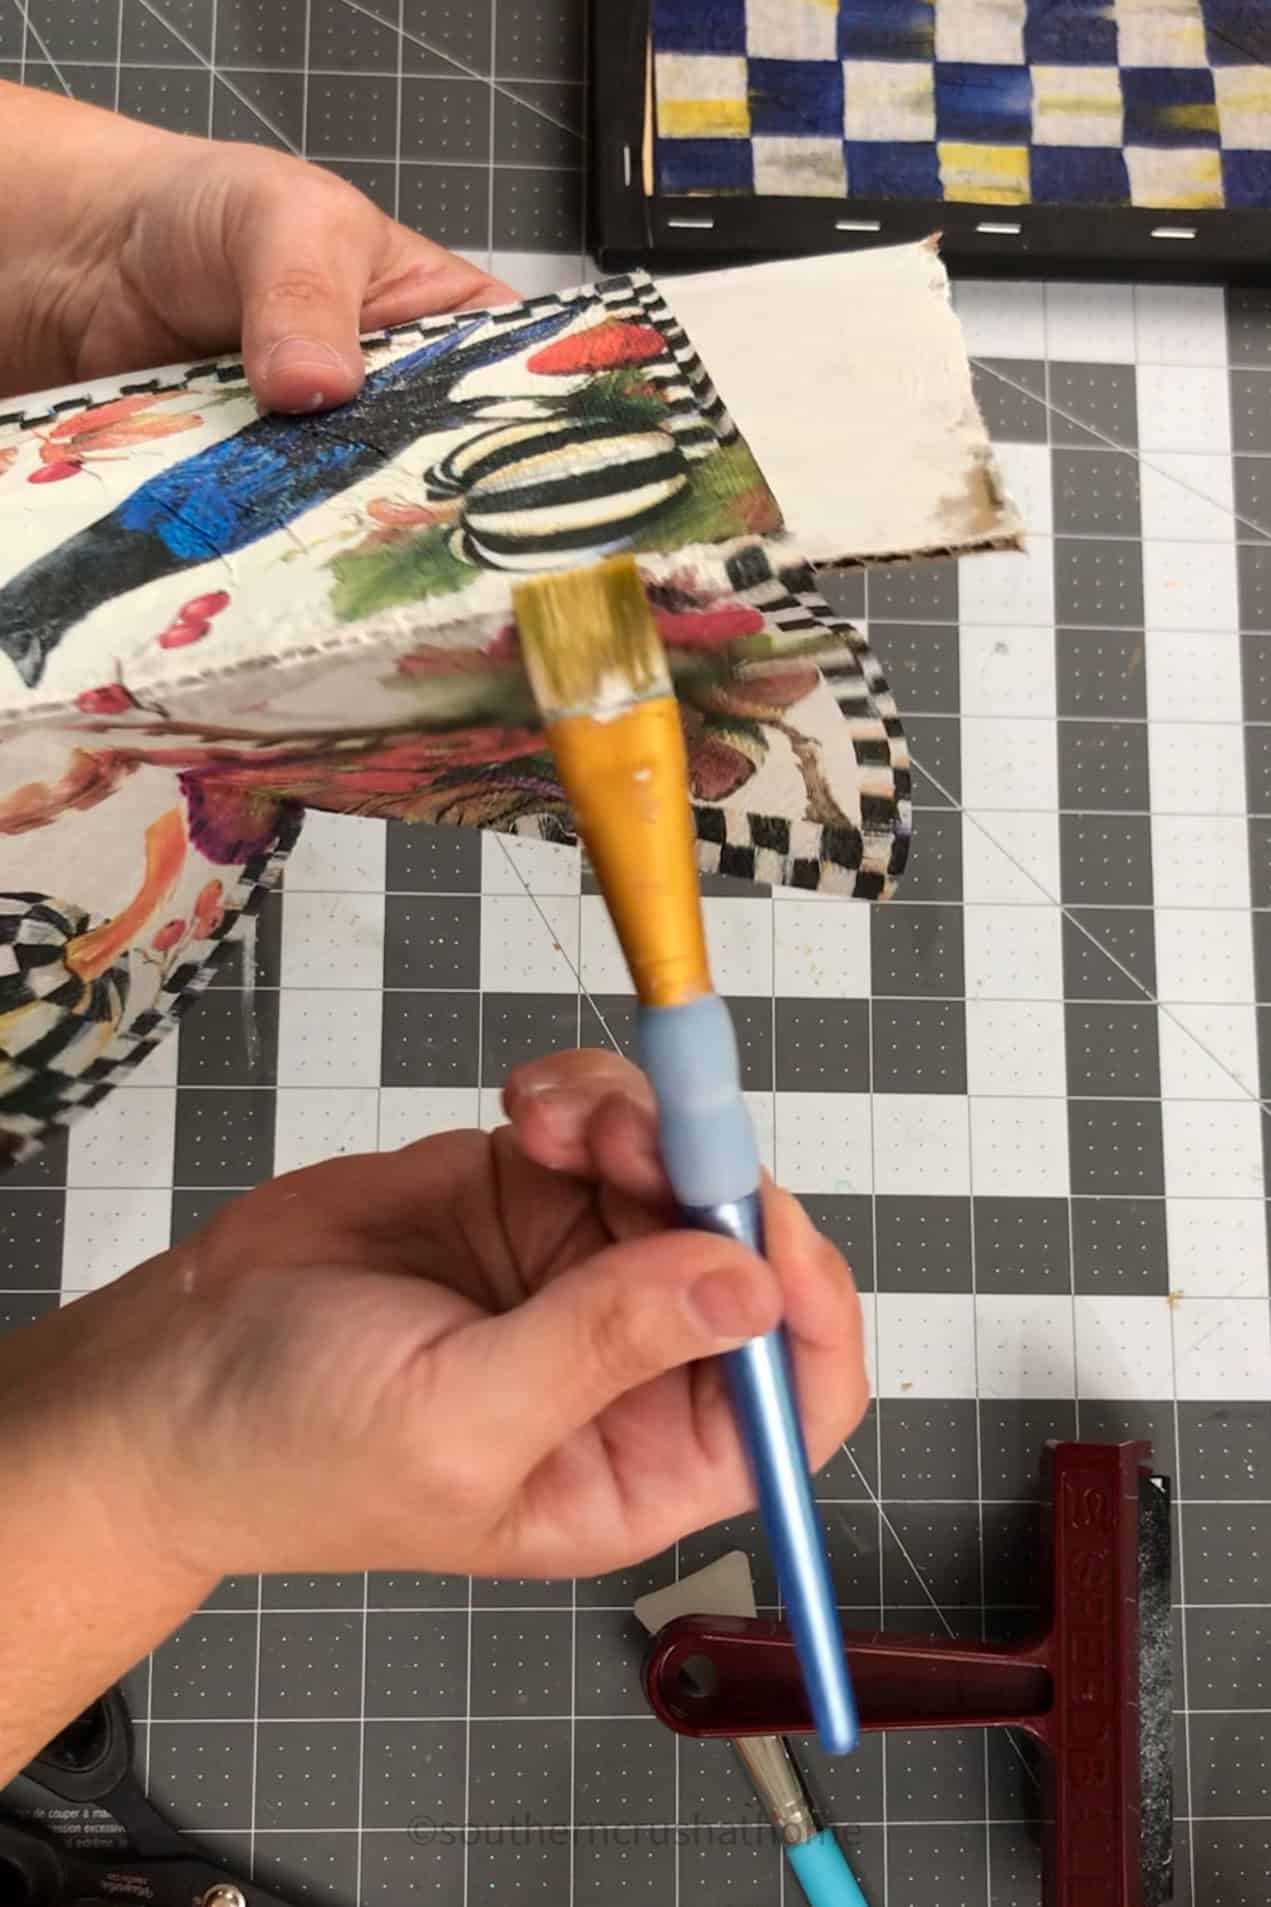
Paint or Decorate: If you prefer painting, use acrylic paints to create a vibrant background on the flat canvas. This is your chance to get creative with colors and designs.


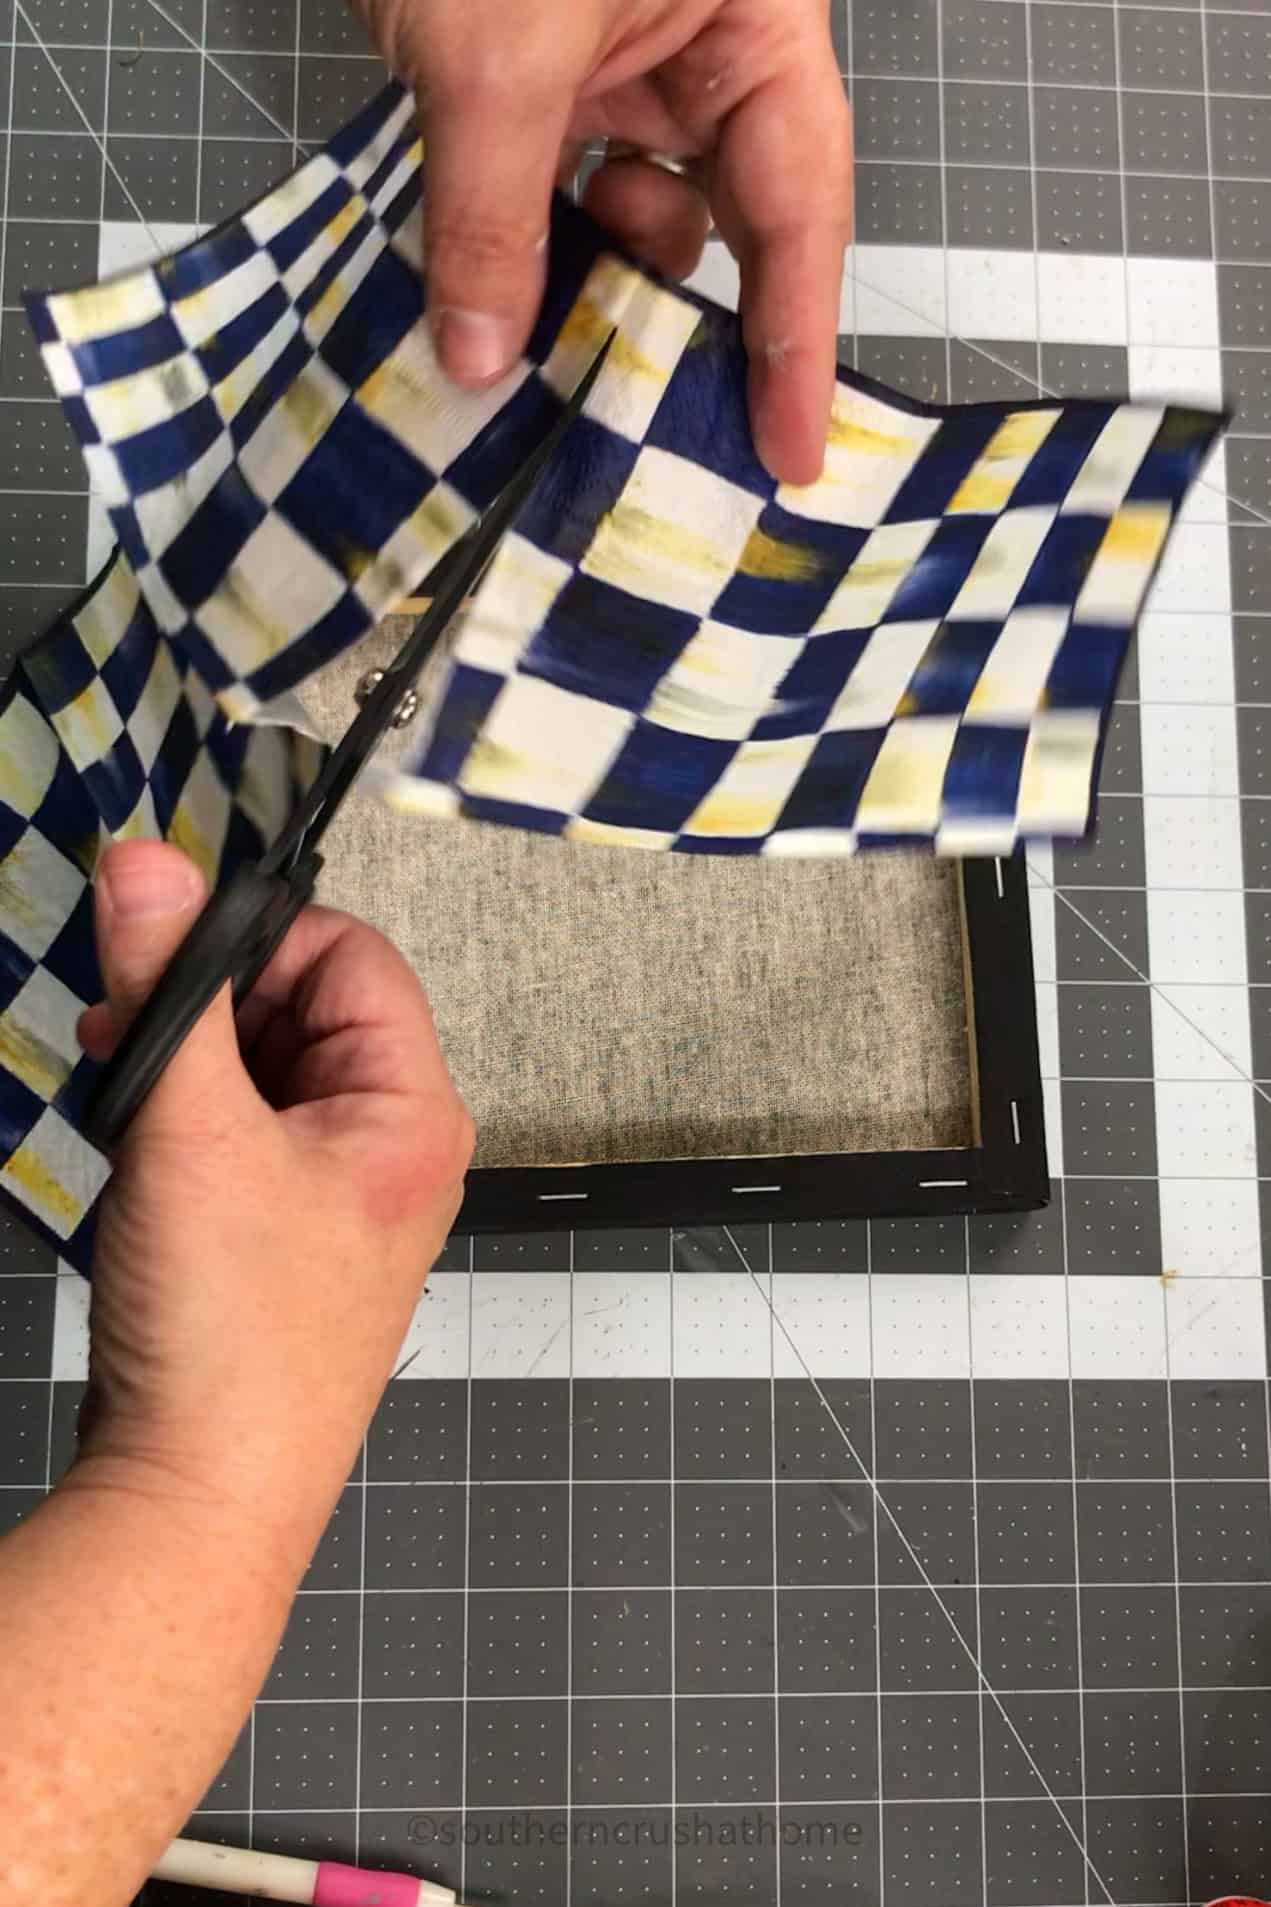
Step 2: Cut the Stretched Canvas
Now it’s time to create the “exploding” effect on the stretched canvas.
Draw Cutting Lines: Using a pencil, lightly draw lines on the back of the stretched canvas to divide it into segments.
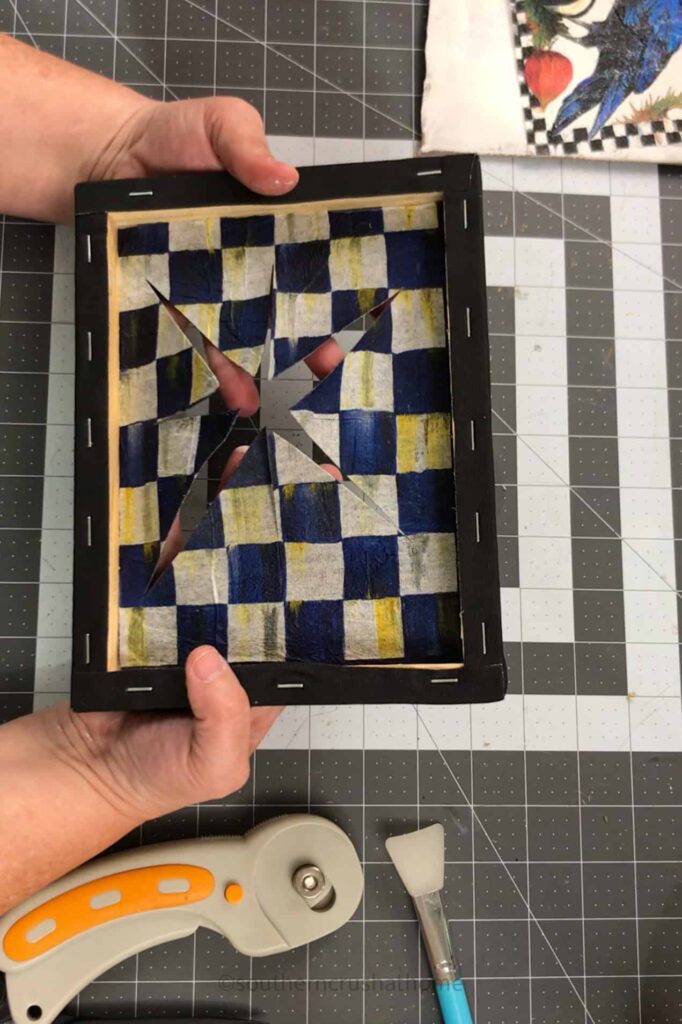
Cut the Canvas: Carefully cut along the lines using scissors or a rotary cutter. Be sure to cut only through the canvas fabric.
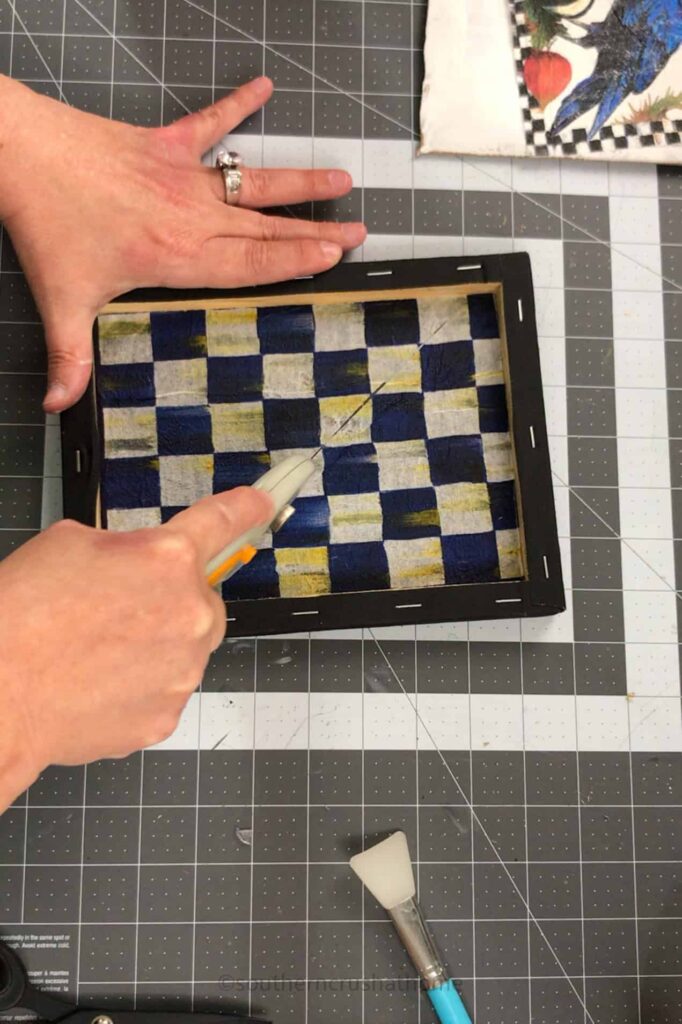
A common pattern is a starburst or “pizza slice” shape, but you can get creative with your design.
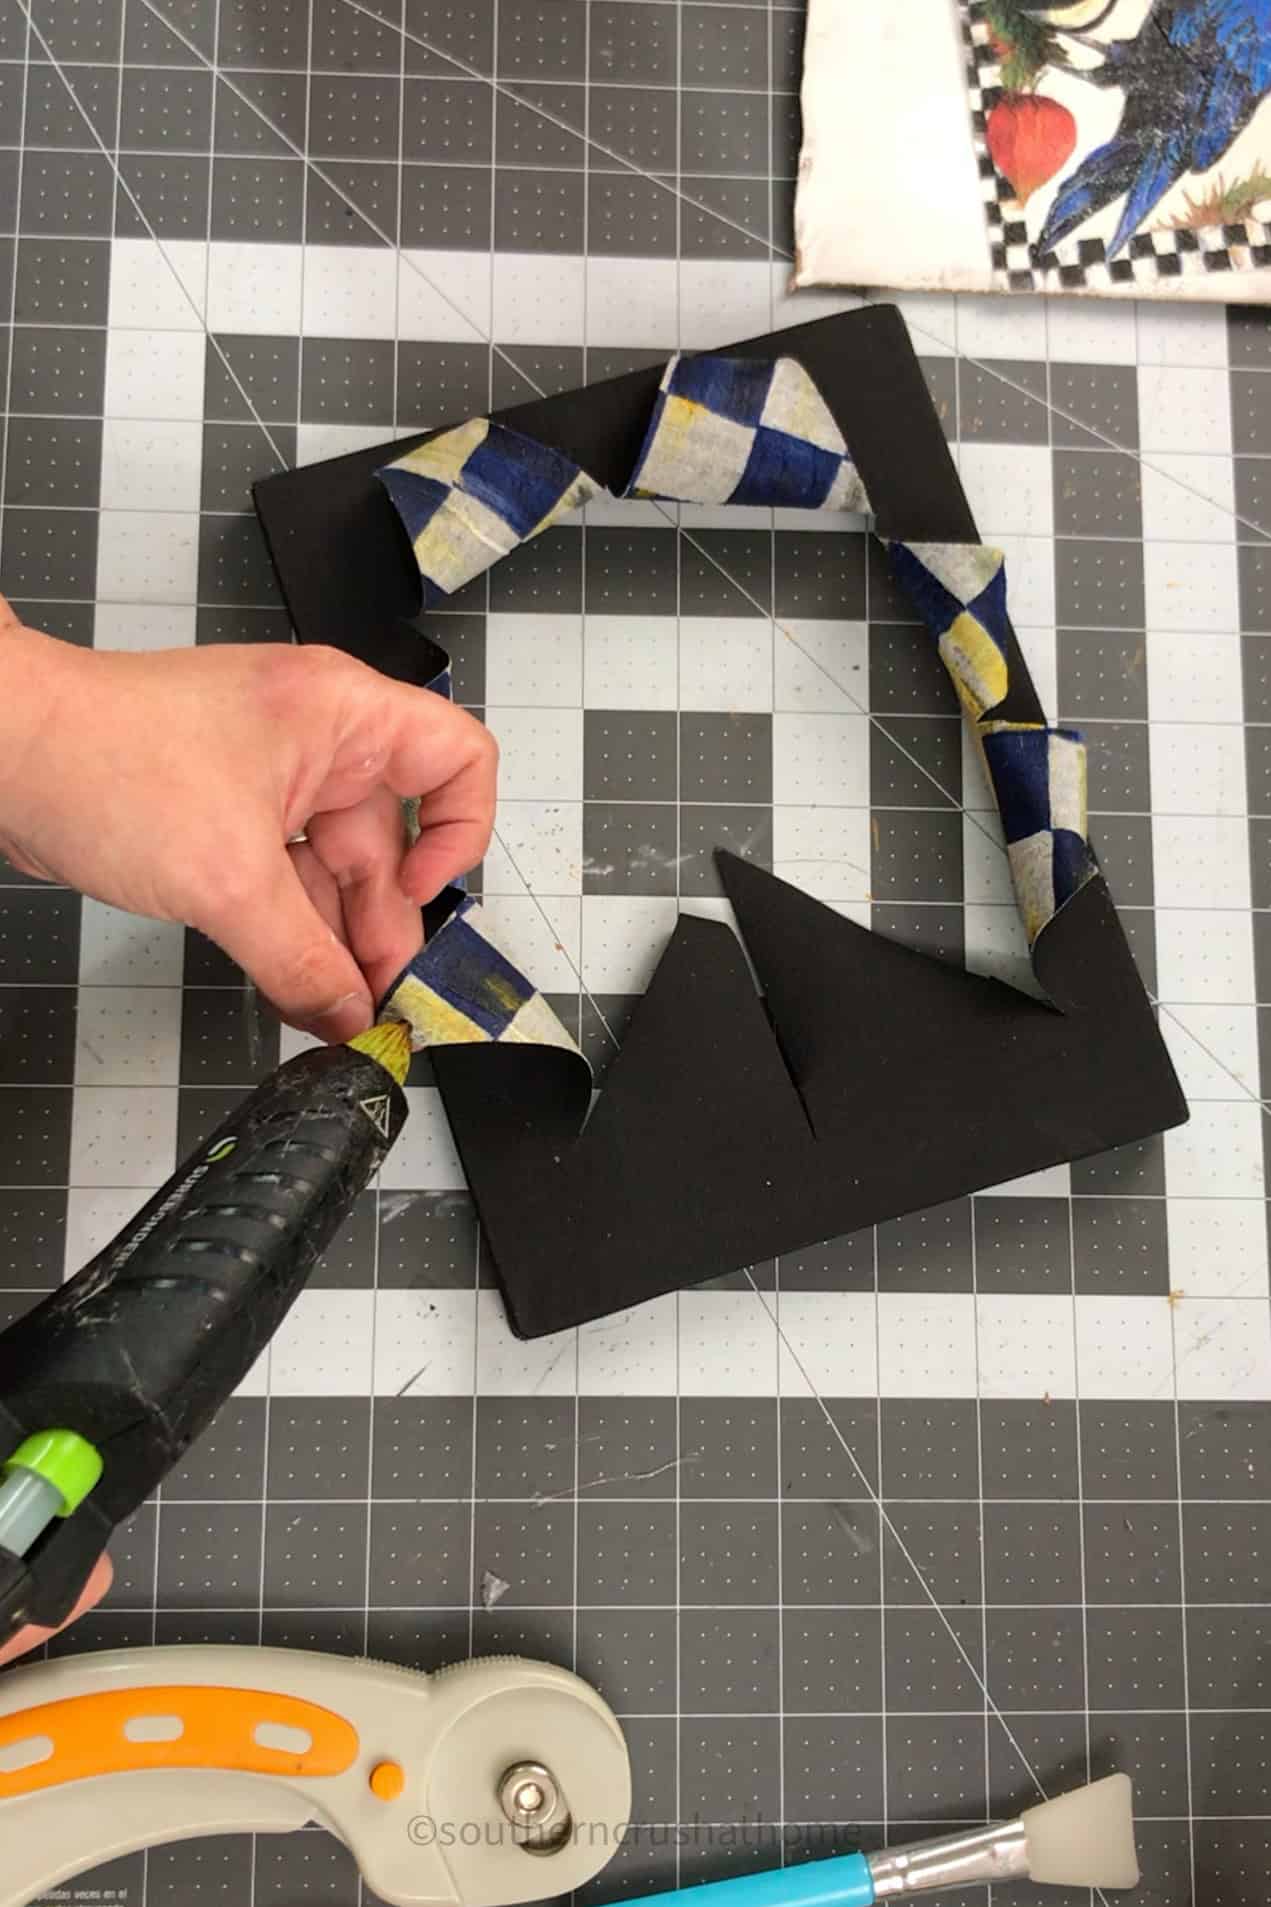
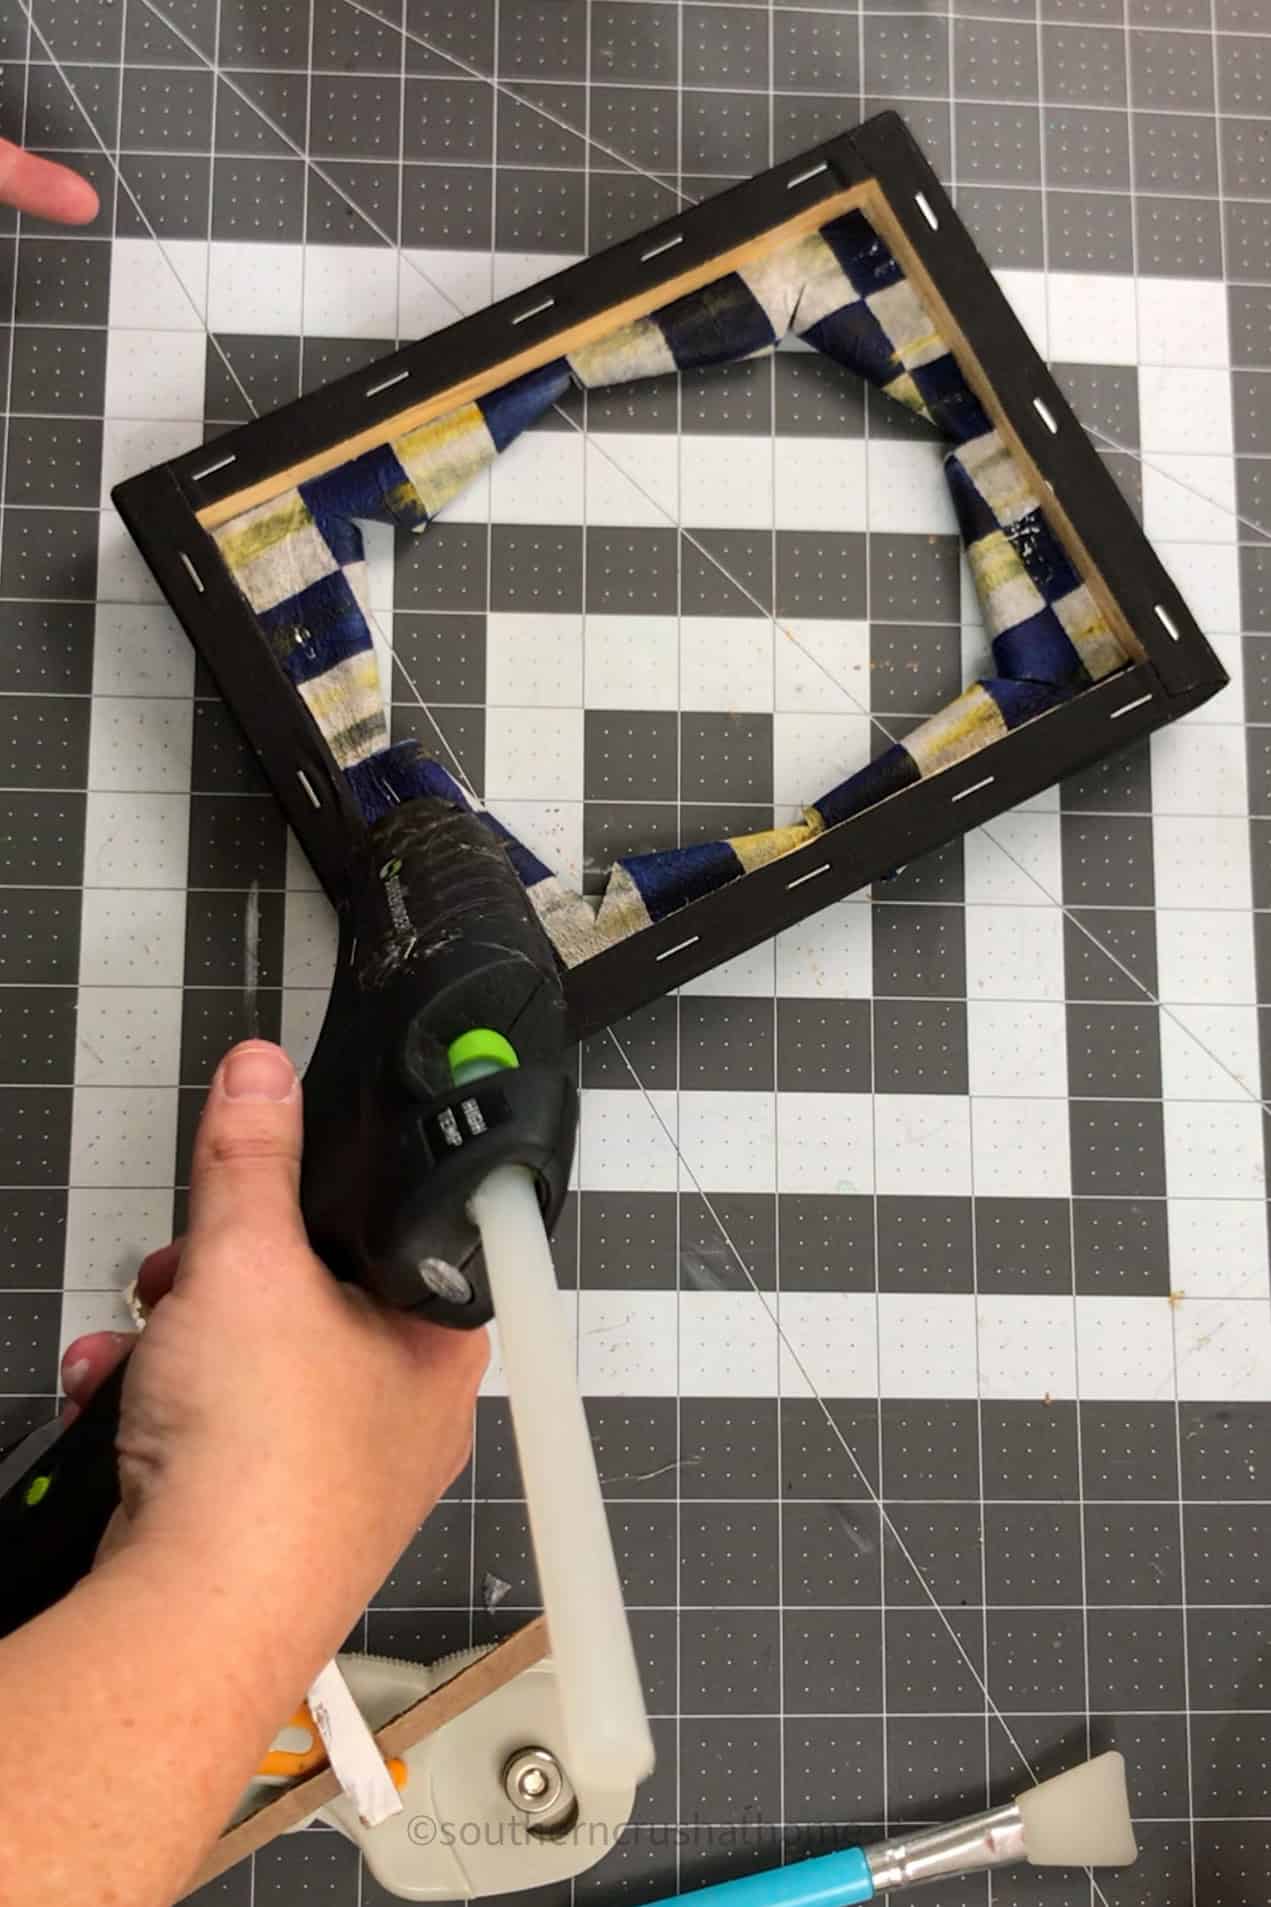
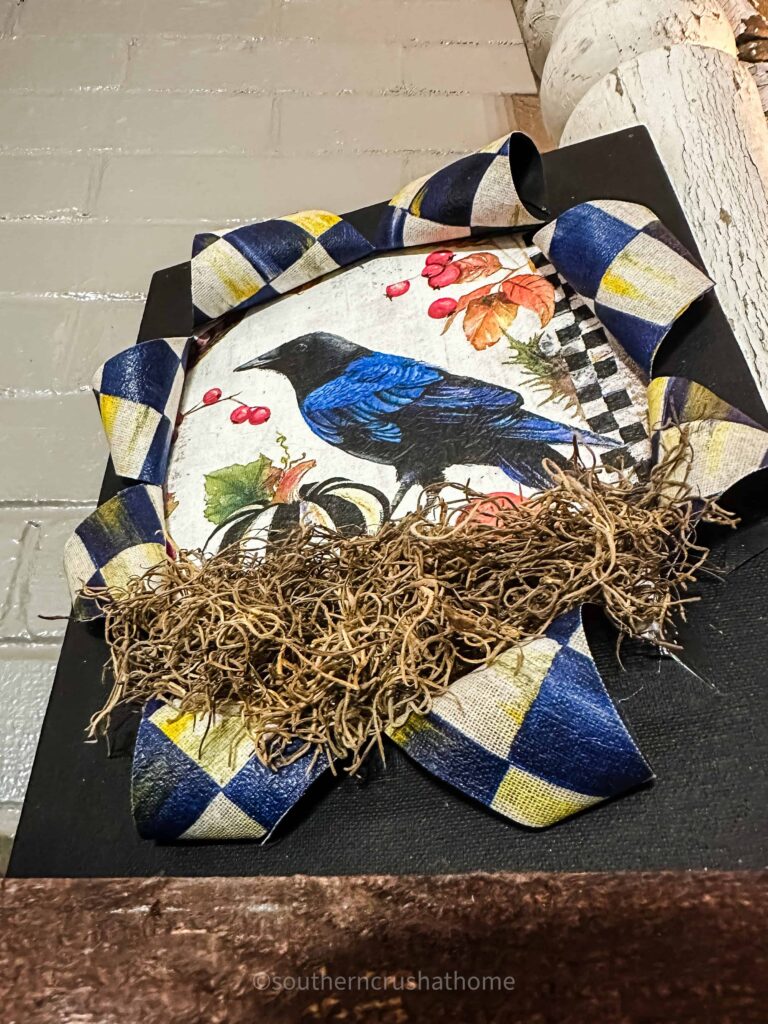
Pop Out the Canvas Sections: Gently pull back the cut sections of the canvas to reveal the flat canvas underneath.
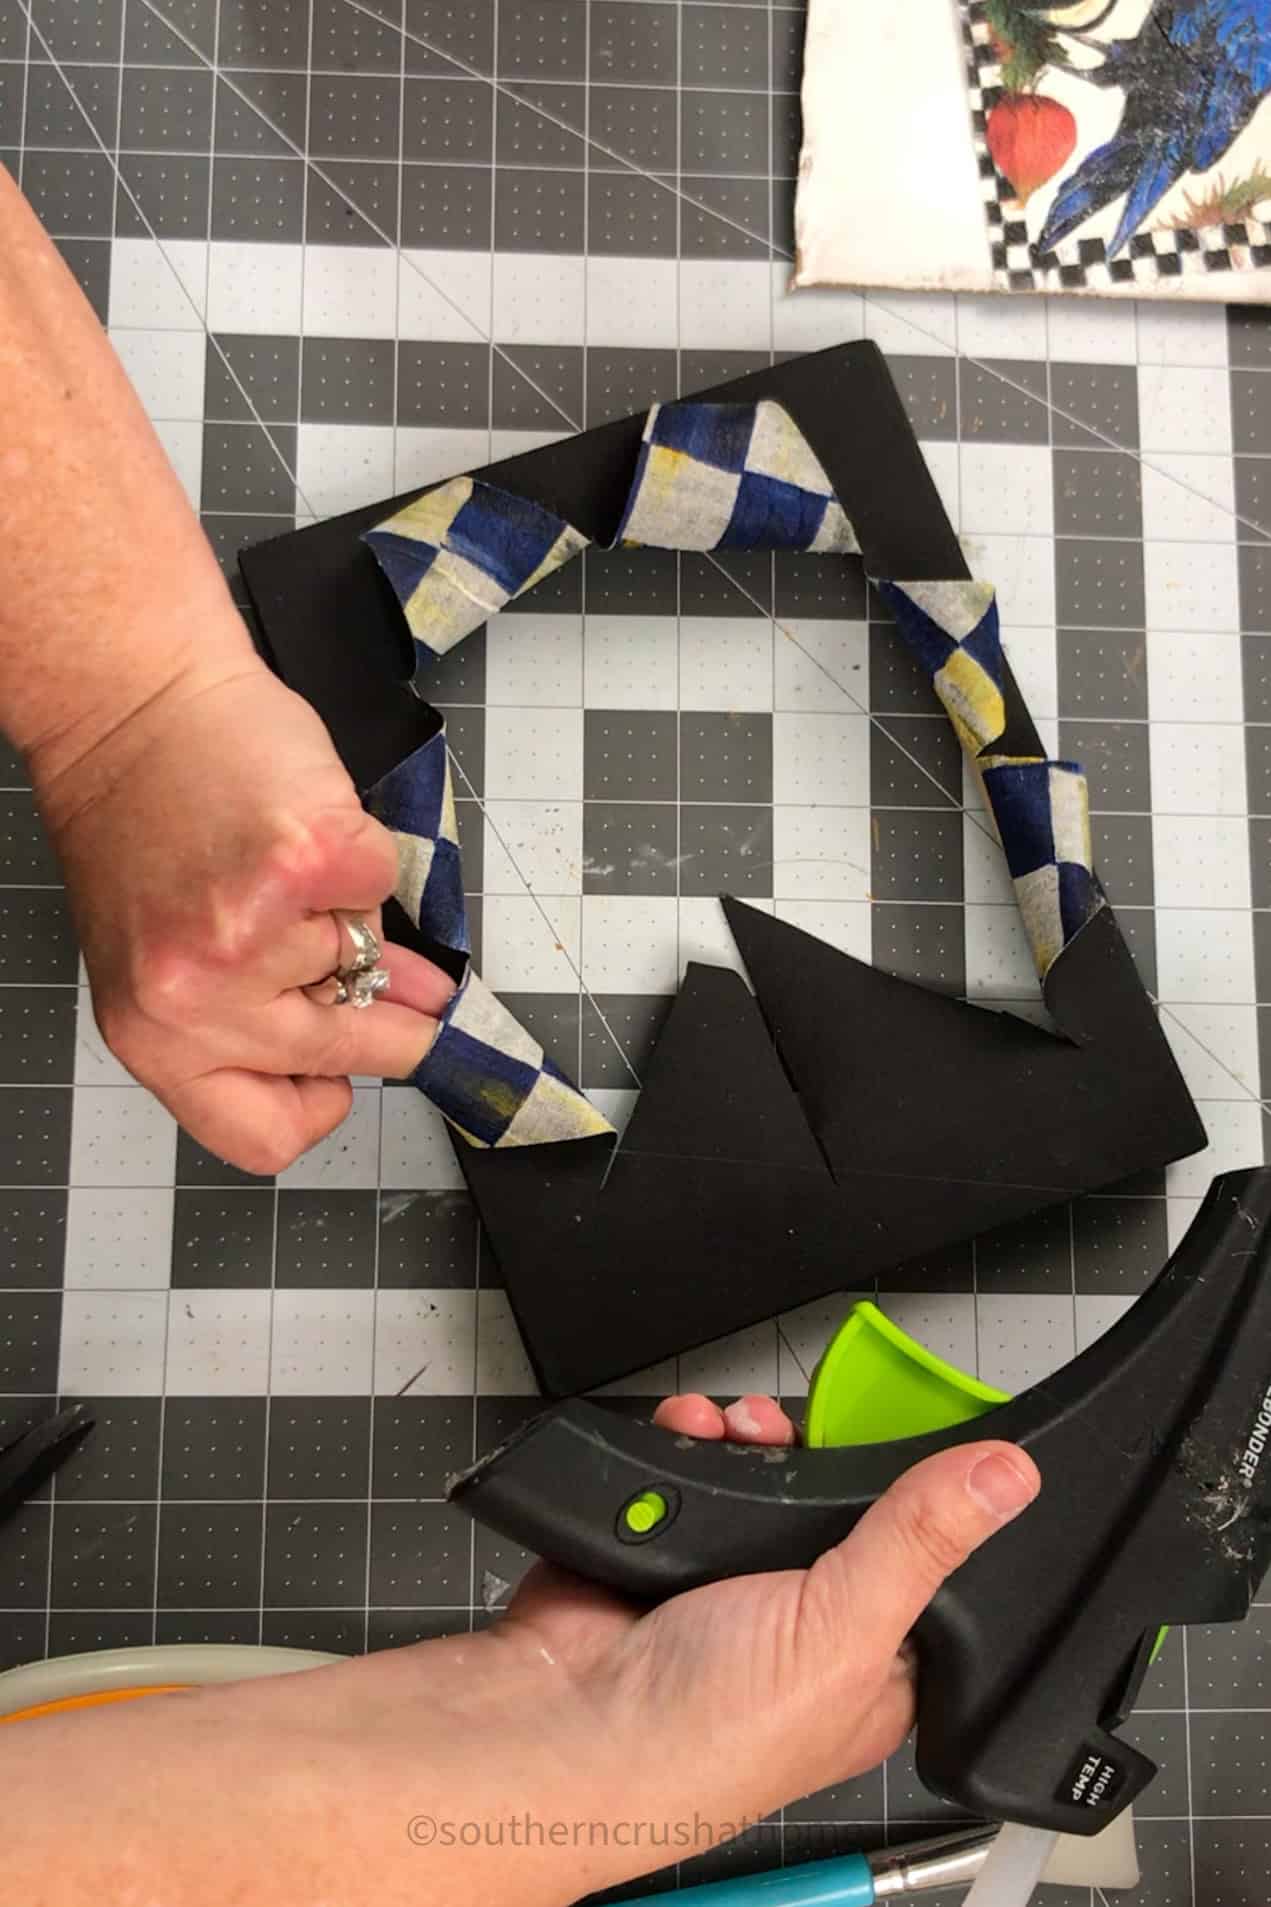
You can fold and hot glue these sections outward to create the 3D effect. Depending on your design, you might want to vary the degree of “pop-out” for a more dynamic look.
Step 3: Attach the Canvases
Position the Flat Canvas: Place the flat canvas behind the popped-out sections of the stretched canvas. Adjust it so that the design or pattern is perfectly aligned with the cut sections.
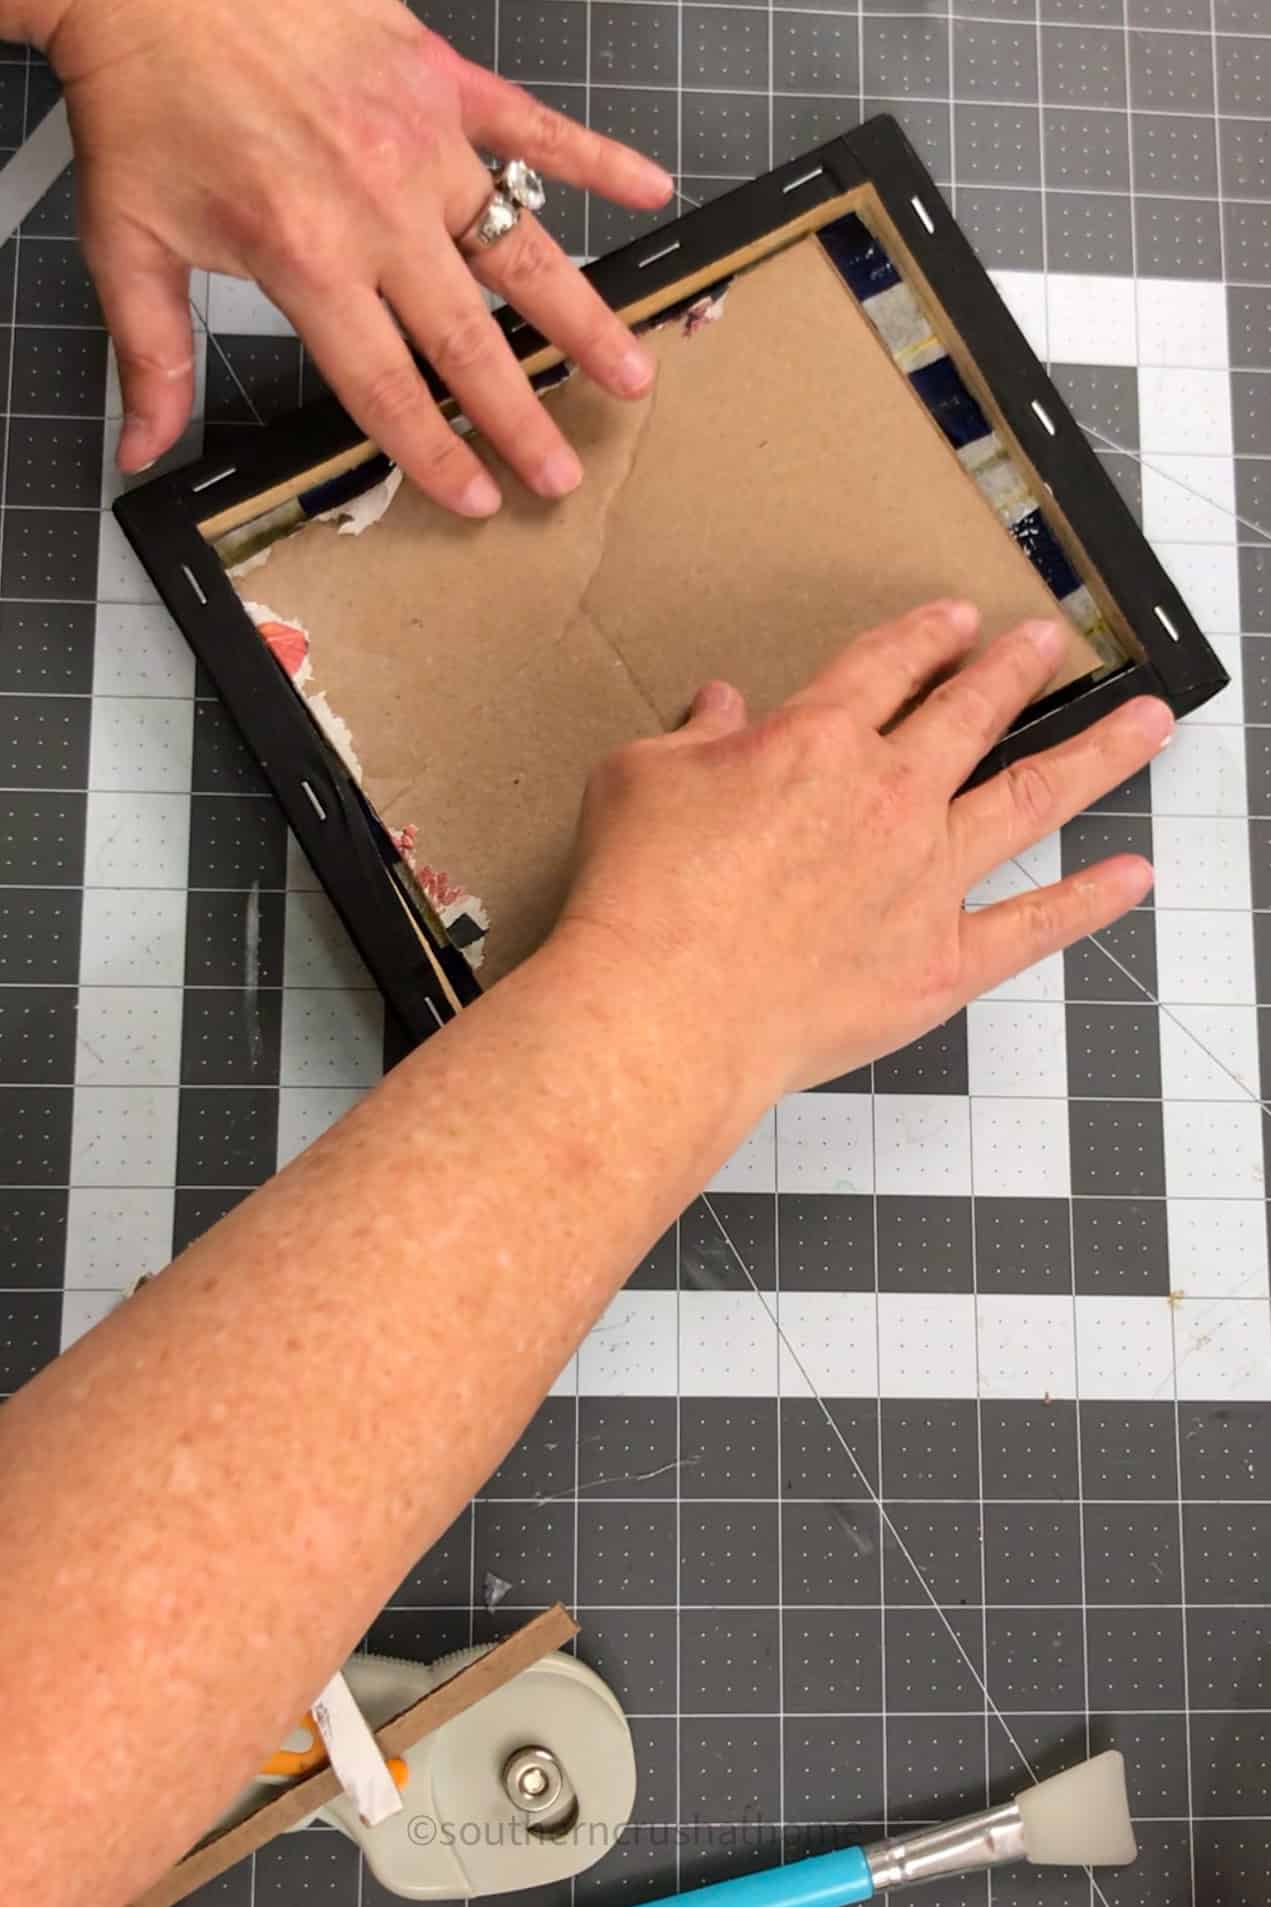
Glue the Canvases Together: Once you’re satisfied with the positioning, use a hot glue gun to secure the edges of the flat canvas to the back of the stretched canvas frame. Make sure the popped-out sections are secure but still raised to maintain the 3D effect.
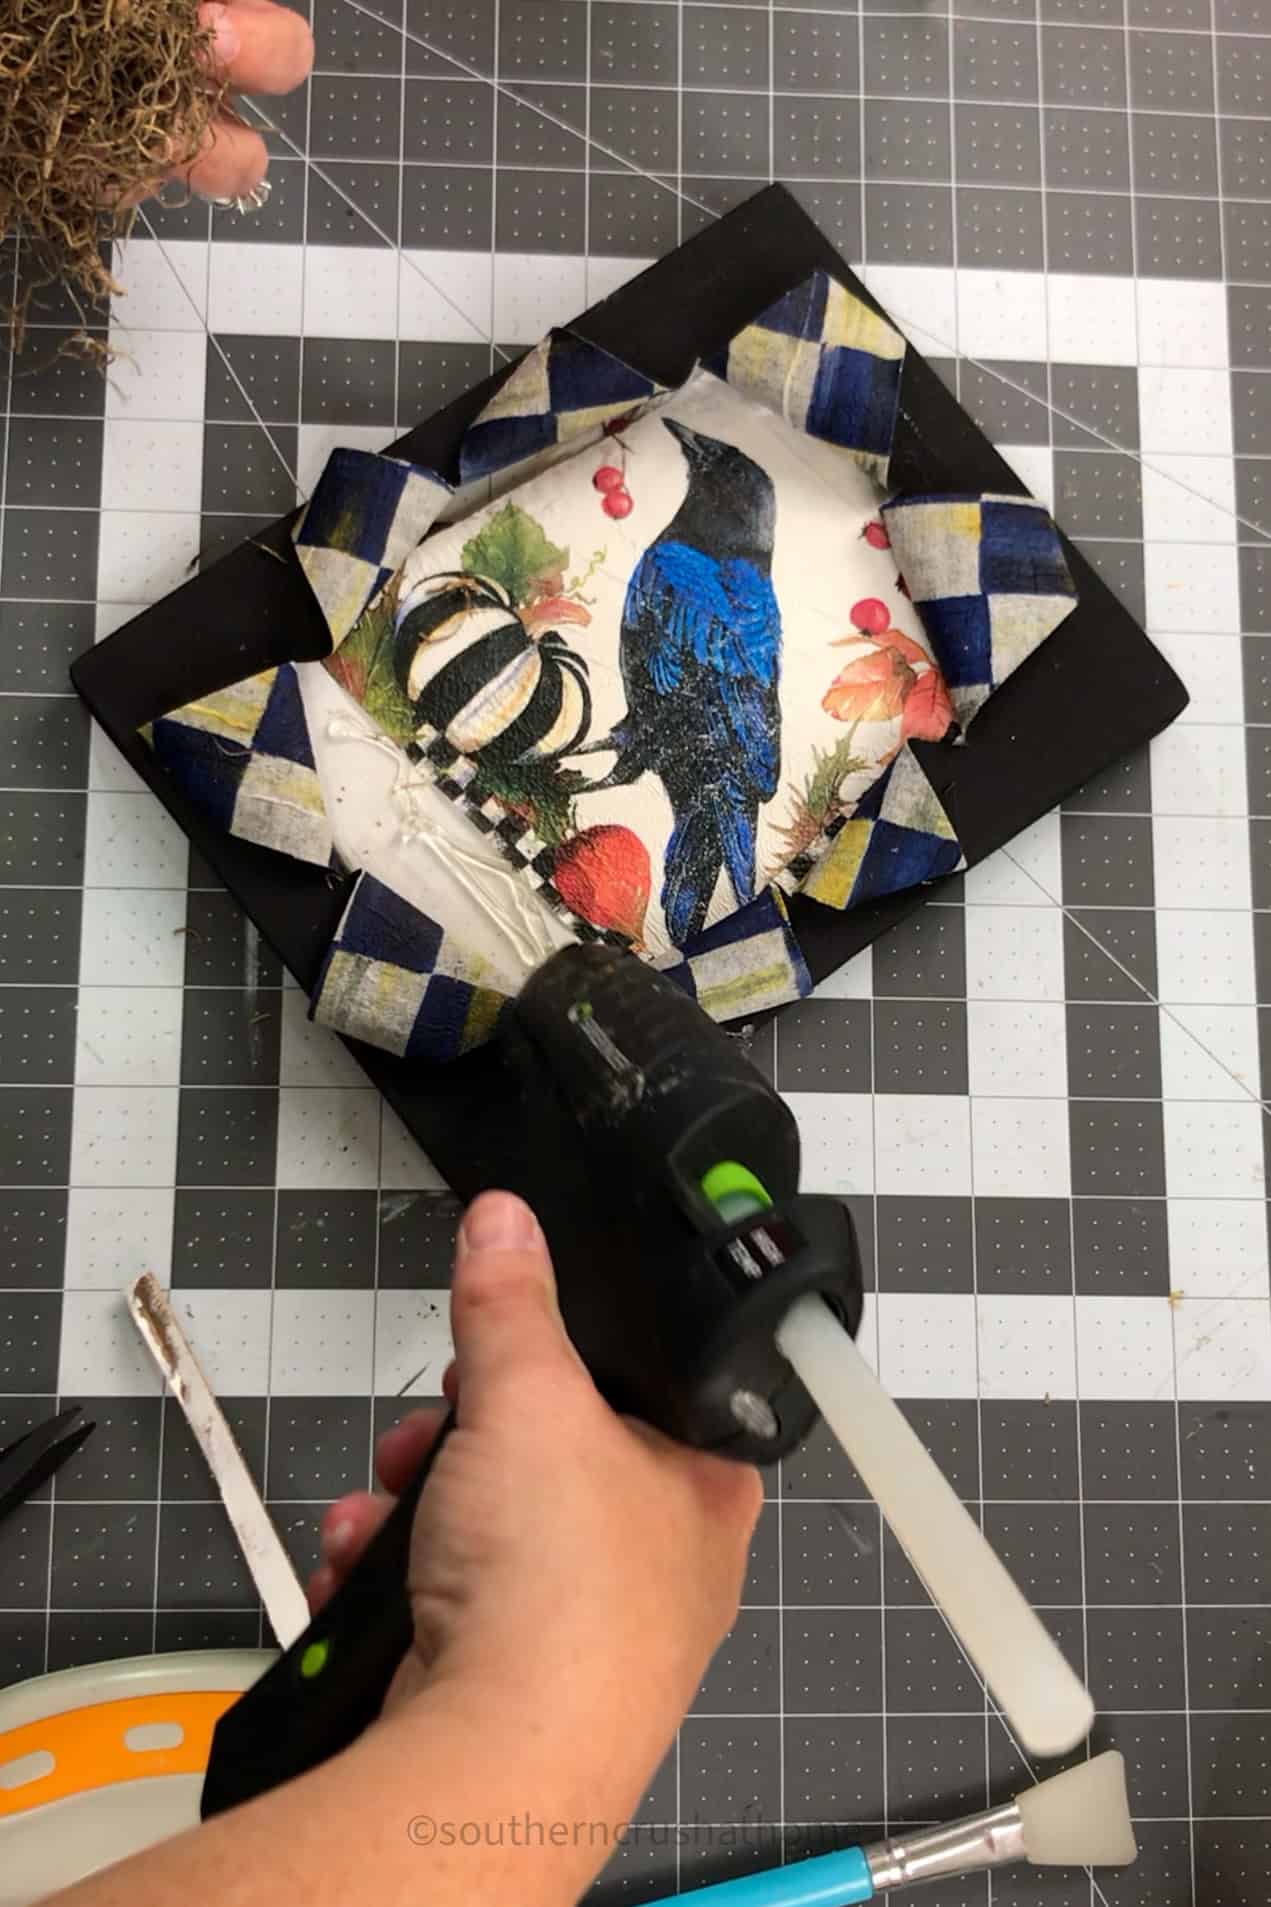
Step 4: Add 3D Embellishments
This is where you can really let your creativity shine! Enhance your pop-out canvas with fun add-ons like:
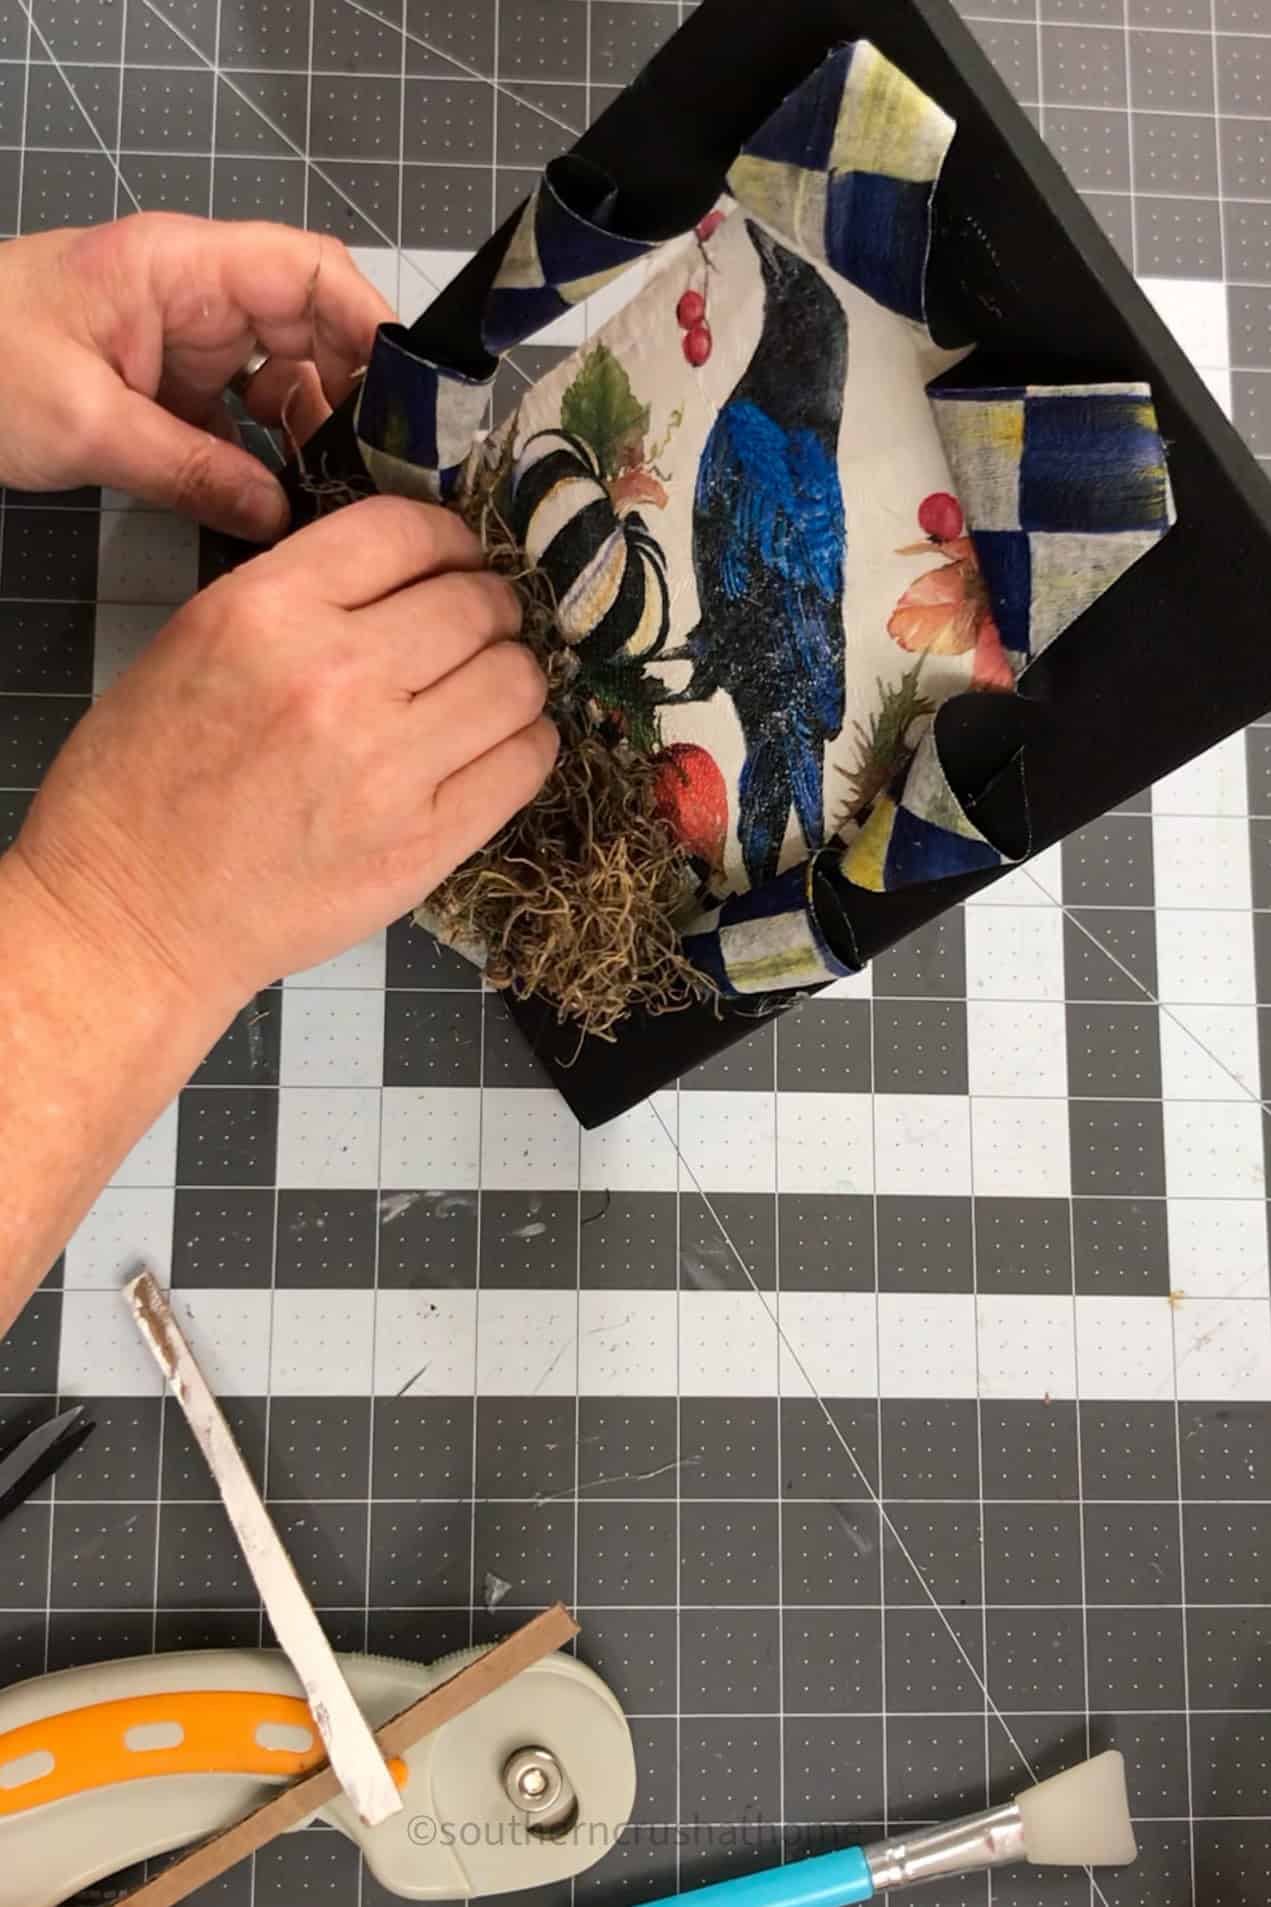
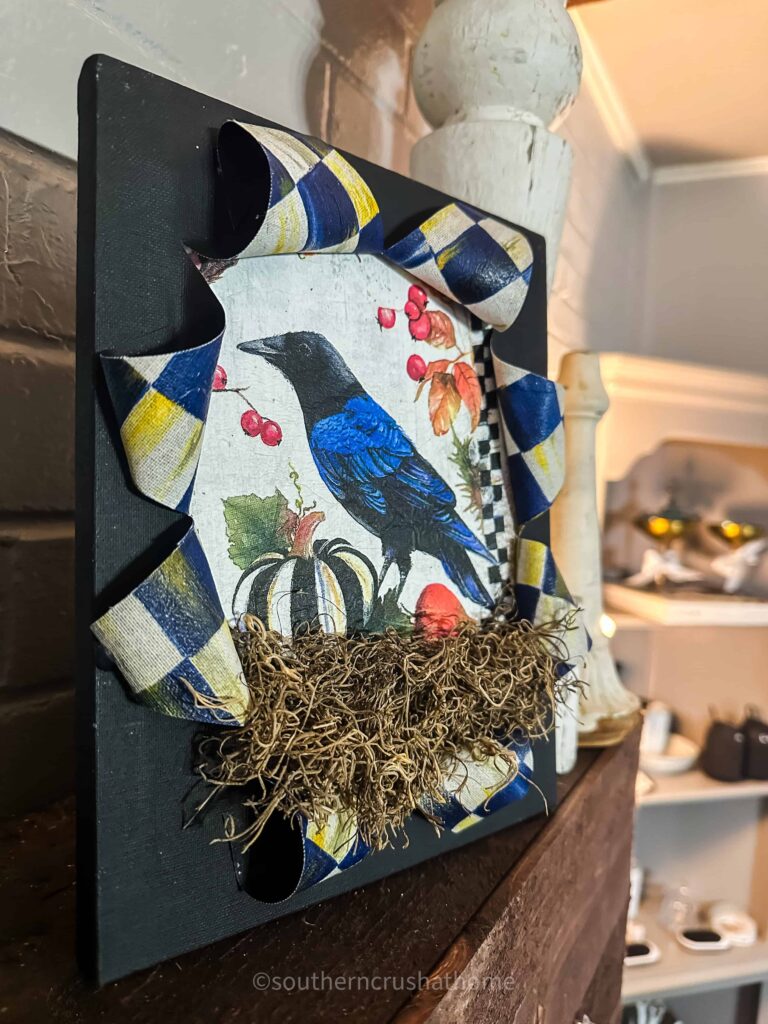
- Spanish Moss: Tuck some Spanish moss into the popped-out sections for a rustic, natural look.
- Bows and Ribbons: Add a decorative bow at the center or along the edges for a touch of elegance.
- Faux Flowers: Glue small faux dried flowers to the popped-out sections to create a beautiful floral explosion.
- 3D Embellishments: Get creative with small trinkets, charms, or other 3D items that fit the theme of your canvas.
I added spanish moss to look like a crow’s nest:
Step 5: Finish and Display
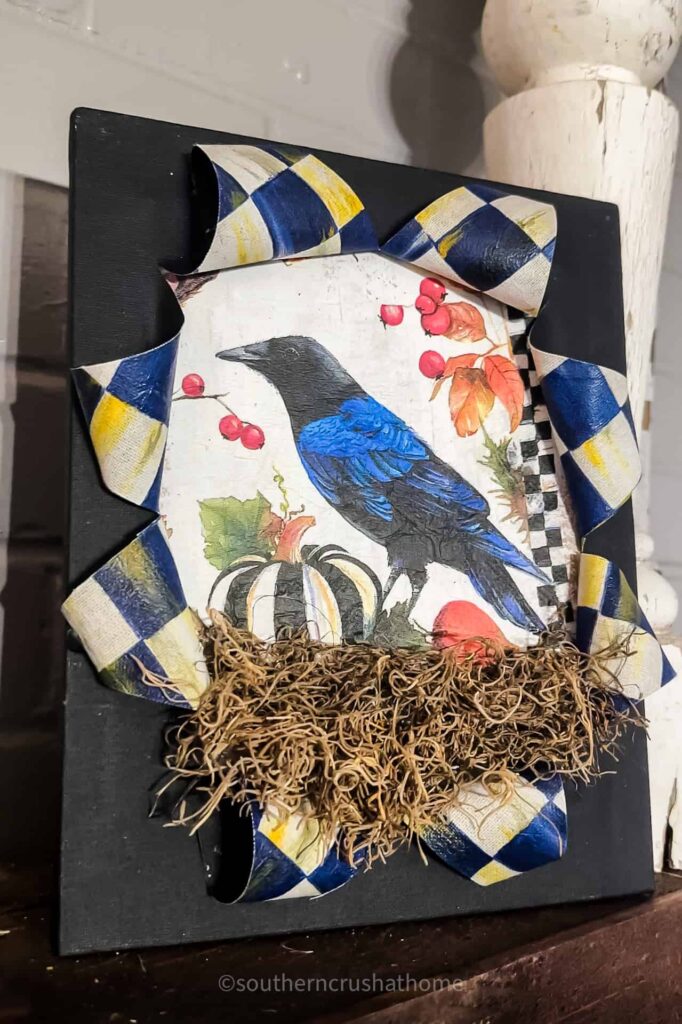
Once all your embellishments are in place and the glue is dry, your pop-out canvas is ready to be displayed!
Whether you’re creating a piece for a holiday, a special occasion, or just for fun, this art project is sure to be a showstopper in any room.
Why This Craft is So Addictive
The beauty of this pop-out canvas technique is that it’s endlessly customizable. You can tailor each piece to suit any theme, season, or holiday.
The combination of 2D and 3D elements adds depth and interest, making each canvas a unique work of art. Plus, once you start making them, it’s hard to stop!
The process is so enjoyable and the results are so impressive that you’ll find yourself planning the next one before you’ve even finished the first.
My Latest Busted Canvas Creations
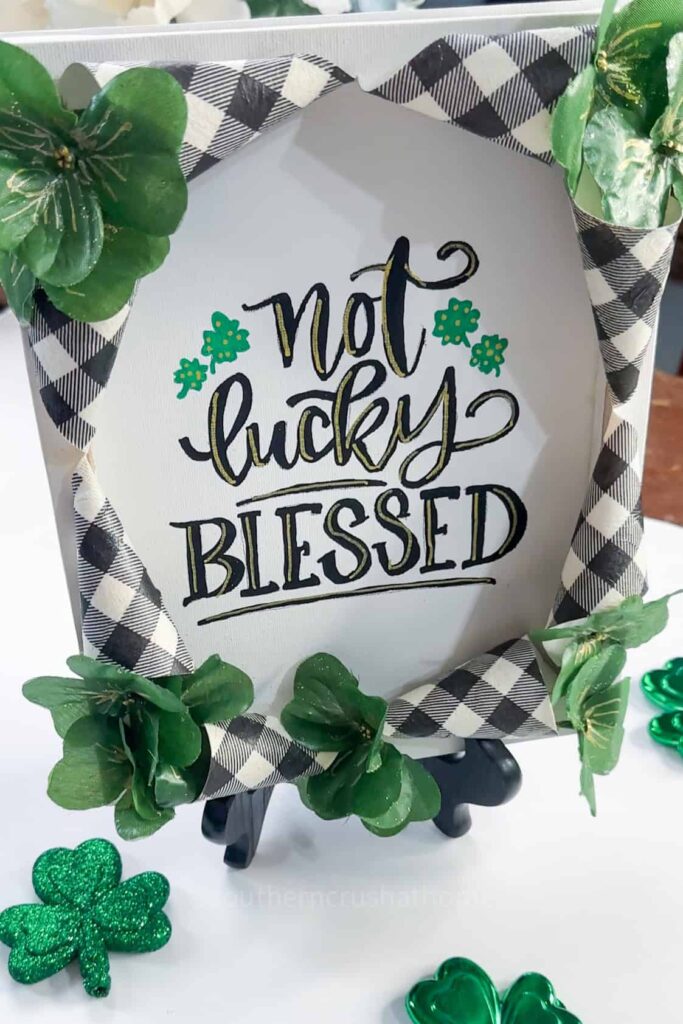
This St. Patrick’s Day version of the exploding canvas art idea incorporates handlettering with easy hand lettering templates! Find out all the details in this post… Handlettering for Beginners: Easy DIY Art with Traceable Templates
Ideas for Occasions and Themes
- Spring/Easter: Use pastel-colored tissue paper and add faux Easter eggs and flowers or even make one for a wedding.

credit: donna fusilli hack 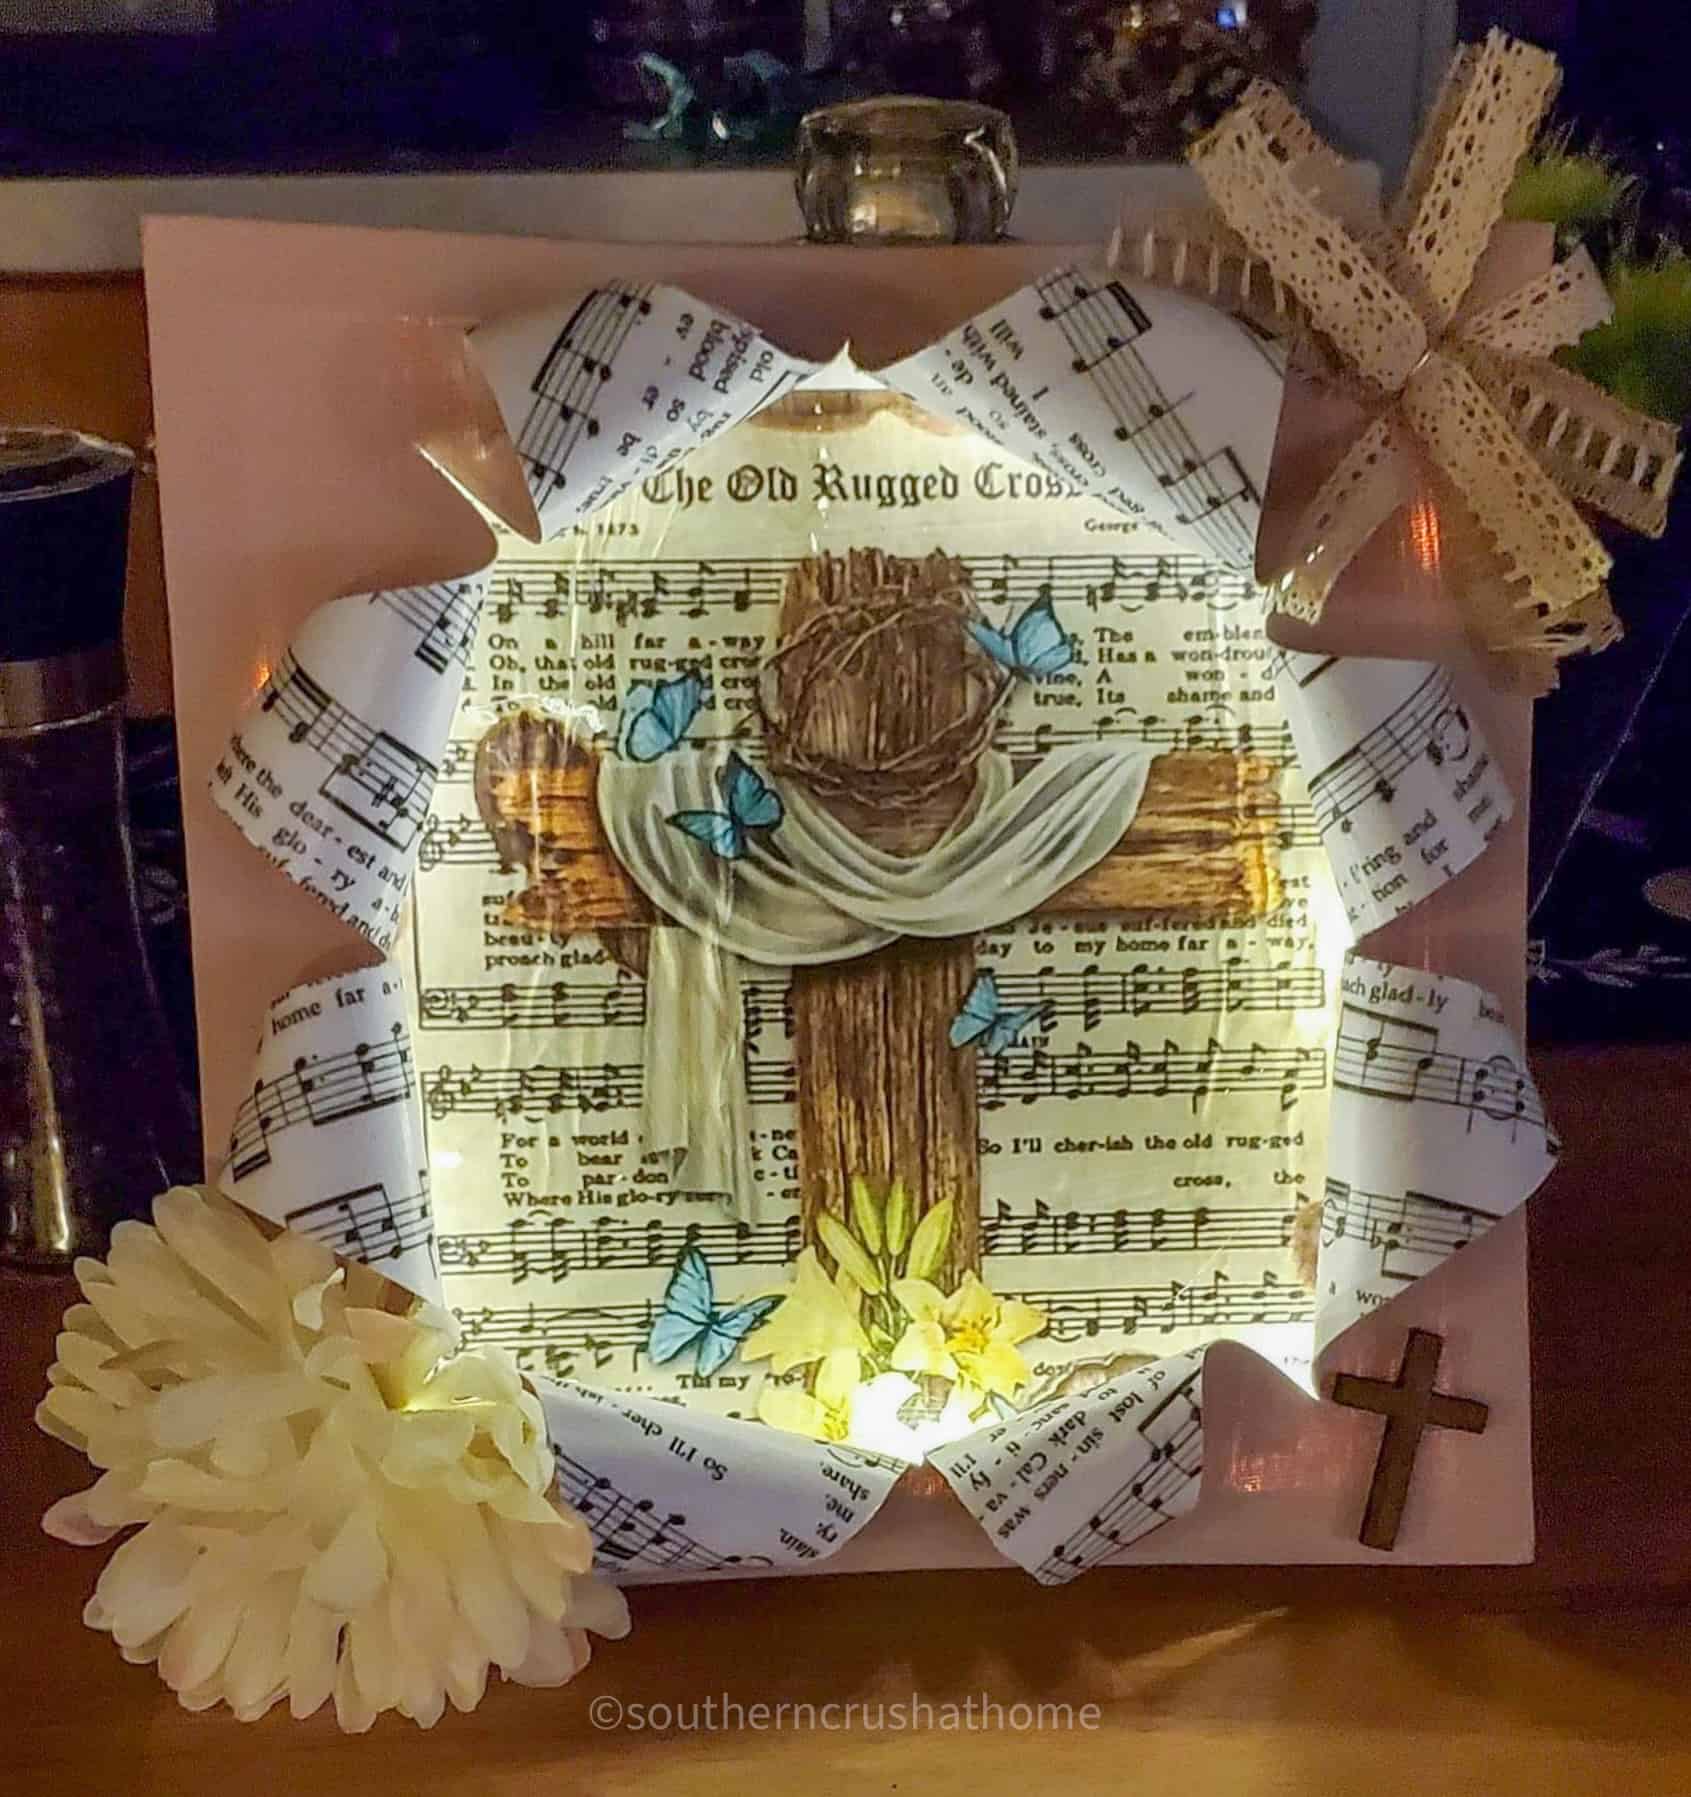
credit: jenn rodriguez 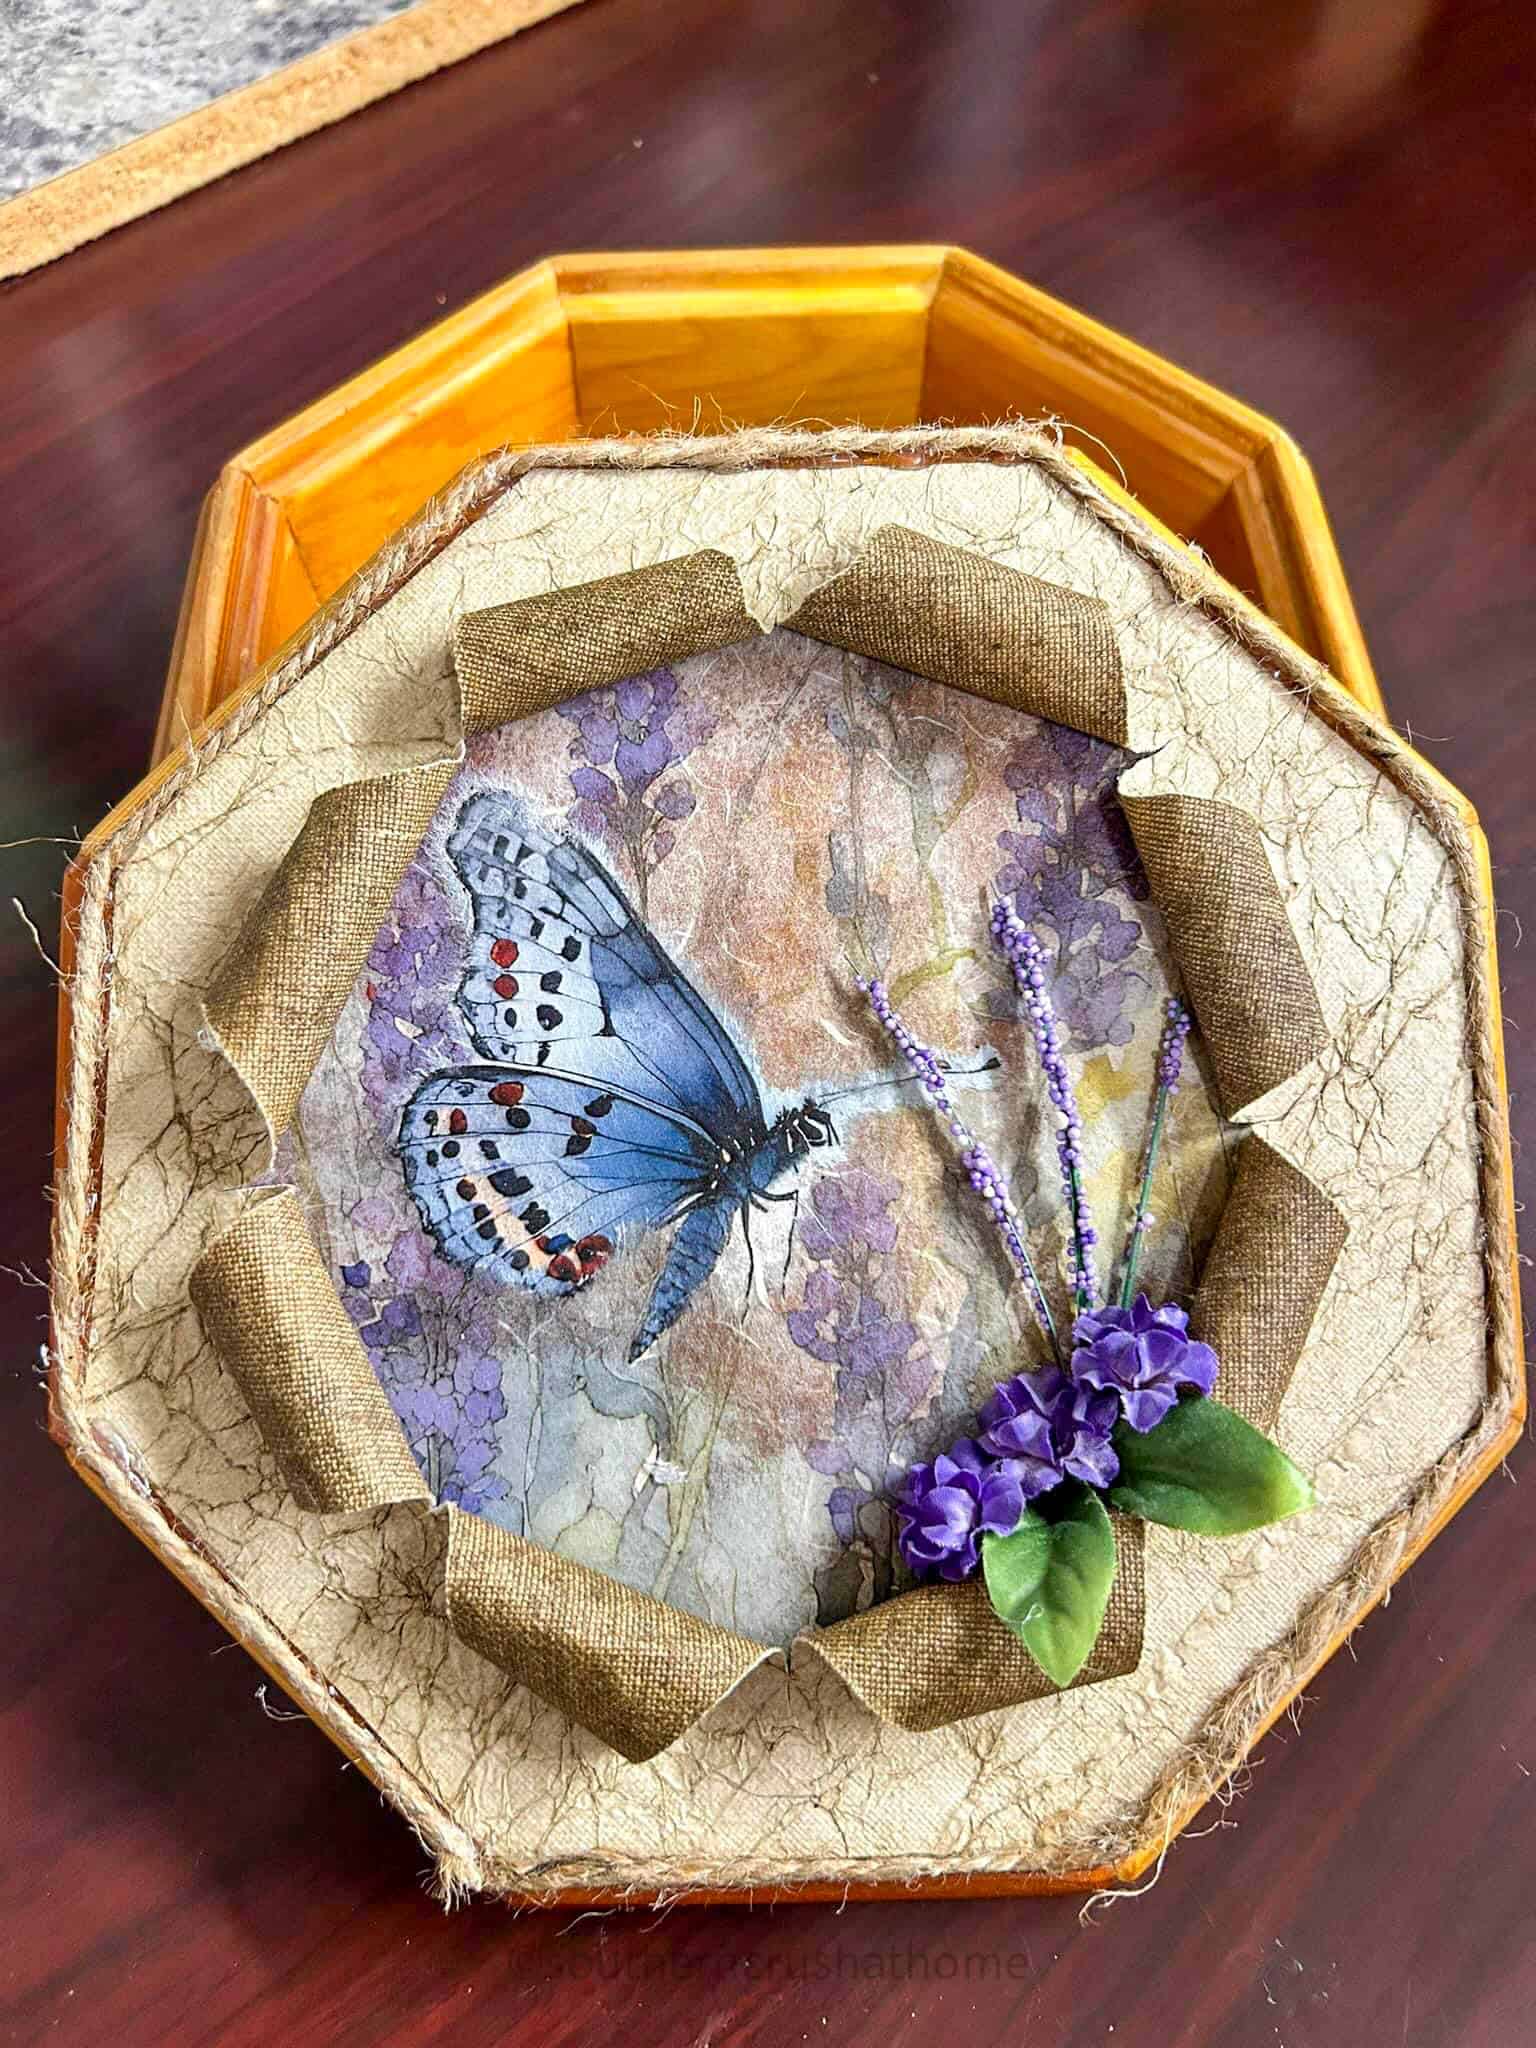
credit: pam carpenter soberanes 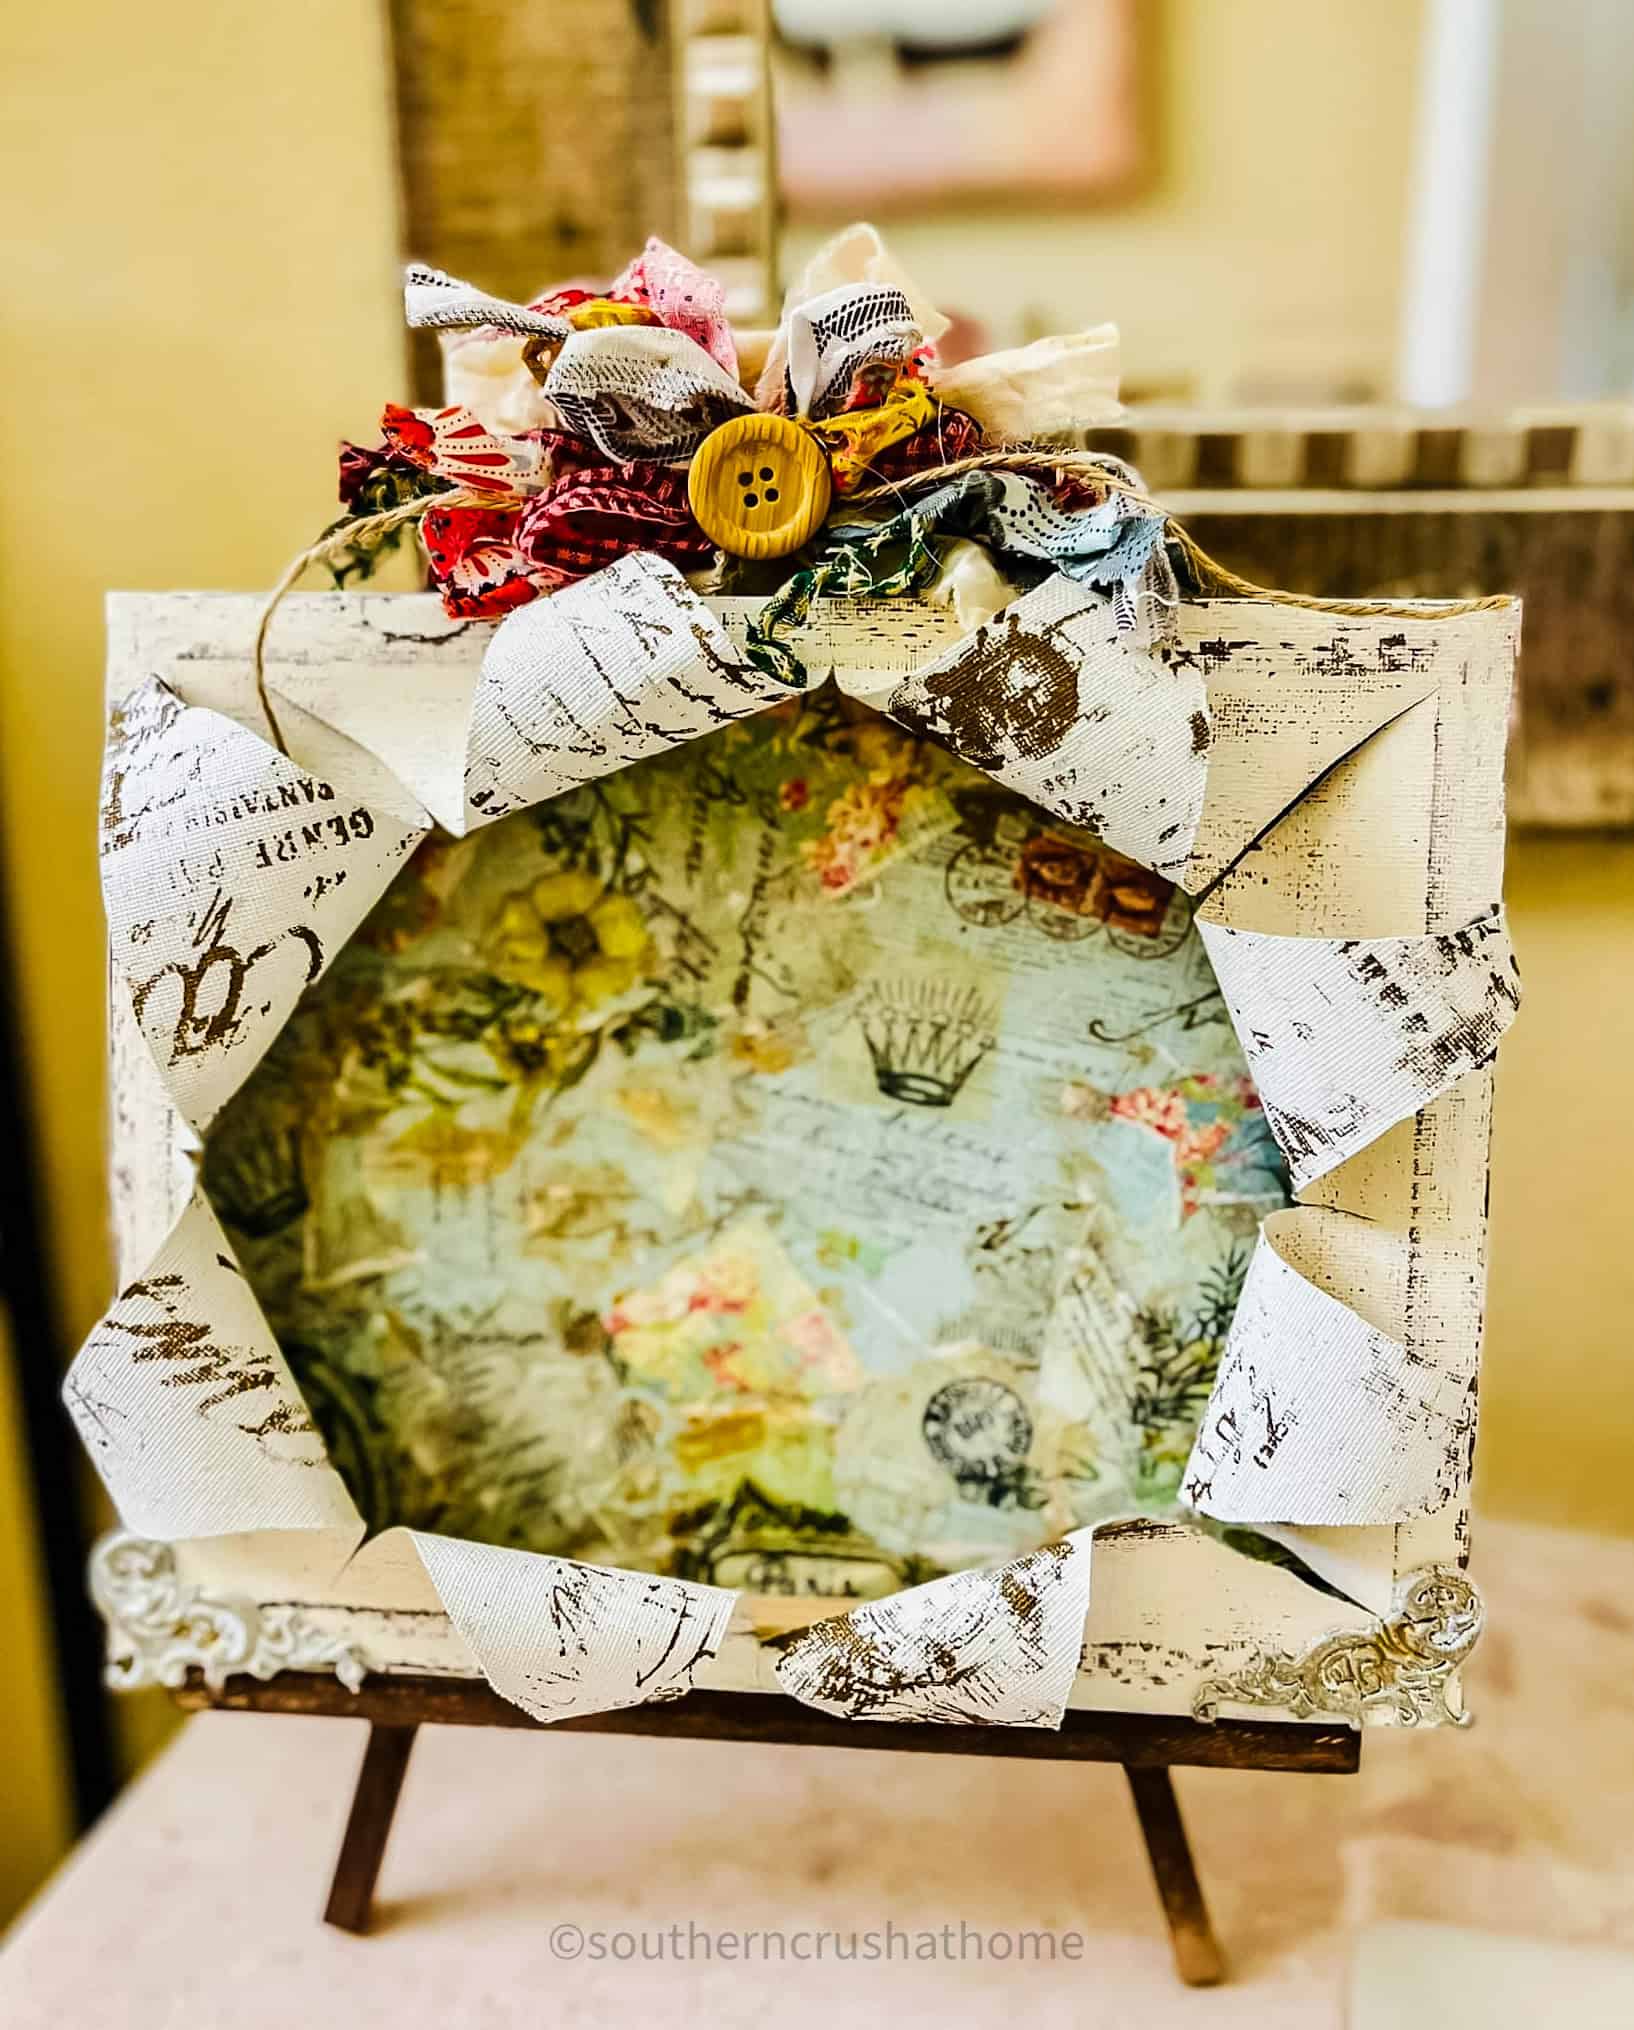
credit: alice amloian mampourian
- Summer: Think bright colors, tropical patterns, and add-ons like seashells and sand.

credit: debbie ledbetter 
credit: terrie cox high 
credit: marcella hobbs 
credit: liz zellin 
credit: phyllis bailiff 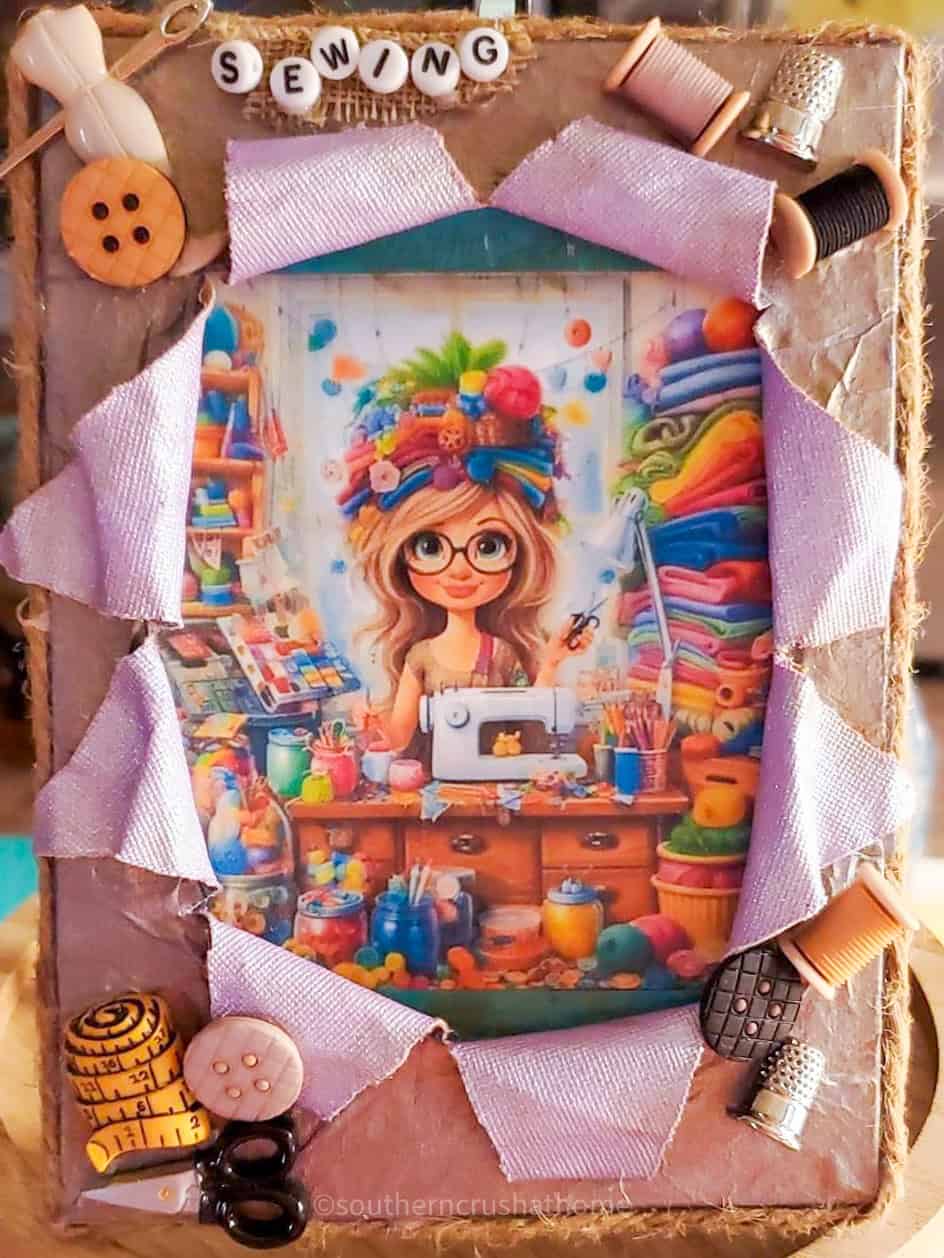
credit: nancy romine-fisher
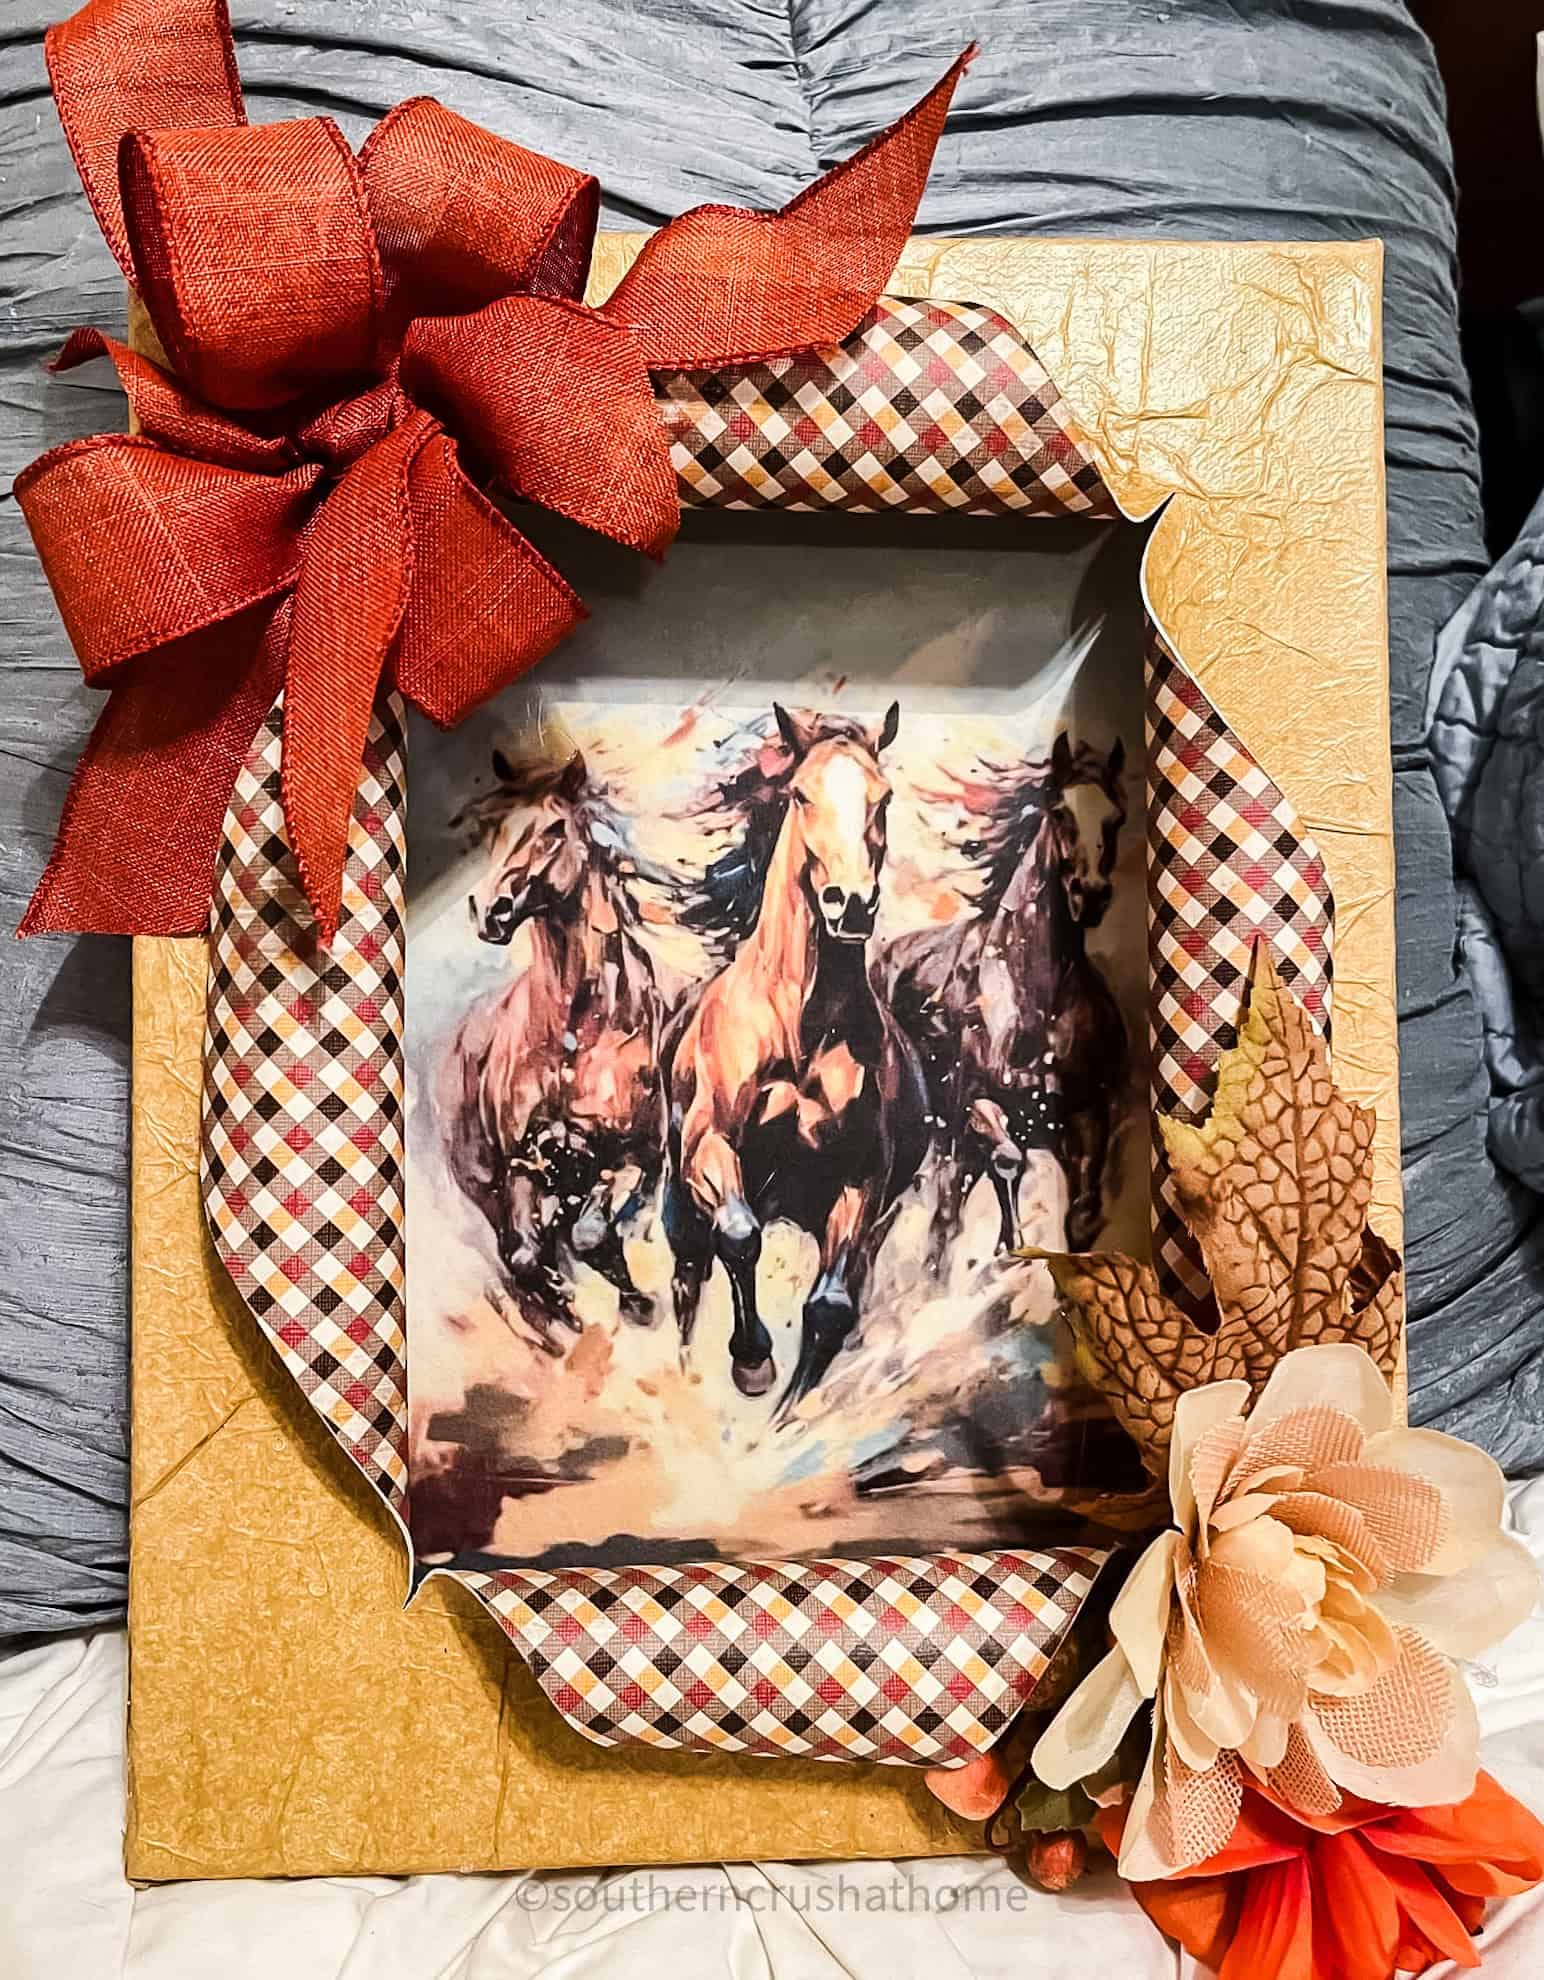
- Fall/Thanksgiving: Use autumnal colors, leaf patterns, and embellish with small pumpkins and acorns.

credit: tesh crafts 
credit: mandy campbell 
credit: bear budget crafts 
credit: shelle christianson 
credit: joyce miller konstantinow 
credit: leslie borgen
- Halloween: Make a spooky busted canvas with ghosts or skeletons popping out.

credit: lanehart trevor 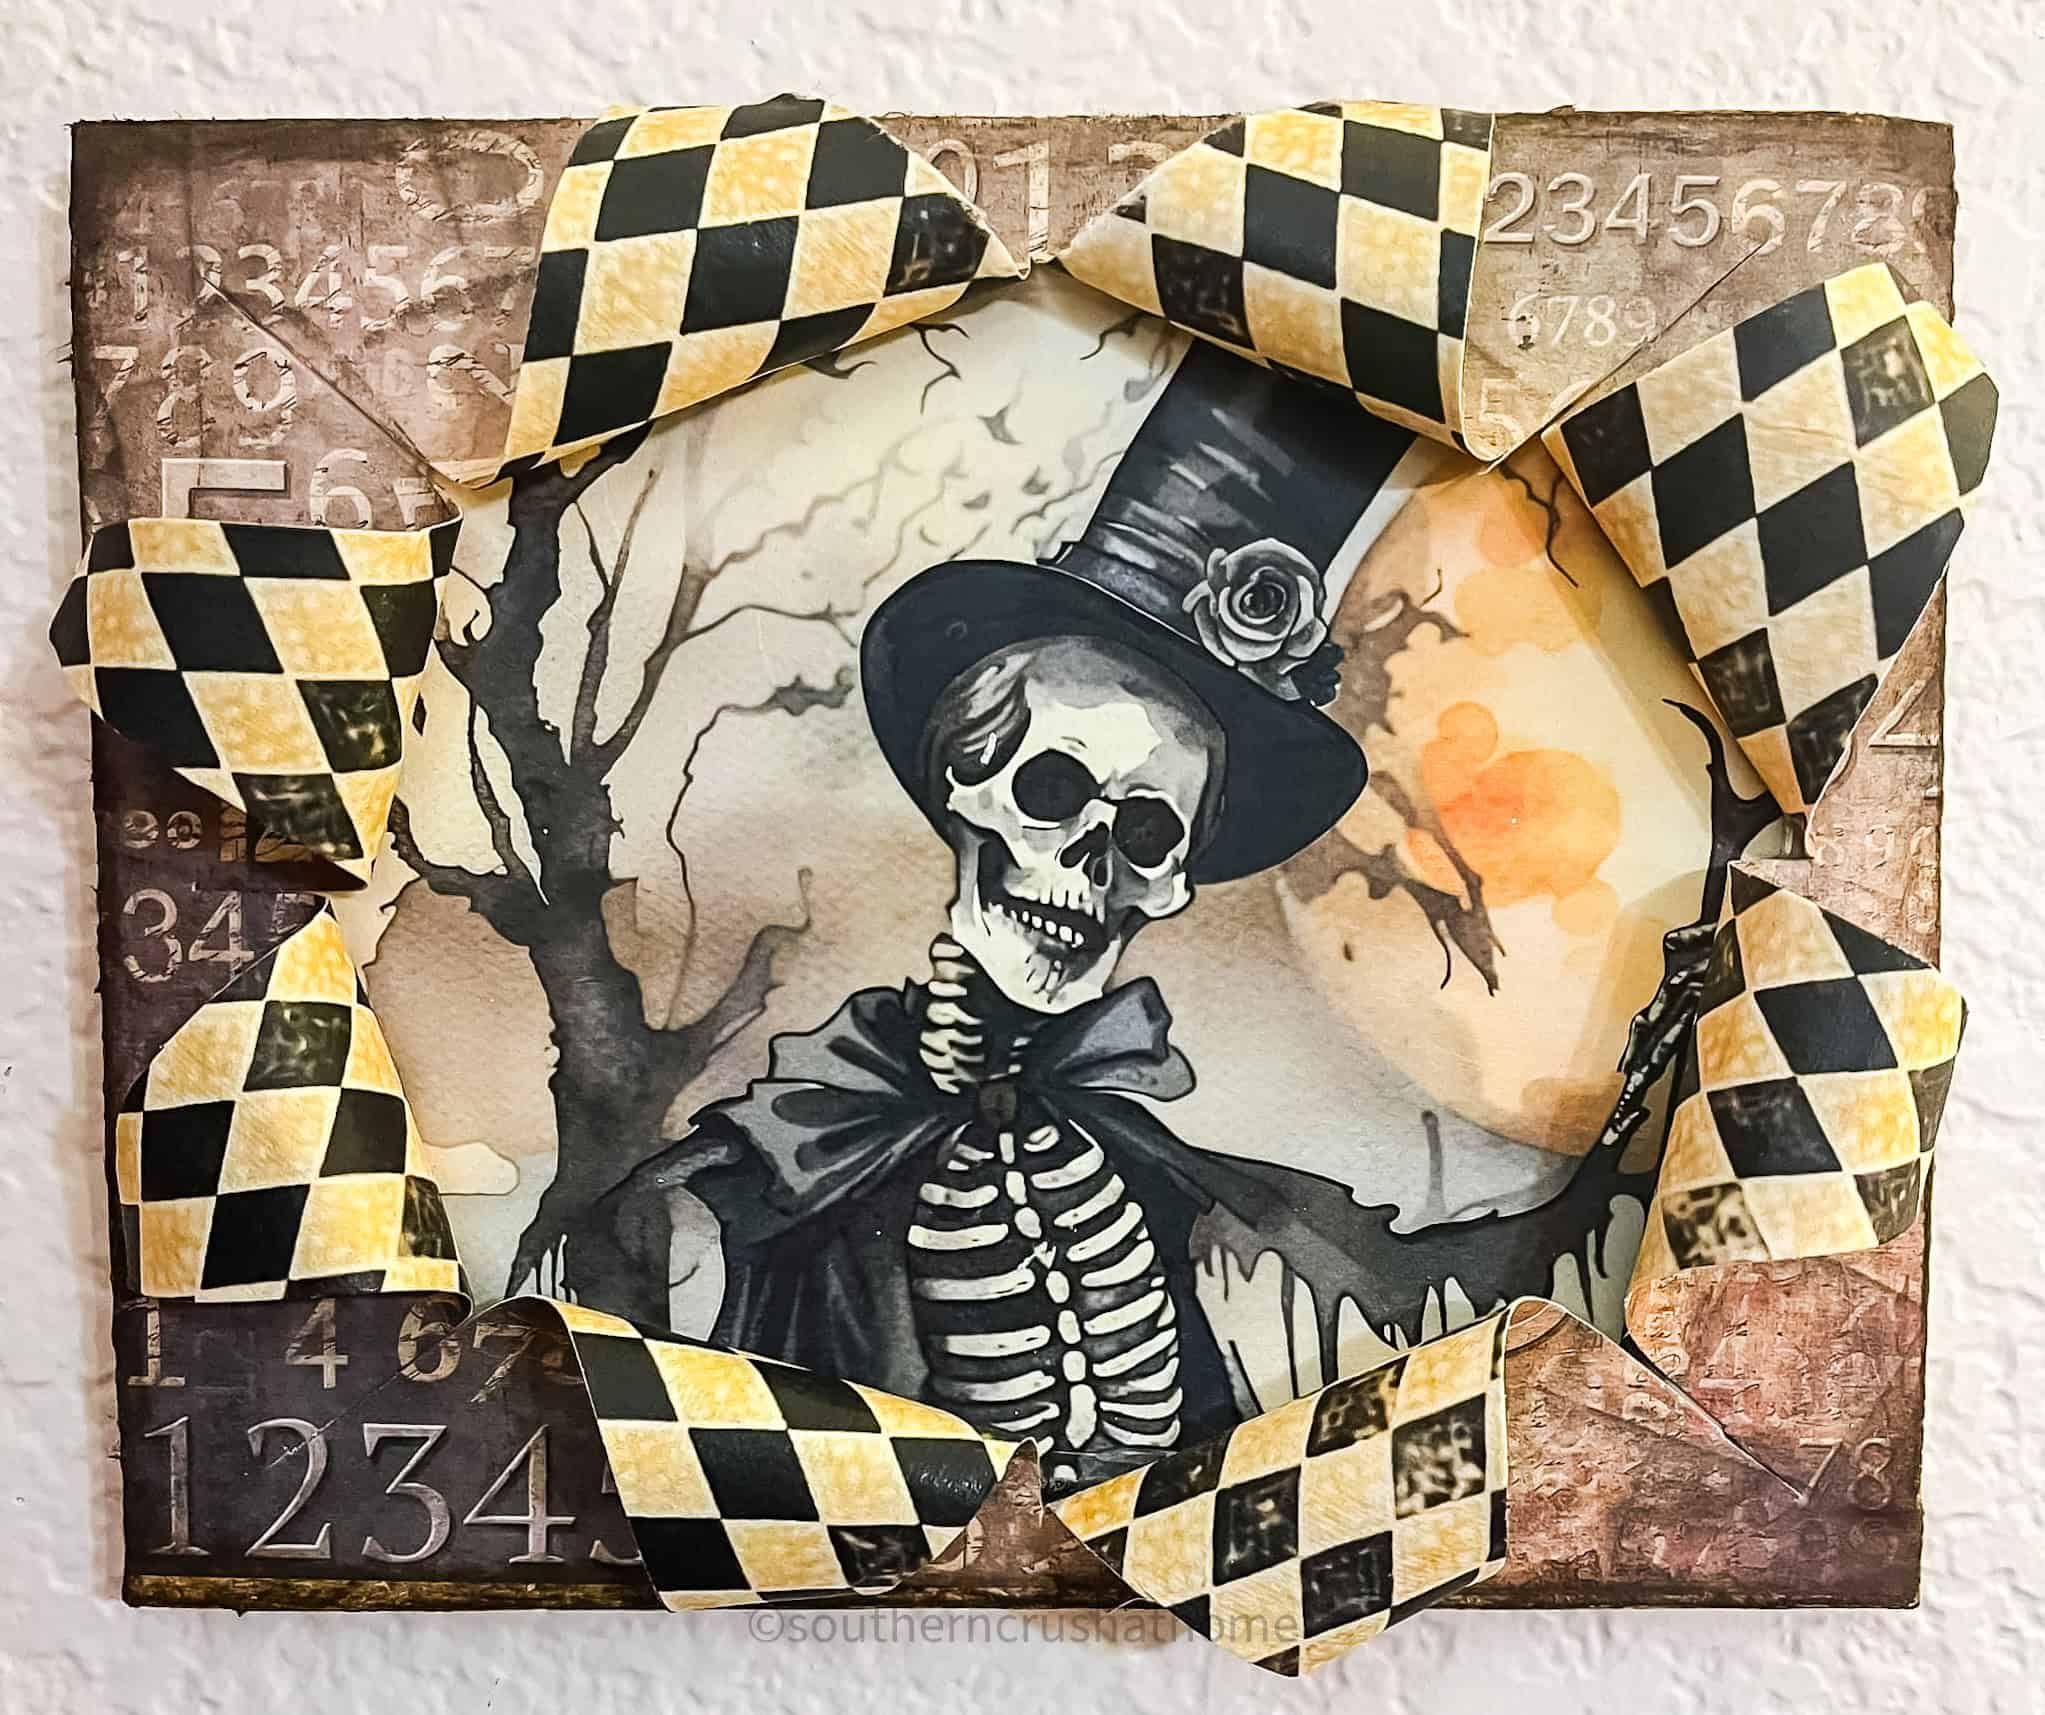
credit: gingerlee creations 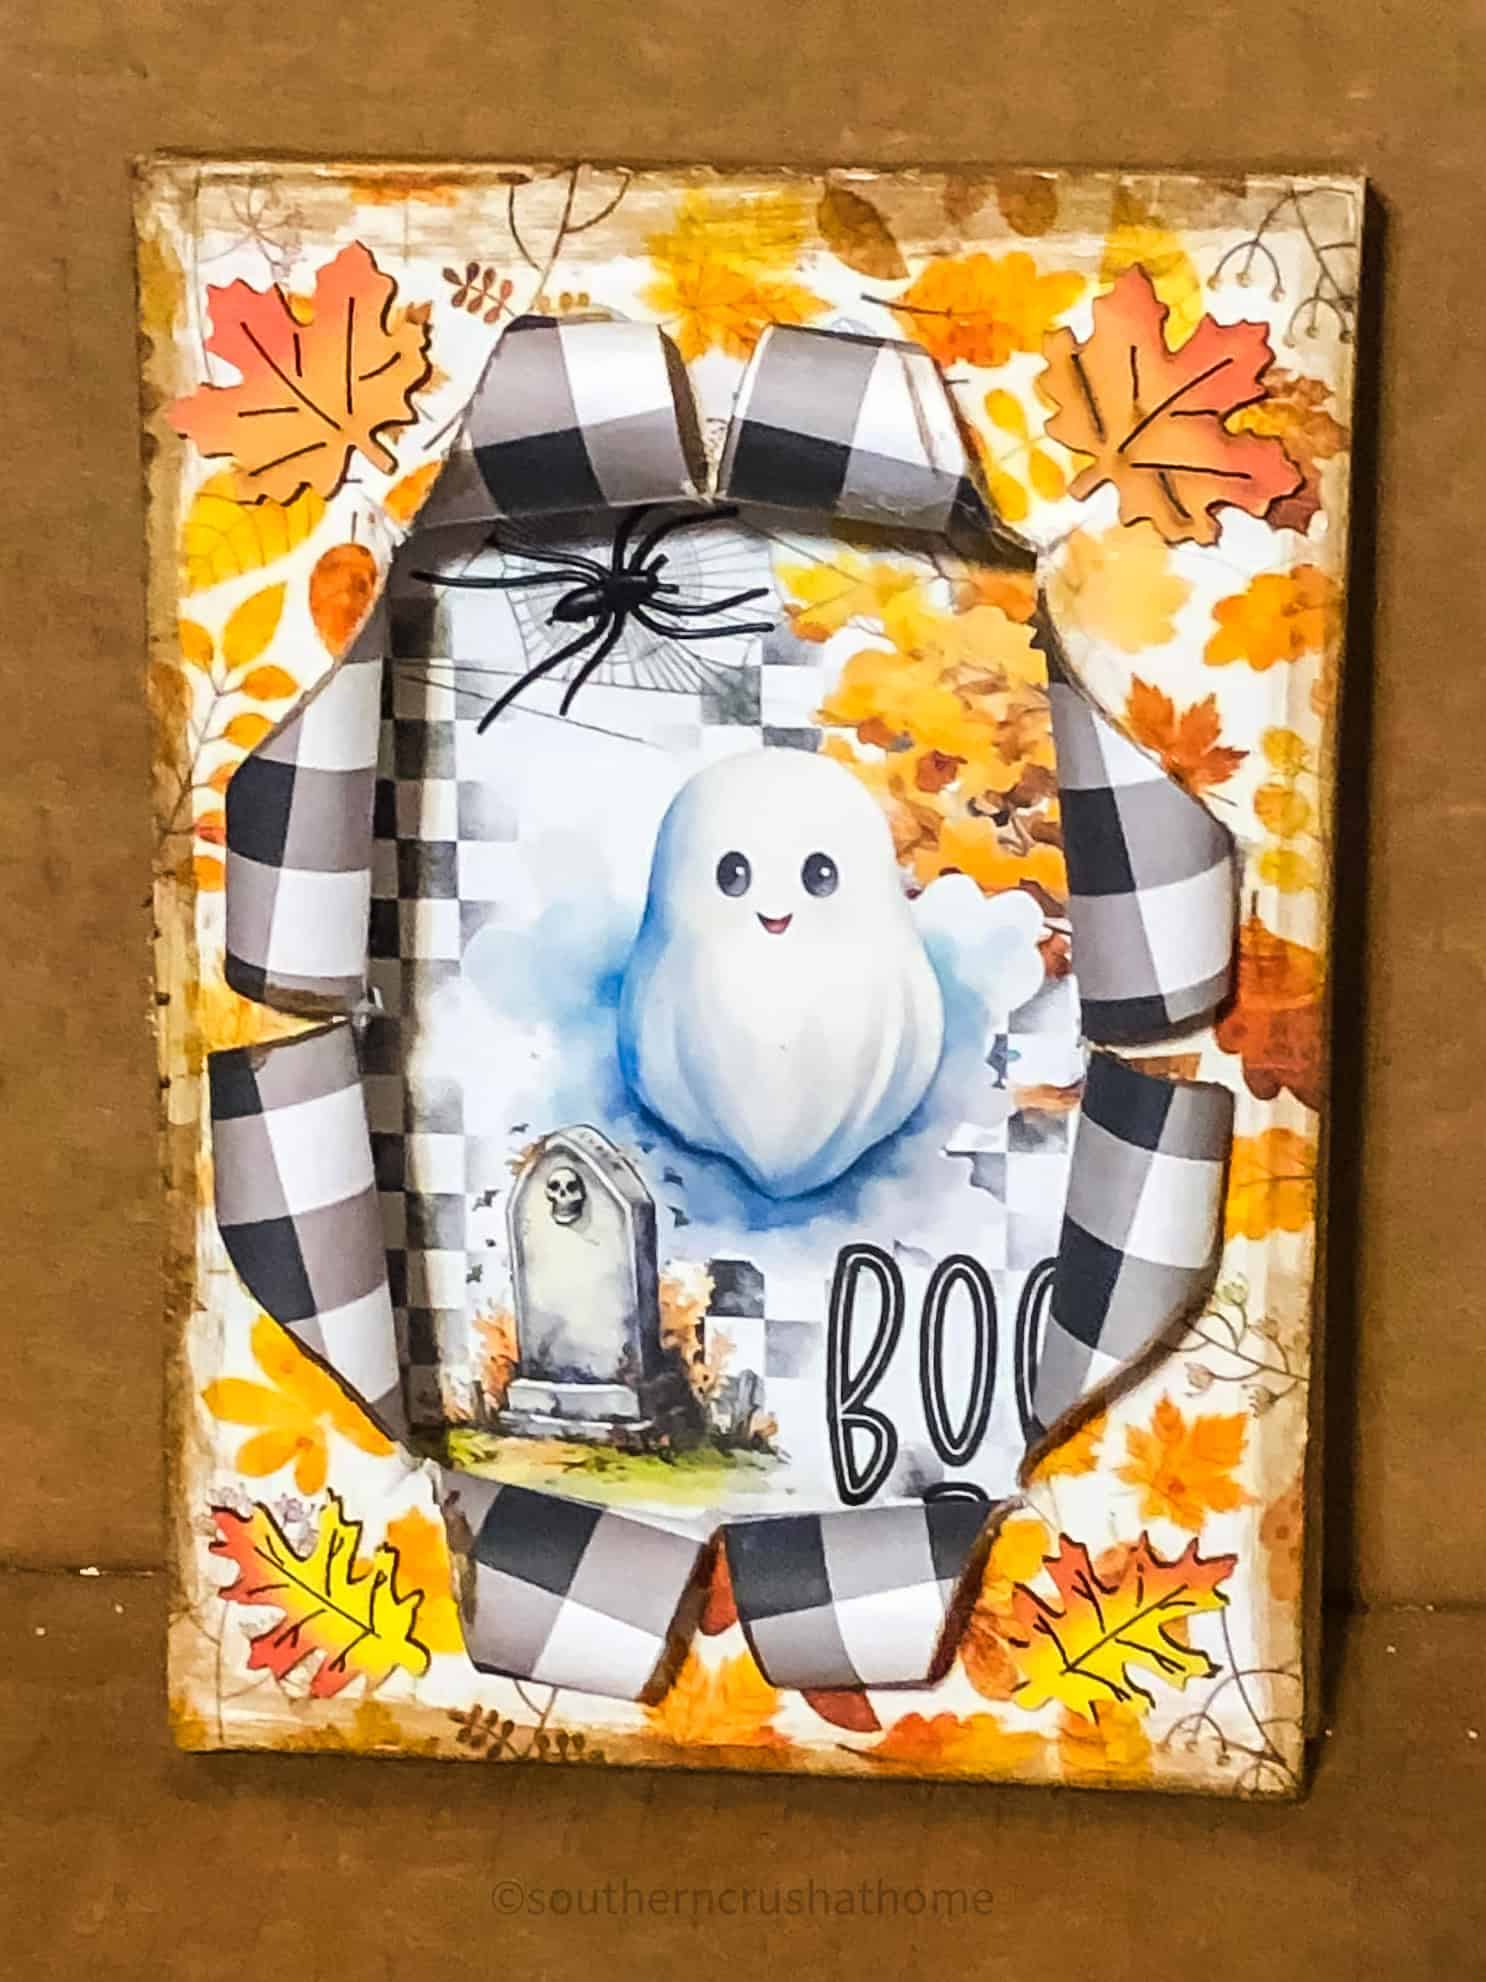
credit: dianna lidberg 
credit: nancy jackson
- Winter/Christmas: Go for a snowy theme with blue and white tissue paper, adding snowflakes and mini ornaments.

credit: vicky bowles walls-drown 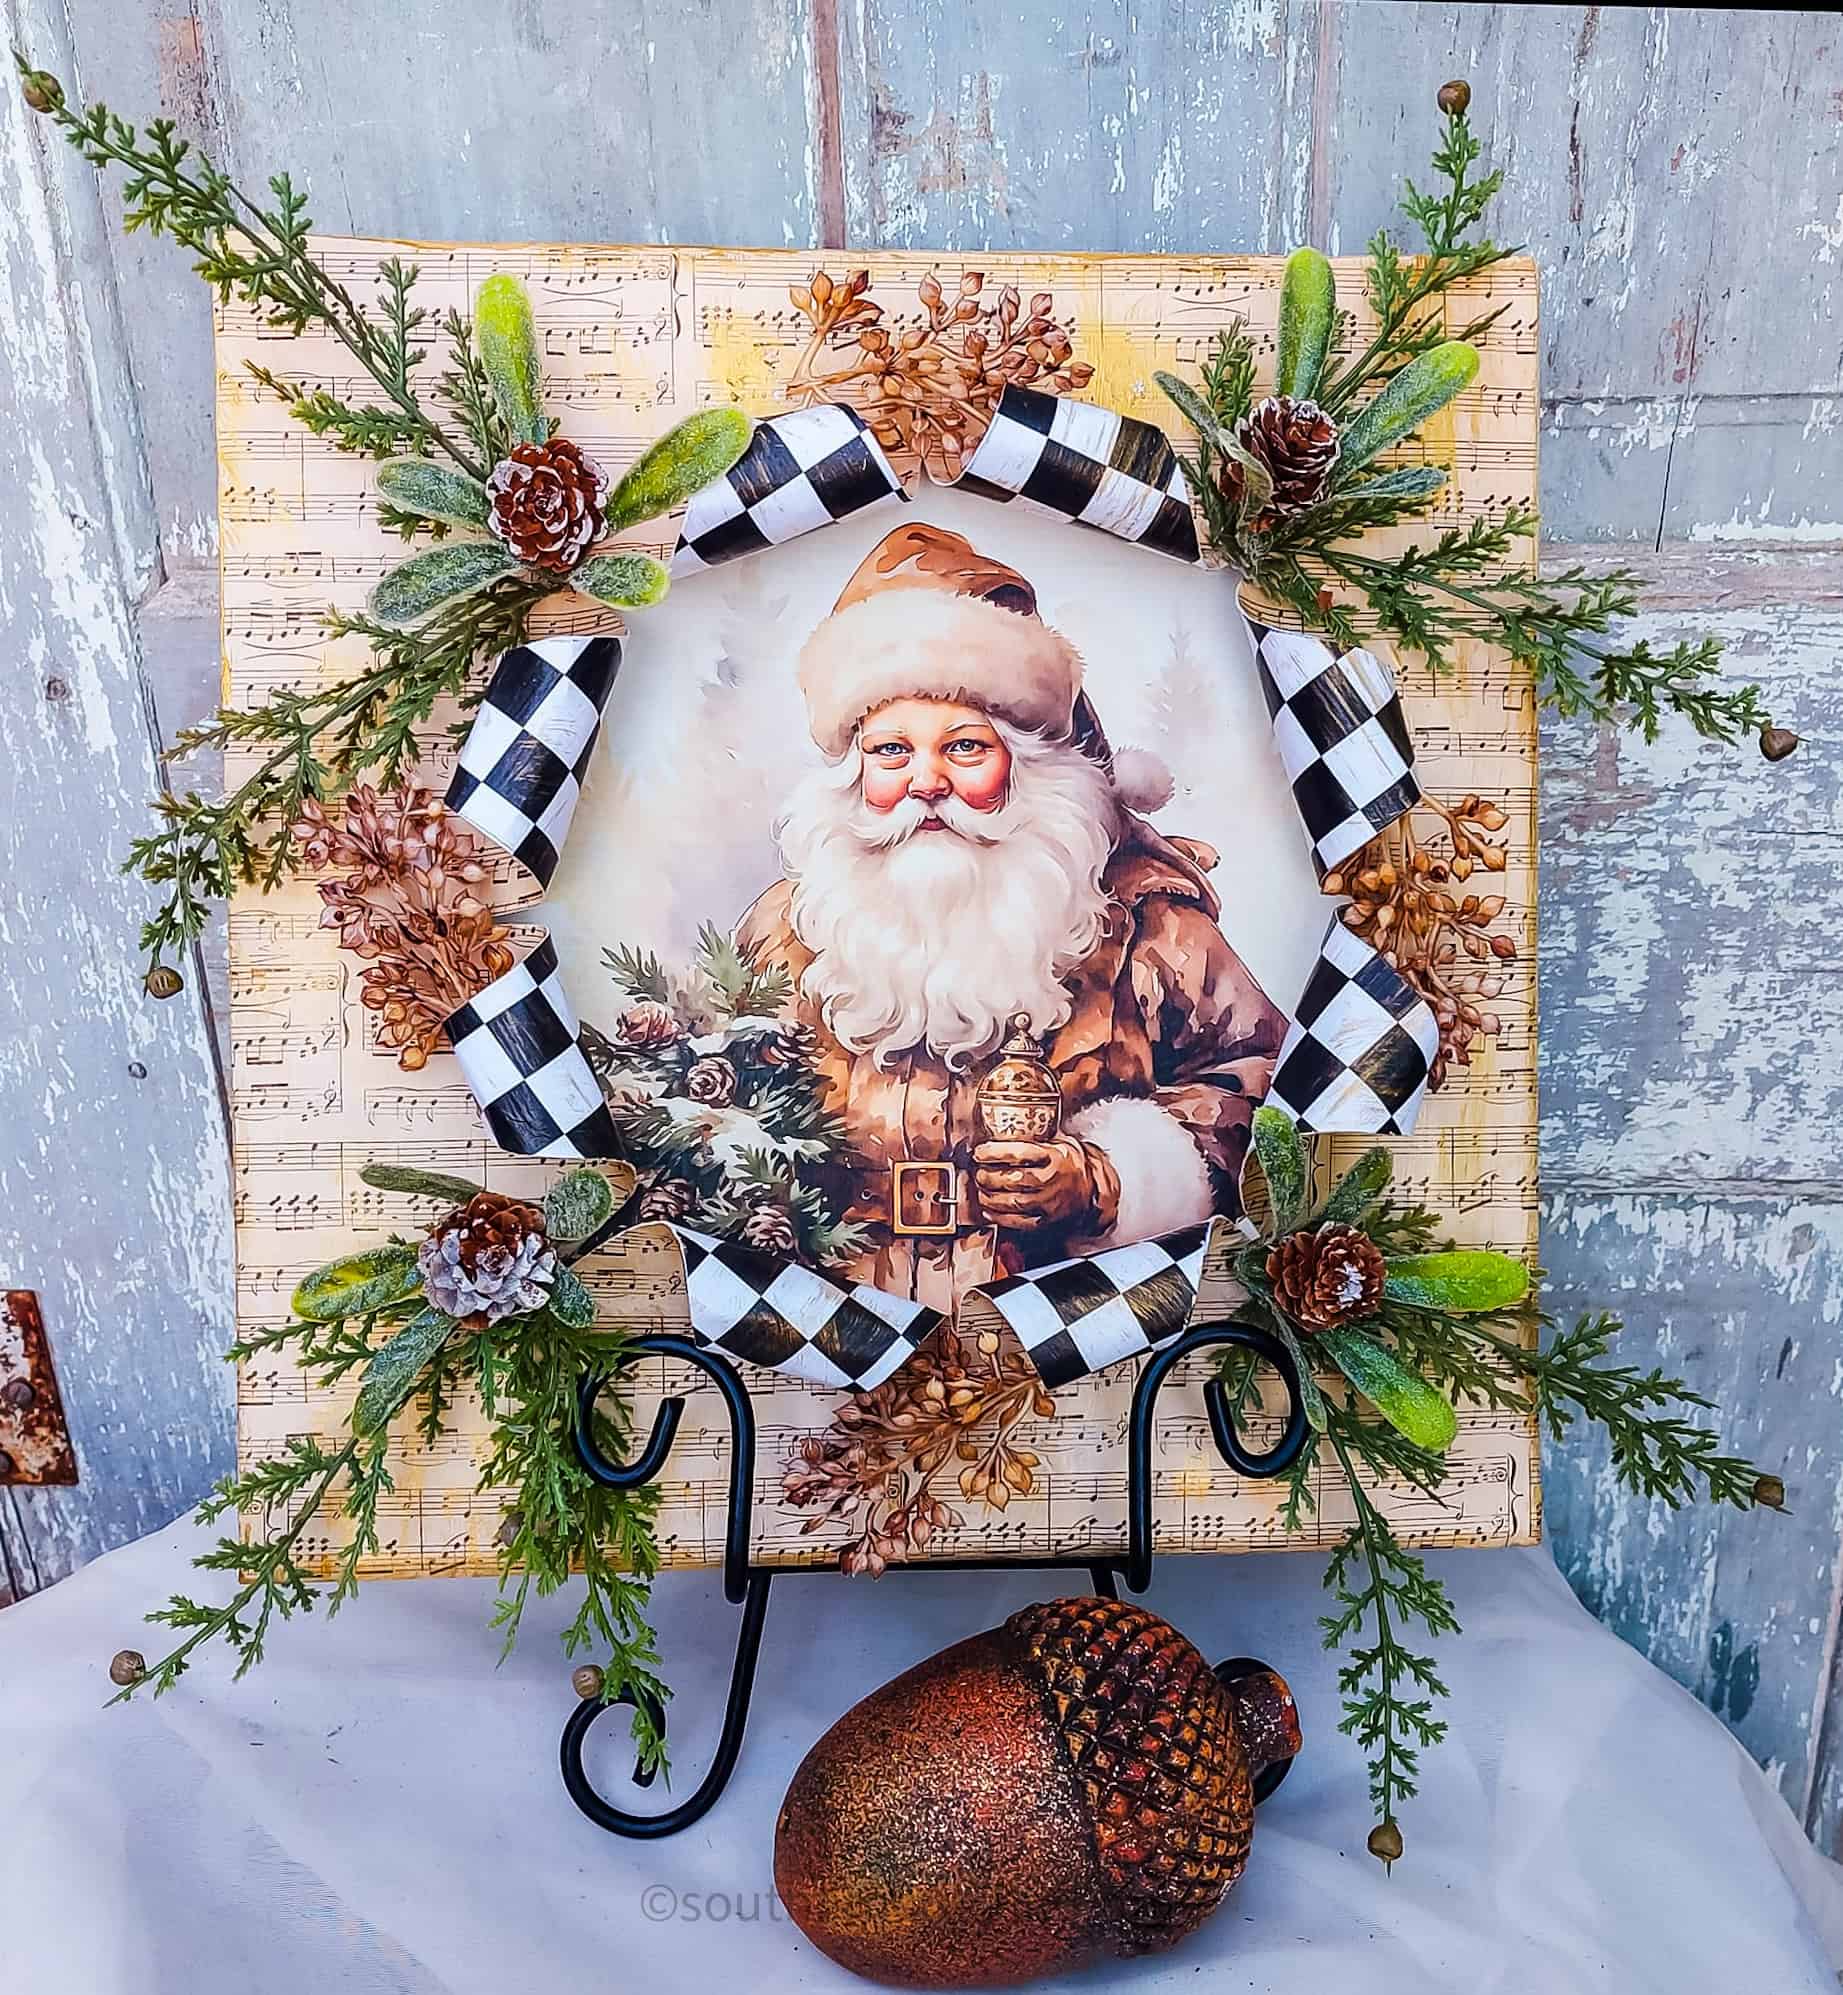
credit: choose joy crafts and creations 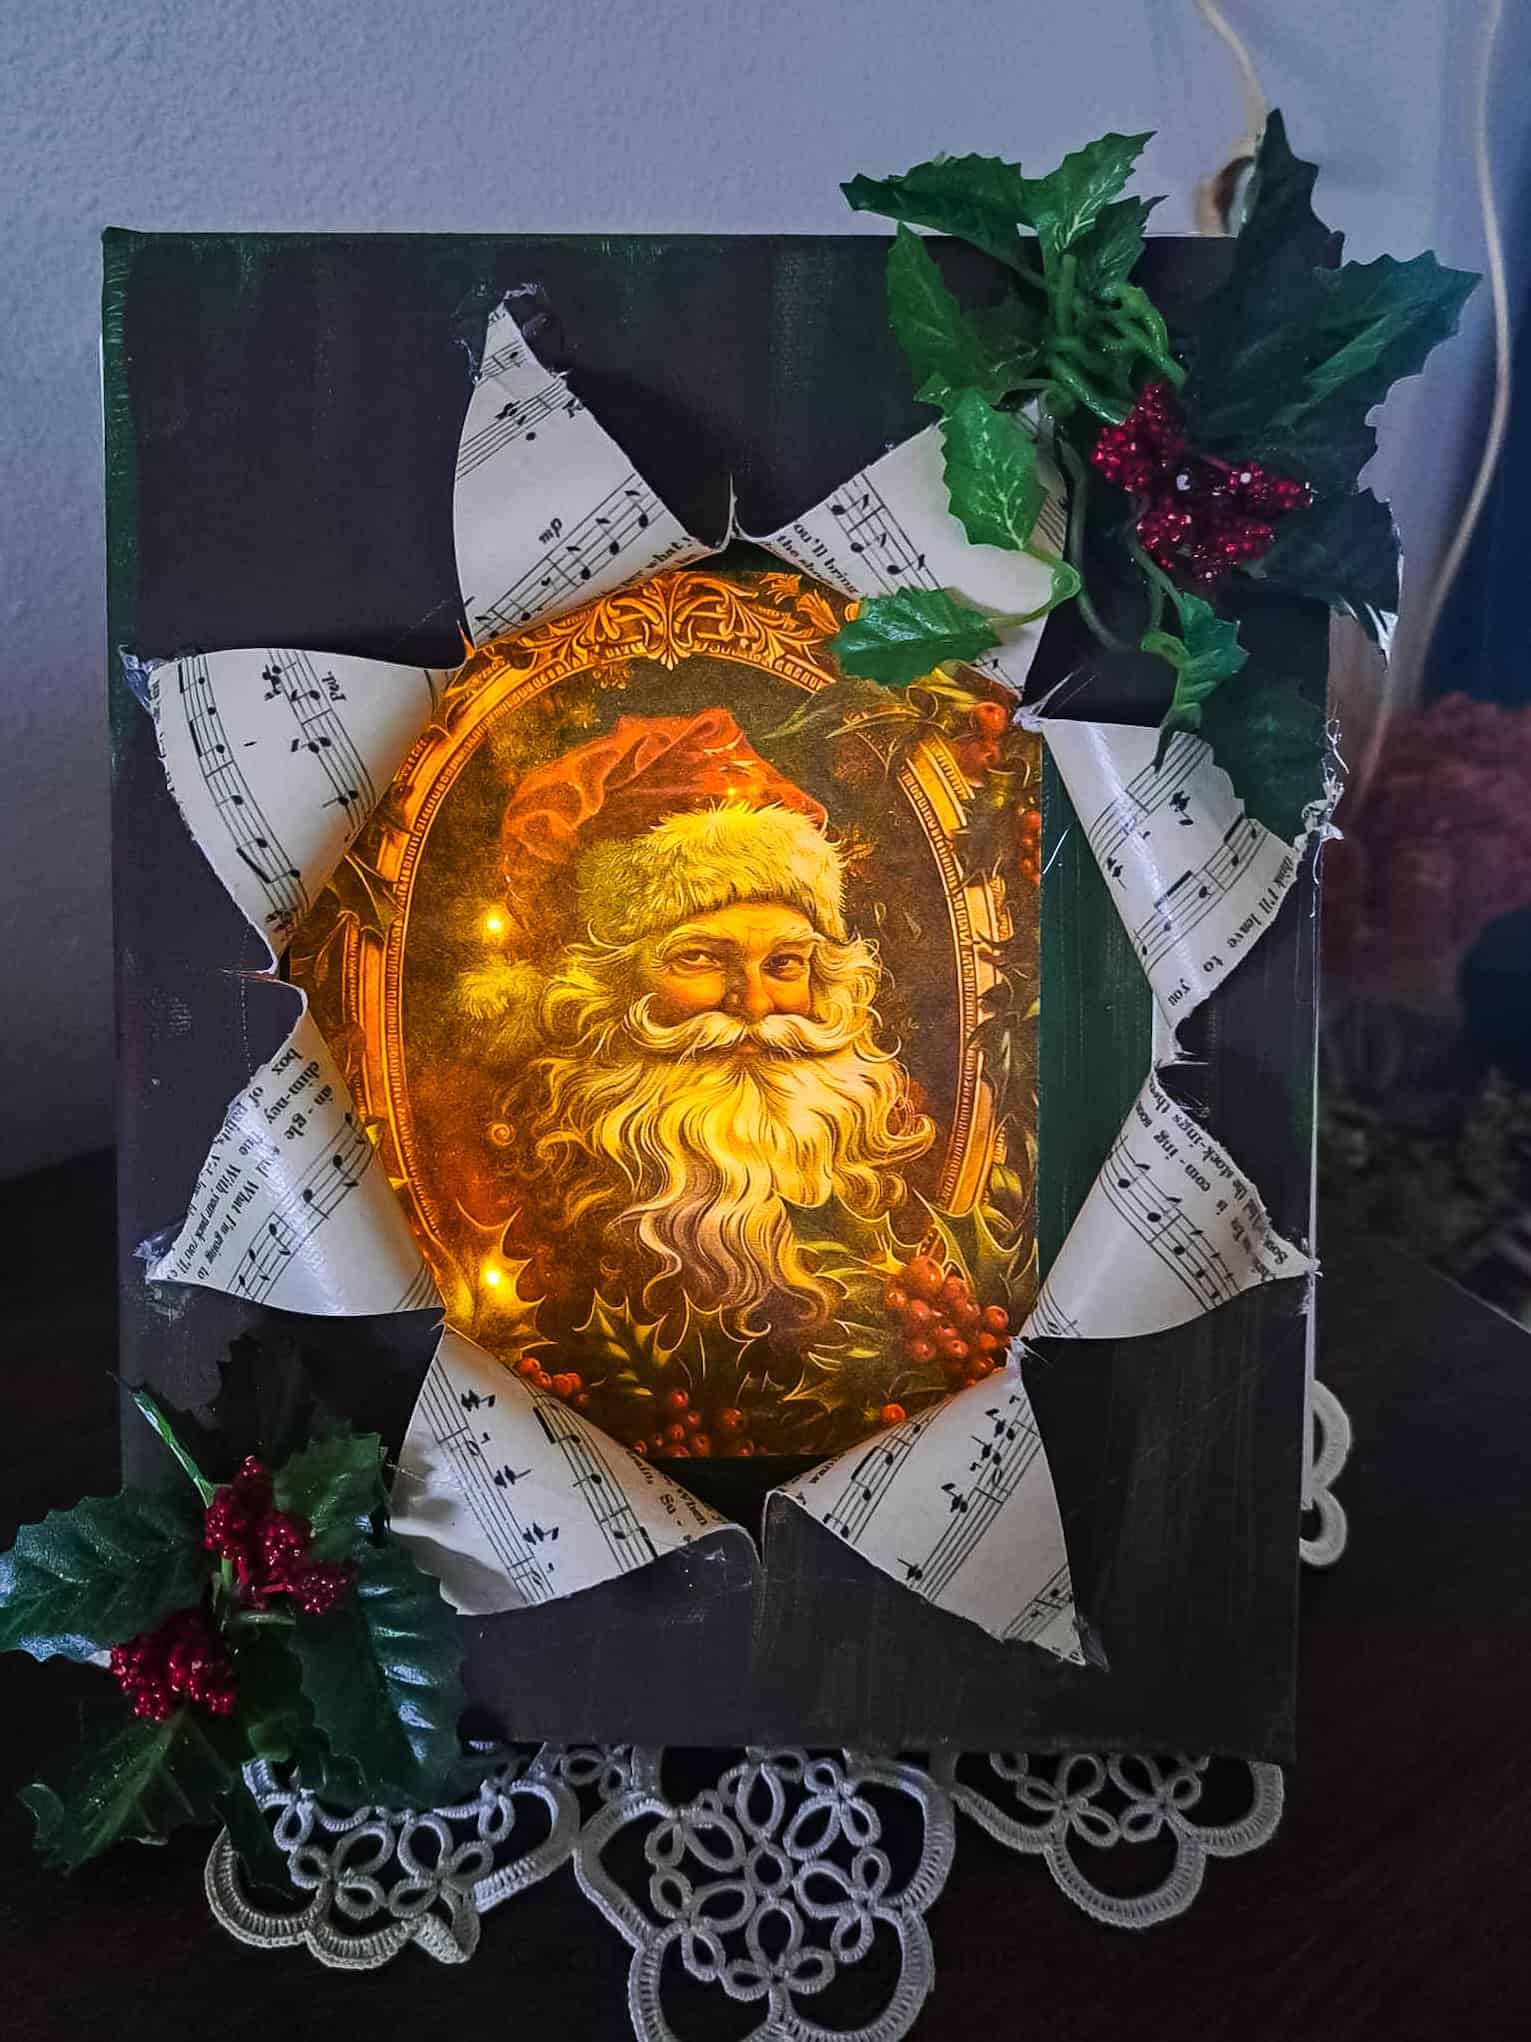
credit: grace thomas 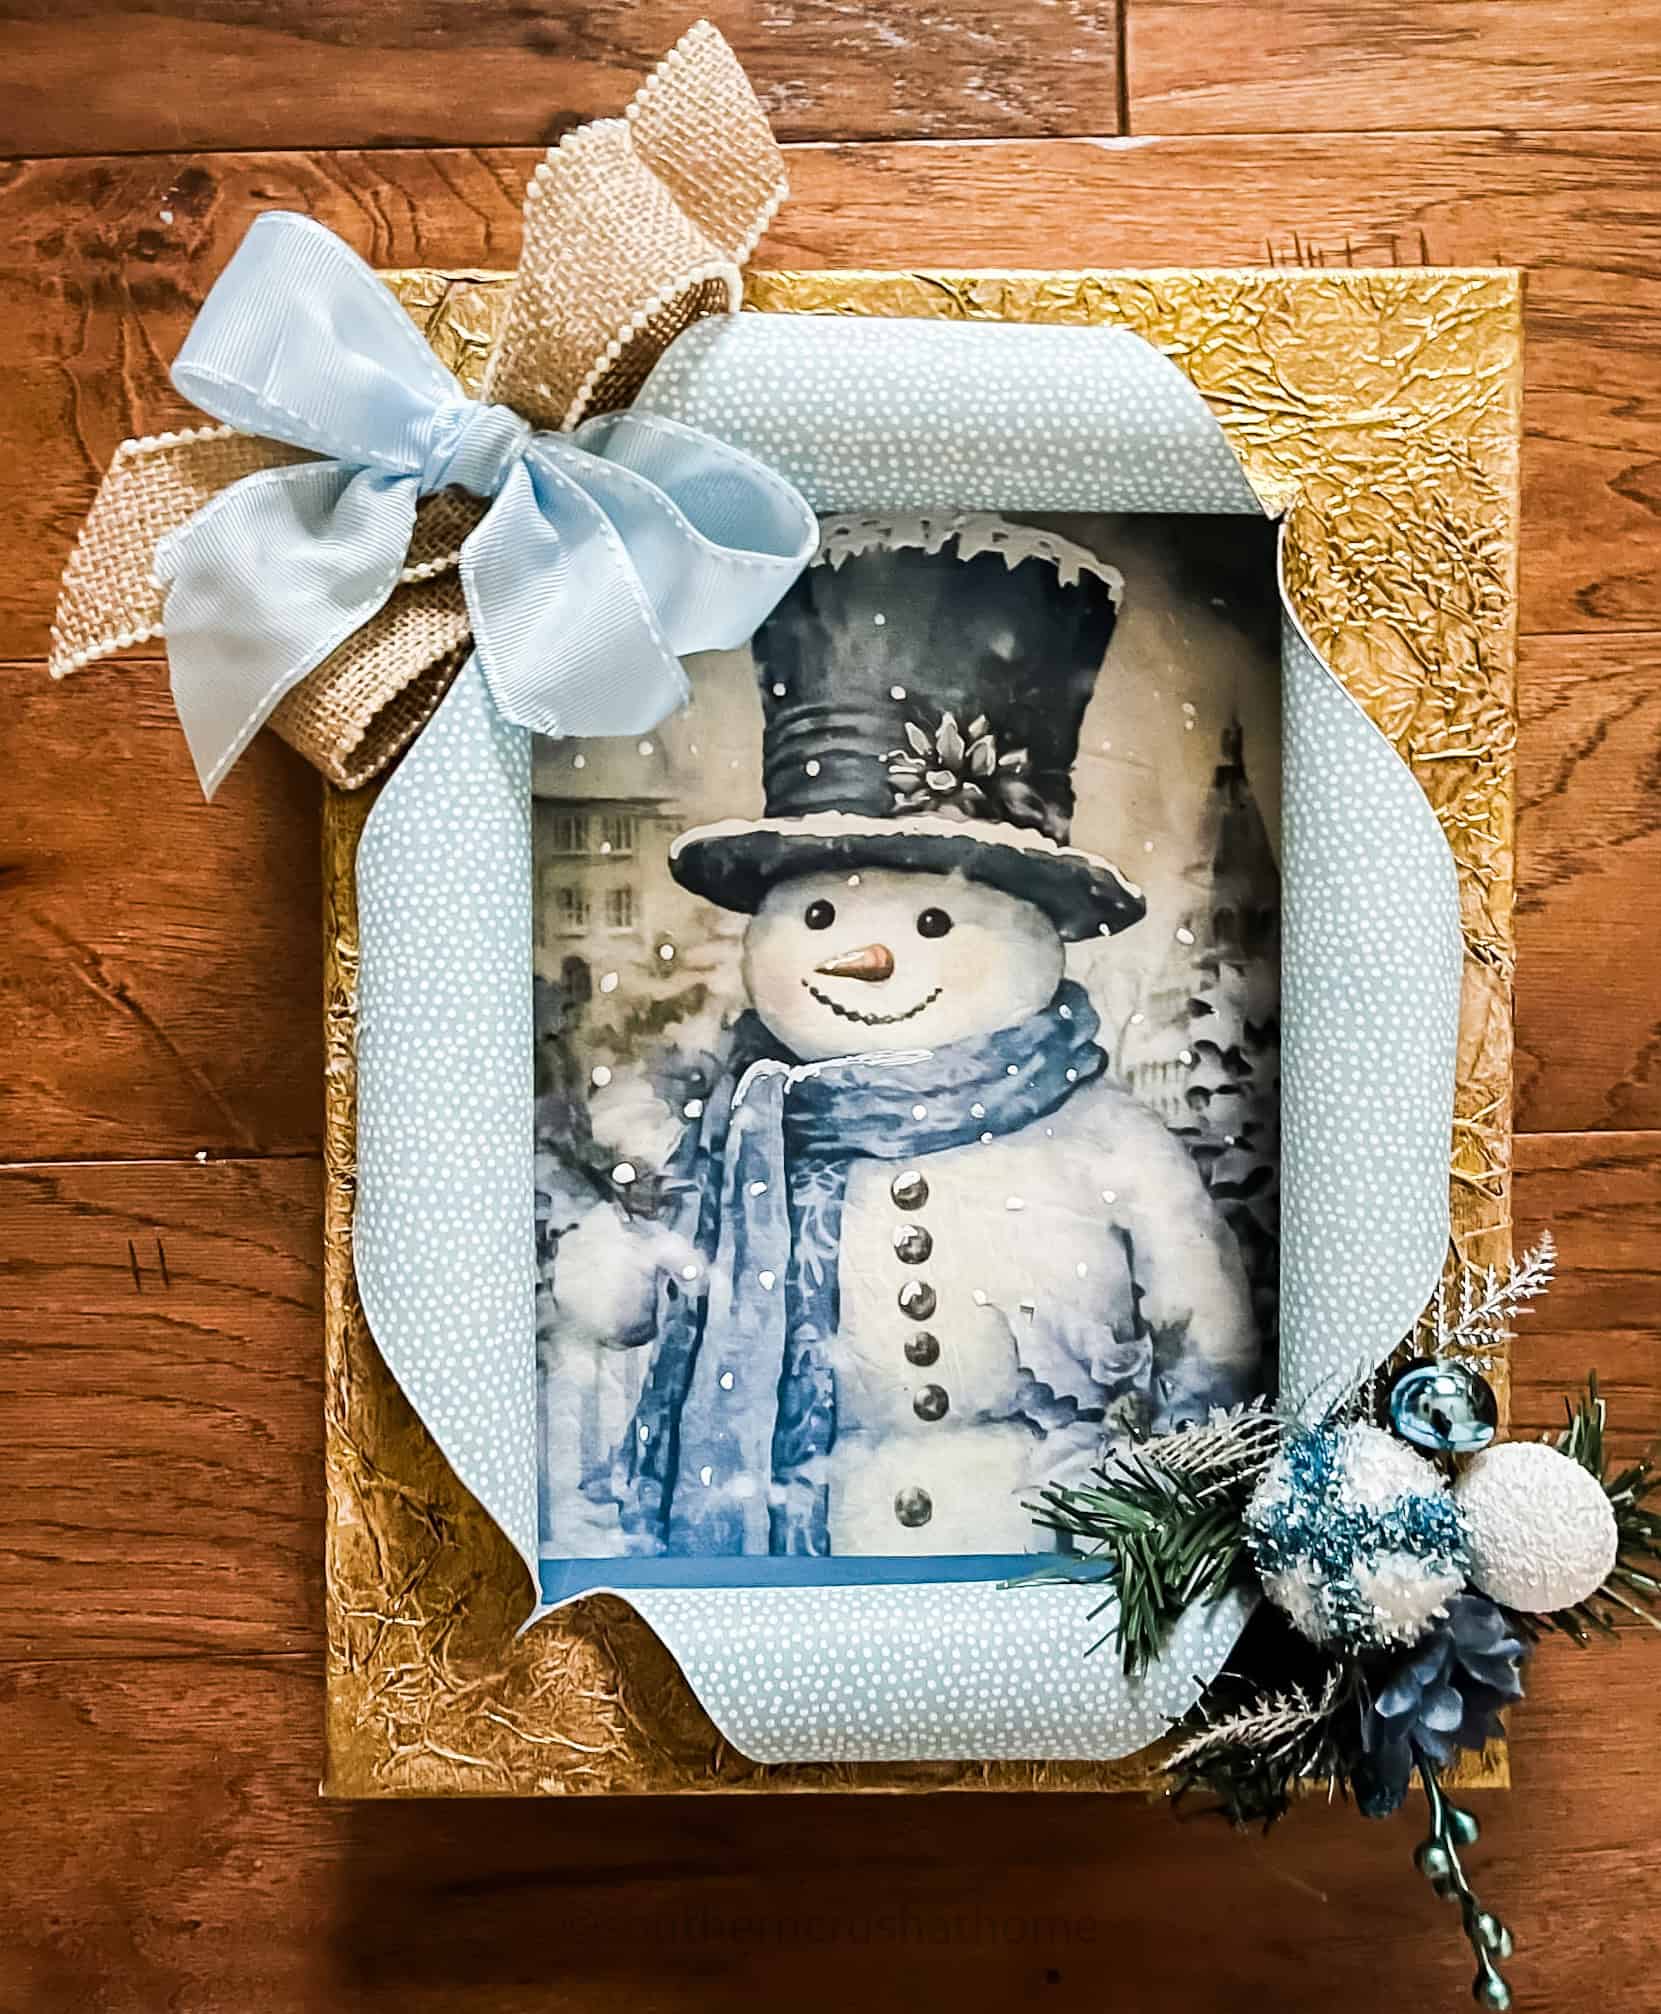
credit: della trice sellers 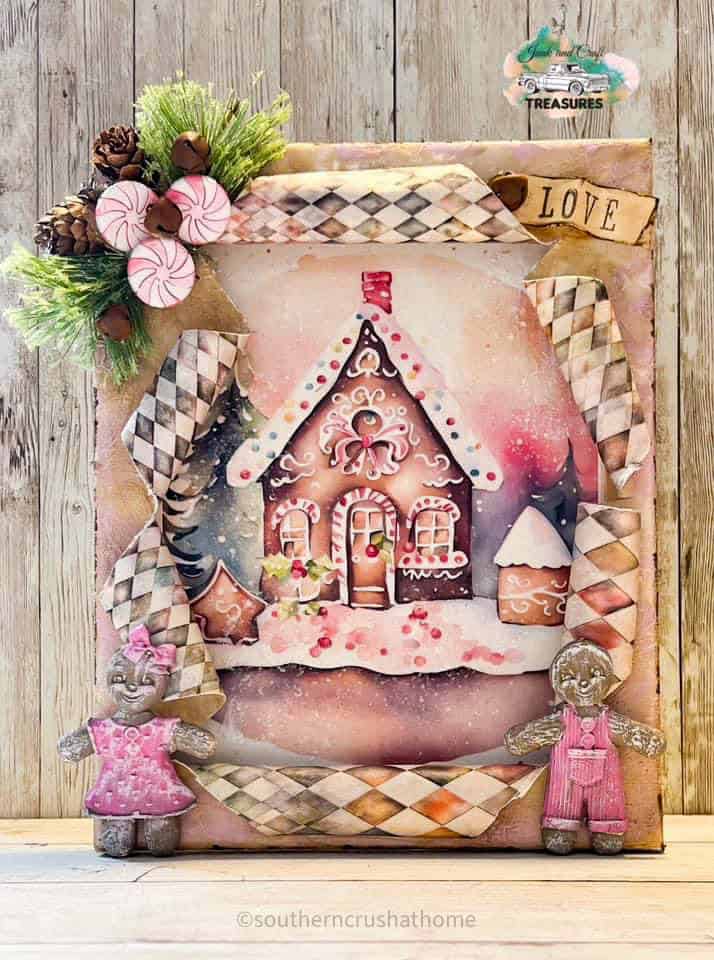
credit: junk and craft treasures 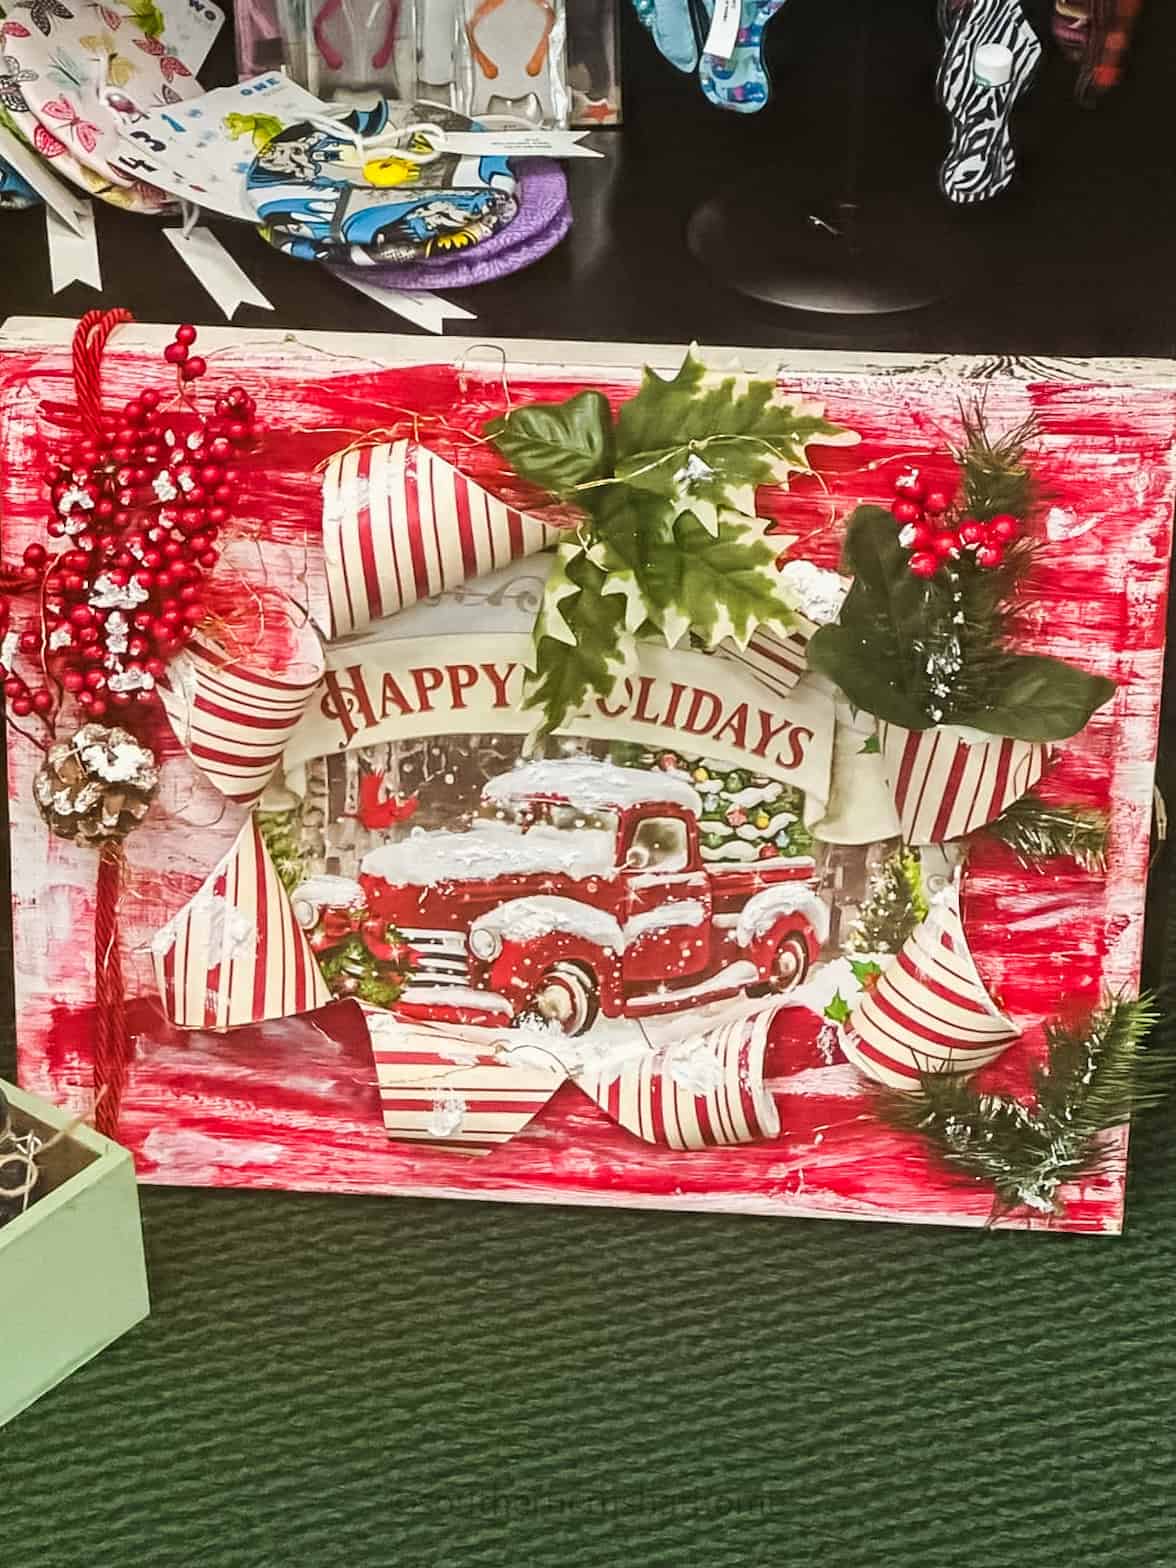
credit: sheila n. potts-mulryan 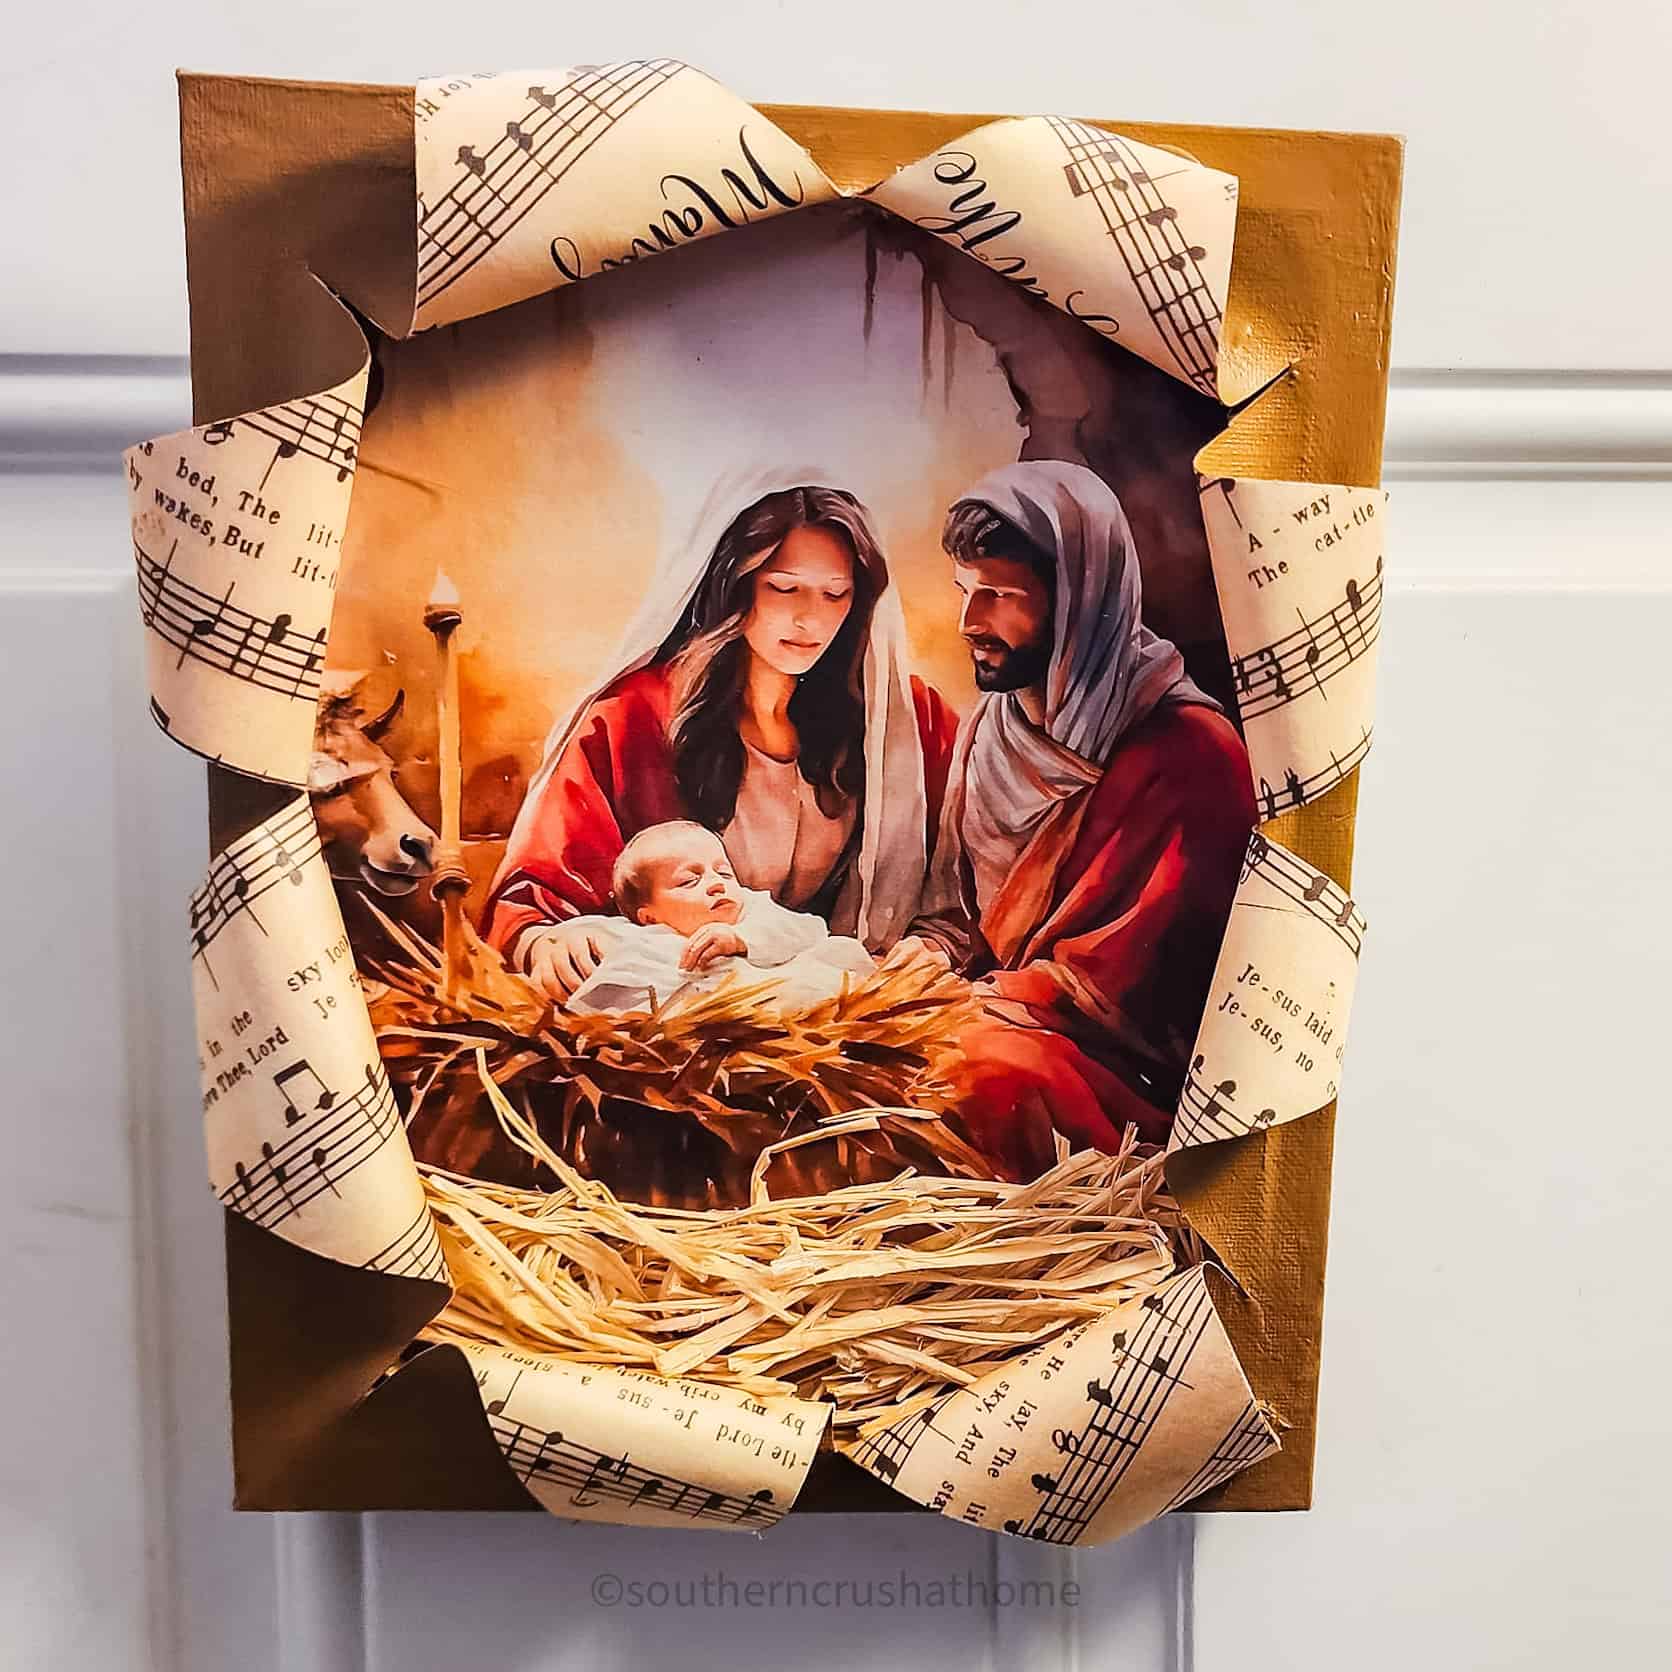
credit: tonya’s crafting creations 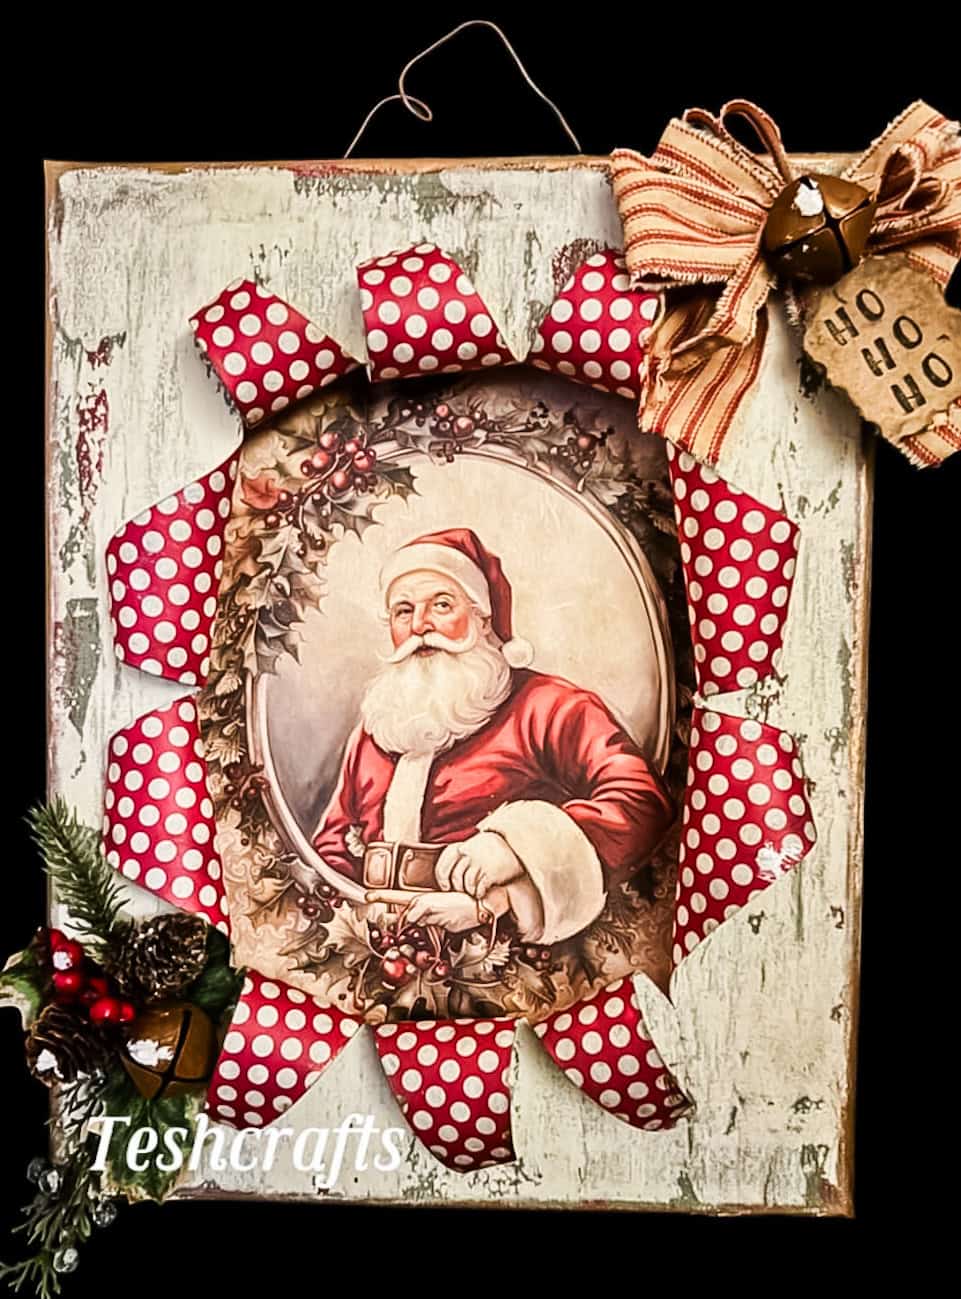
credit: tesh crafts 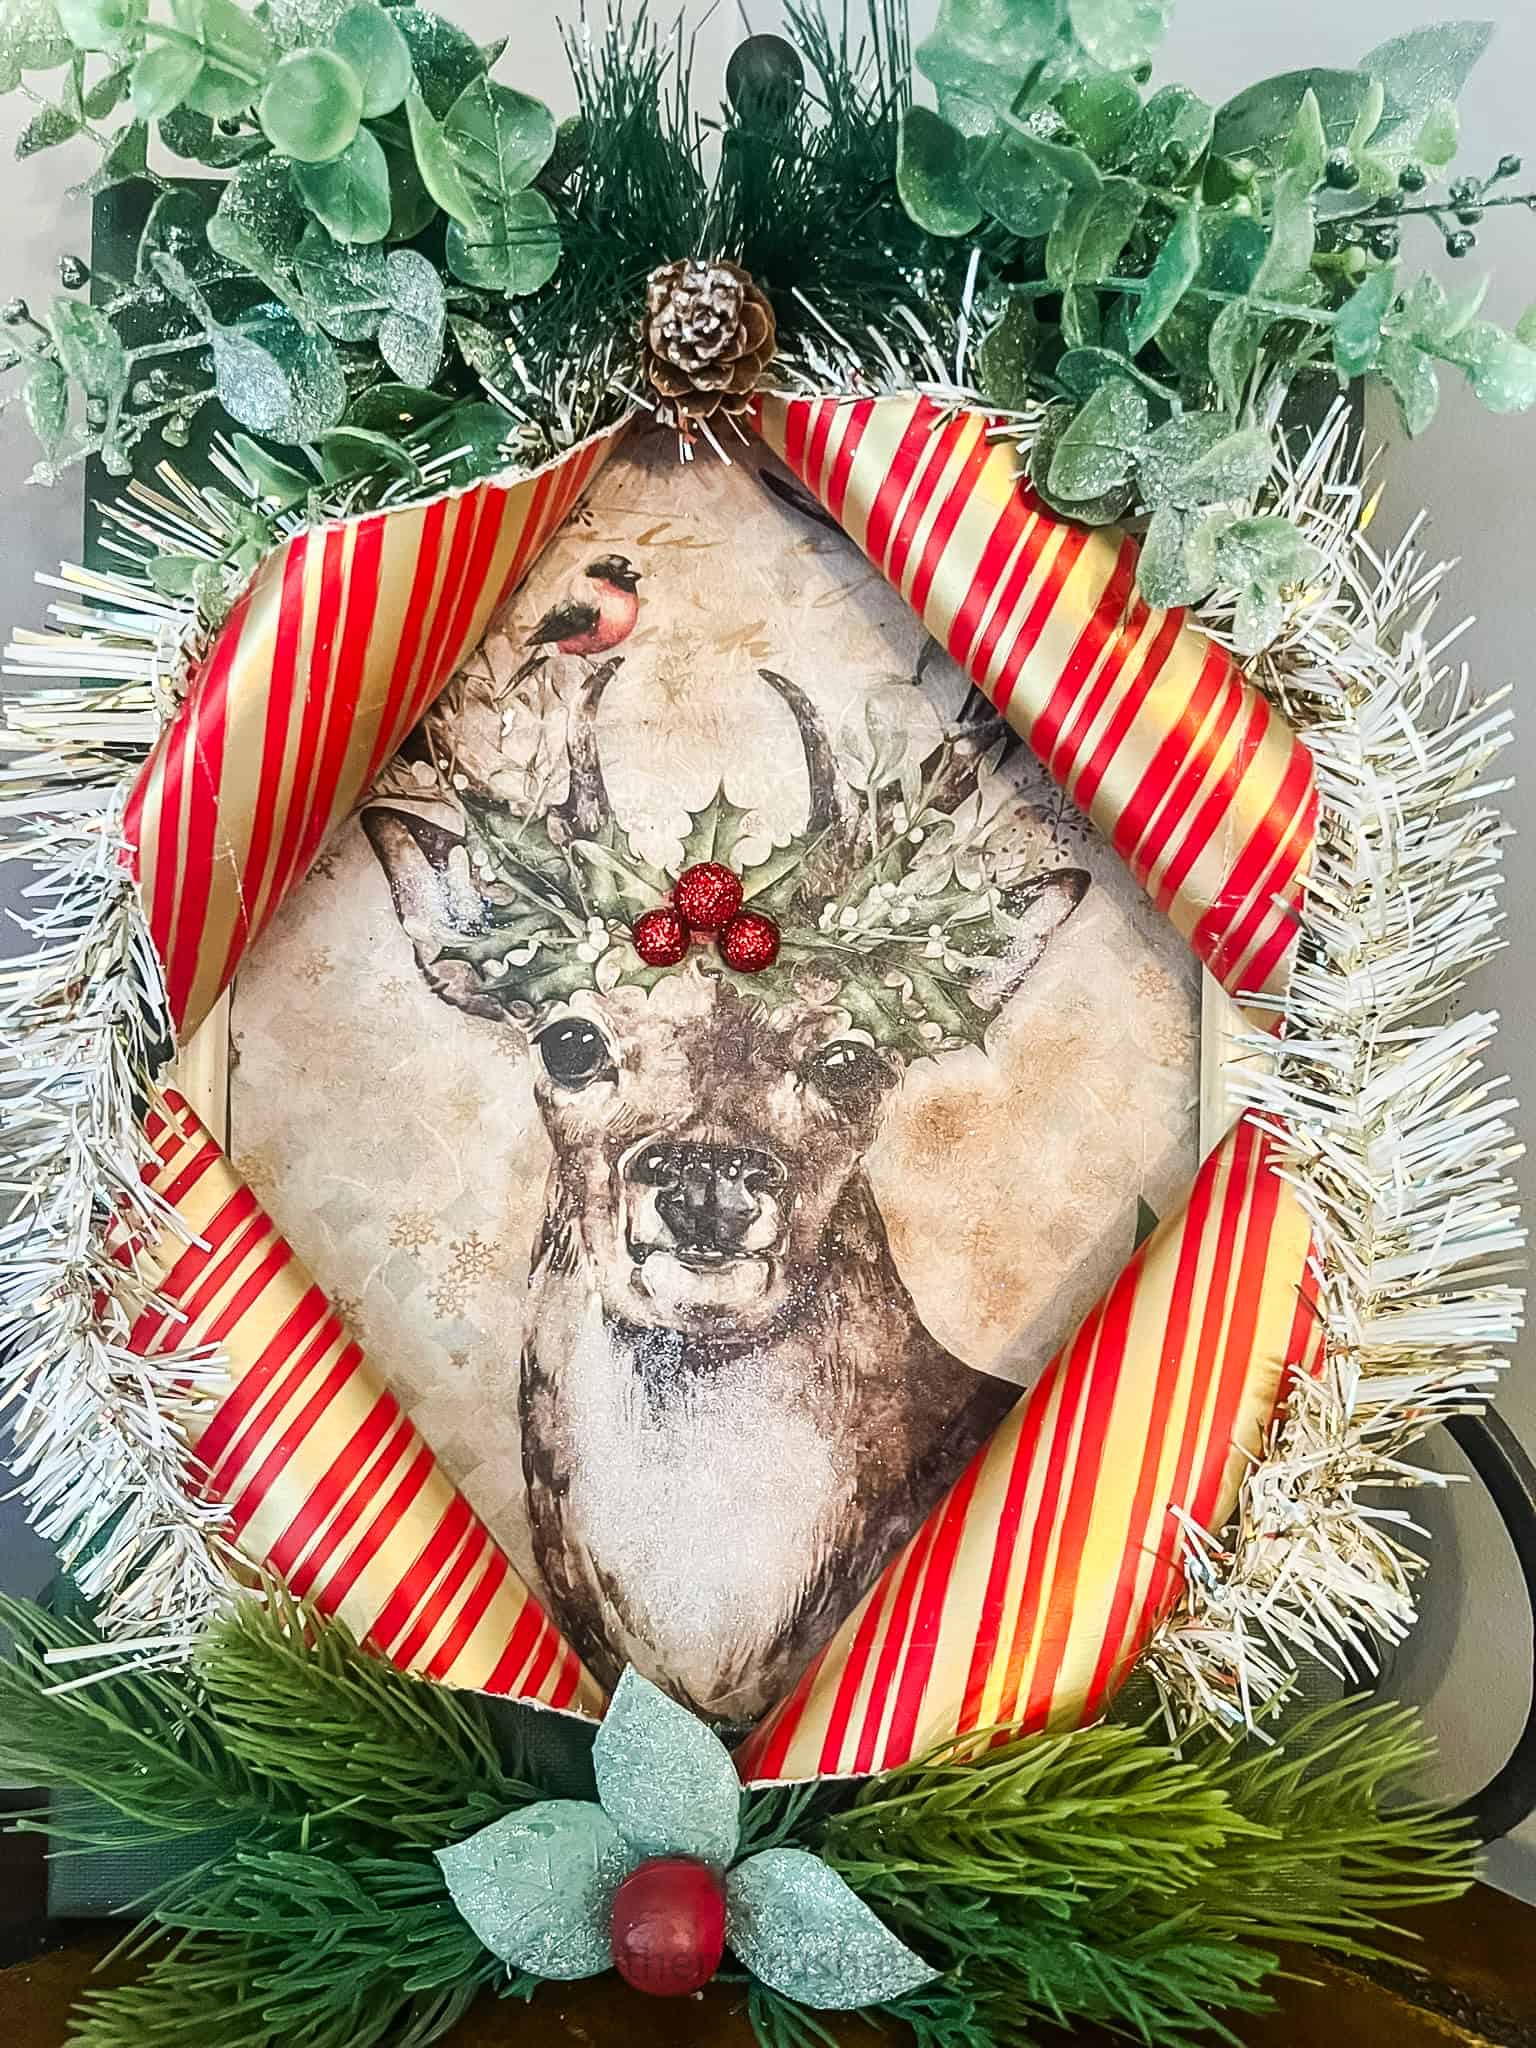
credit: timeless treasures by tanya 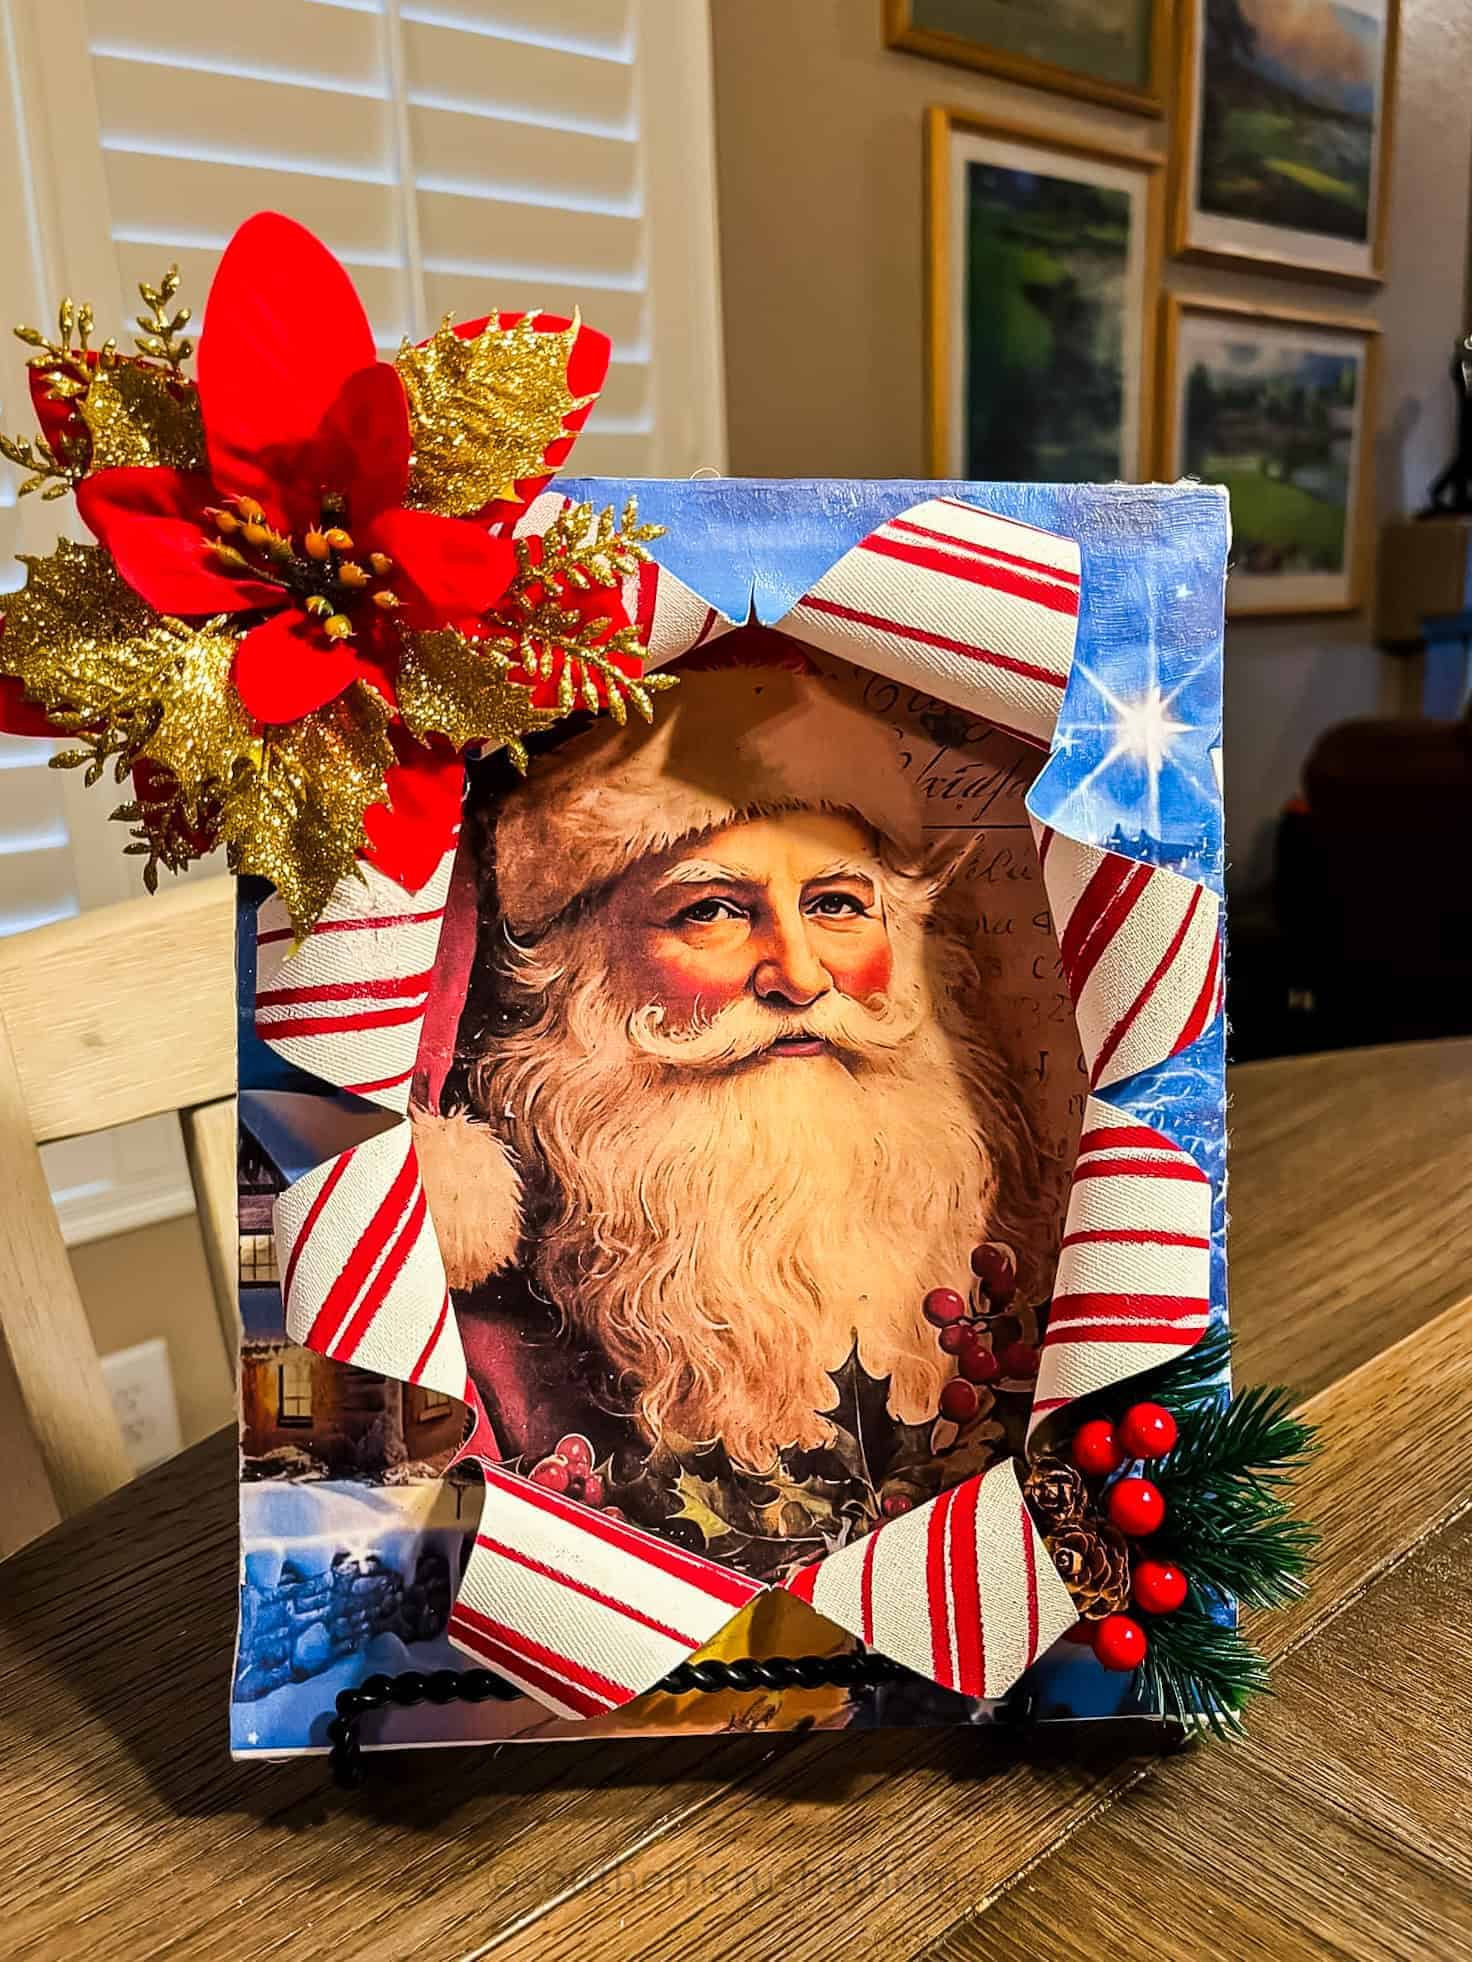
credit: lynn slyka 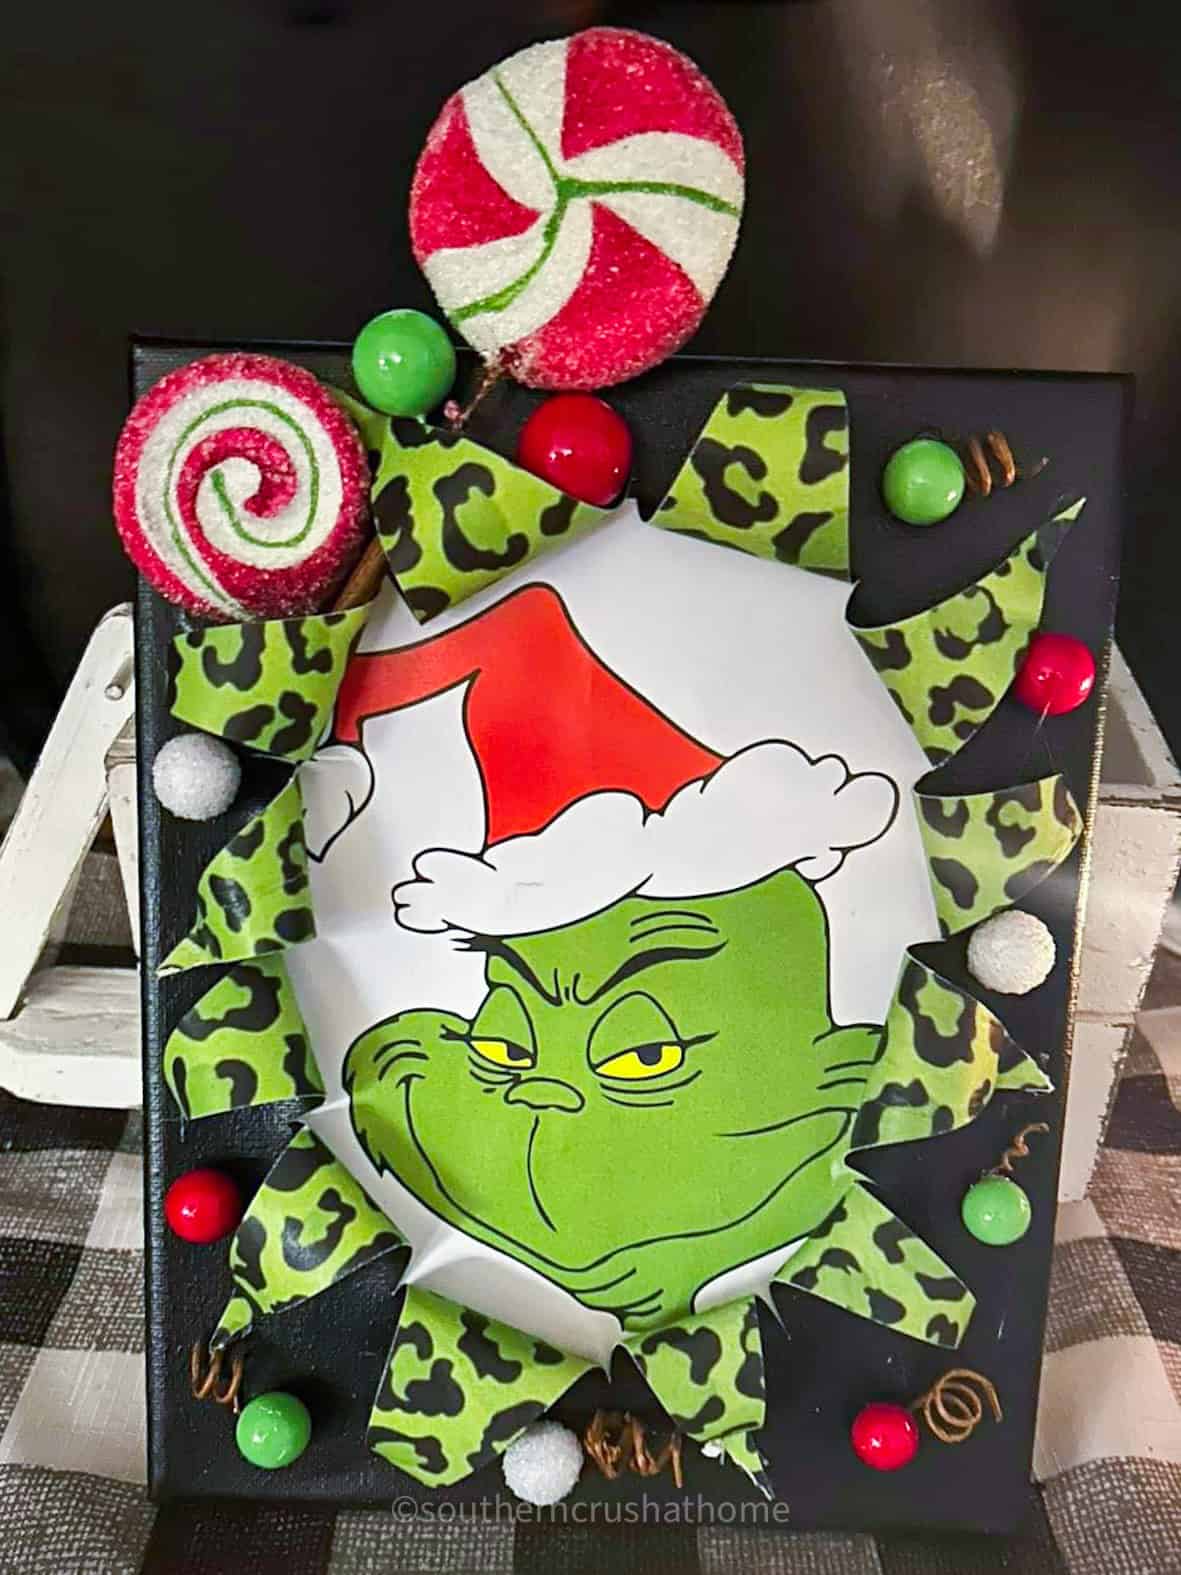
credit: michelle tweedell 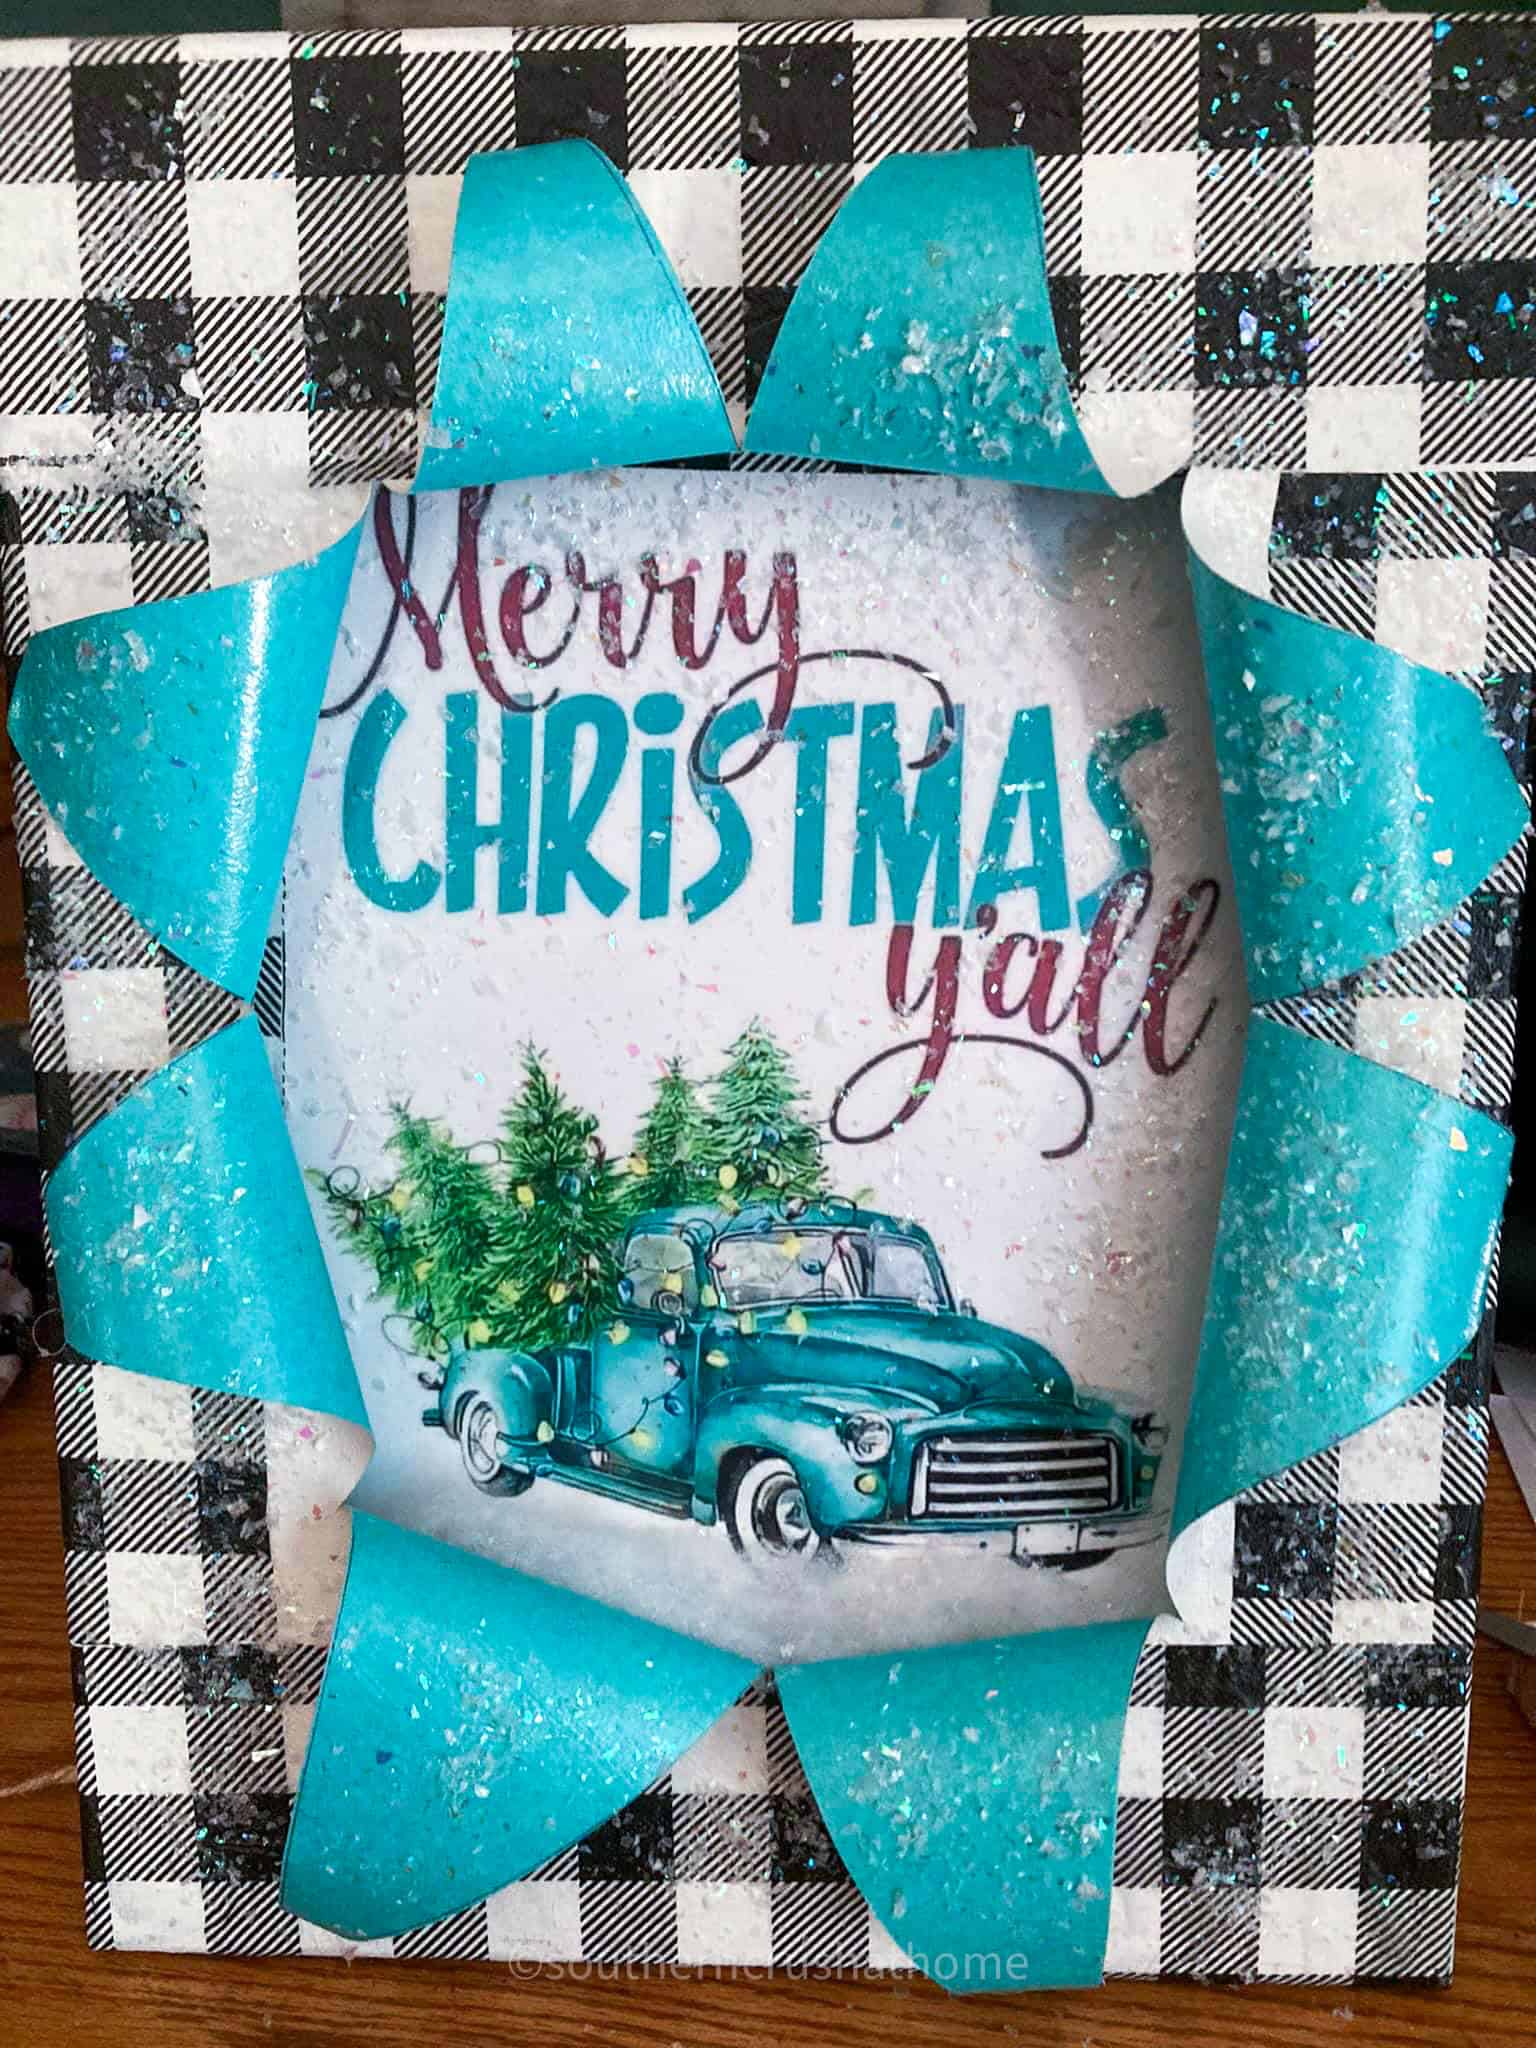
credit: therese collins 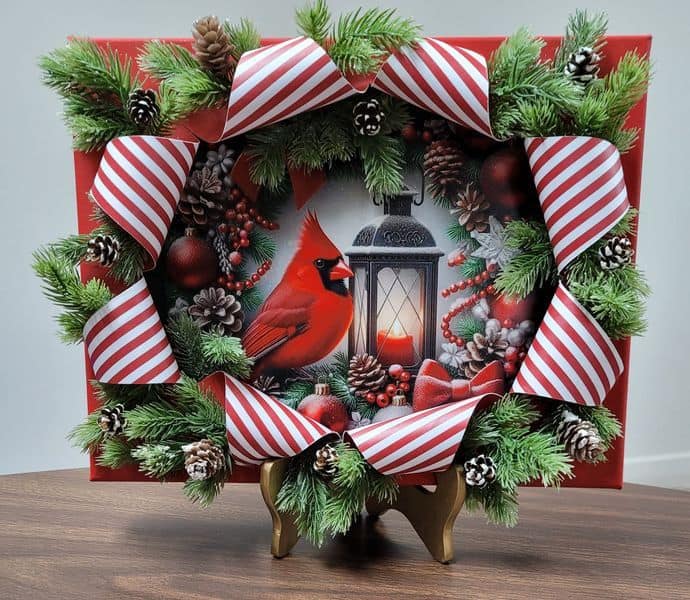
credit: Tammy Kuykendall
- Rustic Designs: Use neutral colors and add farmhouse or country style.
credit: della trice sellers 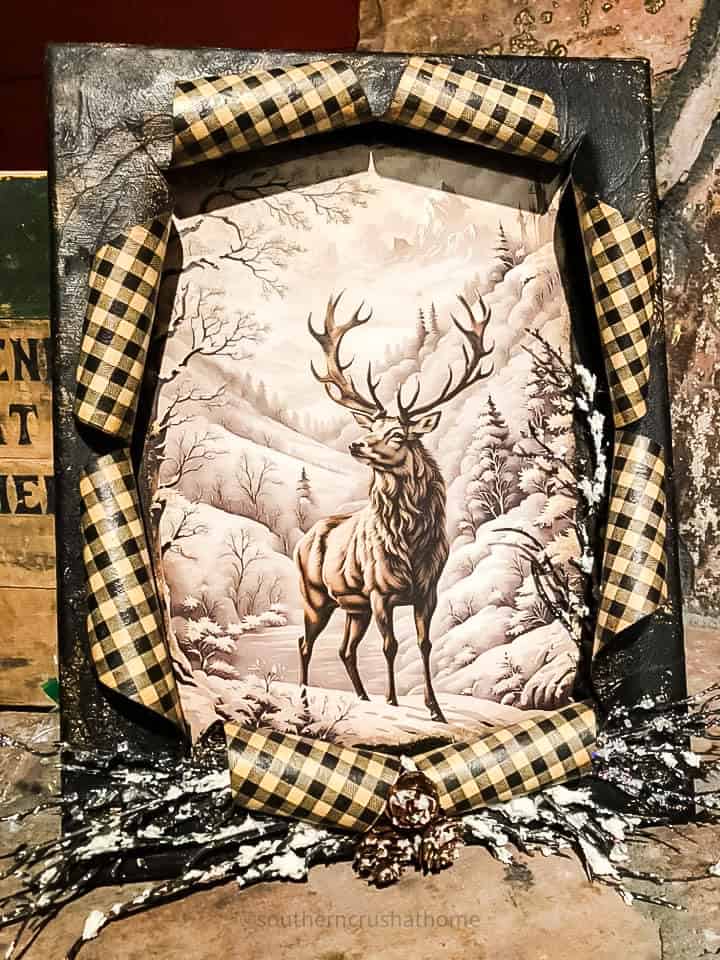
credit: marta schmidt
Creating a DIY pop-out canvas is a fun, creative, and budget-friendly way to add personalized art to your home.
With just a few supplies from Dollar Tree and a little bit of imagination, you can make stunning 3D art that’s perfect for any occasion.
So grab your canvases, pick your favorite designs, and start crafting your own unique masterpieces.
Once you start, you might find it hard to stop—these projects are just that addictive! Happy crafting!
What fun! Can’t wait to do one ! Thank you for the jump start on a new venture!
Yay! I’m so glad! Thank you for letting me know!
Love your busted canvas. Thank you for sharing how to do it. I am so excited to try this craft.
Did you say to cover the mod podge with a sealer? Didn’t see that anywhere, but my glue gun would not stick on mod podge nor would the gorilla glue hot glue. I had to varnish the whole thing to get it to stick. I reread your instructions twice to see if I missed something.
Modpodge is a sealer. I did not use anything else. I hope you love your canvas!
Thanks for sharing love your busted canvas and you are a great teacher on how to do it
Linda from Canada
Wow!! Thank you so much!
I have made 3 and I had to use e 6000 and gorilla glue to hold down the curls, they kept popping up. Also I had to seal it with a spray sealant. Mod podge made ink run.
I’m glad you’re enjoying making these! They’re addicting!