How to Make a $2 Dollar Tree Farmhouse Calendar | DIY Wall Calendar
I can't wait to show you how to make a Dollar Tree farmhouse style wall calendar that looks amazing and only cost about $2 to make. All you need are a few supplies from the Dollar Tree to get this project going. So let's get started!
If you're looking for a fun, affordable project that will spruce up your home décor, you'll love this farmhouse wall calendar project from Dollar Tree.
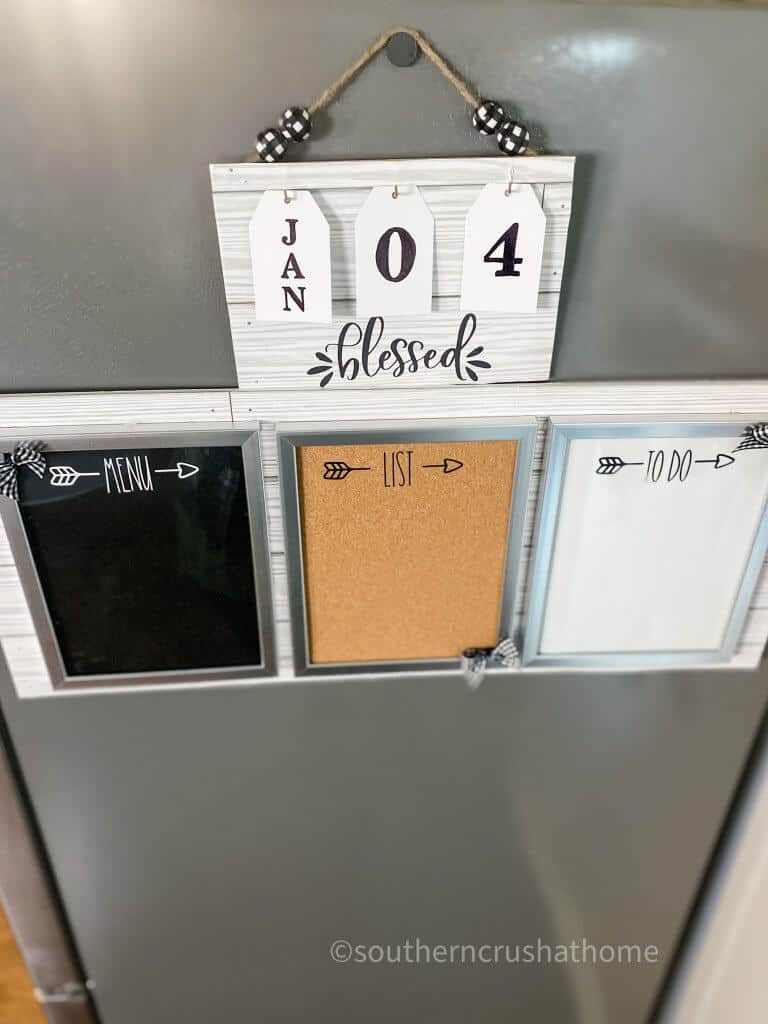
It's the perfect addition to the easy menu board I just shared on the blog. So gather your materials and get ready to start crafting!
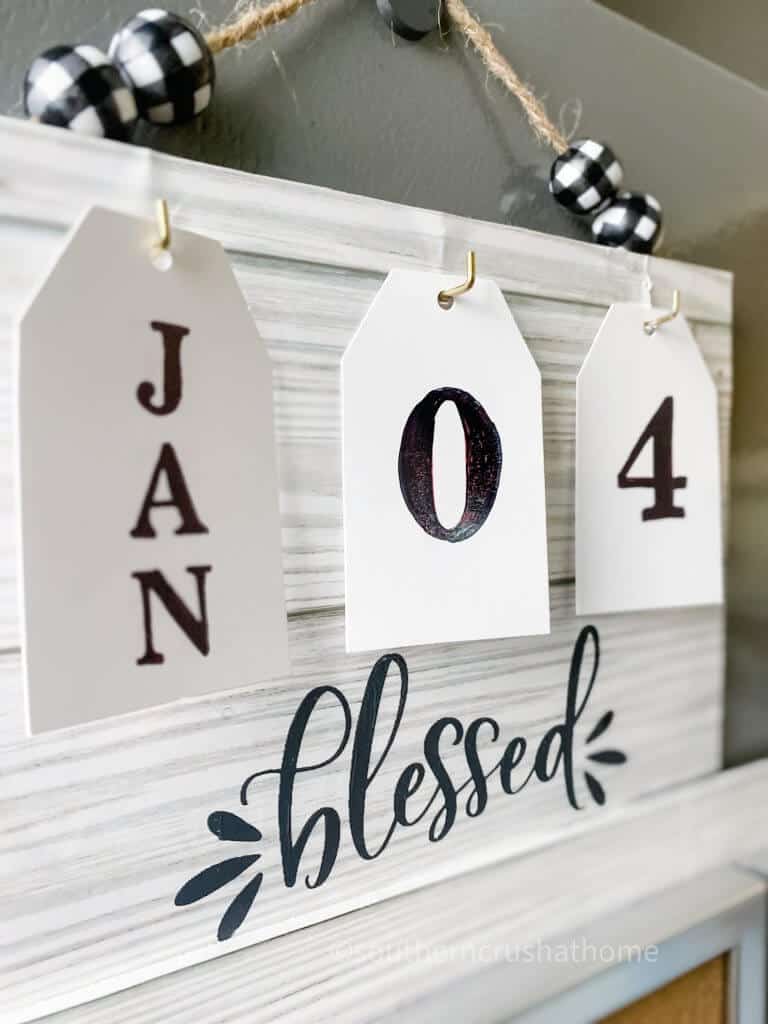
If you are looking for a creative way to keep track of the date each day this year, then this perpetual farmhouse shiplap wall calendar is exactly what you need.
The monthly tags and daily tags are fun for the kids to change out each day.
You will never have to worry about forgetting what day it is either because your calendar can hang on the refrigerator!
All the supplies needed can also be found HERE in my Amazon Shop!
Supplies Needed for Dollar Tree Farmhouse Calendar
- Shiplap Peel & Stick Wallpaper (Dollar Tree) or you can opt to paint on your own shiplap design
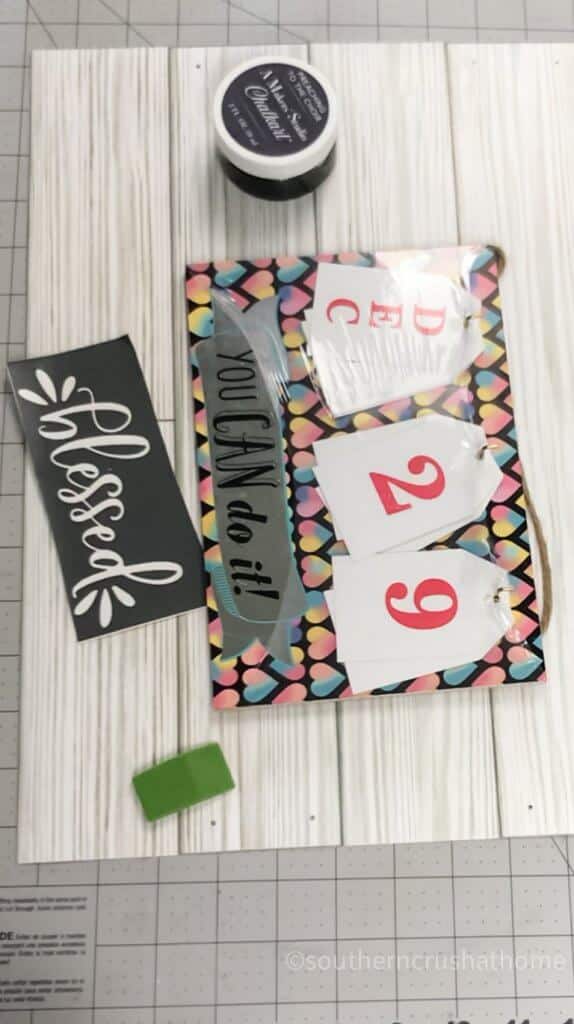
- Dollar Tree perpetual wall Calendar
- Chalk Paste – preaching to the choir
- Blessed Stencil Transfer
- Scissors
- Craft Knife
- Black Sharpie
- Pencil
- Hot Glue Gun
How to make a Farmhouse WALL Calendar
step 1.
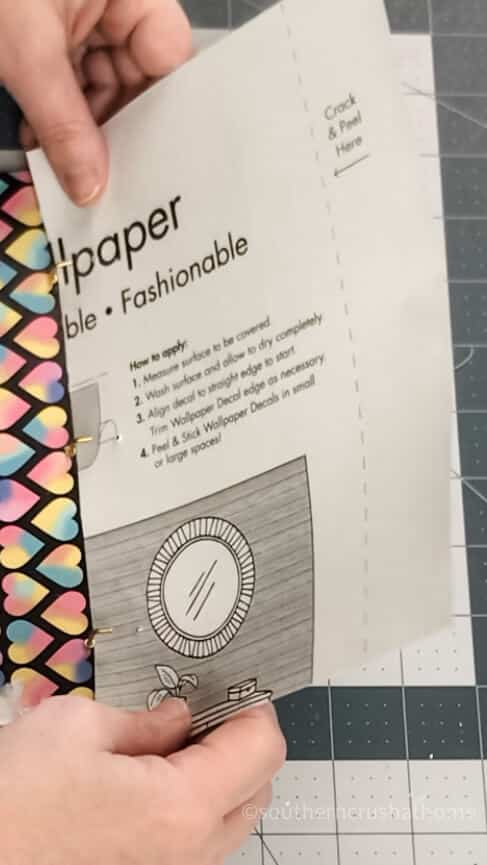
Lay the Dollar Tree wall calendar on top of the faux wood shiplap peel and stick wallpaper and trace around it with a pencil.
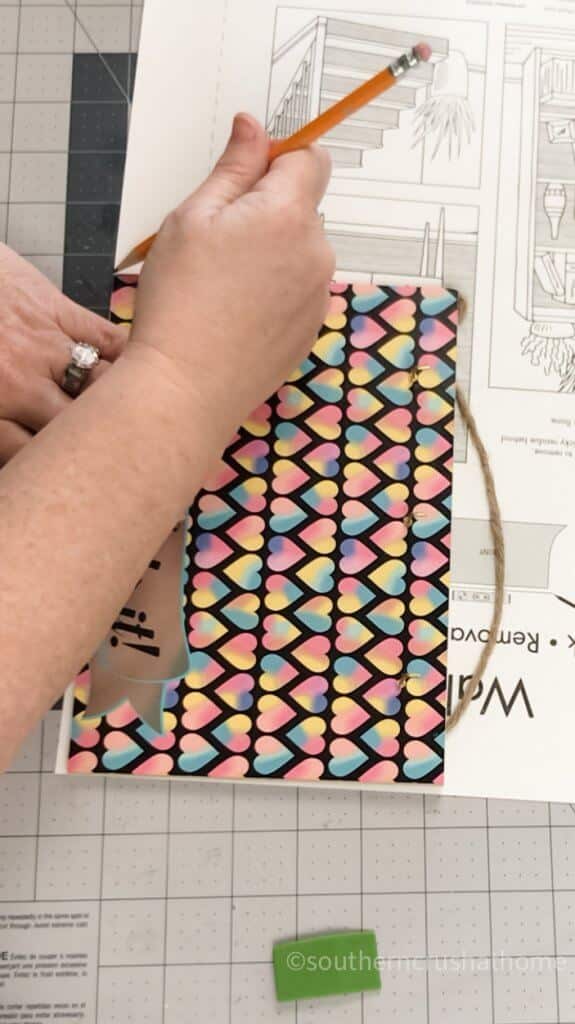
Isn't this faux shiplap so pretty? I've seen a similar style at home stores for 10x the price! If your dollar store has this I would definitely scoop it up.
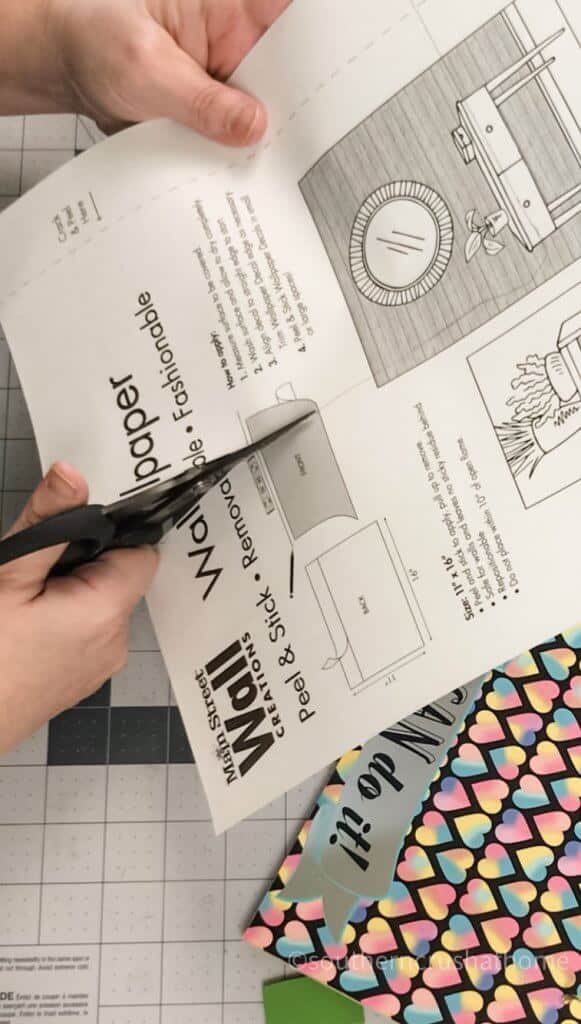
Cut the template of the calendar from the faux shiplap wallpaper.
TIP:
Be aware of the wall paper pattern as you cut your template to ensure you get the portion of the design you desire for the wall calendar.
step 2.
Use a craft piercing tool to mark where the holes go for the hooks to line up on the wall calendar.
TIP:
Make sure you do this after measuring but before removing the sticky backing of the peel and stick wallpaper.
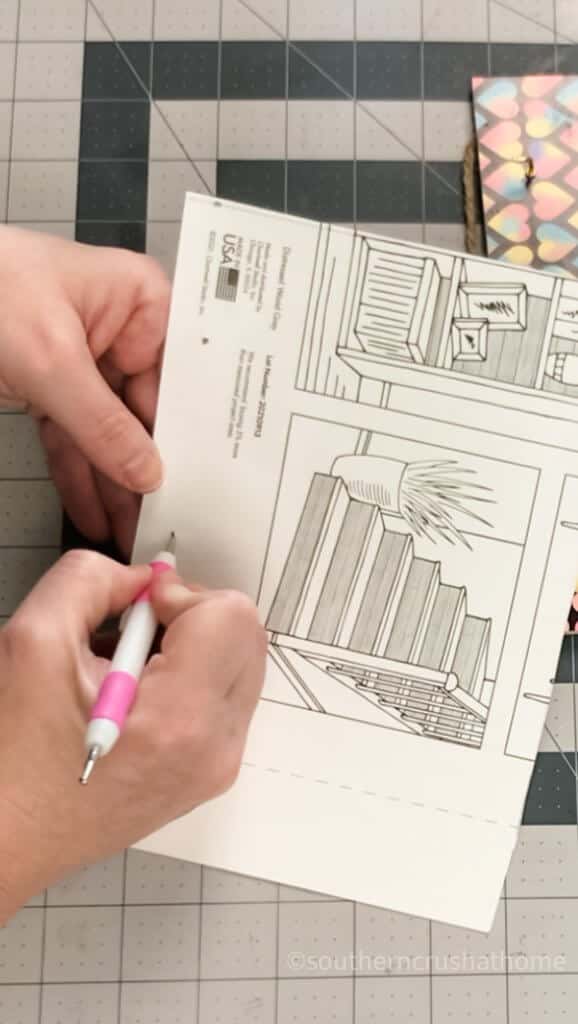
Double check to make sure that your holes line up both on the wallpaper as well as the hooks on the wall calendar.
Once the backing of the sticky wallpaper is removed, it's pretty hard to make adjustments.
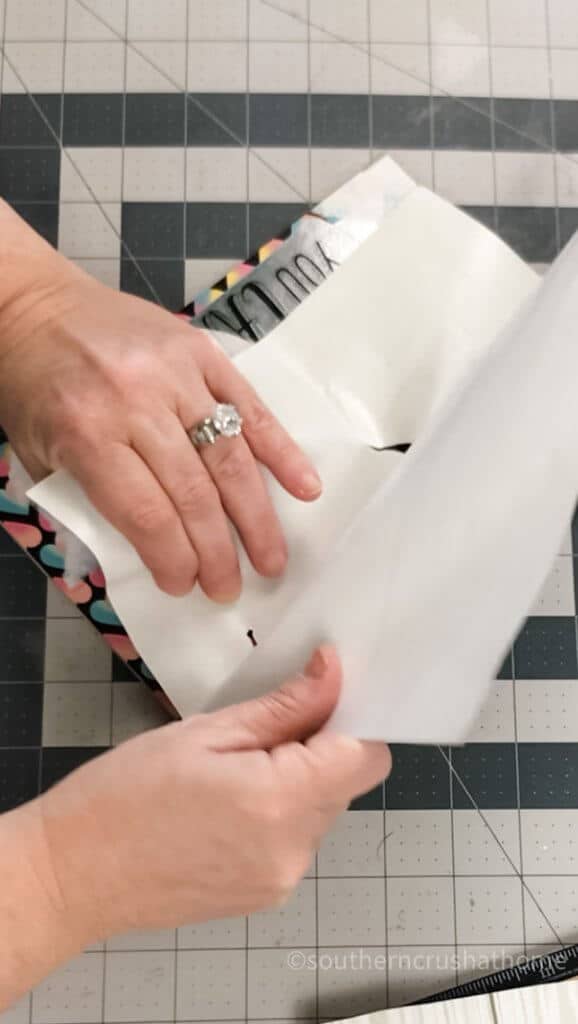
step 3.
Remove the backing of the peel and stick wallpaper and carefully stick it over the top of the original calendar to create a more farmhouse look to this decor piece.
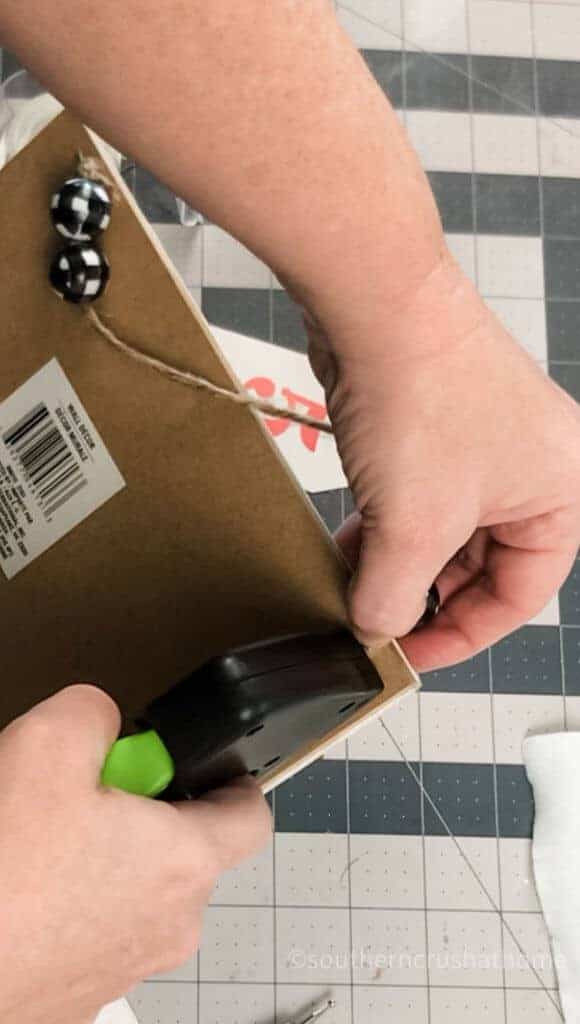
step 4.
Turn the calendar over and trim off any excess wallpaper with your craft scissors.
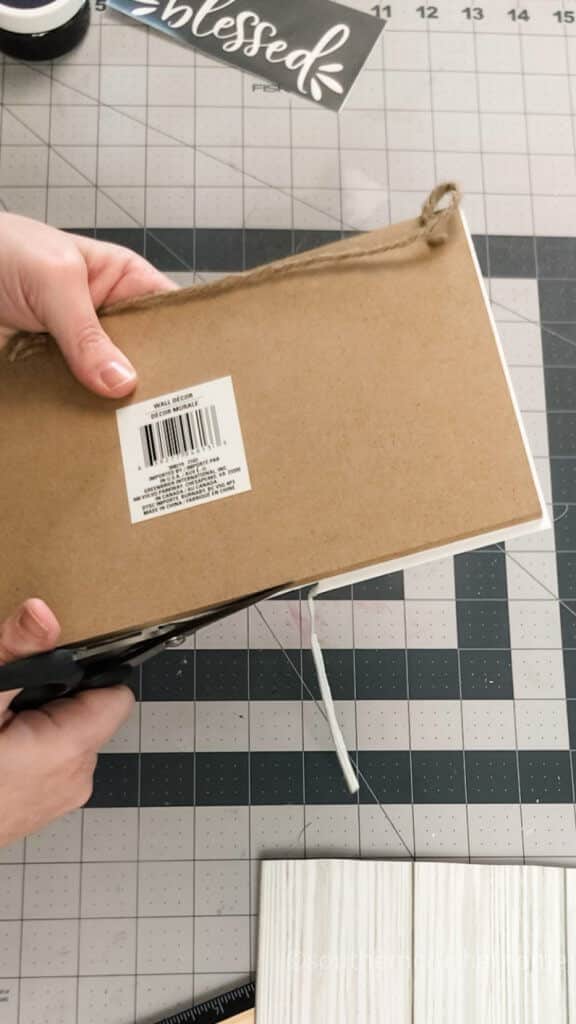
step 5.
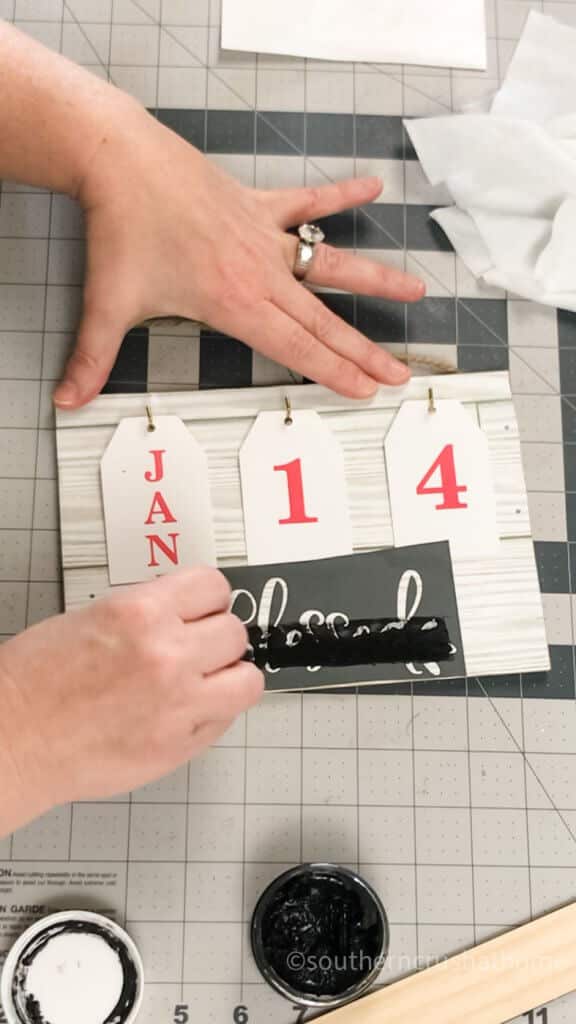
Place the months and number tags back into place in order to line up your favorite stencil!
Once it is lined up, use a squeegee and your chalk paste (I chose black so that it would pop) to add the “blessed” design to the bottom of the calendar.
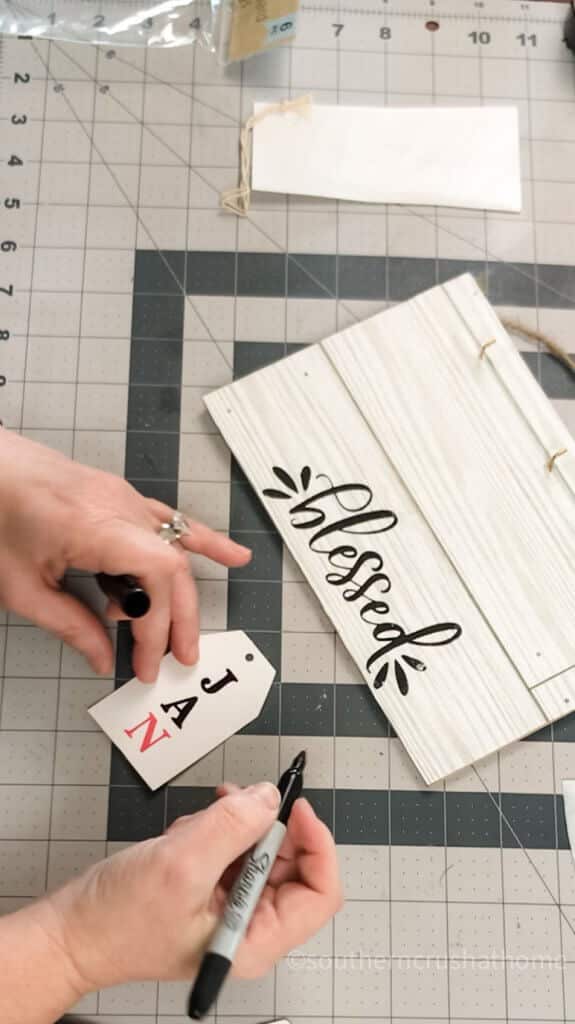
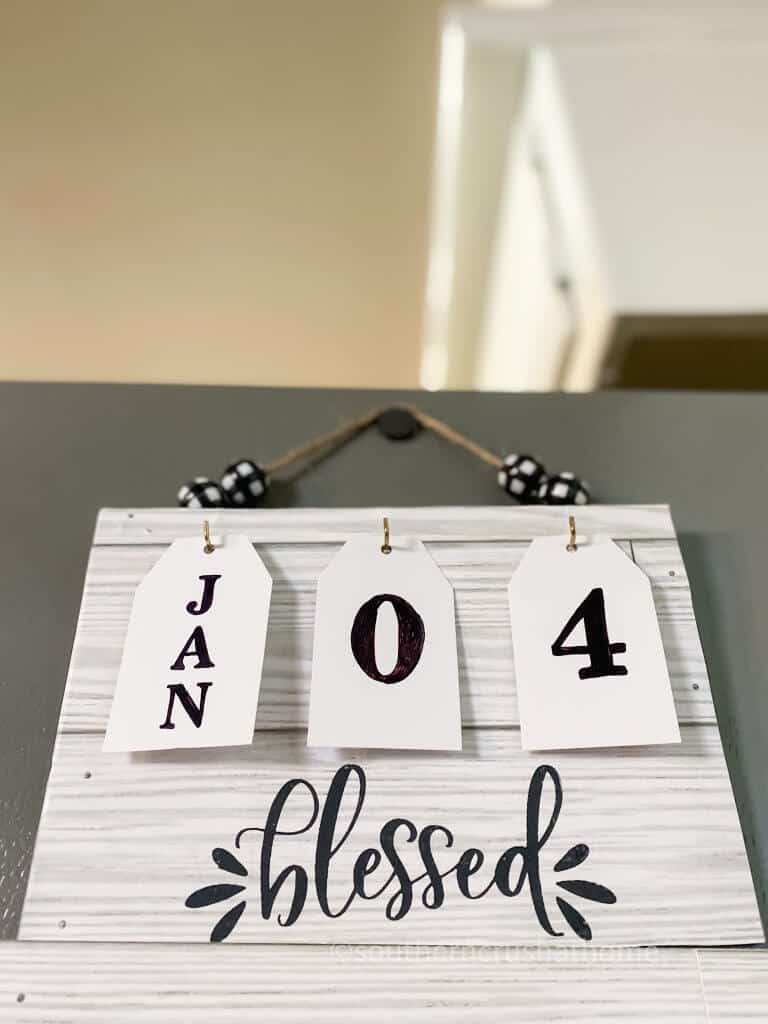
step 6.
The red color of the calendar tags didn't particularly match with the farmhouse look I was going for, so I used a black sharpie to trace over each letter and number. If you are happy with the color you can skip this step.
tip:
If you'd rather change up the tags all together, you may try the Dollar Tree black chalk tags and trim them down to size so that they fit this wall calendar.
STEP 7.
To give the twine hanger a little more dimension I added buffalo check beads that I had in my stash. So cute!
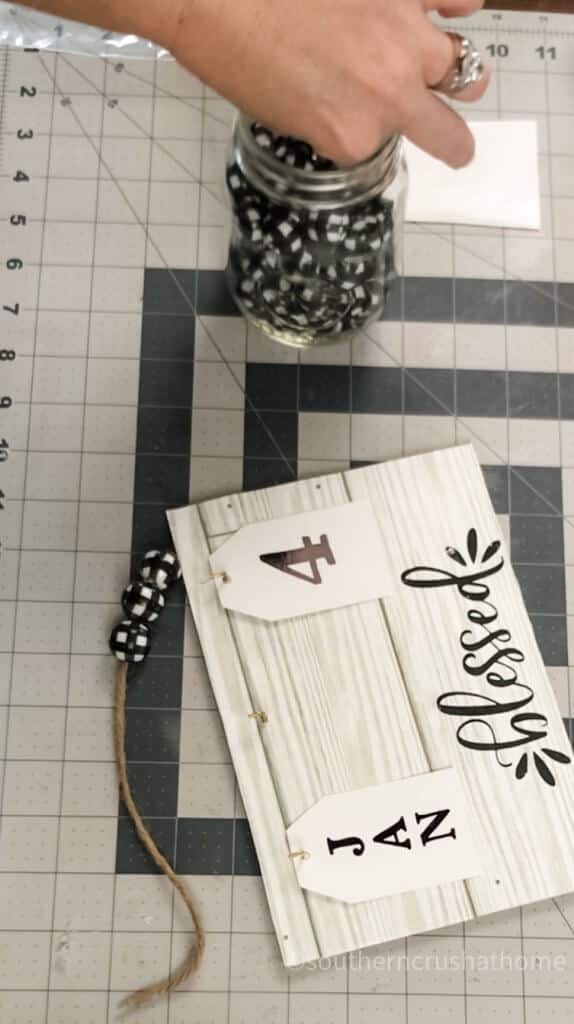
You can just reattach the twine with a staple gun.
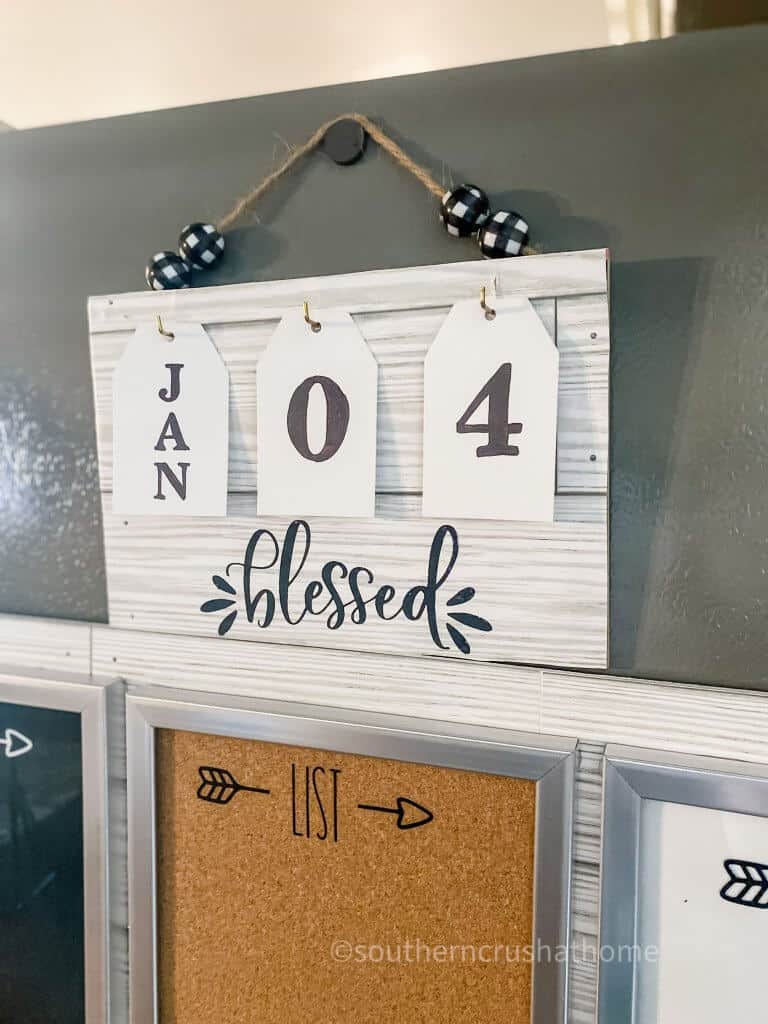
That's it!
Your beautiful new farmhouse calendar is ready to hang. You can find magnets at the dollar store or craft store so you can add this cutie to your refrigerator.
STEP BY STEP VIDEO TUTORIAL
If you want to see the exact step-by-step process, be sure to check out this video below over on my YouTube Channel!

This is probably the easiest little wall calendar you'll ever make! Will you try it?
I just love how this DIY wall calendar turned out and you would never know if costs just $2 to make!
I’ve shown you how to make a simple dollar tree farmhouse wall calendar with some affordable supplies and I hope that it inspires you to be creative in your own home decorating.
If this is the first time you’ve seen my blog, don't forget to check out my other dollar store crafts here.
I hope that you’ve enjoyed this DIY project and found it helpful. If you have any questions or feedback, please leave a comment below!
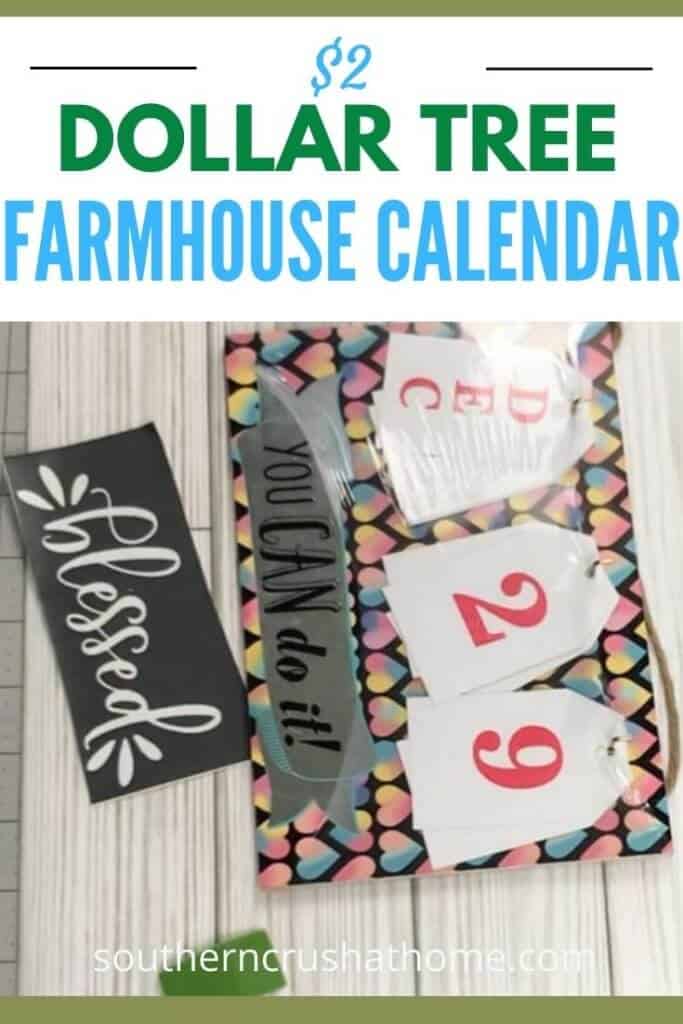
Be sure to PIN this for later!
FOR EVEN MORE QUICK AND EASY CRAFTS, LOOK AT THESE IDEAS!

$2 Dollar Tree Farmhouse Wall Calendar
Equipment
- scissors
- Craft Knife
Materials
- Faux Shiplap
- Wall Calendar
- Sharpie
- Blessed Transfer
- Chalk Paste
- Buffalo Check Beads
Instructions
- Lay the Dollar Tree calendar on top of the faux wood shiplap and trace around it with a pencil.
- Cut the template for the shiplap paper. Trim off any excess paper.
- Mark where the holes go for the twine with a craft knife.
- Use a squeegee and your chalk paste to add "blessed" to the bottom of the calendar.
- Trace over each letter and number with a sharpie.
- Add buffalo check beads and reattach the twine fpr hanging.