DIY Wedding Welcome Sign Mirror
As you may know, my son got married recently and my daughter-in-law requested I make this DIY Wedding Welcome Sign Mirror for the reception. I was super excited and honored at the same time! Let me walk you through what I did, so that you can make a professional-looking welcome sign that greets your guests with style.

PIN this for later!
This DIY project can add an elegant and personal touch to anyone's special day. Here's a detailed tutorial on how to make your own wedding welcome sign mirror using a Cricut machine.
This blog post contains affiliate links. The opinions are wholly my own from my own experience. I may earn a small commission from clicks through to the websites that end in a purchase.
Materials You’ll Need for a Wedding Sign Mirror:
- A Large Mirror: Choose a size and shape that suits the style of your wedding. Vintage mirrors with ornate frames can add a classic touch, while a simple rectangular mirror offers a more modern look. It can be floor length or smaller and sit on an easel.
- Cricut Maker 3: This machine is what I used to cut vinyl for the lettering and designs. You can use other Cricut machines depending on the size of your mirror and the design you choose.
- Permanent Adhesive Vinyl: Select a color that contrasts well with the mirror background for visibility. Popular choices include white, black, or metallic shades. I used white permanent vinyl.
- Transfer Tape: To move your vinyl designs from the backing sheet to the mirror.
- Weeding Tools: These help remove excess vinyl from your designs.
- StandardGrip Cutting Mat: To hold your vinyl in place while it is being cut.
- Design Software: Cricut Design Space or any compatible software where you can create or upload your design. This is a link to the design I created and used in this project.
- Window cleaner and a Cloth: For cleaning the mirror before applying vinyl to ensure a smooth application.
Step-by-Step Guide for Creating a Wedding Welcome Sign Mirror
Step 1: Design Your Welcome Sign
Start by designing your welcome message and any decorative elements in Cricut Design Space. This could include your names, the wedding date, and graphics such as florals or geometric shapes.
Ensure the design fits well within the dimensions of your mirror. When you’re happy with your design, prepare it for cutting by setting the appropriate material size and type in the software.
Wedding Welcome Sign Saying Ideas:
- “Welcome to Our Beginning!”
- “Happily Ever After Starts Here”
- “Sip, Sip, Hooray! Welcome to Our Wedding Day!”
- “Welcome to the Best Day Ever!”
- “Two Less Fish in the Sea, Welcome!”
- “Oh Happy Day! Glad You're Here to Stay!”
- “Cheers, Y'all! We're So Glad You're Here!”
- “Welcome to Our Forever!”
- “Cheers to the…!”
- “Come for the Love, Stay for the Party!”
Step 2: Prepare the Vinyl
Place your chosen vinyl on the StandardGrip cutting mat, ensuring it is smooth and well adhered to the mat. Load the mat into your Cricut machine.
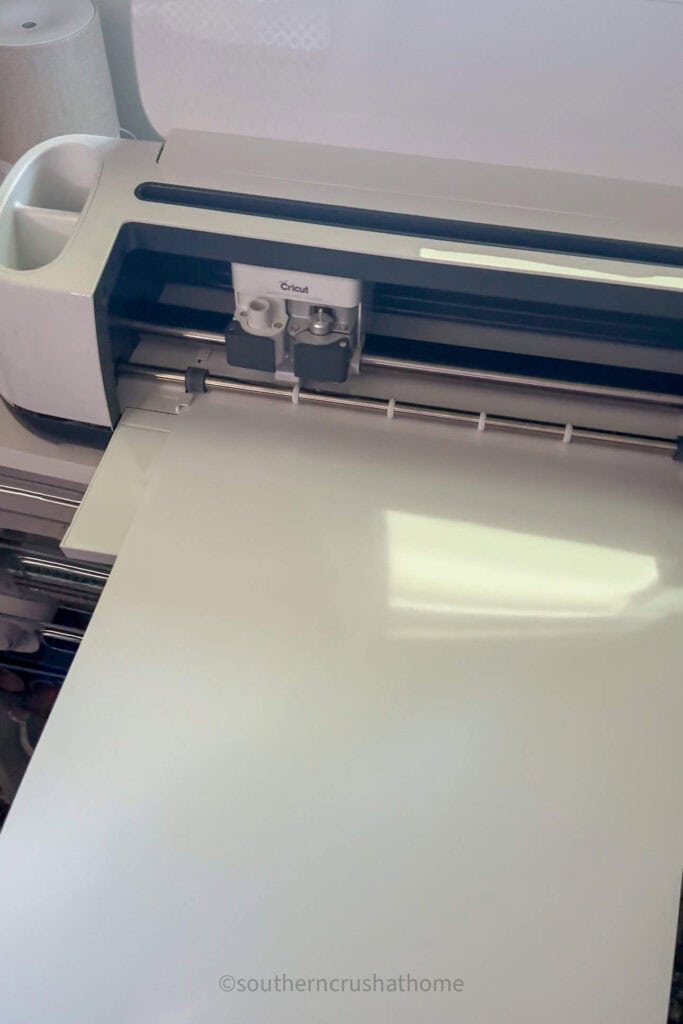
Follow the prompts in Cricut Design Space to begin cutting your design. Once the machine has finished, unload the mat.
Step 3: Weed Your Design
Use your weeding tools to carefully remove any unwanted vinyl from around and inside your letters and design elements.
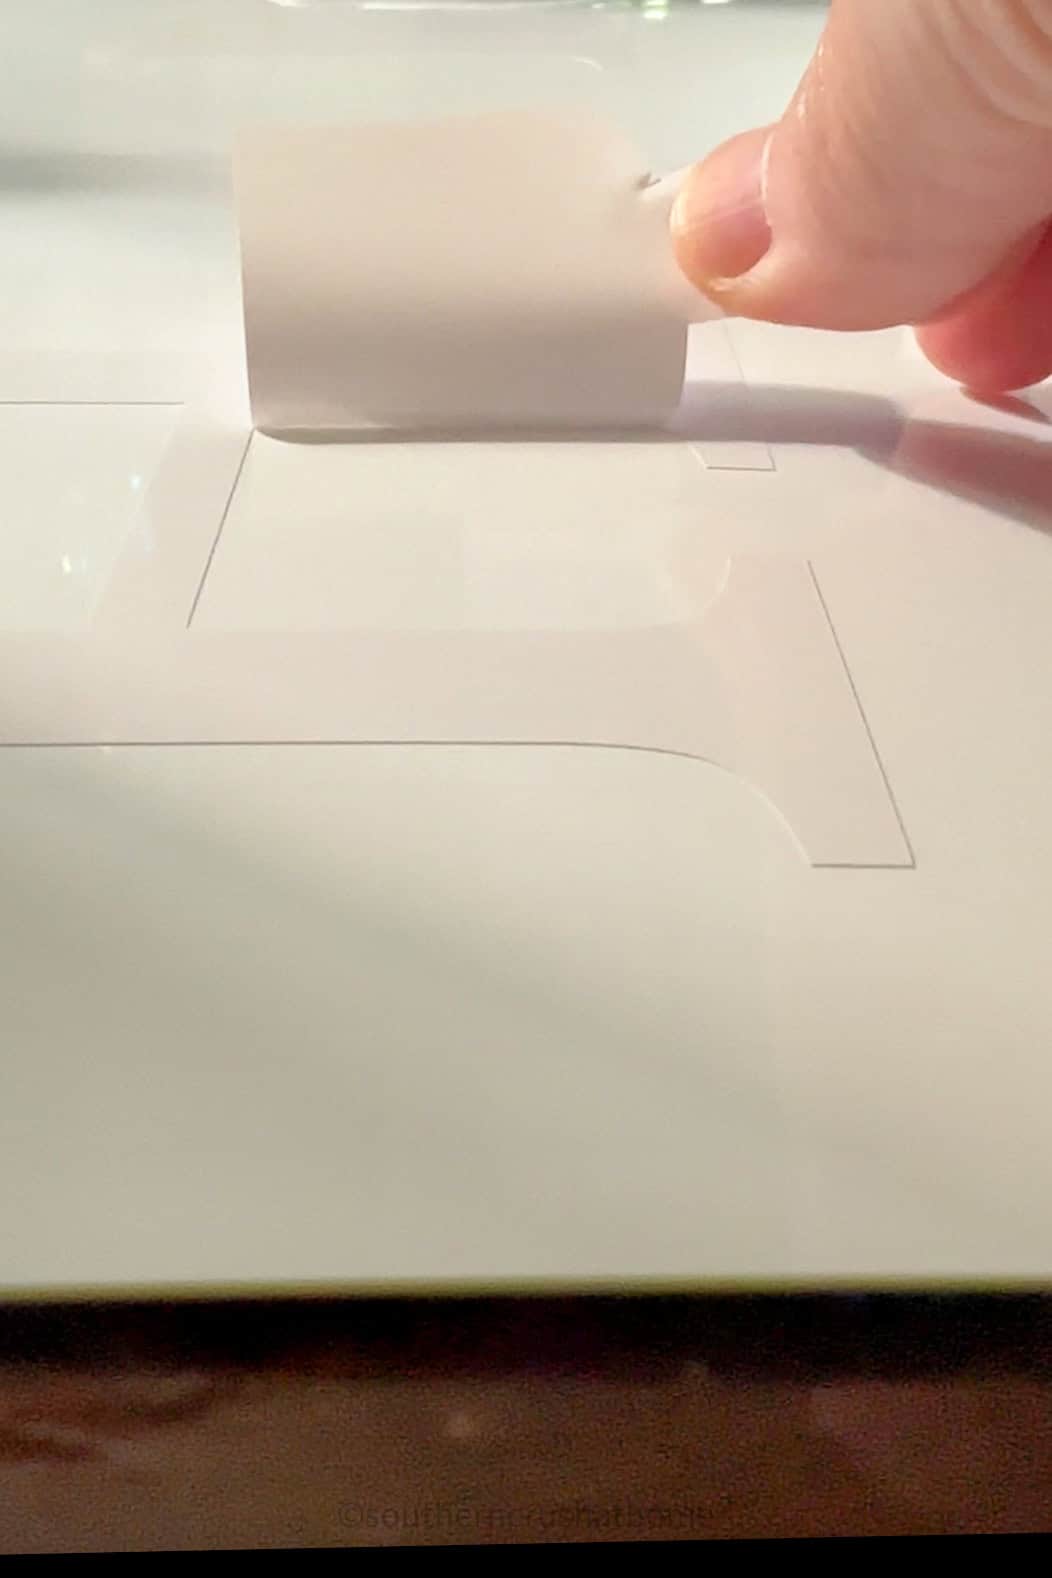
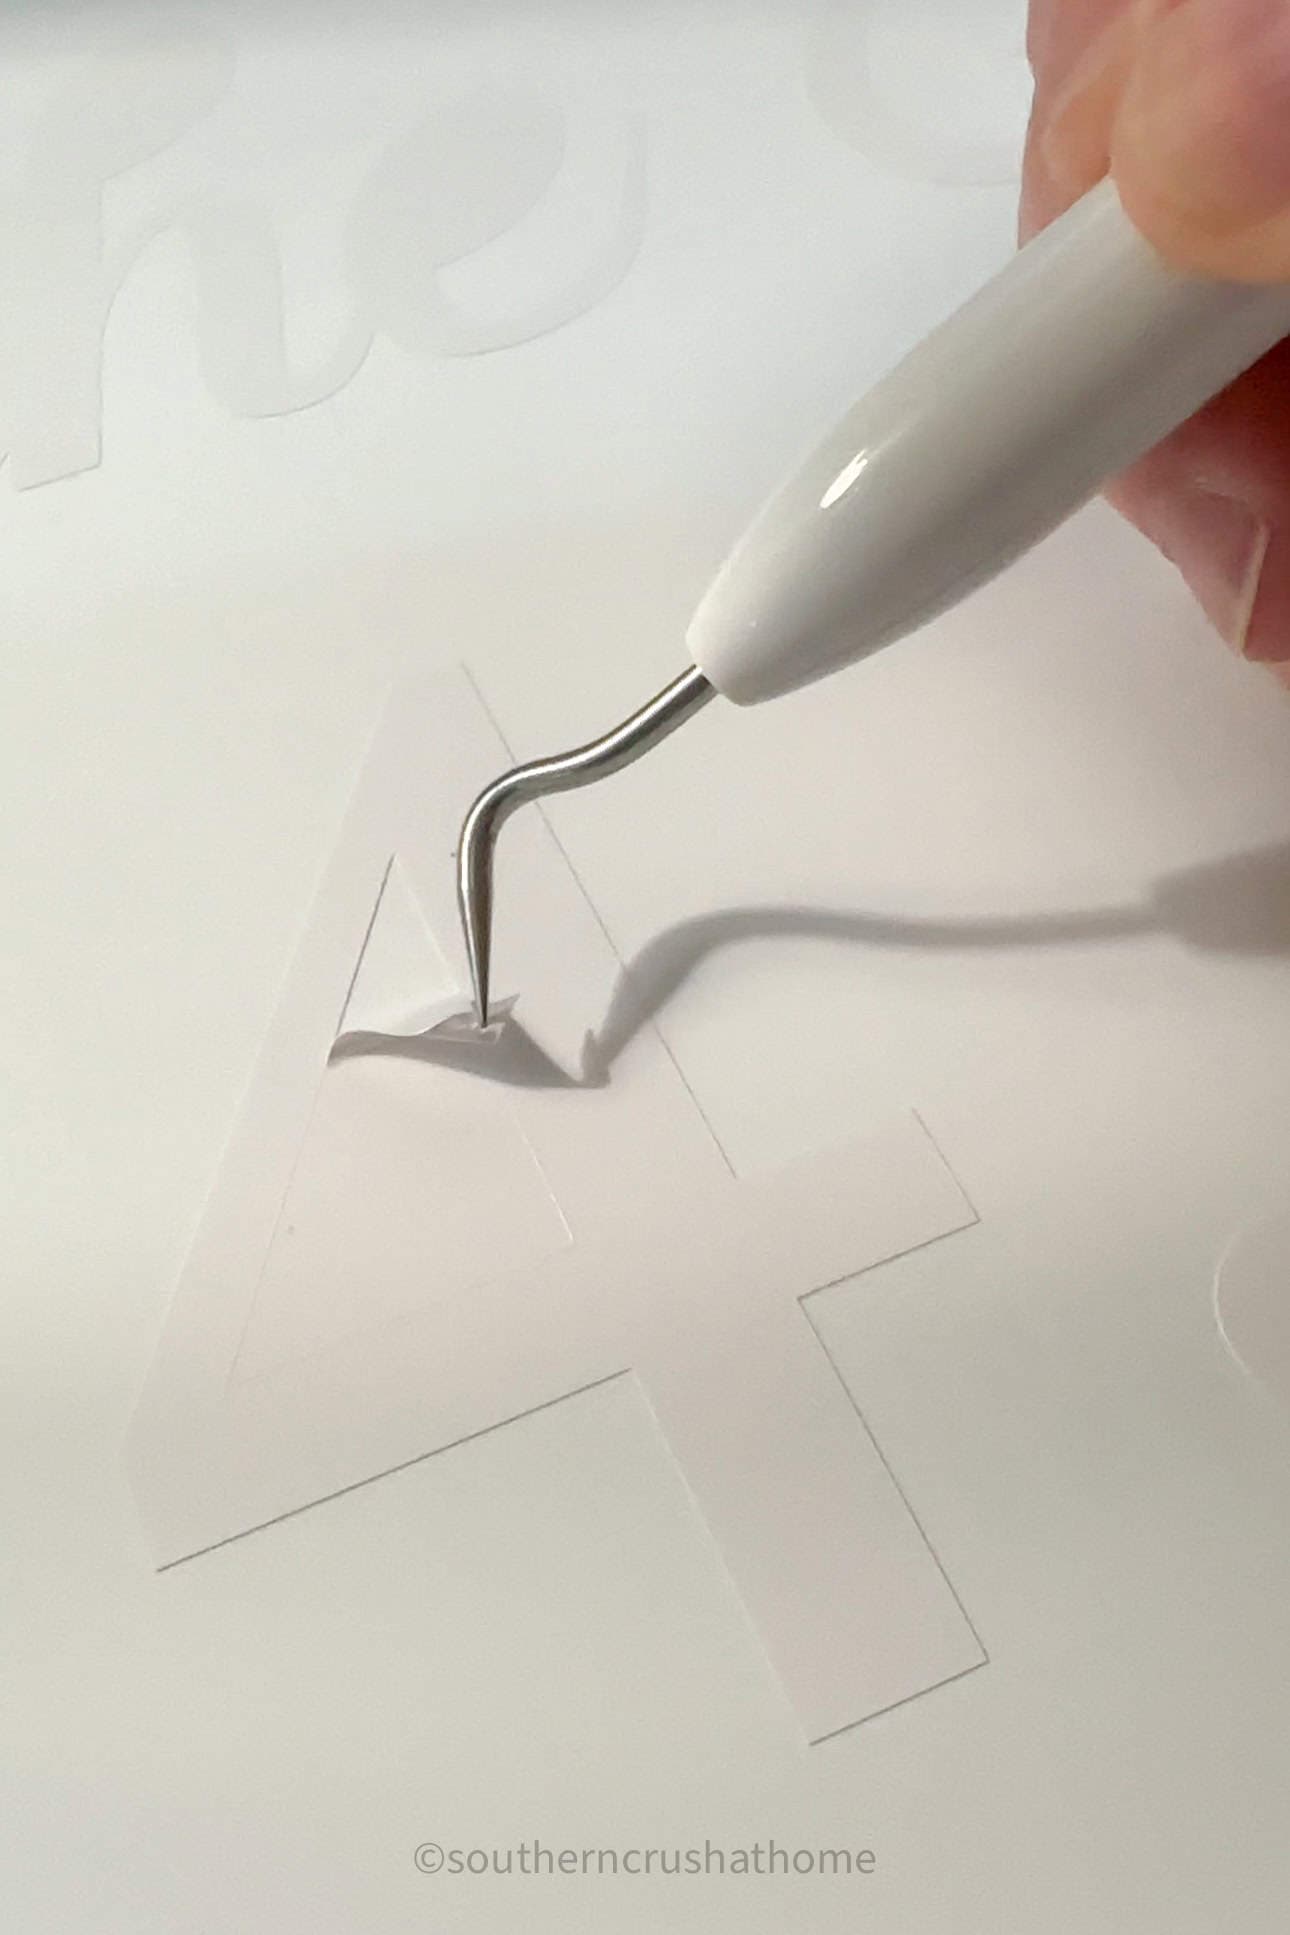
This step requires patience and a steady hand to ensure your design remains intact.
Step 4: Clean the Mirror
Before applying the vinyl, clean the surface of the mirror with rubbing alcohol and a cloth to remove any dust, fingerprints, or smudges.
This helps the vinyl adhere better and ensures a clean, professional appearance.
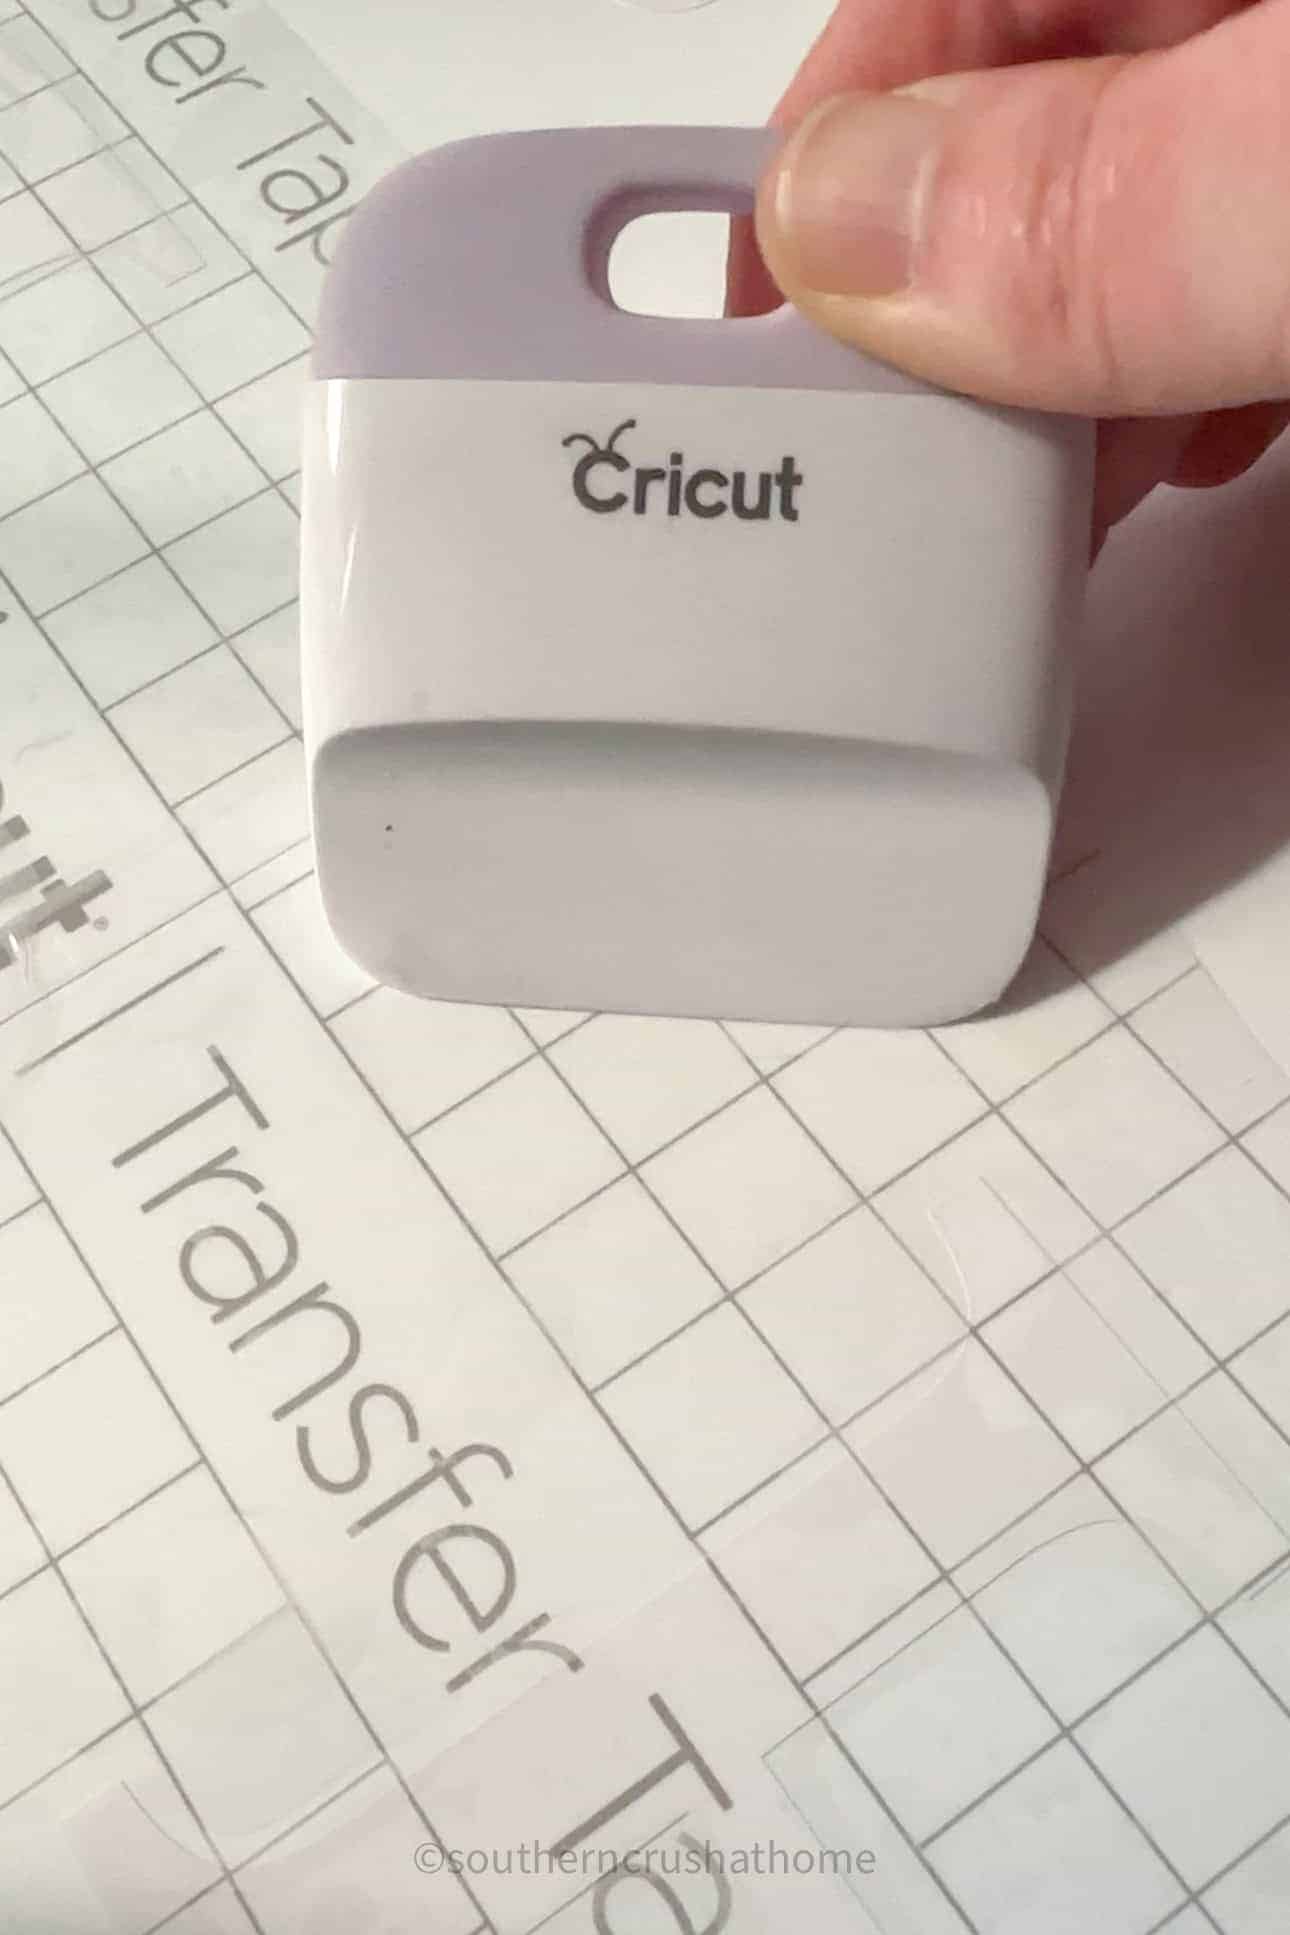
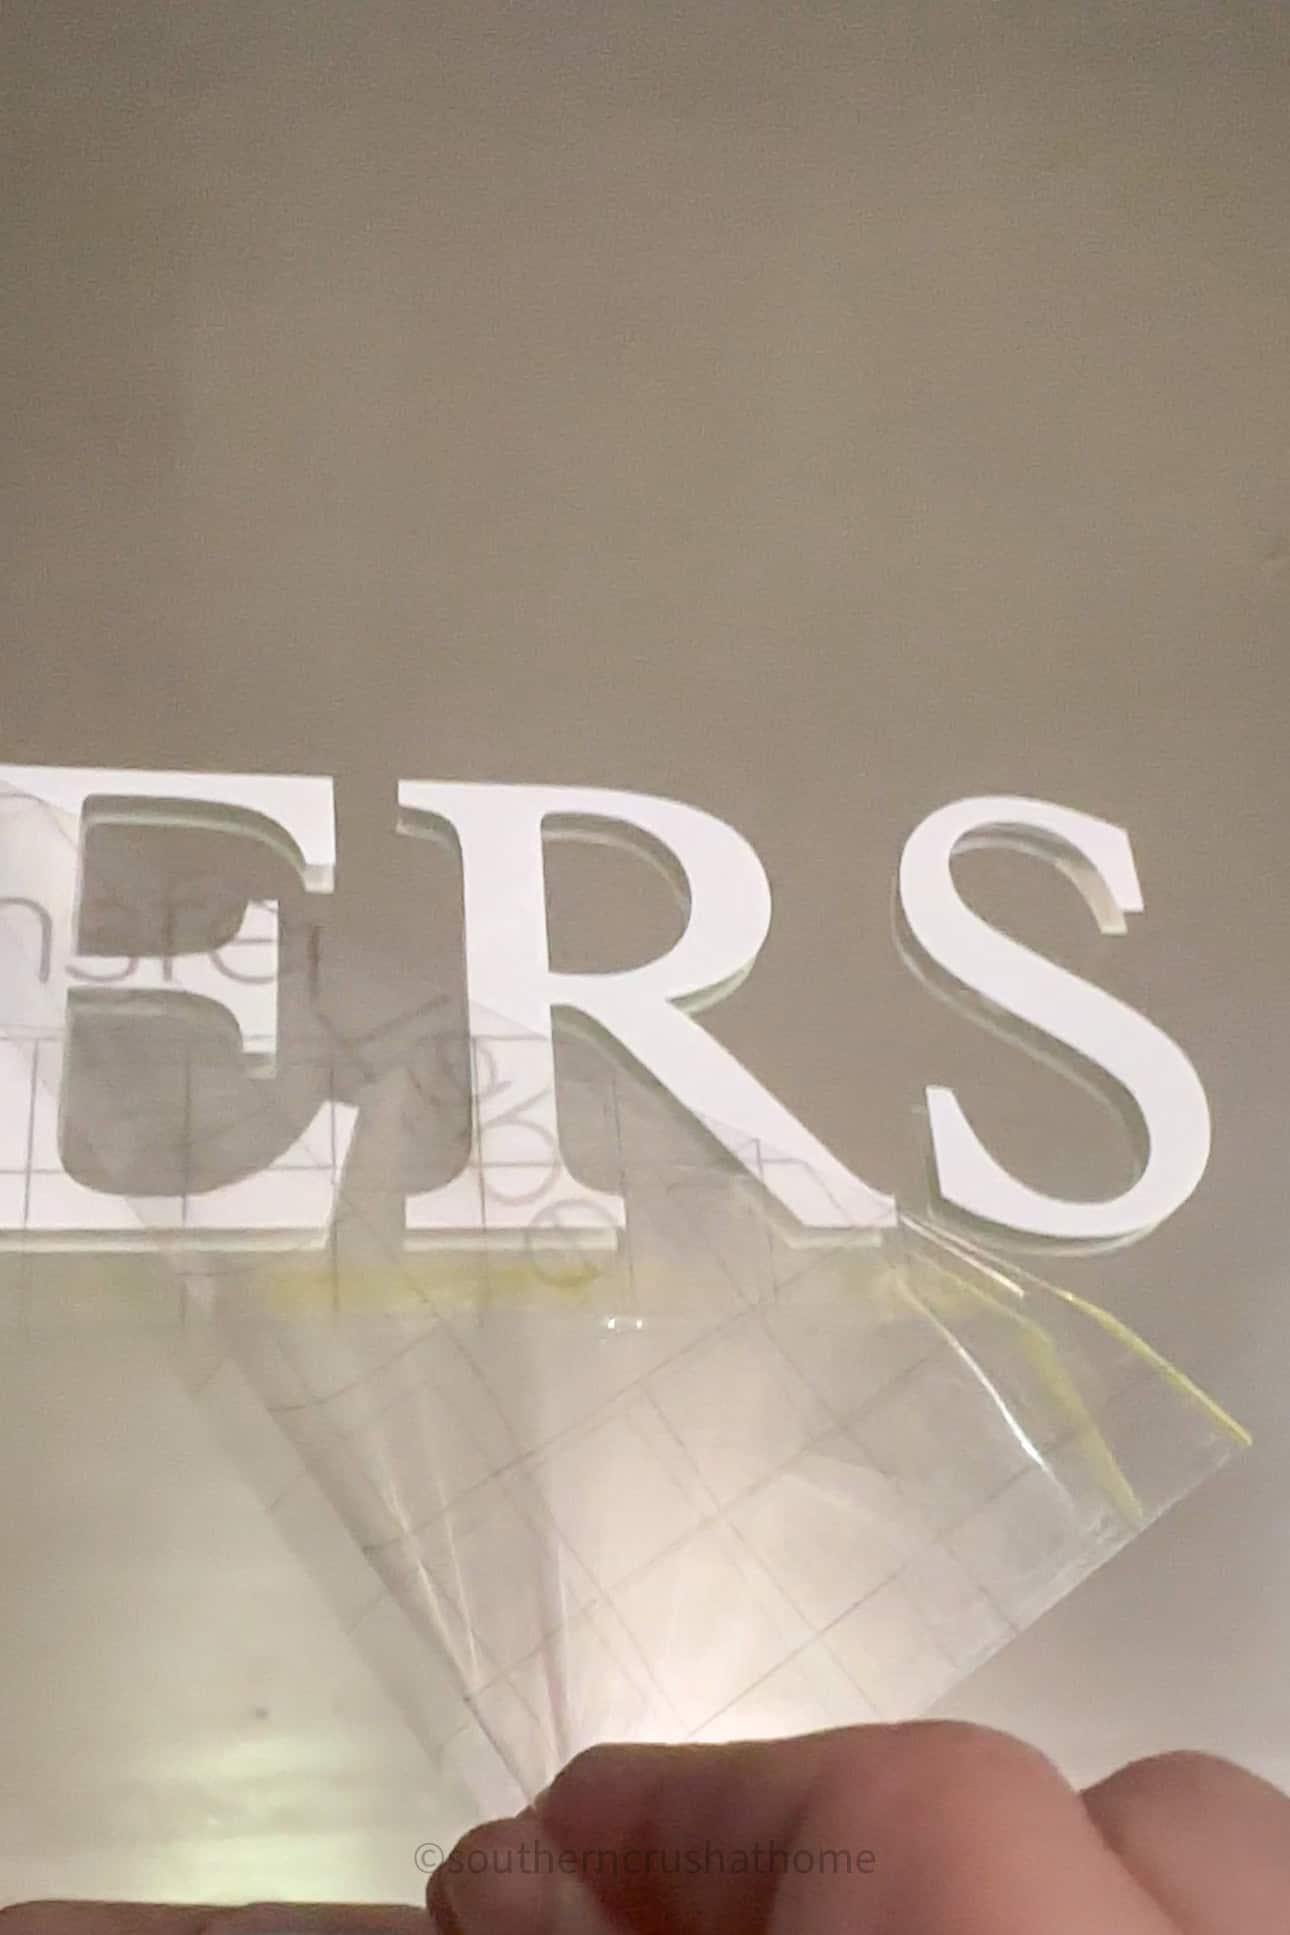
Step 5: Transfer the Vinyl
Cut a piece of transfer tape slightly larger than your vinyl design. Peel away the tape’s backing and carefully place it over the vinyl. Use a scraper tool or a credit card to firmly rub the tape onto the vinyl, ensuring it sticks.
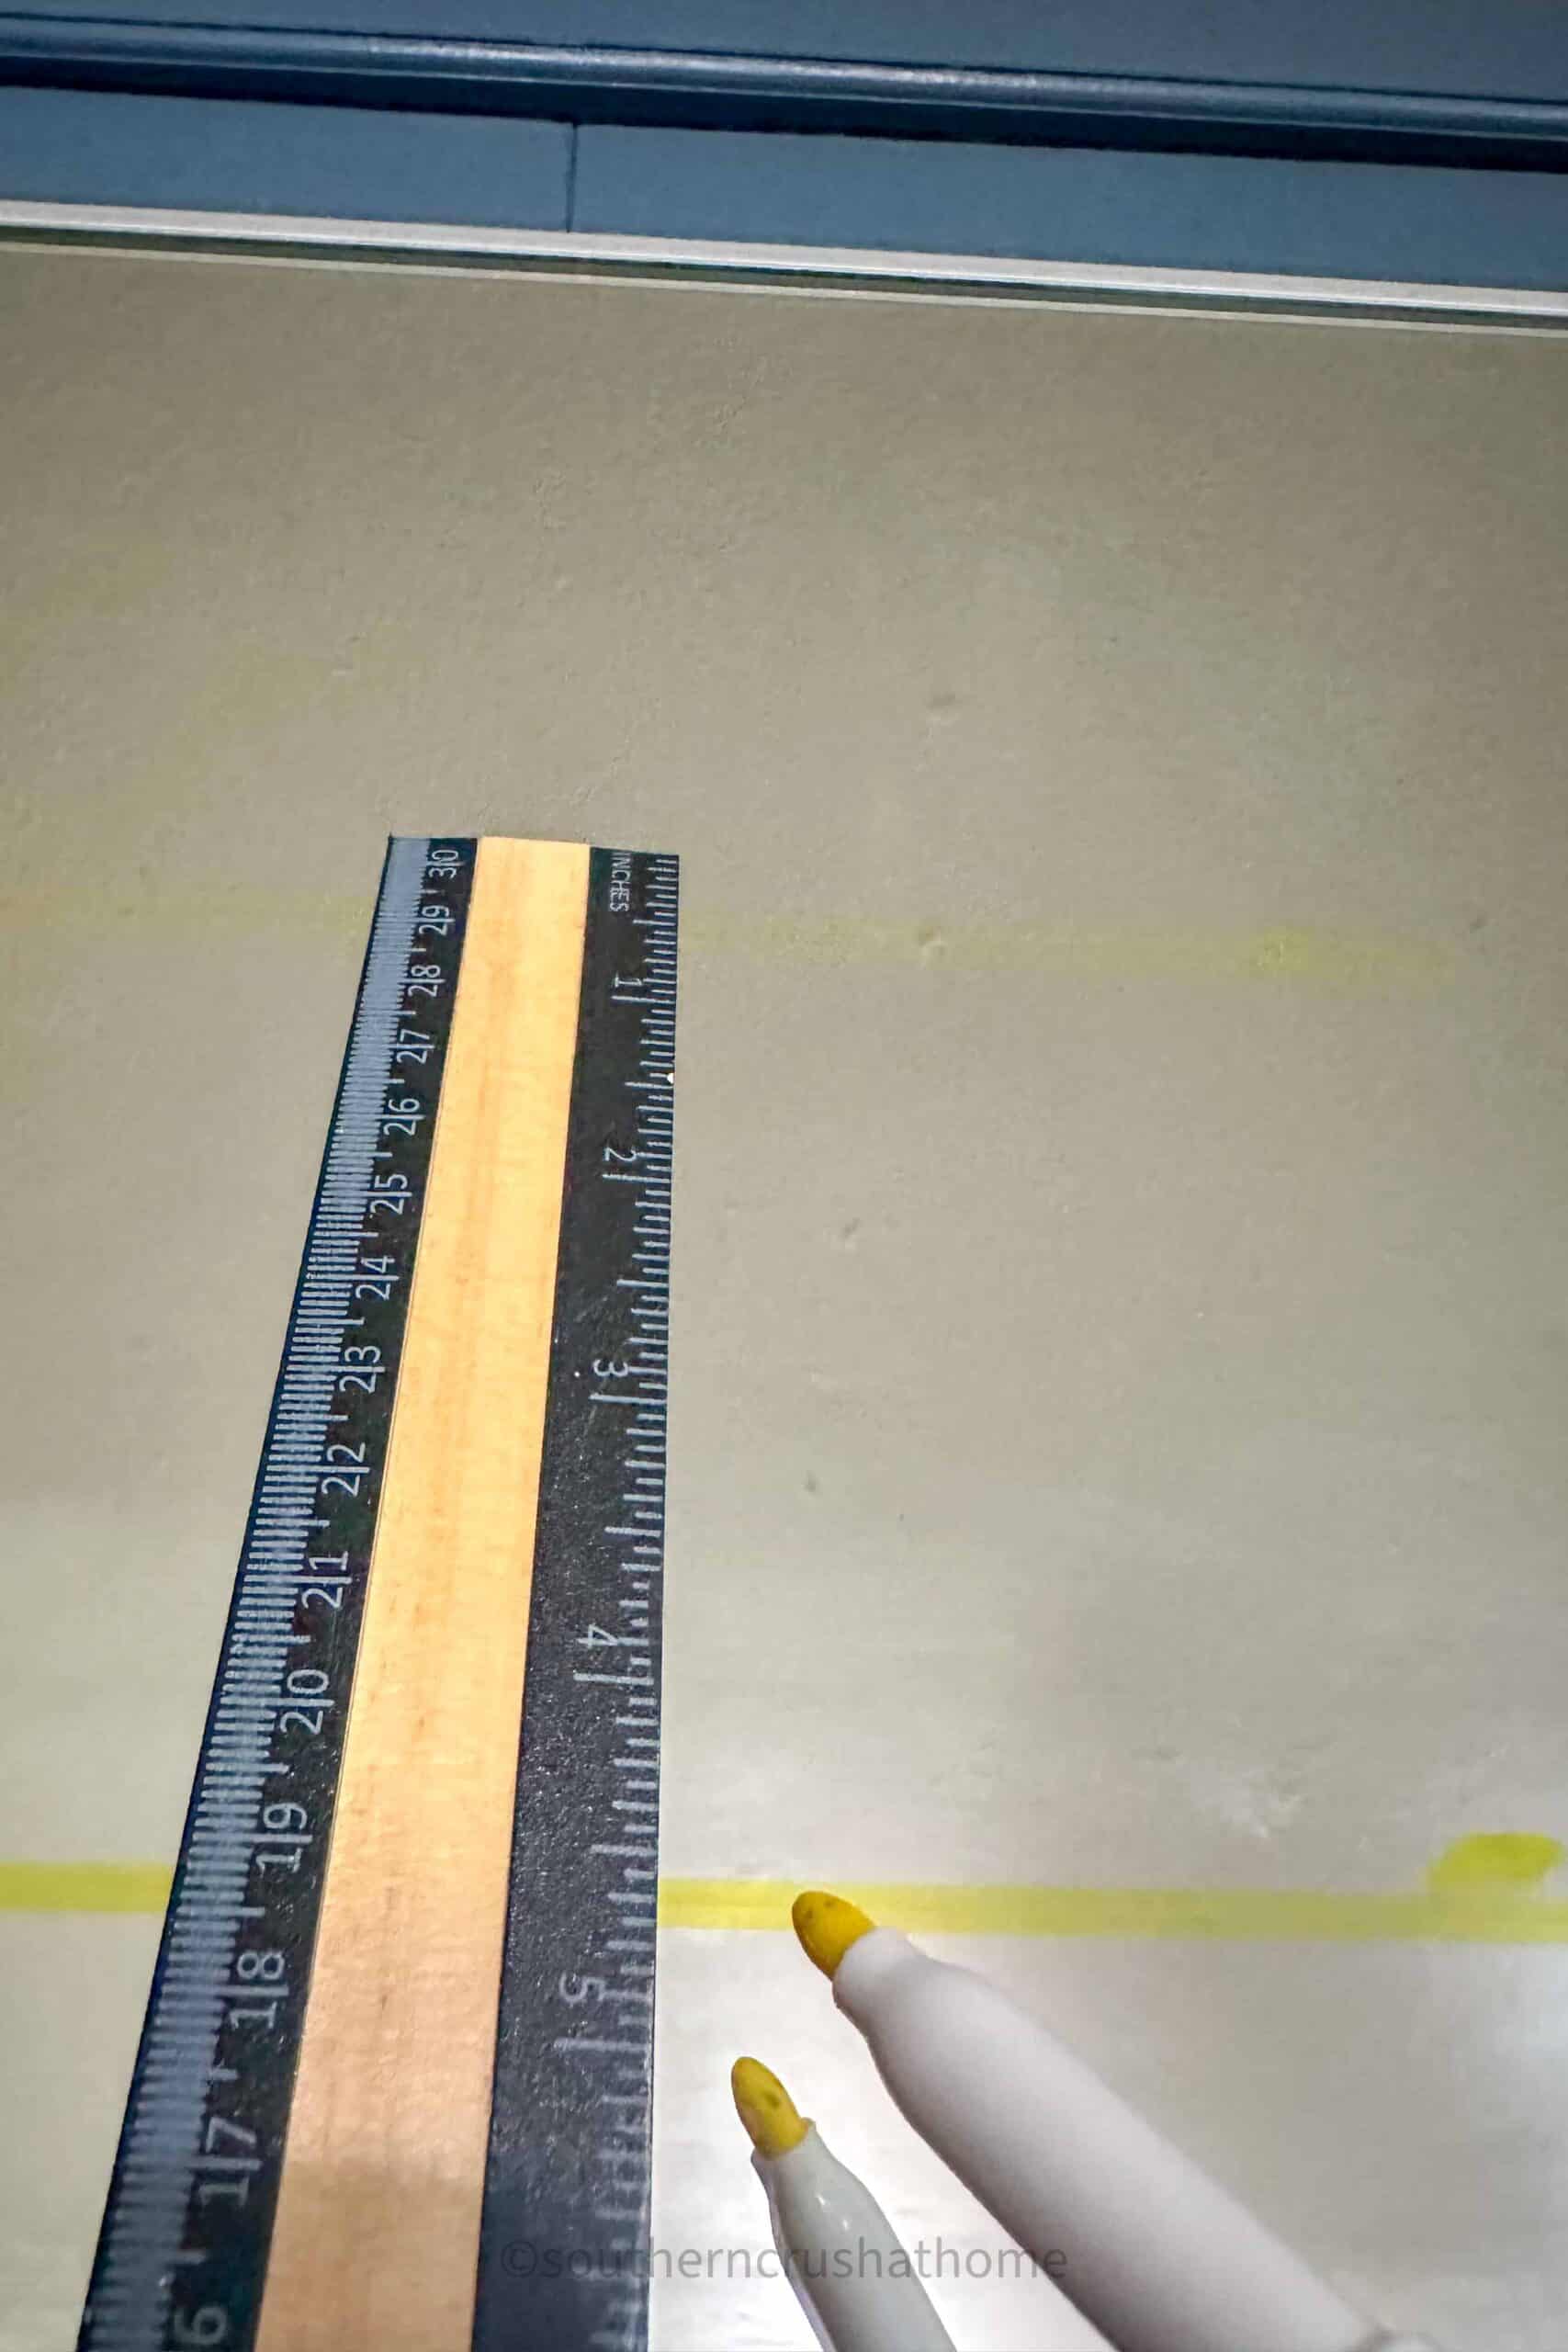
Then, measure out where you would like for your deisgn to be on the mirror. I used a ruler and a dry erase marker for easy removal.
Next, carefully peel the vinyl away from its backing and position it on the mirror.
Again, use your scraper to transfer the vinyl onto the mirror smoothly. Slowly remove the transfer tape, leaving the vinyl design on the mirror.
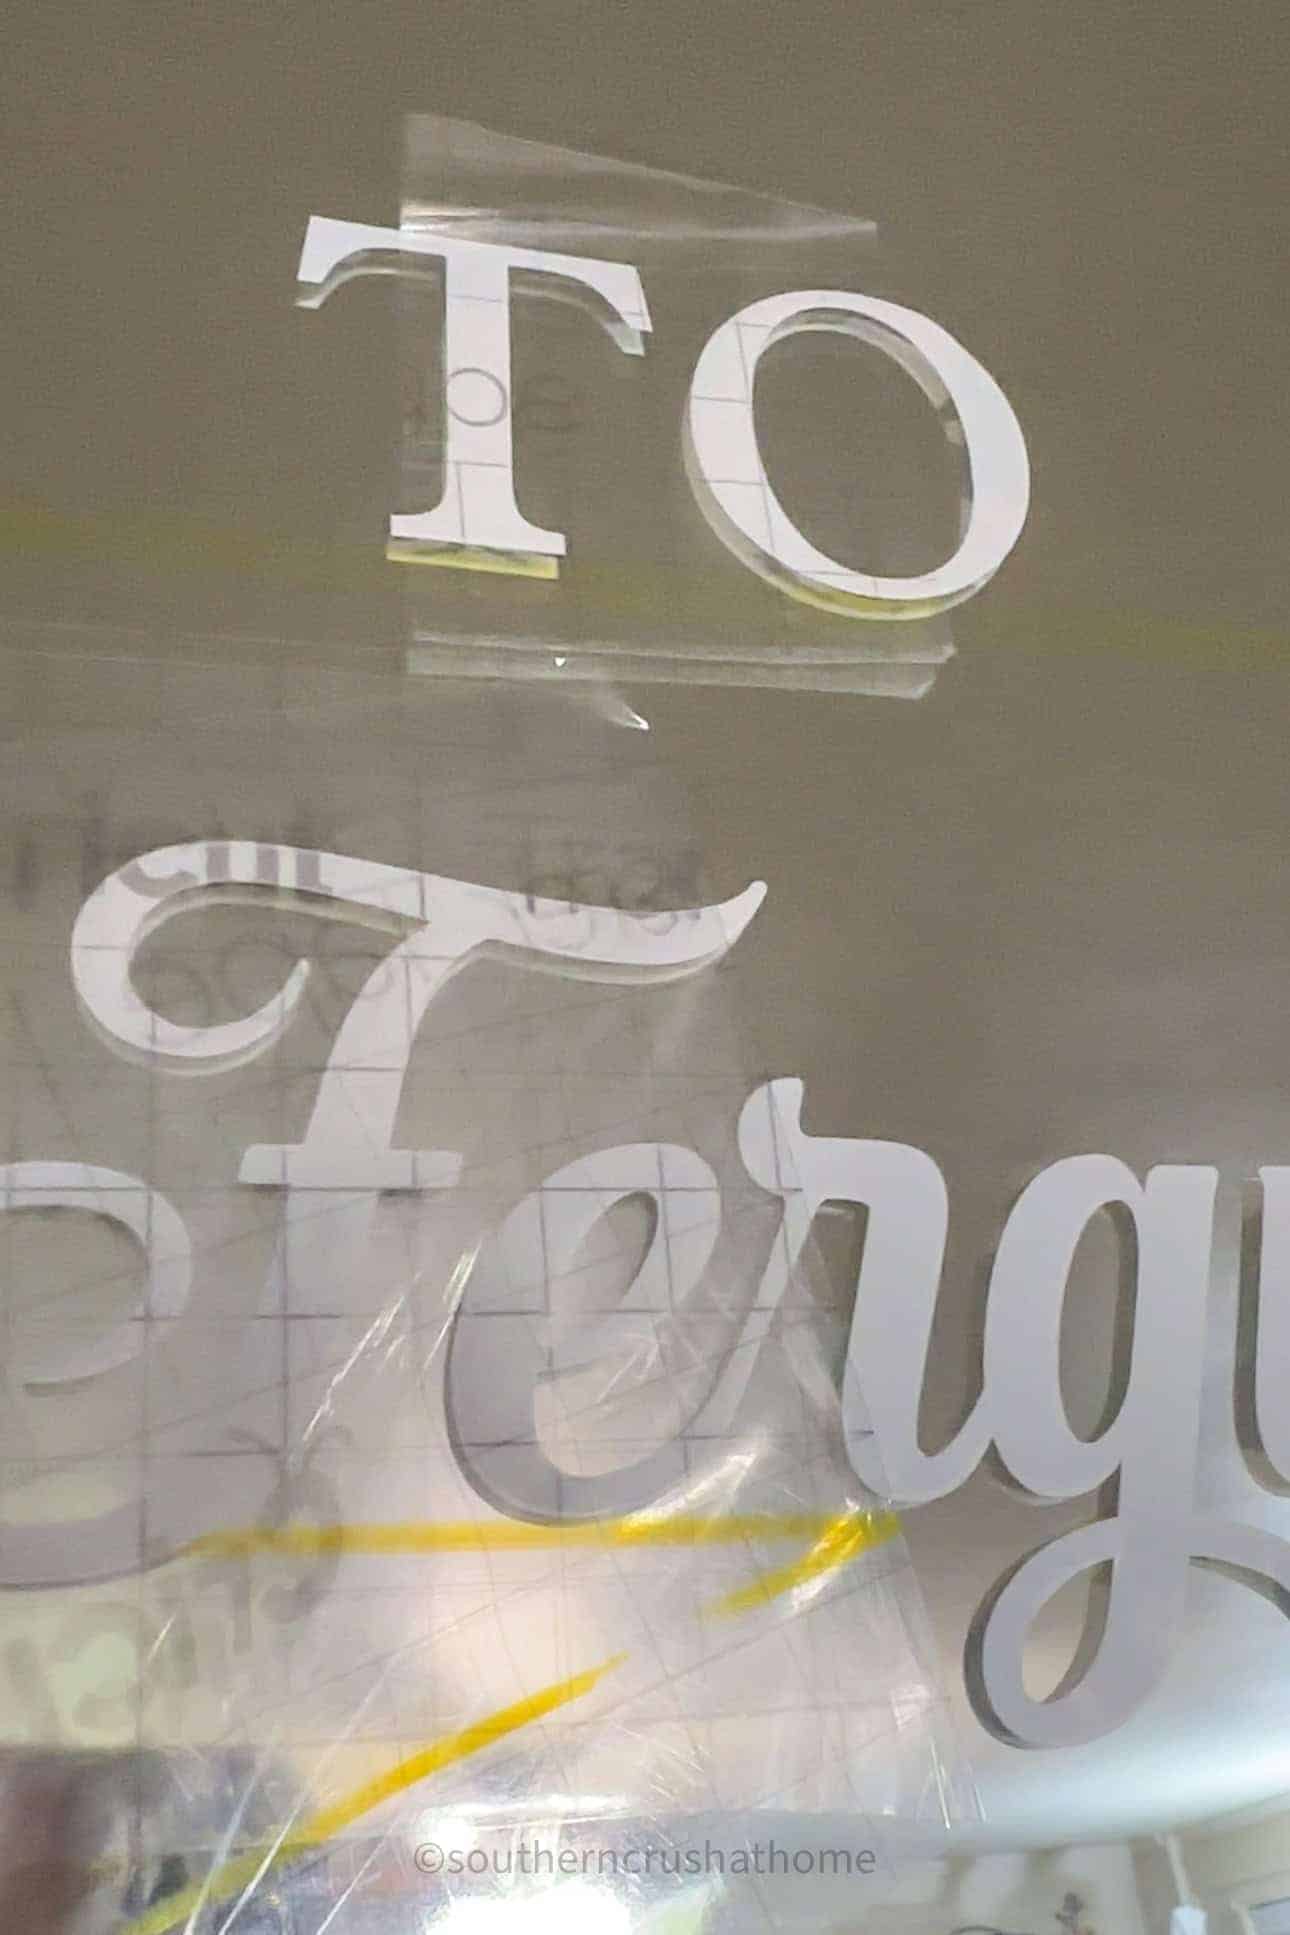
The dry erase marker is removed similtaneously with the transfer tape.
Step 6: Final Adjustments
Once all elements of your design are applied, step back and review your work. Adjust any pieces as necessary and smooth out any bubbles with your scraper or a soft cloth.
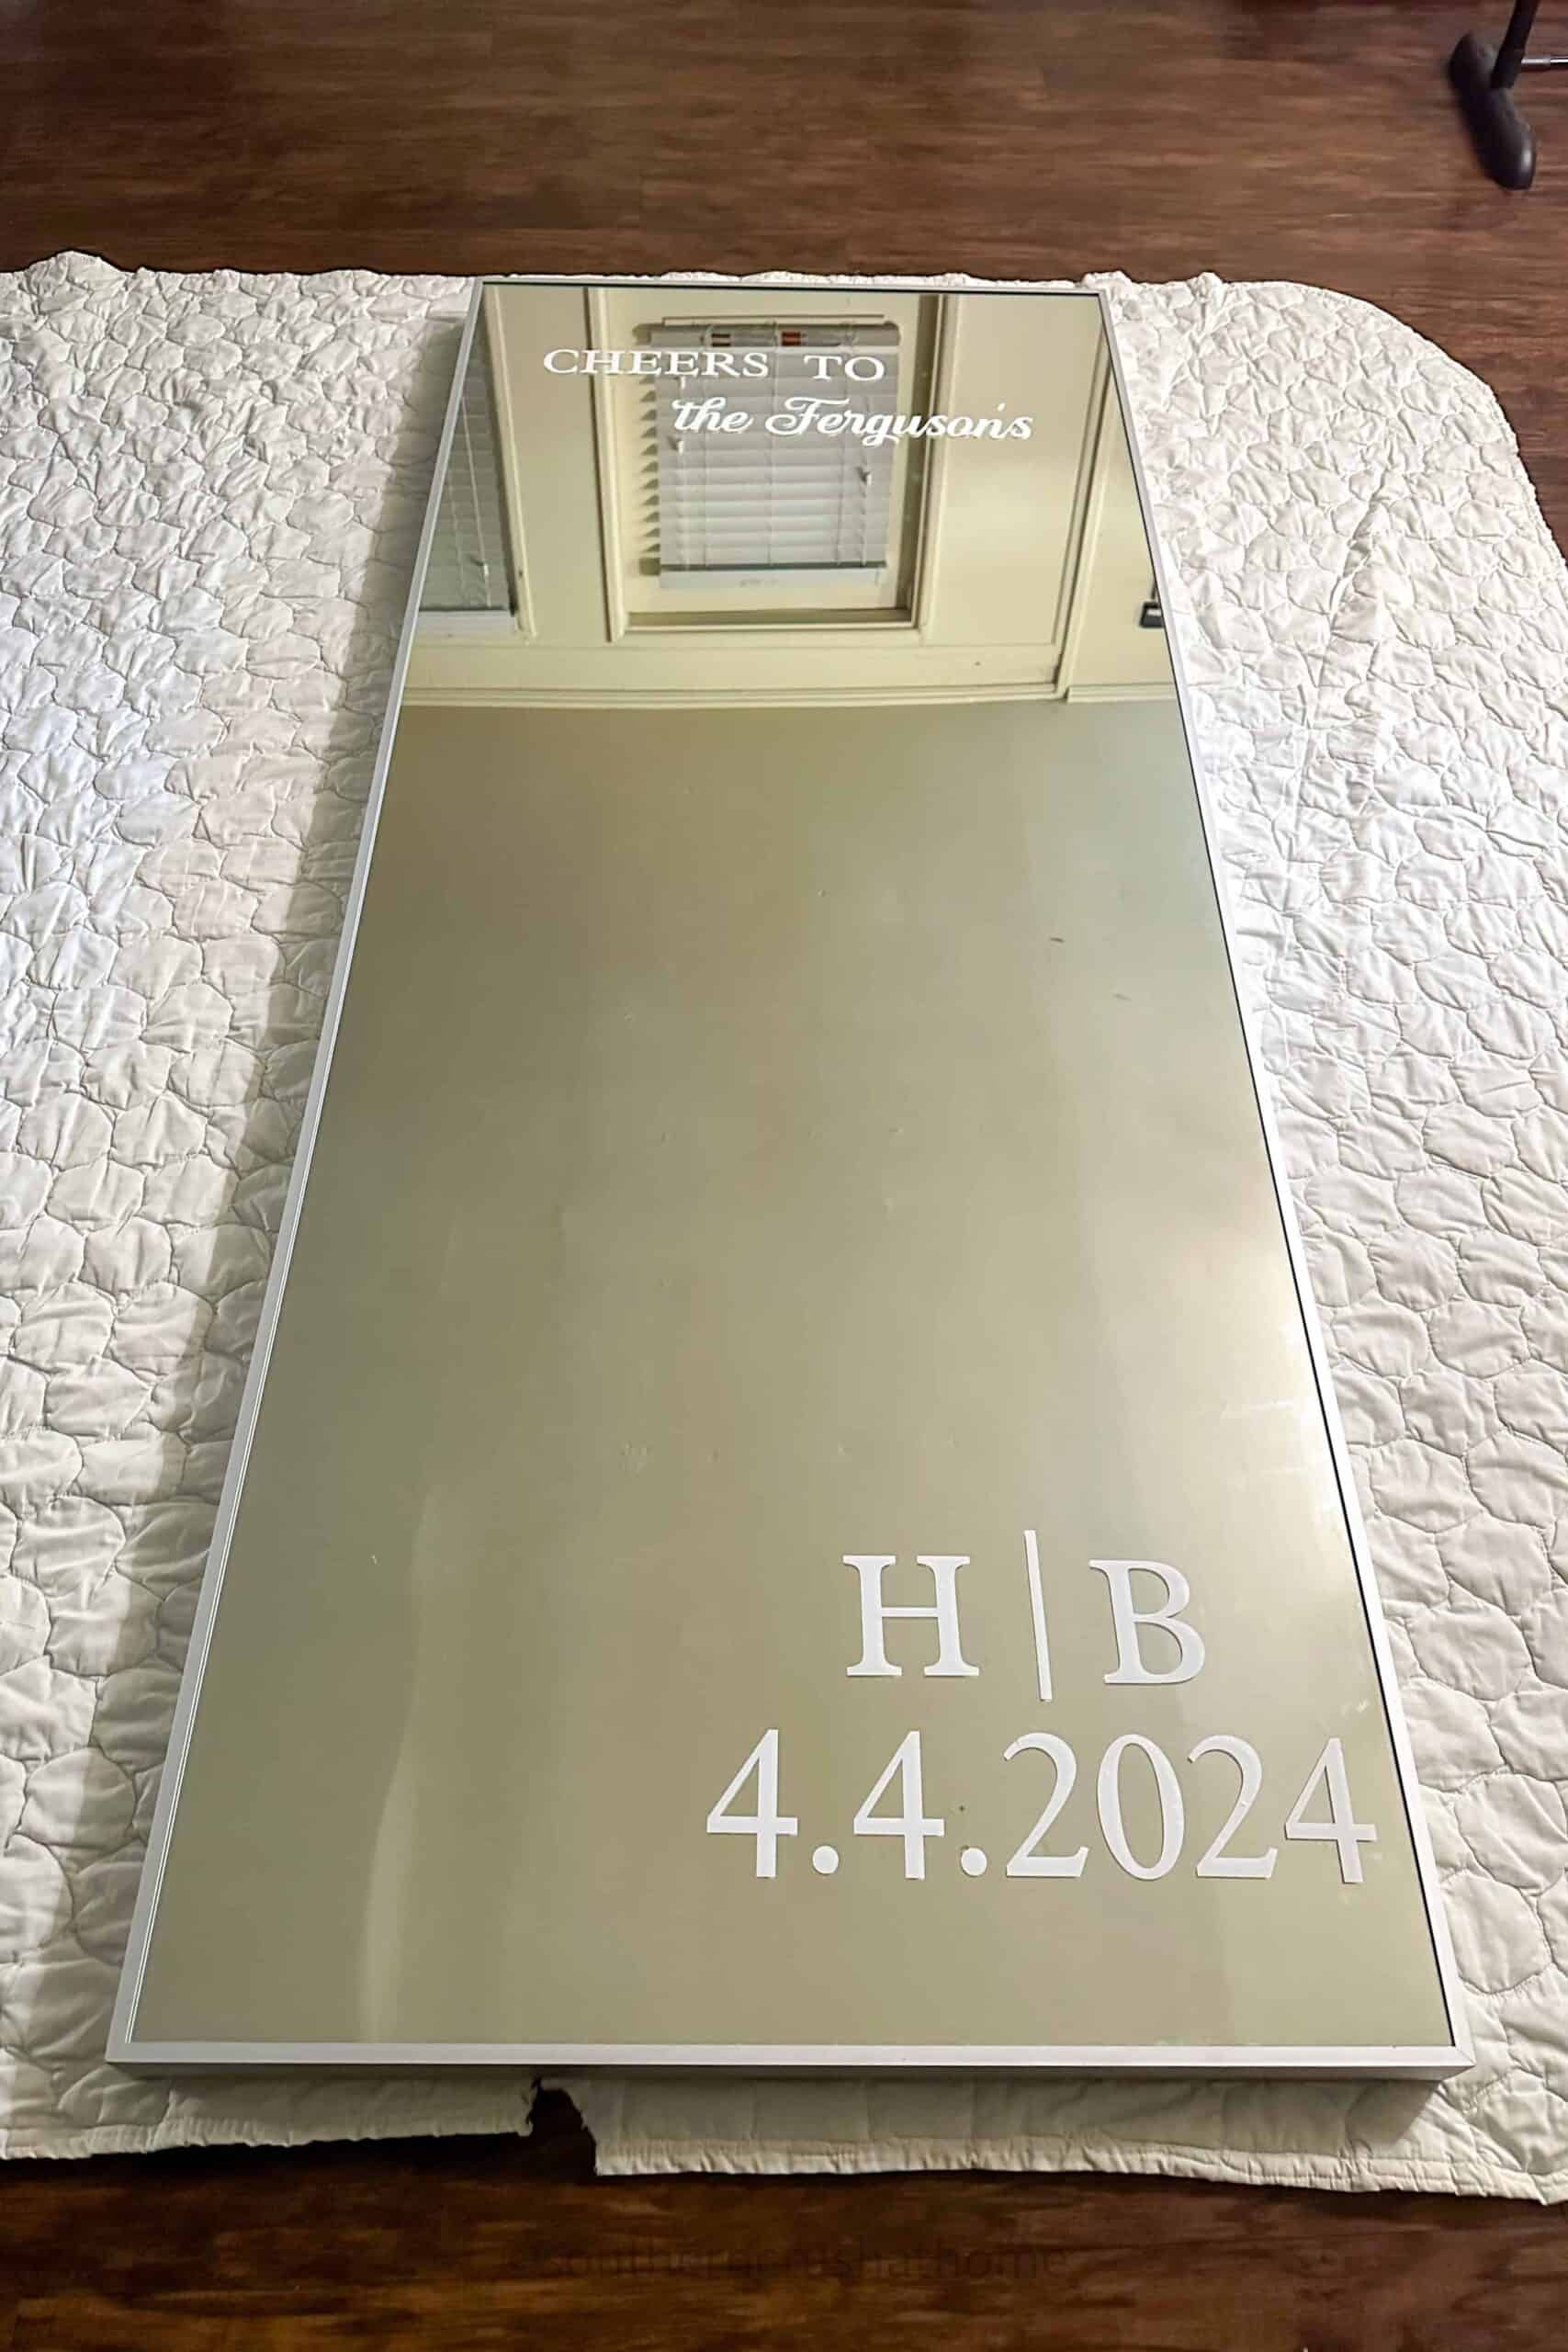
Your DIY Wedding Welcome Sign Mirror is now complete! This beautiful sign not only welcomes your guests but also serves as a memorable piece of your wedding decor.
If you plan to travel with the mirror, carefully wrap it in a quilt and secure with strong tape.

Cricut makes it easy to execute complex designs with precision, allowing your creativity to shine through in every detail.

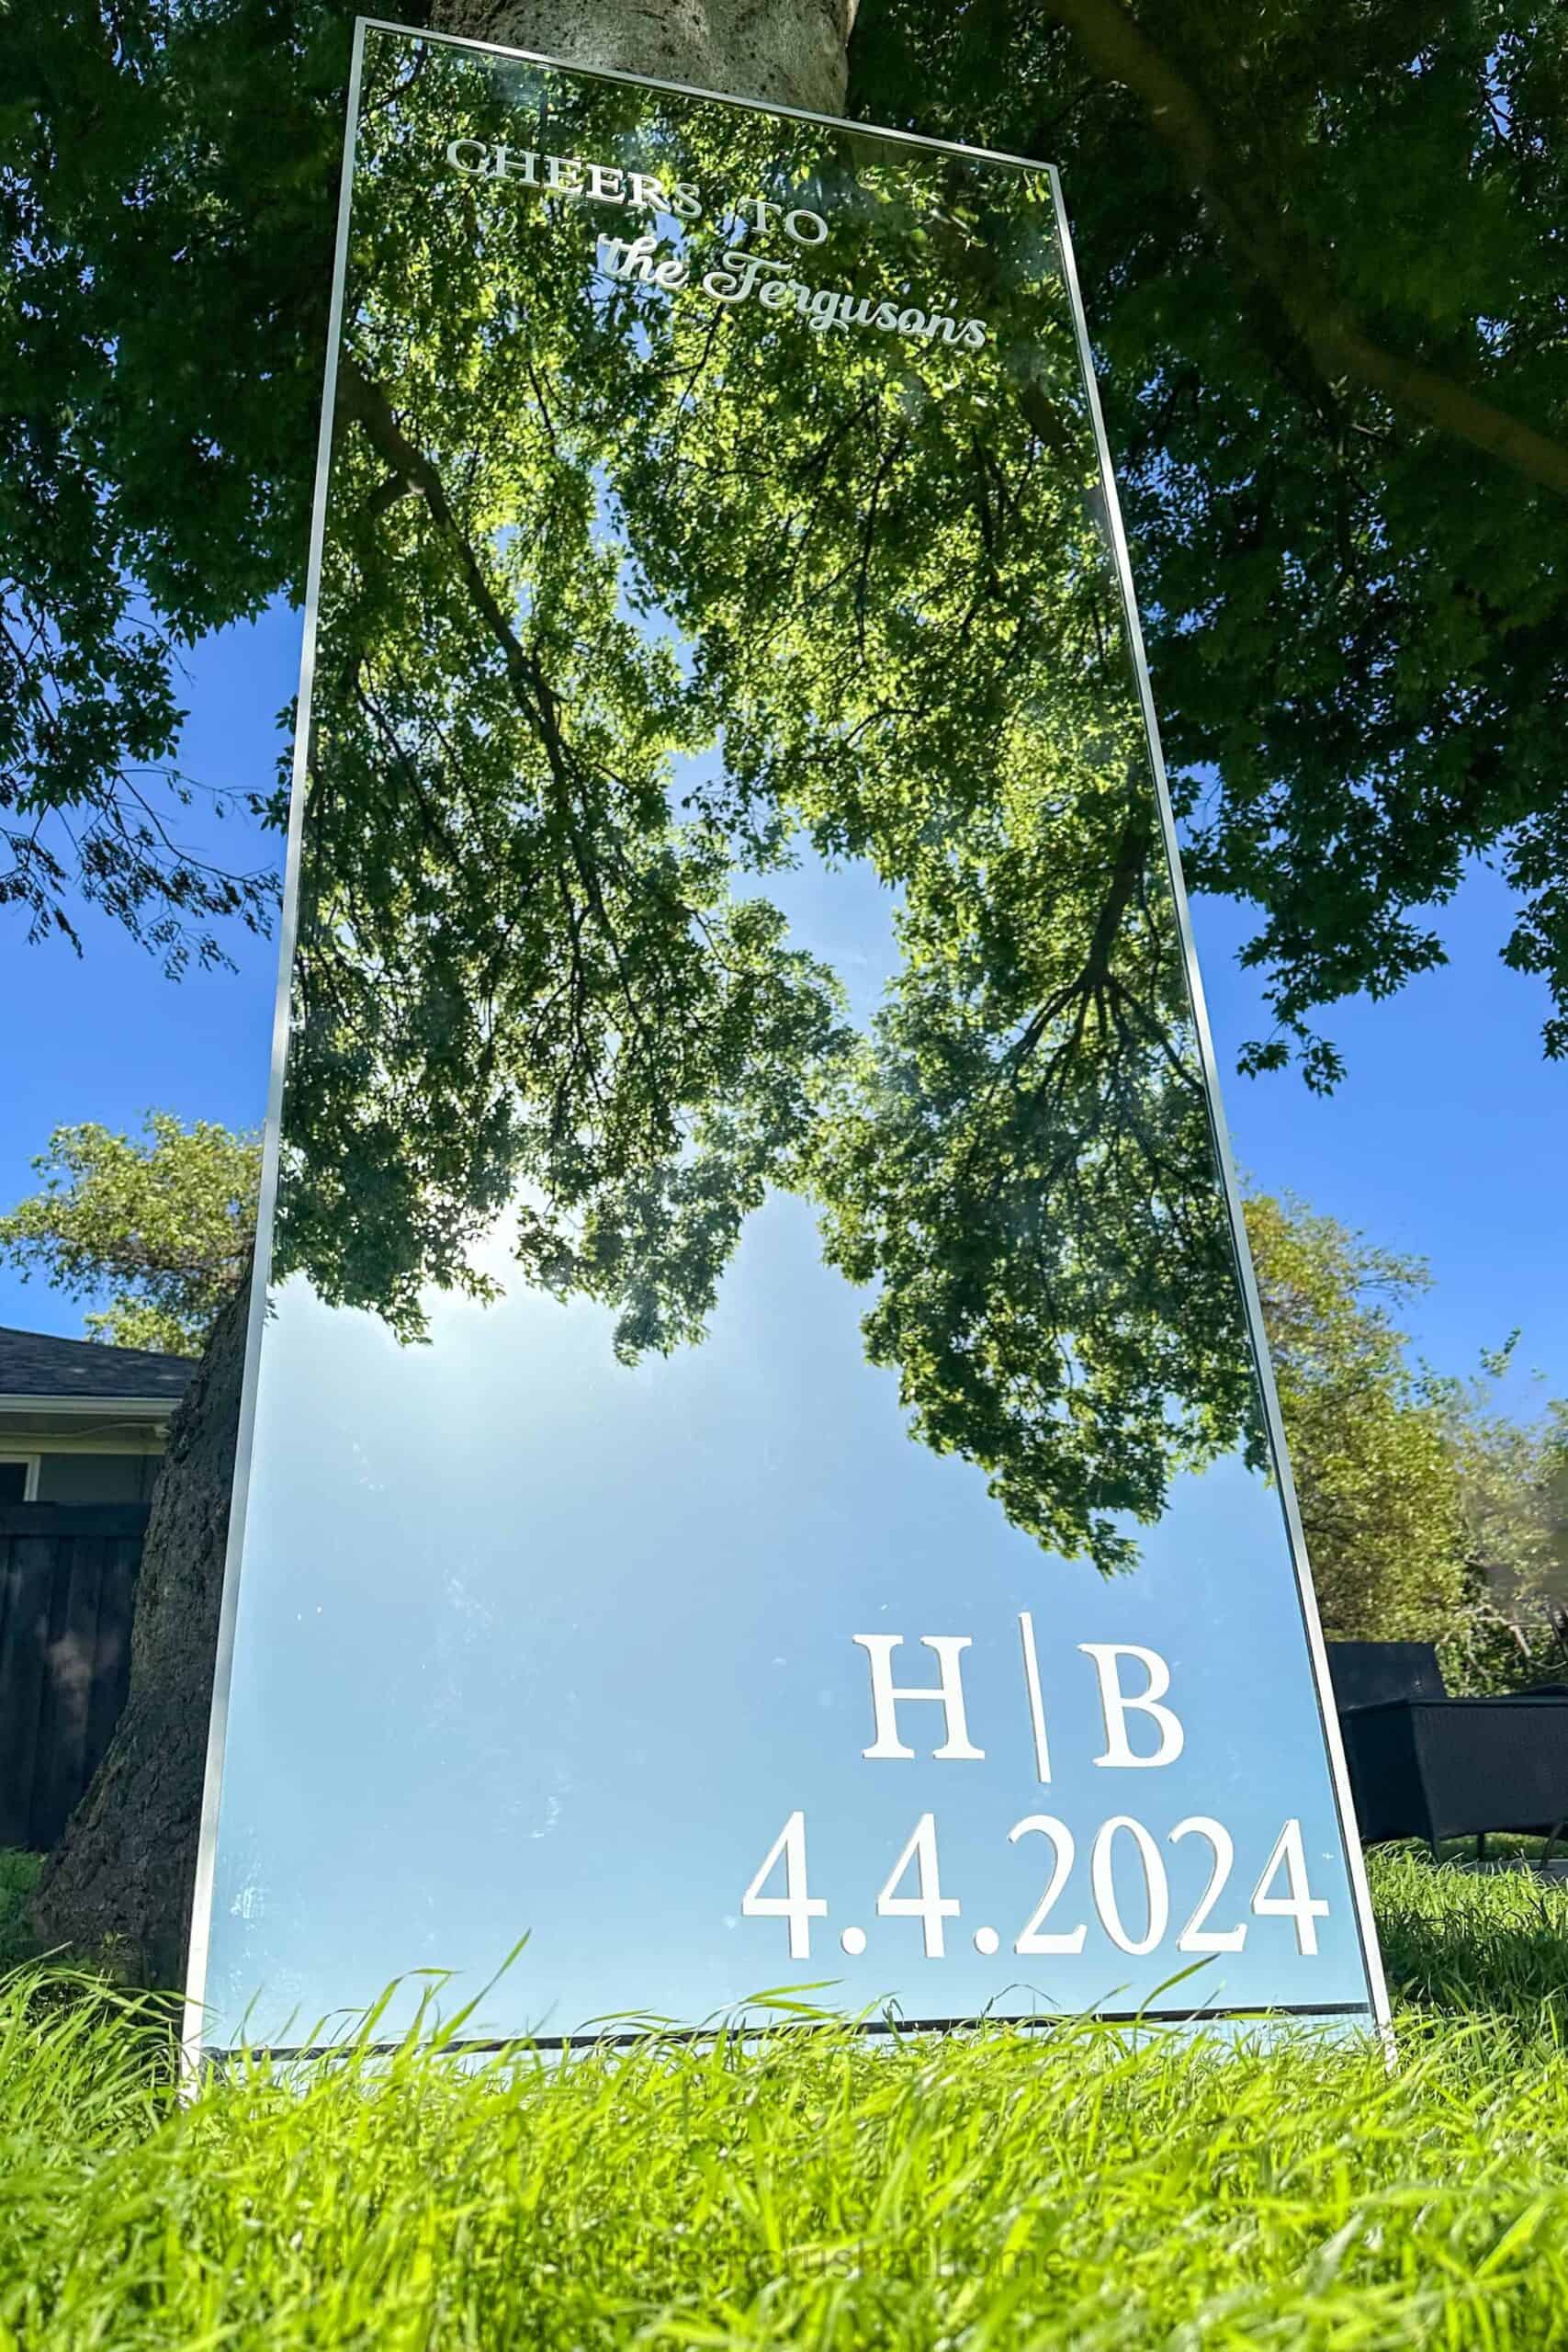
Be sure to display your mirror strategically to reflect the beauty of your venue and the joy of your special day.
Try to place it where there will be no direct sunlight or a glare so that the photos taken will not be affected.
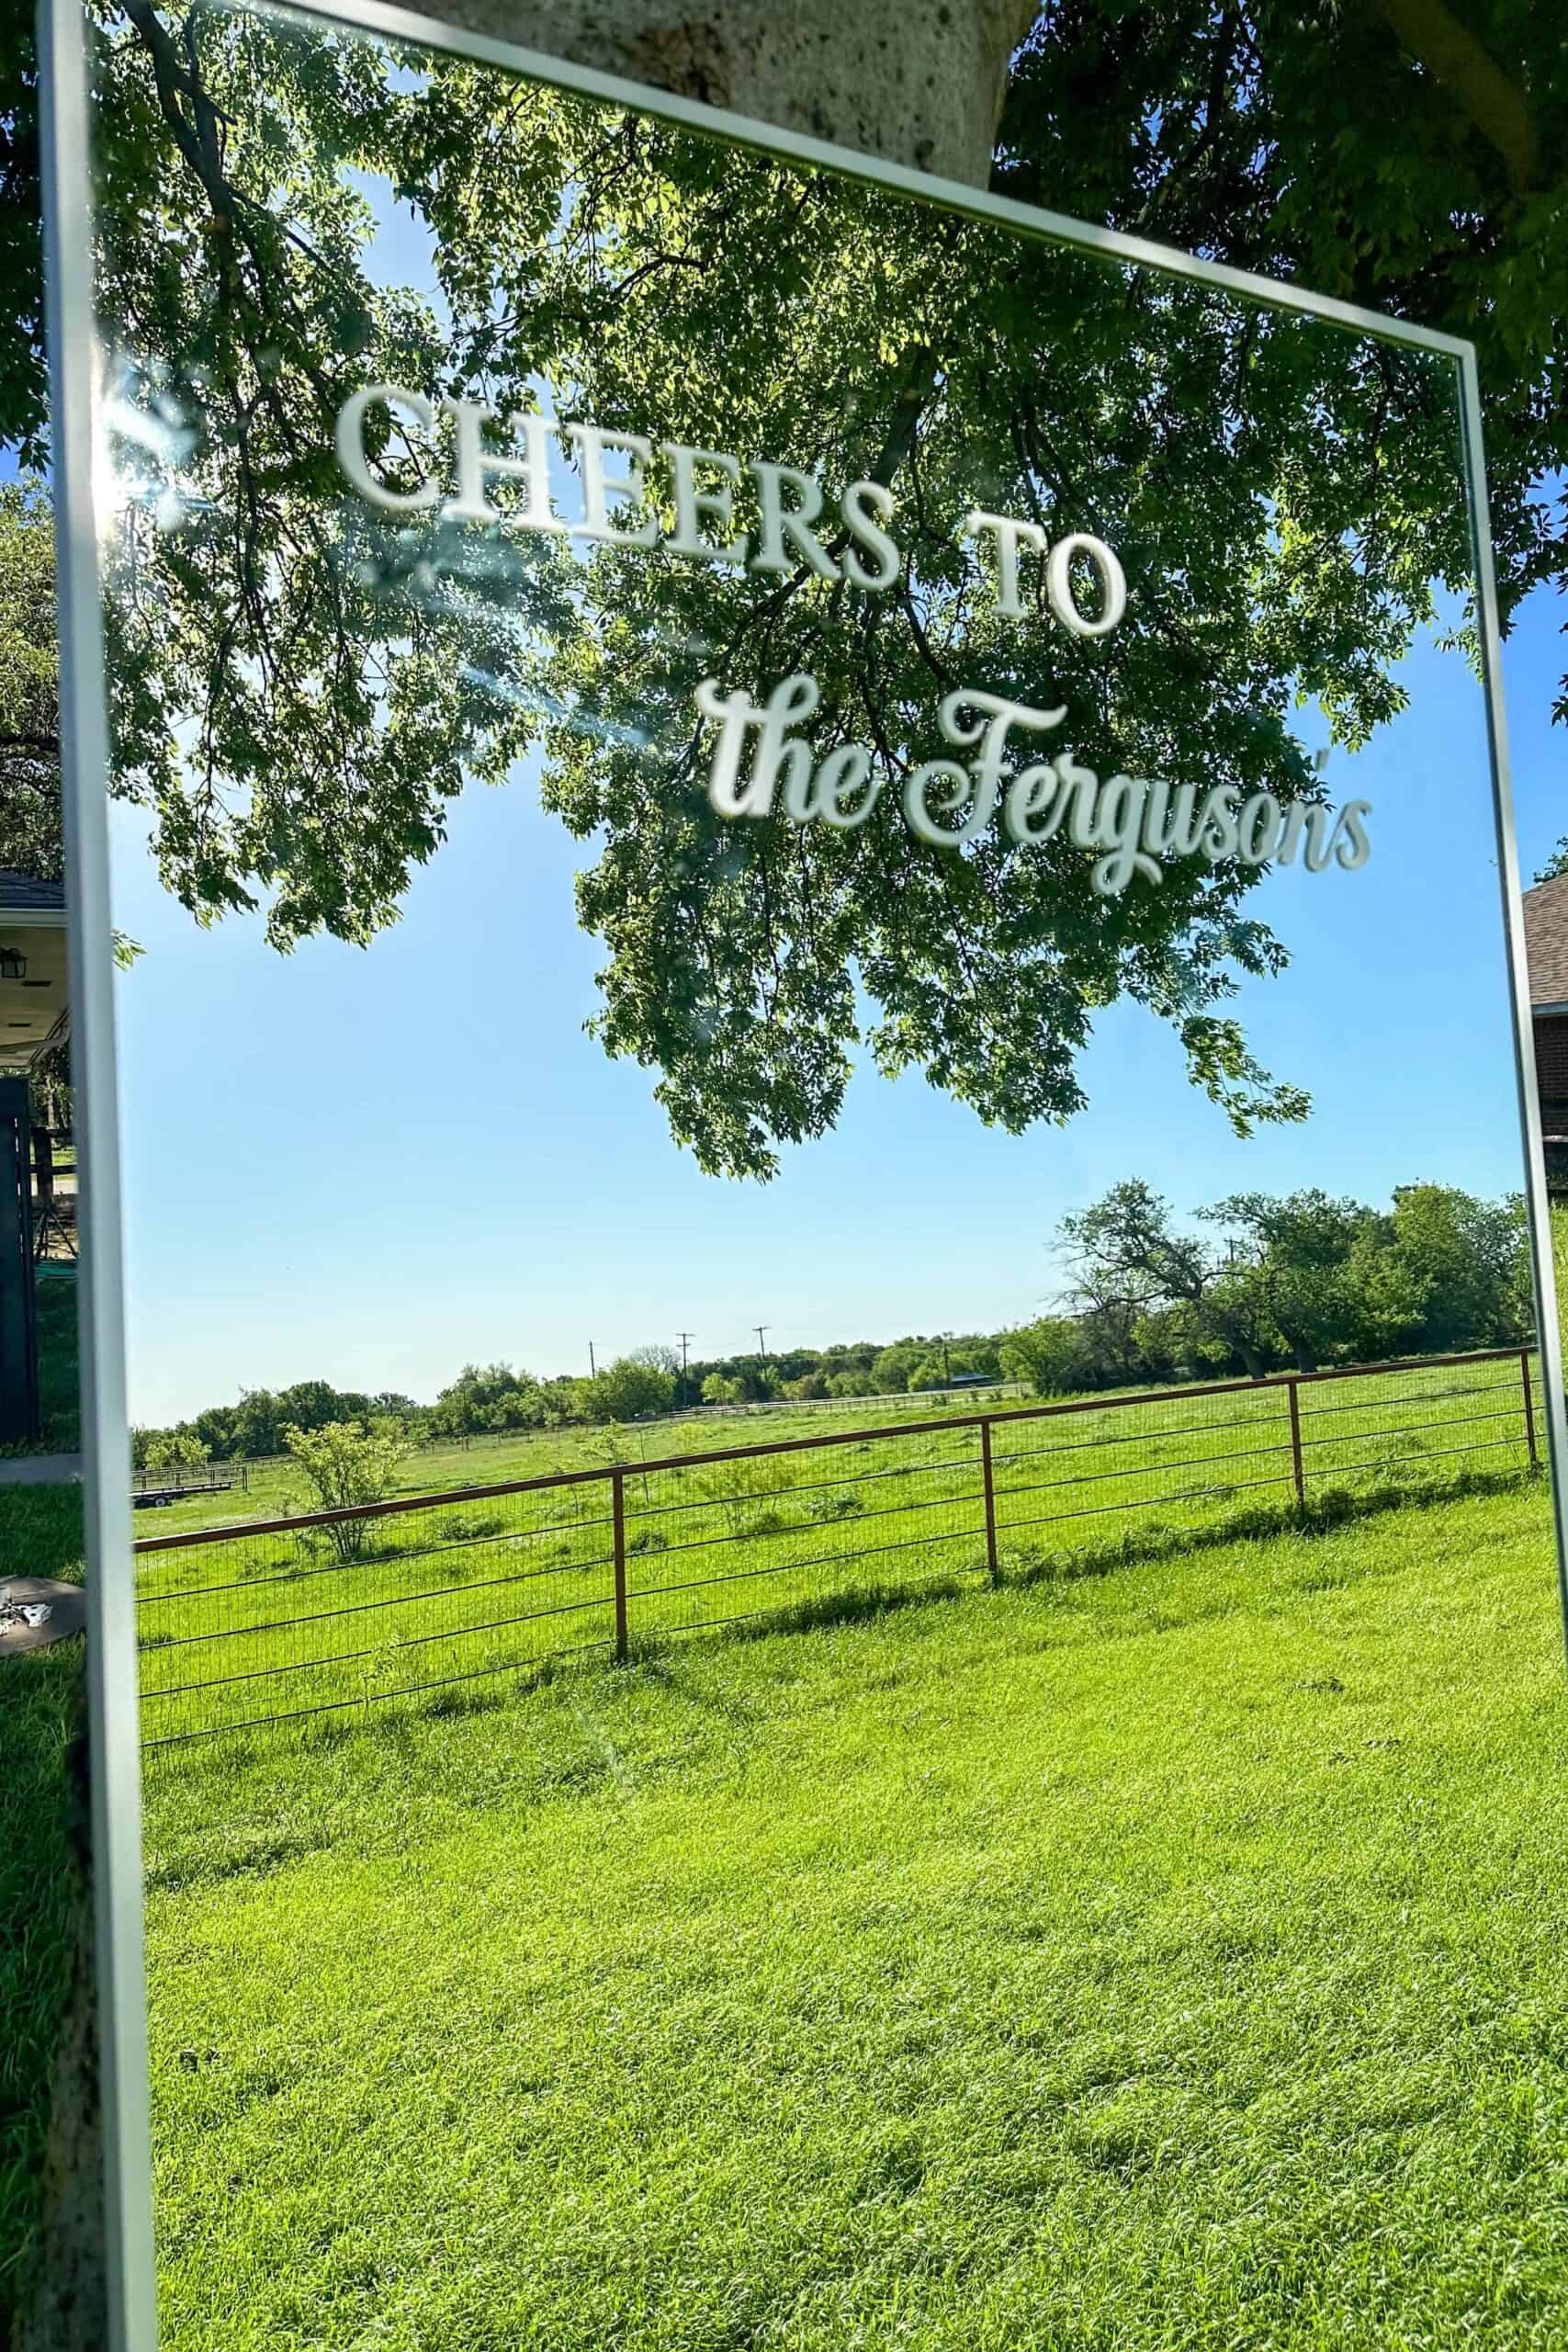
I placed this mirror wedding welcome sign right at the front entrance of the venue so that guests could take a selfie photo upon arriving.
Enjoy the process, and remember, this sign is not just a decoration—it's a personal touch that represents your union. This is my son and his new wife below! What do you think? Will you give this idea a try?


May I ask, what size mirror you used?? Thank you.
Oh my goodness! I have no idea… my daughter in law brought it to me to make and I didn’t measure it.