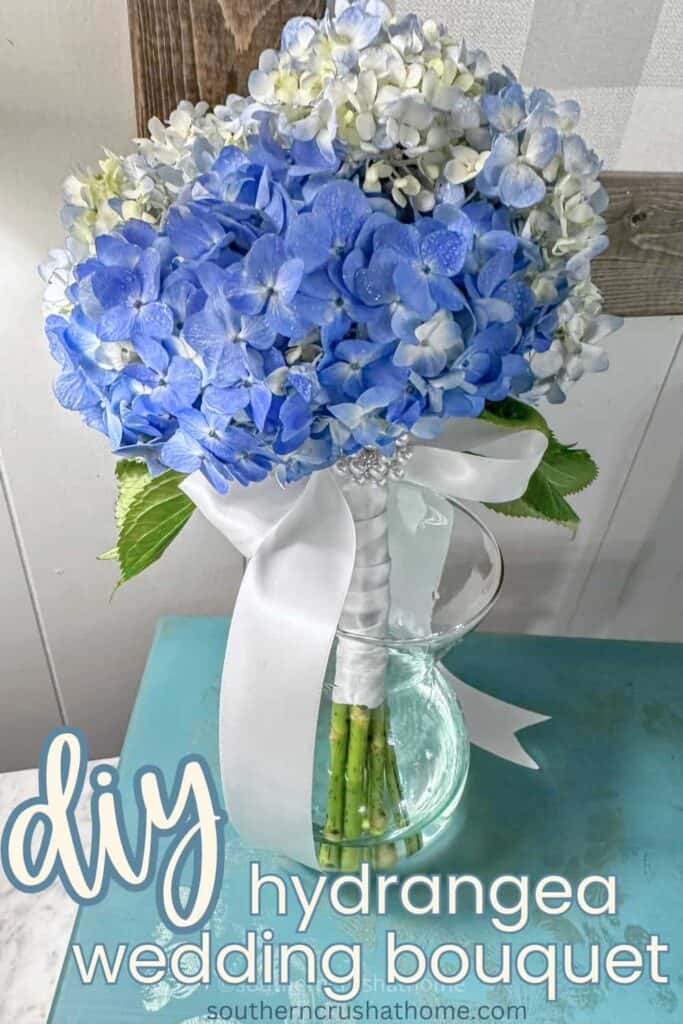
DIY Hydrangea Wedding Bouquet (Under $37)
Creating a breathtaking wedding bouquet doesn't have to break the bank. With a touch of creativity, a sprinkle of love, and a dash of fresh flowers, you can craft an exquisite DIY hydrangea wedding bouquet for under $37.
PIN this for later!
Whether you're a bride-to-be on a budget or a devoted friend looking to add a personal touch to a special day, this guide will walk you through the process, ensuring your bouquet is as delightful and charming as it is affordable.
I made this wedding bouquet the day of the wedding but you can make this up to two days in advance if you keep it in water and refrigerated.
This blog post contains affiliate links. The opinions are wholly my own from my own experience. I may earn a small commission from clicks through to the websites that end in a purchase.
Materials You'll Need to Create a Hydrangea Wedding Bouquet
- Hydrangeas: These hardy colorful flowers are the stars of our bouquet. Opt for blooms in shades that match the wedding's color scheme. You'll need about 5-7 stems, depending on their size and the desired bouquet size.
- Zipties: These make assembly so easy! You'll see!
- Floral Tape: Essential for securing your stems together.
- Ribbon: Select a pretty satin ribbon that complements your wedding colors for wrapping the bouquet handle.
- Scissors or Wire Cutters: For trimming your stems to the perfect length.
- Optional: Embellishments like pearls, lace, or small charms can add a personal touch. The bling I used can be found HERE.
- Optional Floral Wire: For reinforcing and lengthening any stems, if necessary.
- Optional Filler Flowers: Think small, delicate flowers, complementary colored roses or greenery to add texture and depth. Baby's breath, ferns, or eucalyptus are beautiful choices.
YouTube Video Tutorial
If you prefer to watch the extended version of this project with more details check out my YouTube tutorial video below! Be sure to subscribe and leave a comment while you're over there for me pretty please!
Step-by-Step Guide to Making a Wedding Bouquet
Step 1: Gather Your Blooms
Start by visiting your local flower market or grocery store. Trader Joes is famouse for it's gorgeous fresh flowers. I found these hydrangeas at Market Street Grocery. I shared some tips for grocery store flowers here.
Early morning is the best time to shop for the freshest blooms. For our hydrangea bouquet, select full, vibrant hydrangeas along with any optional chosen filler flowers.
Remember, the beauty of DIY is in the personal touches, so feel free to mix colors and textures to your taste.
Step 2: Prepare Your Flowers
Once home, give your flowers a good drink. Trim the stems at an angle under running water to encourage hydration. Remove any leaves that would fall below the waterline to prevent rot.
Allow the hydrangeas and filler flowers to hydrate for a few hours before assembling your bouquet.
Mine waited in the refrigerator for a day and a half before assembling.
Step 3: Assemble Your Bouquet
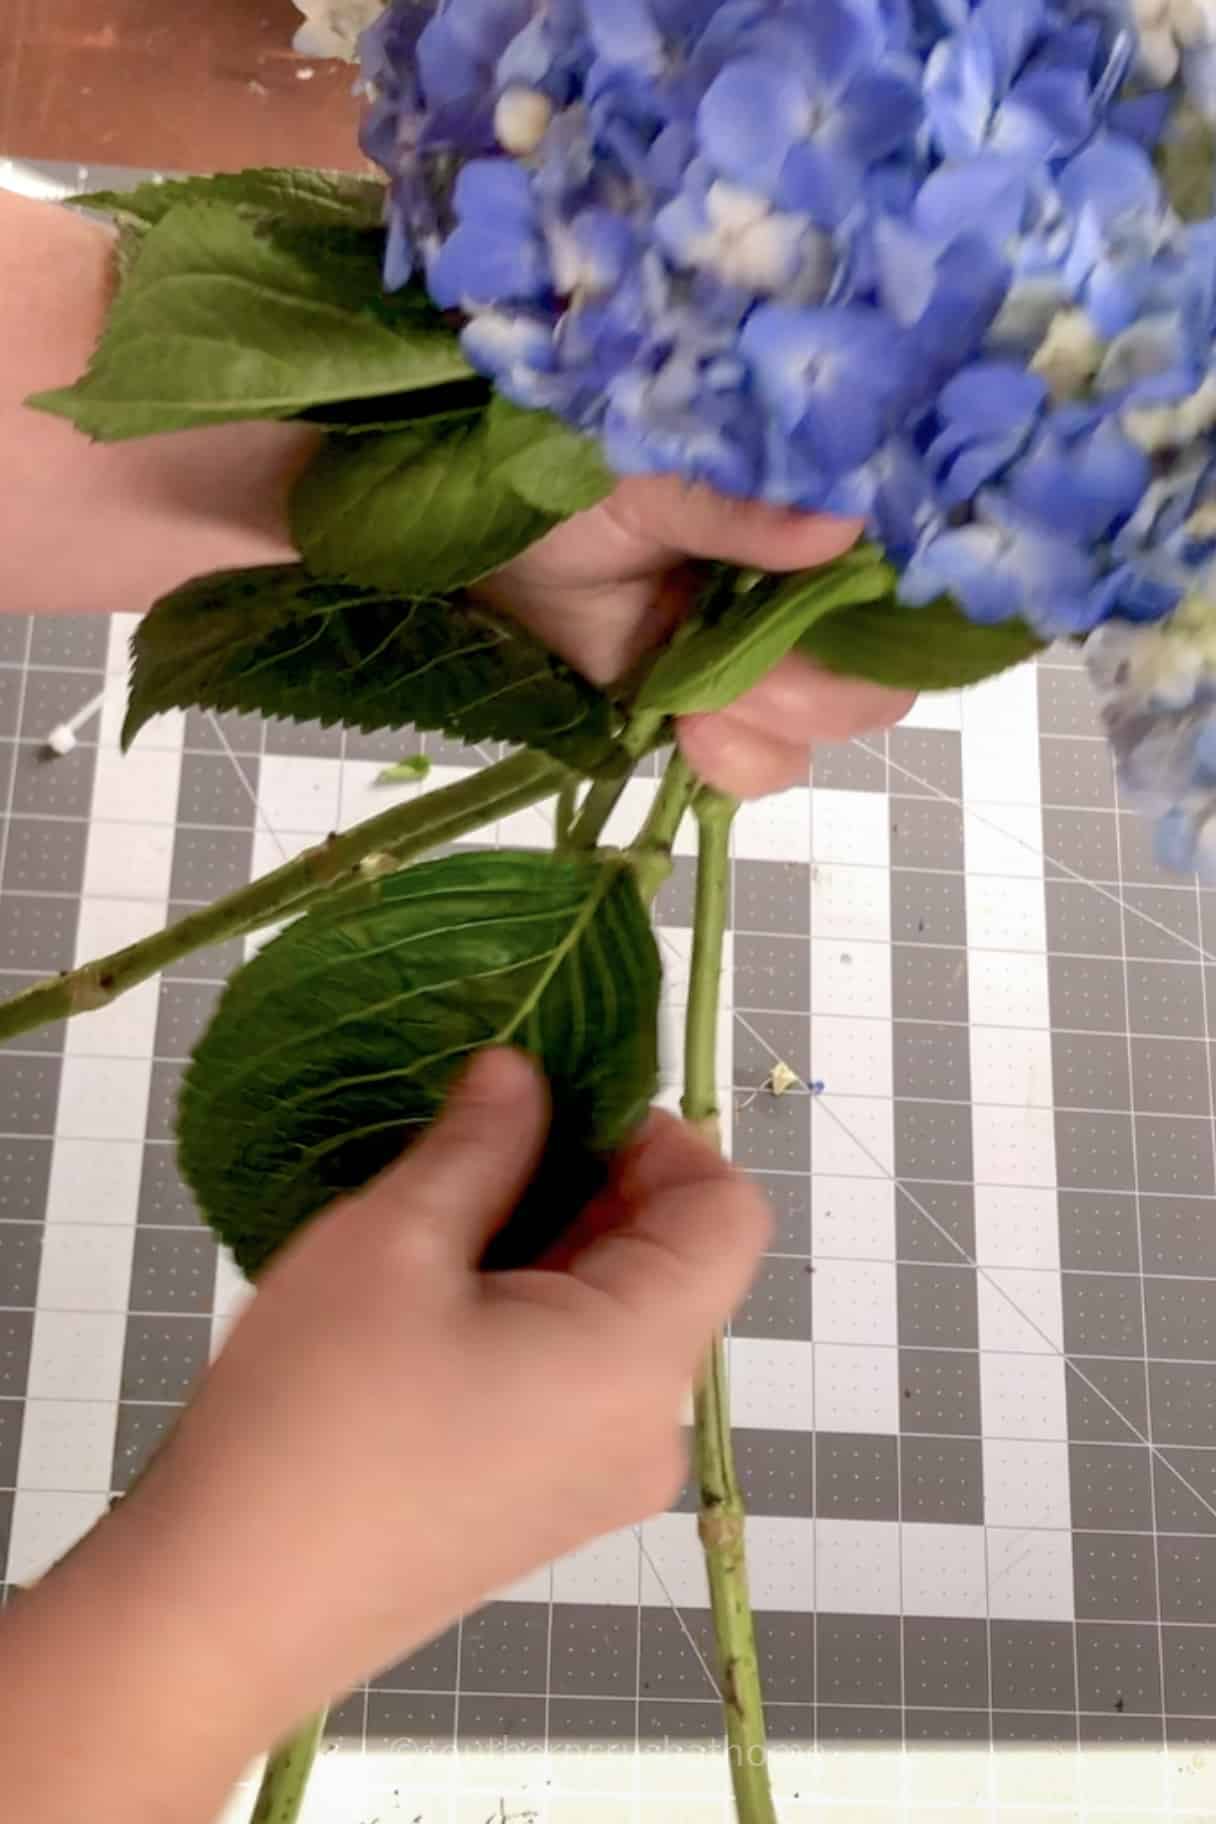
Start by laying out your stems then remove all of the lower leaves from the stems leaving only the top leaves.

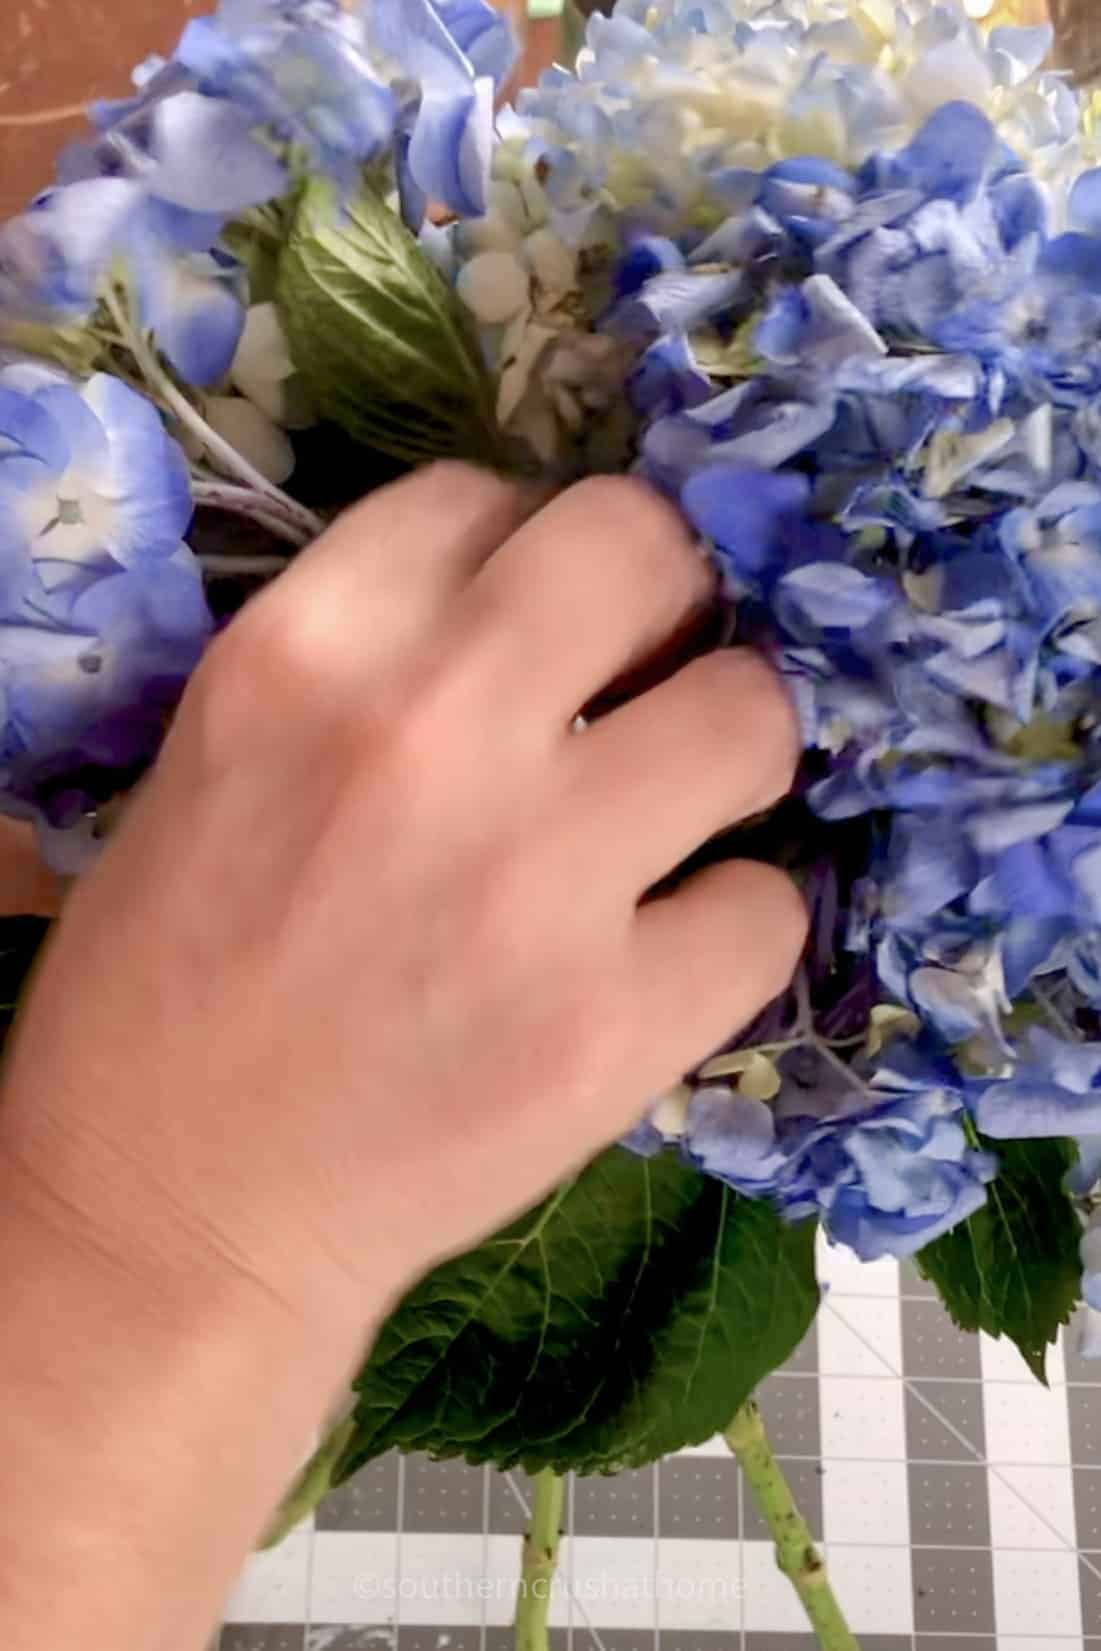
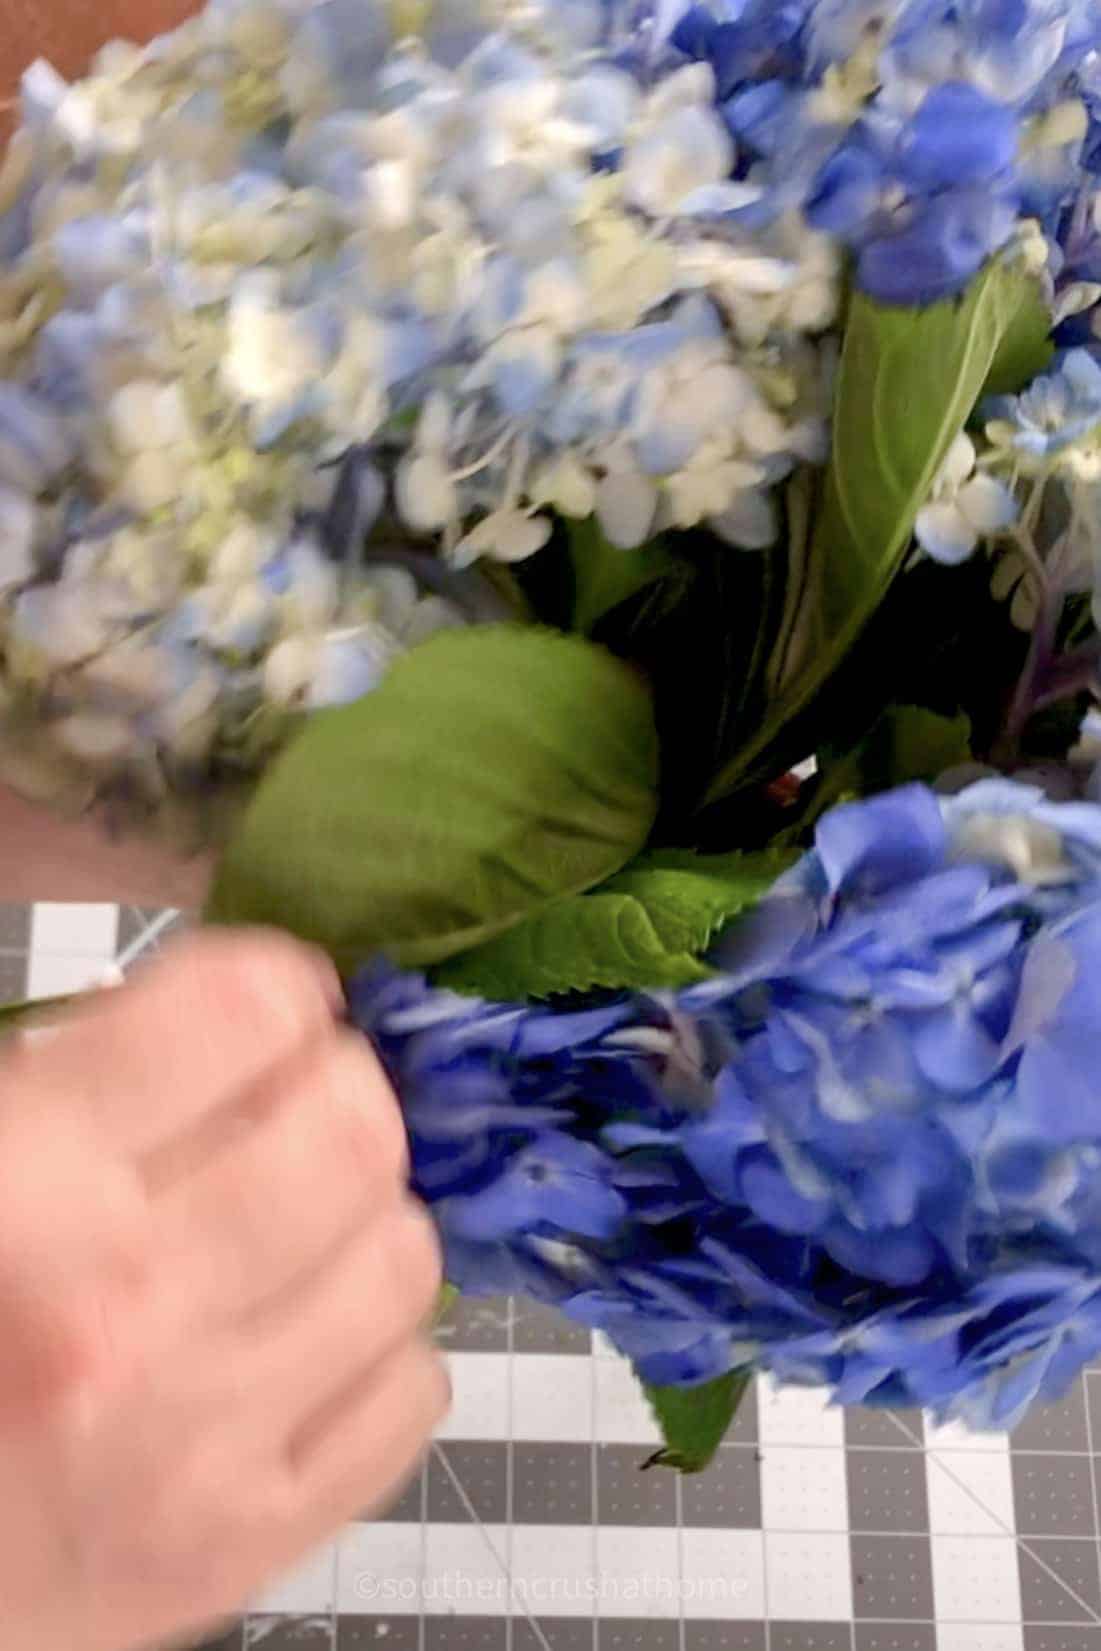
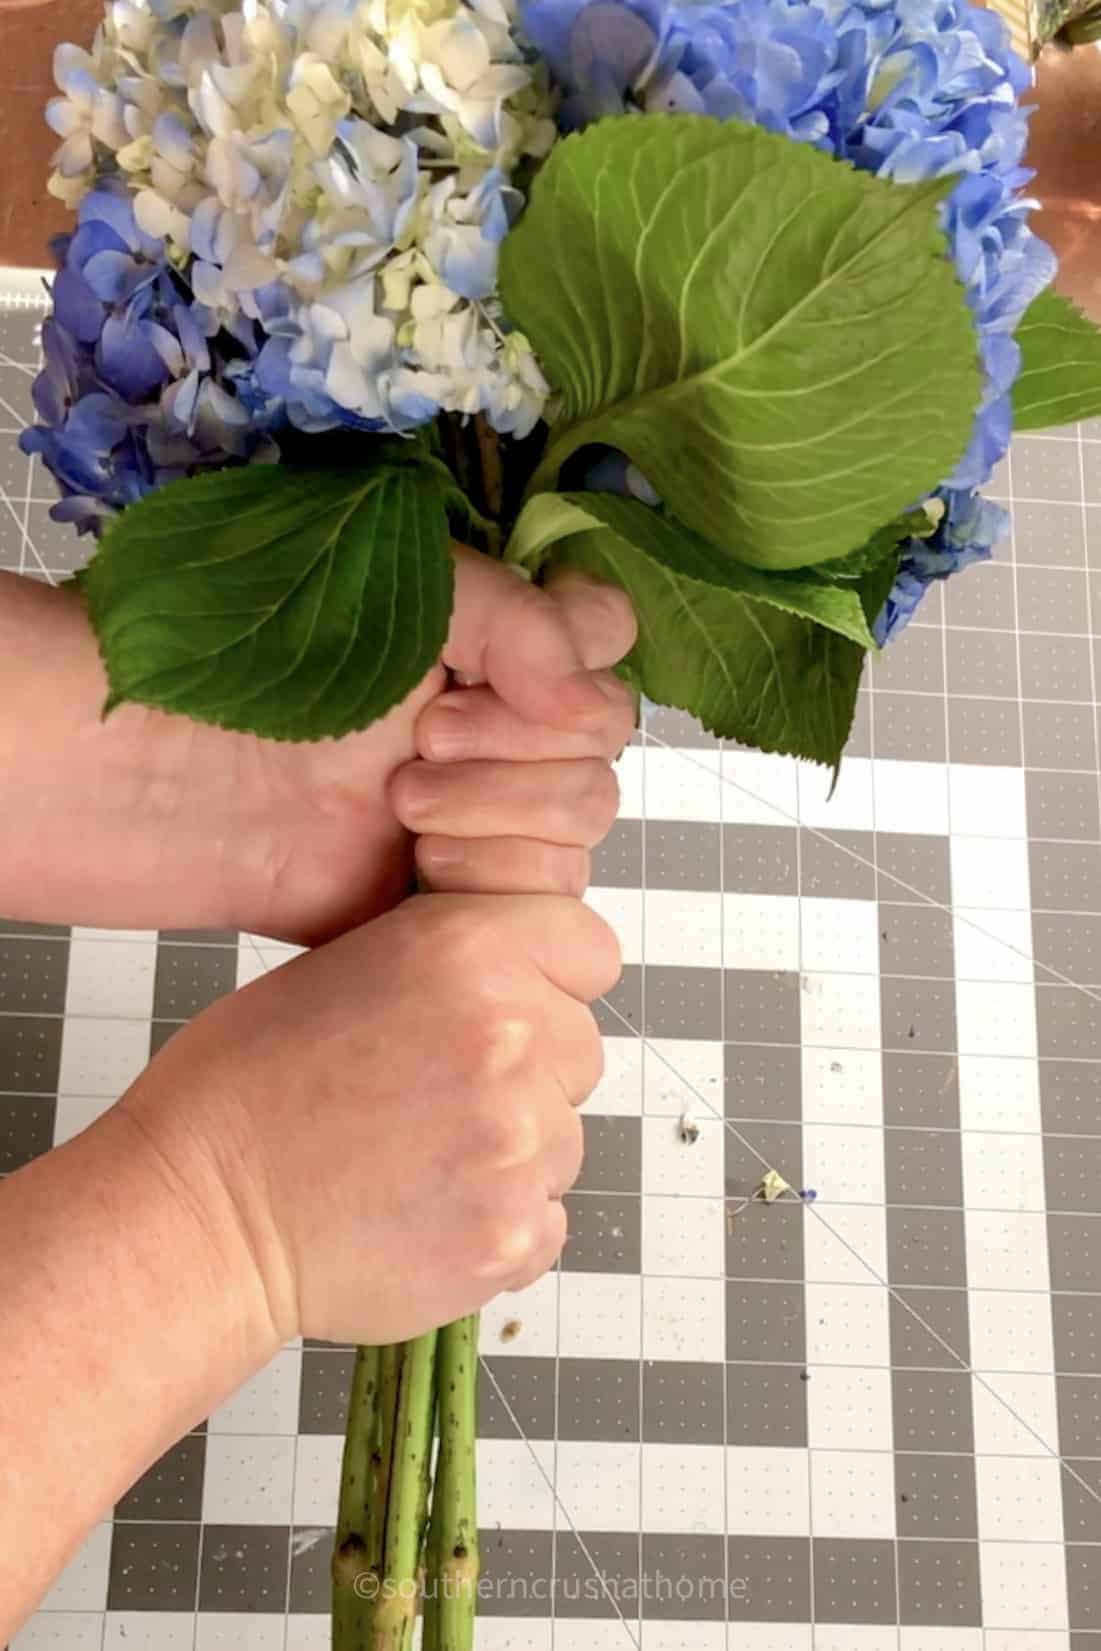
Gather the hydrangea stems in your hand one at a time gradually add the other hydrangeas around it, turning the bouquet in your hand as you go to ensure a balanced look.
Intersperse filler flowers or greenery as you see fit. This step is where your bouquet starts to come to life, so take your time and adjust until you're delighted with the arrangement.
Take each of the leaves from the center of the bouquet and manuveur them to the outside edge of the bouquet leaving just the hydrangea flowers in the center as shown.
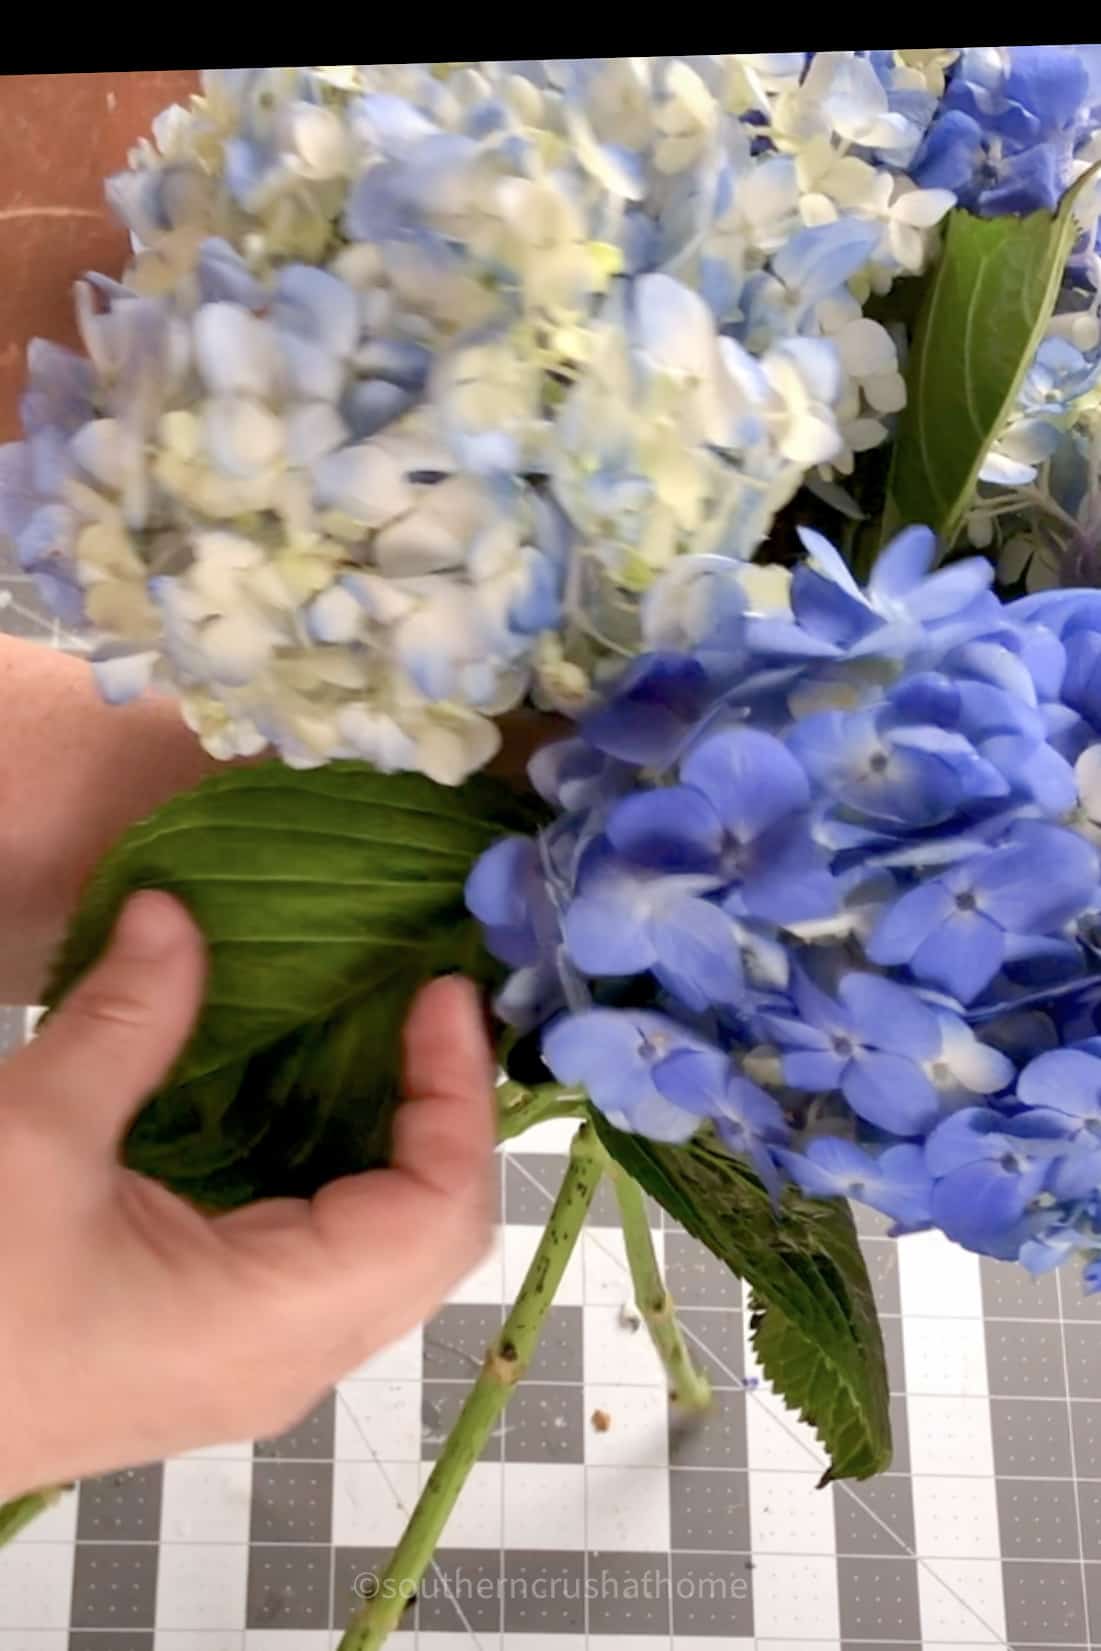
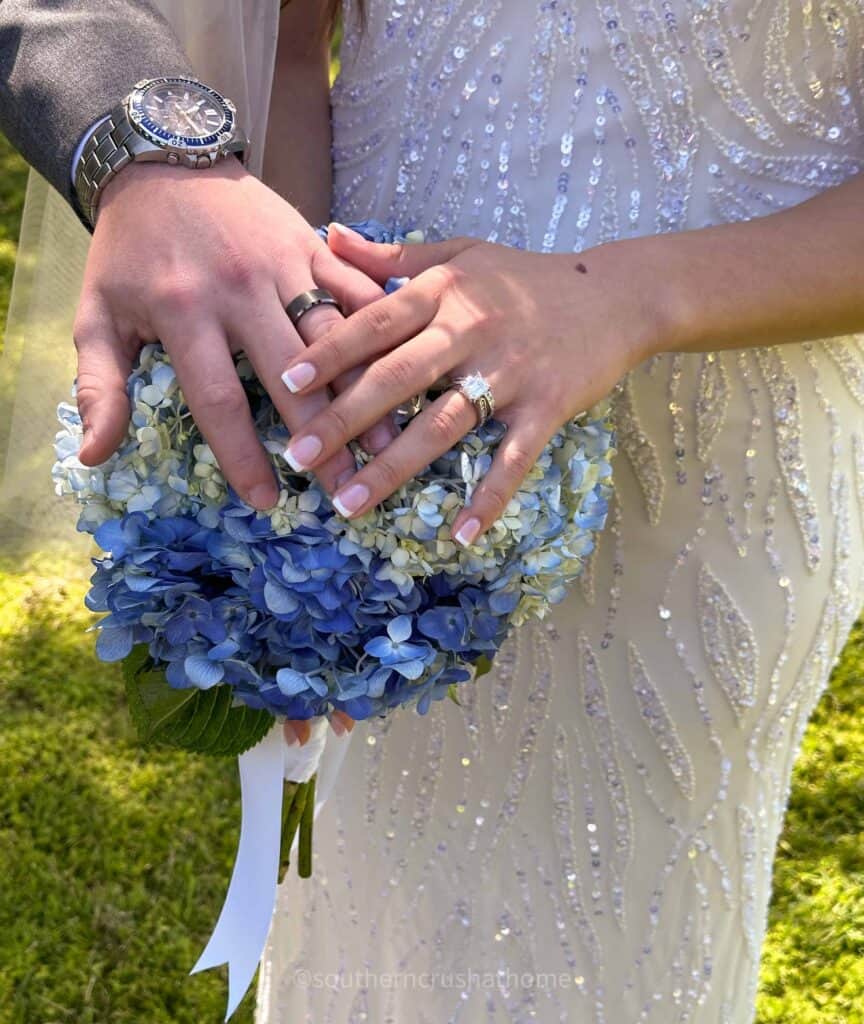
I used two colors of hydrangeas. Wedding white hydrangeas with a hint of blue and then bright blue hydrangeas. The two colors symbolized the joining of the two families.
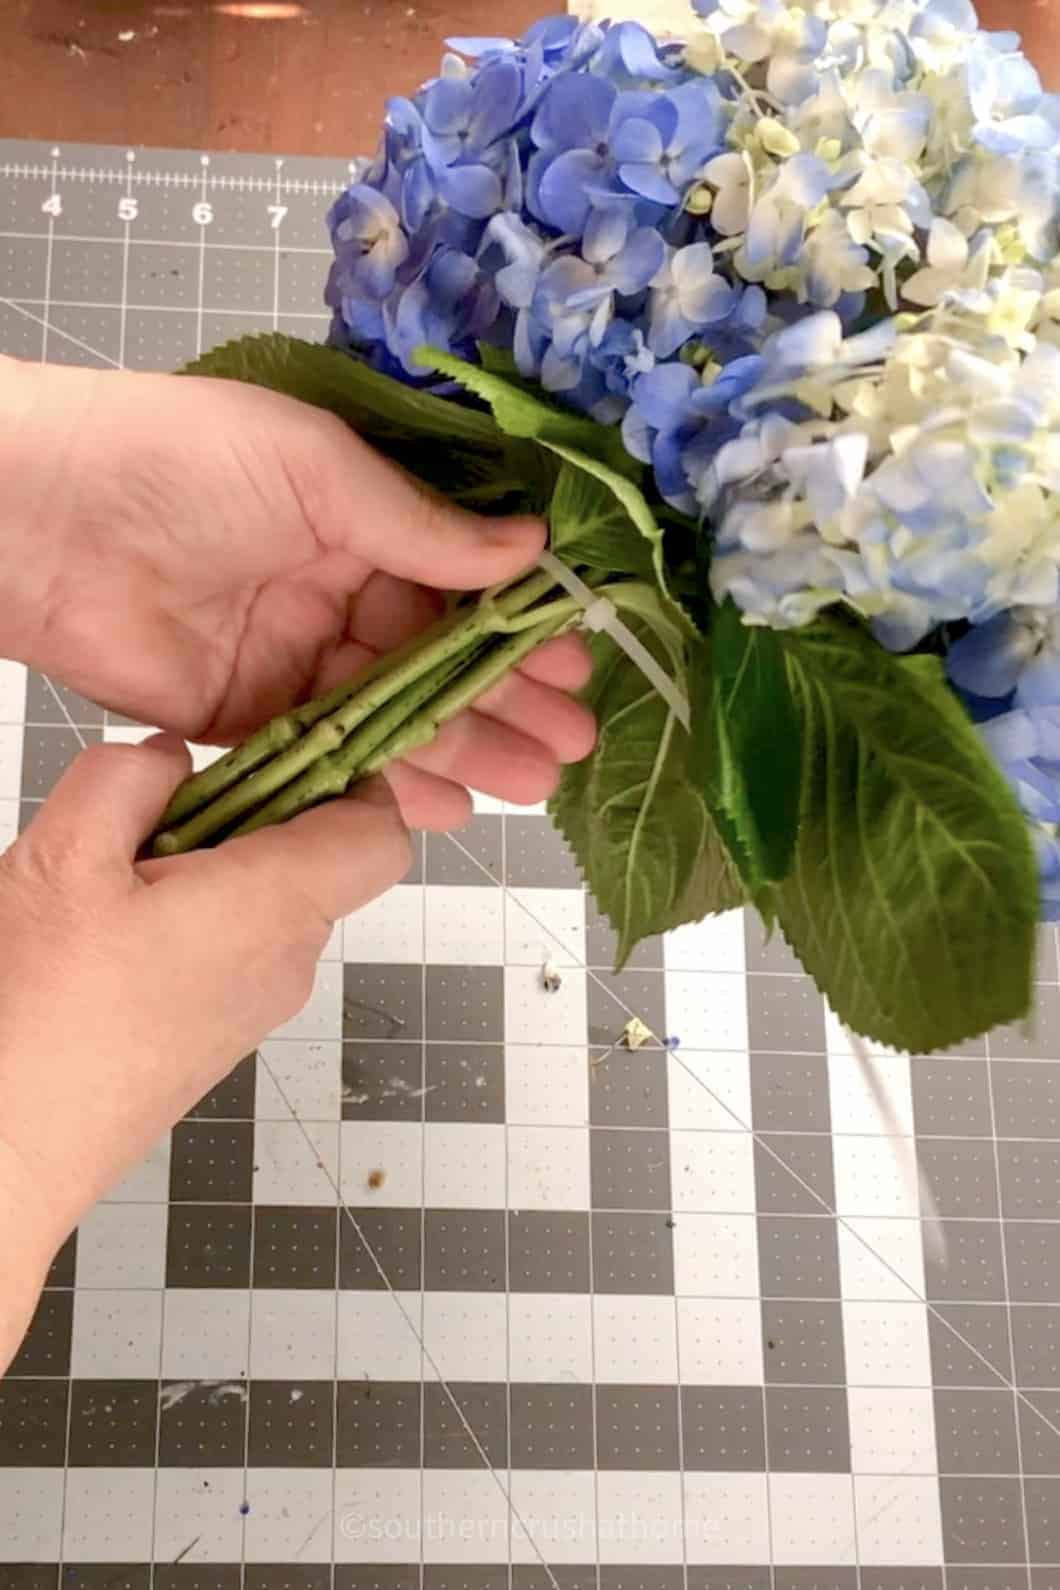
Step 4: Secure Your Bouquet
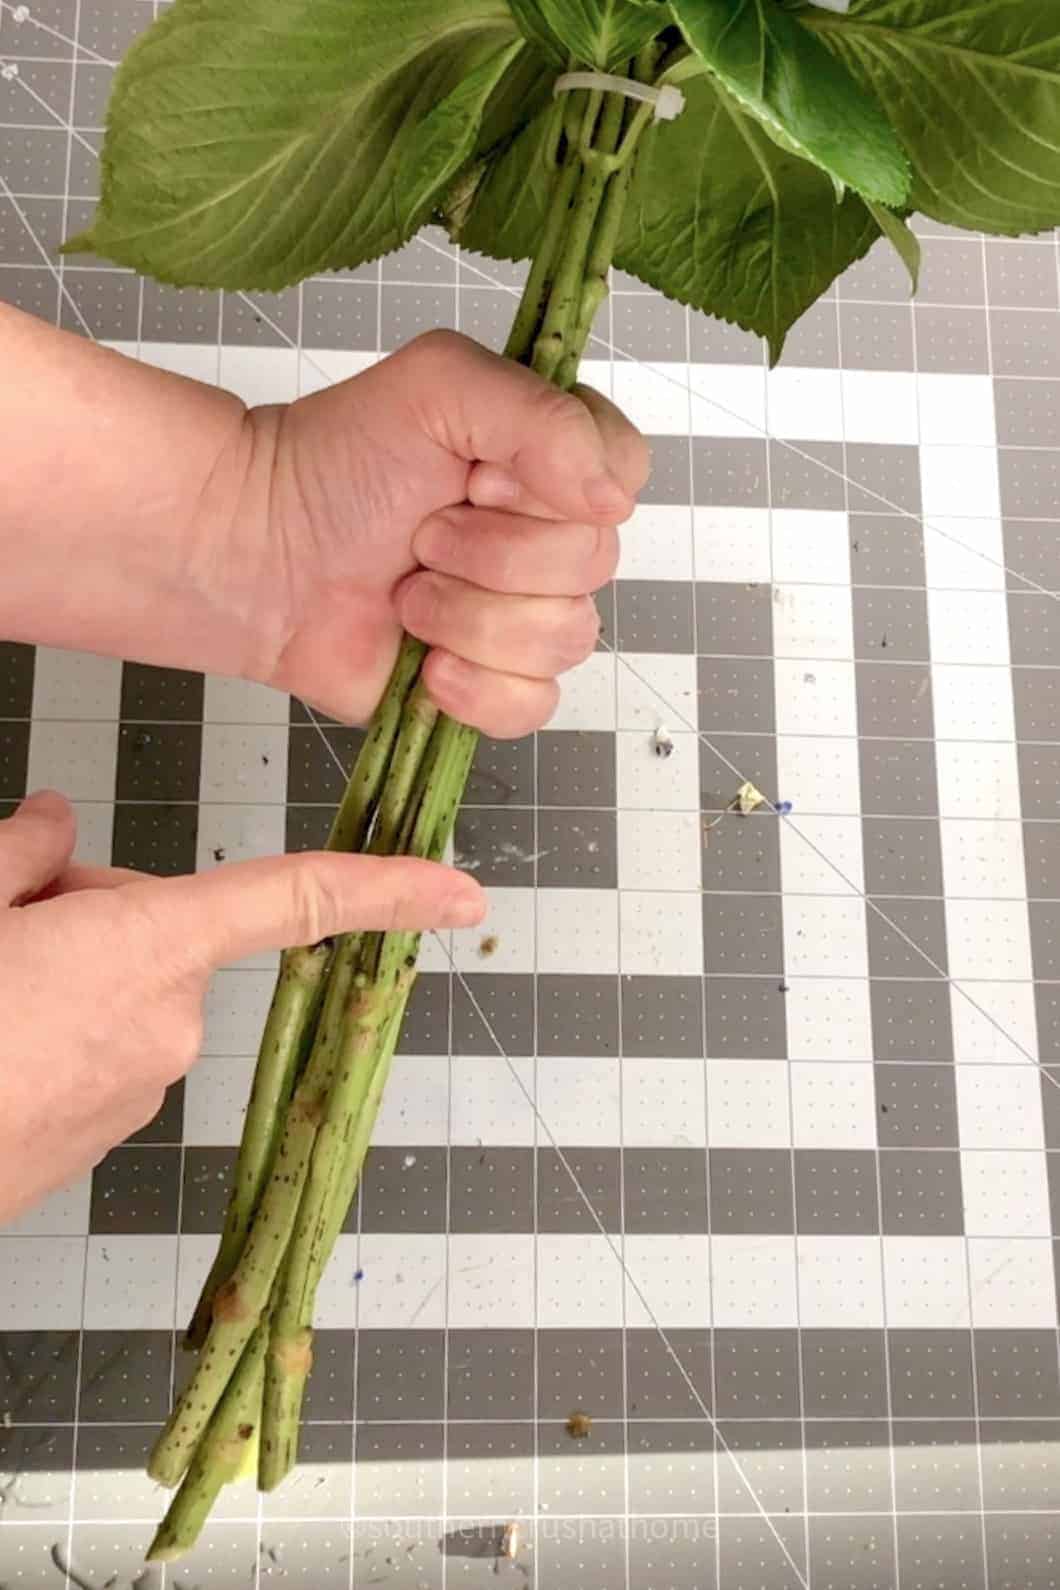
Once you're happy with your creation, use a zip tie around the stems towards the top of the bundle. Keep it tight enough to hold the stems together, but not so tight that it breaks or bends any stems.
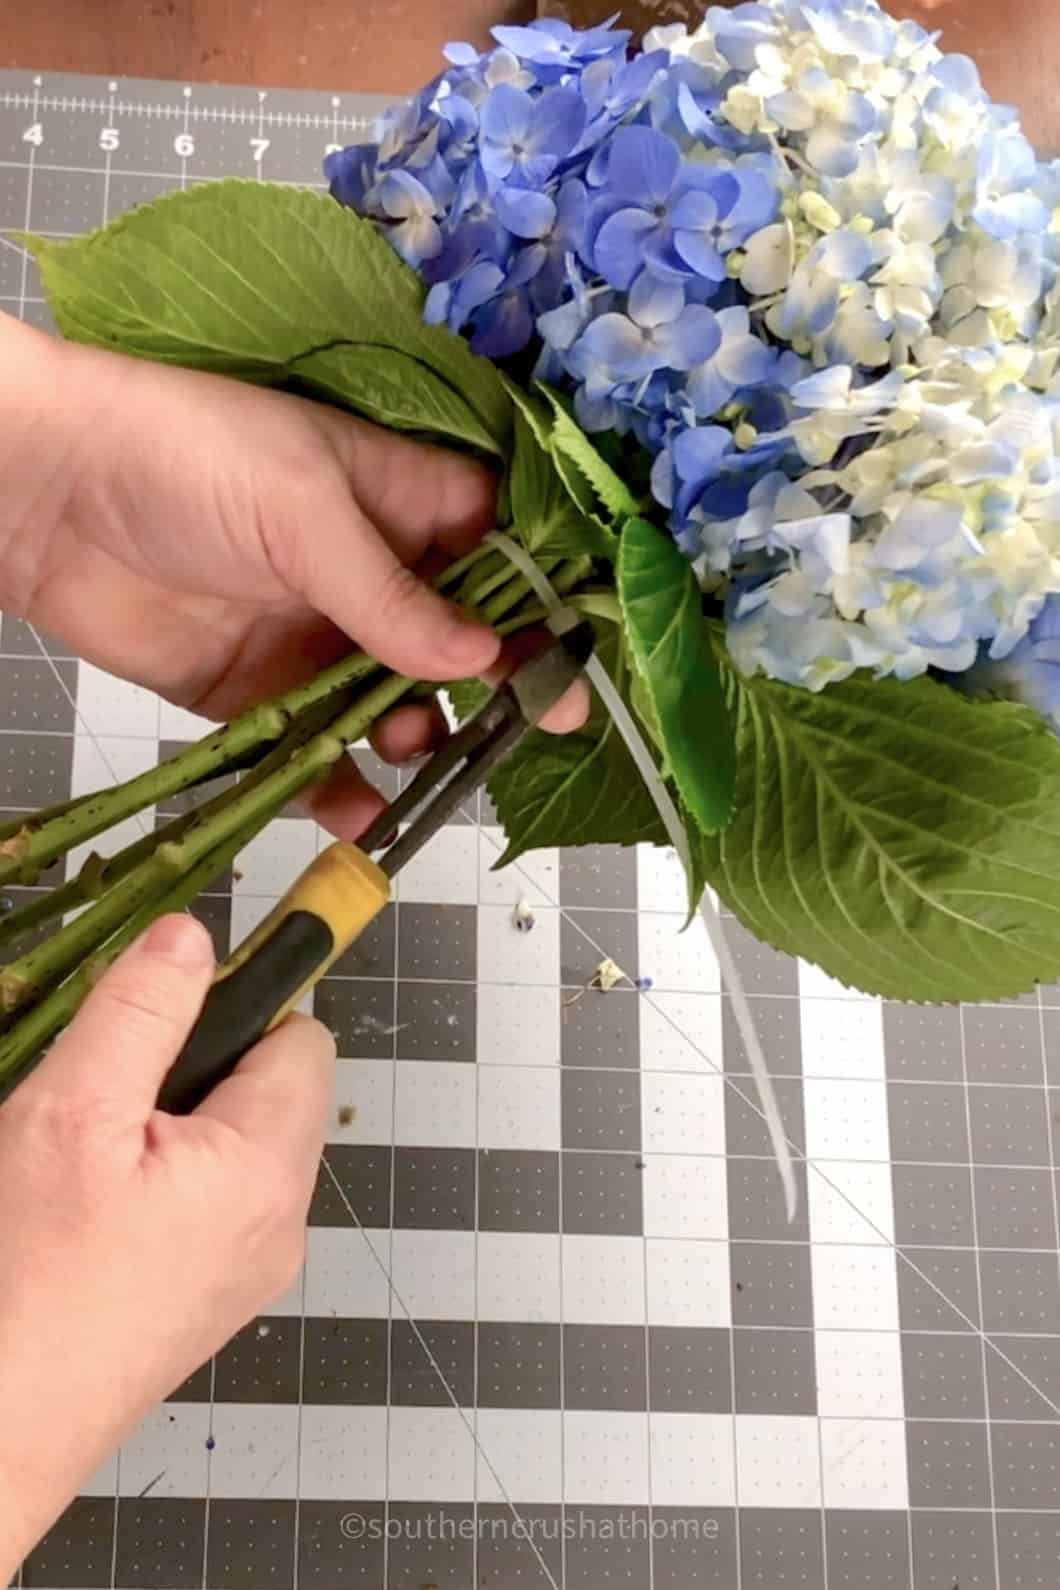
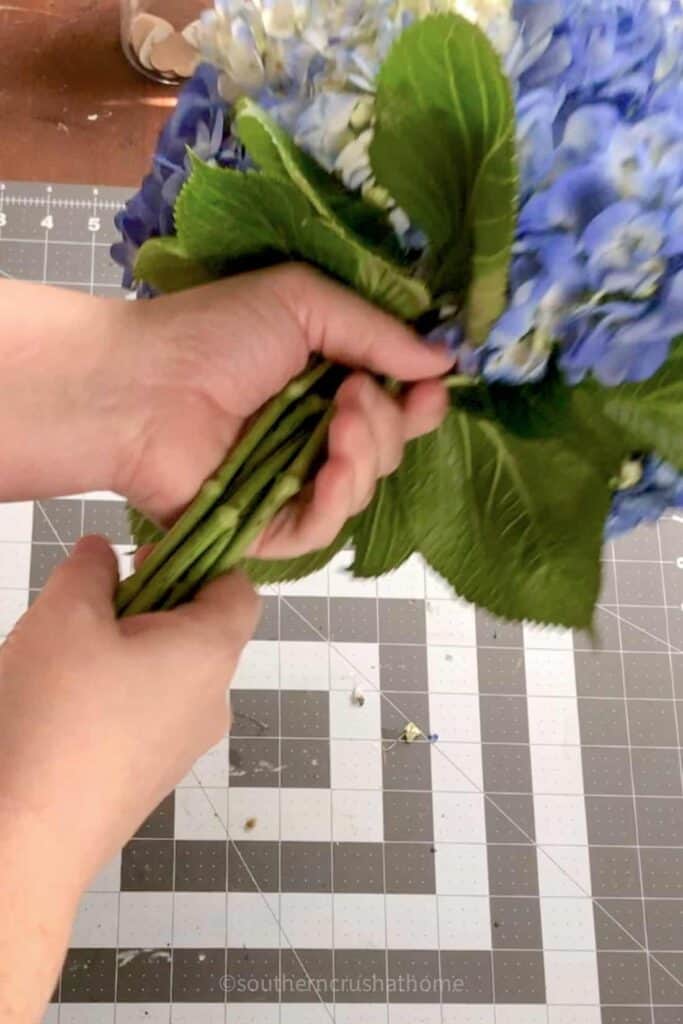
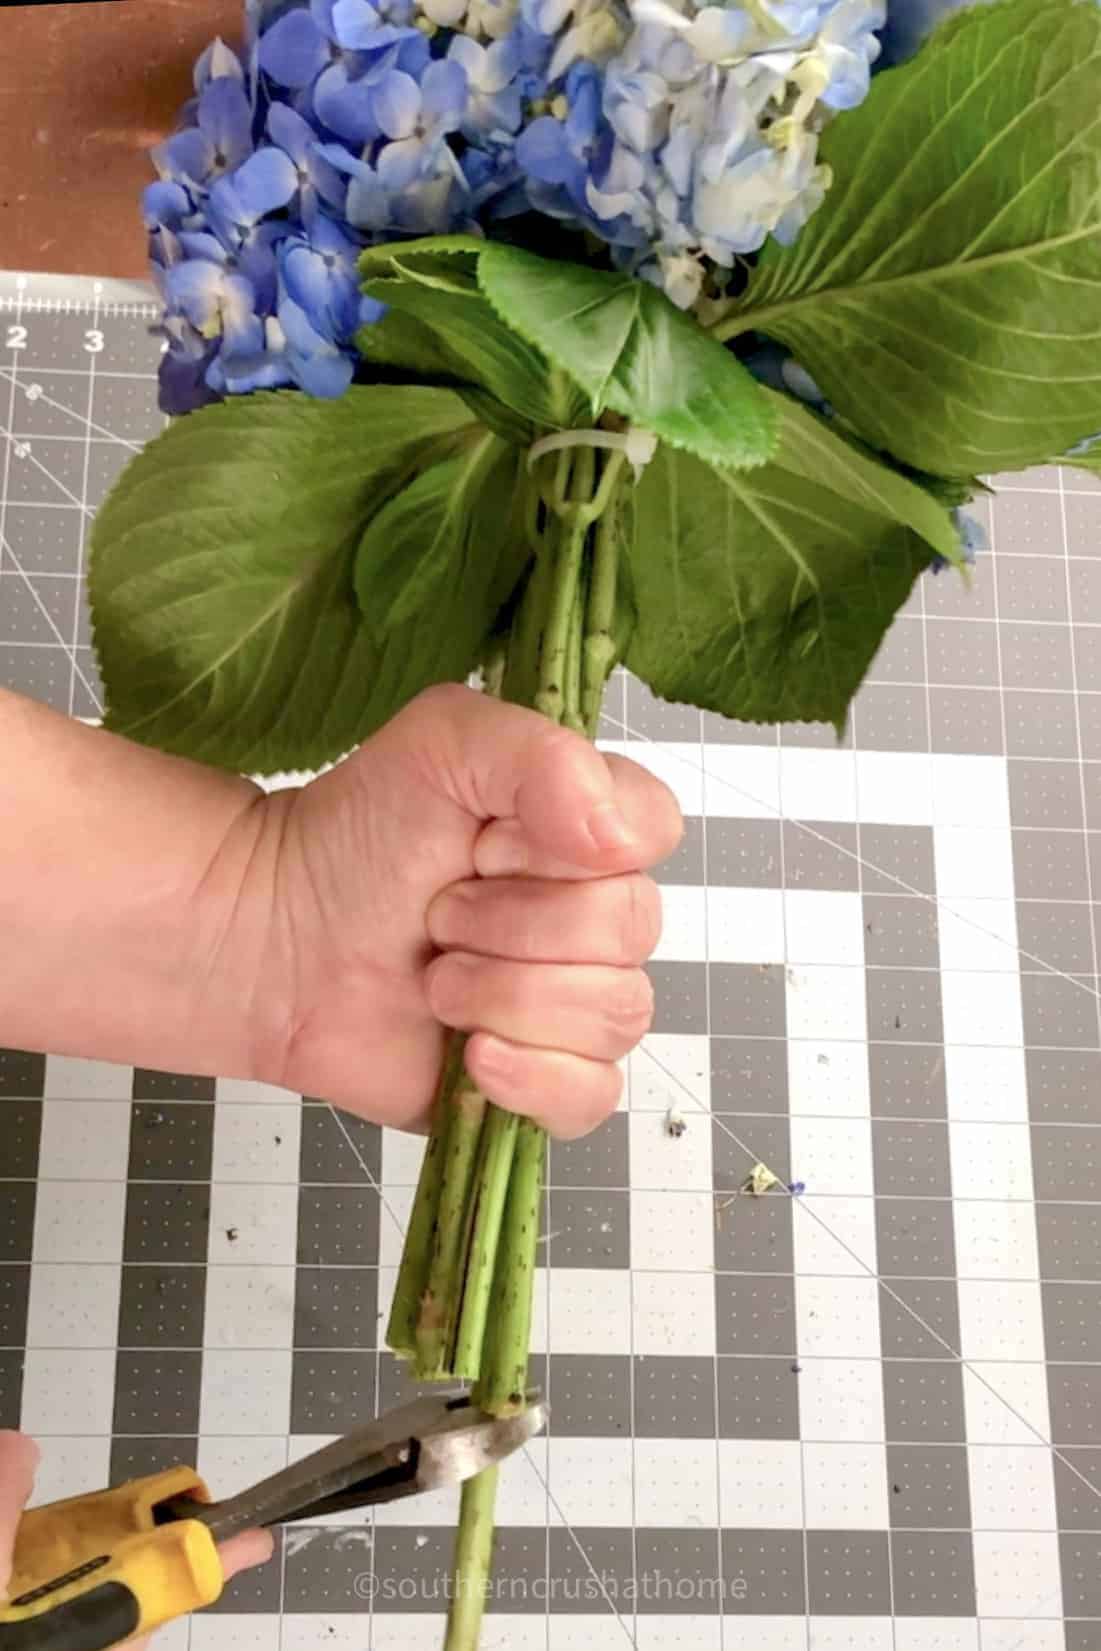
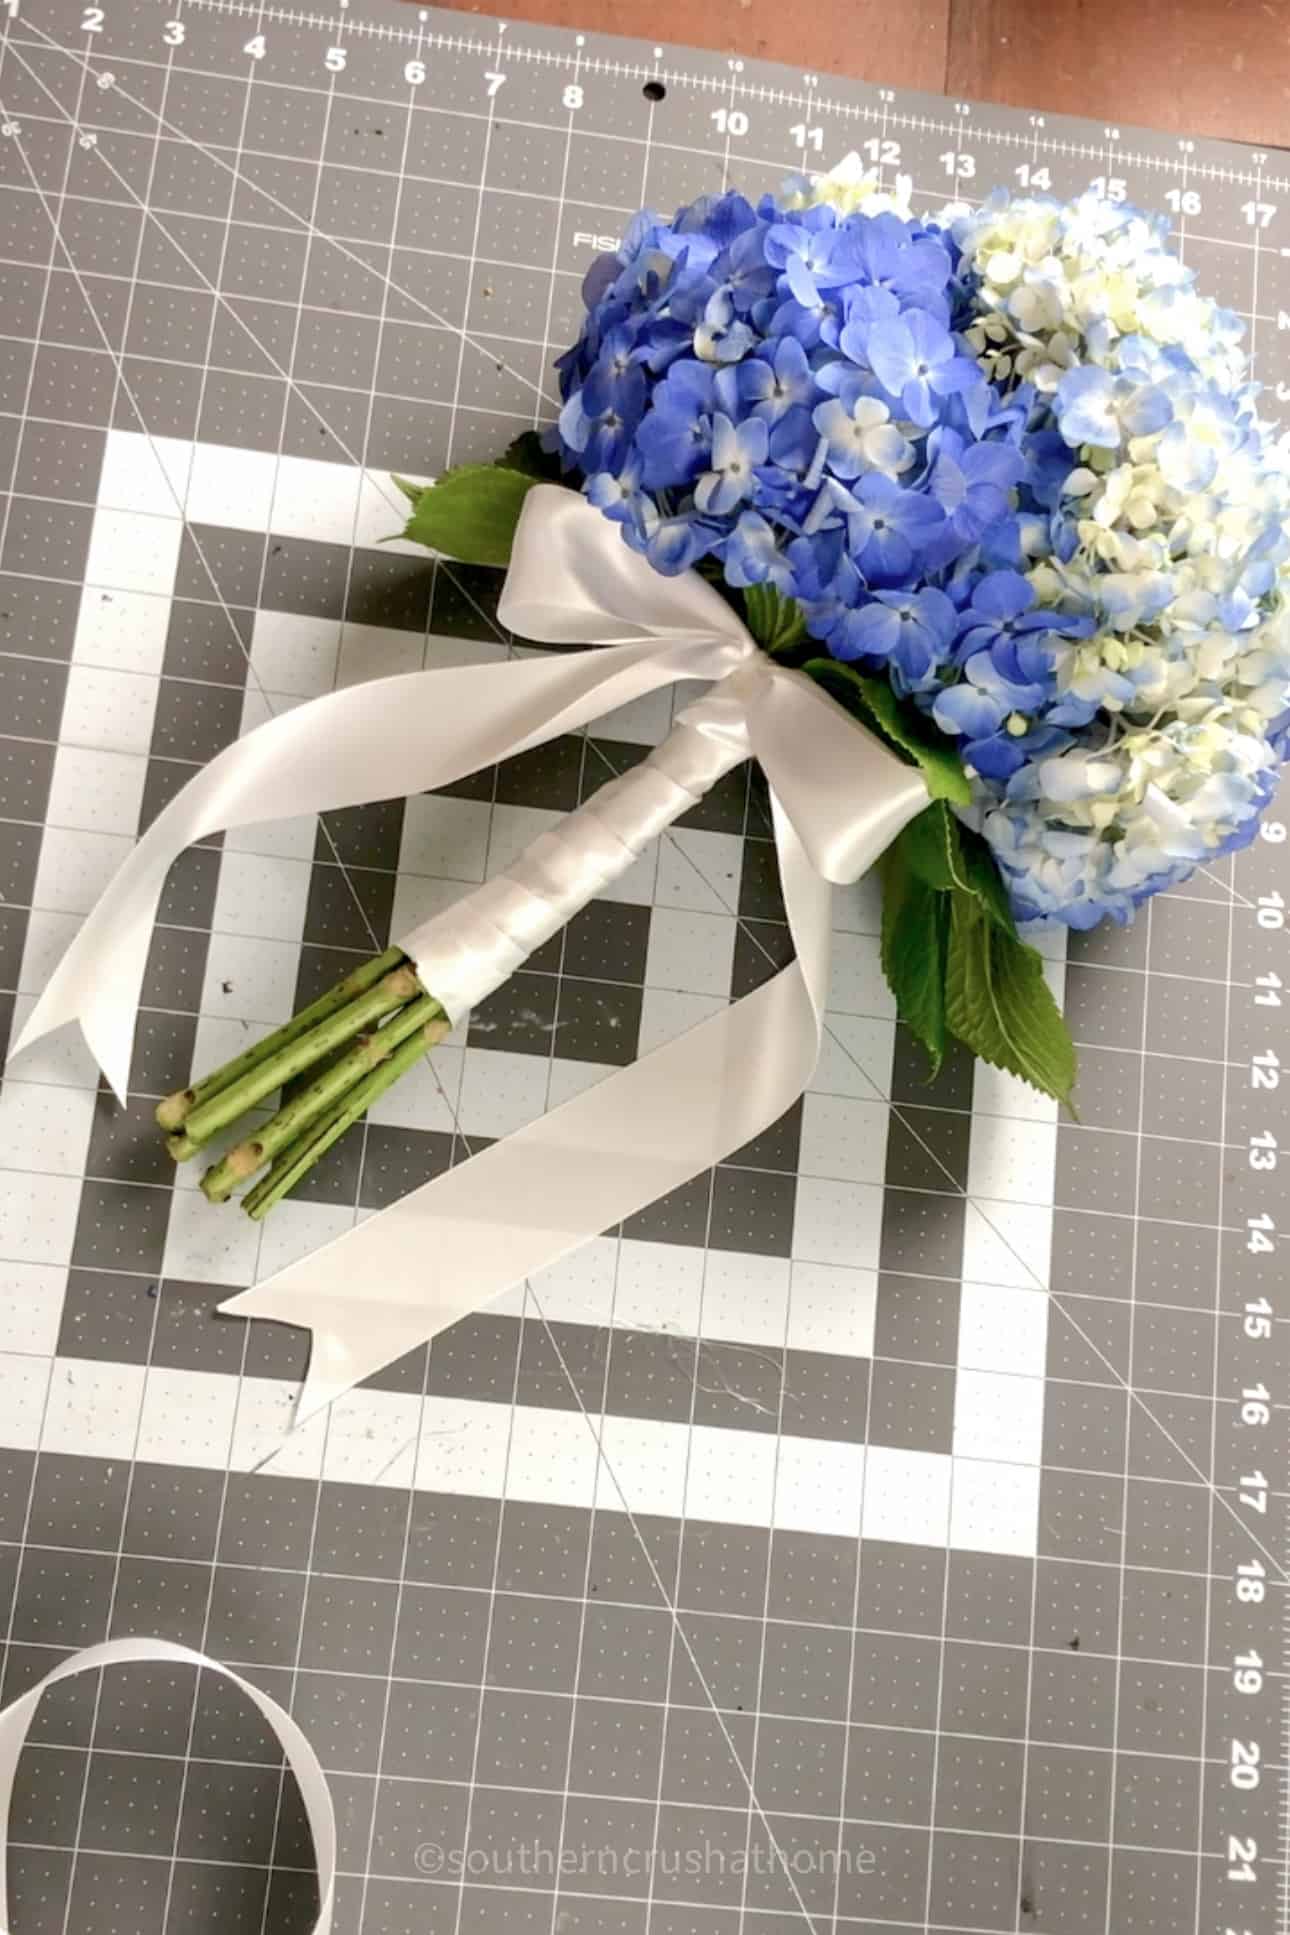
Step 5: Measure Your Stems
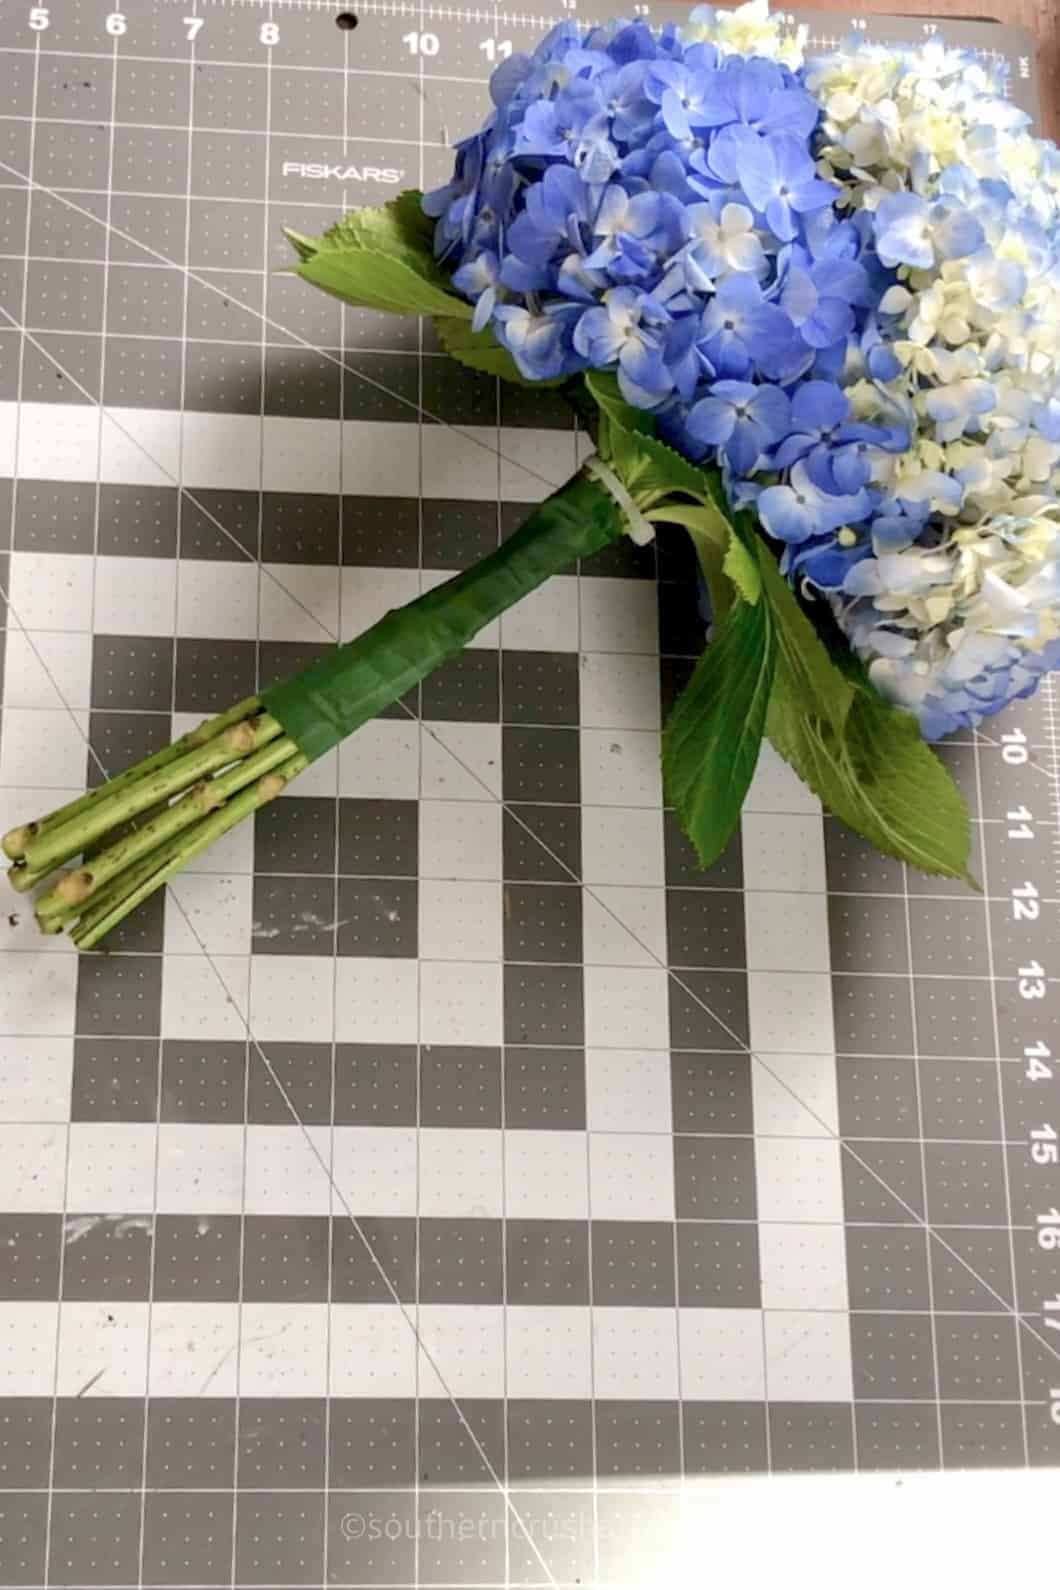
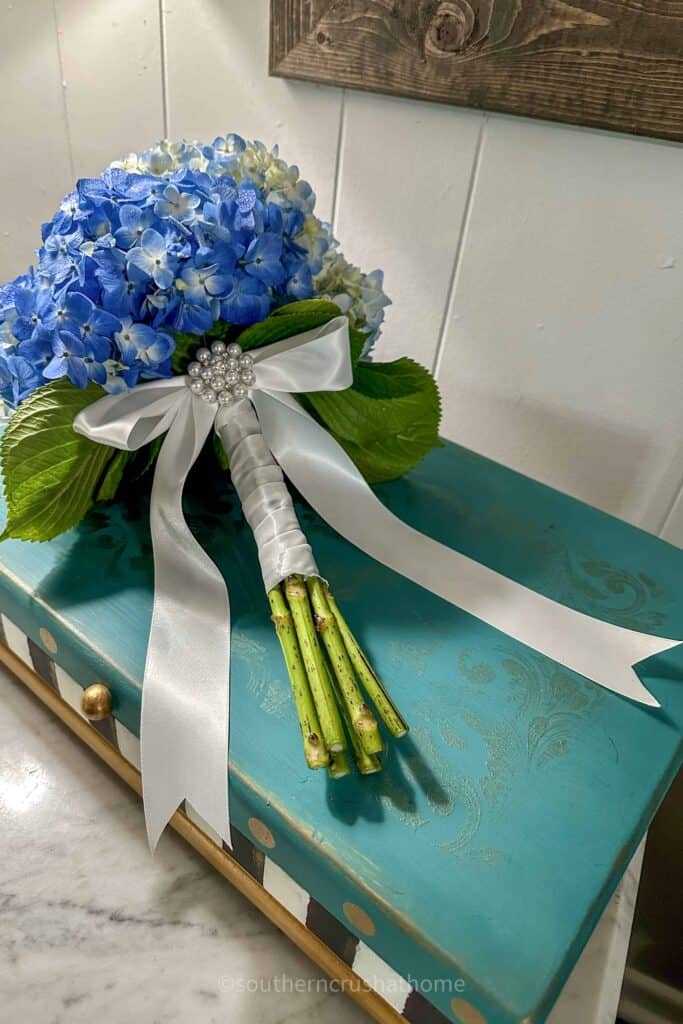
Using your hands, grab ahold of the stems with one hand and then place your other hand directly underneath the first. This will give you the correct measurement for trimming the stems. Trim excess length using wire cutters or scissors leaving about 2 inches at the bottom as shown below.
Next use floral tape to wrap the stems together.
Wrap the tape tightly around the stems several times, until down about 2 inches from the bottom of the stems.
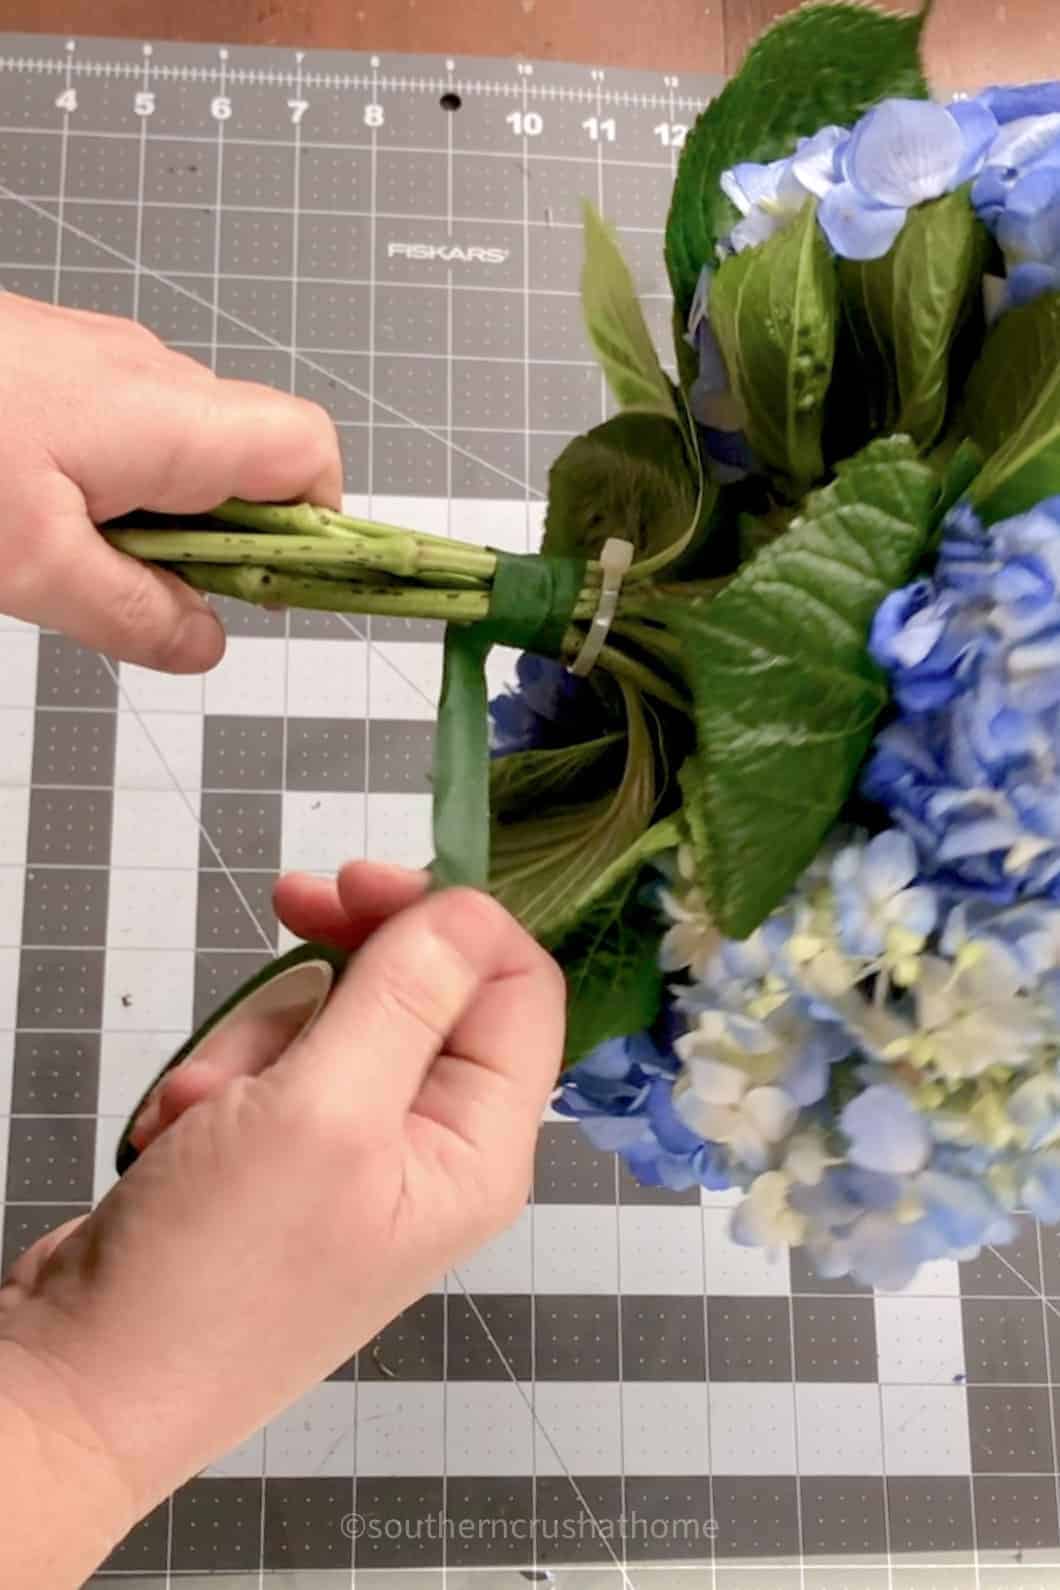
If any stems are too short or need reinforcement, use floral wire to extend or strengthen them before taping.
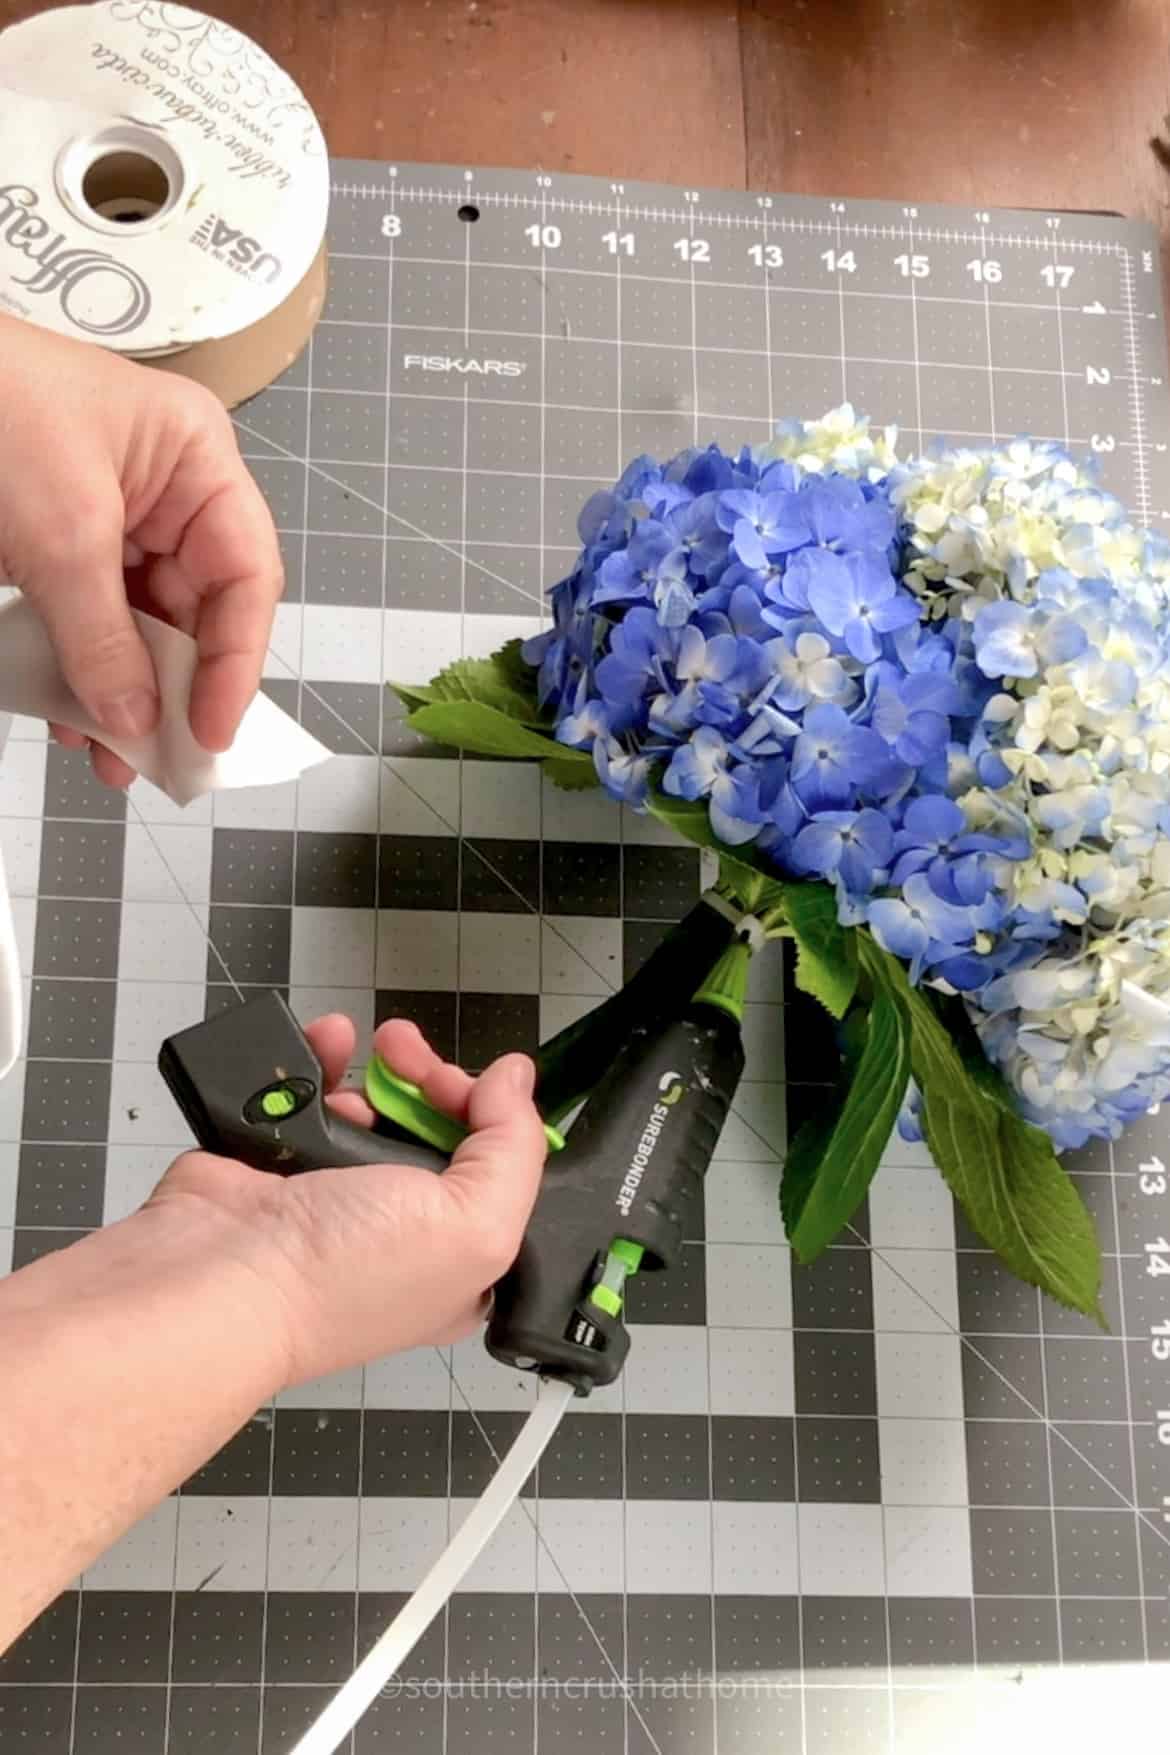
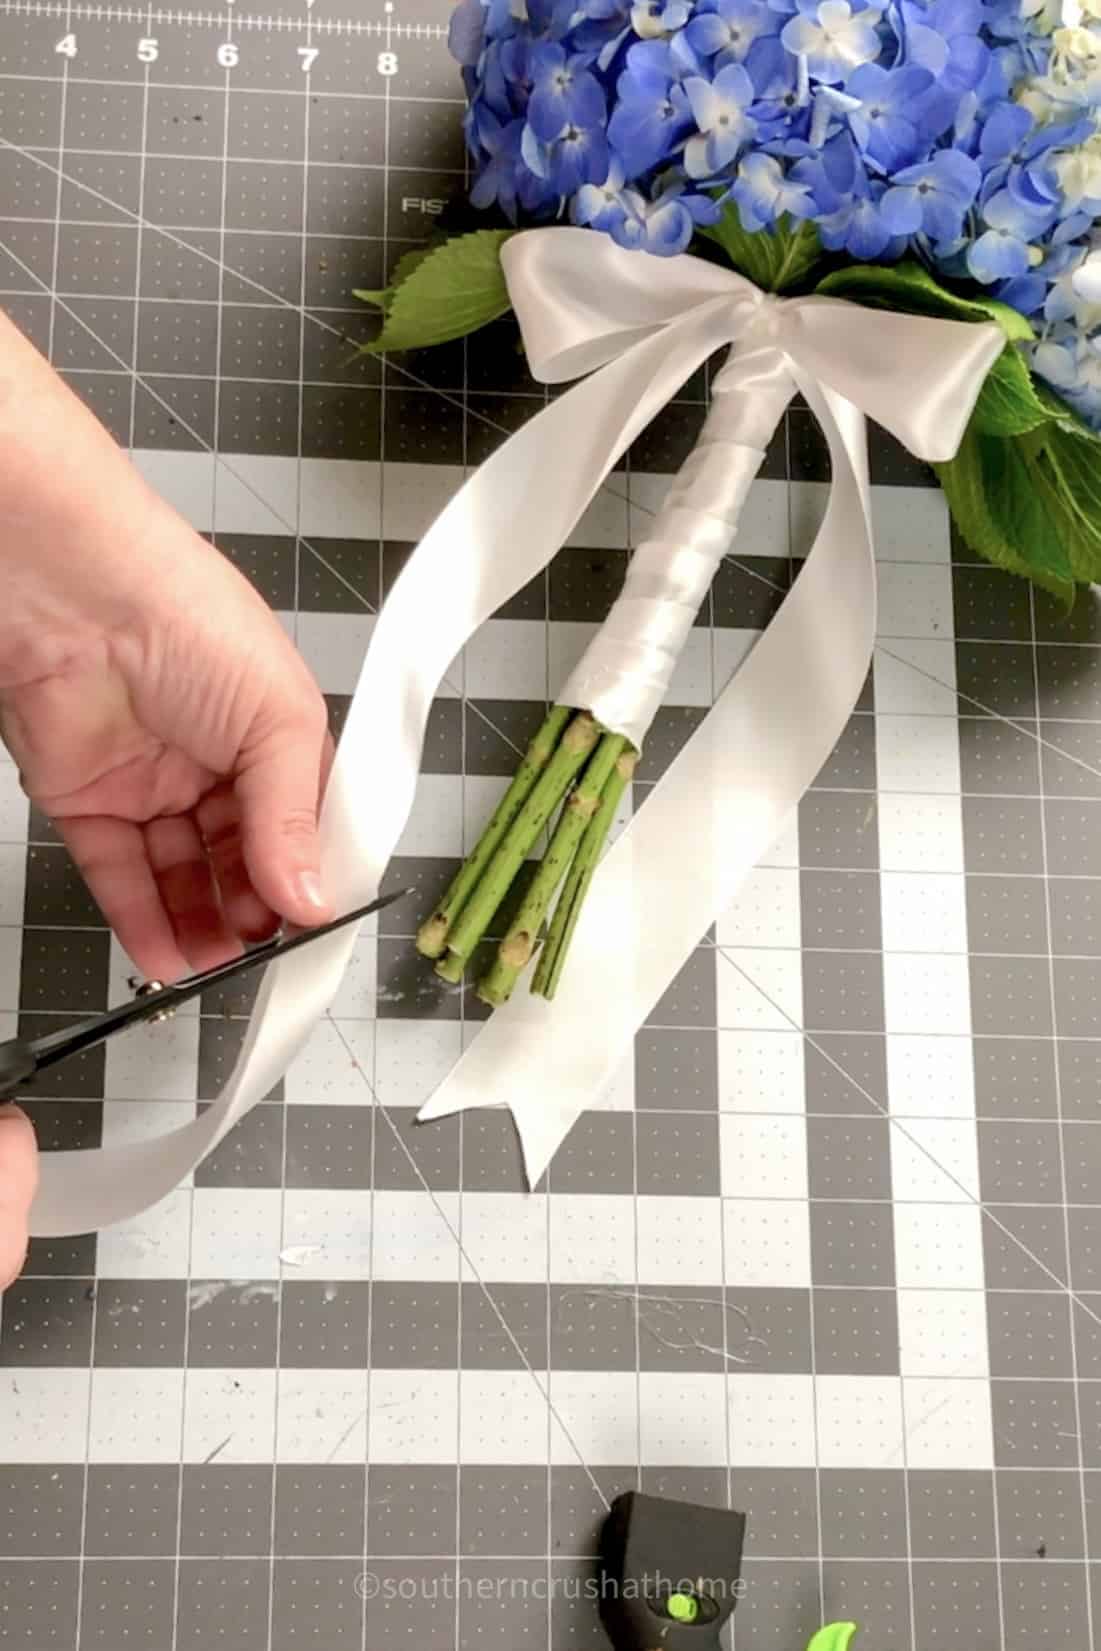
Step 6: Wrap the Handle with Ribbon
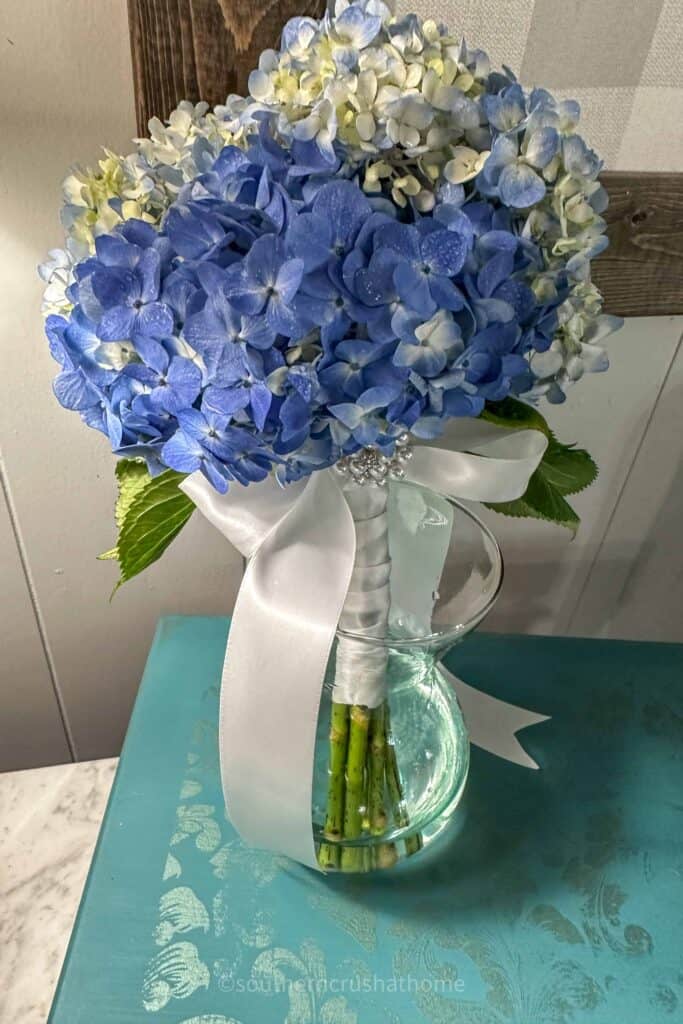
Cover the floral tape with your chosen satin ribbon for a polished look.
Begin at the top, near the base of the flowers, and wrap your way down. Secure the ribbon with pins or a hot glue gun (carefully, to avoid damage).
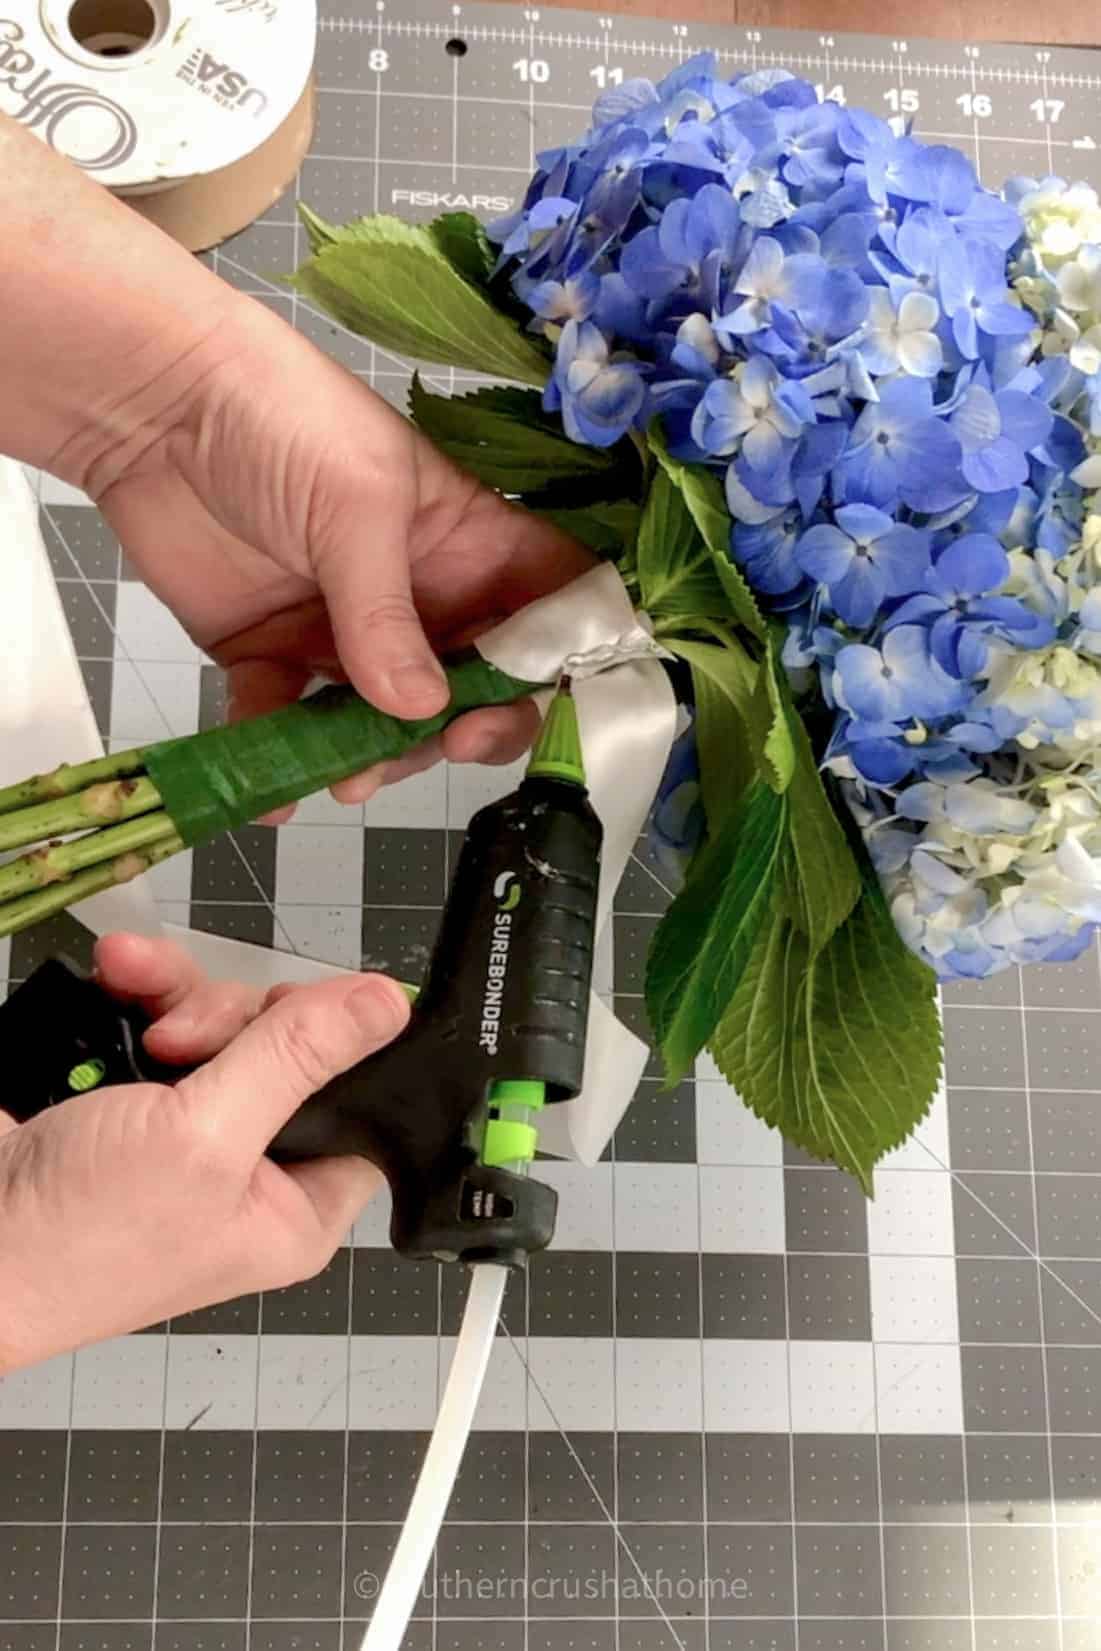
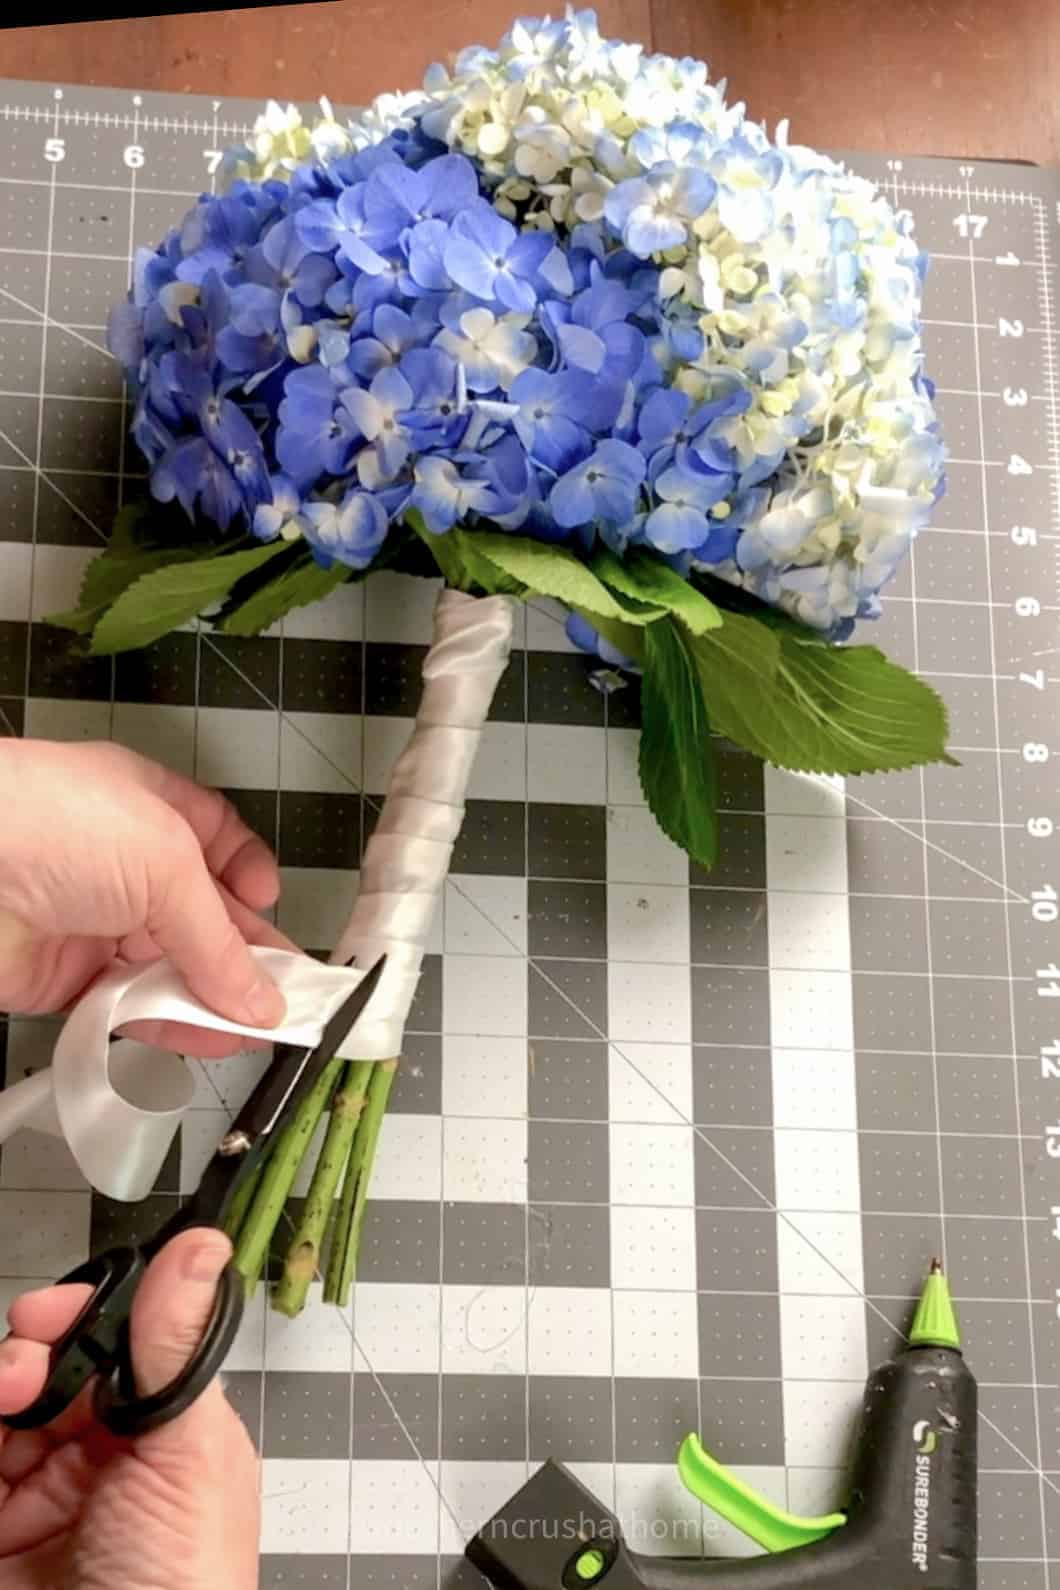
Leave enough ribbon to tie a bow or let long tails hang, according to your preference.
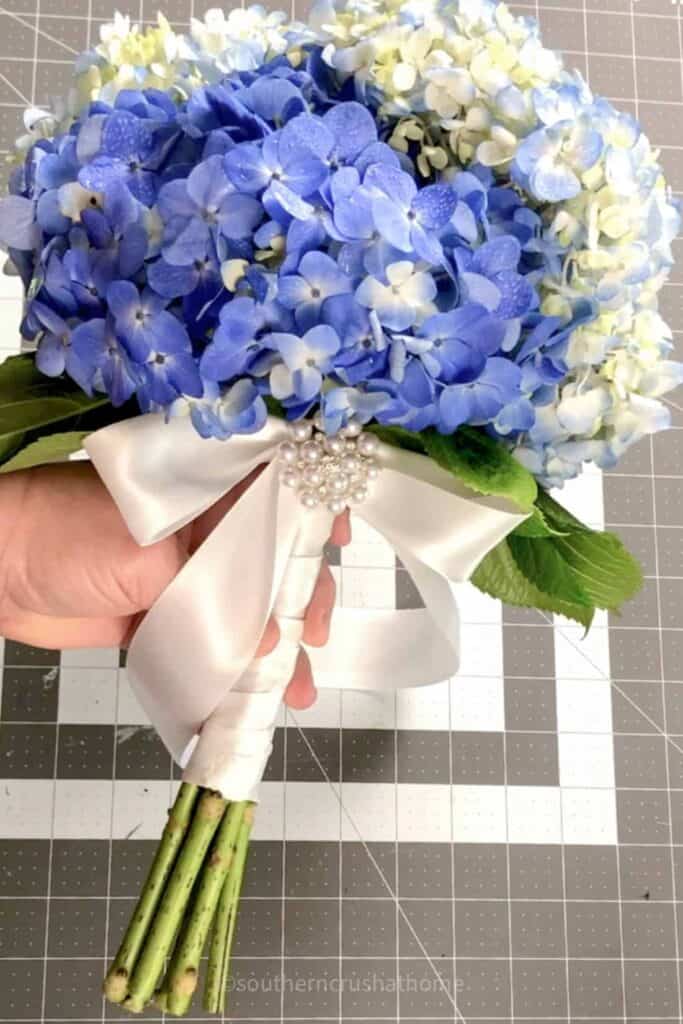
Step 7: Add Final Touches
Now's the time to add those personal embellishments. A delicate bow, a few strands of pearls wrapped around the stems, or a meaningful charm can make your bouquet uniquely yours. I used a decorative bling brooch.
Step 8: Care for Your Bouquet
Keep your bouquet fresh by storing it in a cool place and misting the flowers lightly with water.
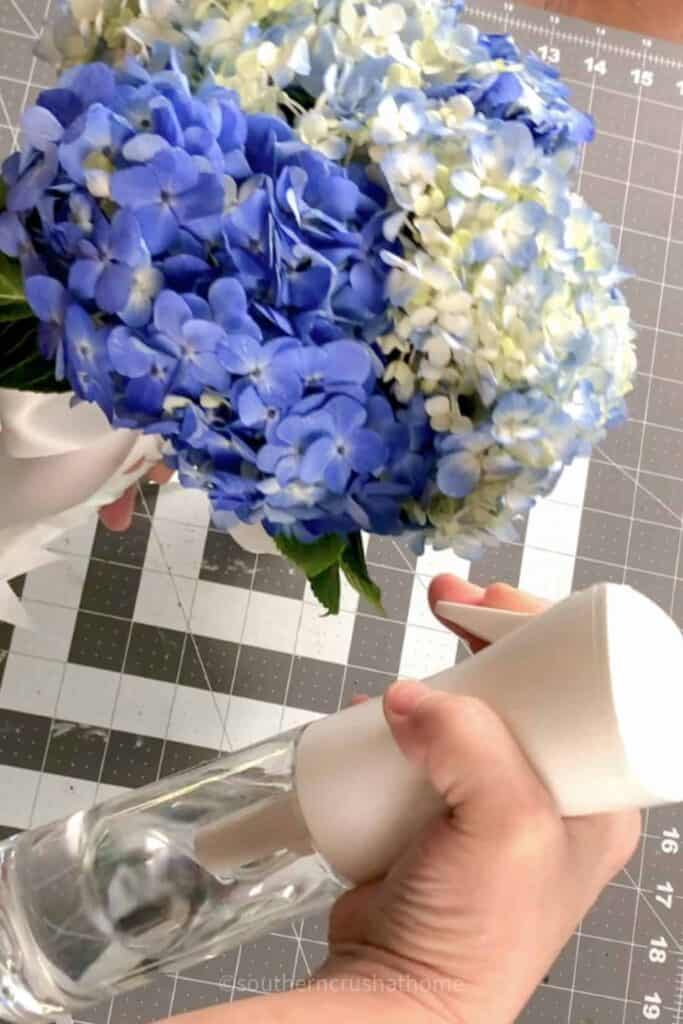
Add a small amount of water to the bottom of a vase to set your wedding bouquet in keeping the ribbon dry but the stems wet.
If possible, make your bouquet close to the wedding day to ensure it looks its best.
Crafting a DIY wedding bouquet is a heartfelt way to add a personal touch to your special day. Not only does it allow you to create something uniquely beautiful, but it also offers the satisfaction of knowing you've poured your heart and love into every detail.
Remember, the key to a stunning hydrangea bouquet is patience, creativity, and of course gorgeous fresh hydgrangeas. Enjoy the process, and relish the beauty of what you've created.

Your DIY hydrangea wedding bouquet will not only be a gorgeous addition to your wedding day but a cherished memory of the love and care that went into making it.
It’s beautiful
Thank you so much!! I appreciate you!
Beautiful!!!
Awe thank you so much my friend!