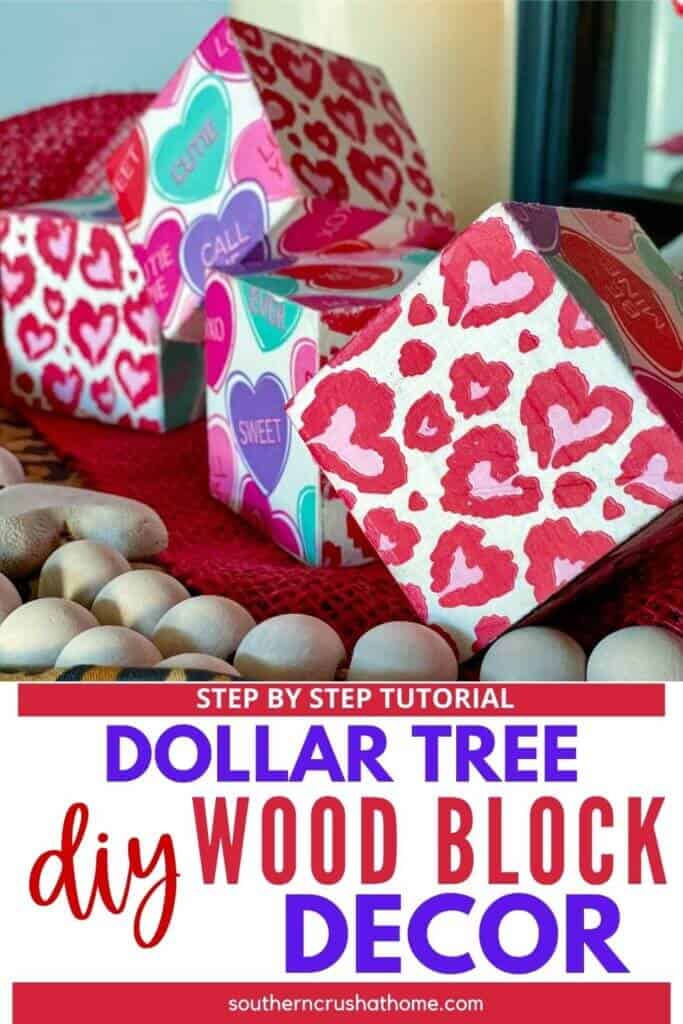
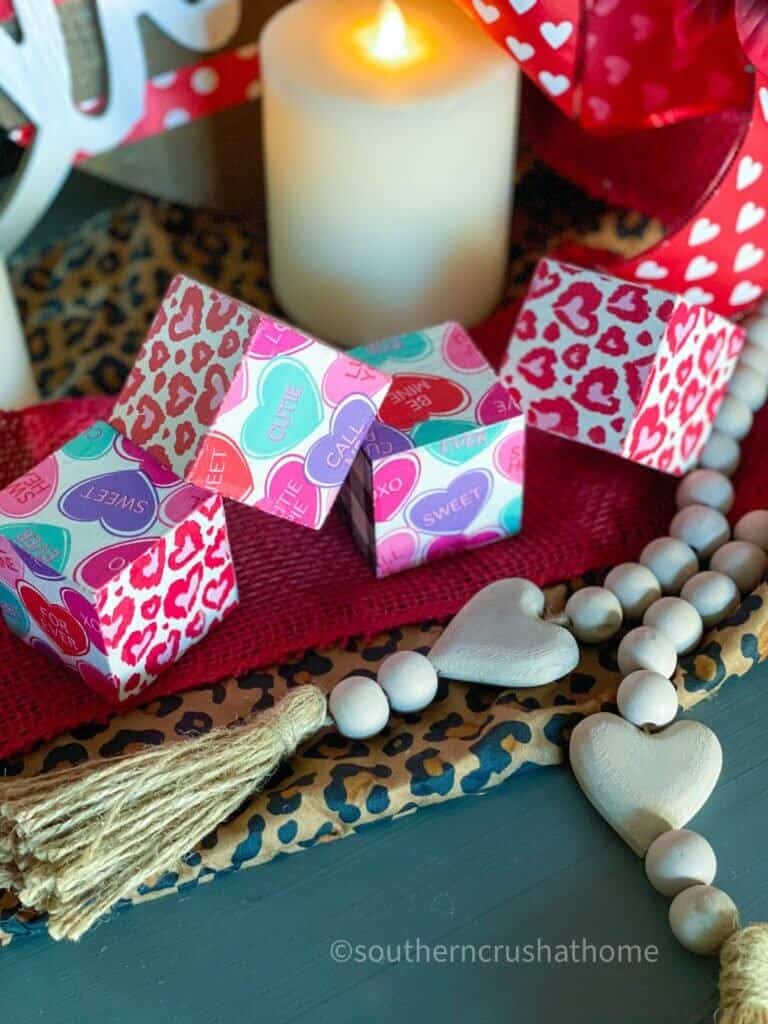
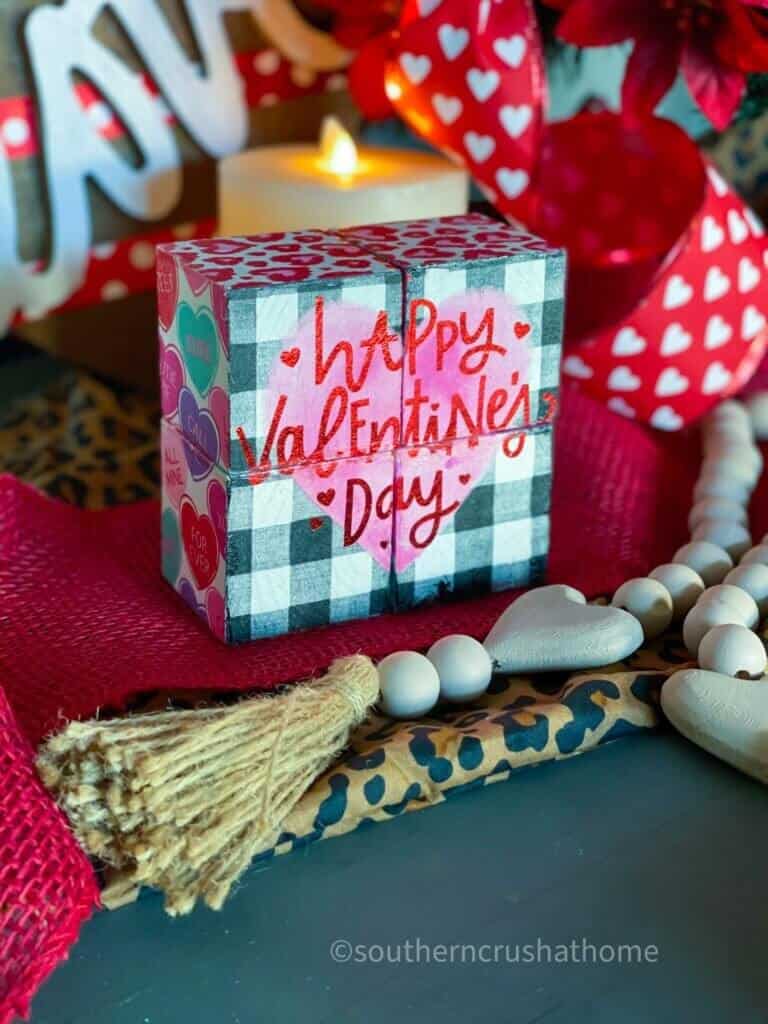
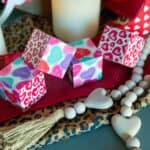
How to Make DIY Wood Block Decor
Creating a beautiful home doesn't have to be hard; especially, when you add some fun DIY wood block decor! At first glance, you'd never guess the potential these simple and plain wood blocks from Dollar Tree hold! With a little paint, mod podge and decorative napkins you can literally make them for any season!
Be Sure to PIN this for Later!
SUPPLIES NEEDED TO MAKE WOOD BLOCK DECOR
- heat gun
- scissors
- paint brush
- sand paper
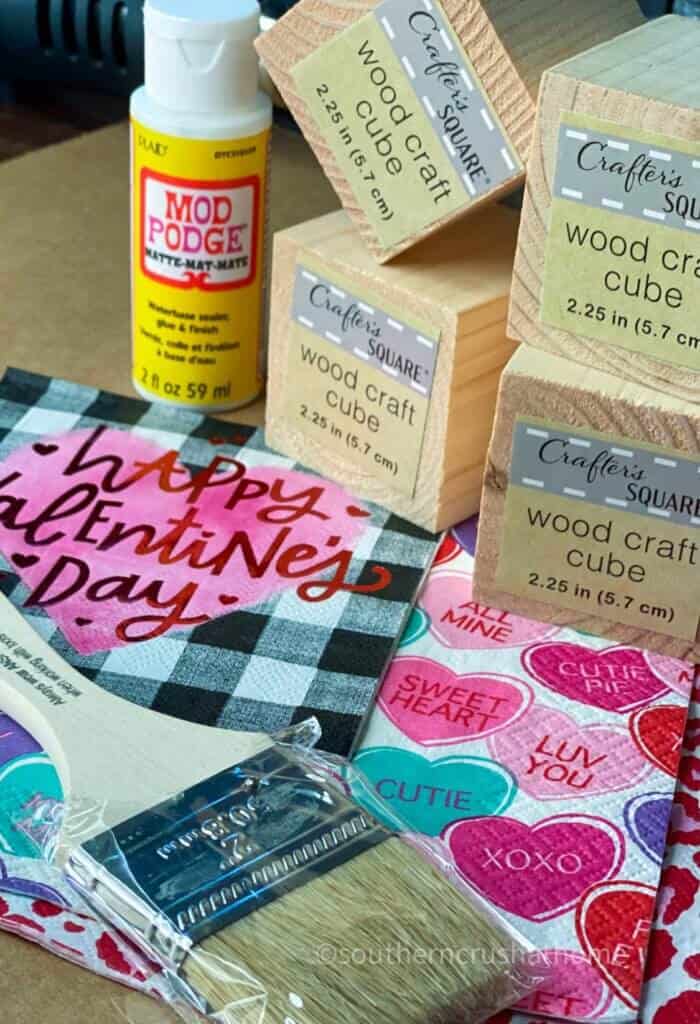
MATERIALS
- Dollar Tree wood blocks start with wood block of any size really
- White chalk type paint or acrylic paint choose a background paint that compliments the colors in your napkins
- Mod Podge
- Baggie or Saran Wrap
- Decorative Napkins choose your favorite keeping in mind that if the design has wording you will need to pay close attention to matching it up on the blocks
My friend Miss Tracy has an awesome “napkin club” if you love napkins as much as I do! Each month she sends you a bundle of fun napkins and then shows you what to make with them!
shop similar decor
*If you purchase any of these suggested products I may receive a small commission at no additional cost to you. See my full affiliate disclosure policy for details.

how to make diy wood block decor
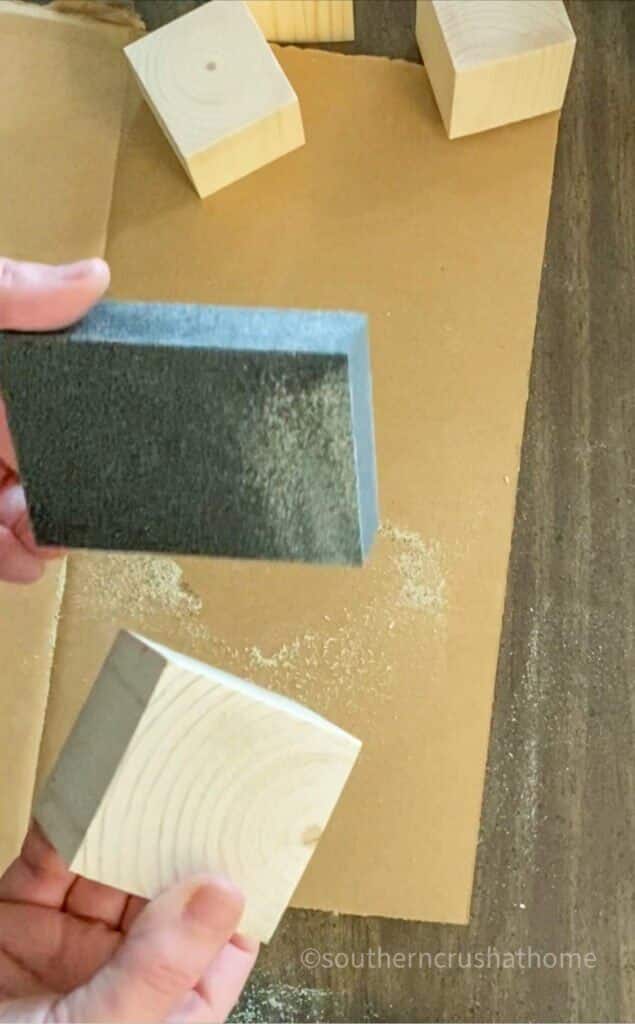
Sand the blocks thoroughly removing any rough surfaces and edges that may tear the delicate napkins.
Lay the napkin under the desired blocks and trim down to fit. Set napkin aside.

Apply a coat of paint over the blocks to knock down some of the wood grain that may show through the napkin designs. It's best that the color compliments the napkin.
Allow to dry thoroughly. Do not rush this part of the process.
Apply a very thin coat of mod podge to the surface of one side of the blocks.
Allow to dry for just a few minutes to come to ‘tack'.
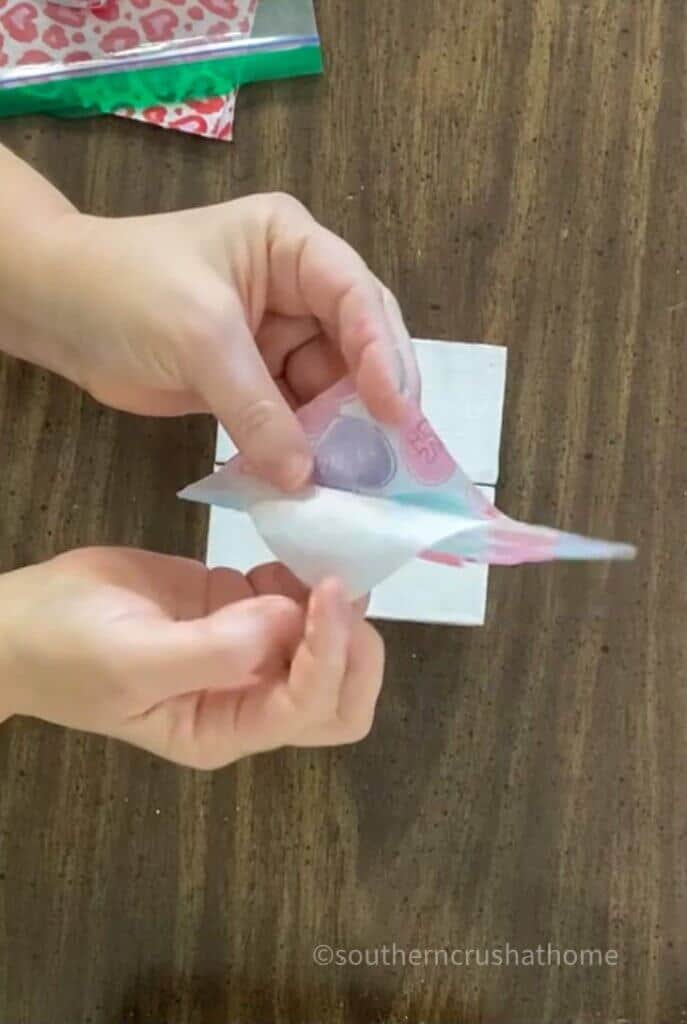
Separate the napkin layers to reveal the top layer only.
Lay the napkin on the desired blocks and gently tap and smooth down using a baggie or saran wrap.
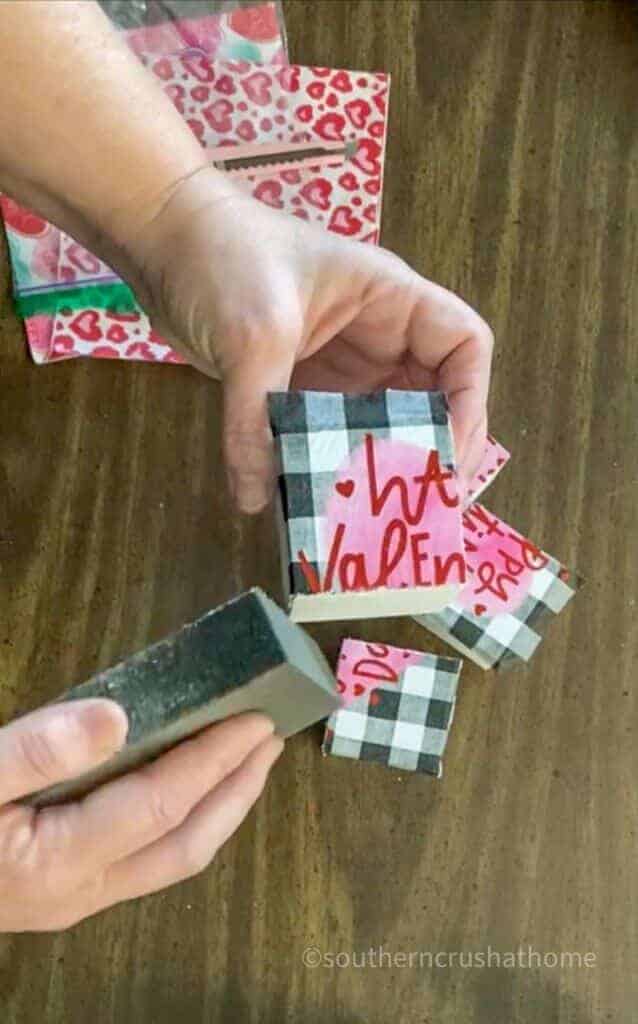
If creating a set of blocks using napkins with words, line up the blocks in the correct order to make sense of the wording.
Trim the blocks away from one another using a sharp edge if using them together for a design.
Sand off the excess napkin from all sides of the wood block.
Apply a thin coat of mod podge to the top of the finished blocks if desired, being cautious not to get them so wet that they tear. (I did not top coat mine)
click here if you would like to WATCH THIS QUICK 3 MINUTE VIDEO with all of the in process steps!
shop similar decor
*If you purchase any of these suggested products I may receive a small commission at no additional cost to you. See my full affiliate disclosure policy for details.
be sure to check out these other DIY ideas!
- Simple Wooden Dough Bowl DIY
- Easy Napkin Art Canvas DIY
- How to make DIY Ceramic Mugs (Using Paint or Sharpies)
GET DIY EMAILS
If you love DIYs and Ideas like these as well as seeing all the fun things I find out shopping, you need to be getting my emails, my friend! Each week I send out a couple of emails that include updates, crafts, shopping experiences, and decor inspiration. Be sure to get yourself signed up below. I can’t wait to meet you!
DIY WOOD BLOCK DECOR
Equipment
- heat gun
- scissors
- paint brush
- sand paper
Materials
- Dollar Tree wood blocks start with wood block of any size really
- White chalk type paint or acrylic paint choose a background paint that compliments the colors in your napkins
- Mod Podge
- Decorative Napkins choose your favorite keeping in mind that if the design has wording you will need to pay close attention to matching it up on the blocks
- Baggie or Saran Wrap
Instructions
- Sand the blocks thoroughly removing any rough surfaces and edges that may tear the delicate napkins.
- Apply a coat of paint over the blocks to knock down some of the wood grain that may show through the napkin designs. It's best that the color compliments the napkin.
- Allow to dry thoroughly. Do not rush this part of the process.
- Apply a very thin coat of mod podge to the surface of one side of the blocks.
- Allow to dry for just a few minutes to come to ‘tack'.
- Lay the napkin on top of the desired blocks and gently tapped down.
- If creating a set of blocks using napkins with words, line up the blocks in the correct order to make sense of the wording.
- Trim the blocks away from one another if using them together for a design.
- Remove excess napkin around the edges using the sandpaper.
- Apply a thin coat of mod podge to the top of the finished blocks if desired, being cautious not to get them so wet that they tear. (I did not top coat mine)
I love this cute Valentine’s craft, Melanie! Thanks for sharing at Celebrate Your Story! Link Party. You’ve been featured this week 🙂
Thank you so much! It was lots of fun and I appreciate you!
Melanie, these blocks are totally adorable! I would love for you to share over at our Creative Crafts Linky Party every Wednesday through Sunday
Creatively, Beth
Done! Thank you!