Dollar Tree Christmas Card DIY
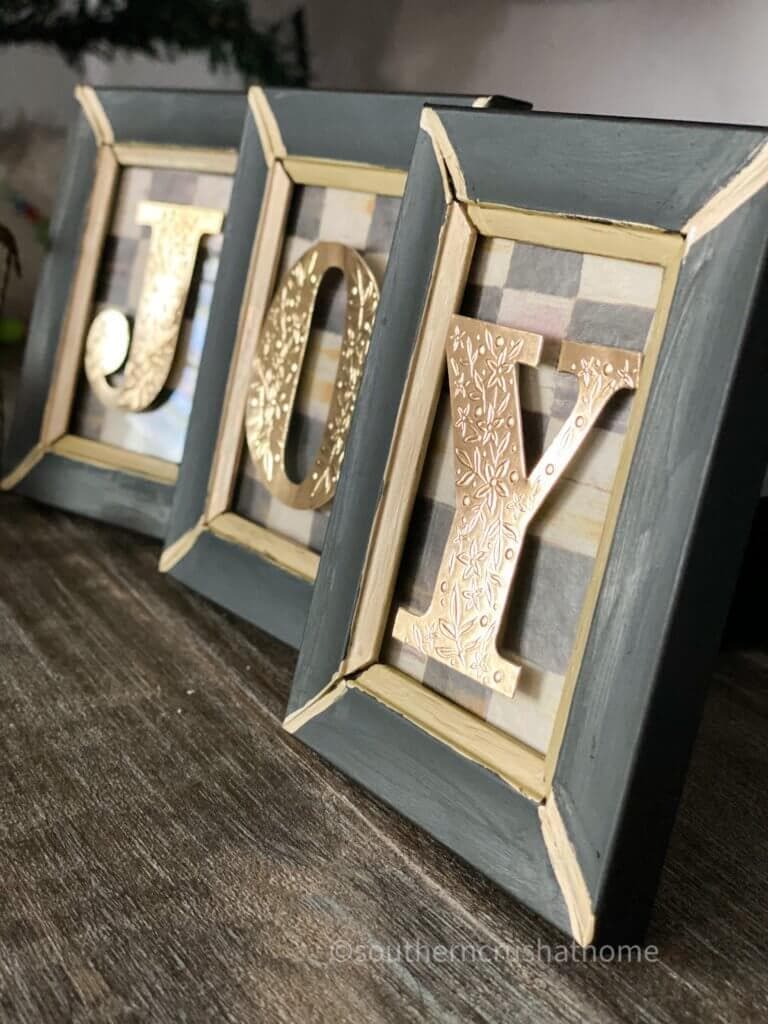
When I saw the selection of amazing Christmas cards at the Dollar Tree immediately my mind started racing with ideas for Christmas Card DIY projects! There were so many cute choices and they were such a good quality. The best part was the awesome embellishments that were on the front of the cards. Fun vintage red trucks, festive holiday wreaths and lettering that spelled J-O-Y! Oh, it was on and this cute little DIY came to life…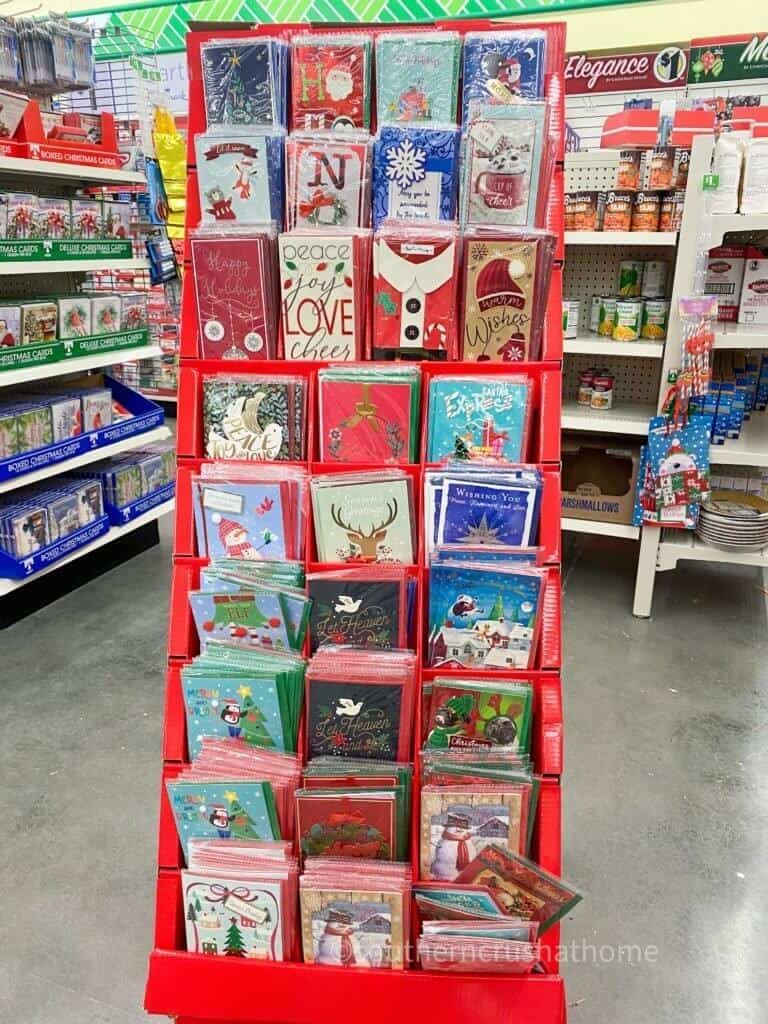
Be sure to PIN this one for later!

What you need to make this dollar tree christmas card DIY
- Dollar Tree Christmas Card
- 3 miniature photo framses from the Dollar Tree
- Tissue paper, colorful napkin or gift wrapping paper
- Paint if desired
- Chalk Paint Pens if desired
- Glue gun and hot glue
- Scissors

How to make cute decor from christmas cards
This was so very easy to make and only took a few short steps. You can start by removing the “guts” of the photo frame and setting them aside for later. Optionally, you can choose to paint your frame a color that matches your holiday decor or your everyday decor. Allow to dry. If the frames are already the color you love; skip this step.
Taking the paint pen markers I added a touch of festive gold color to the inside edging of my photo frames to make them “pop”. Again, if you already love the frame the way it is; skip this step.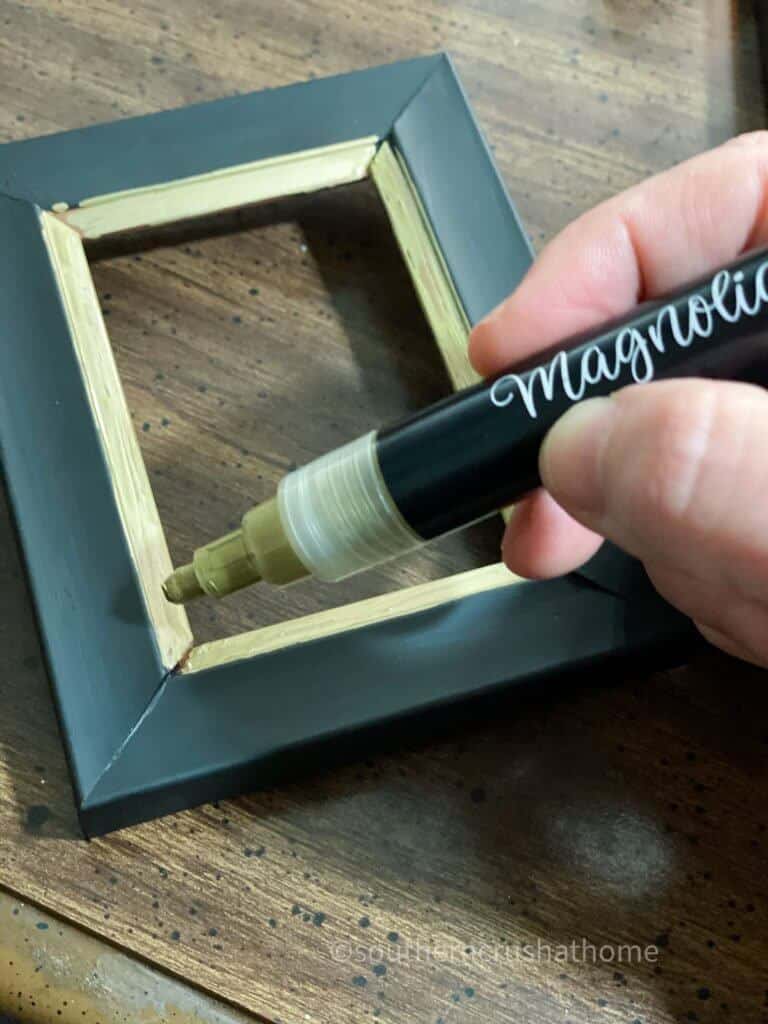
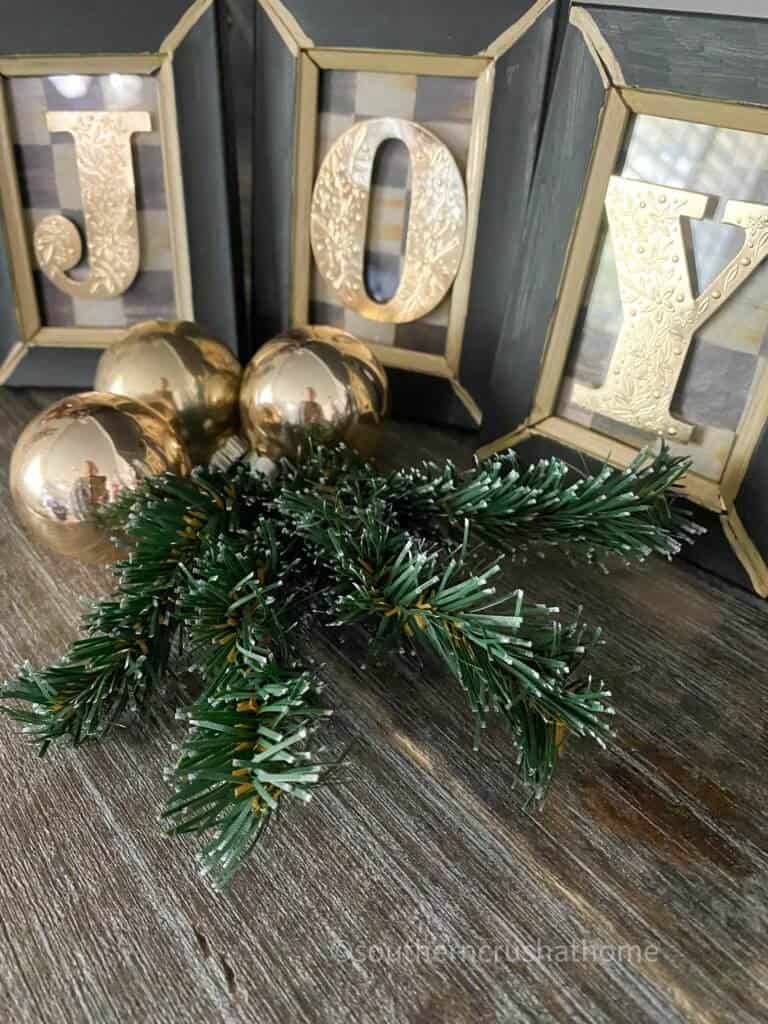
Next, take your paper of choice and cut to fit inside the frame. I chose to use my favorite MacKenzie-Childs tissue paper in their black and tan pretty check design for a little different look aside from the usual red and green holiday colors.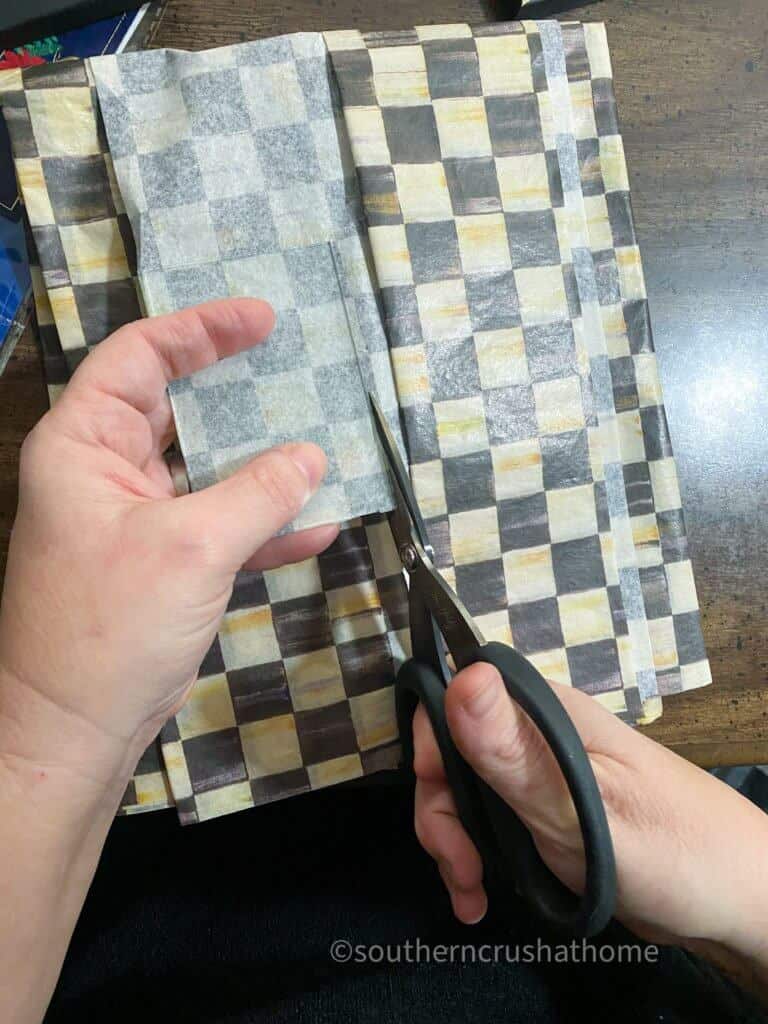
Now you can reassemble your photo frame making sure to include the new paper inside showing through the glass front.
Finally take the Christmas card and carefully remove the embellishment trying not to tear or bend it too much in the process.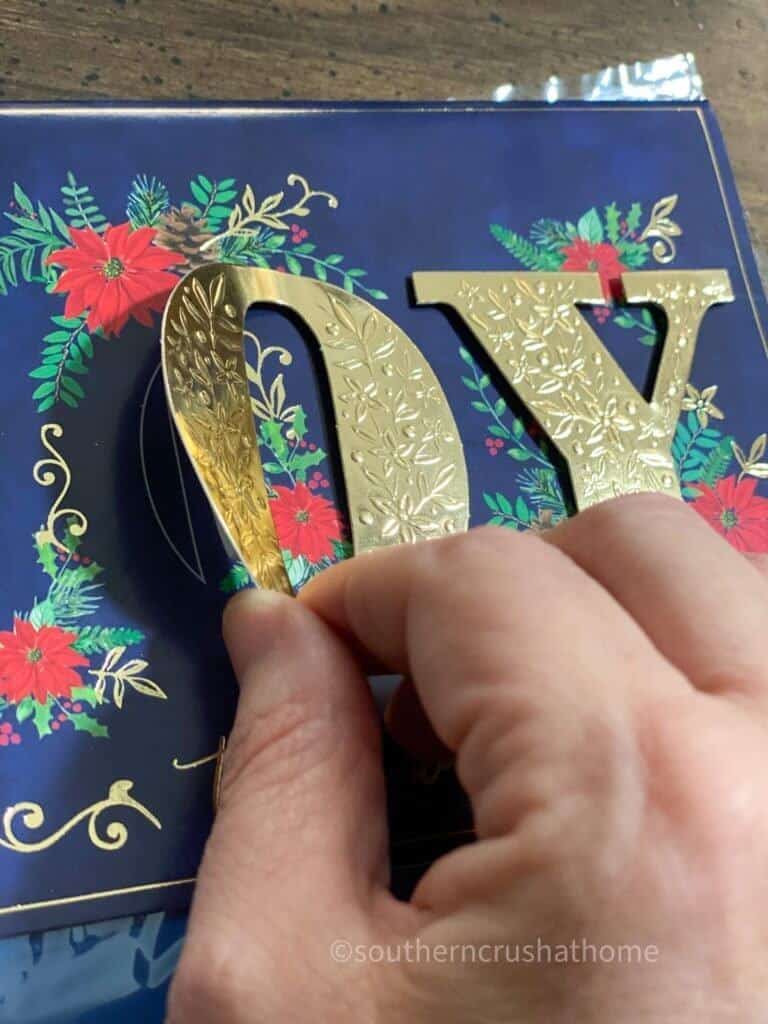
Keep the mounting tape on the back of the design to use with your project.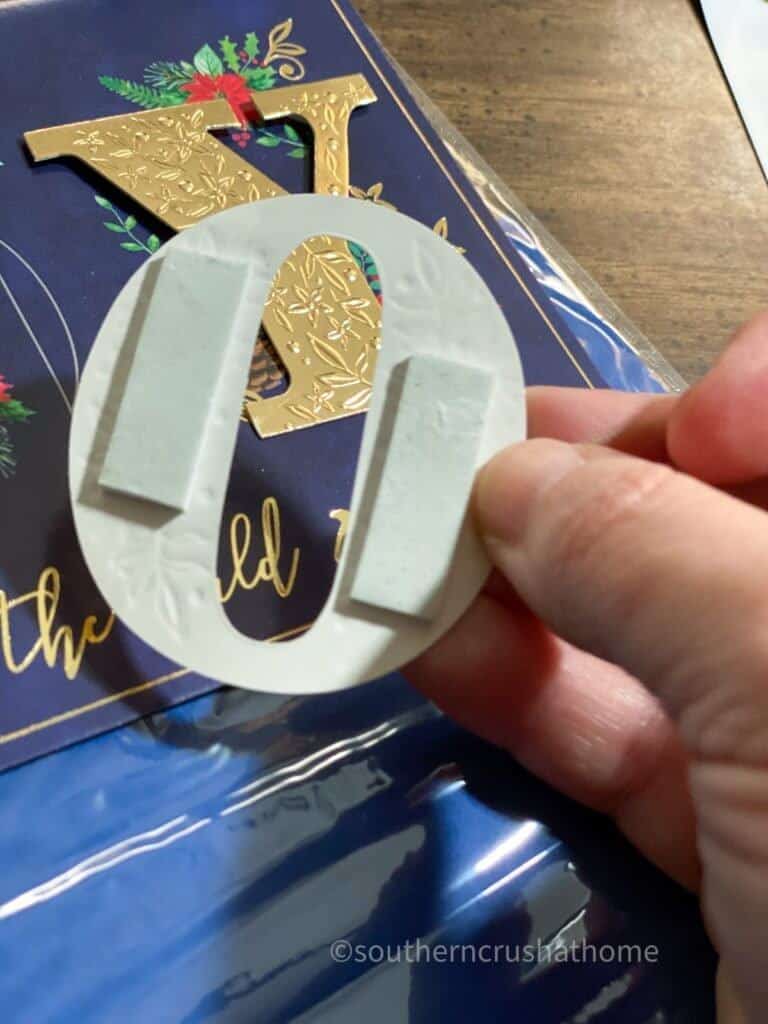
Add a dot of glue if desired to the places that contain the mounting tape and place on the front of the glass on your photo frames. 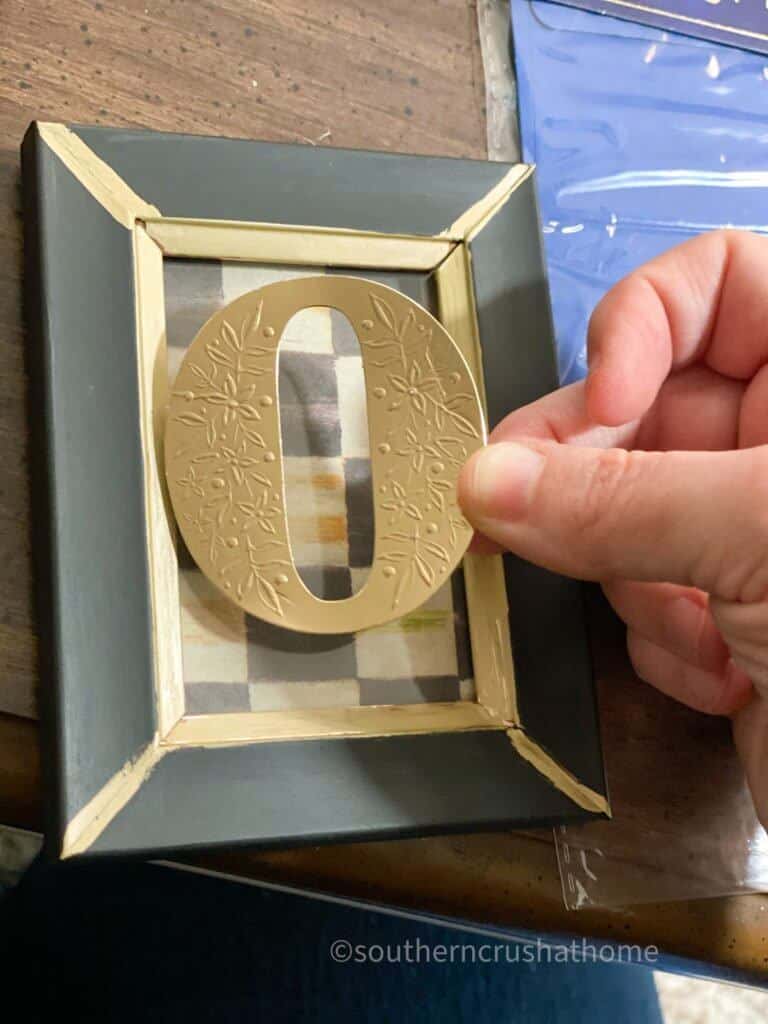
Display with a few ornaments or greenery branches to complete the look!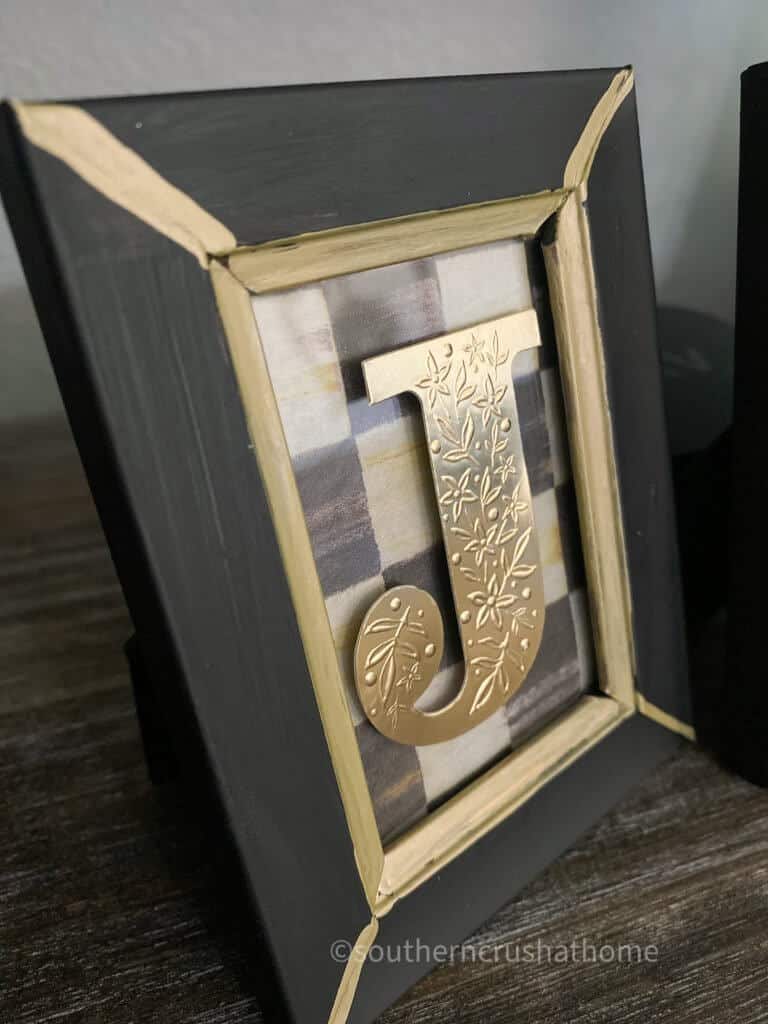

Ways to display your DOLLAR TREE Christmas Card DIY
- Arrange them on an entry table and add a small tree
- Place them on the branches of your main Christmas tree
- Put them along a window sill with some greenery
- Set them out on your tv console underneath the big screen
- Use them as part of a pretty place setting on each plate
- Create a centerpiece on the dining table or a buffet table with them
- Layer them on top of the mantle with ornaments, garland and greenery
- When entertaining, place them around the serving dishes as added charm
You may like these fun Christmas decor ideas as well:
- Tabletop Christmas Cone Trees (Using a Mop Head)
- Easy Christmas Ornament DIY (Using a Mop Head)
- Easy Potholder Doorknob DIY Pillow for Christmas
Sign up for DIY Emails
If you love these kinds of DIY ideas, you need to be getting my emails, friend! Each week I send out a couple of emails that include updates, crafts, shopping experiences, and decor inspiration. Be sure to get yourself signed up below.
I can’t wait to meet you! Leave your thoughts below in the comments, please… BTW— Life is short—Enjoy the mess!

Dollar Tree Christmas Card DIY
Materials
- Dollar Tree Christmas Card
- 3 miniature photo framses from the Dollar Tree
- Tissue paper colorful napkin or gift wrapping paper
- Paint if desired
- Magnolia Paint Pens if desired
- Glue gun and hot glue
- Scissors
Instructions
- You can start by removing the "guts" of the photo frame and setting them aside for later. Optionally, you can choose to paint your frame a color that matches your holiday decor or your everyday decor. Allow to dry. If the frames are already the color you love; skip this step.
- Taking the paint pen markers I added a touch of festive gold color to the inside edging of my photo frames to make them "pop". Again, if you already love the frame the way it is; skip this step.
- Next, take your paper of choice and cut to fit inside the frame. I chose to use my favorite MacKenzie-Childs tissue paper in their black and tan pretty check design for a little different look aside from the usual red and green holiday colors.
- Now you can reassemble your photo frame making sure to include the new paper inside showing through the glass front.
- Finally take the Christmas card and carefully remove the embellishment trying not to tear or bend it too much in the process. Keep the mounting tape on the back of the design to use with your project. Add a dot of glue if desired to the places that contain the mounting tape and place on the front of the glass on your photo frames. Display.
Love this! Such a McKinzie child vibe!
thank you!