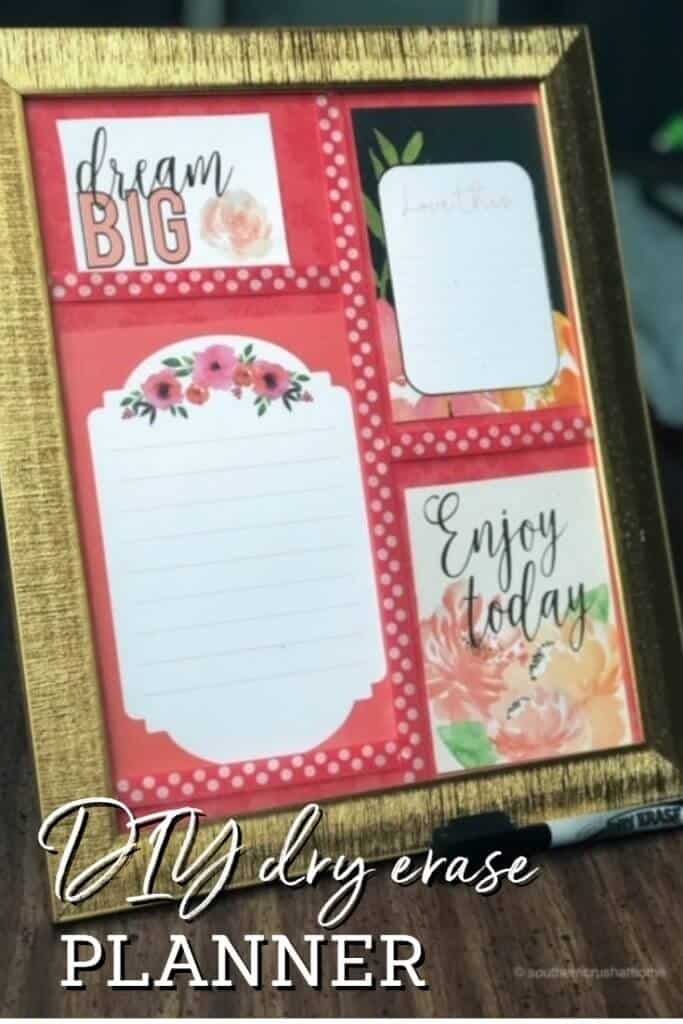
Fresh Start DIY Dry Erase Planner
Life can get so very busy and staying organized and focused can be quite difficult for a creative person! Even though I have multiple planners, both on paper and digital, I still seem to get off track during the day. This Fresh Start DIY dry erase planner idea came to me simply because I wanted something that stood out right in front of me all day as a reminder. A picture frame serves as the perfect choice, because not only is the glass front easy to use with dry erase markers, but the back comes with a handy stand for propping it up in front of me on my desk! I love everything about this…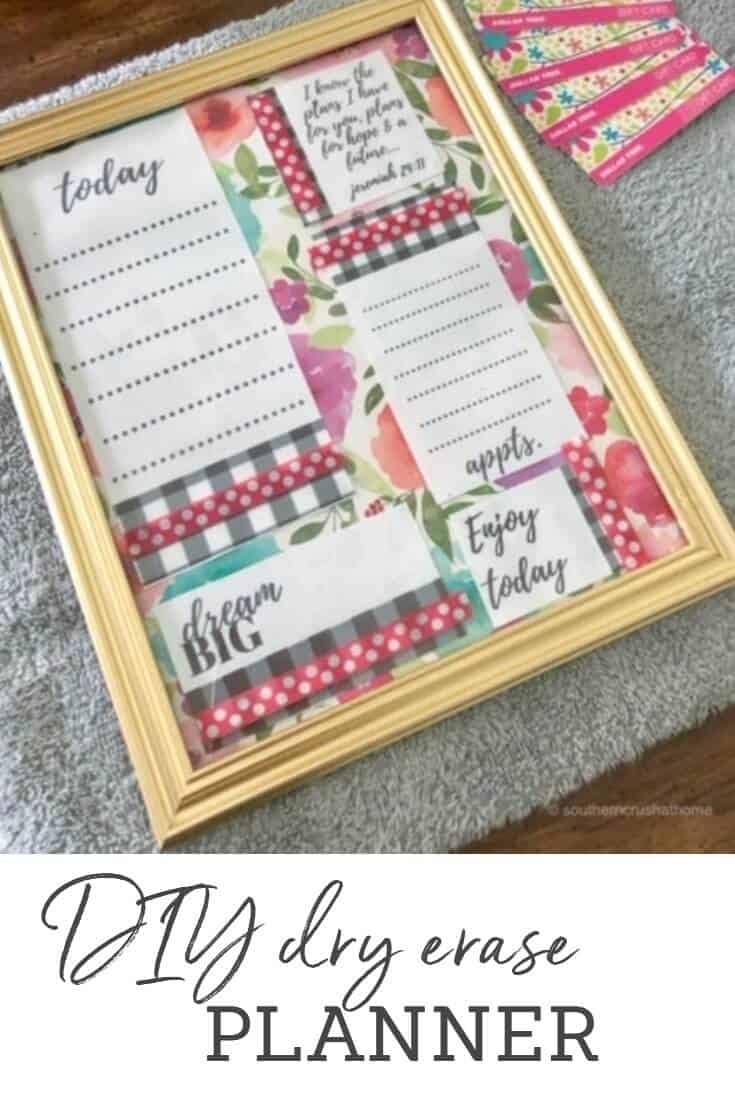
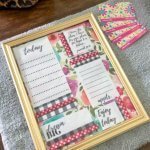
Y’ALL DON’T FORGET TO PIN THIS PROJECT FOR LATER!
dry erase planner SUPPLIES
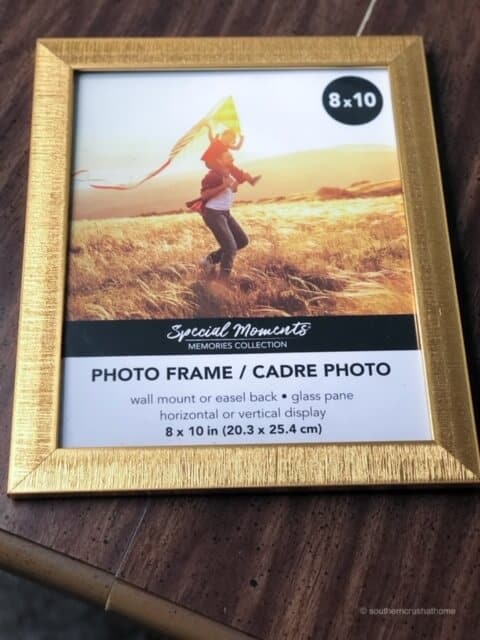
- 8X10 picture frame with glass
- scrapbook paper (optional)
- colorful fabric (optional)
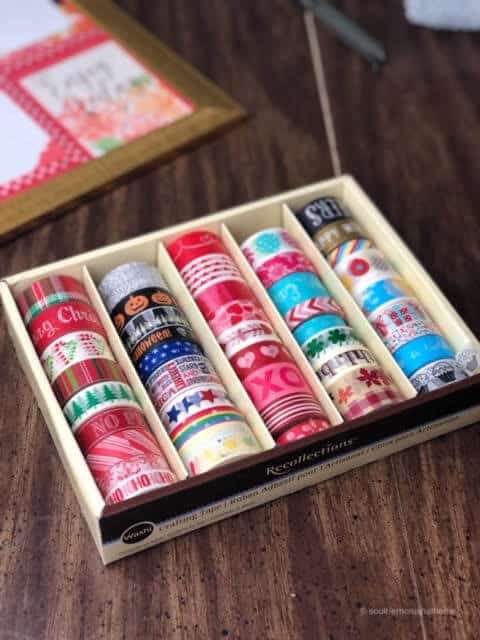
- washi tape (optional)
- cute printables (optional)
- dry erase markers
- embellishments like silk flowers, bling, buttons, etc.
This is the most versatile project, ever. You can literally do anything at all with it. It can serve as a DIY planner, menu planner, scripture reminder, habit tracker, etc. Get as creative as you want with all of the suggested materials. Chances are, you may even have a lot of these items in your home already – so this is a quick easy and inexpensive project to help you get more organized in your life!
Here are the easy steps:
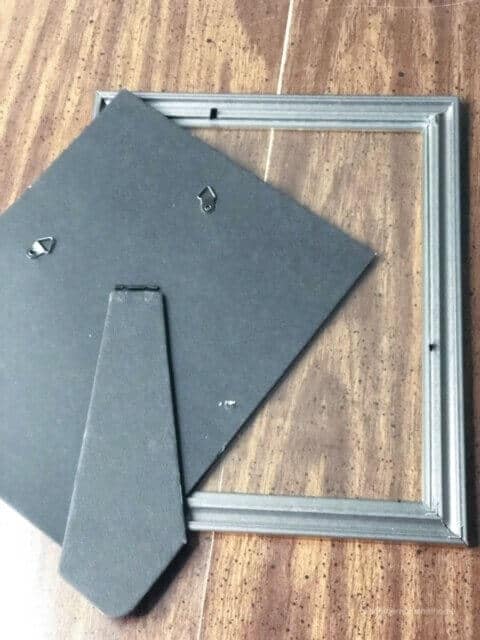
- Remove the back of the frame.

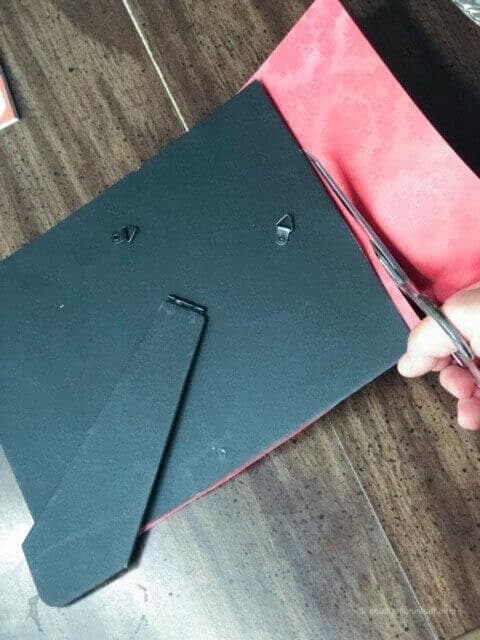
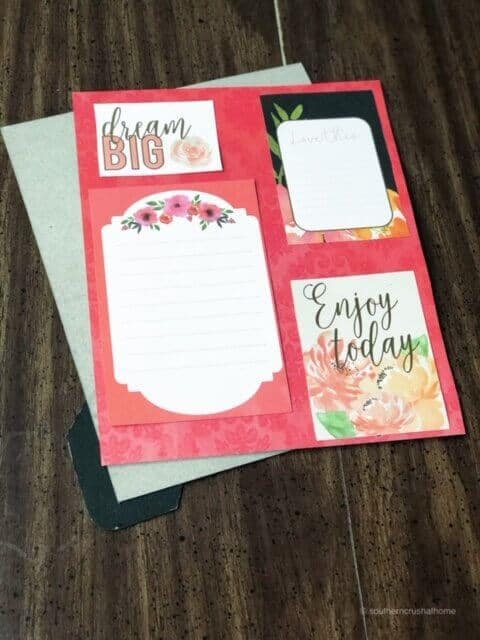
- Decorate the inside of the back piece with scrapbook paper cut to fit or fabric cut to fit or leave all white for a simpler look. Attach with glue to the back piece.
- Add your desired printable; calendar, to do list, inspirational quotes, etc. and attach with two sided tape, glue or glue dots.
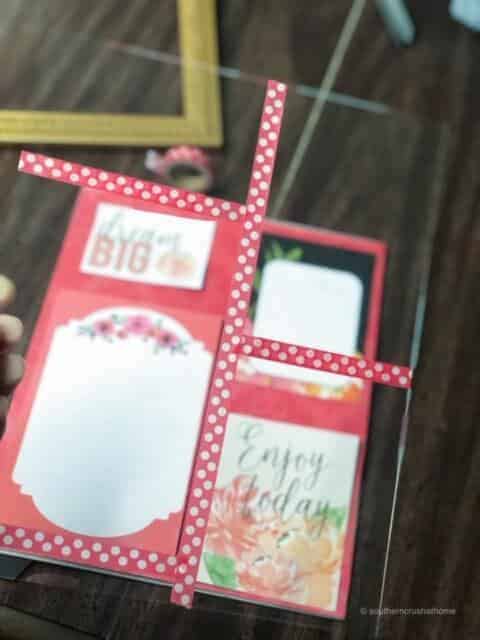
- Replace your back piece inside your frame and secure it in place.
- Add colorful washi tape to create distinctive lines or to decorate your glass front or the trim around the frame as desired.
- Add any embellishments you wish to the outside edges of the frame and attach with hot glue.
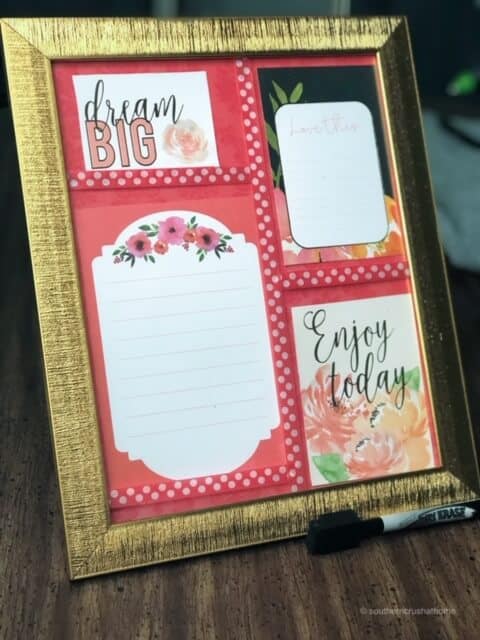
And there you have it! One of the most fun, creative ways to make your every day a better one! Now all of my main focus points and appointments are all at a glance without having to turn on a computer or open a paper planner. I still of course, use both of these, but it's helpful to keep the few must get done items right in view throughout the day to keep me from ‘chasing squirrels' so to speak.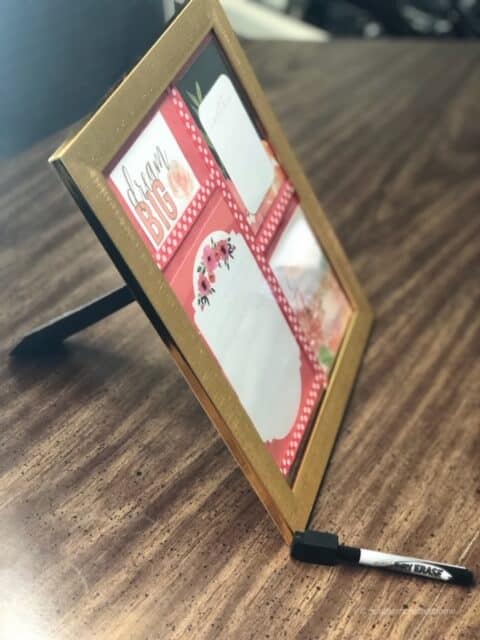
I hope you will make one for yourself. I'd love to see what you come up with. We had a huge group for our first Pajama Party online make this fun project. If you missed out; you can see us HERE.
Y’ALL DON’T FORGET TO PIN THIS PROJECT FOR LATER!
If you like staying organized, you may want to check out this post on how I organized my medicine cabinet in an afternoon! It is so nice to get things in order. Let me know if you try it!
Fresh Start Dry Erase Planner
Materials
- 1 8X10 picture frame with glass
- dry erase markers
- scrapbook paper optional
- colorful fabric optional
- washi tape optional
- cute printables optional
- embellishments like silk flowers,bling, buttons, etc. optional
Instructions
- Remove backing of frame
- Cut Scrapbook paper, printable or fabric to fit frame
- Replace backing of frame
- Embellish with washi tape for lines
- Embellish with flowers or bling
- Use dry erase markers to write on glass
These are adorable! Thank you!
Thank you and you’re so welcome!!