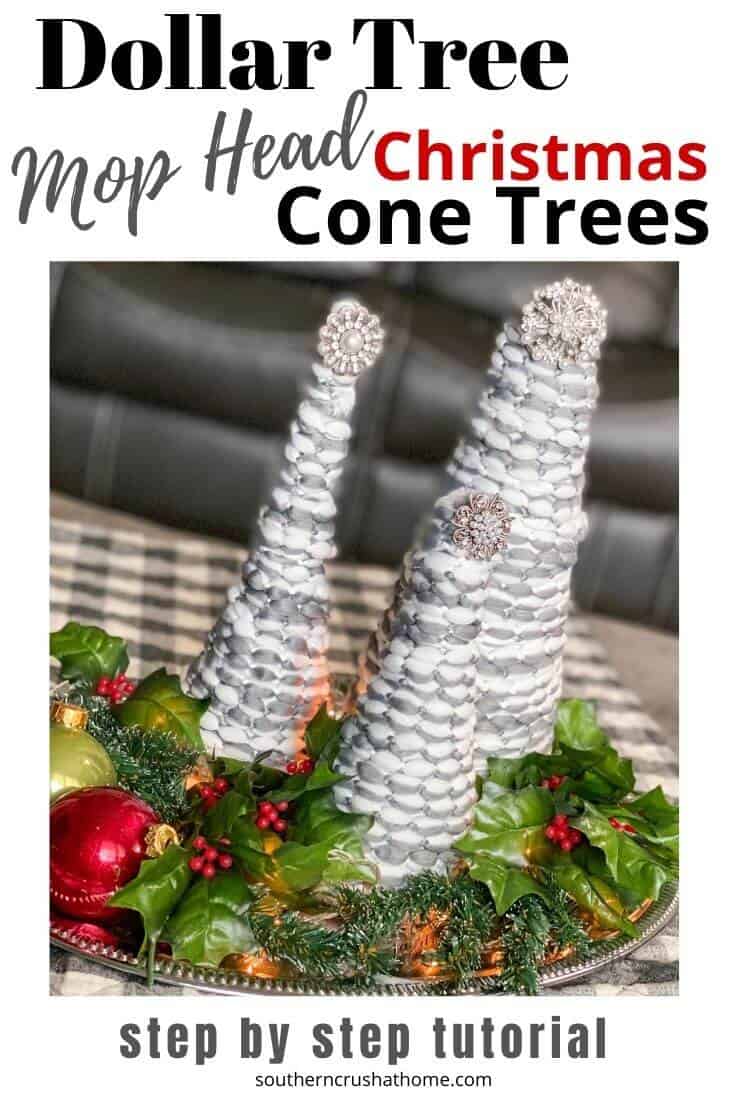
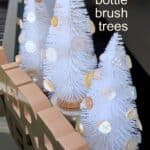
Easy Budget-Friendly Dollar Tree Bottle Brush Trees DIY
Are you looking for a quick and inexpensive way to add a festive touch to your home decor for Christmas without breaking the bank? If so, Dollar Tree Bottle Brush Trees may be just what you need!
PIN this for later!
This fun and creative project is perfect for anyone who loves to craft and wants to add a personal touch to their holiday decor.
This blog post contains affiliate links. The opinions are wholly my own from my own experience. I may earn a small commission from clicks through to the websites that end in a purchase.
Supplies Needed
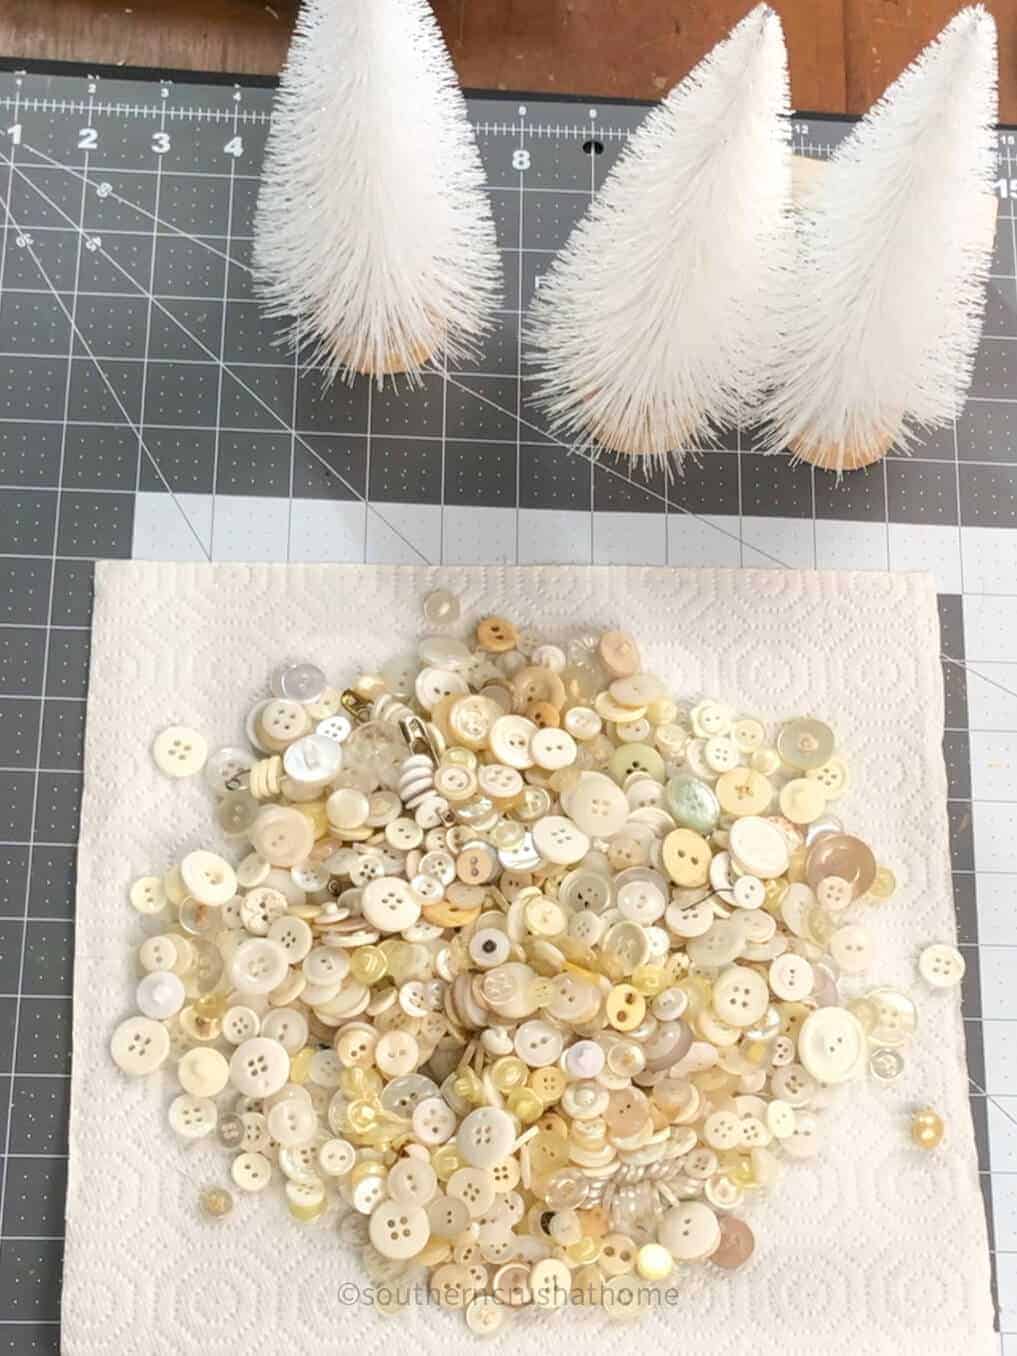
First, let's start with the materials you will need for your Dollar Tree Bottle Brush Trees Christmas Trees DIY. The best part is, that you can find them all at your local Dollar Tree!
- bottle brush trees
- buttons
- hot glue
- scissors
- optional fairy lights
How to DIY Bottle Brush Trees for Christmas
Let me show you how to create beautiful and unique Christmas decorations with Dollar Tree Bottle Brush Trees. With just a few simple steps, you can have beautiful decor you can be proud of!
It's time to start creating your Bottle Brush Trees.
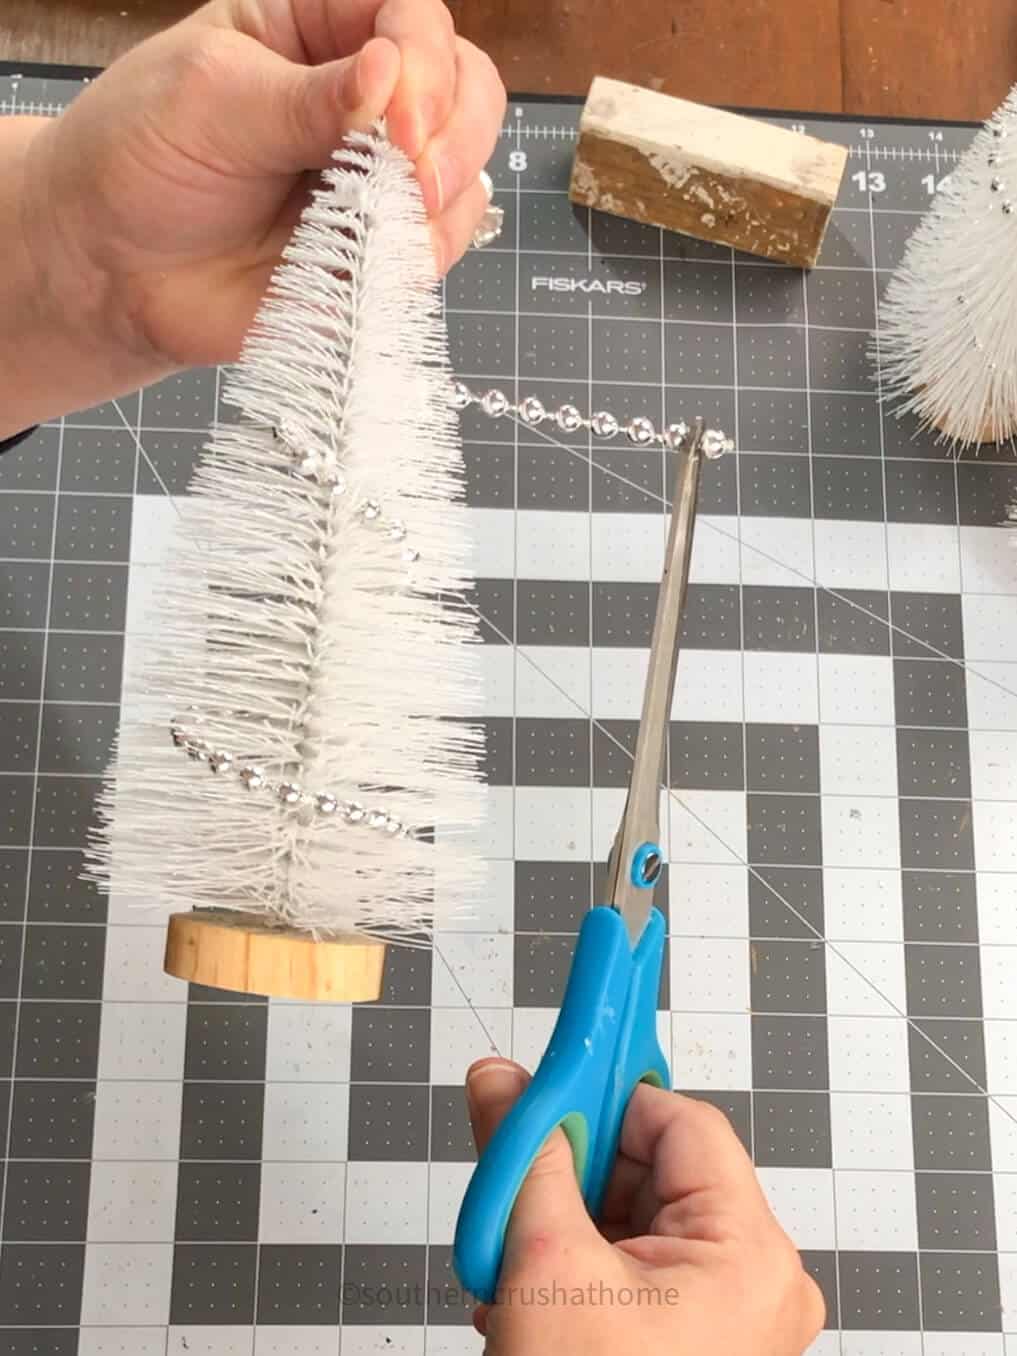
Step One
Begin by removing any embellishments already around each tree. Mine had a silver bead garland that I removed easily with a pair of scissors.
Step Two
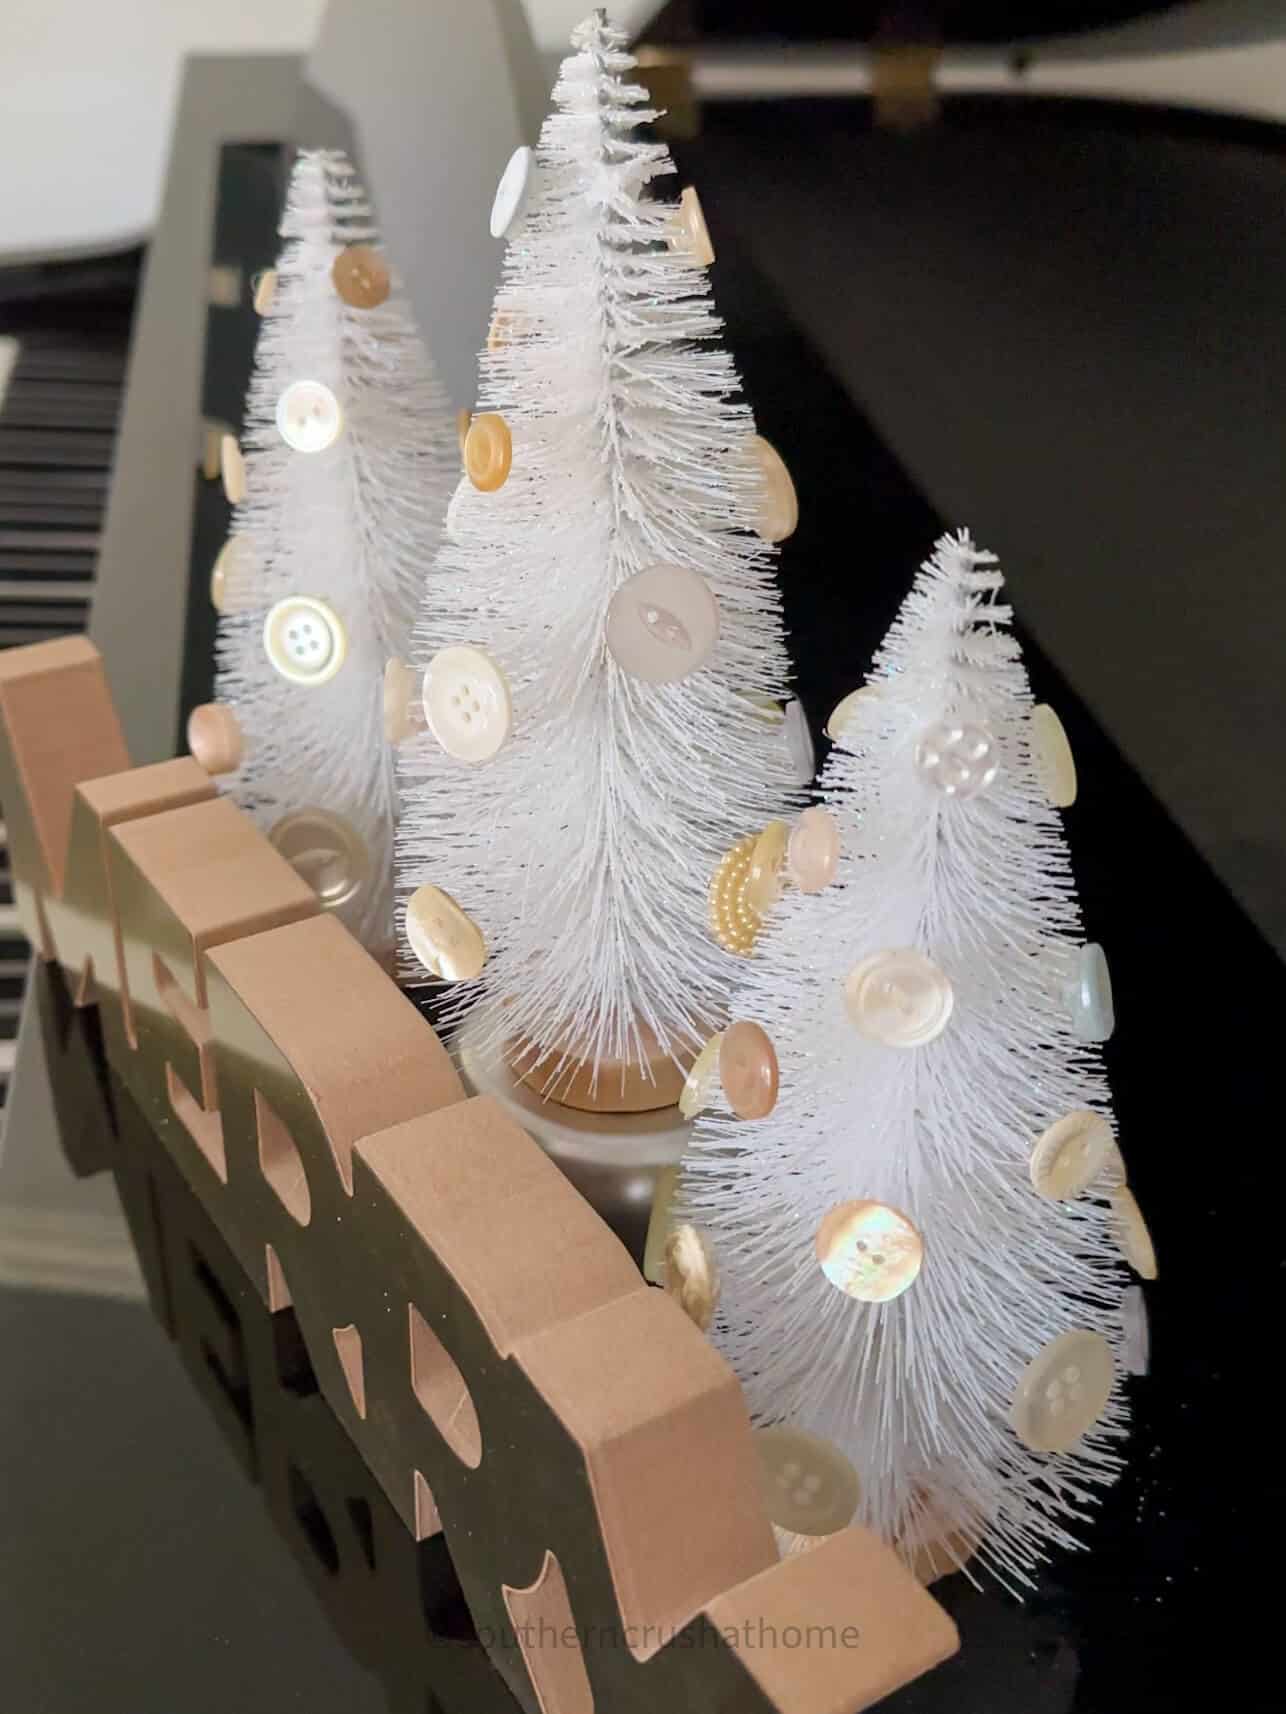
This is the fun part! Get as creative as you can with this! Gather your buttons (I used all neutral cream button colors).
You can use another set of colors, multi-colors or traditional red and green colors. I also think all pearl buttons would be amazing!
Step Three
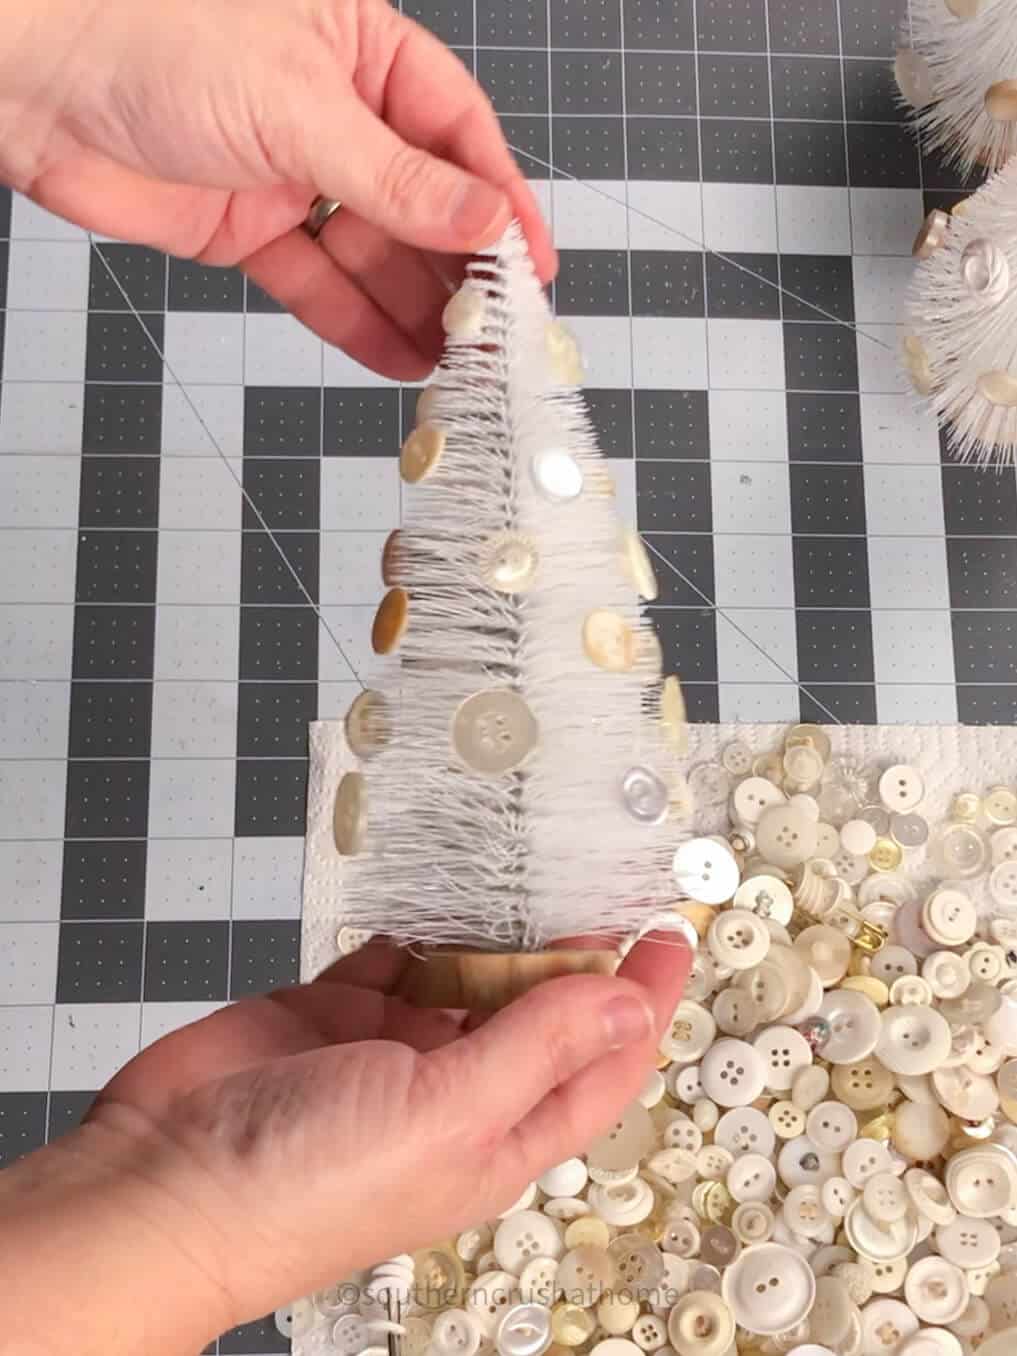
Next, use hot glue to secure them onto the bottle brush trees.
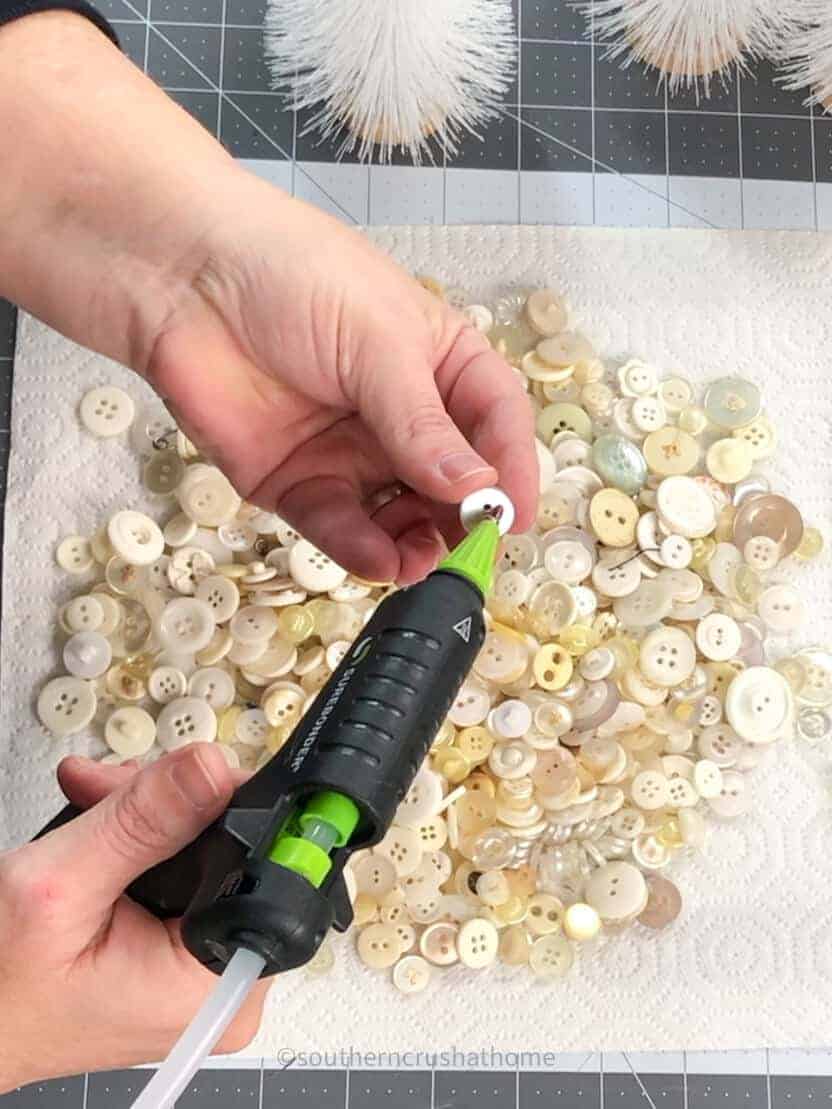
Be sure to take your time and add each button carefully to create a beautiful design.
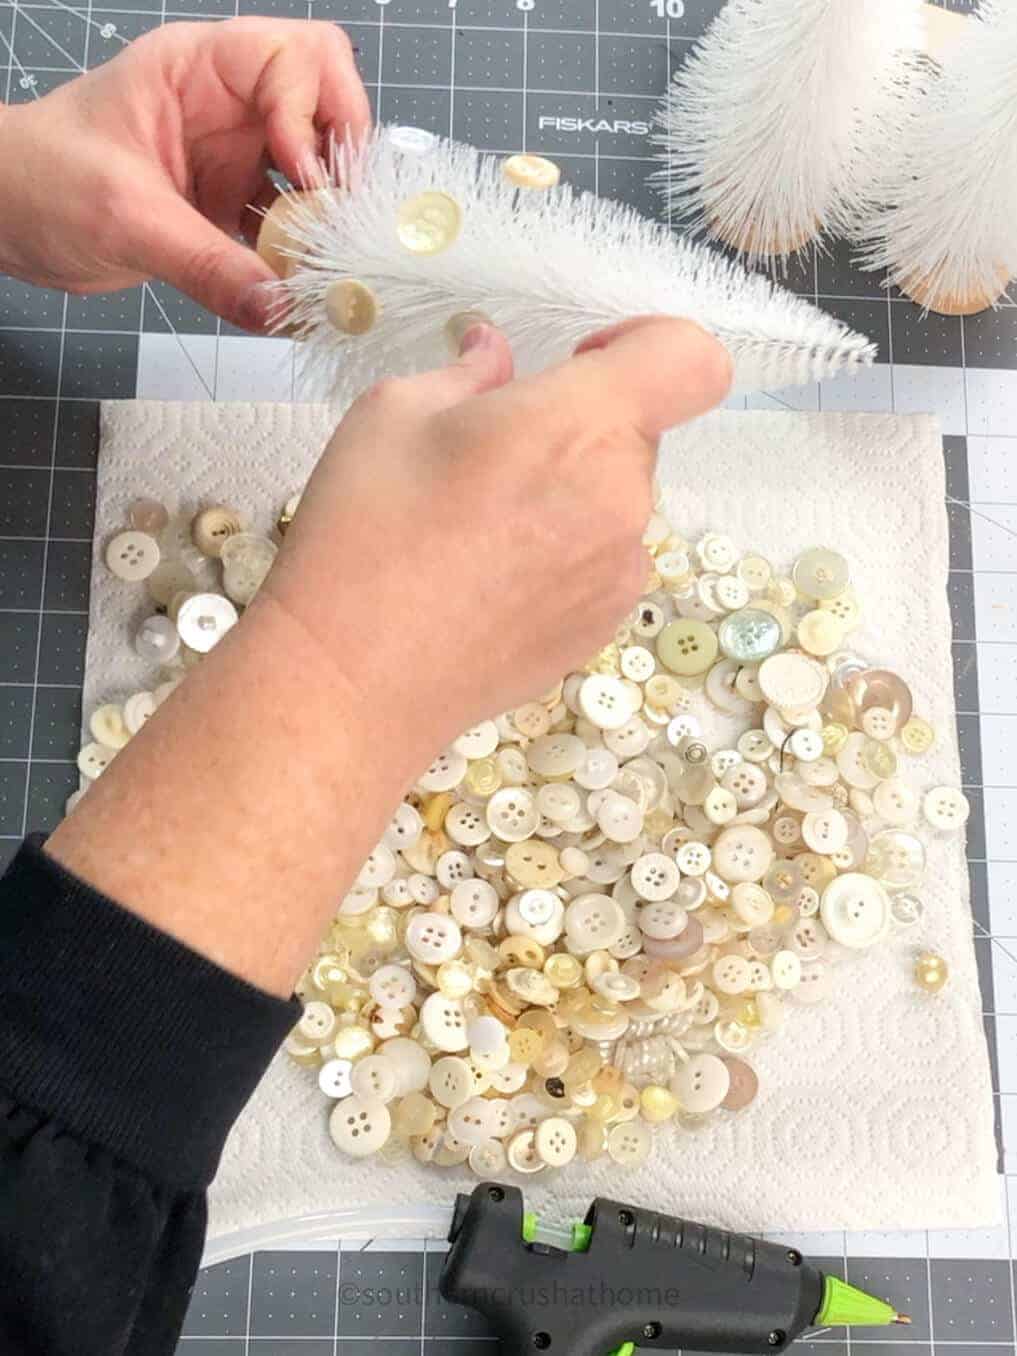
I followed the pattern of the five dots on a die.

Mix and match so that there are different colors or shades of buttons all over the bottle brush tree.
Step Four
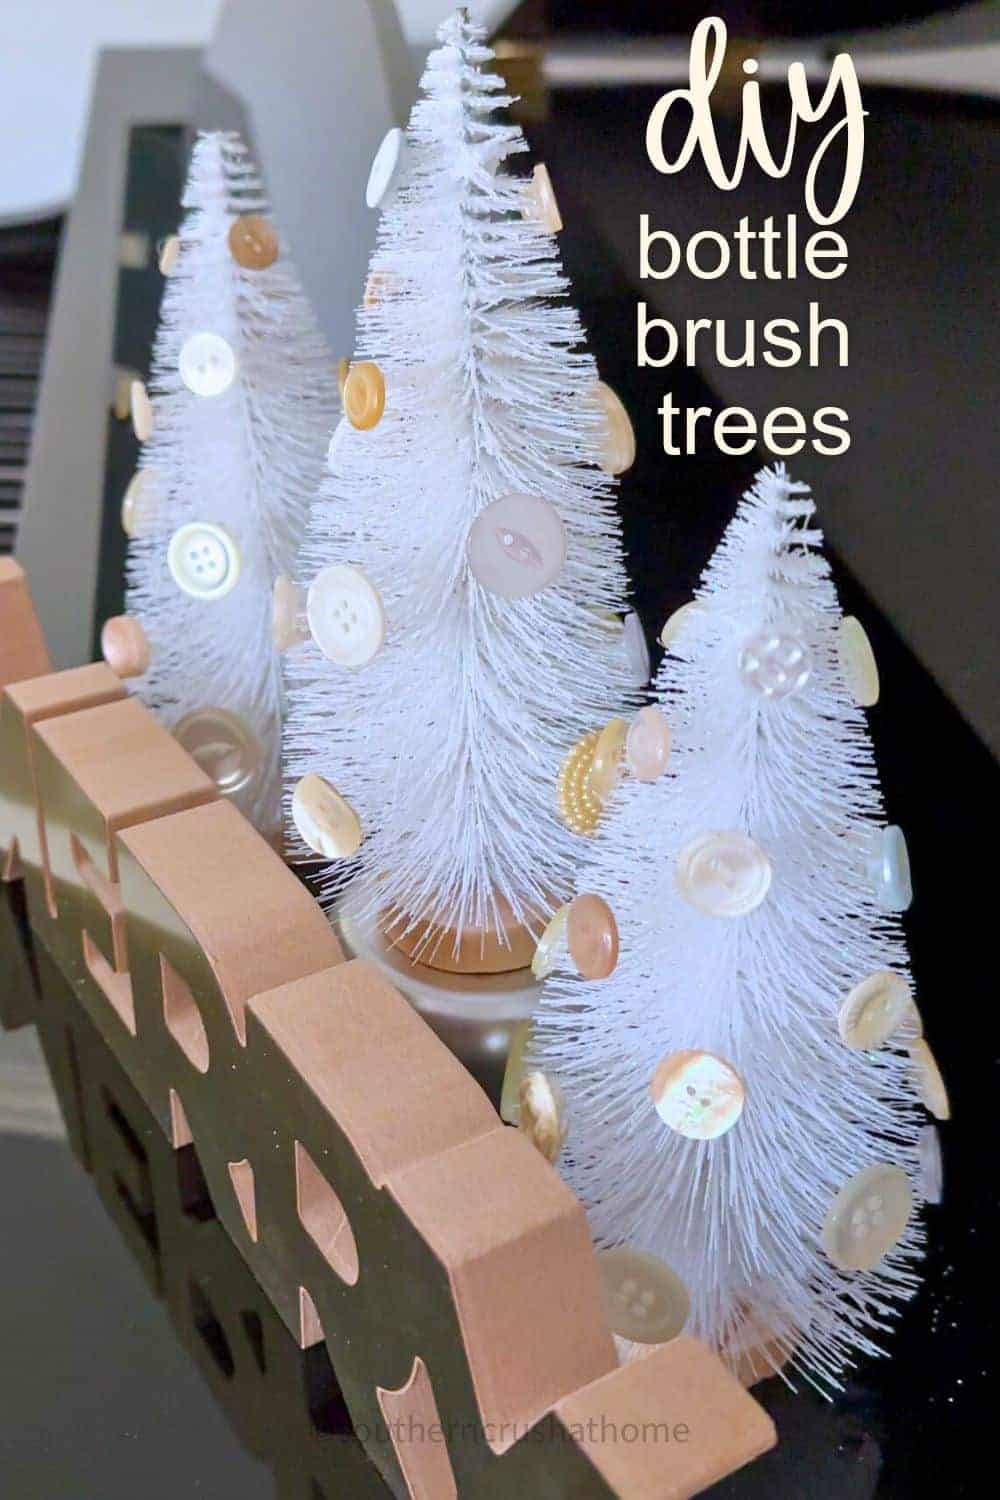
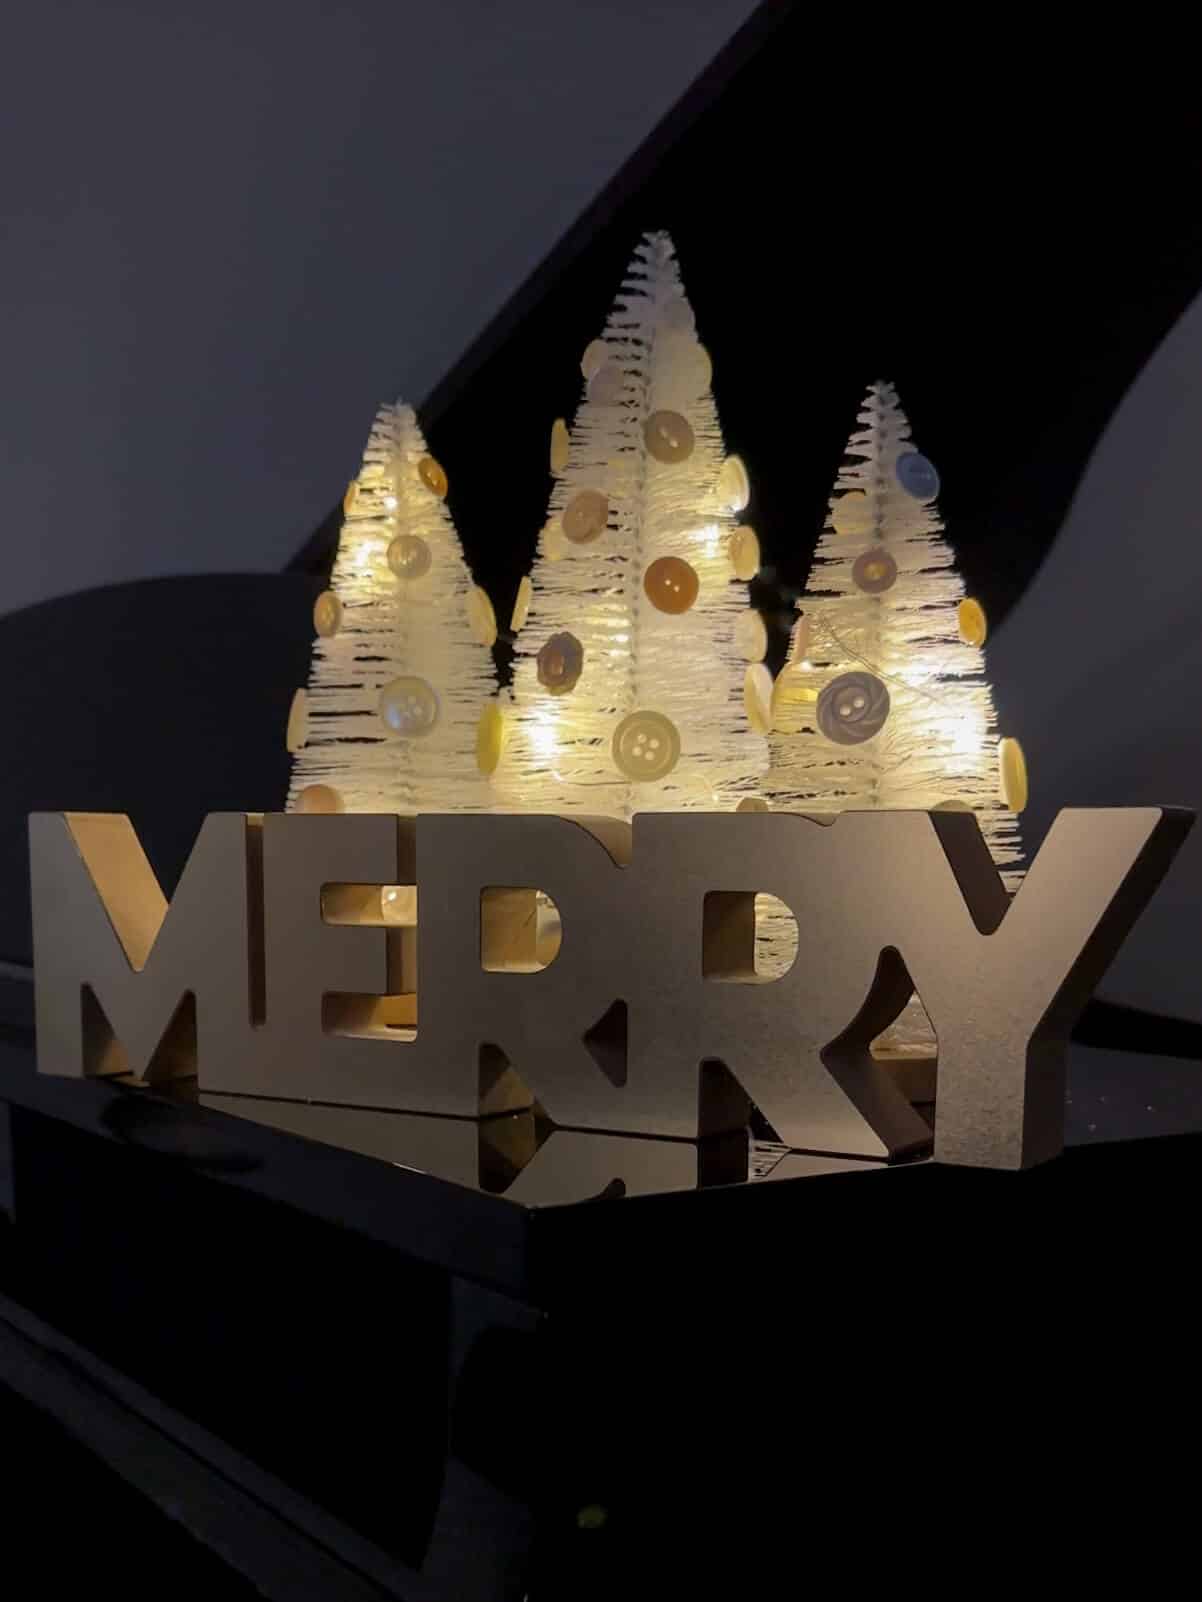
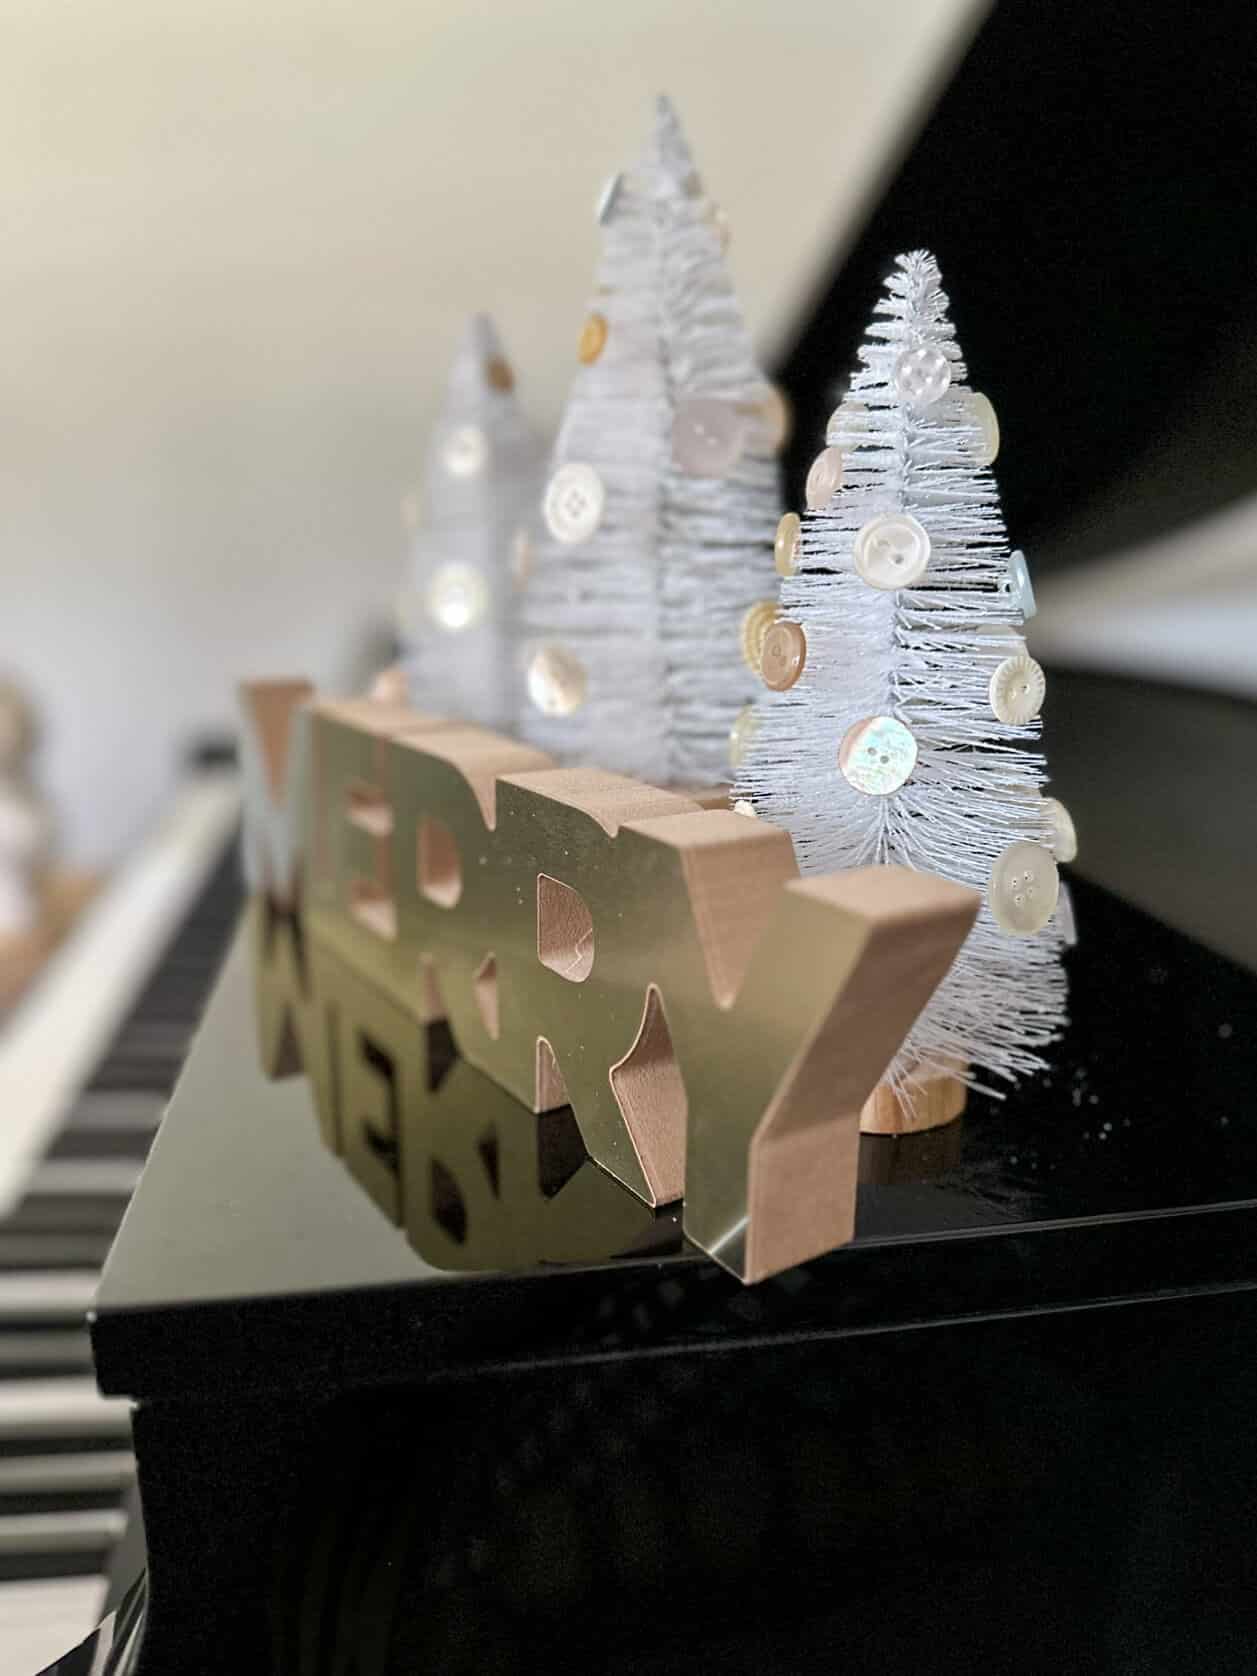
Now that your trees are decorated, it's time to display them! One great way to do this is to place them on a small tray or in a glass jar with some fake snow or glitter.
You can also use them as a centerpiece for your holiday table, or create a small display on a mantle or shelf.
I placed mine on top of my piano along with a gold “MERRY” sign.

I added optional fairy lights to highlight the buttons on the trees.
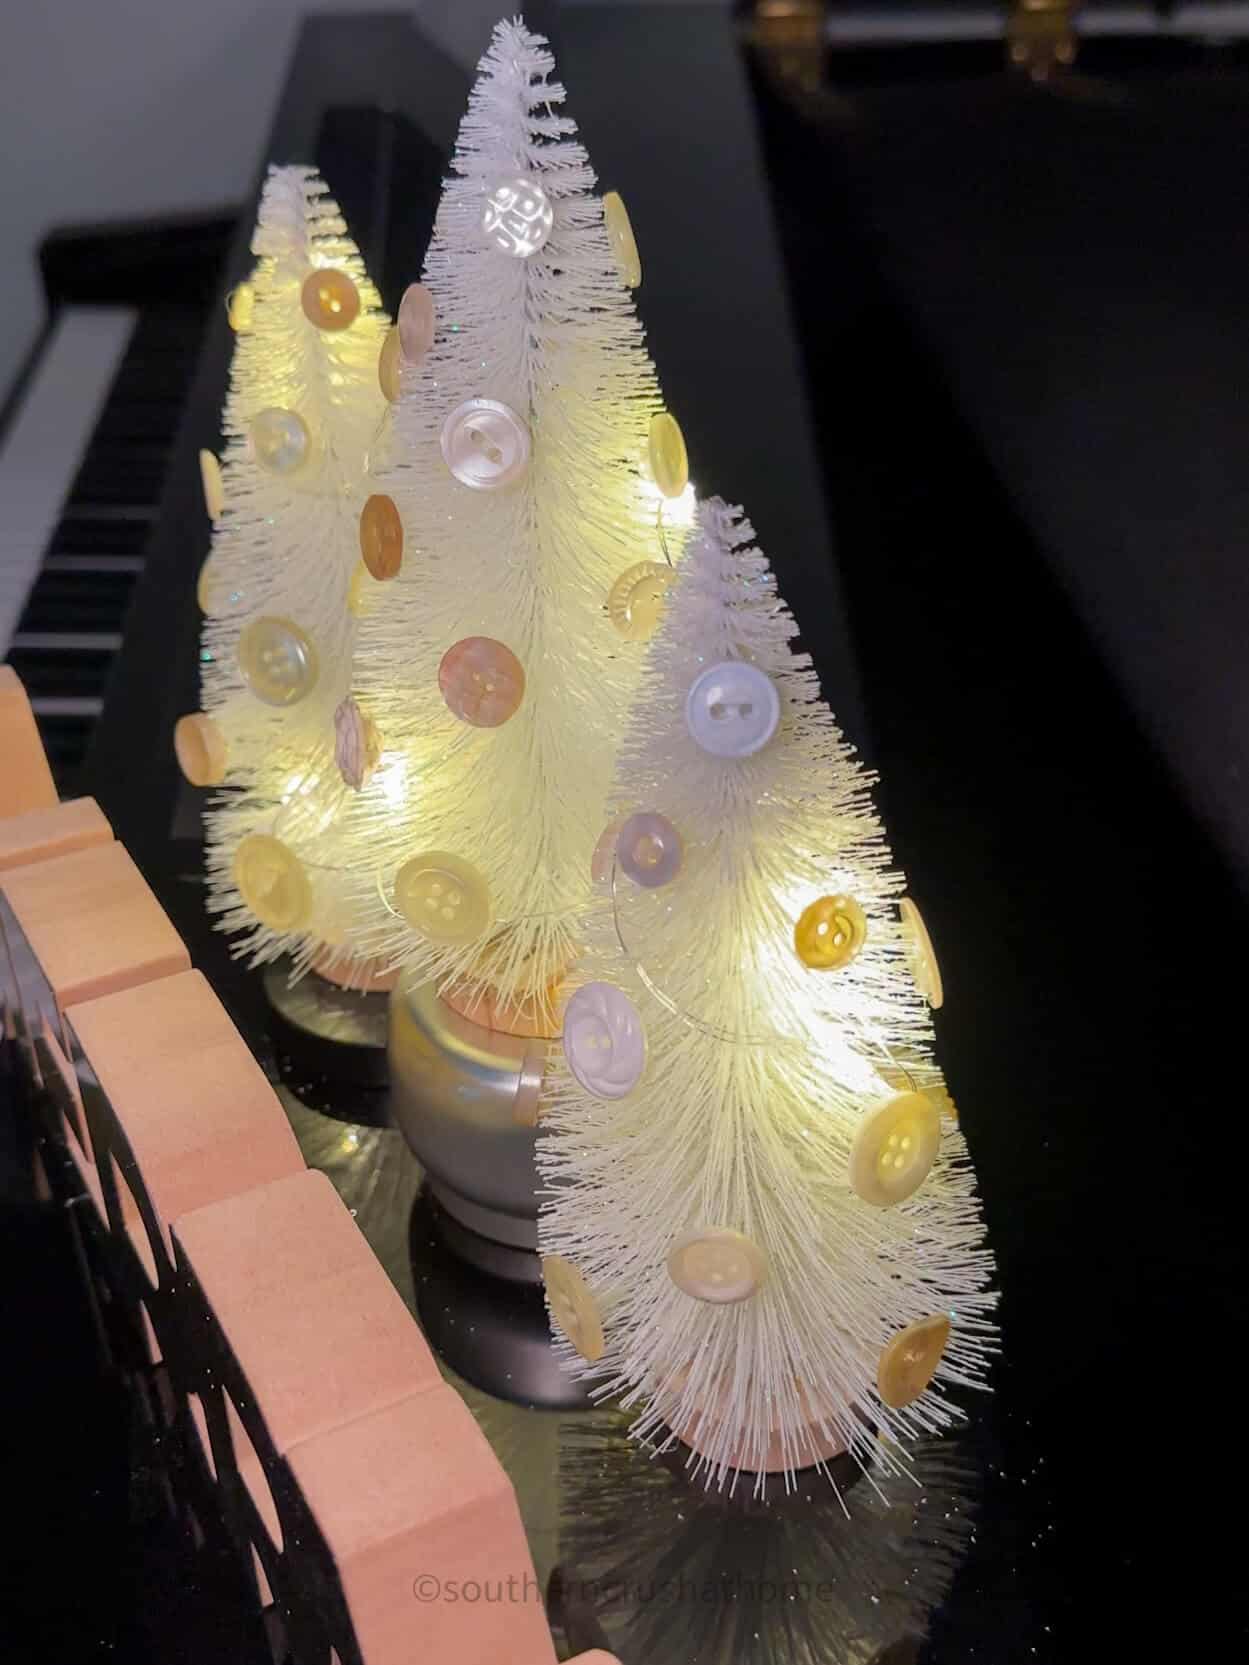
These turned out so pretty! What do you think?
Let me know in the comments below if you will try this one!
If you want to take your Dollar Tree Bottle Brush Trees DIY to the next level, try incorporating them into a larger decor project. For example, you can use them to create a wreath or garland or add them to a holiday village scene for an extra touch of festivity. With a little creativity, the possibilities are endless!
Dollar Tree Bottle Brush Trees make it easy and affordable to create beautiful and unique decor for your home this holiday season.
With just a few simple steps and a little creativity, you can create a festive atmosphere that your family and guests will love.
So, tap into your button collection and head to your local Dollar Tree to start creating your own Bottle Brush Trees today!
More Christmas Inspiration
Easy Budget-Friendly Dollar Tree Bottle Brush Trees DIY
Materials
- bottle brush trees
- buttons
- hot glue
- scissors
- optional fairy lights
Instructions
- Begin by removing any embellishments already around each tree. Mine had a silver bead garland that I removed easily with a pair of scissors.
- This is the fun part! Get as creative as you can with this! Gather your buttons (I used all neutral cream button colors). You can use another set of colors, multi-colors or traditional red and green colors. I also think all pearl buttons would be amazing!
- Next, use hot glue to secure them onto the bottle brush trees. Be sure to take your time and add each button carefully to create a beautiful design. I followed the pattern of the five dots on a die.
- Mix and match so that there are different colors or shades of buttons all over the bottle brush tree.
- Now that your trees are decorated, it's time to display them!