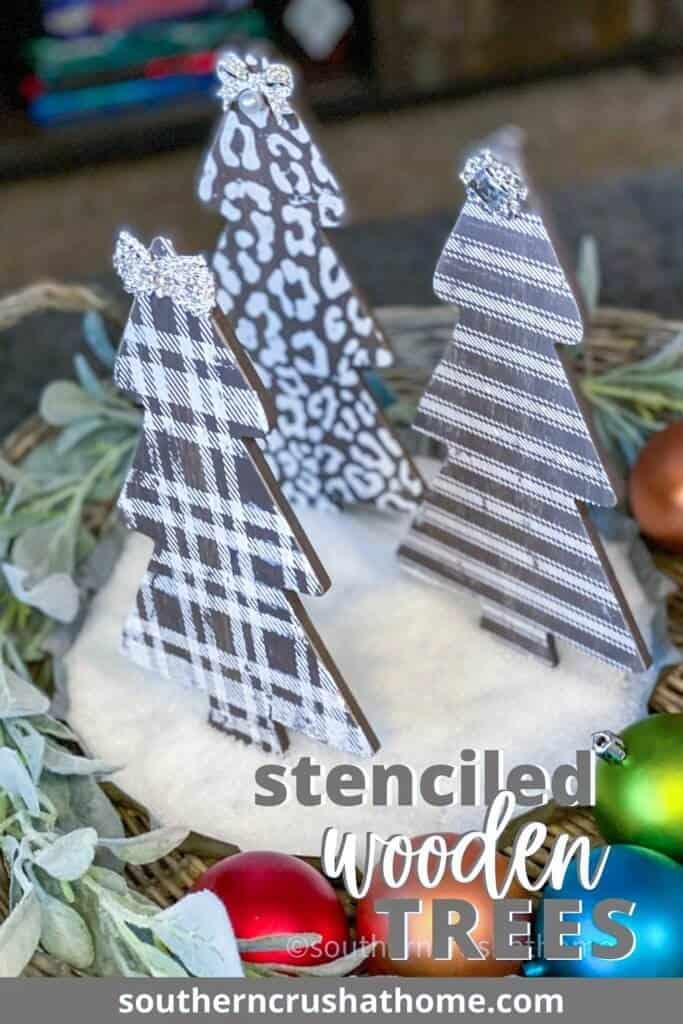
Stenciled Wooden Trees Decor
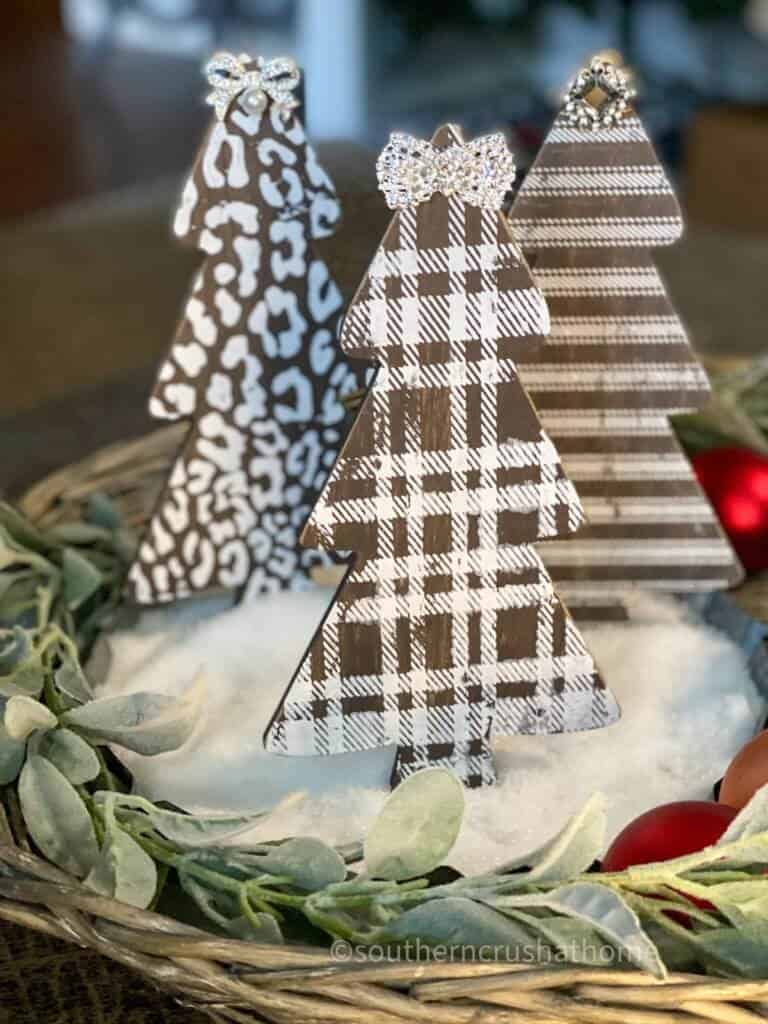
I have to admit that making this pretty trio of stenciled wooden trees was a lot of fun! Using trees from the Target Dollar Spot, my favorite bling and reusable mesh stencils made this DIY really look professional; whatever that means- lol! Anyone can make their own version of this DIY project using these steps…
Be sure to PIN this one for later!
what's needed to stencil wooden trees
- Reusable mesh stencils (use your favorite pattern–I used these from A Maker's Studio)
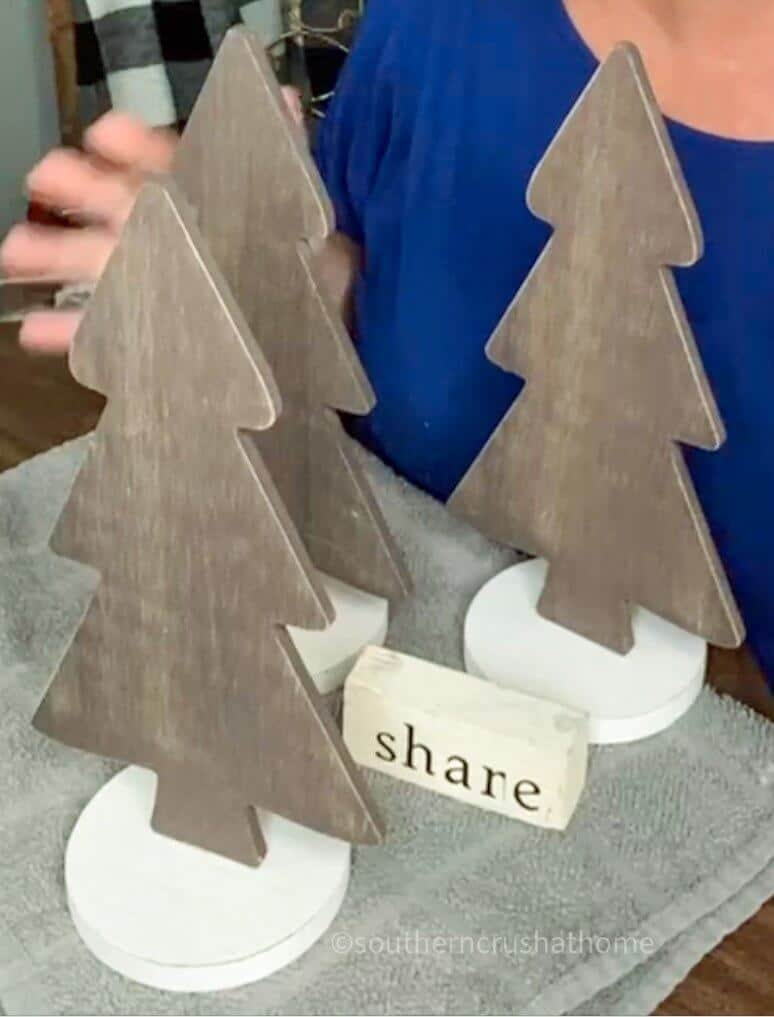
- Set of wooden trees from Target Dollar Spot or make your own

- Chalk Paint or Chalk Paste (I used this from A Maker's Studio)
- Bling or other embellishment
- Tray for displaying
- Epsom salt for displaying
- Hot Glue Gun and glue
how to stencil wooden trees
- Peel your stencil off of it's backing.
- Apply to front of wooden tree.
- Smooth out any bubbles.
- Apply chalk paint or paste using a squeege.

- Move quickly and remove any excess.
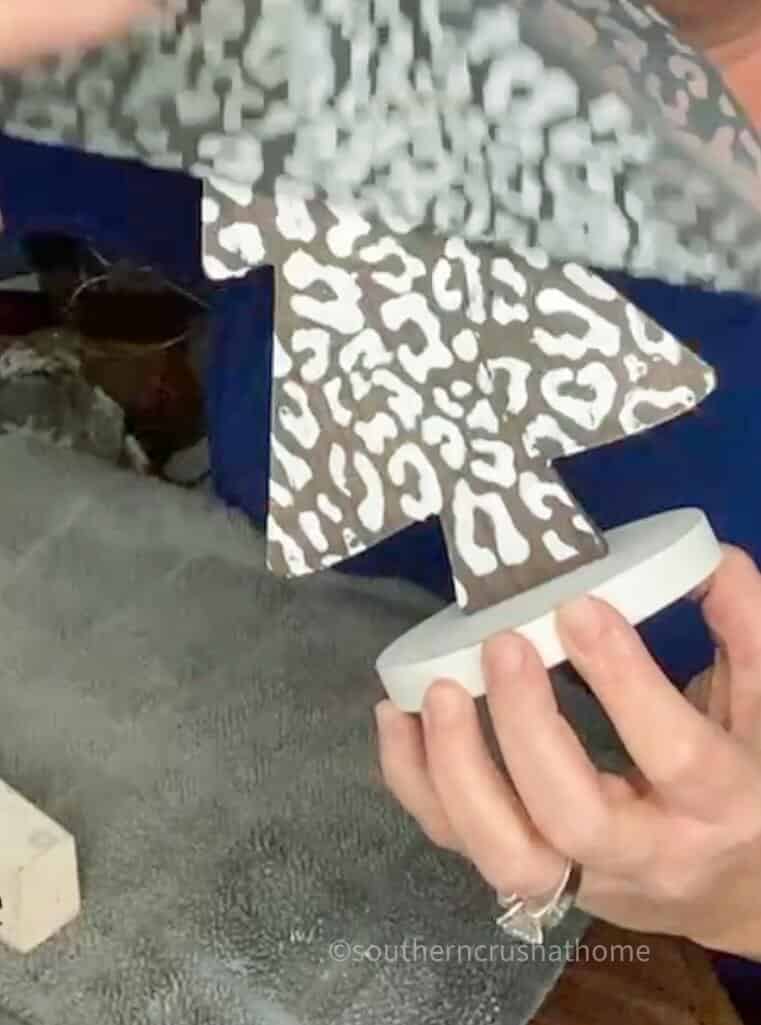
- Remove stencil to reveal pattern.

- Immediately rinse off reusable stencil for future use.
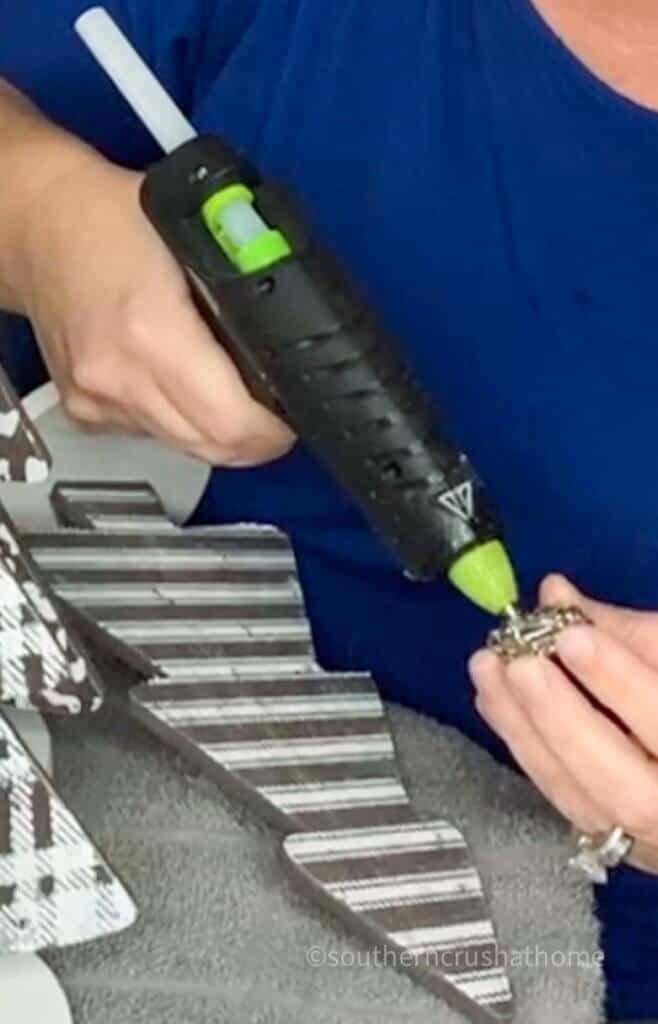
- Hot glue the bling to the top of the tree for the star.

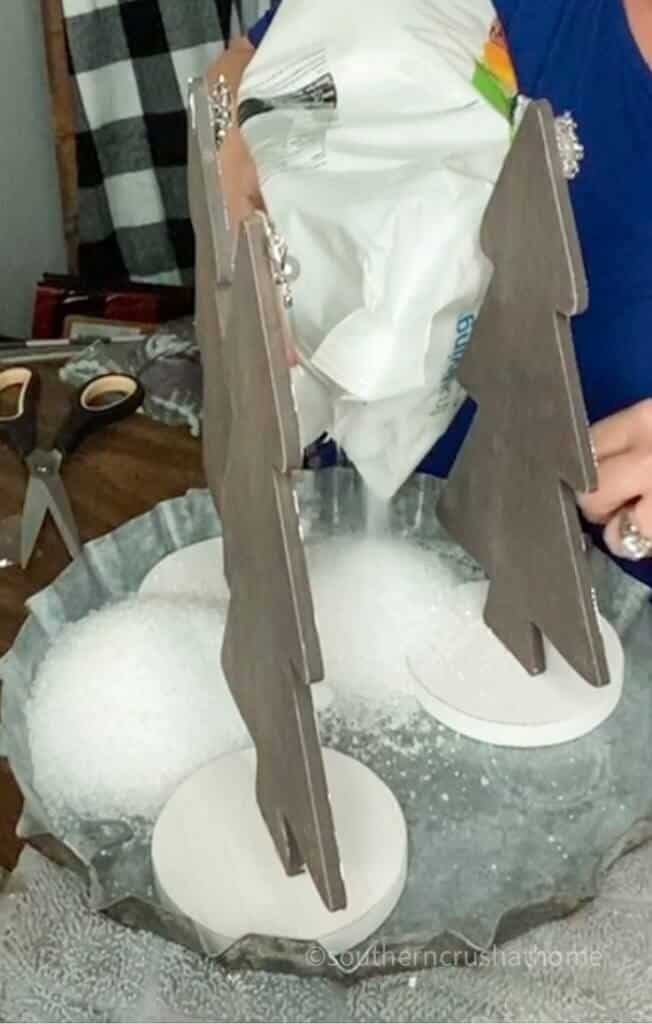
- Arrange your finished trees in a tray.
- Add epsom salt to resemble snow.

- Add additional decor to your winter scene as desired.

I just love this trio of stenciled wooden trees
These took no time flat and turned out super cute! I hope you'll try some for your own. Which one of these is your favorite? Let me know in the comments below.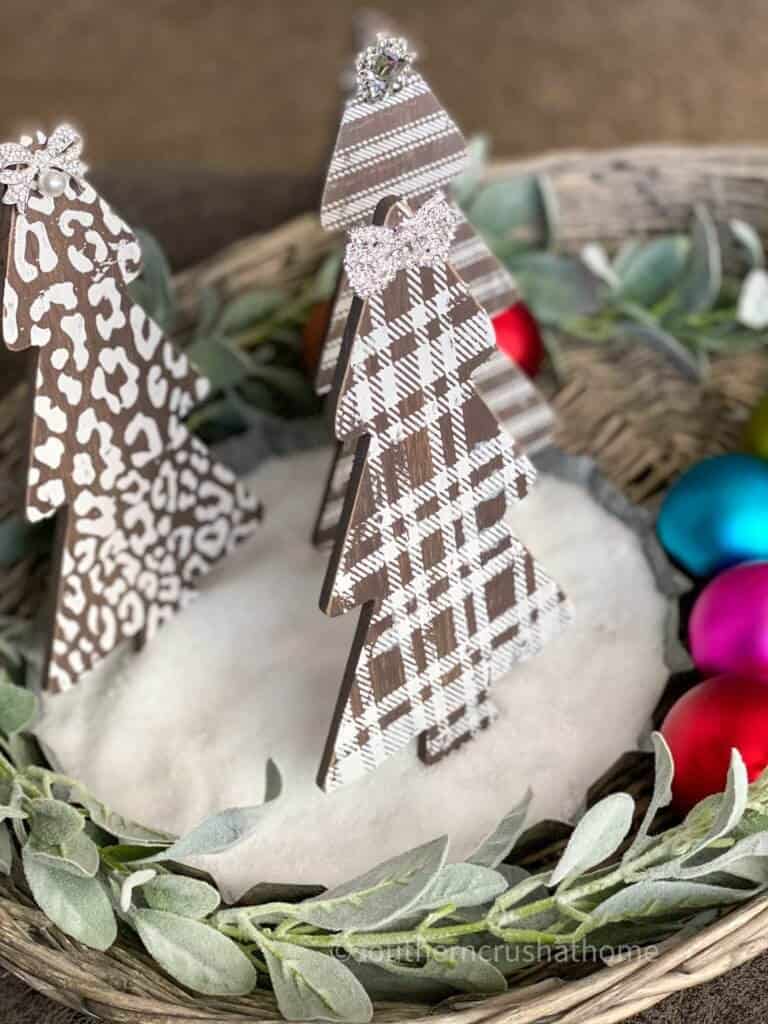
tips for using mesh stencils
- Be sure to smooth out all bubbles when applying stencils to your surface. This will help avoid any “bleeding” of your paints.
- Spread your paint or paste quickly and evenly. Avoid going back and forth which also causes “bleeding” of the paint outside of the crisp clean lines of your design.
- If you do not have access to chalk paste or chalk paint; make your own with my DIY Chalk Paint Recipe HERE.
- Wash your stencils well with warm water and a magic eraser as soon as possible after use in order to help them last for multiple projects.
SIGN UP FOR MY EMAILS
If you love these kinds of DIY ideas, you need to be getting my emails, friend! Each week I send out a couple of emails that include updates, crafts, shopping experiences, and decor inspiration. Be sure to get yourself signed up below.
I can’t wait to meet you! Leave your thoughts below in the comments, please… BTW— Life is short—Enjoy the mess!

DIY Stenciled Wooden Trees
Equipment
Materials
- Reusable mesh stencils use your favorite pattern--I used these from A Maker's Studio
- Set of wooden trees from Target Dollar Spot or make your own
- Chalk Paint or Chalk Paste I used this from A Maker's Studio
- Bling or other embellishment
- Tray for displaying
- Epsom salt for displaying
Instructions
- Peel your stencil off of it's backing.
- Apply to front of wooden tree.
- Smooth out any bubbles.
- Apply chalk paint or paste using a squeege.
- Move quickly and remove any excess.
- Remove stencil to reveal pattern.
- Immediately rinse off reusable stencil for future use.
- Hot glue the bling to the top of the tree for the star.
- Arrange your finished trees in a tray.
- Add epsom salt to resemble snow.
- Add additional decor to your winter scene as desired.