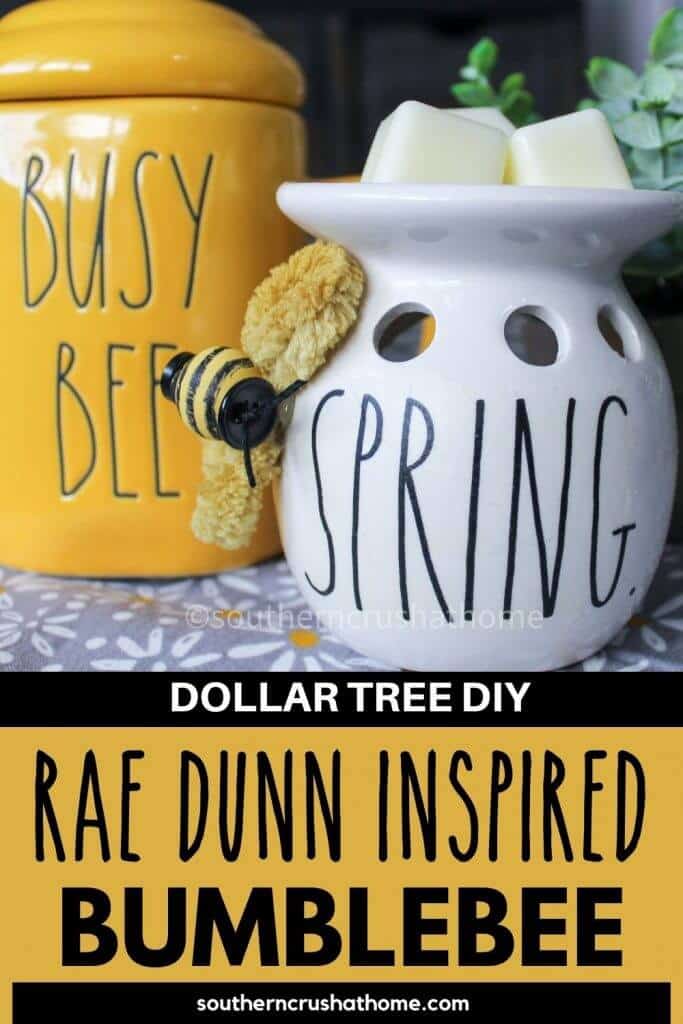
Cute Bumblebee DIY Using Loopy Yarn
Bumblebees are trending for home decor and they are also so fun to make! See how to make a cute bumblebee DIY using loopy yarn for yourself with these easy instructions…
Be sure to PIN this one!
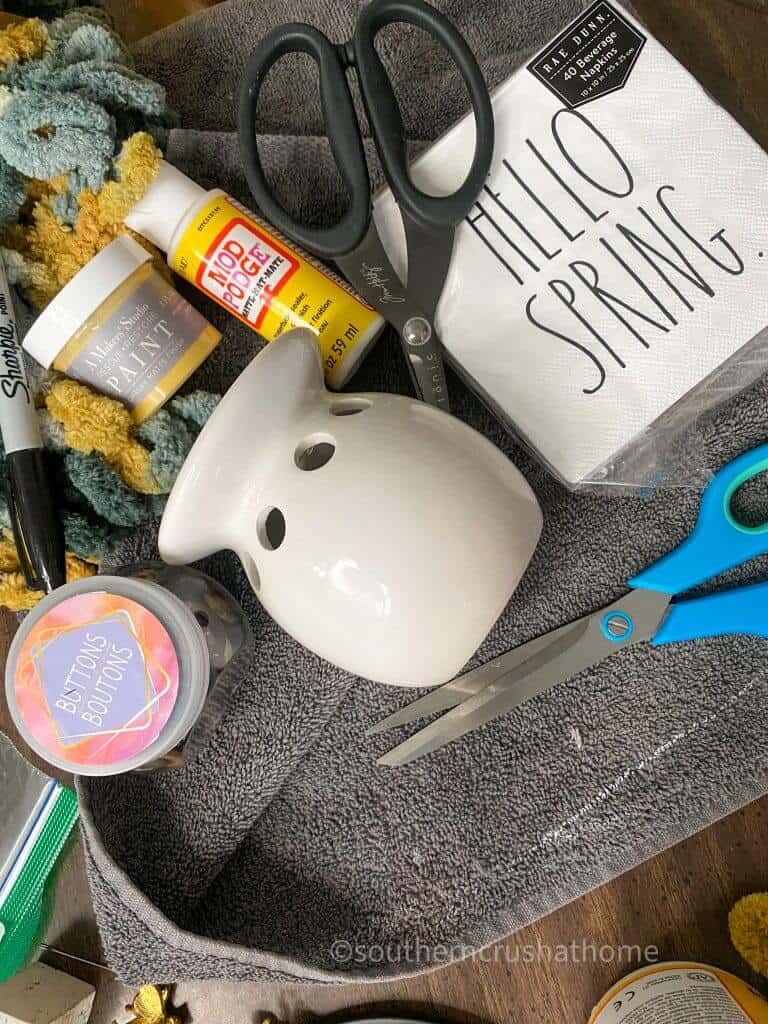
Supplies needed to create a cute bumblebee with hive wax warmer
- Dollar Tree Wax Warmer
- Mod Podge
- Decorative Napkins
- Baggie or Saran Wrap
- Loopy Yarn
- Wooden Bead
- Yellow Paint
- Sharpie
- Black Buttons
- Black Embroidery Thread
- Heat Gun (optional)
- Hot Glue Gun
- Paint Brush
- Scissors
How to Make a Cute Bumblebee DIY
Oh, friend, isn't it just the best when you stumble upon a craft that's as sweet as summer lemonade? That's exactly how I feel about making a bumblebee out of loopy yarn.
It's one of those projects that brings a little sunshine with it, no matter the weather outside.
And don't worry about being perfect; this is the kind of craft where a little quirkiness only adds to the charm. It's like making a new friend who's happy just to be created by you.
Step One:
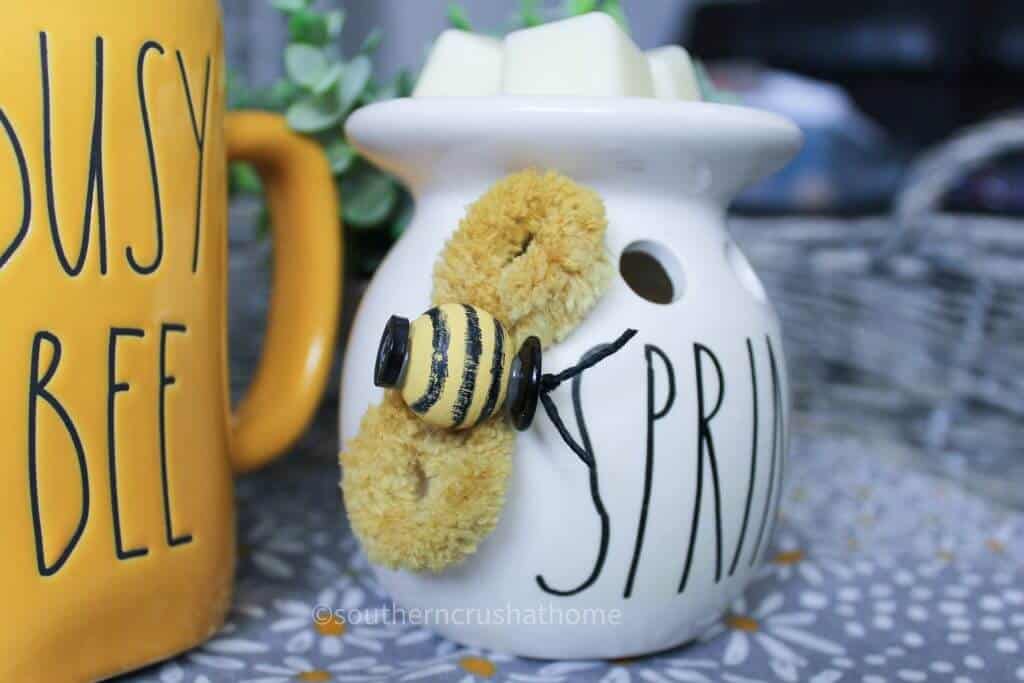
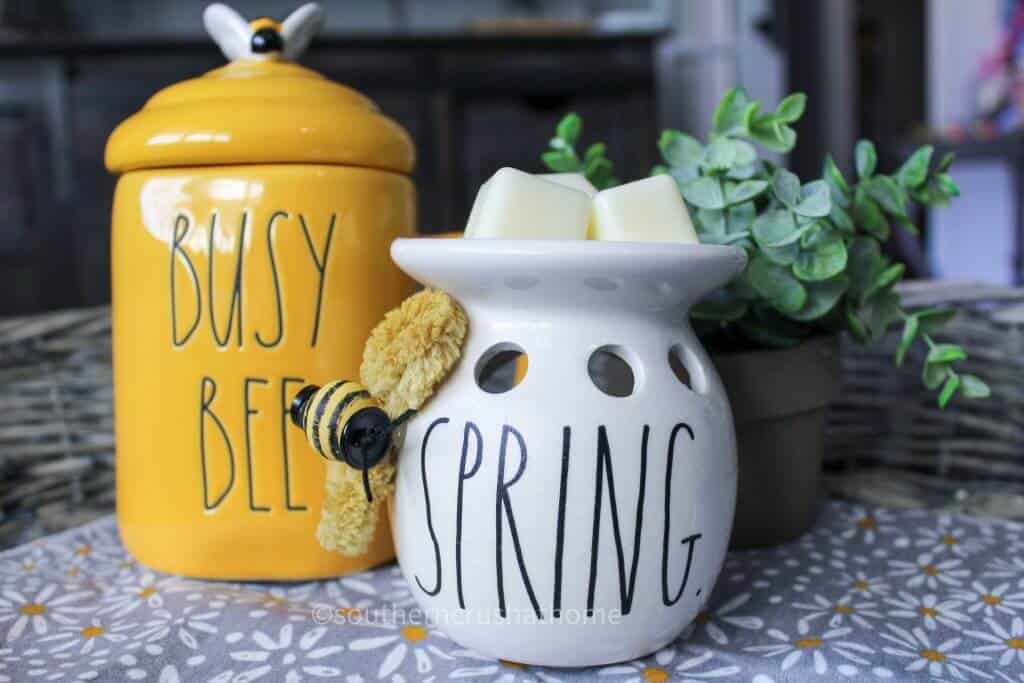
Paint the wooden bead yellow. Create black stripes around bead with black Sharpie. Allow to dry. 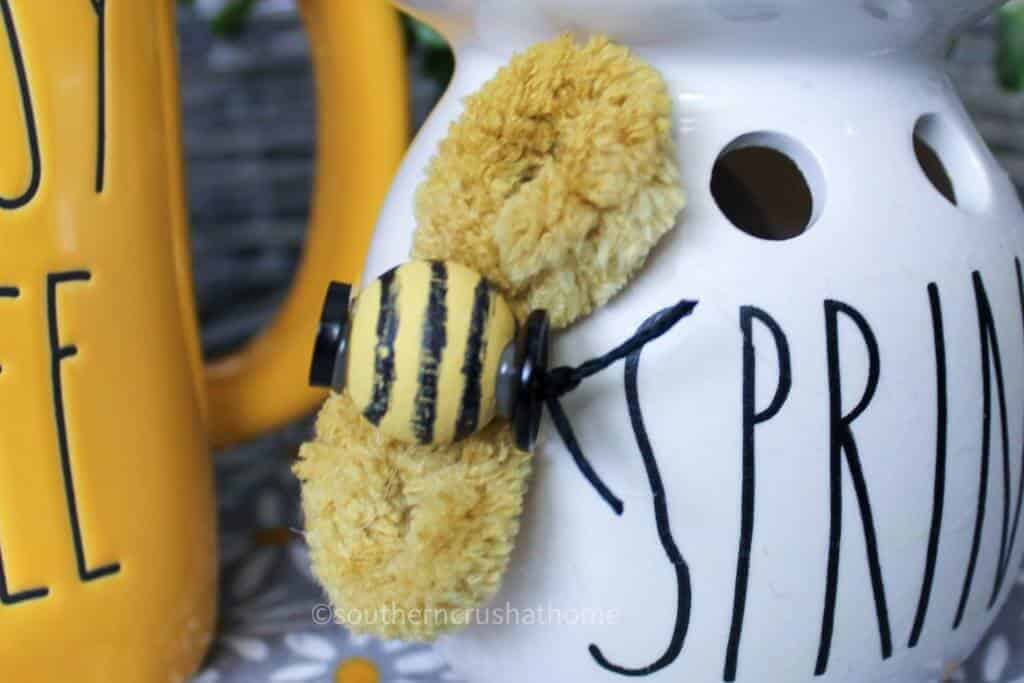
Step Two:
Thread embroidery floss through a black button through two holes. Tie off into a double knot and trim to create bumblebee antennae.
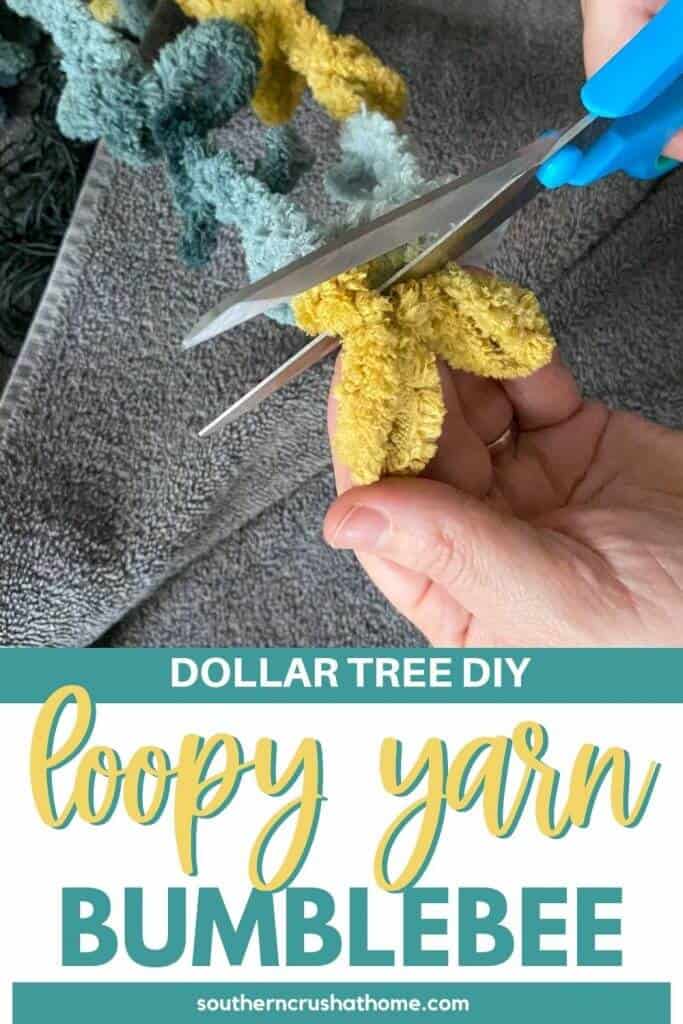
Hot glue button head to wood bead and optionally add a second button as the bottom of the bee. Cut off two of the yellow loops together from the loopy yarn.
Step Three:
Hot glue the bee to the loopy yarn wings.
Optional Step Four:
Cut out wording from decorative napkins. Separate napkins to reach the thinnest single layer. Apply a thin layer of mod podge to the wax warmer front.
Position napkin wording over mod podge and add top thin coat of mod podge.
Use a baggie or saran wrap to smooth over any bubbles. Be cautious not to tear the delicate napkin layer.
Step Five:
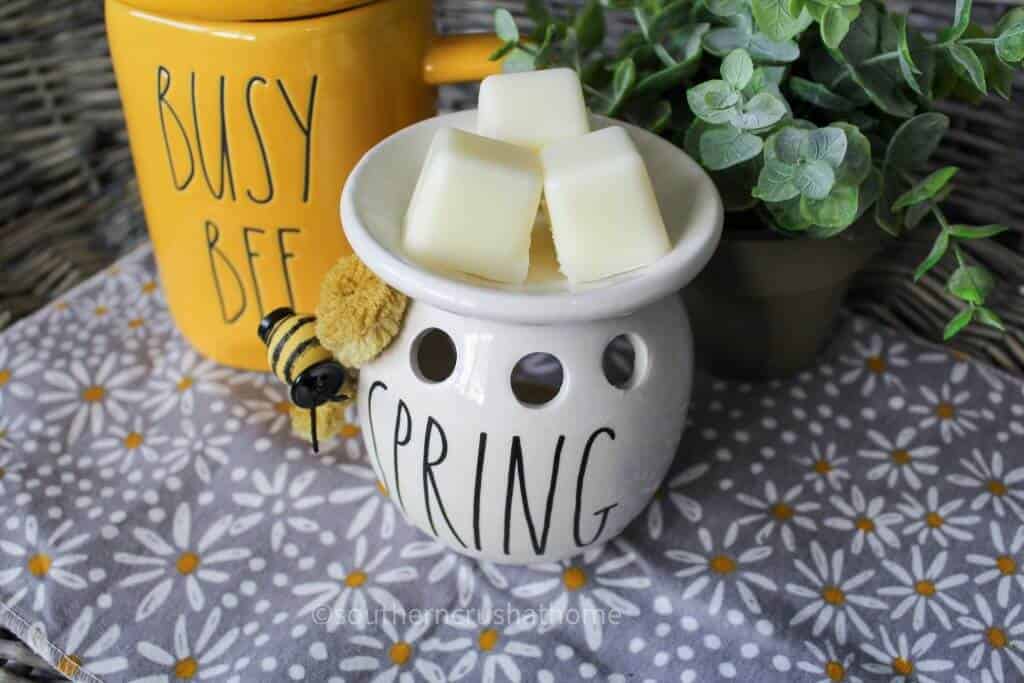
Allow to dry and hot glue bumblebee to side of wax warmer. Add wax cubes and enjoy!
Cute Bumblebee DIY
This project, my dear, isn't just about making something cute for your desk or to gift to a friend who needs a smile; it's about enjoying the moment, letting your creativity flow, and maybe even sharing some laughs with a companion or two as you craft together.
Each loop you twirl and shape into a fuzzy cute bumblebee is a step closer to a creative afternoon. Make something that remind you of the joy and whimsy in the world.
IF YOU PREFER TO WATCH THE LIVE STEP BY STEP INSTRUCTIONAL VIDEO, YOU CAN WATCH IT HERE.
Cute Bumblebee Using Loopy Yarn
Equipment
- Heat Gun (optional)
- paint brush
- scissors
Materials
- 1 Dollar Tree Wax Warmer
- Mod Podge
- Decorative Napkins
- Baggie or Saran Wrap
- Loopy Yarn
- Wooden Bead
- Yellow Paint
- Sharpie
- 2 Black Buttons
- Black Embroidery Thread
Instructions
- Paint the wooden bead yellow.
- Create black stripes around bead with black Sharpie.
- Allow to dry while threading embroidery floss through a black button through two holes. Tie off into a double knot and trim to create bumblebee antennae.
- Hot glue button head to wood bead and optionally add a second button as the bottom of the bee.
- Cut off two of the yellow loops together from the loopy yarn.
- Hot glue the bee to the loopy yarn wings.
- Cut out wording from decorative napkins.
- Separate napkins to reach the thinnest single layer.
- Apply a thin layer of mod podge to the wax warmer front.
- Position napkin wording over mod podge and add top thin coat of mod podge. Use a baggie or saran wrap to smooth over any bubbles. Be cautious not to tear the delicate napkin layer.
- Allow to dry and hot glue bumblebee to side of wax warmer.
- Add wax cubes and enjoy!