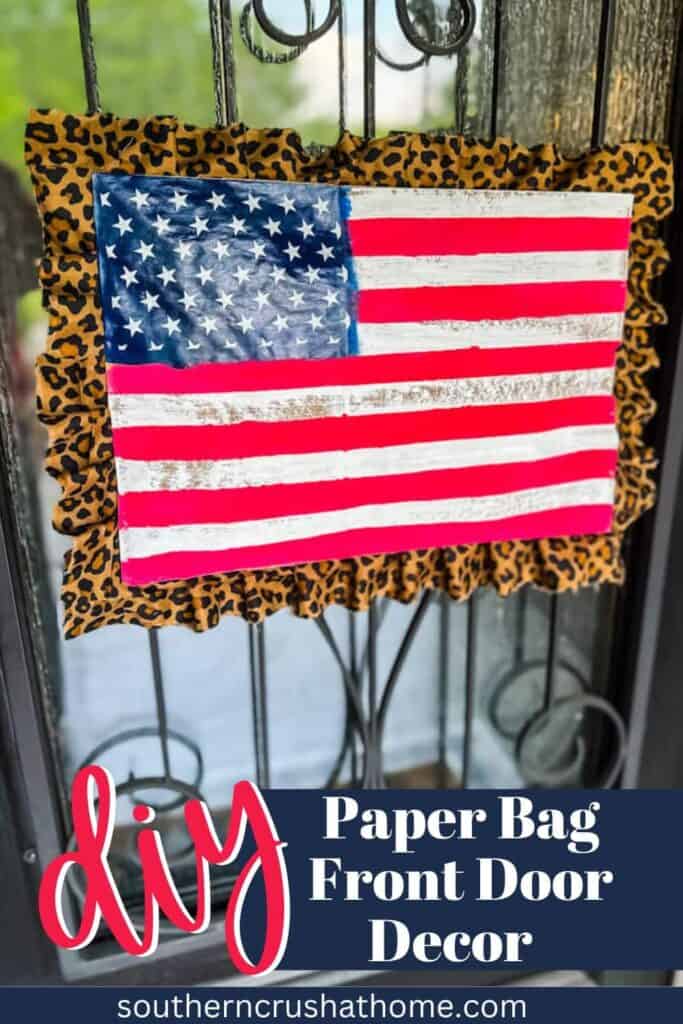
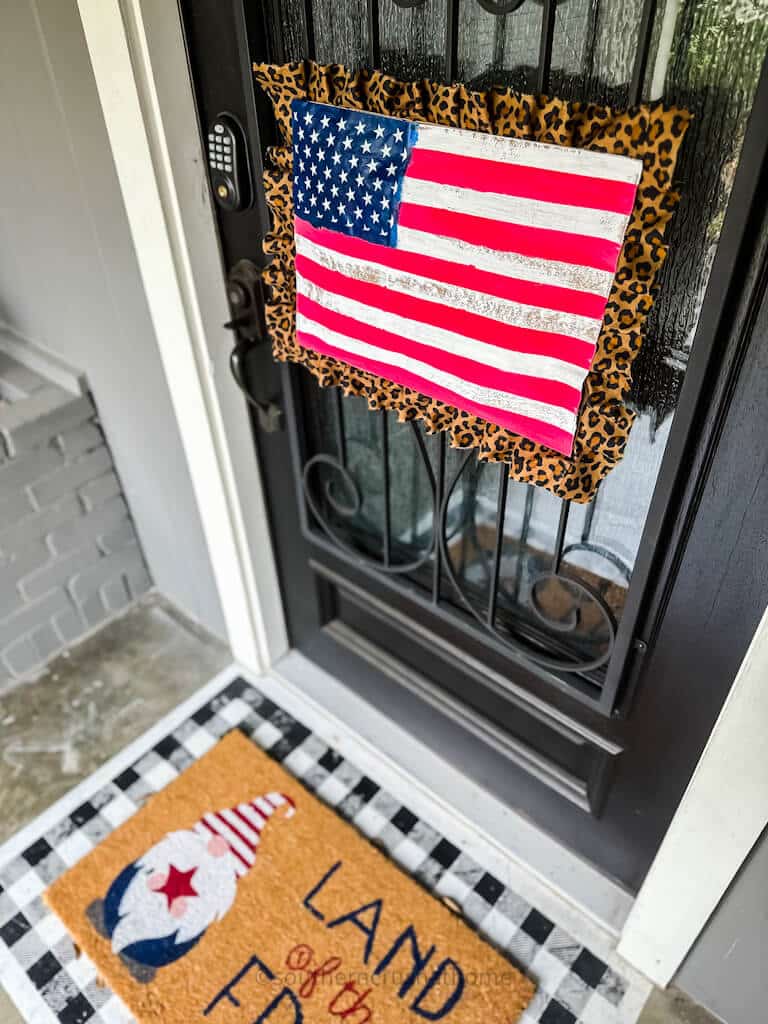
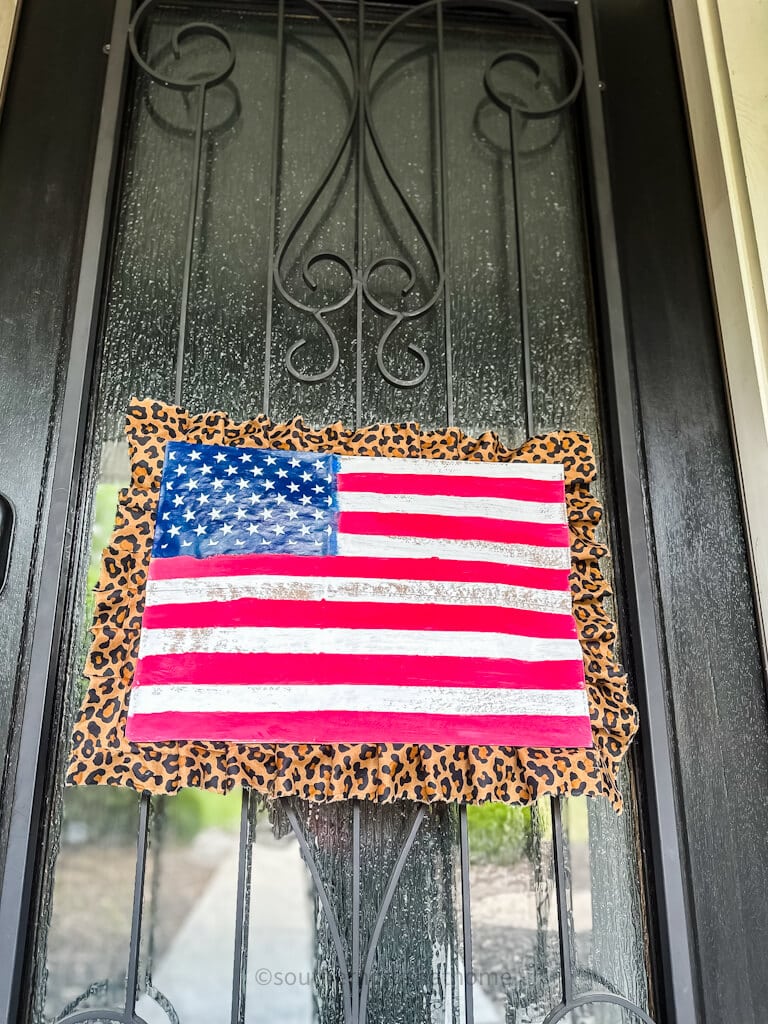
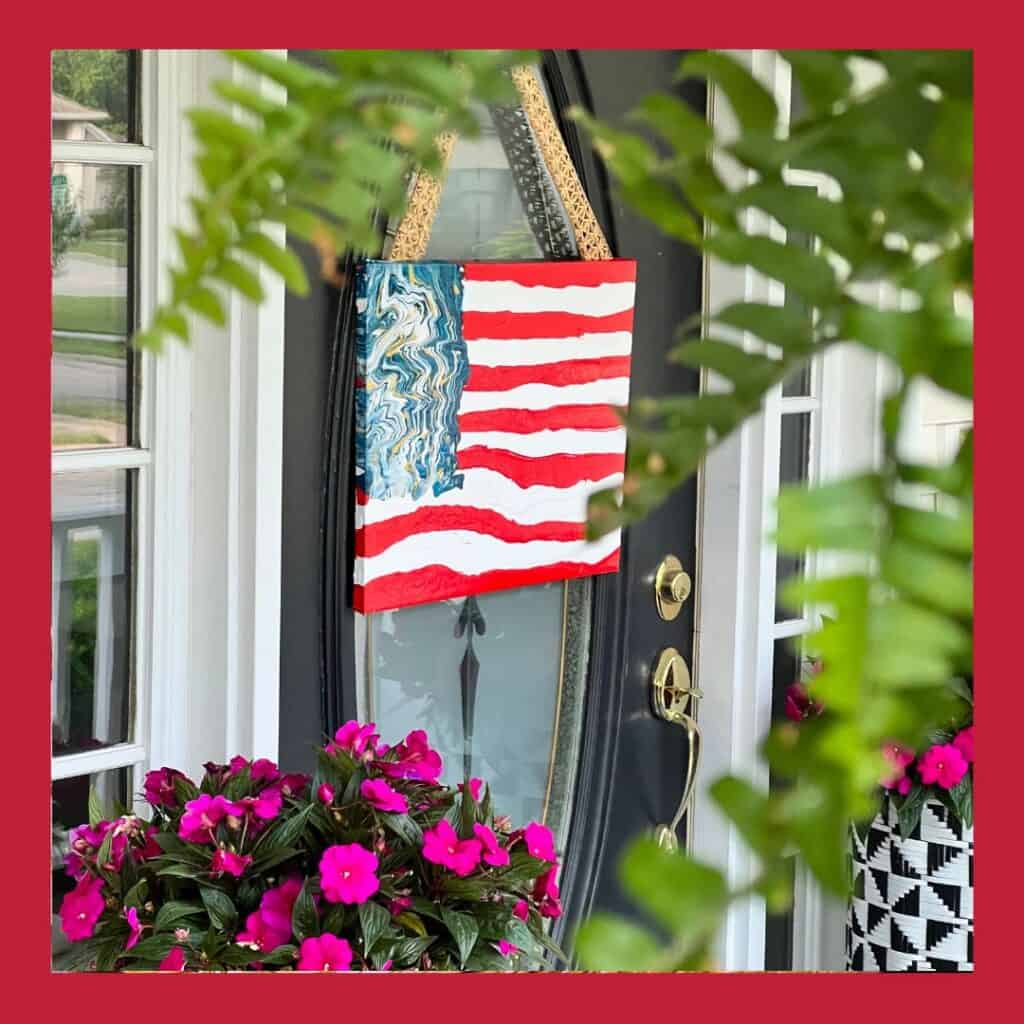
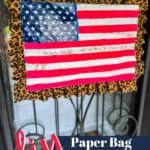
Patriotic Front Door Decor: Easy DIY Paper Bag Flag
Ahhh, summertime! I love it! With the Fourth of July right around the corner, it is time for us to show our patriotic spirit. While traditional American flags are always nice, why not mix things up this year and try something new? I'm sharing an easy DIY step-by-step tutorial on how to craft your very own patriotic paper bag flag–perfect for your front door decor.
PIN this for later!
The Handcrafted Society
This fun handmade craft is part of a super fun blog hop with my friends over in the Handcrafted Society! I'm super excited to share them and all of their amazing ideas with you! Be sure to check them all out at the bottom of this post!
This blog post contains affiliate links. The opinions are wholly my own from my own experience. I may earn a small commission from clicks through to the websites that end in a purchase.
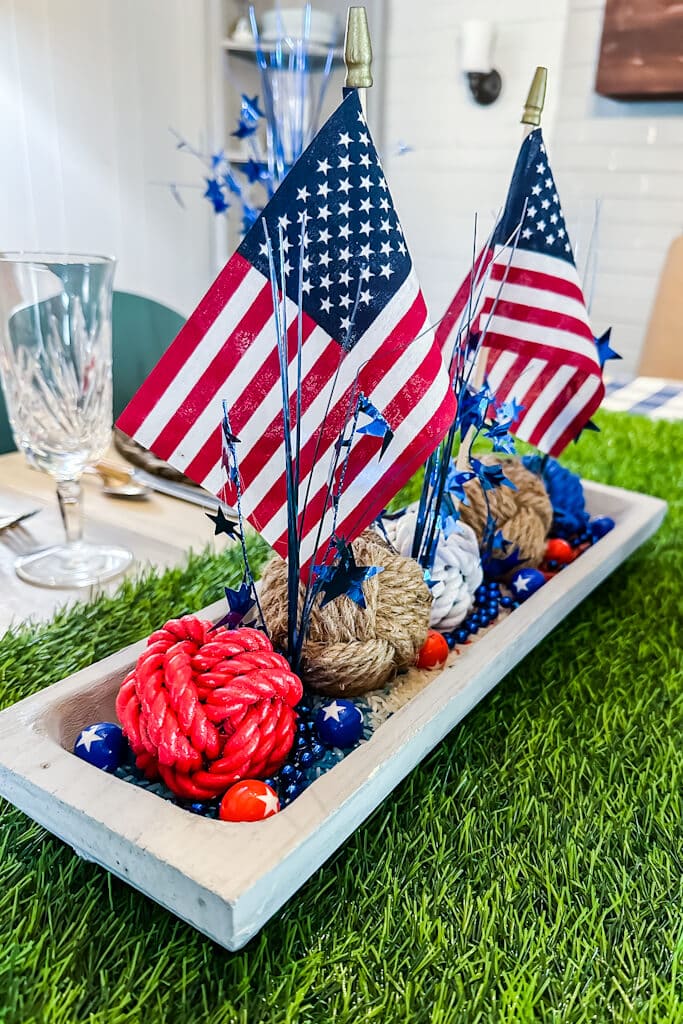
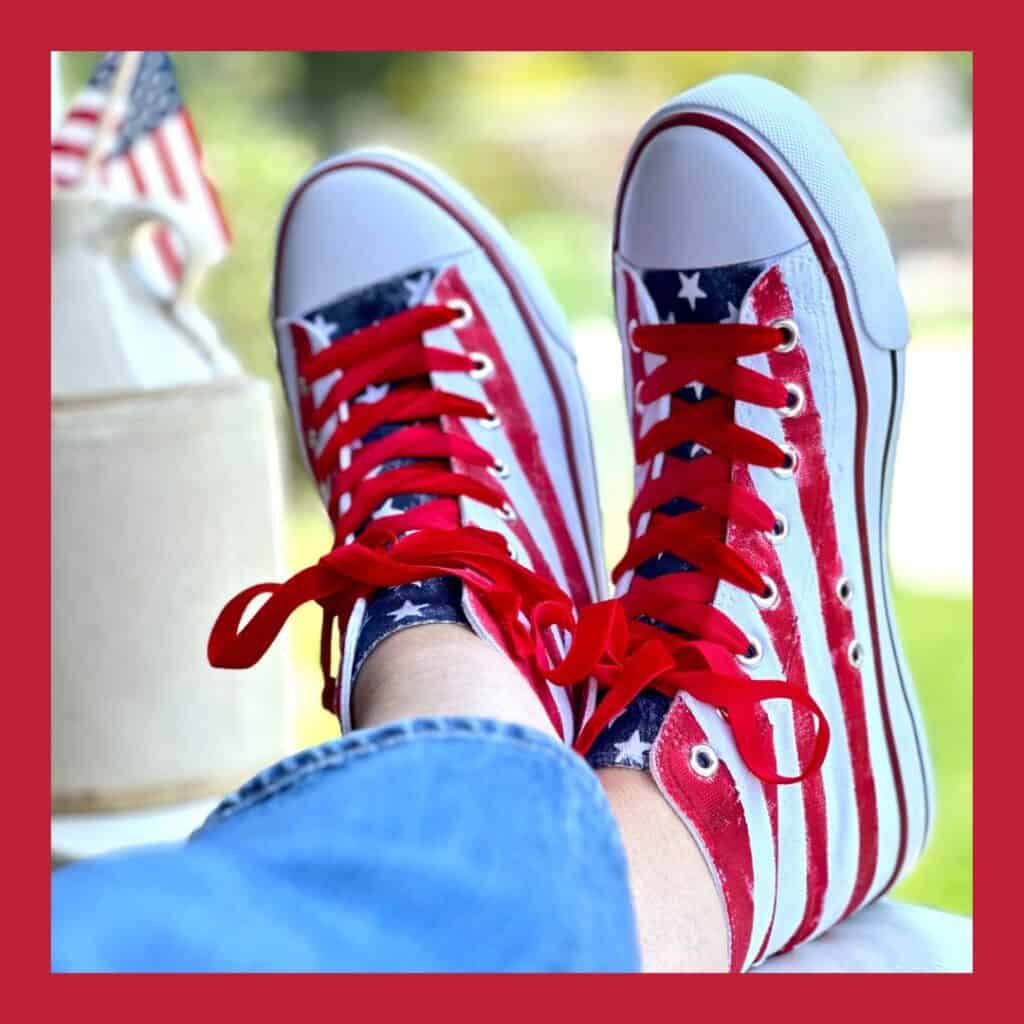
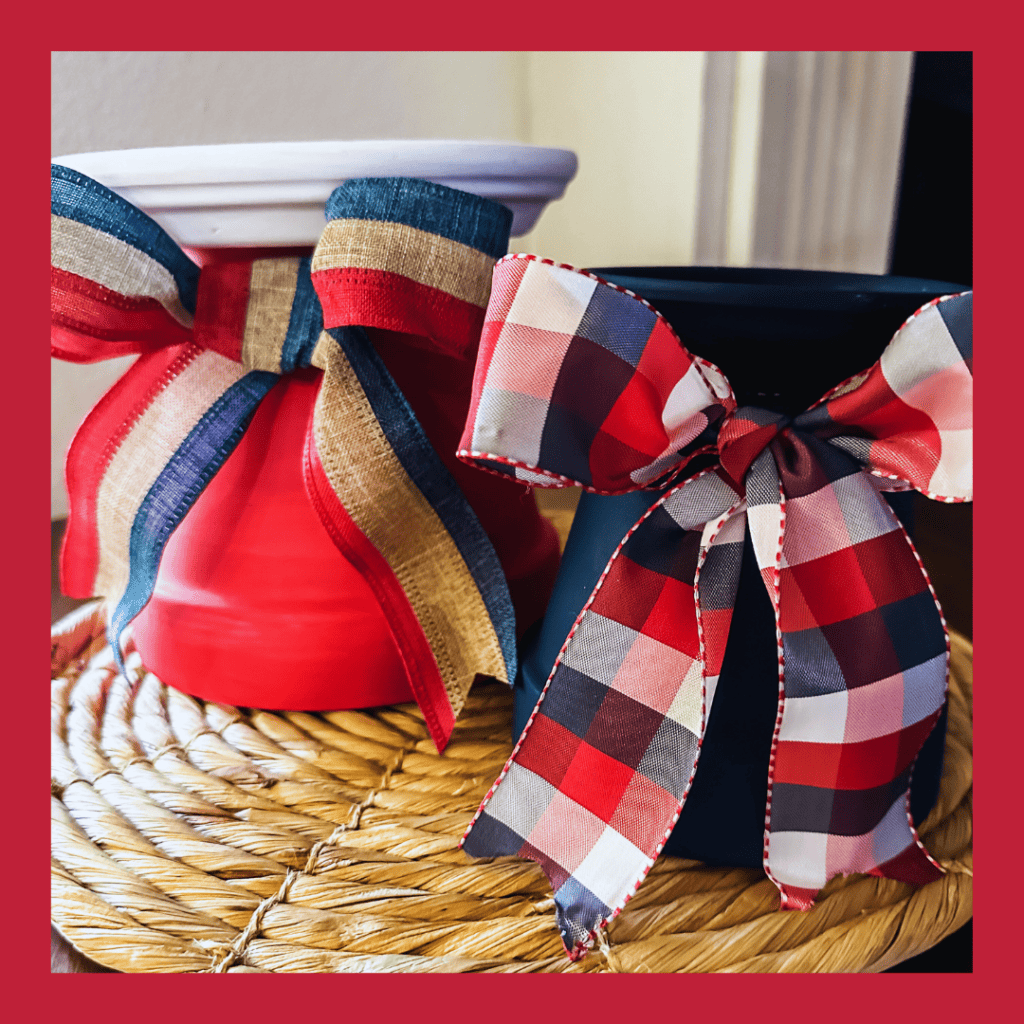
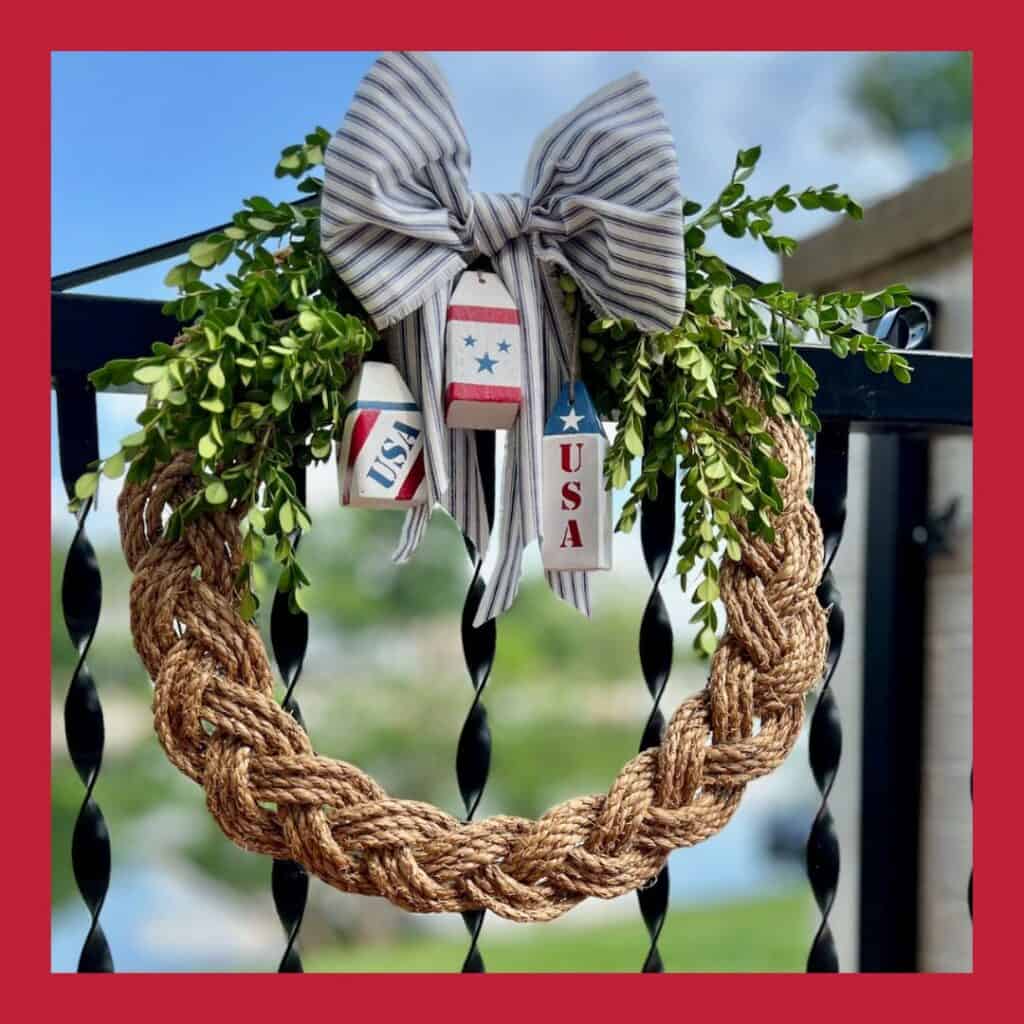
More Patriotic Crafts


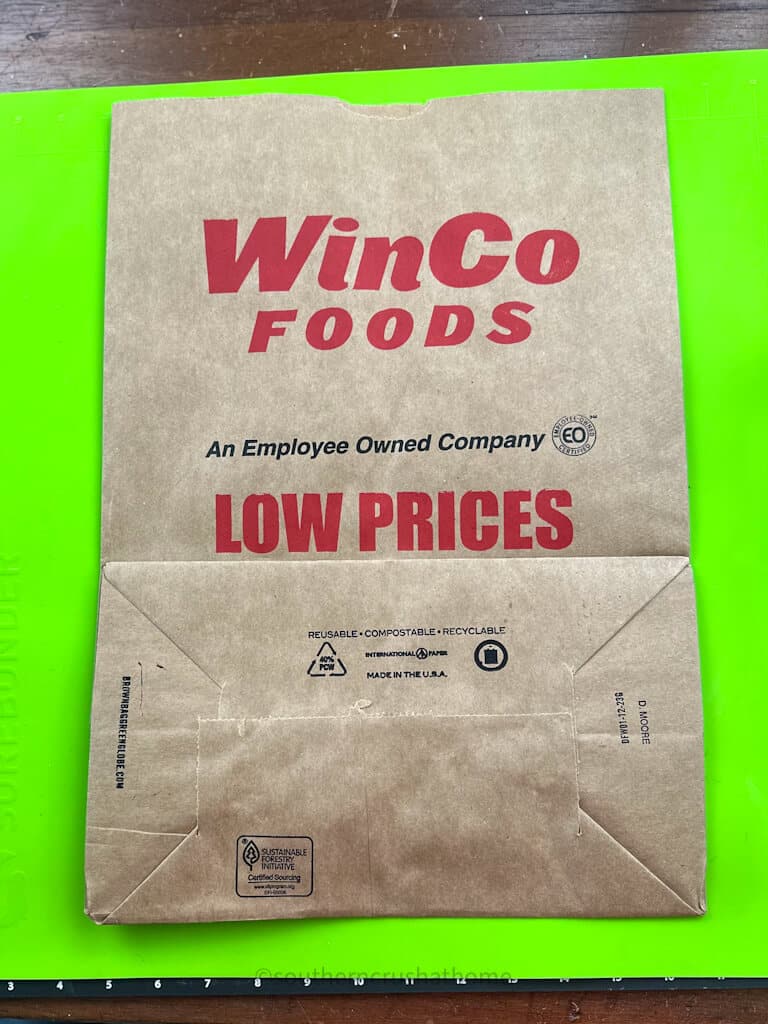
Supplies Needed to Make a Paper Bag Flag
- paper grocery bag or paper sack or brown kraft paper
- red, white, and blue acrylic or chalk paints
- painters tape *optional
- stars stencil (aff link) *optional
- polyfill
- scrap fabric
- hot glue gun
- floral wire
Step-by-Step Tutorial on Making Patriotic Front Door Decor
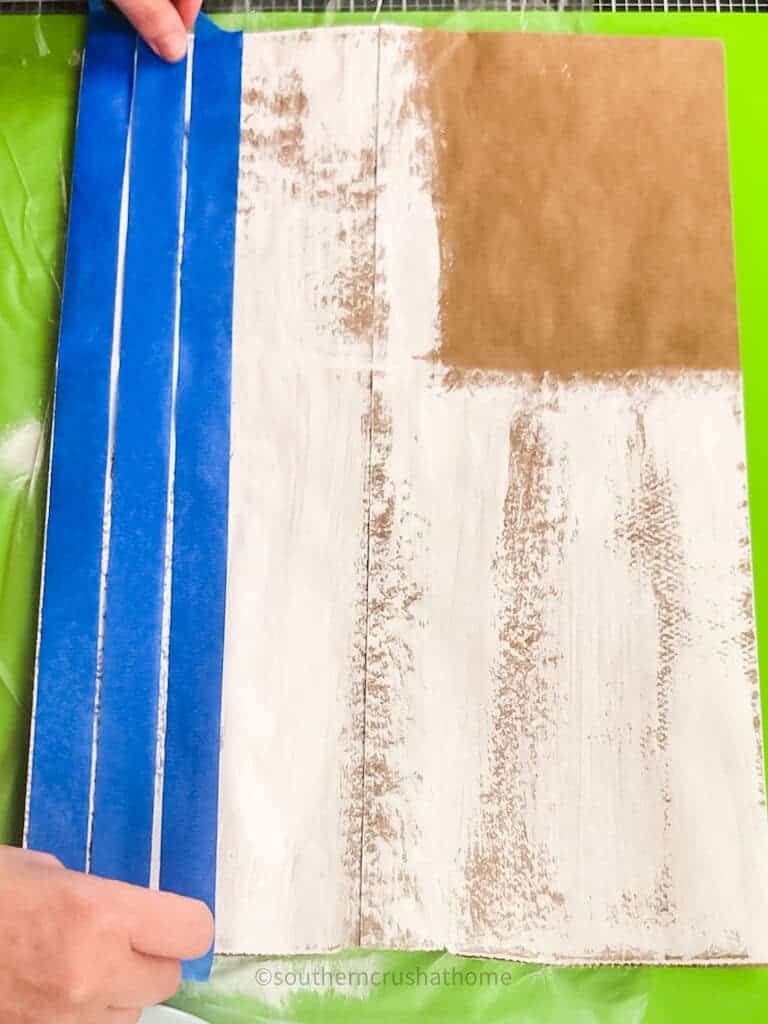
Step One
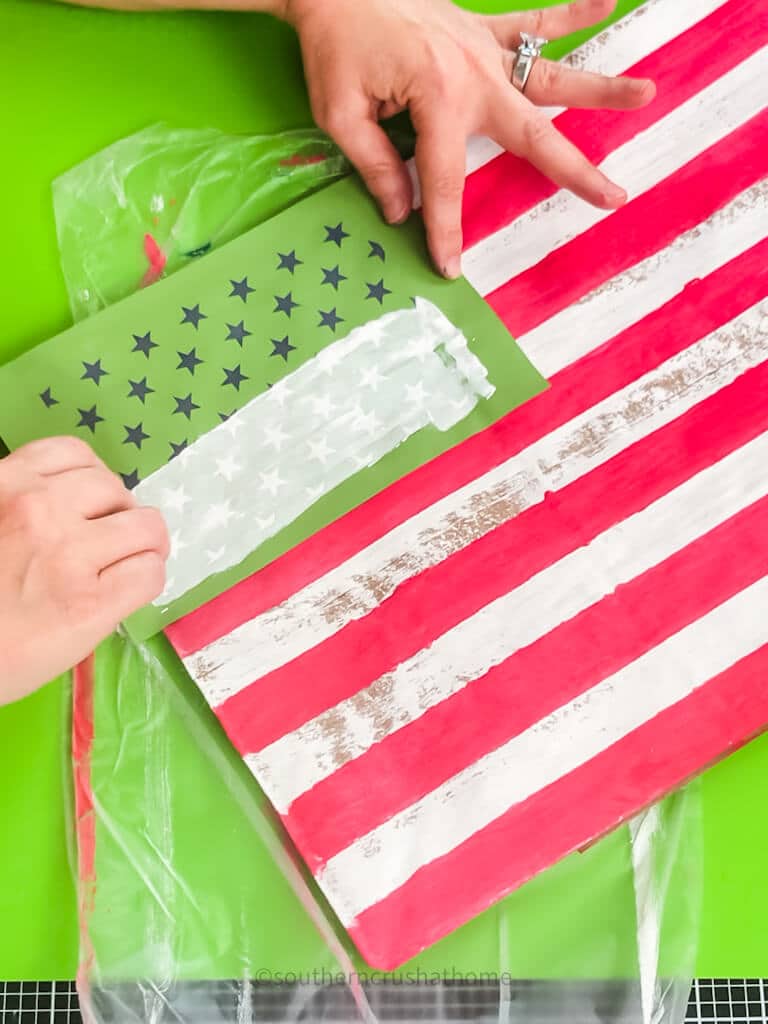
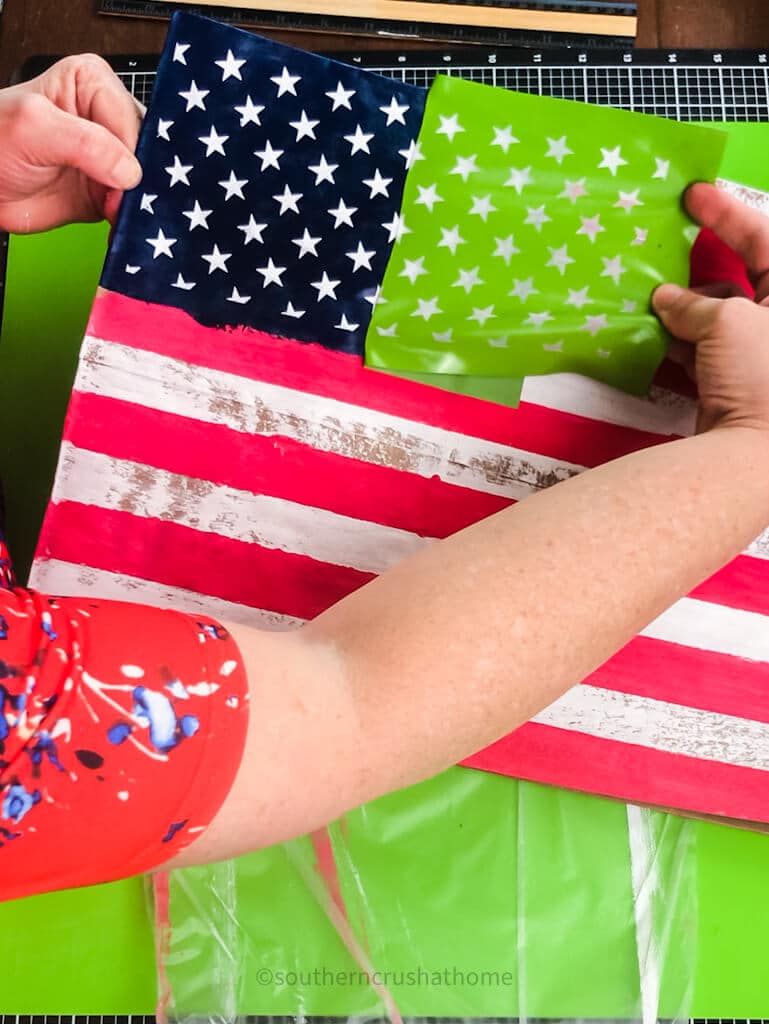
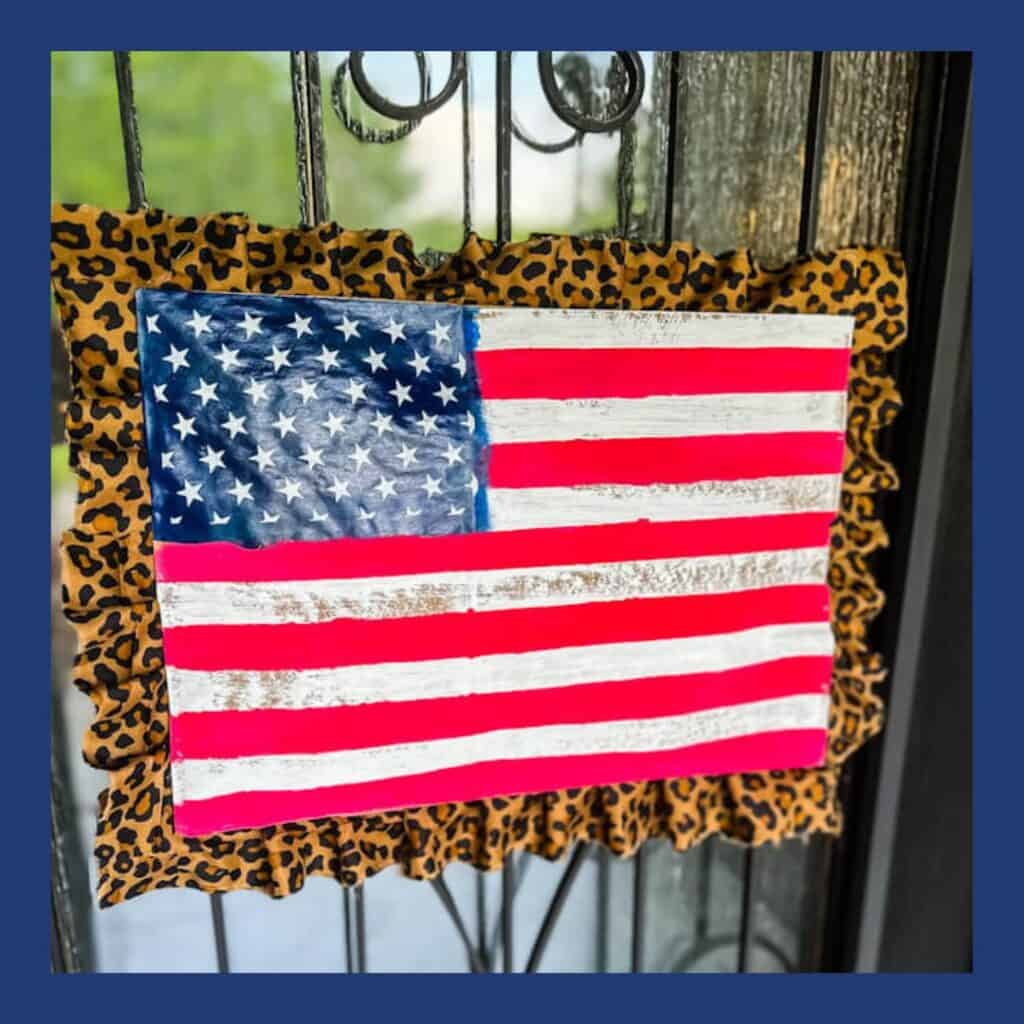
Paint red and white stripes on the front of the paper bag. You can eyeball them or use painter's tape for more exact stripes. Then paint a blue square in the top left-hand corner. Allow to dry completely.
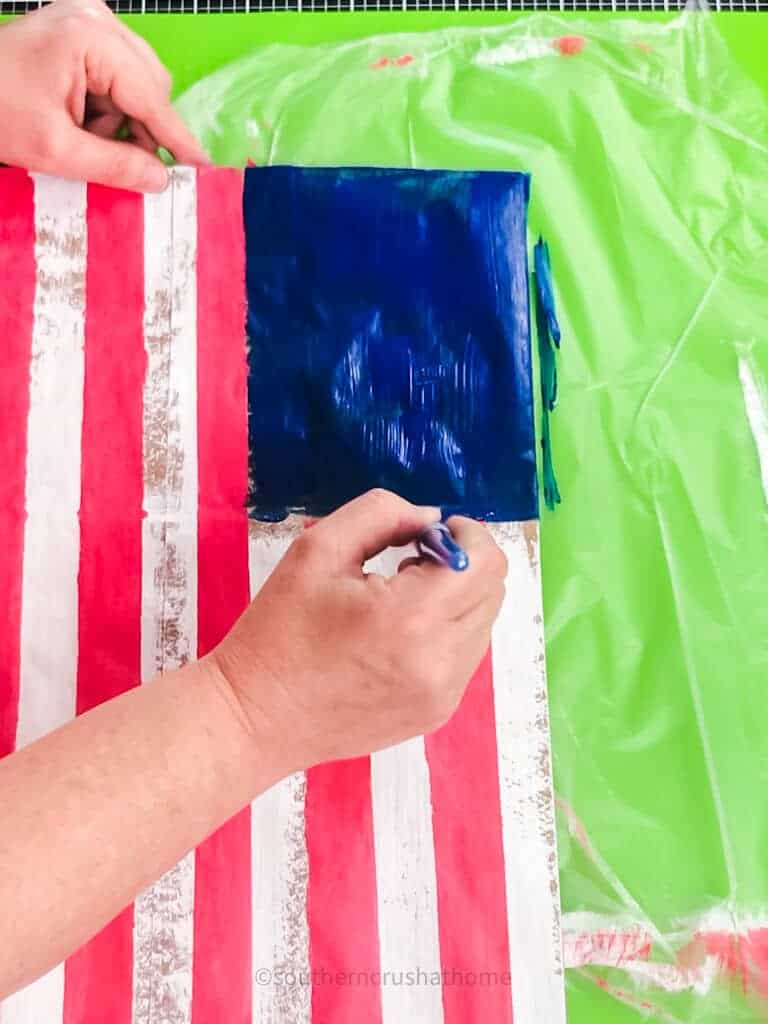
Step Two
Stencil stars onto blue square or use star stickers or hand paint stars. Although, traditionally, there are 50 stars, this is a craft, so you can get away with a few less stars.
Step Three
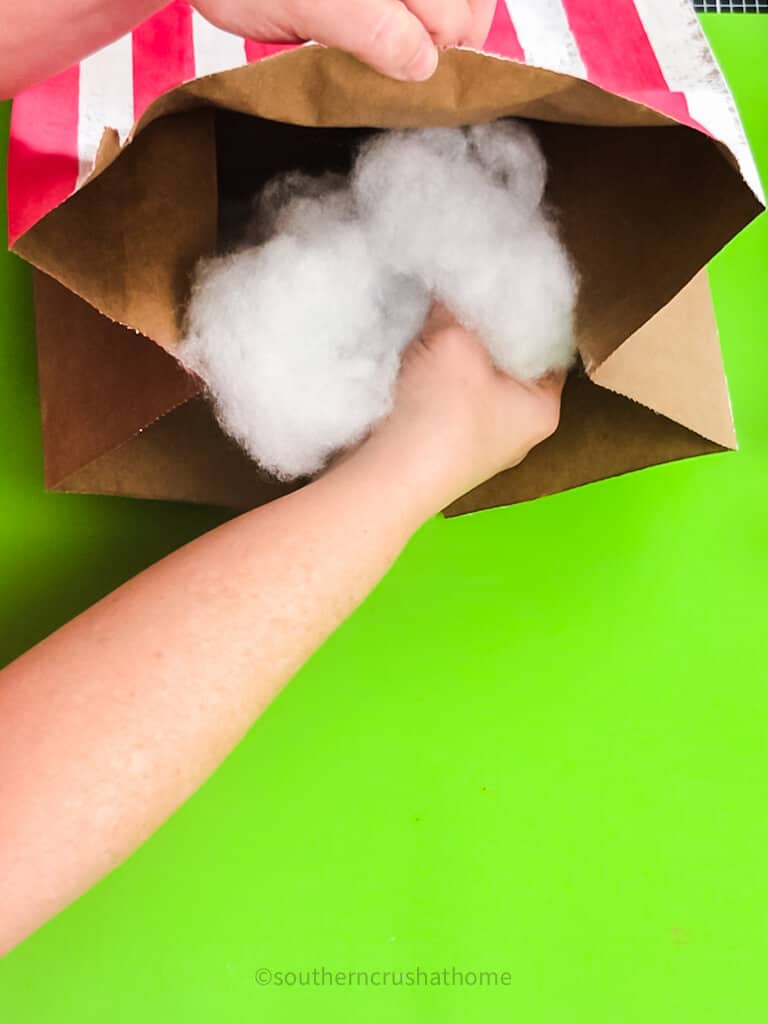
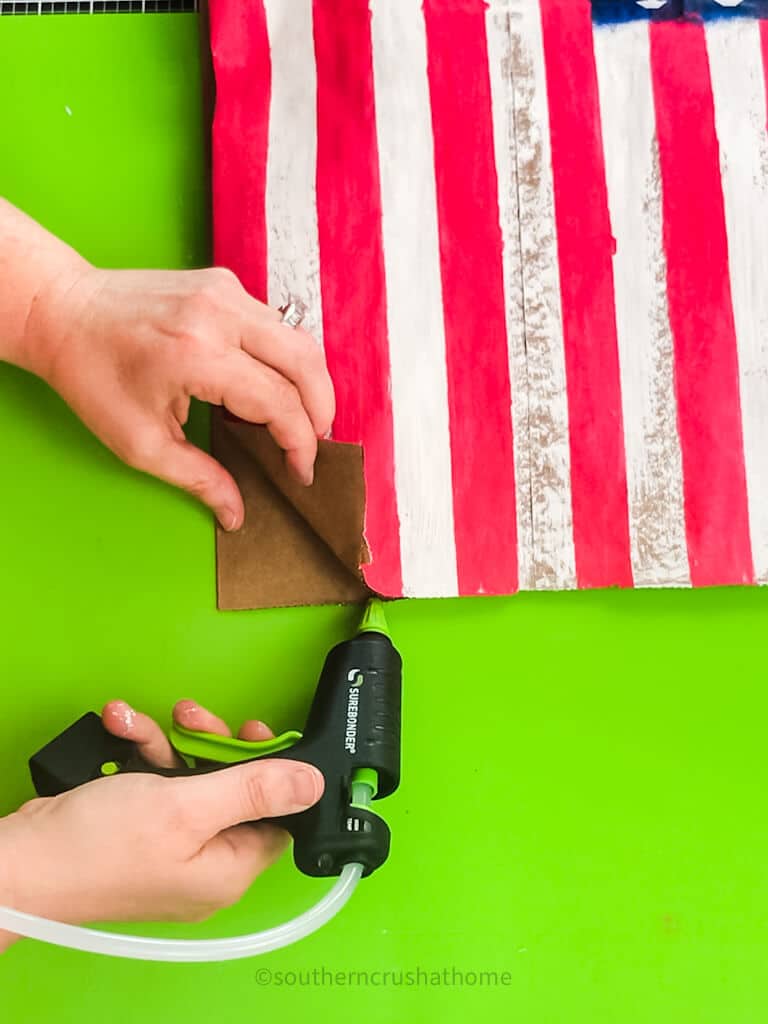
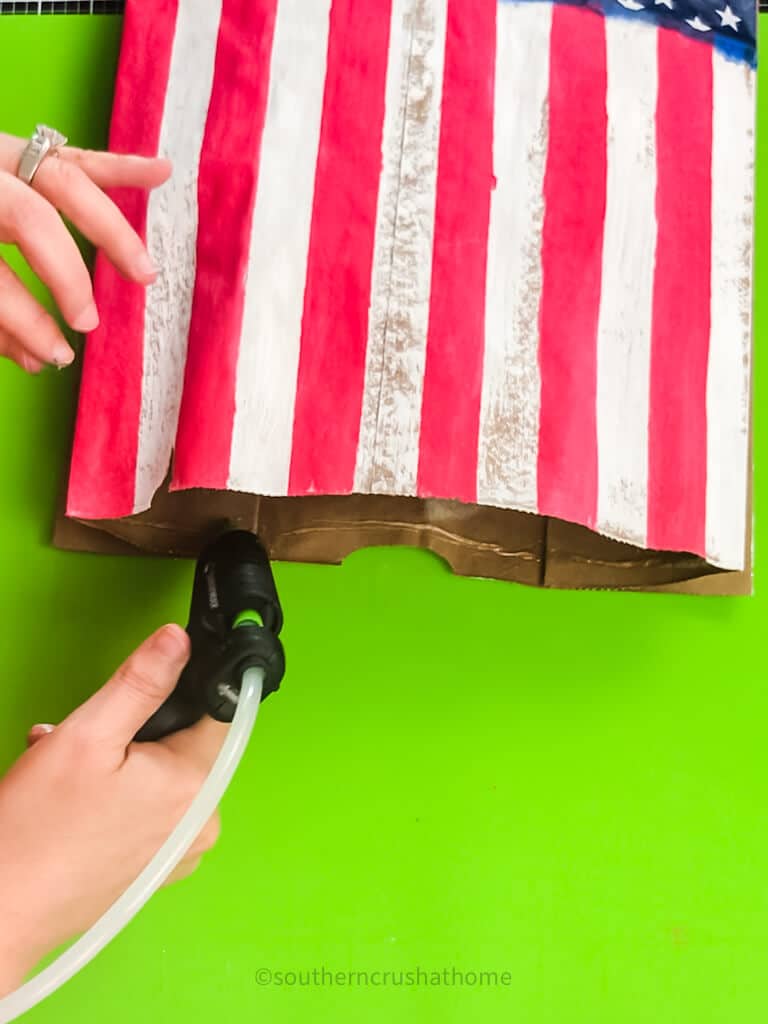
Stuff the paper bag flag with a bit of polyfill. Be careful not to over-fill it. You only want it to look puffy, not be a pillow.
Step Four
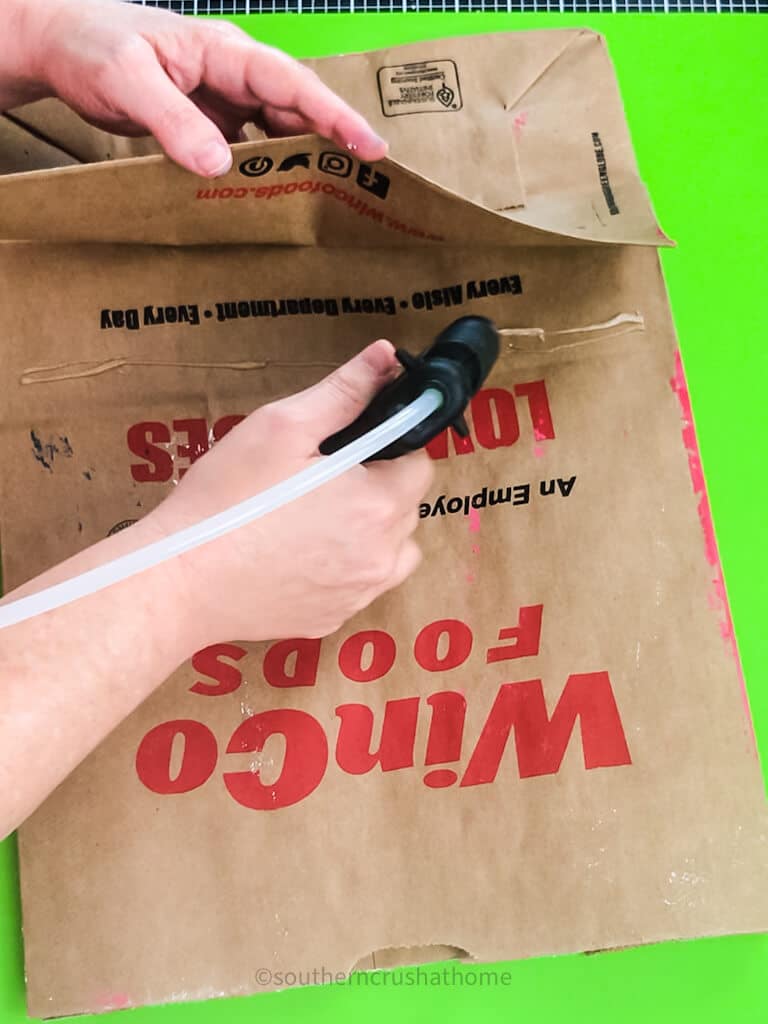
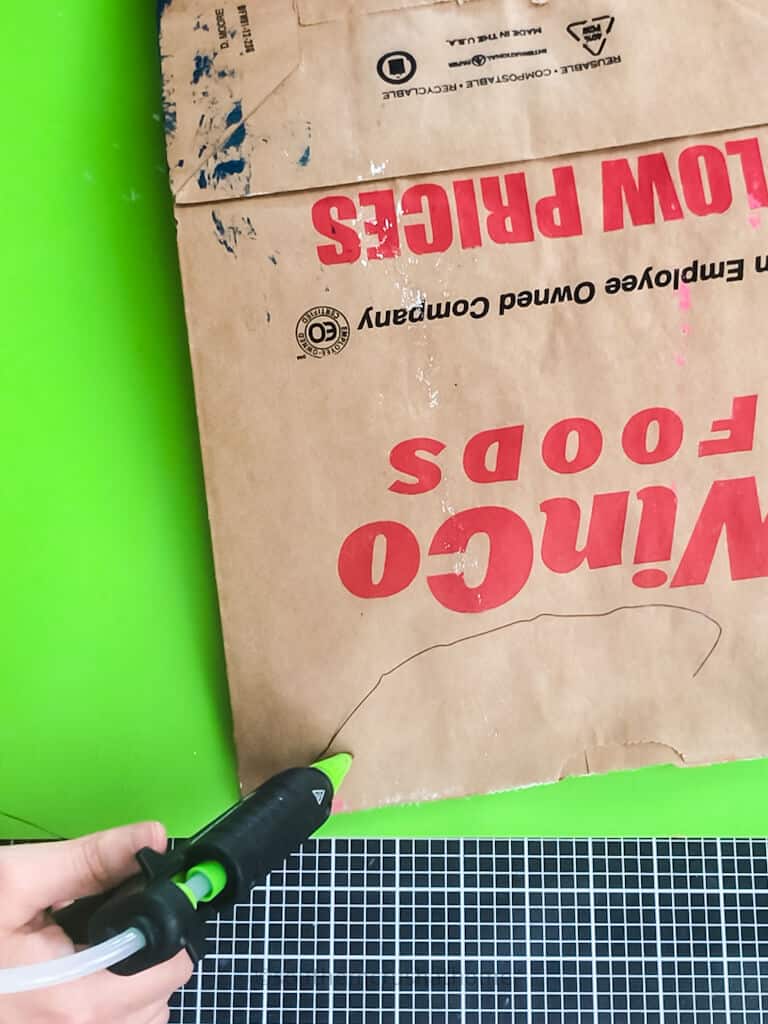
Seal up all of the flaps and opening on your paper bag with hot glue. Be sure not to miss any flaps, as this will help the flag to lay flat on your front door.
Step Five
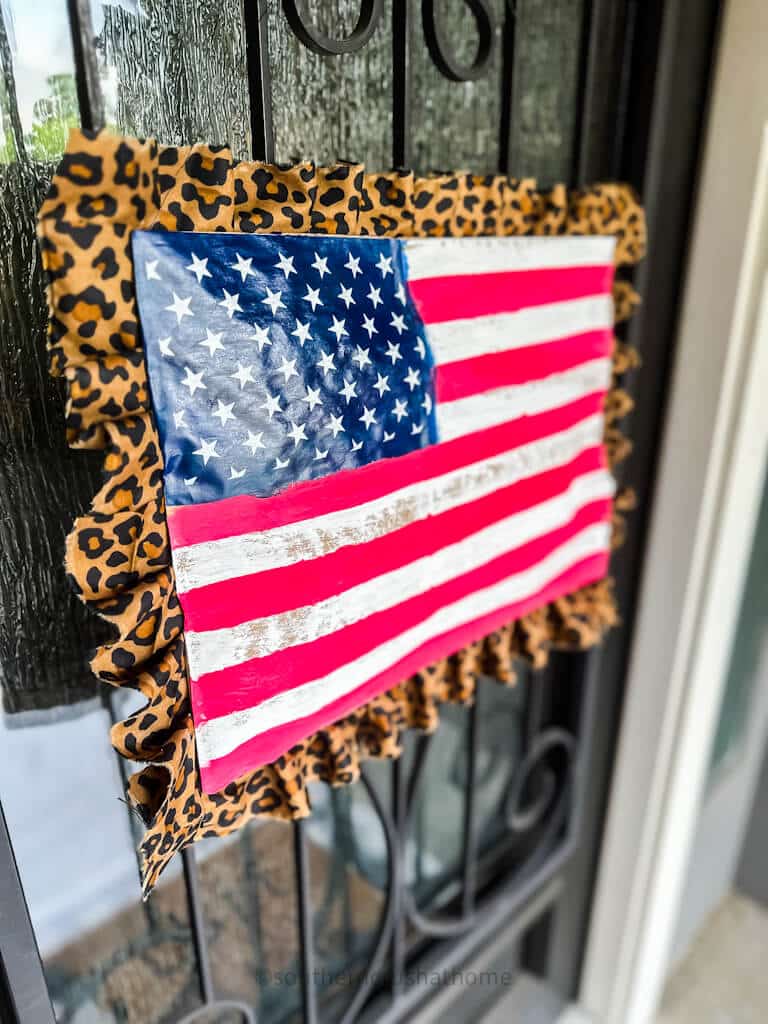
Attach scrap fabric using hot glue around the outside edges of the paper bag overlapping every inch and a half or so to create a ruffle effect. So pretty!
Step Six
Attach a piece of floral wire to the back of your new patriotic front door decor flag using hot glue. Make the wire long enough to hang it in the center of your door.
Hang your American flag craft with pride!
It's so festive and was so easy to make that you may want to make more for other areas of the house! Switch up the trim, and get creative.
Be sure to let me know if you make this one!
Quick Video Tutorial
How Many Stars and Stripes Are on the Flag?
Traditionally, there are 50 stars that represent 50 states and there are 13 stripes representing the 13 original colonies. The flag starts and stops with a red stripe that represents the blood that was shed for our country.
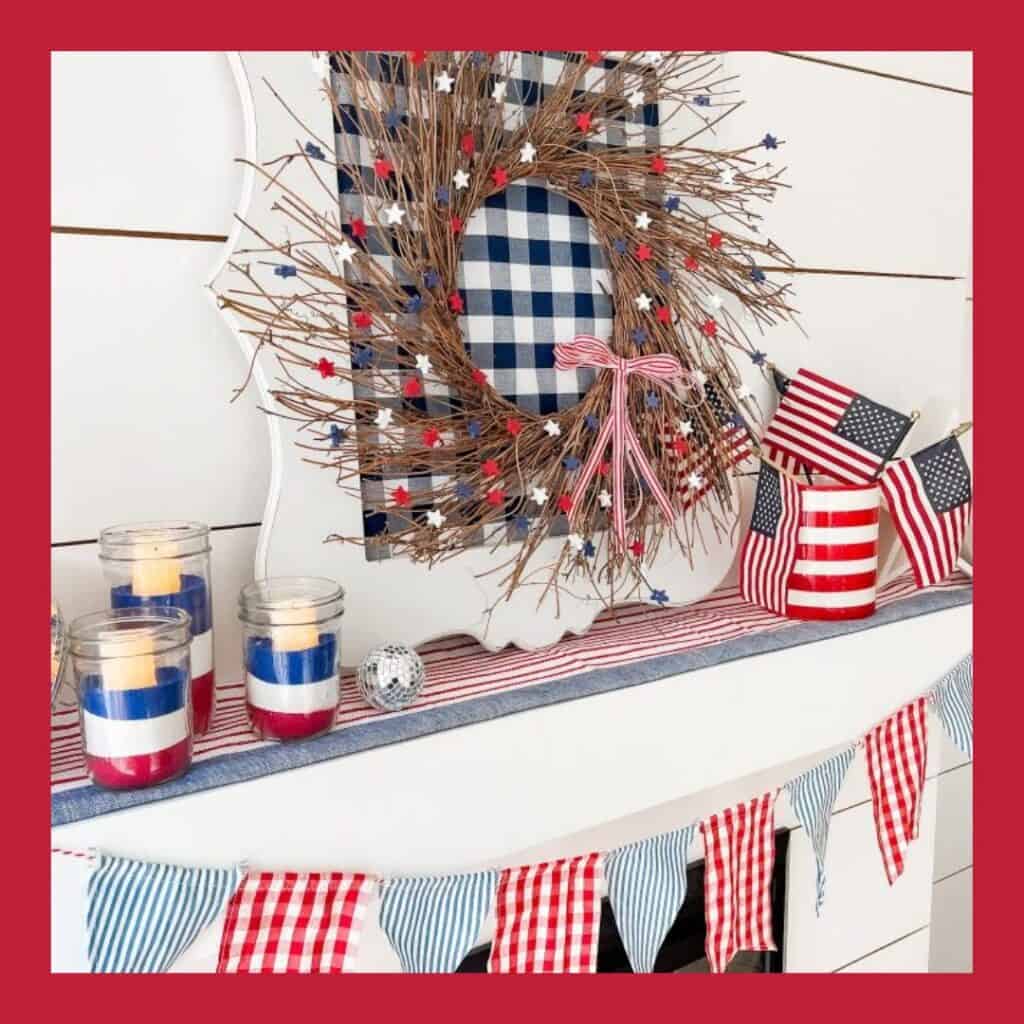
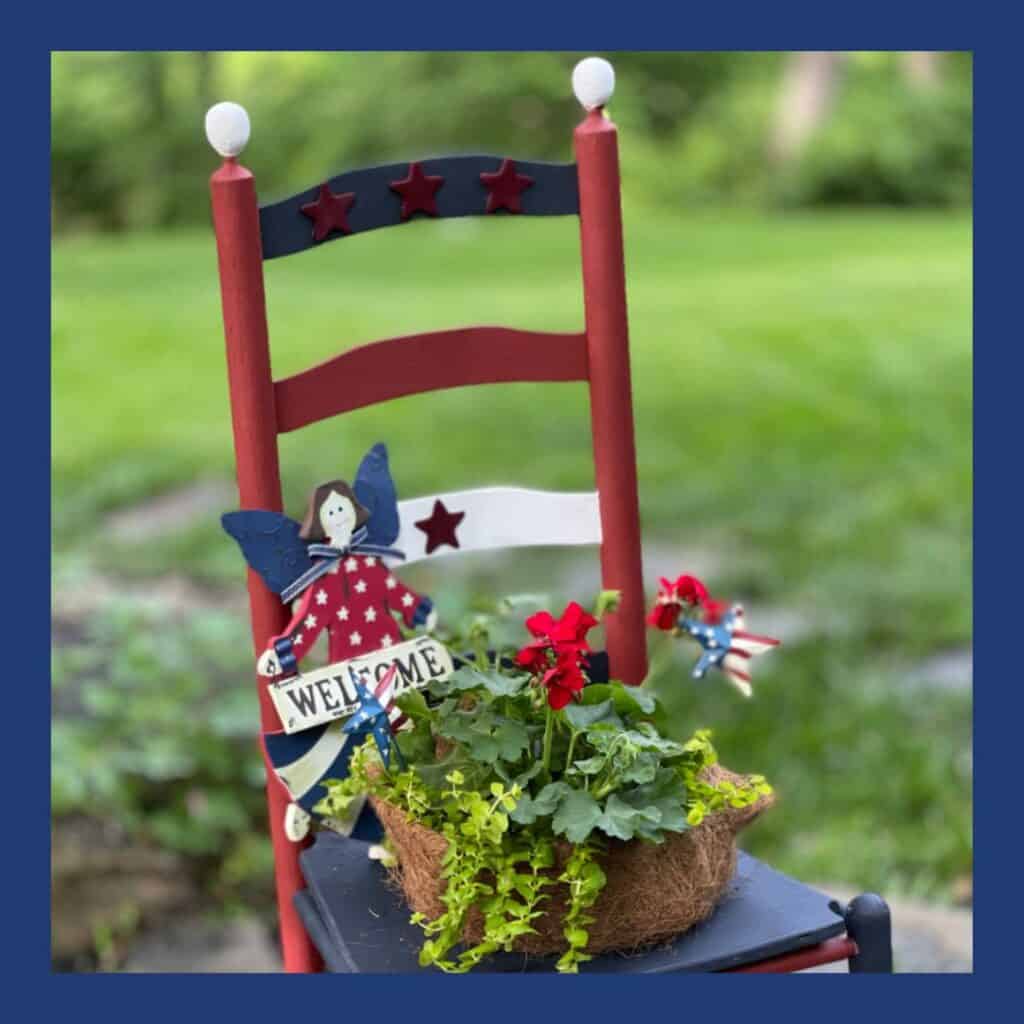
Where to Find Patriotic Decor
There are so many amazing designs online for purchase if you do not have time to make something. I've gathered a few of my favorites below!

The Handcrafted Society
Come and see what my friends made below for your red, white, and blue inspiration!

Patriotic Front Door Decor: Easy DIY Paper Bag Flag
Equipment
Materials
- paper grocery bag or paper sack or brown kraft paper
- red white, and blue acrylic or chalk paints
- painters tape *optional
- stars stencil aff link *optional
- polyfill
- scrap fabric
- floral wire
Instructions
- Step One
- Paint red and white stripes on the front of the paper bag. You can eyeball them or use painter's tape for more exact stripes. Then paint a blue square in the top left-hand corner. Allow to dry completely.
- Step Two
- Stencil stars onto blue square or use star stickers or hand paint stars. Although, traditionally, there are 50 stars, this is a craft, so you can get away with a few less stars.
- Step Three
- Stuff the paper bag flag with a bit of polyfill. Be careful not to over-fill it. You only want it to look puffy, not be a pillow.
- Step Four
- Seal up all of the flaps and opening on your paper bag with hot glue. Be sure not to miss any flaps, as this will help the flag to lay flat on your front door.
- Step Five
- Attach scrap fabric using hot glue around the outside edges of the paper bag overlapping every inch and a half or so to create a ruffle effect. So pretty!
- Step Six
- Attach a piece of floral wire to the back of your new patriotic front door decor flag using hot glue. Make the wire long enough to hang it in the center of your door.
So glad you hopped with us this month!!! What a fun flag. I like to think I’mm creative, but I don’t think I ever thought of making a flag from a paper bag. Awesome!
Awe thank you! You’re too sweet! It was fun!
I love recycling projects and have made some fun things with paper bags. Your flag turned out great, and how about that trim?! So fun!!
It’s all in the trim…lol! Thank you!
SO clever, Melanie!! I love that you used a paper bag and the flag with leopard print is so fun! I pinned it to my patriotic board to share 🙂
xoxo
You’re so sweet! Thank you so much–it was fun to hop with you!
This is so cute Melanie and I love the contract with the leopard fabric you chose. It was a pleasure having you join us this month.
The pleasure was all mine! Thank you for having me!
This is adorable, Melanie! The “puffy” bag gives the flag so much character and dimension! I’m so glad you were able to join us this month. It is always a fun adventure! Pinned!
Thank you! Yes, what an adventure! I loved your project, too!