How to Organize Your Refrigerator in 5 Simple Steps
If you’re like most people, your refrigerator probably needs a good cleaning. It’s just one of those things we like to put off until tomorrow. Wait no longer! Let me show you how to organize your refrigerator in 5 simple steps.
Be sure to PIN this image for later!
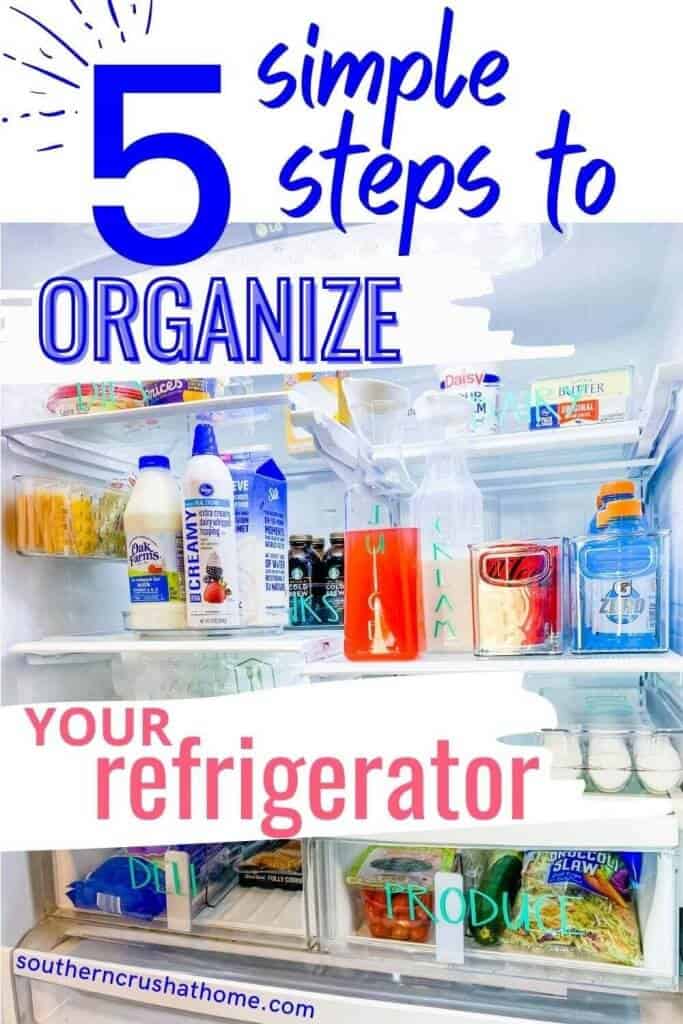
5 simple steps to an organized refrigerator
- Toss out the old, expired, or haven’t used in 6 months items.
- Wipe down the inside of the refrigerator.
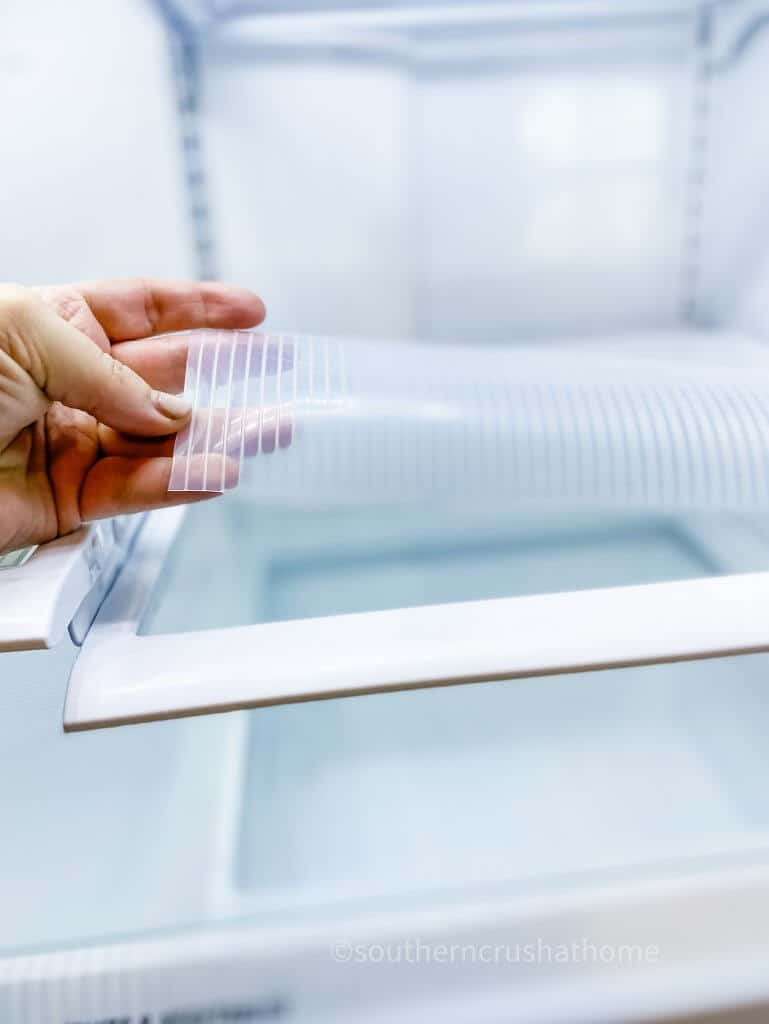
- Cut liners to fit and lay them in place.
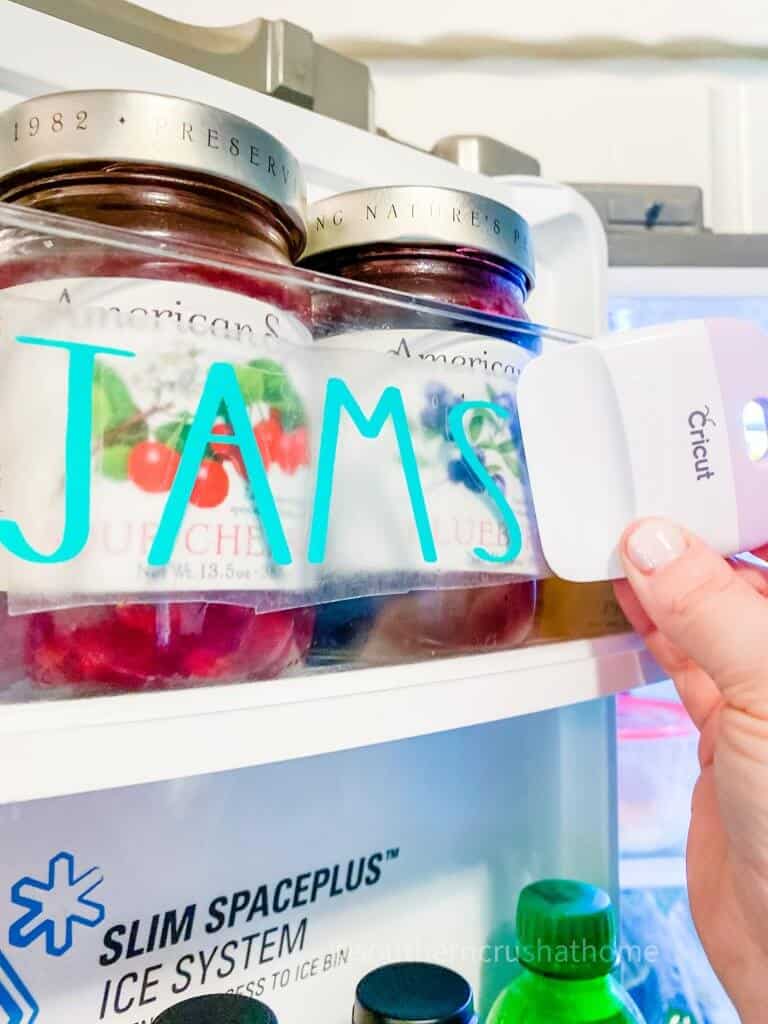
- Create labels for sections with Cricut.
- Grab bins for organization.
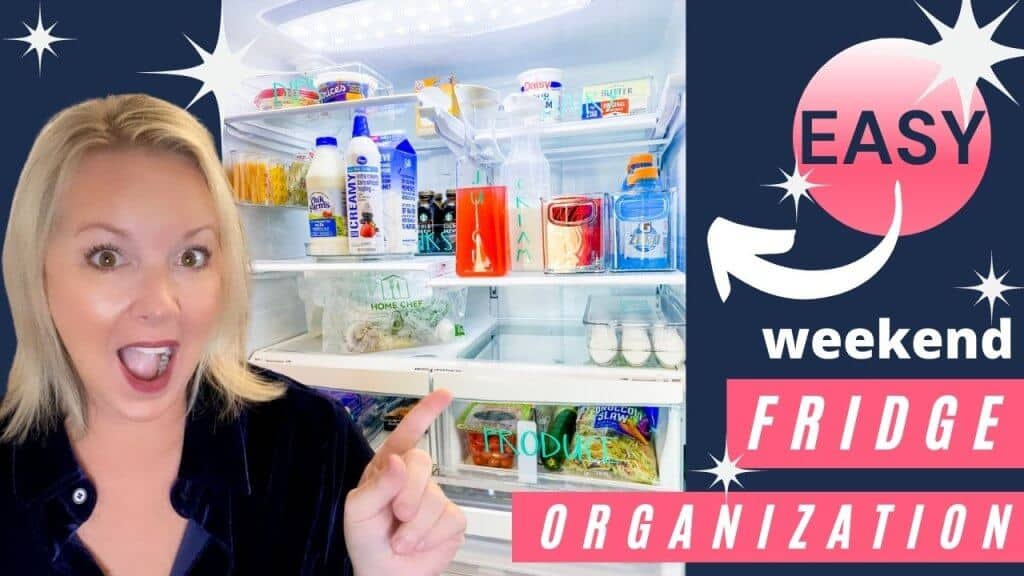
step by step video tutorial
If you want to see the exact step-by-step process, be sure to check out this video tutorial below over on my YouTube Channel!
before organizing your refrigerator
Before you go into the simple steps below, get all the things you will need in order.
- sponge or damp cloth
- disinfectant spray
- fridge liners
- scissors
- containers
- labels
Here are a few of my recommendations below.

Next, you’ll want to empty the fridge entirely. Take everything out of the fridge so that you can easily wipe them down using your sponge or damp cloth.
How to Organize Your Refrigerator
Every item should ideally have a “home” to help keep things organized. Follow these simple steps to get this organization plan in place.
Step one: Toss out the old, expired, or haven’t used in 6 months items
This is super important. Sometimes it’s hard to part with things that cost us money, but what about our sanity or even our health? Tossing out food items that are expired or you haven’t used in months creates a much more user-friendly fridge space and may help you avoid food poisoning in the long run!
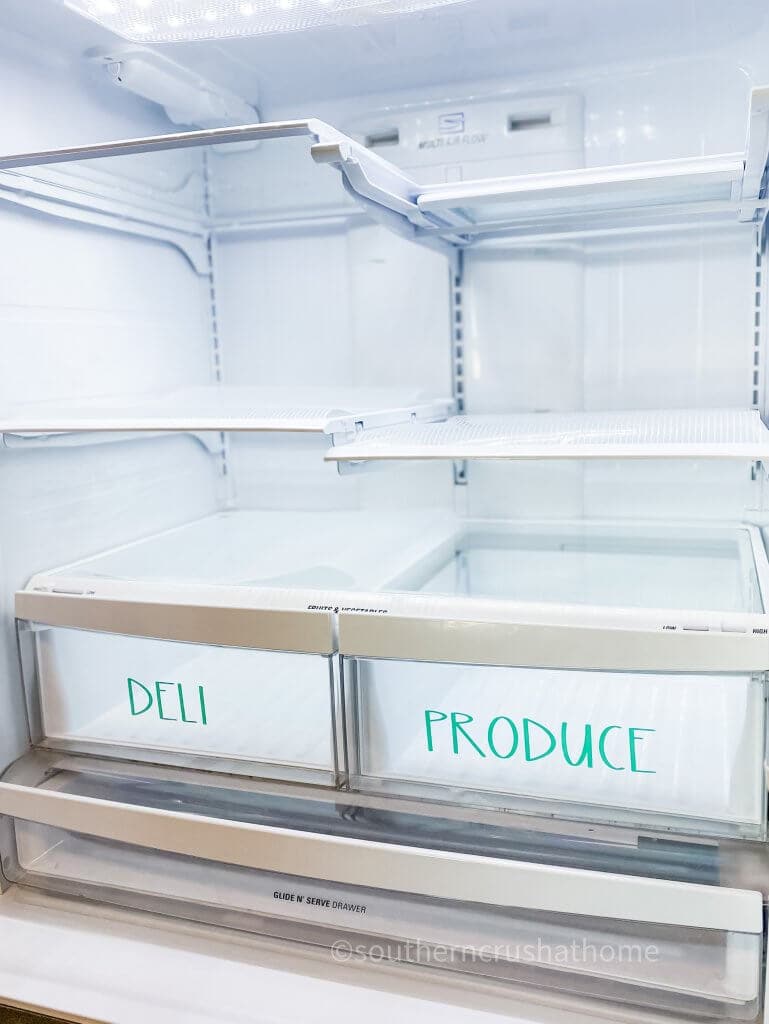
step two: Wipe down the inside
Don’t skip this step! Take a disinfecting wipe or some paper towels and disinfecting spray and sanitize all of the surfaces in your refrigerator.
Take a little bit of extra time to thoroughly wipe down each shelf in the refrigerator as well as each drawer space.
If time allows, remove the drawers entirely and let them soak in some hot, soapy water before wiping them down and putting them back into place.
The results of completing this step will be rewarding and may also help with any cross-contamination of food particles. Eww gross!
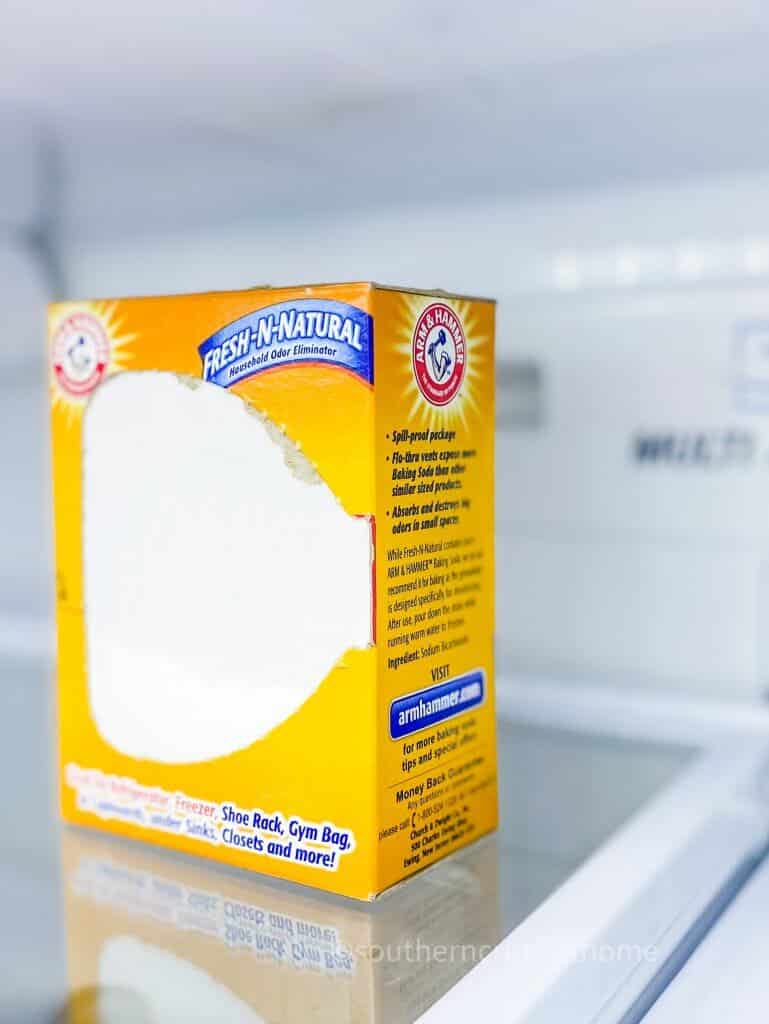
Quick Tip:
Having a deodorizer in your fridge can help prevent unpleasant smells from lingering inside. Baking soda acts as a great deodorizer. You can buy special fridge packs that stick to the wall, but you can also just fill up a small dish and place it towards the back of the fridge.
step three: Cut liners to fit and lay them in place
This step is optional; however, it makes future cleaning a breeze! Fridge liners come in tons of colors and designs. Choosing which ones you want for your fridge is half the fun! Here are a few to choose from below:
step four: Create labels for sections with Cricut
This step is also optional but great for getting that feeling of extreme clean. Using a cutting machine like a Cricut, cut out fun labels for your organizational containers as well as your fridge’s drawers and door compartments! (DOWNLOAD FREE TEMPLATE HERE)
See how I did mine below.
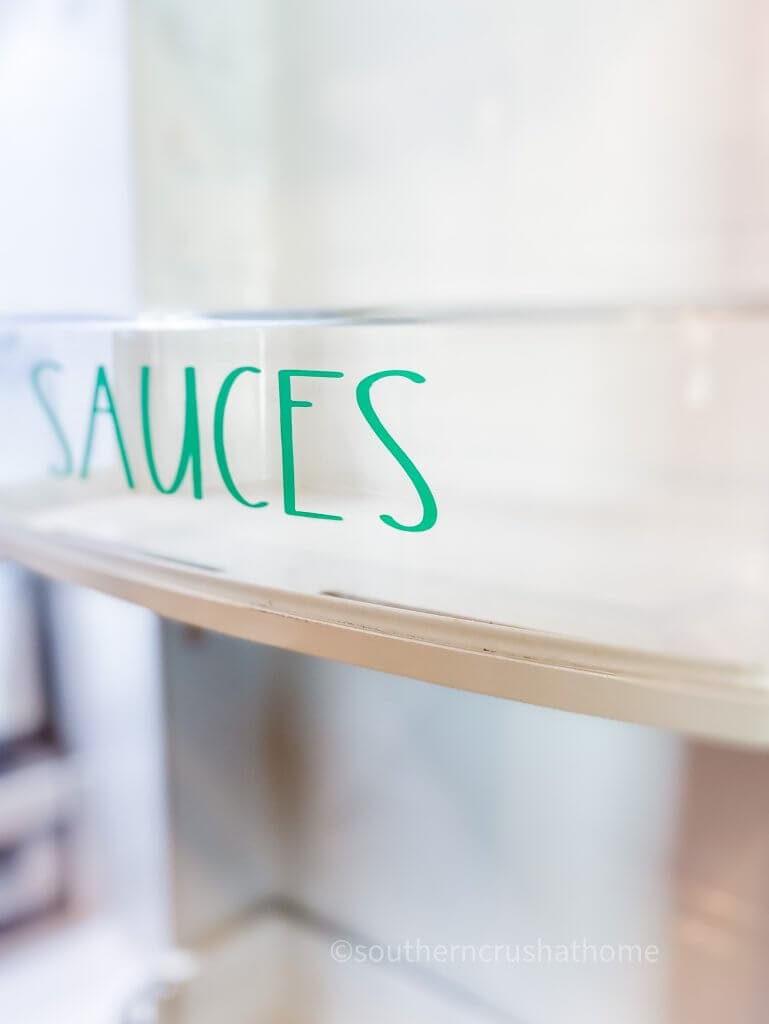
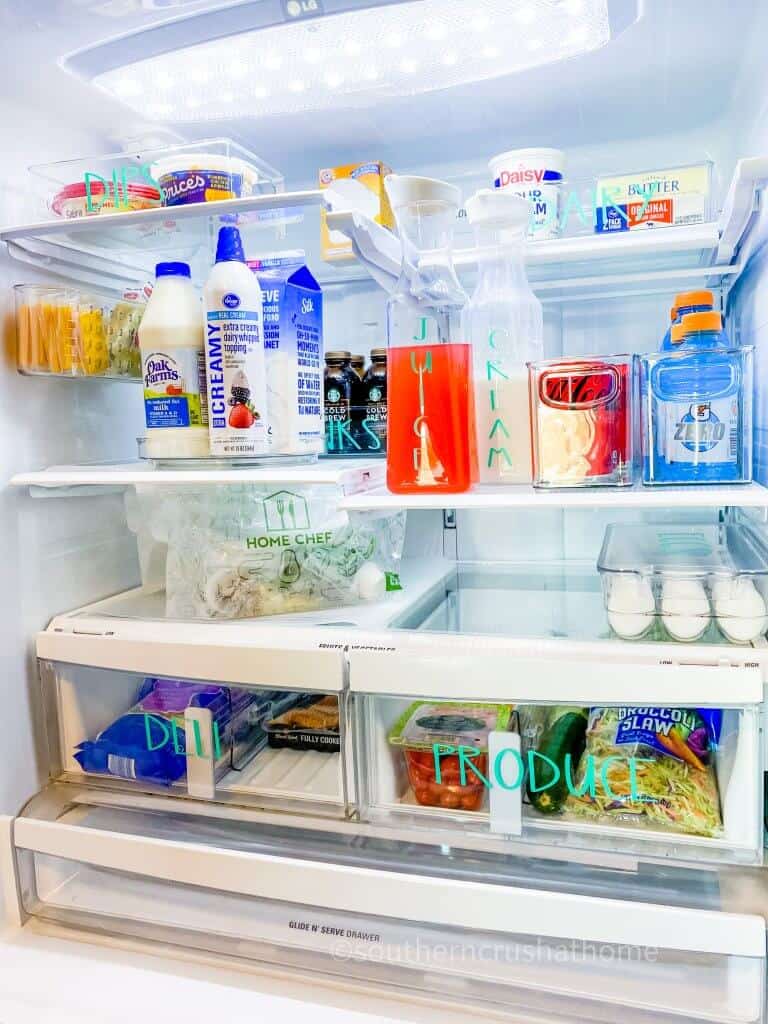
Now that we are ’empty-nesting’, we tend to open a jar of pasta sauce or salsa and only use a small portion. This label was perfect for the side door of the refrigerator to keep the leftover sauces in clear view instead of the back of the fridge.
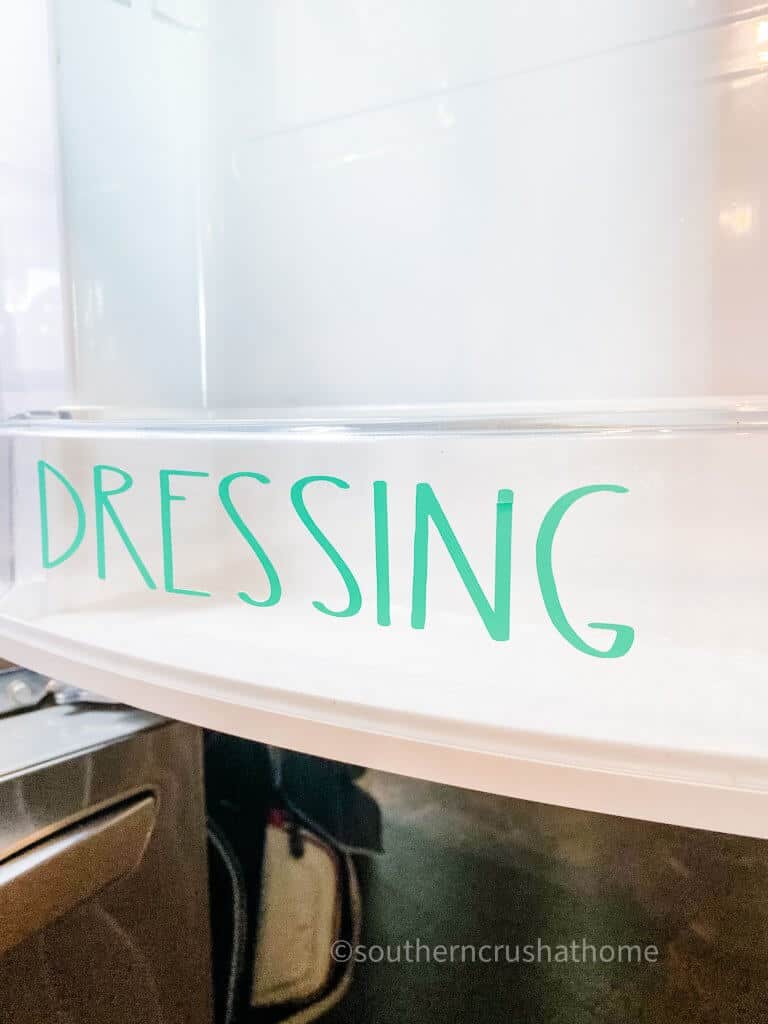
Another item we tend to keep around is dressings. These range from salad dressing to jalapeno ranch dressing for dipping veggies and pizza in. This label works great to keep them all organized in the side door of my refrigerator.
Have fun creating unique labels for your refrigerator that help to organize your own family’s needs. It’s super easy and actually a lot of fun and oh so rewarding when it’s all complete.
step five: Grab bins for organization
These clear acrylic bins and containers are absolute game-changers for organizing a pretty fridge. Grab them in all sizes and shapes depending on your particular organizational needs.
I grabbed these few clear organizational bins and I’m so glad I did. See how I use each of them below:

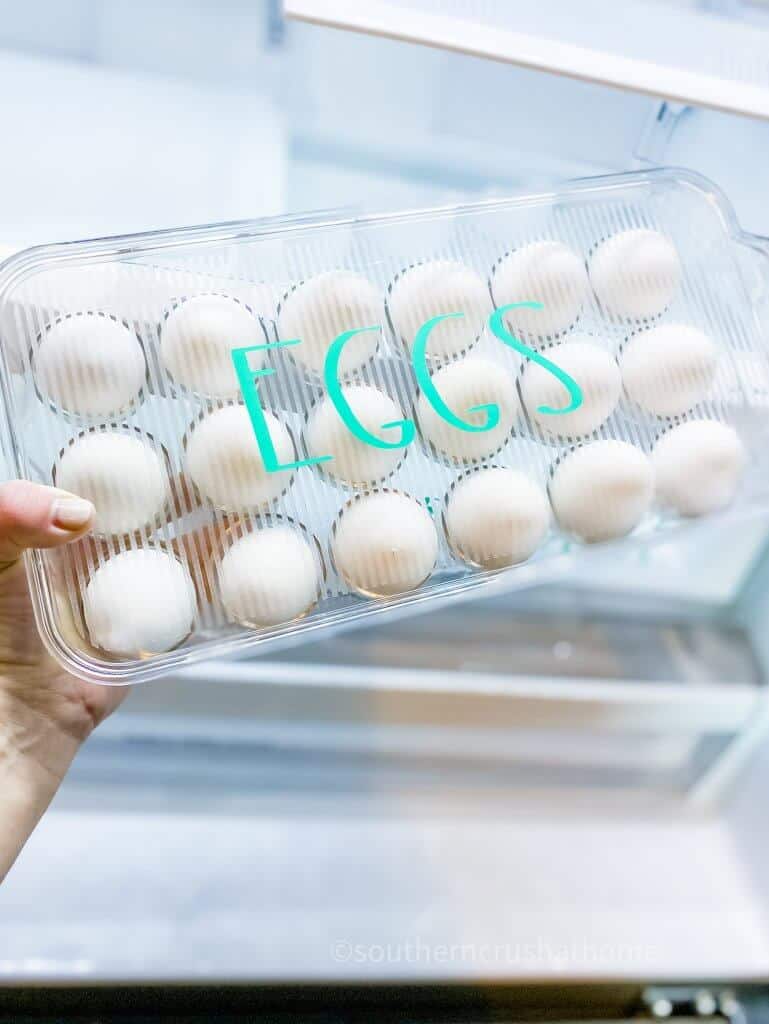
Egg Container
This is so handy! I thought about getting the smaller version of this egg container that holds 12 eggs, but I’m super glad I went with the larger one that holds 18 eggs! Choose one based on your family’s usage.
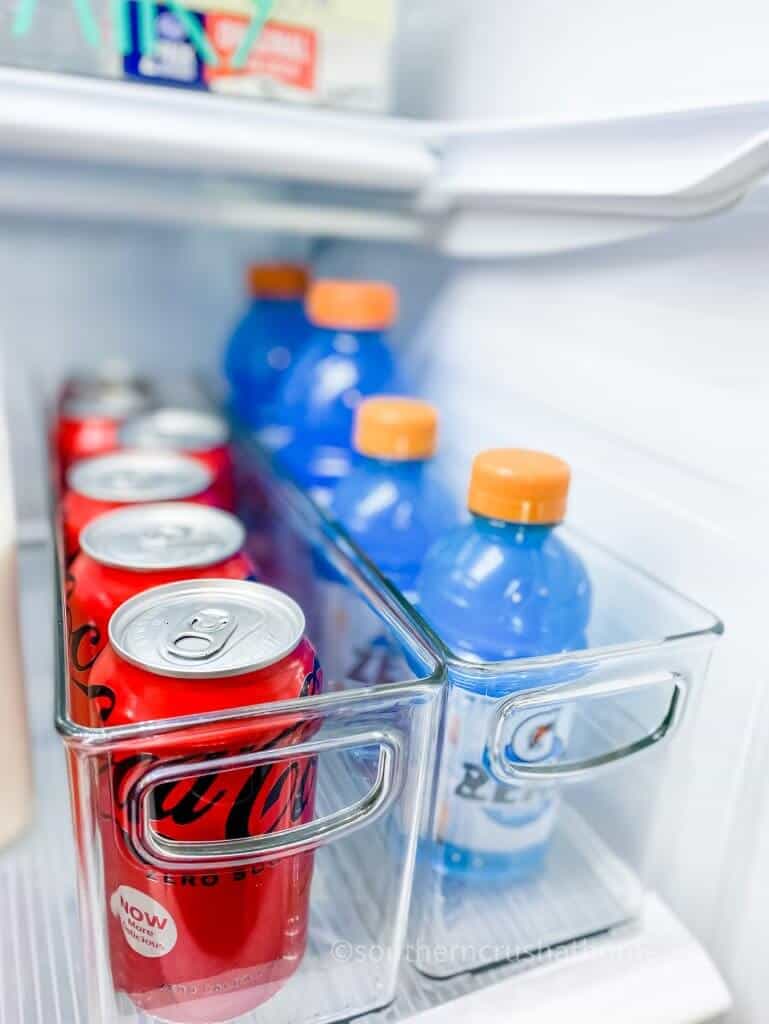
Drinks Holders
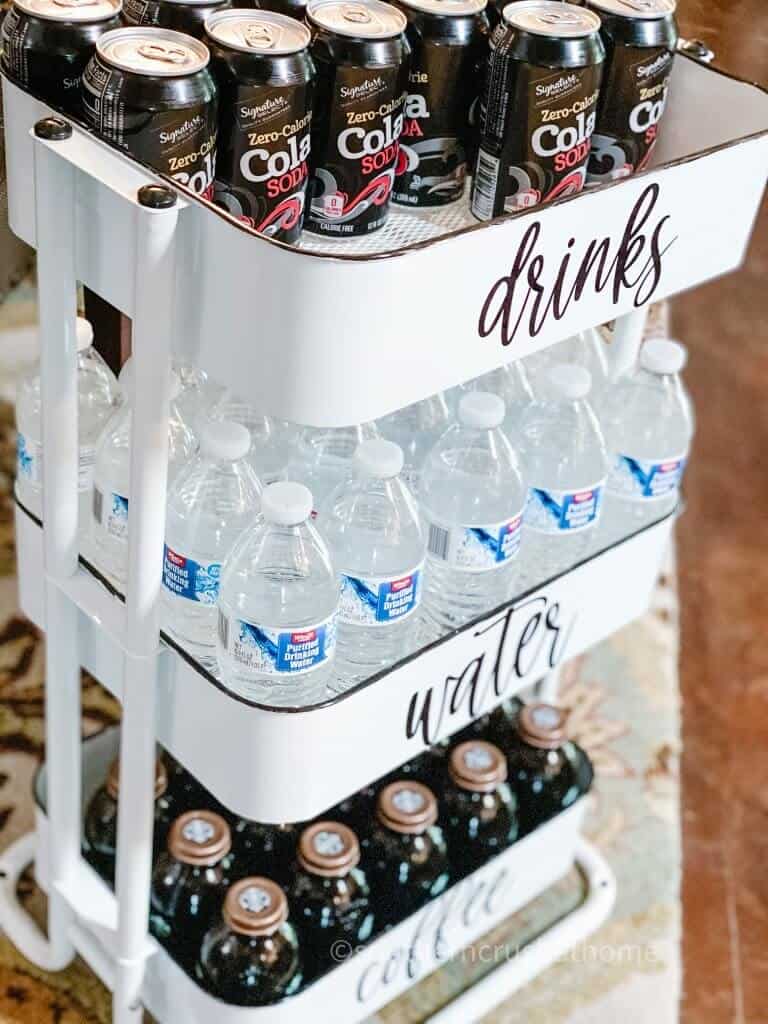
My son and husband go through sodas like water (they drink that, too!). These sleek, clear containers are the perfect solution to keep their favorites in plain sight instead of hidden behind the milk!
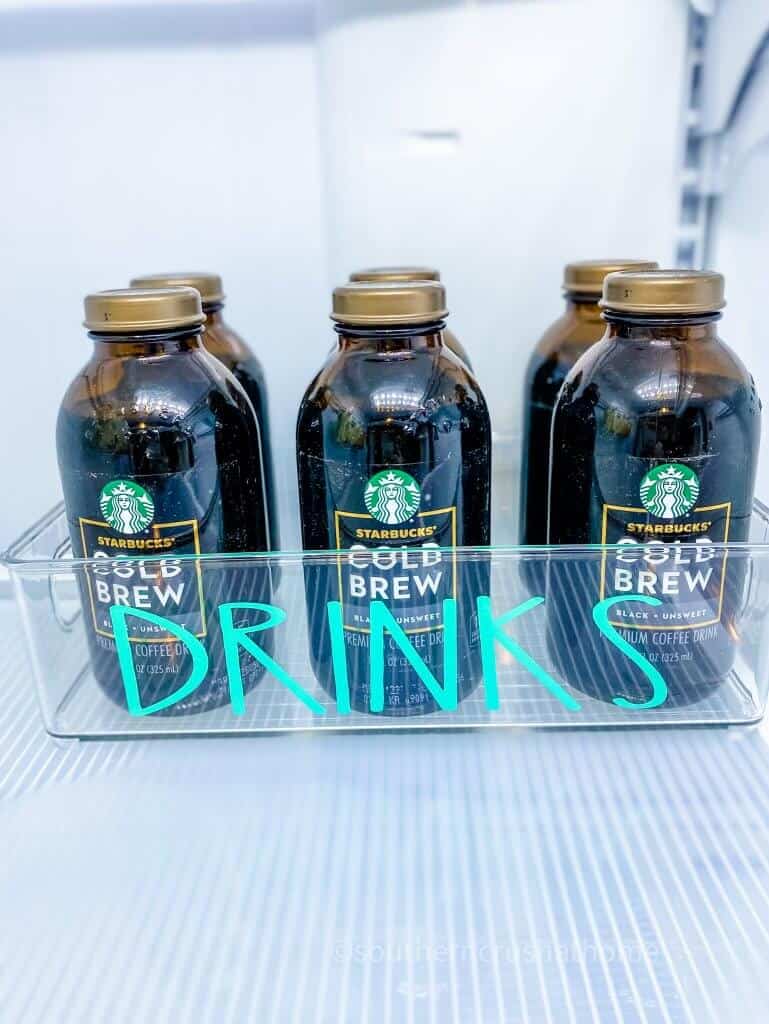
Starbucks cold brew is my drink of choice for an afternoon pick-me-up treat. I like to keep them organized in their own little clear bin so that they are easy to spot in the refrigerator. See what I do to upcycle Starbucks amber bottles HERE.
Drawer Dividers
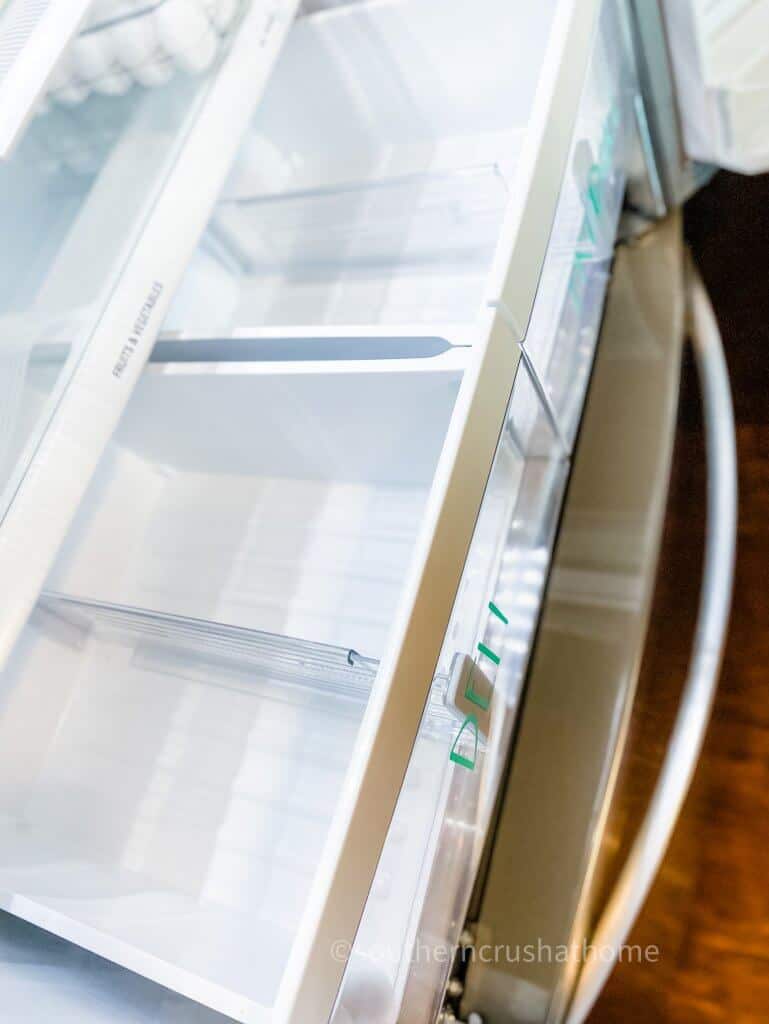
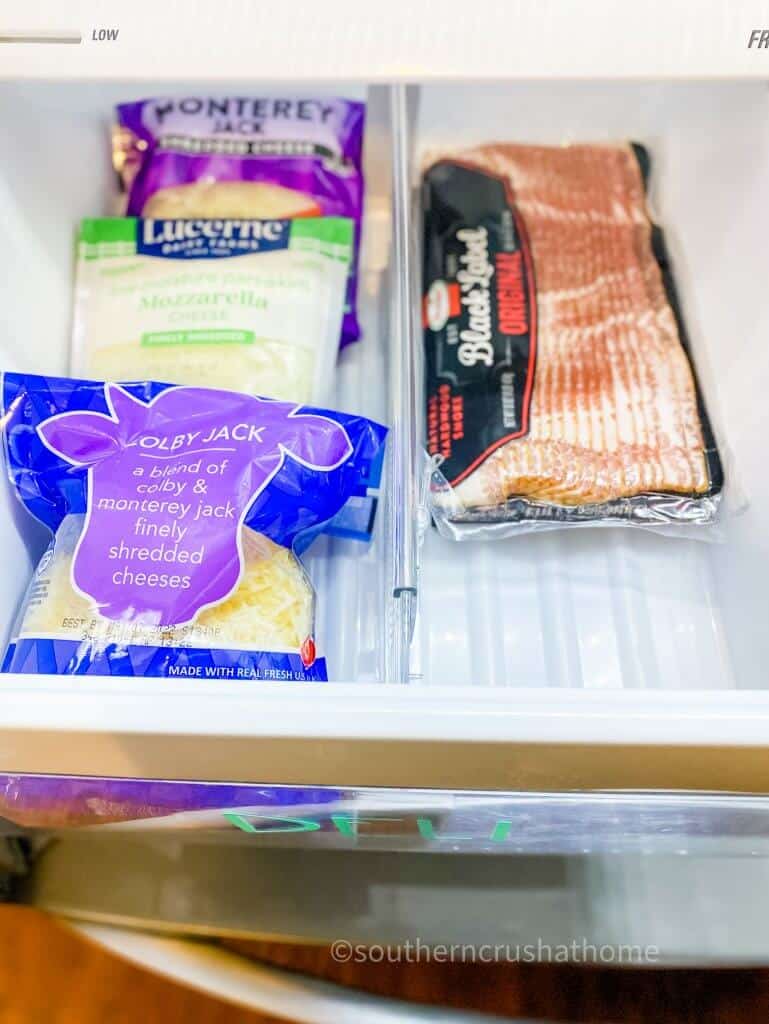
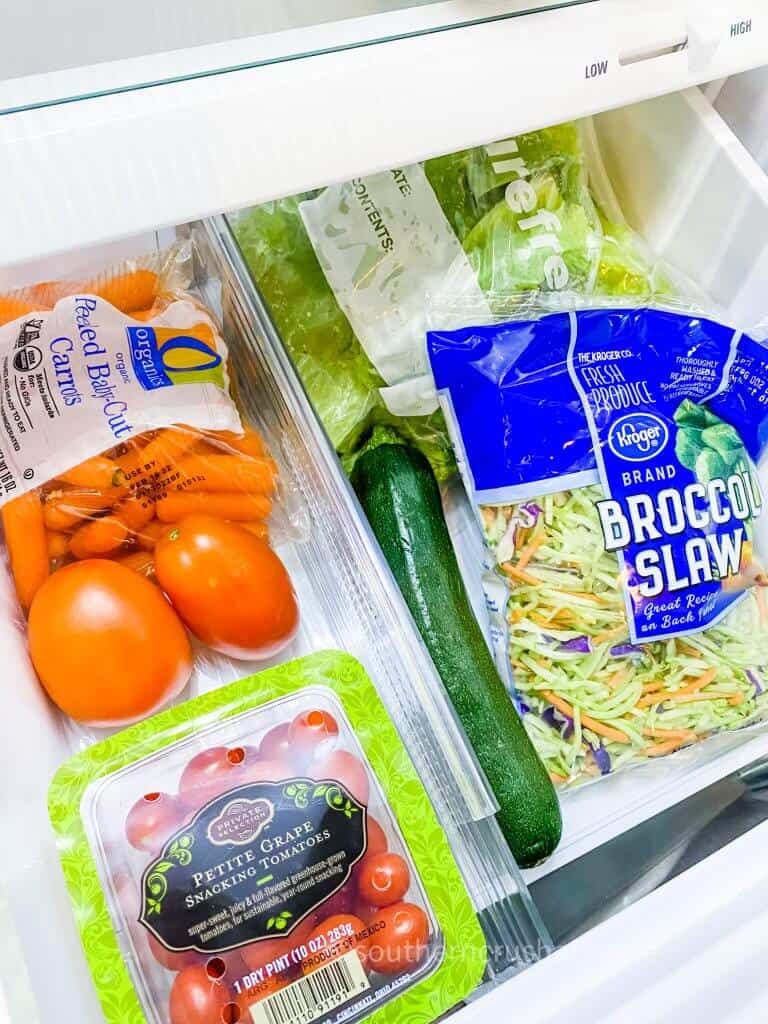
Who knew that these drawer dividers that were meant for clothing would work so great inside the refrigerator? These come in different lengths and act as the perfect separation for produce and more!
I used one divider for the “deli” side of my crisper drawer to separate the bacon and deli meats from the cheeses as seen here.
I used a second drawer divider in the crisper drawer I labeled “produce” to separate the greens from the reds basically. You can of course organize it however you like which is half the fun!
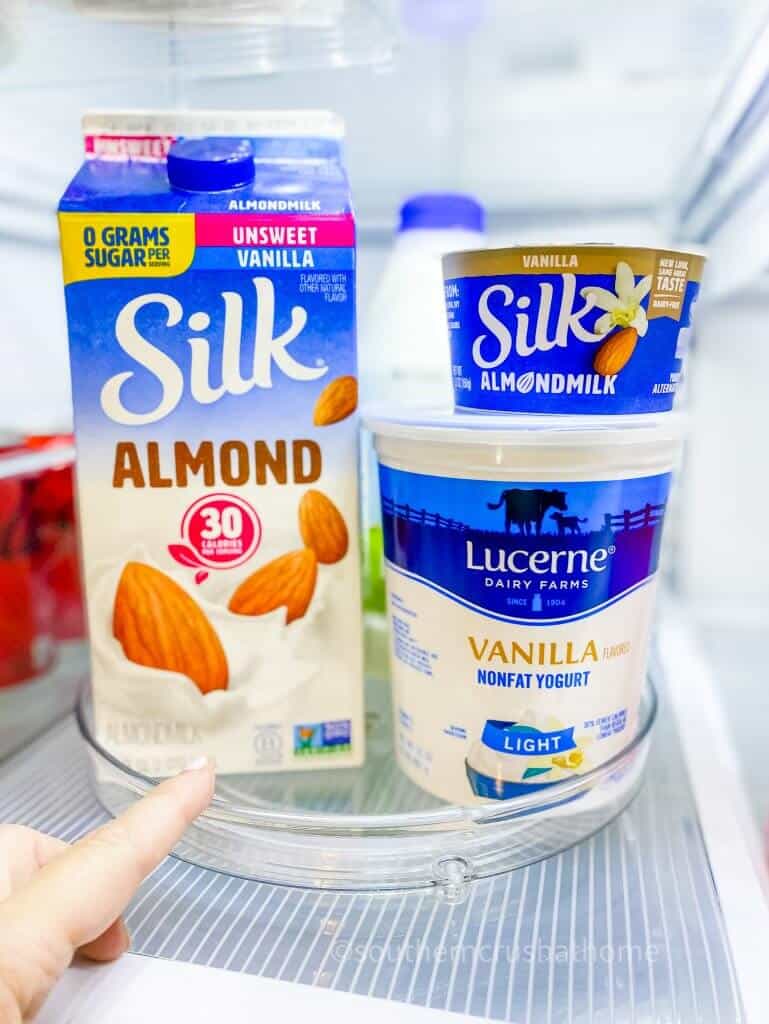
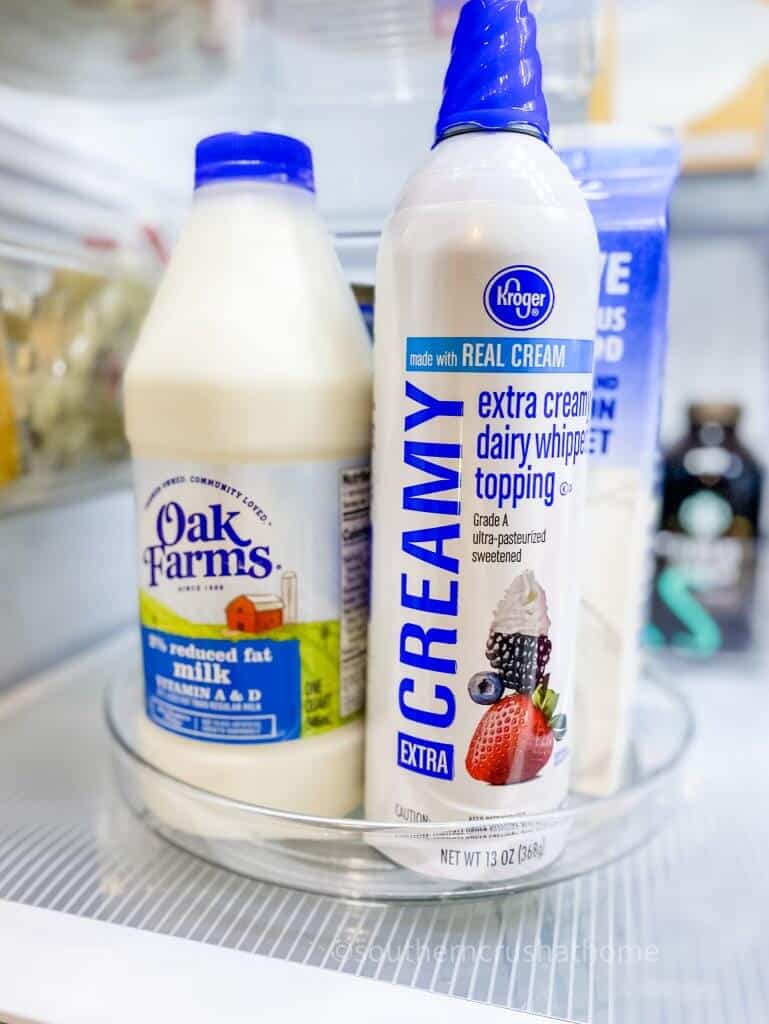
Lazy Susan Table
I’m not sure why these are called “lazy susan” because it pulls its weight inside the refrigerator when it comes to organization. There are so many uses from small jars to dressings to sauces.
If you need to be able to see what you have, this is the solution!
Various Containers
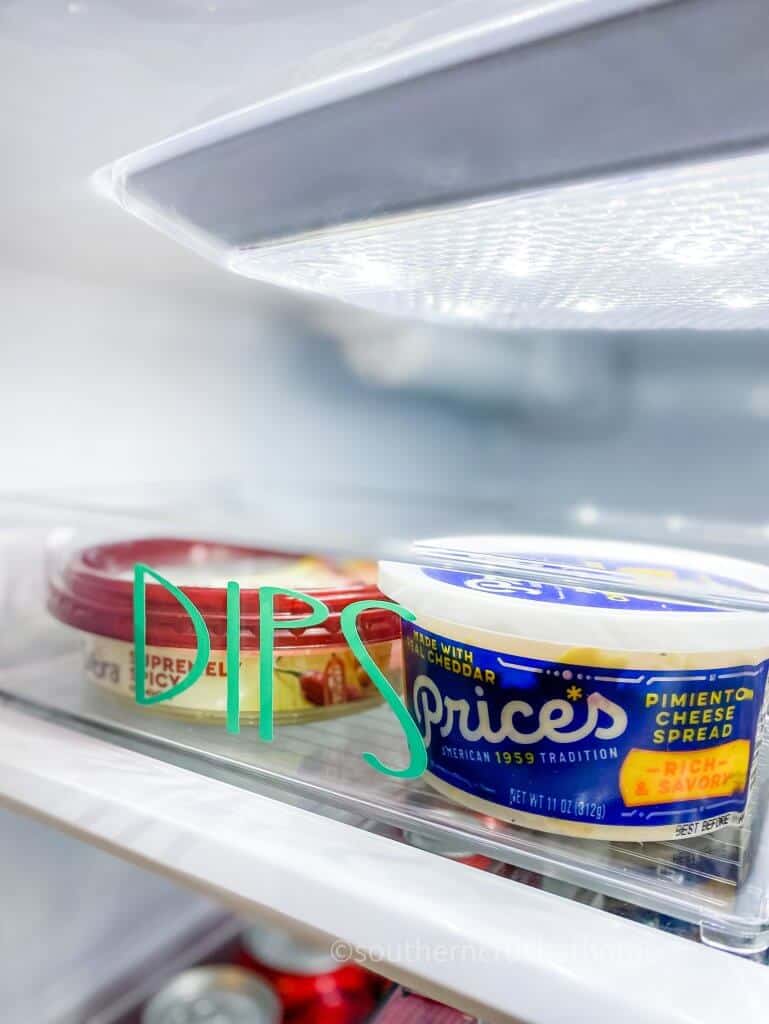
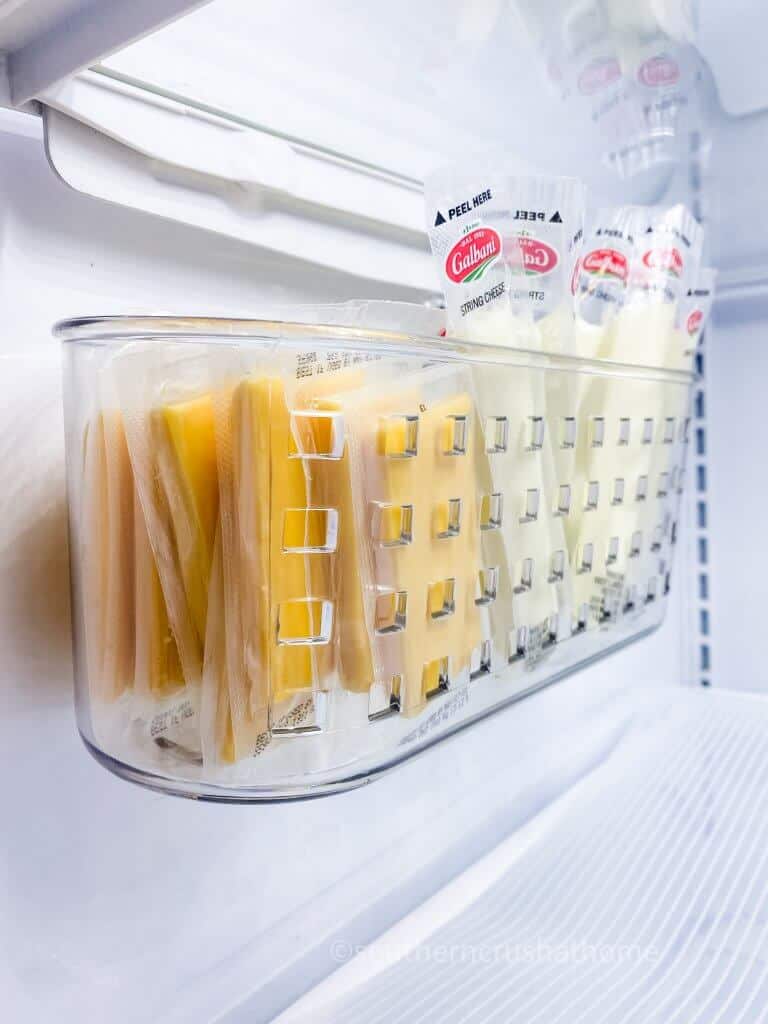
Clear containers are the way to go for organizing your refrigerator. They are durable and easy to see what you have at a glance. I added these additional bins for various food items like dairy, dips, and more.
What would you use them for in your refrigerator? Comment below and let me know.
We are a ‘dip-eating’ family. It seems like we go through a container of spicy hummus, Greek tzatziki, or pimento cheese each week.
This little container helps to keep them in plain sight so we don’t add them to the grocery list by mistake.
Cheeses are another staple around here. I like to keep the ‘snack’ variety separate so that we can see what we have instead of losing them down in the drawers.
This would also be great to keep in sight for kids to help themselves after school.
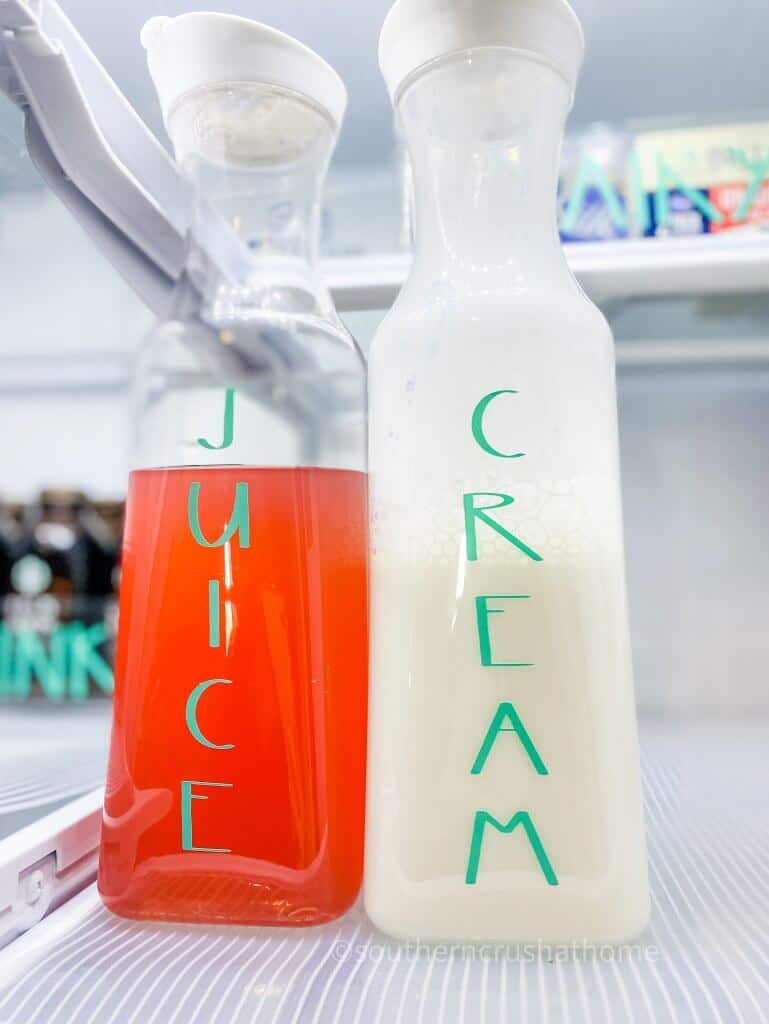
These two containers come in pretty handy for making sure we never run out of my favorite treat… cream.
I use it in my chai tea, add it to my shakes sometimes, and put a little in our pasta sauce to make it taste fancier.
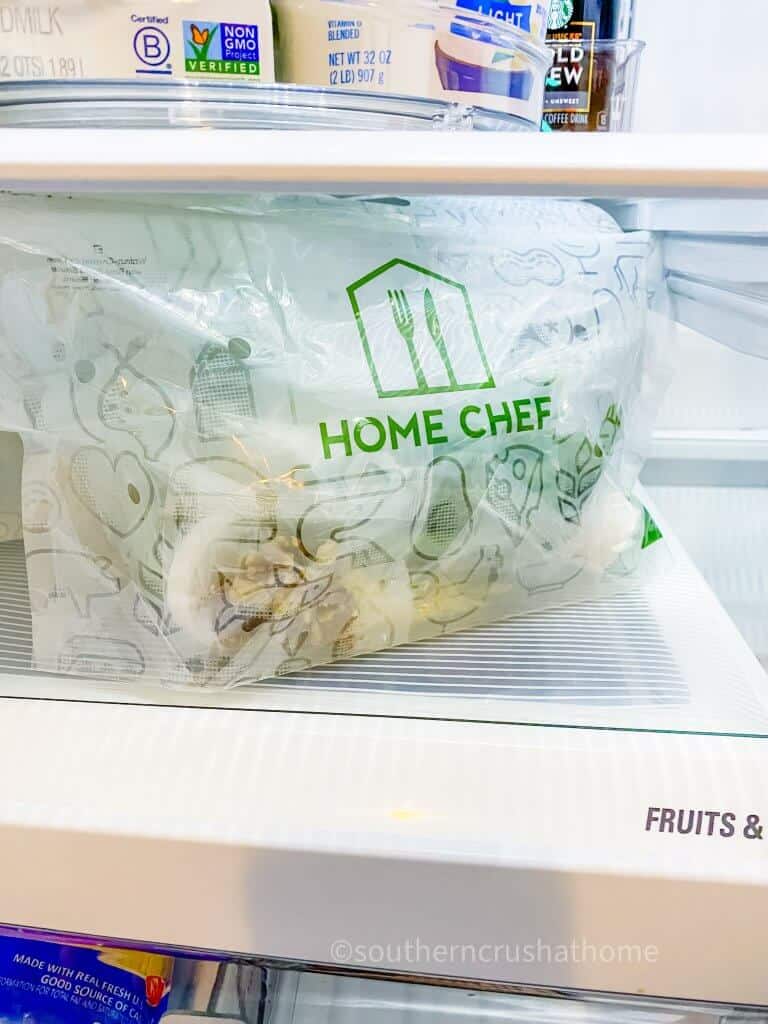
I’ve shared about HOME CHEF meal kits before and how I use them throughout the week as part of my “Less Stress Meal Planning”.
This is how I store them neatly tucked away in the lower section of the fridge and because I order only three meal kits a week per my plan; they fit easily.
Enjoy your organized refrigerator!
It’s so nice to have a simple plan to get your fridge organized and it’s even nicer to enjoy it afterward!
What would a clean fridge do for you?
You may be inspired to get even more organized in the kitchen with these 4 Ideas to Make Meal Planning Less Stressful!
or This fun DIY on How to Make a DIY Farmhouse Beverage Cart!

